
This Trine walkthrough is divided into 16 total pages.
You can jump to nearby pages of the game using the links above.
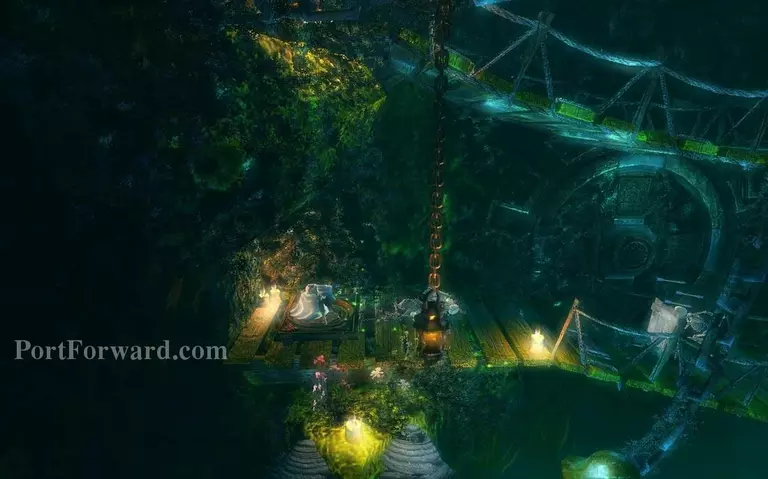
Fangle Forest
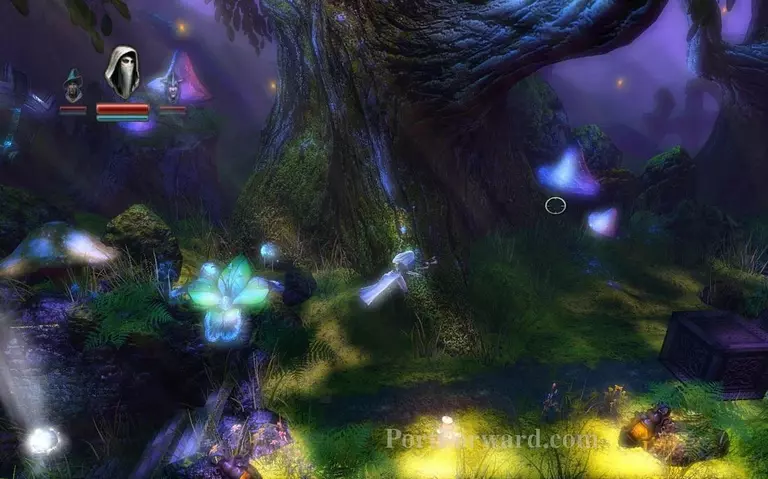
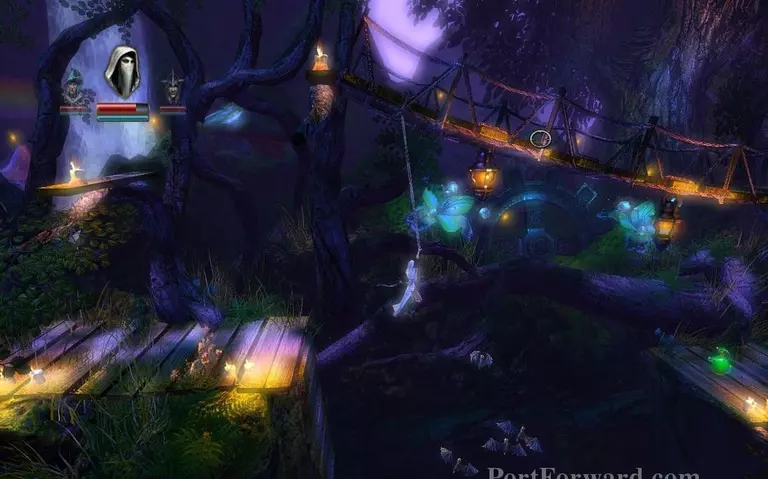
You enter the Fangle Forest.

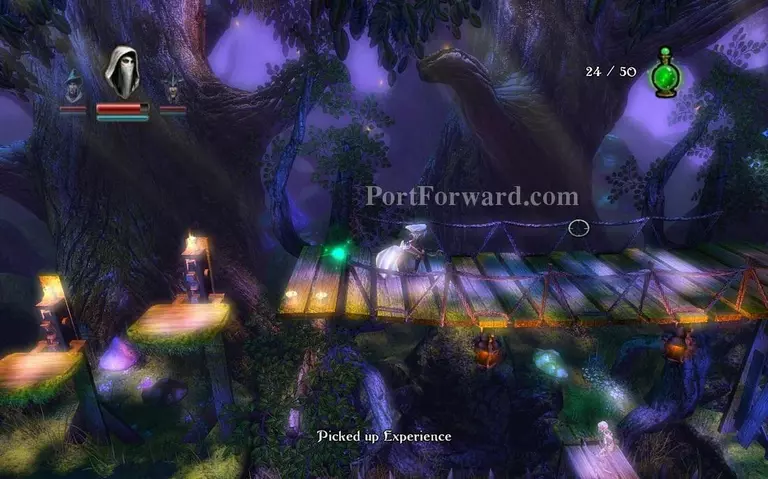
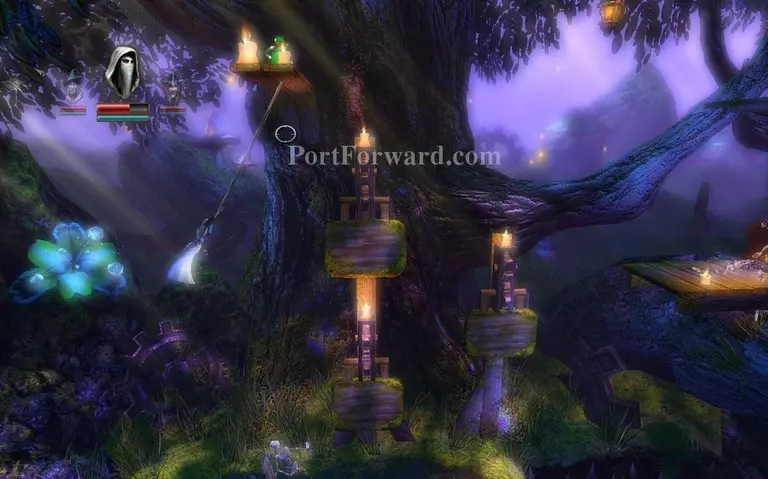
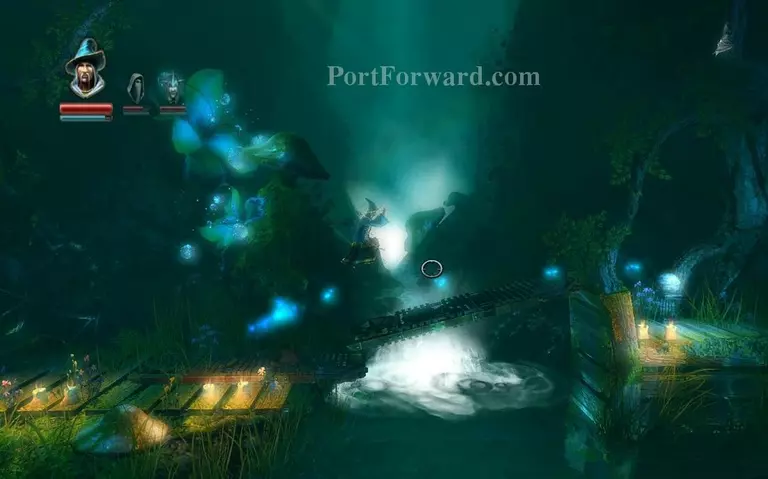
As soon as you see this plank, grapple to it and get the experience vial on top of it, then proceed.

Instead of jumping up this platforms you can grapple to the log underneath the bridge and jump up.
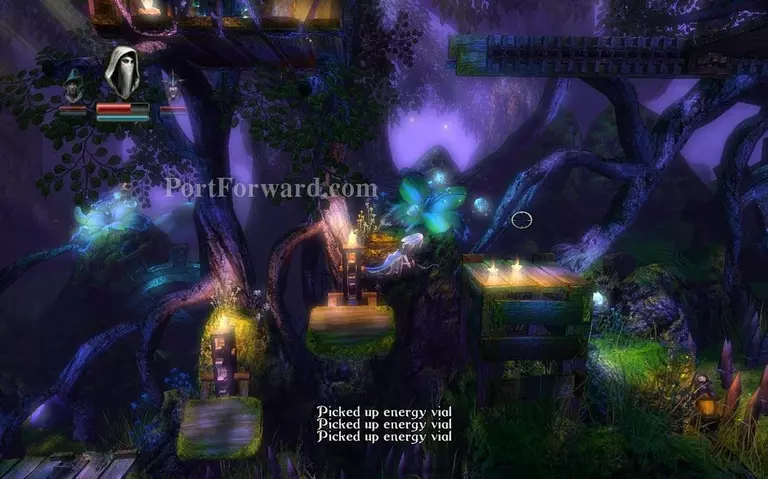
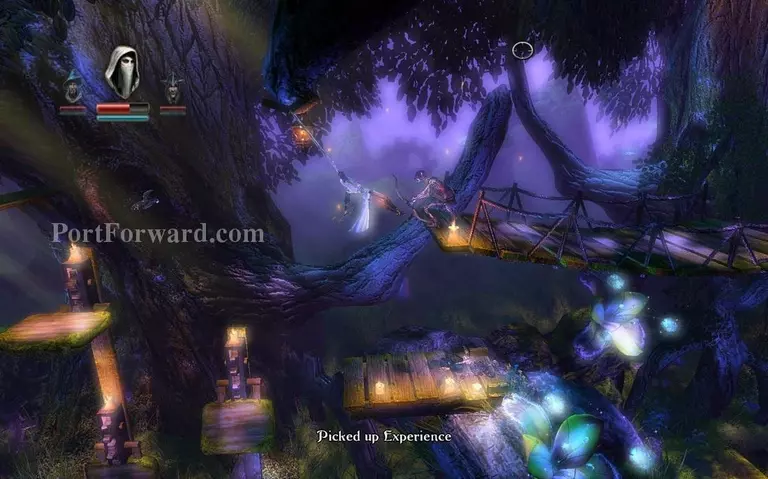
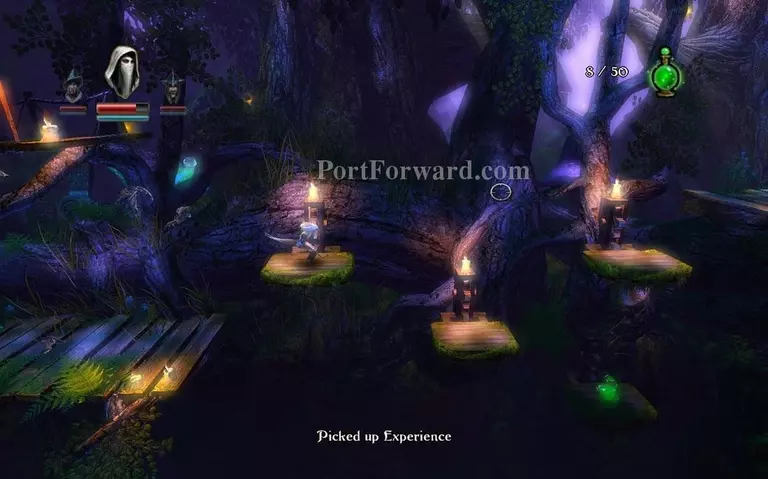
Grab the experience vial and run to the right.
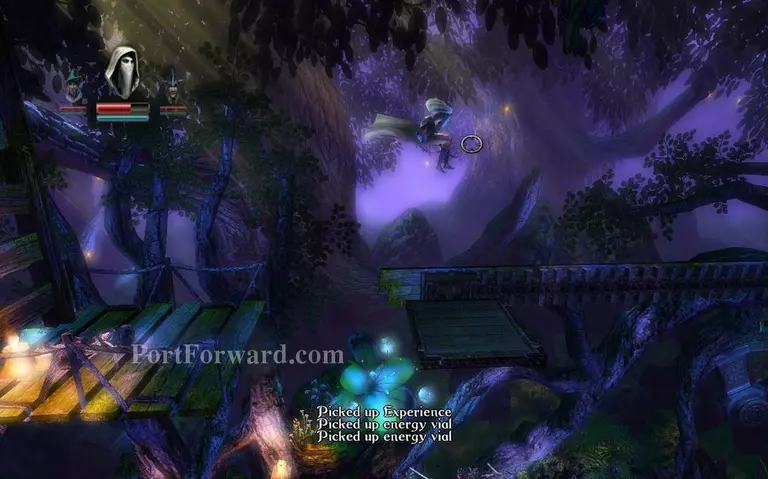
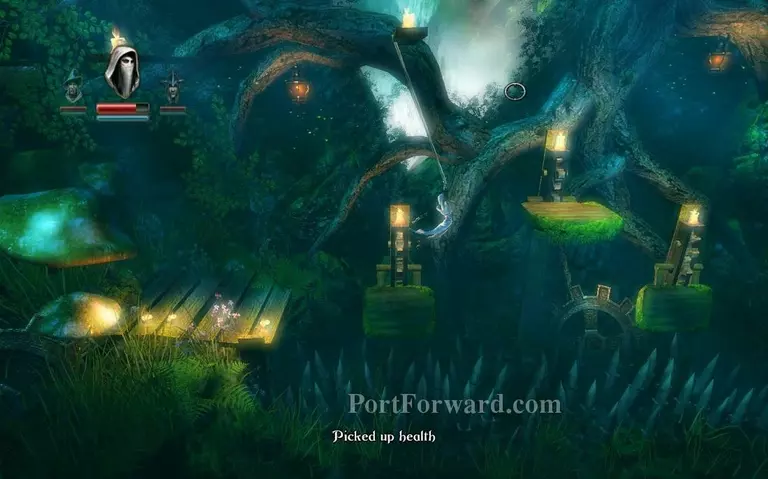
Jump up these two platforms. Careful as they drop down a second after you land on them.
Grapple onto the left platform on the top and jump on the moving one.
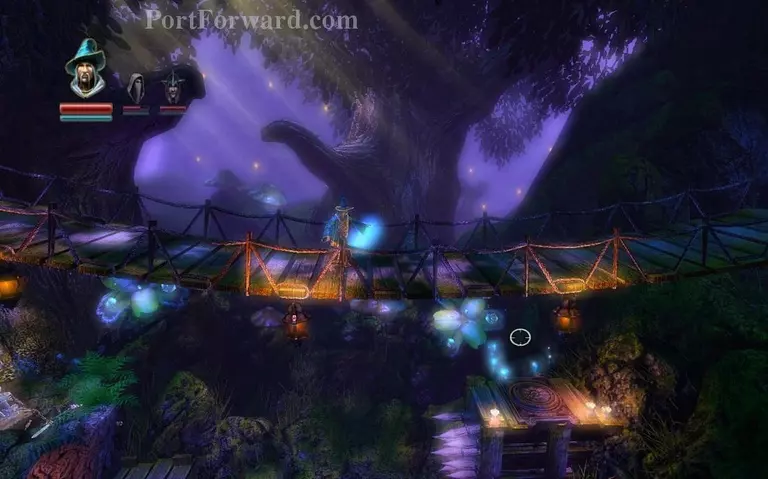
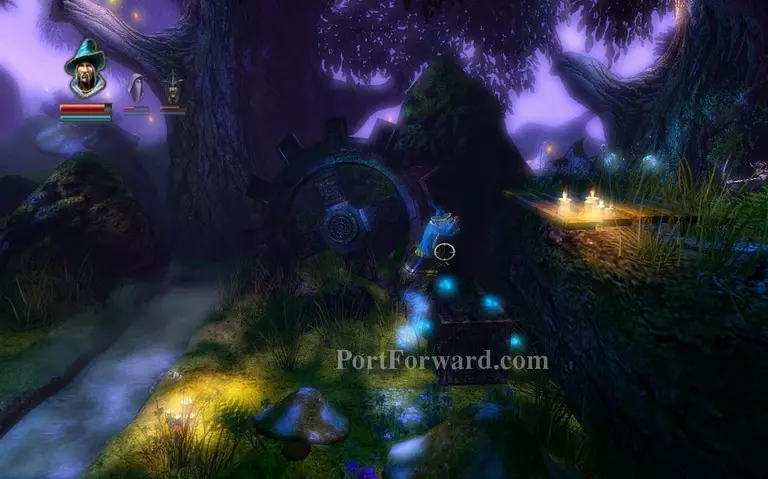
You reach another bridge, switch to the wizard and create a box ontop of the button underneath you can see from the bridge.
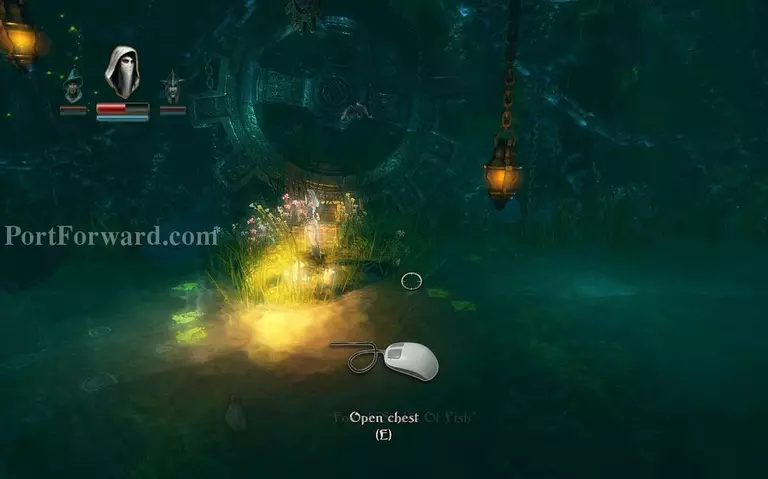
Once you reach this chest open it and grab the scales of fish, you can equip them to have unlimited breath under water. Jump down into the water.
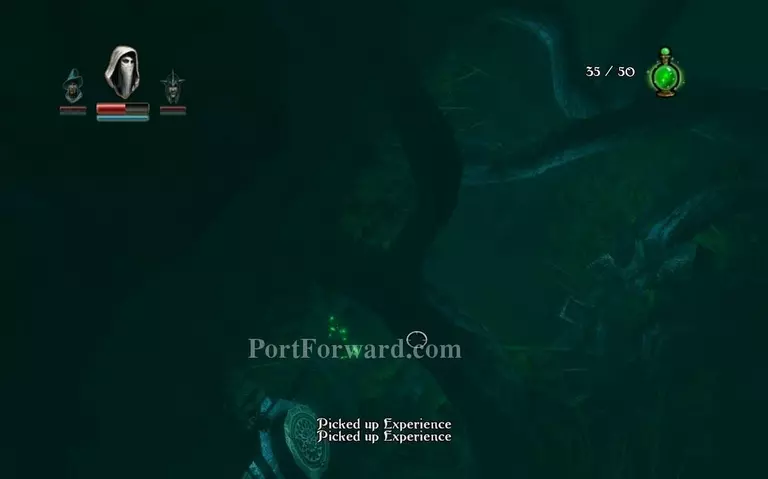
On the far left you will find two experience vials, after you're done with that, swim back up and then go down the right path.
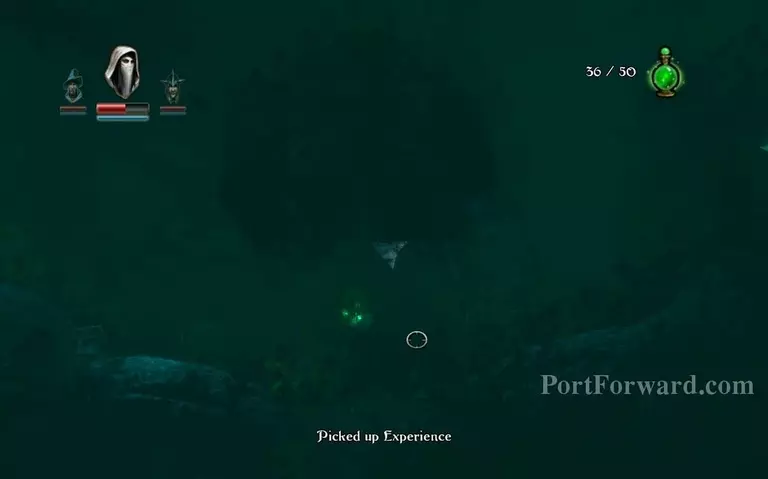
There you find another experience vial and a box, push the box out to the right and swim out.
Use the box that's now floating on the water to jump across to the checkpoint.
Here you don't even need to use the timed platforms, just grapple onto this platform and grab the experience vial.
Then grapple onto the next one and jump across to the bridge.
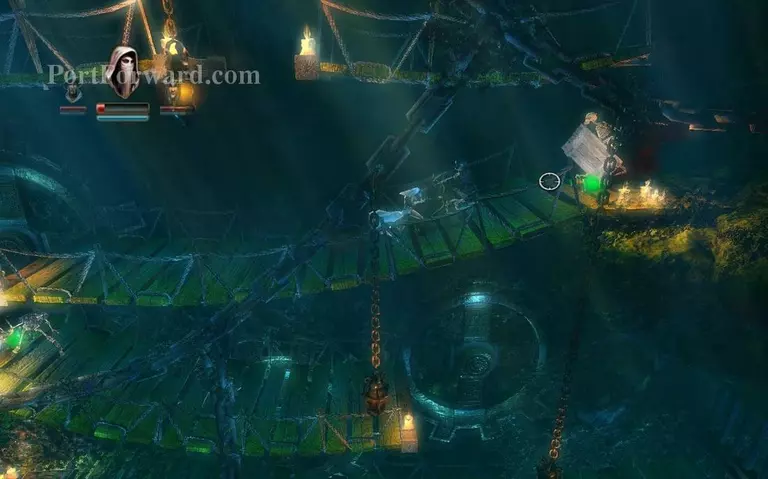
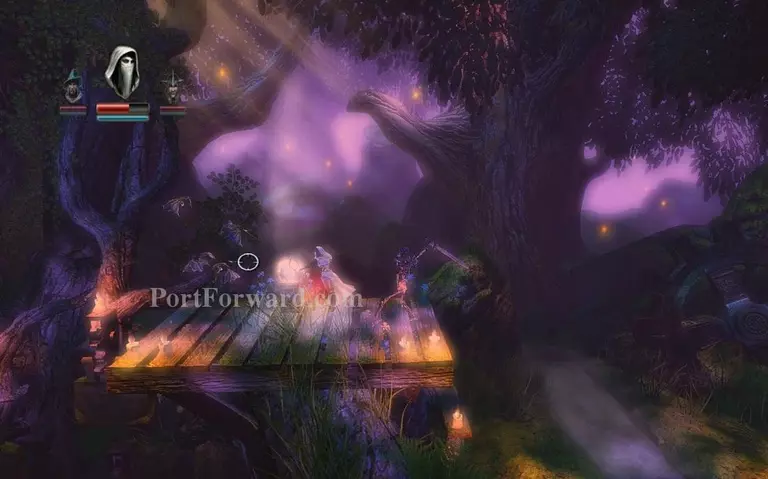
Once you reach the series of bridges dropping down, you'll be greeted by skeletons, kill all of them as you're moving down and grabbing experience vials.
At the bottom level you will see a button in the far left. Step on it.
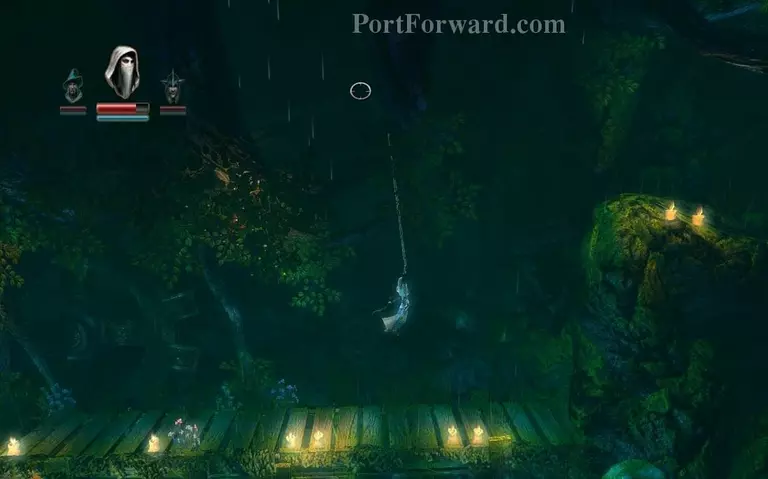
Afterwards you reach a room with a spike trap on the ground, just grapple onto this.
Then on the bridge above you.
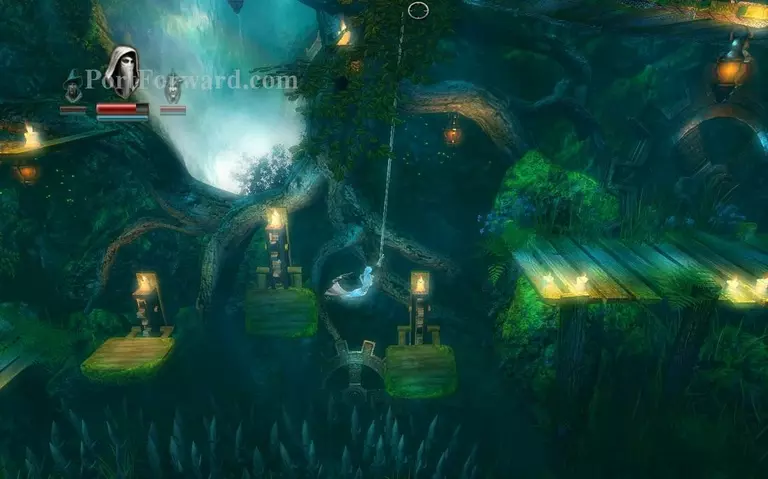
Walk ontop of the bridge, then jump off and grapple on this log.
Here you just want to use a plank with the wizard to jump over to the checkpoint.
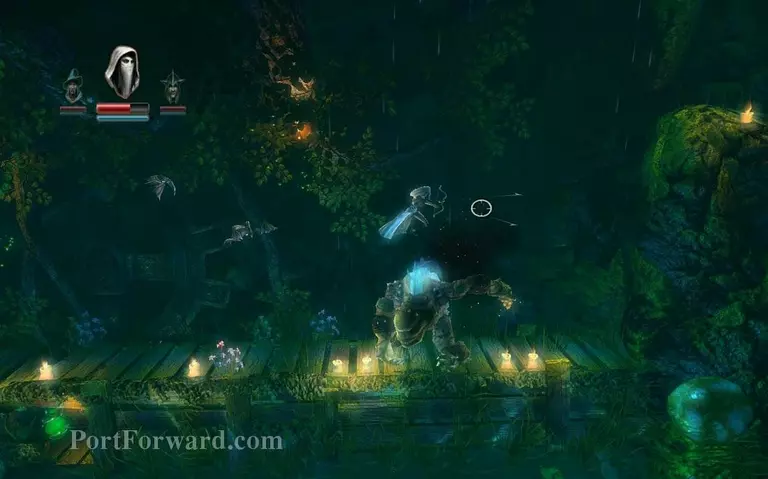
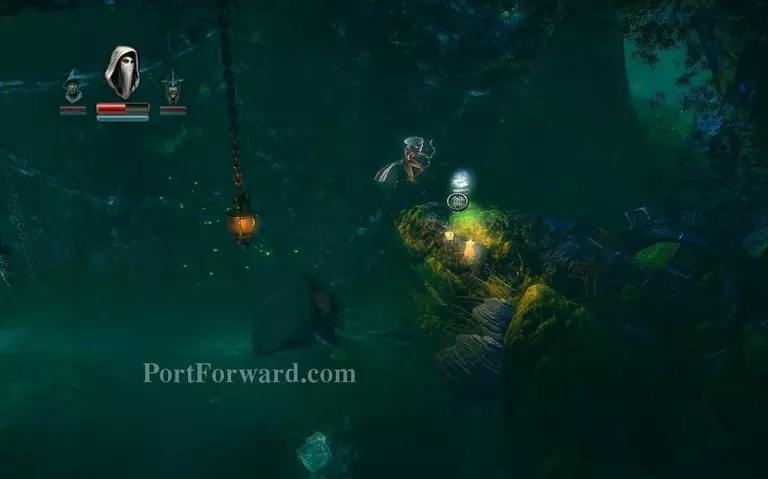
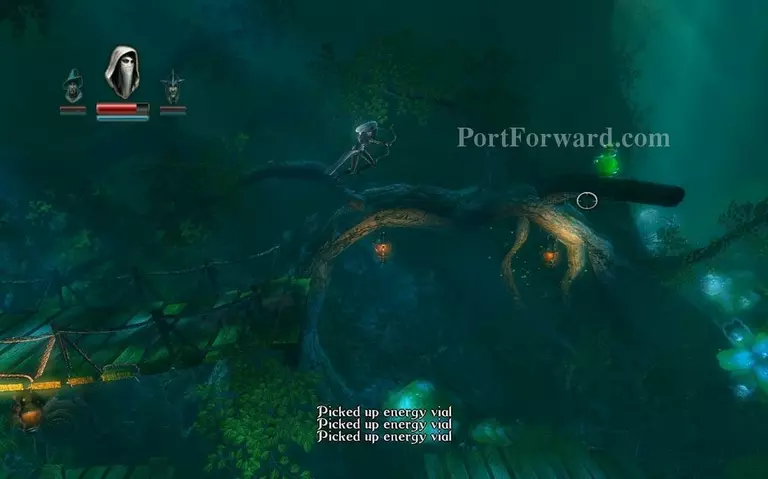
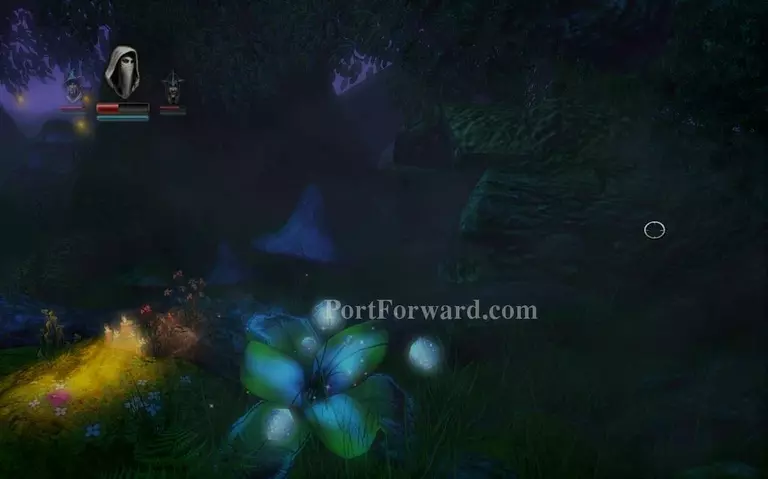
You see another one of those monsters with crystal backs, you know the drill, shoot him in the back and he will die shortly.
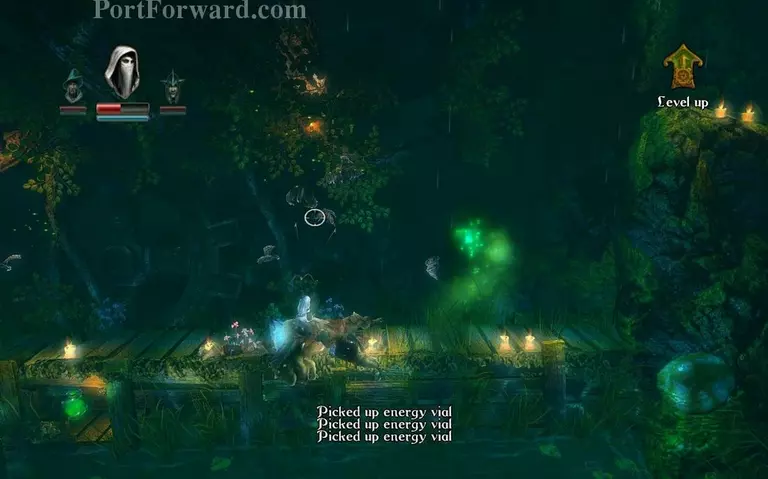
He drops a lot of energy vials, you pick them up and go back to the left to jump into the water.

In the water just swim underneath the platform you were just ontop of and then jump up to the chest.
Then go back where you fought the boss and grapple onto this to jump across to the ledge on the right.
Here instead of walking ontop of the bridge just use the bottom of it as a grappling platform.
Move to the right jumpin over the dropping platforms.
And you'll reach a checkpoint.
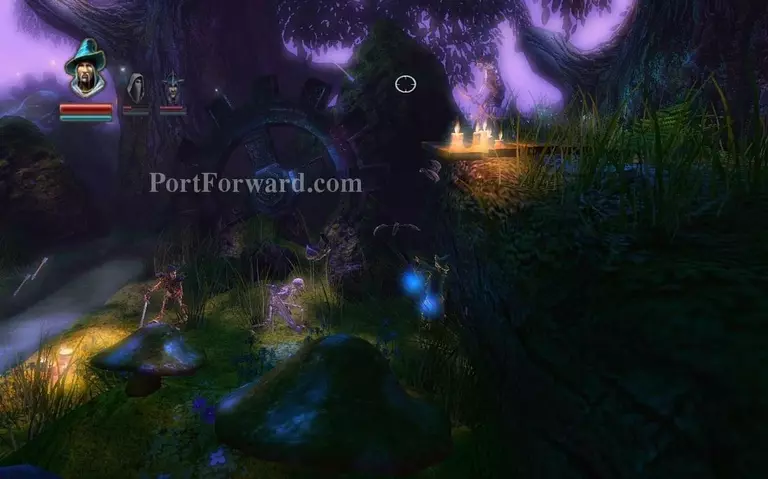
There are a lot of enemies on this spot, take your time and handle them.
Then just put down a box and jump up.
You reach the end of this chapter.
More Trine Walkthroughs
This Trine walkthrough is divided into 16 total pages.


