
This Trine walkthrough is divided into 16 total pages.
You can jump to nearby pages of the game using the links above.
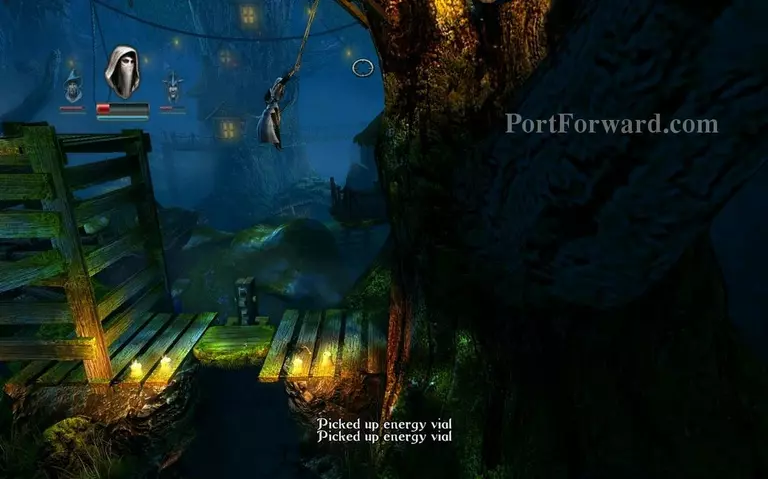
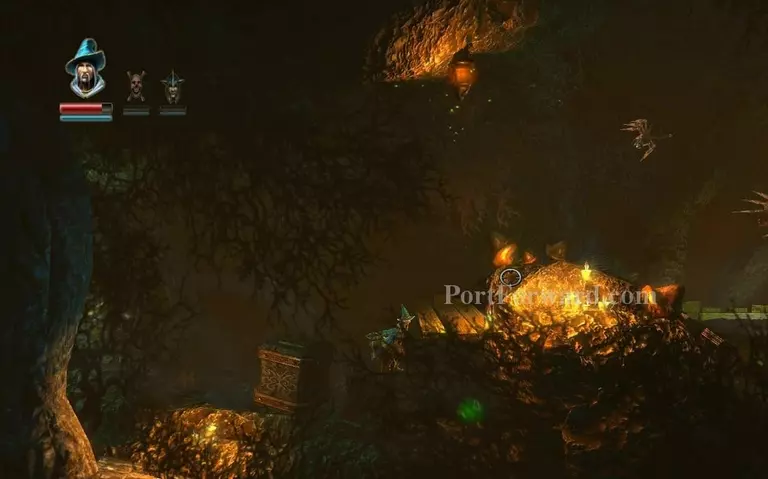
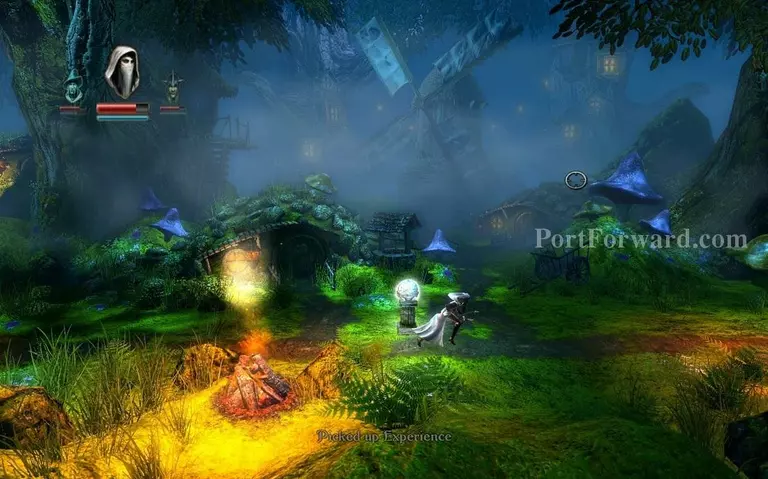
Bramblestoke Village
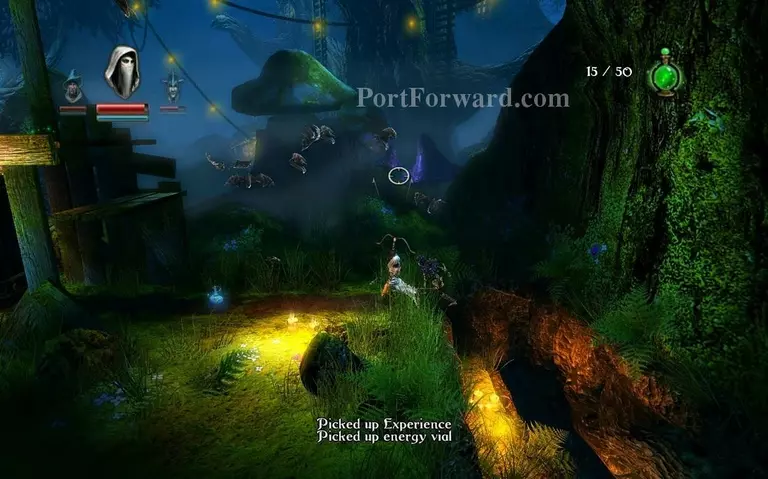
You enter Bramblestoke Village.
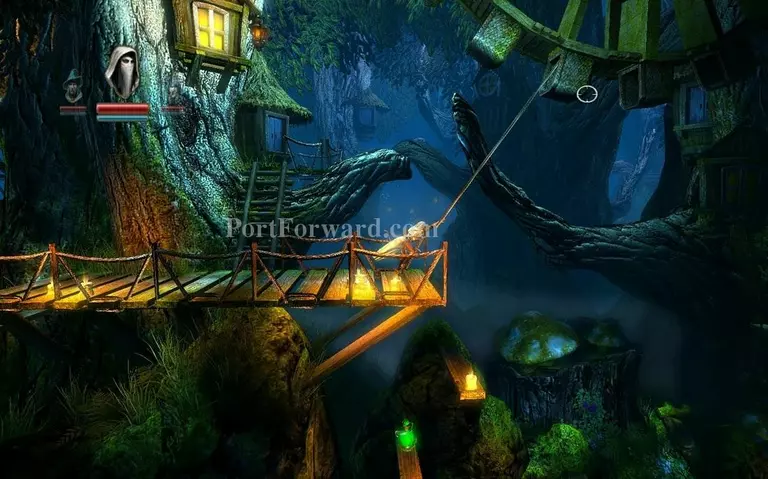
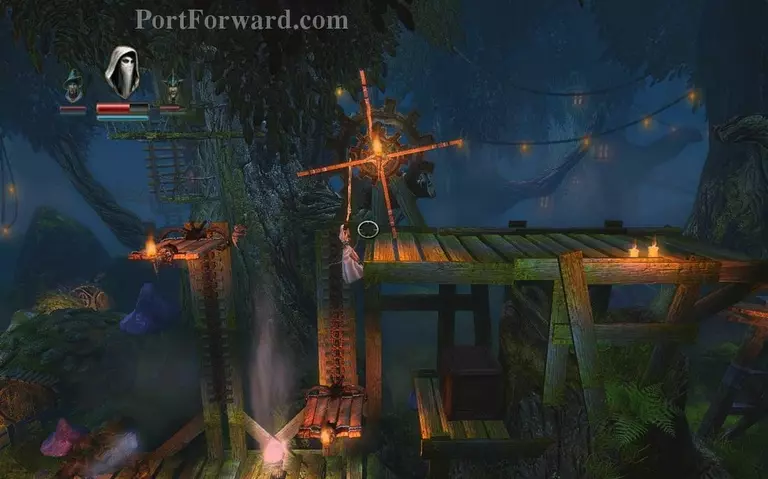
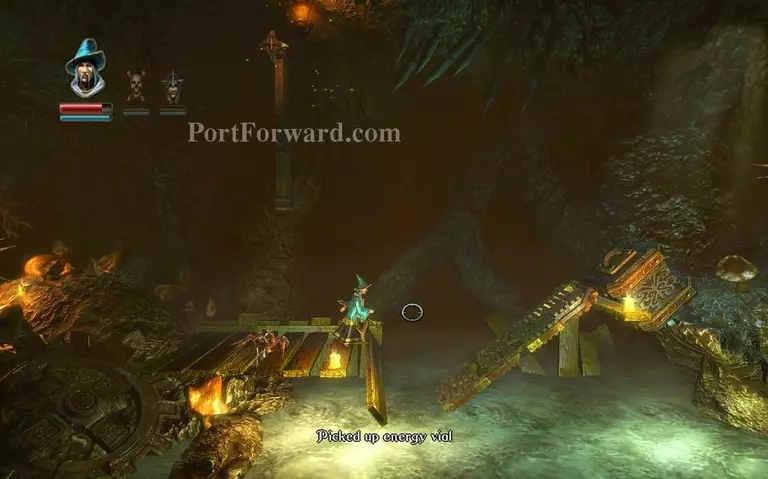
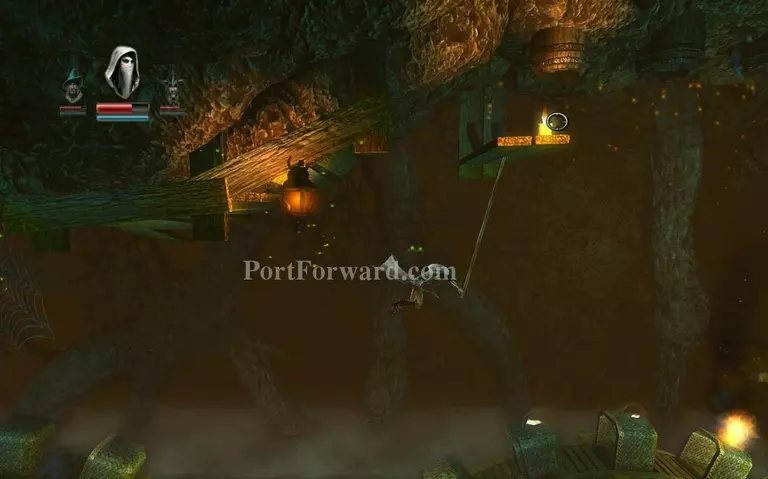
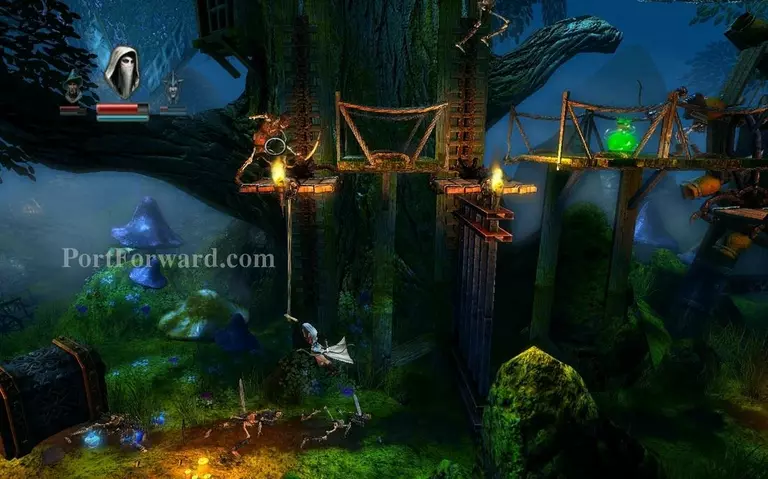
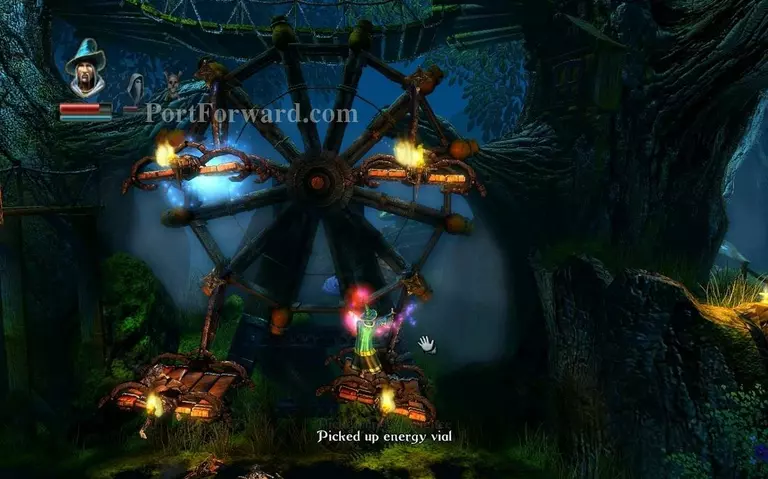
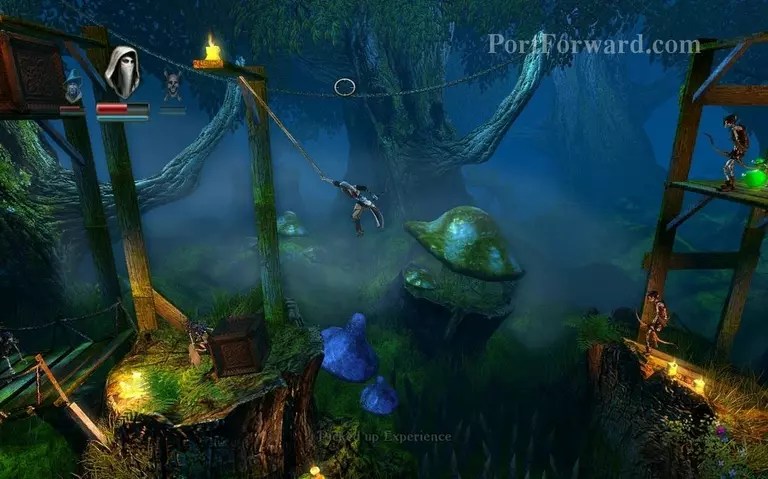
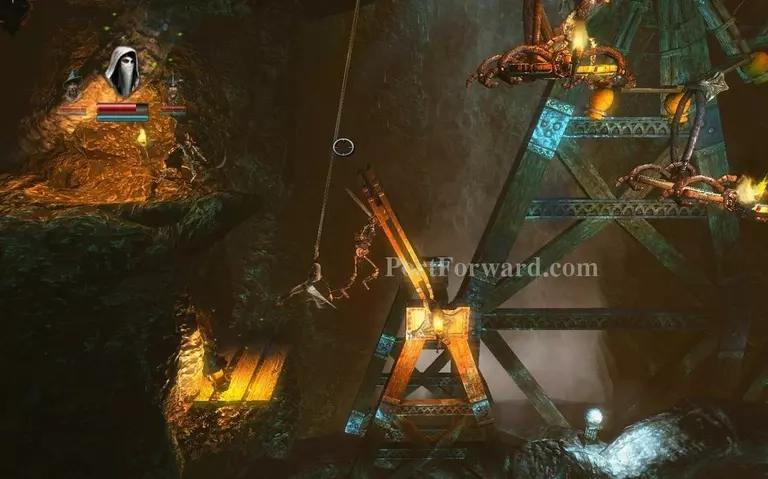
As soon as you start the chapter you will see an energy vial at the end of this bridge, pick it up then hook to the spinning wheel above you.
Jump over and fight off the skeletons.
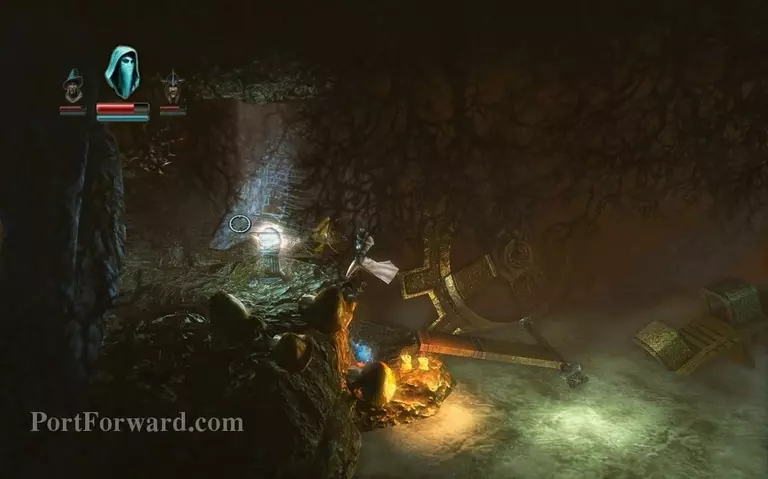
Levitate this metal block with the wizard to move on.
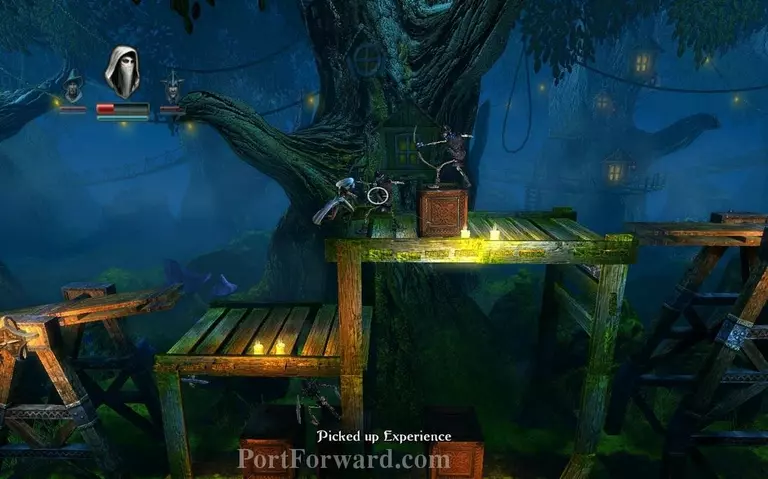
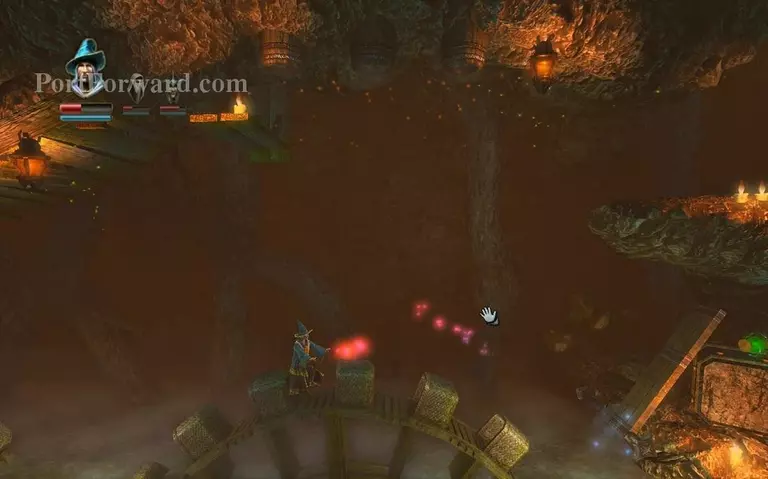
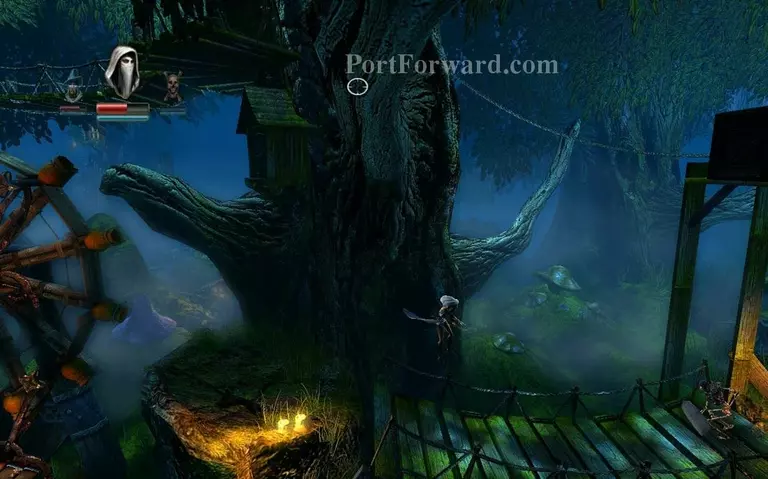
Go to the right, kill off the bats and jump down the cave.
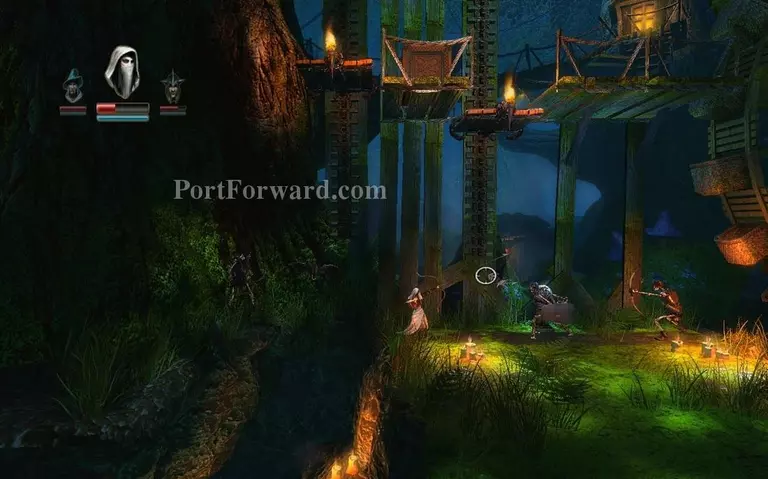
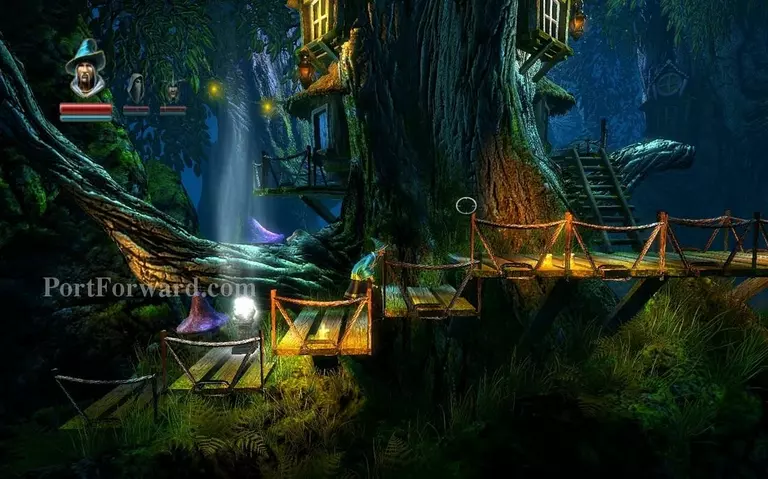
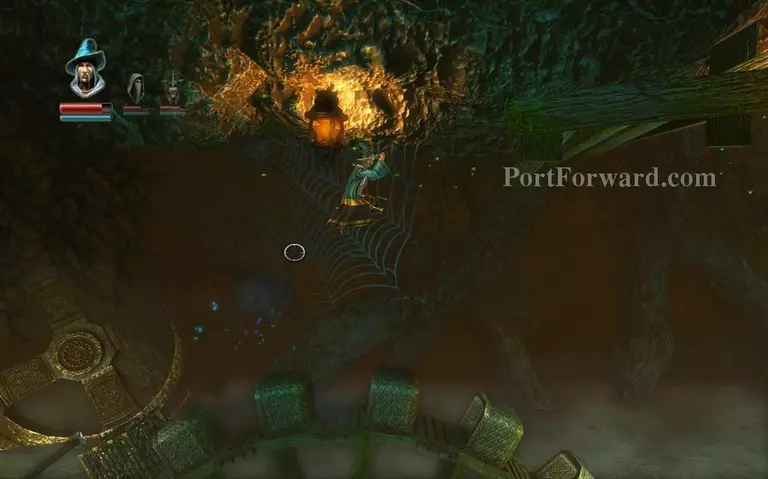
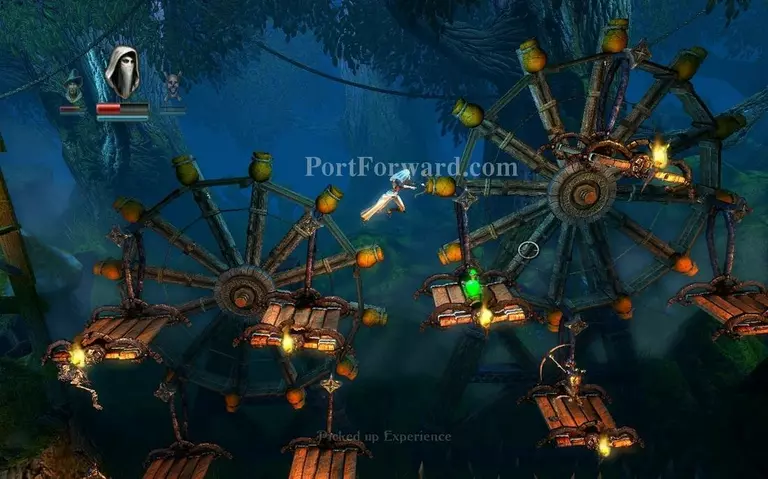
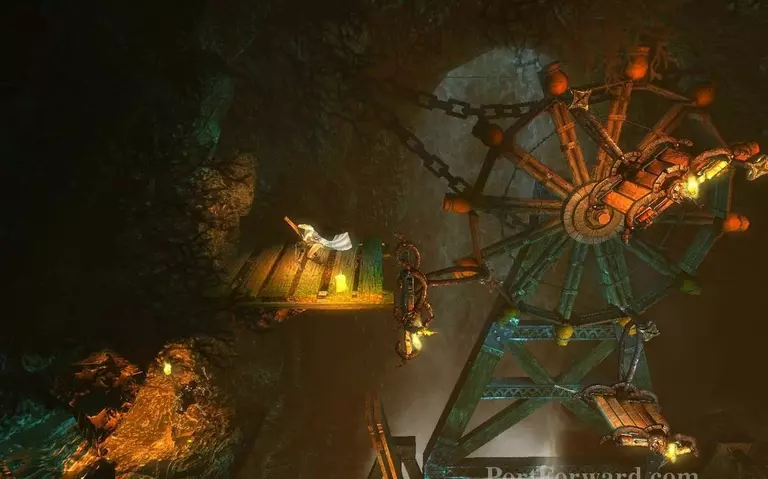
You'll get out shortly and you will see these two platforms.
Just run past them and hook onto this wheel, going up to the right.
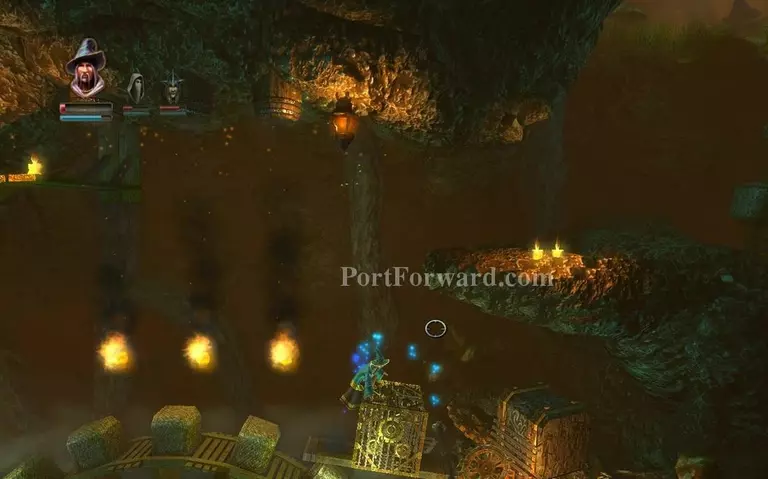
Fight off the enemy with crystal back.
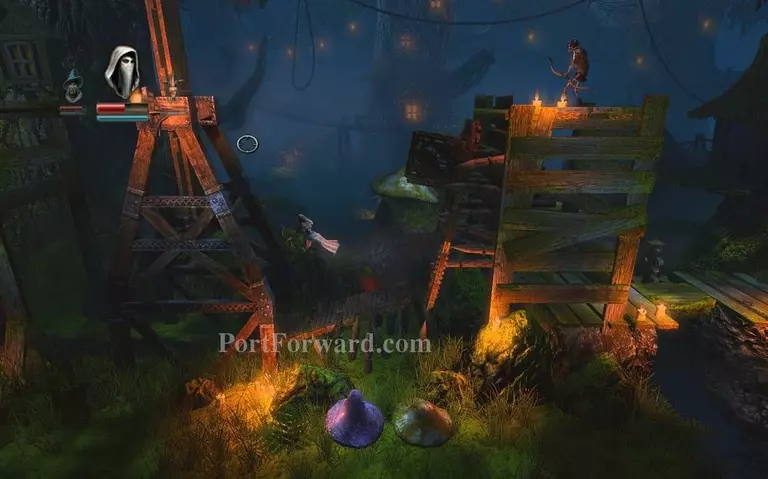
Instead of dealing with the two platforms above the checkpoint just hook onto this platform and jump up.

Grab the energy vial here.
Go to the right fighting off armored skeletons.
Put a box on the spikes like this.
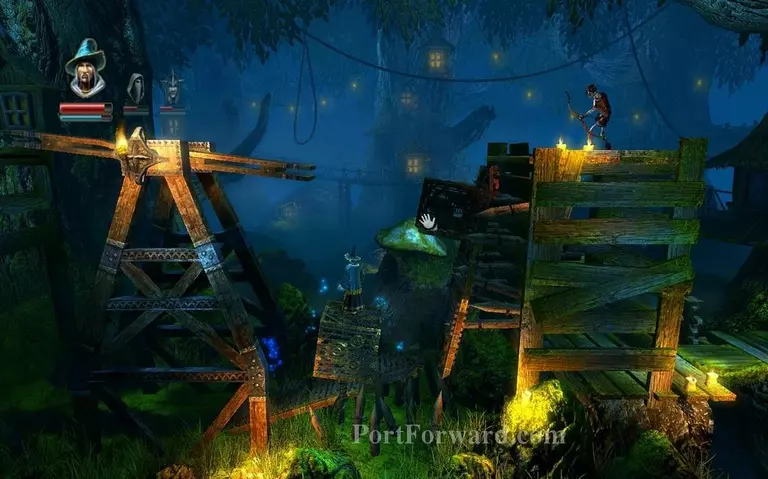
And one below, you don't need to use the balancing platform.
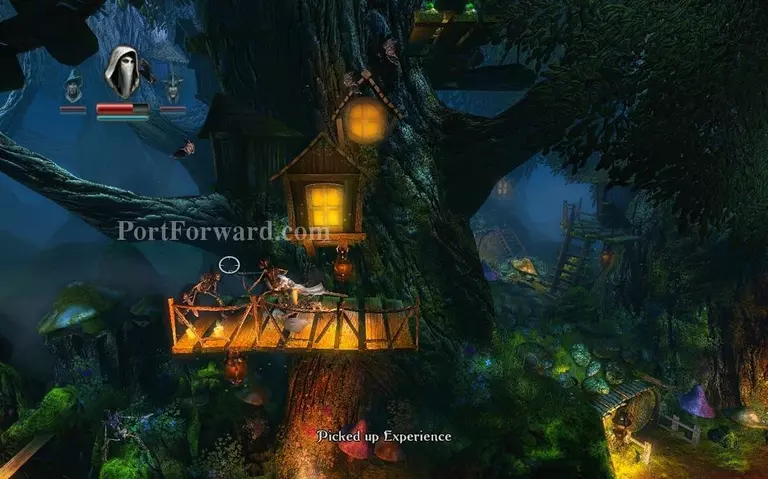
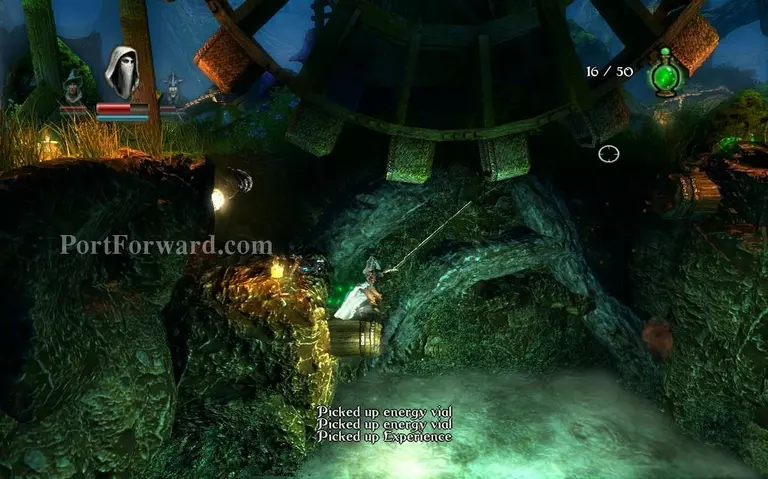
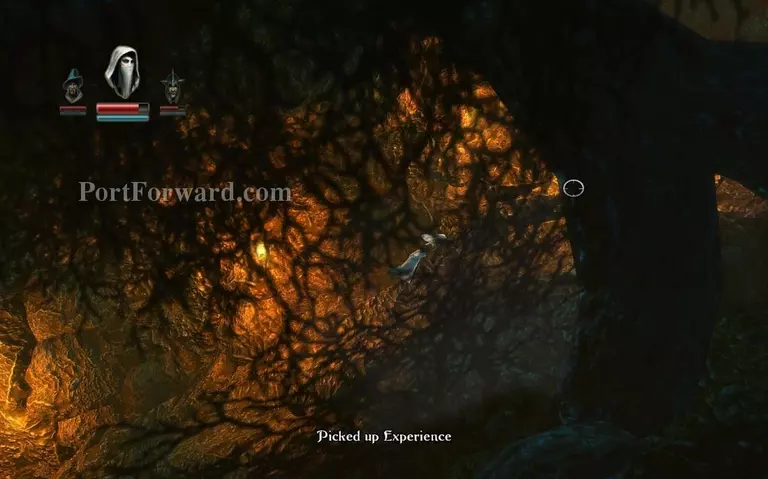
Hook up here and grab the experience vials.
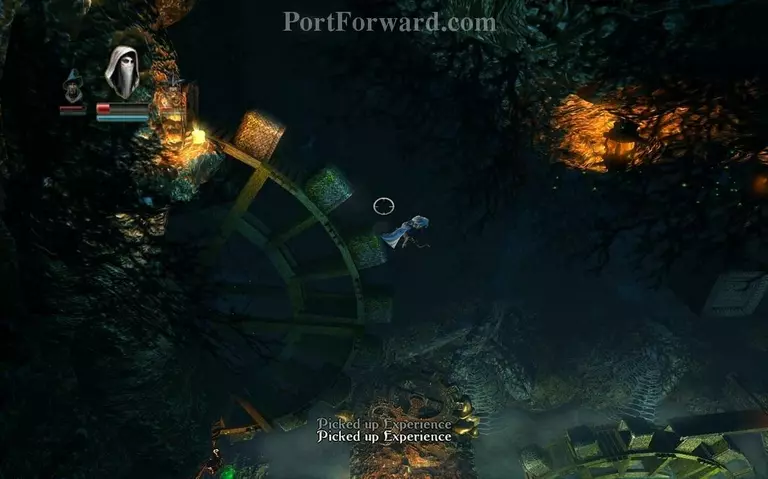
Then drop down.
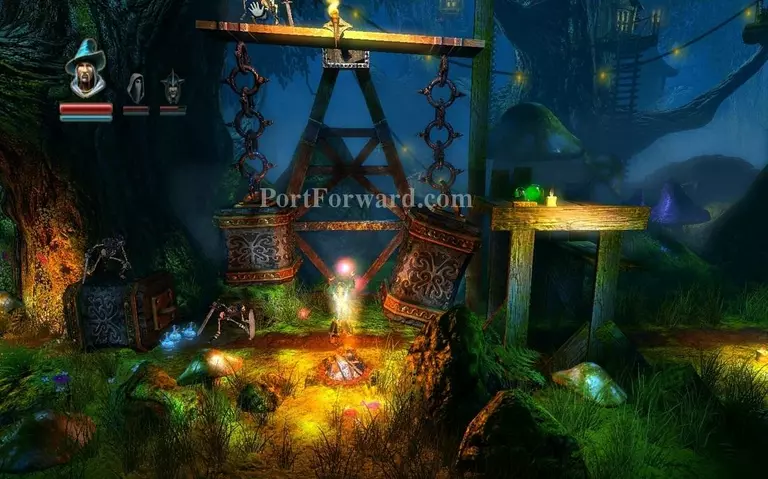
Once you're sitting on this rock, grab onto the wheel on the left and jump over, you'll find a chest and experience vials. Then go back.
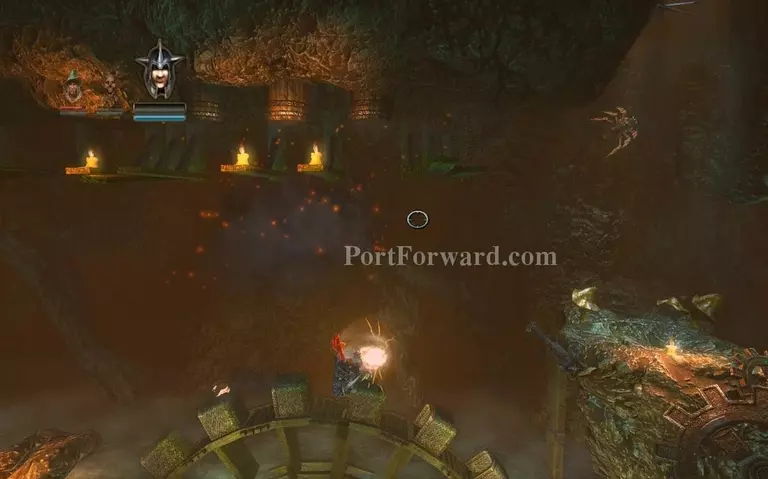
Go forward jumping over the acid water and watch out for the barrels shooting fire from above, you can go knight to block it out.
You can find an experience vial here.
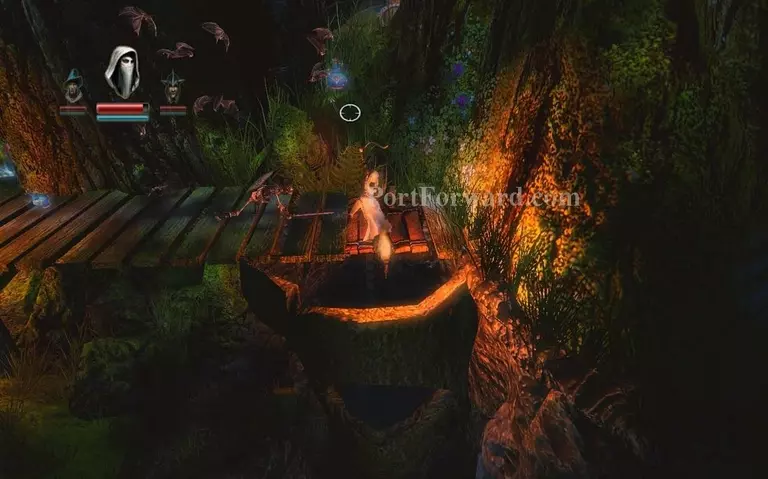
Put down a plank like this to go over.
Checkpoint here.
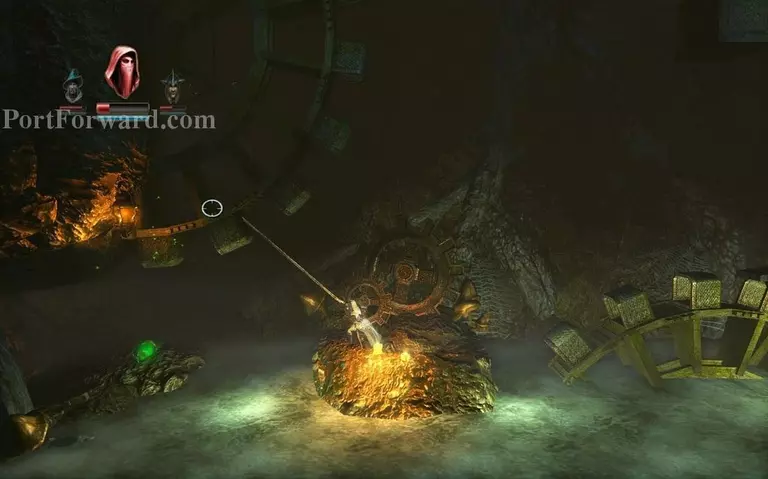
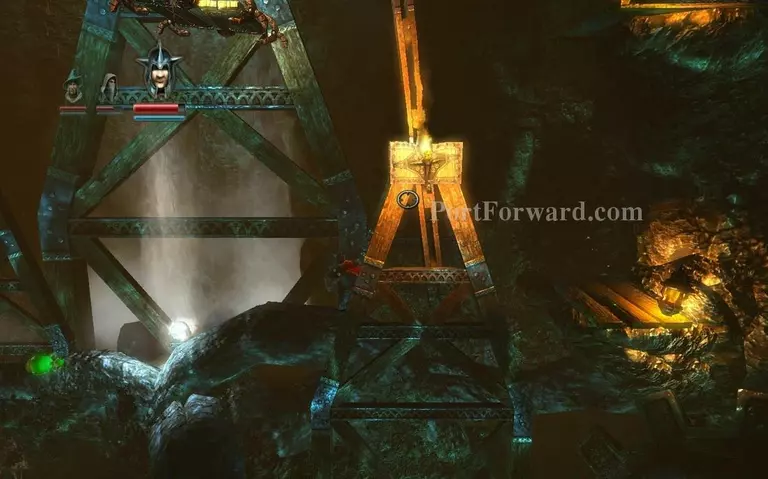
To stop the wheel, just put down a box to block it off.
Jump across to the next wheel grappling onto the wooden platform above.
Use your levitation on the wooden plank and drop it to the left, so you can go over and grab the experience vials.
Make a box and jump on it to get up this ledge.
You can use a triangle to jump over this, to get the experience vial.
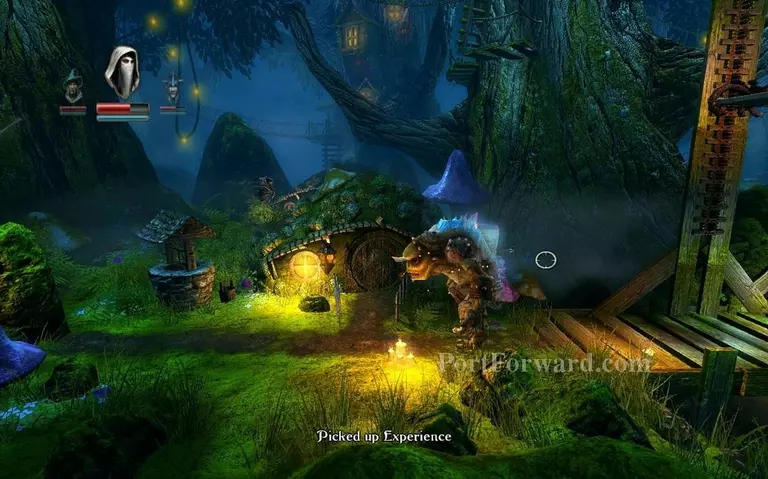
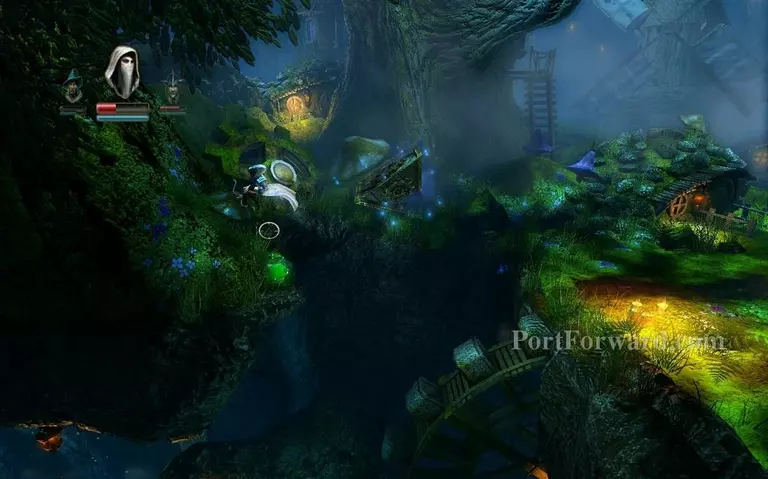
You're finally outside again and you get a checkpoint.
Killing the skeletons, grapple onto this and jump above the gate.
Then levitate this wheel until you reach the top.
Jump over to this bridge and kill the shielded skeleton.
Then jump over this using the wooden plank above.
Jump from wheel to wheel, just progressing to the right and fighting off archers.

You reach a checkpoint.
Use the elevator to go down, be careful for the bats.
Once you're down here, go to the right.
Grapple up here.
And use the switch.

The door at the far right of this room opened.
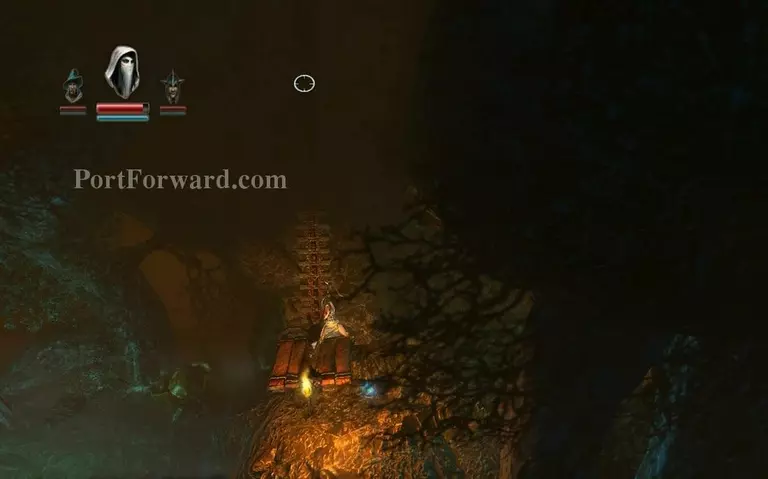
Grab the checkpoint below and progress.
You reach the end of this chapter.
More Trine Walkthroughs
This Trine walkthrough is divided into 16 total pages.


