
This Watch Dogs walkthrough is divided into 39 total pages.
You can jump to nearby pages of the game using the links above.
For the Portfolio (Chapter 3)

Once on the dirt bike, race forward along the path. You will go over a few AWESOME JUMPS. Keep going until you make it back to T-Bone's ranch.
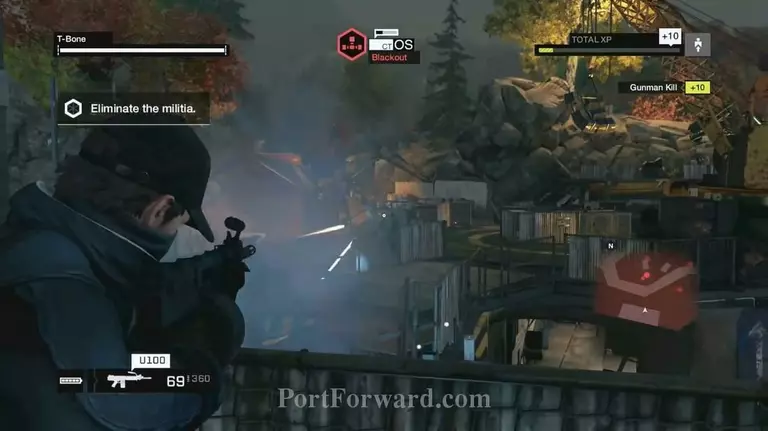
Kill everyone on your way into the compound and meet up with T-Bone. Be sure to activate all of the traps that the militia are standing by.

Once all of the militia members have been killed, follow T-Bone. He will take you over to one of the two bombs he has planted in the area.
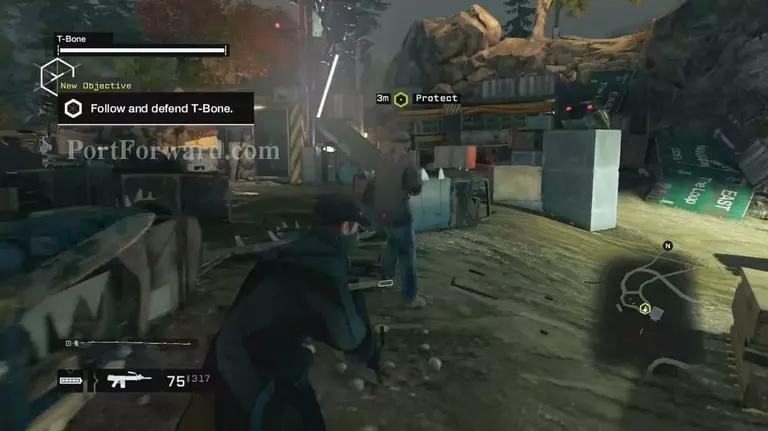
Raise the two barriers for protection, then hold this position.
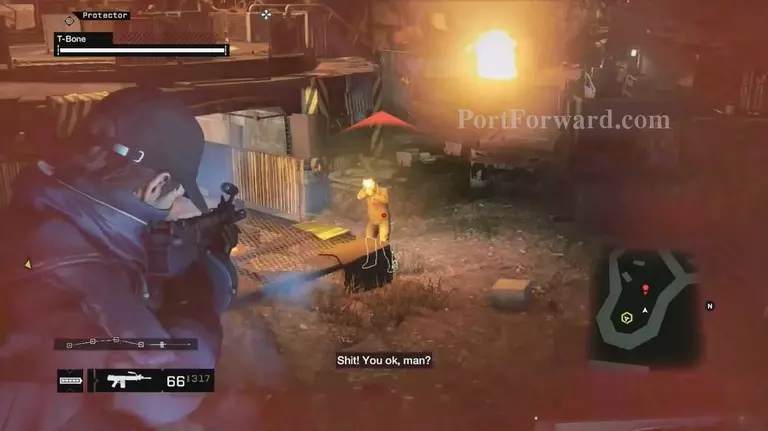
Spam the traps in addition to shooting at the militia members.
Once this wave is all killed off, follow T-Bone to the second bomb. A second wave of militia members will show up.
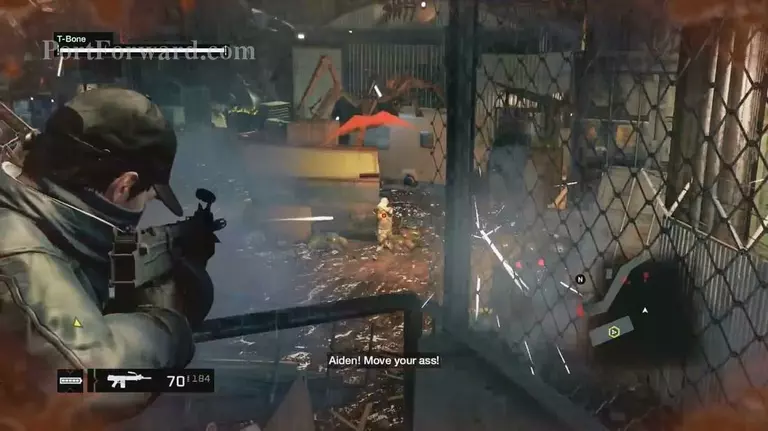
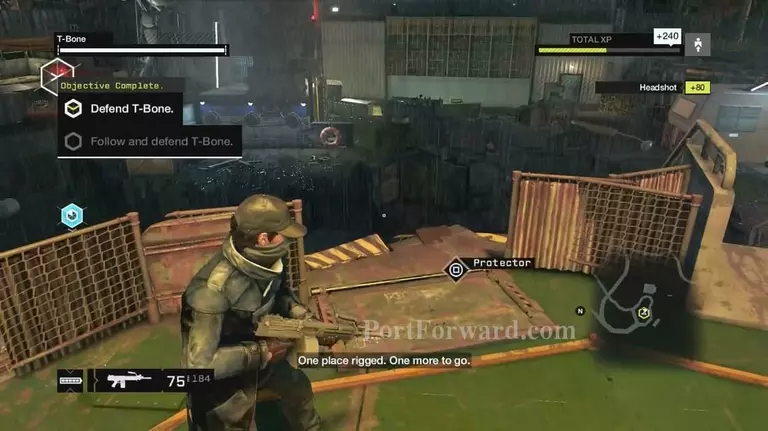
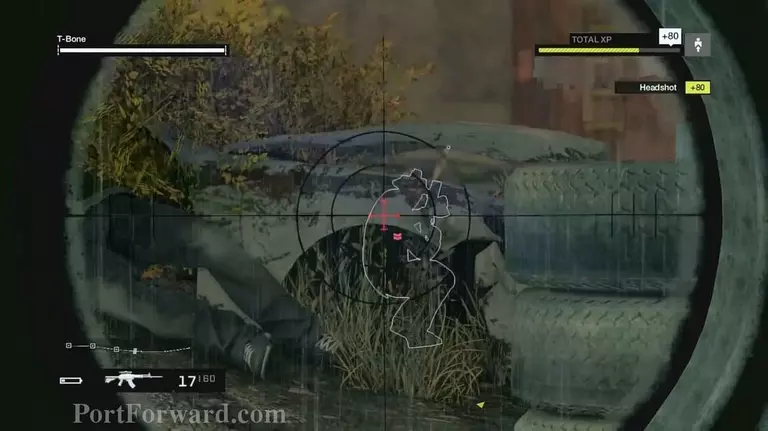
So again use the traps and your guns to kill them all off. With these men gone, follow T-Bone through a door and into the back part of T-Bone's junkyard. One last wave of enemies will show up here, so raise the protector then take cover. Use the trap here to take out enemies, and your sniper rifle to take out the militia sniper. You may need to finish up with a gun as well.
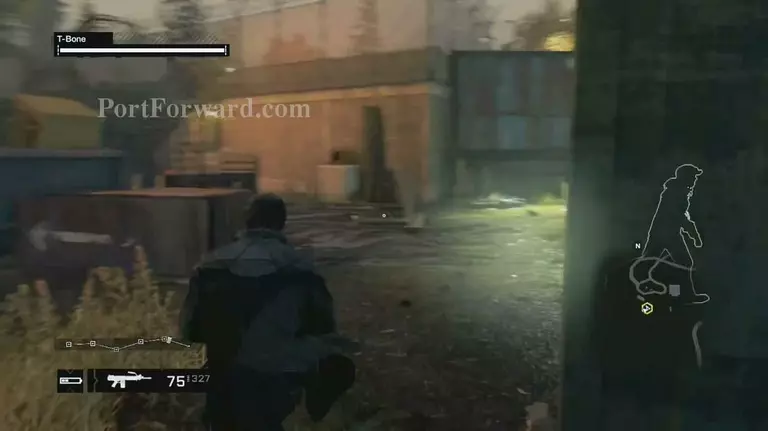
Once the last militia member has been killed off, a cutscene will start playing of T-Bone blowing his junkyard sky-high.
Follow T-Bone down a makeshift tunnel and out to a boat.
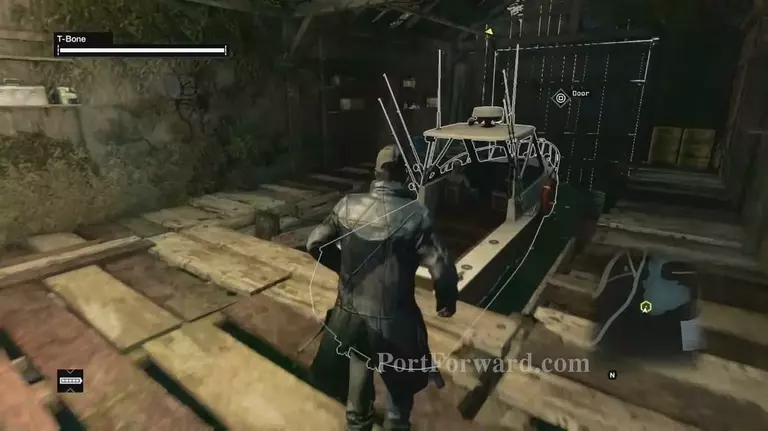
Hop in.

Drive back off to Chicago.
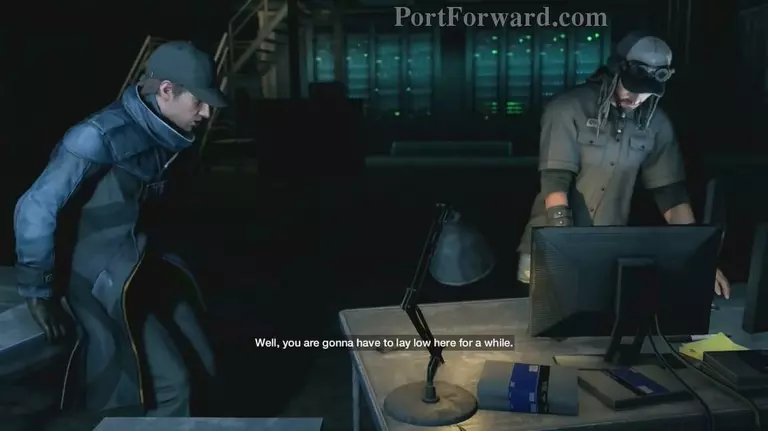
You'll end up back at The Bunker.
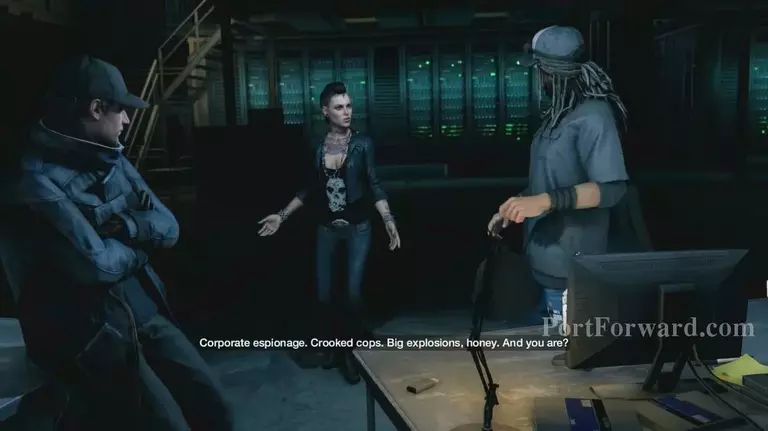
Talk to Clare, and then you've finished this mission.
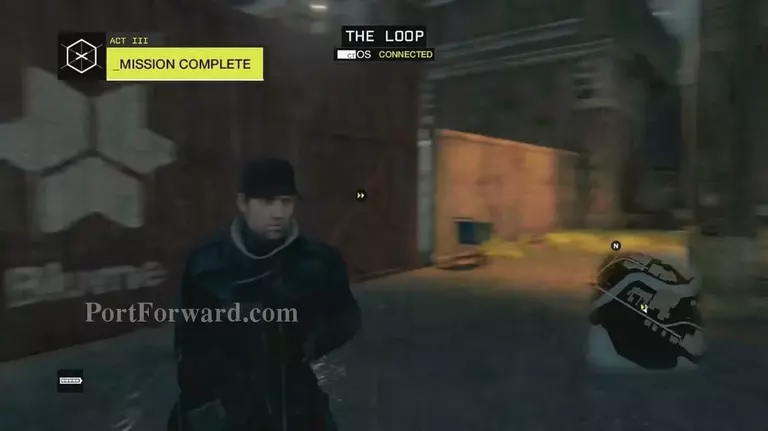
One more until you are done with Chapter 3.
More Watch Dogs Walkthroughs
This Watch Dogs walkthrough is divided into 39 total pages.


