
This Alien: Isolation walkthrough is divided into 19 total pages.
You can jump to nearby pages of the game using the links above.
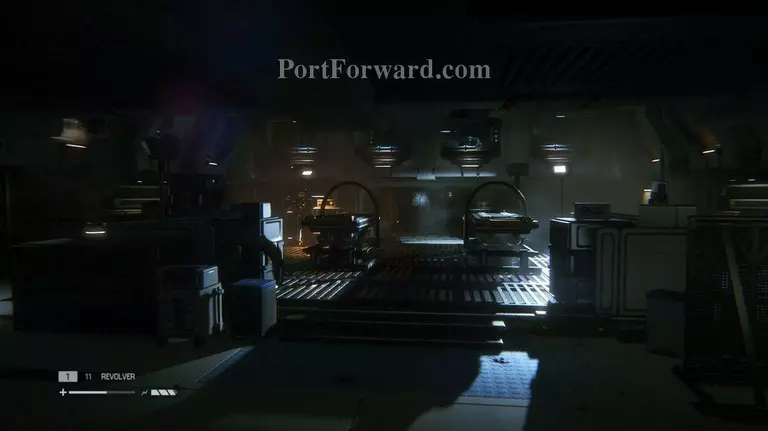
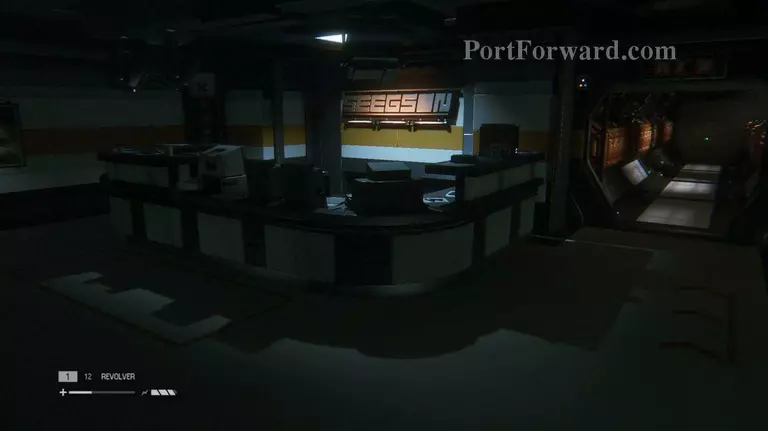
Seegson Synthetics
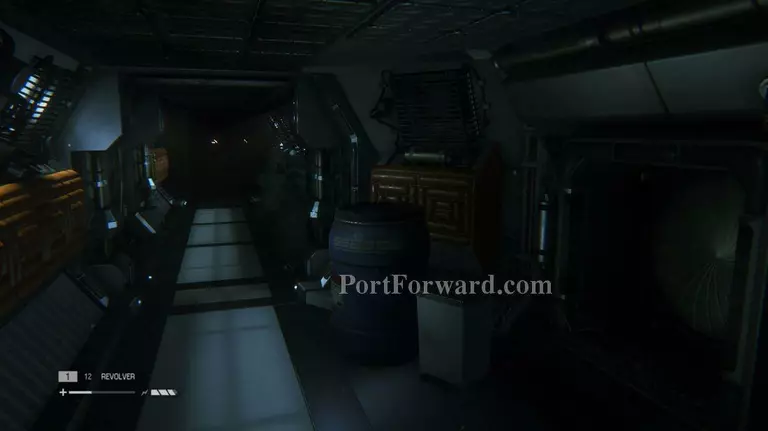
Exit the elevator and save at the nearby save station. There is a group of humans up ahead. Enter the vent on the left, exit the vent and listen to the conversation by those nearby.

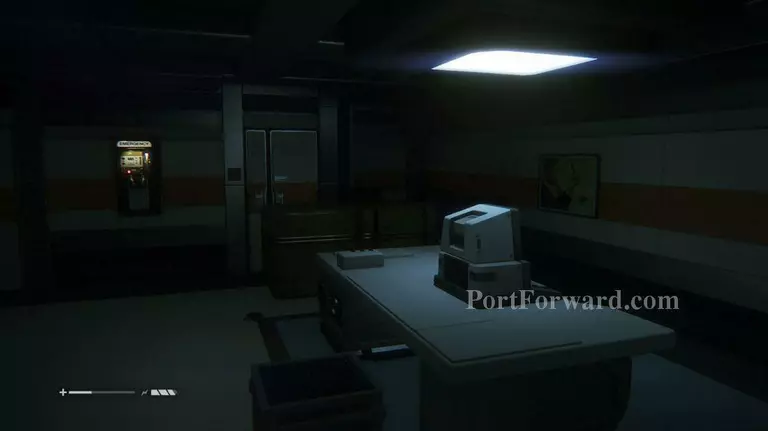
Crouch and sneak over to the floor vent on the left. Crawl through until you reach another floor vent to exit through. Climb up the stairs to the second floor. The humans are downstairs, so feel free to walk around in this area. Go to the right and follow the hallway. There is a save station in the second room.
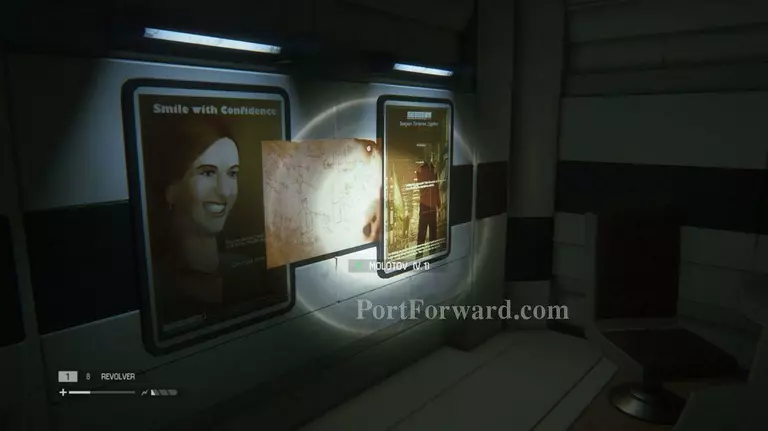
Map Location: There is a map to collect upstairs in the room on the right.
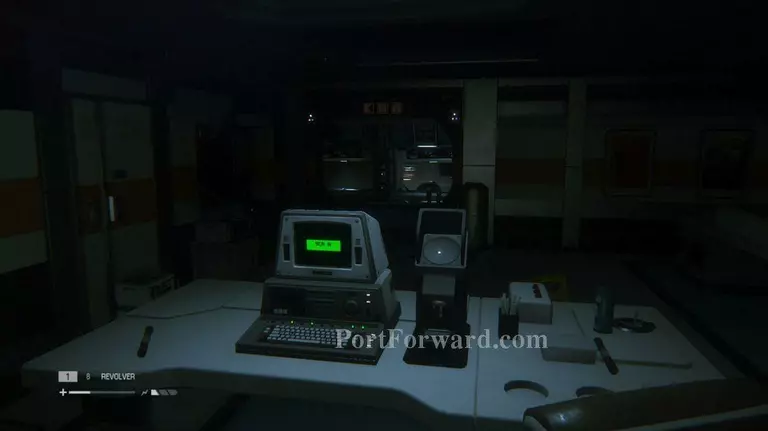
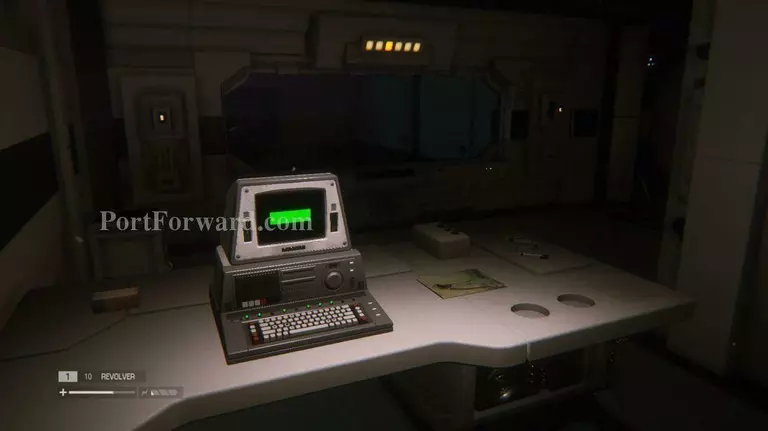
Archive Logs: Two logs can be found in the computer in the upstairs room on the right.
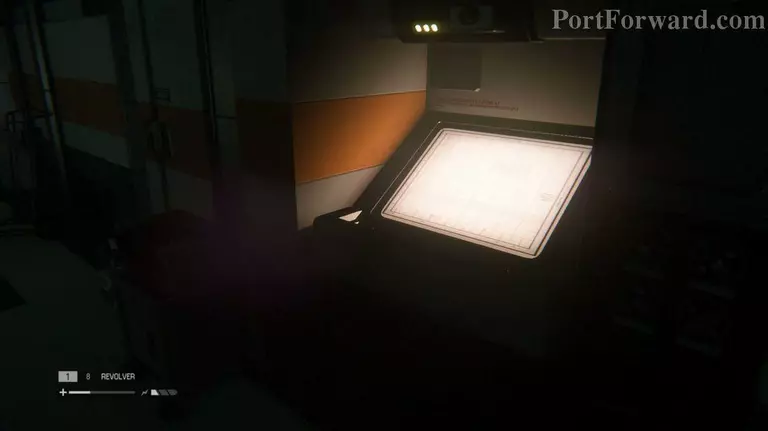
Schematics: Inside the room the room with the save station, look at the exit door to see the schematics on the wall.
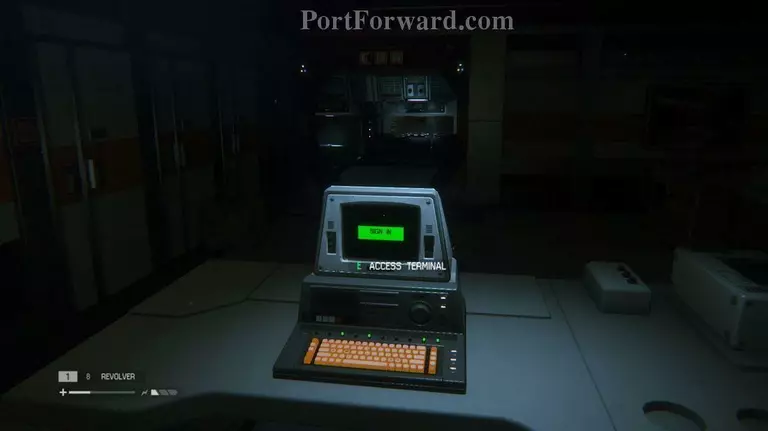
Archive Logs: Find two logs on the computer in the room with the save station.
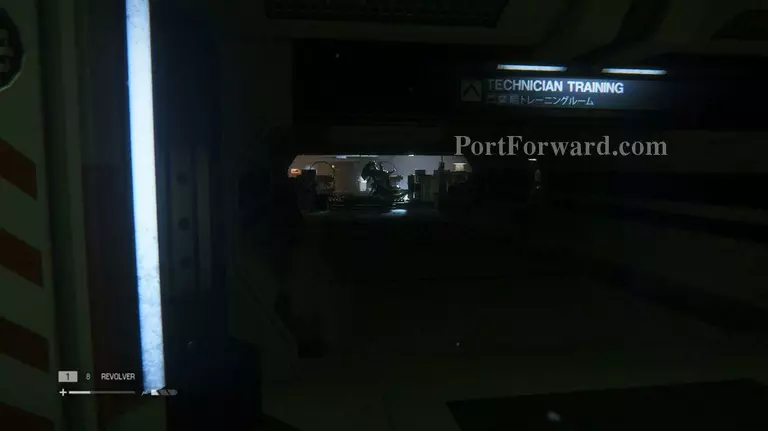
Keep walking until you hear the Alien attack the other humans. Walk into the next room and head past the ladder.
Schematics: You can find this one on the wall behind the computer in the room left of the ladder. This is just after the Alien attacks the other humans.
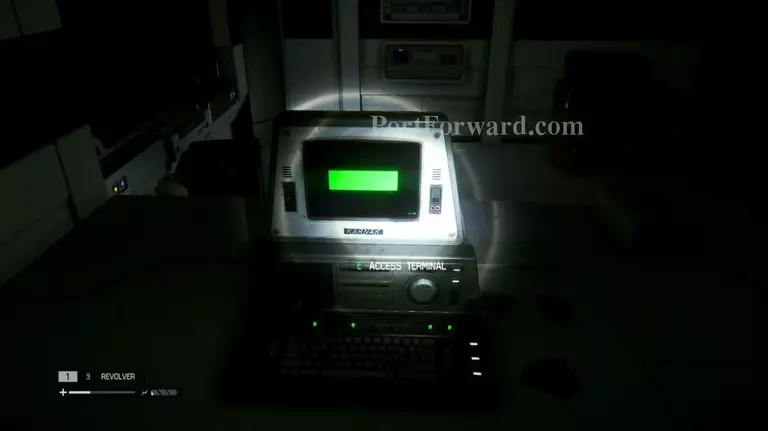
Archive Logs: In the same room as the schematics, look up the computer to find two logs.
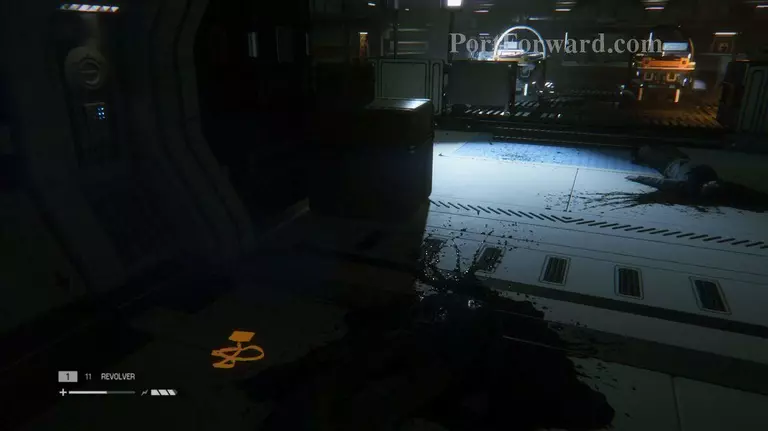
Walk into the large room and head to the back. There, find a room holding an upgrade to the Access Tuner, along with a save station.
ID Tag: In the room where you find the upgrade, look on the floor to see an ID Tag next to a dead body.
Walk back to the start of the large room and return to the hallway with the ladder.
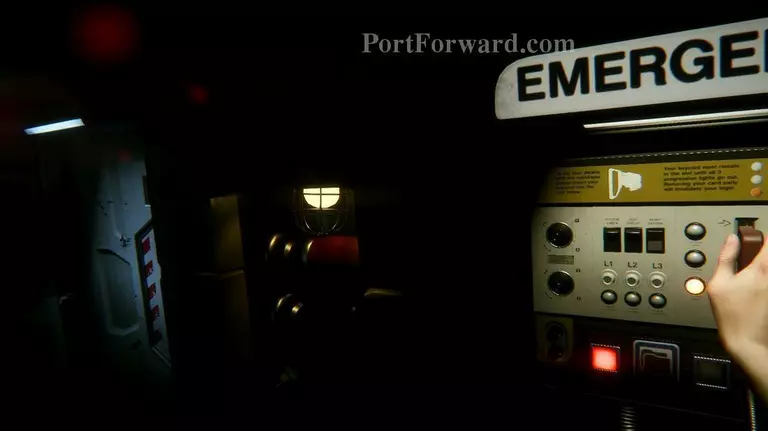
Climb up, hack the terminal to return power to the area, then use the save station.
Archive Logs: Use the now restored power to hack the door to the left of the ladder. Inside is a computer with three logs.

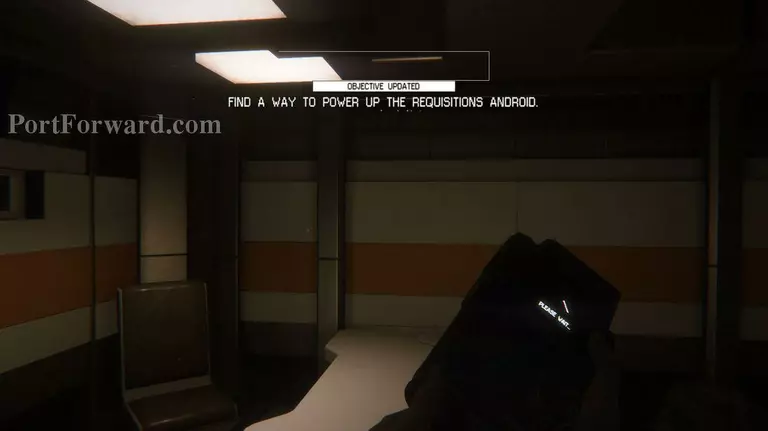
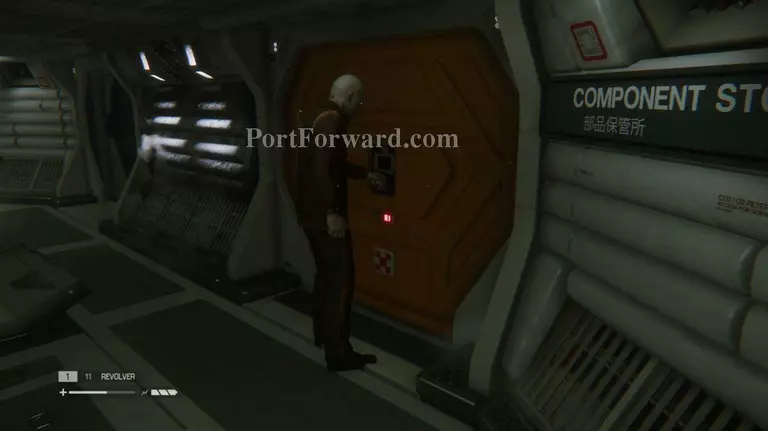
Wake the android and have him unlock the door to the warehouse.
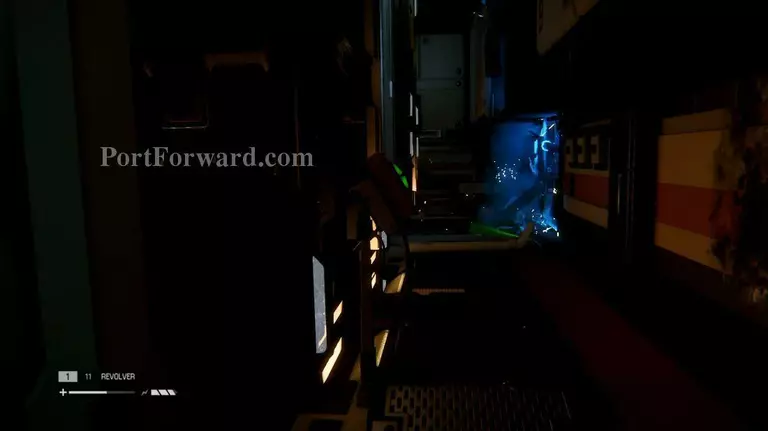
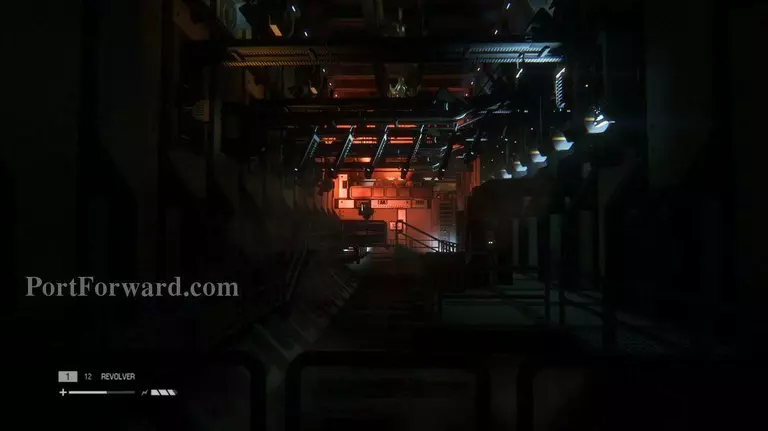
After watching the android fry itself on faulty wiring, figure out a way to get to the other side of the room without killing yourself.
Go all the way to the right and push the down button to its fullest. Now that the space is clear, walk over to the back of the room and head all the way to the left.
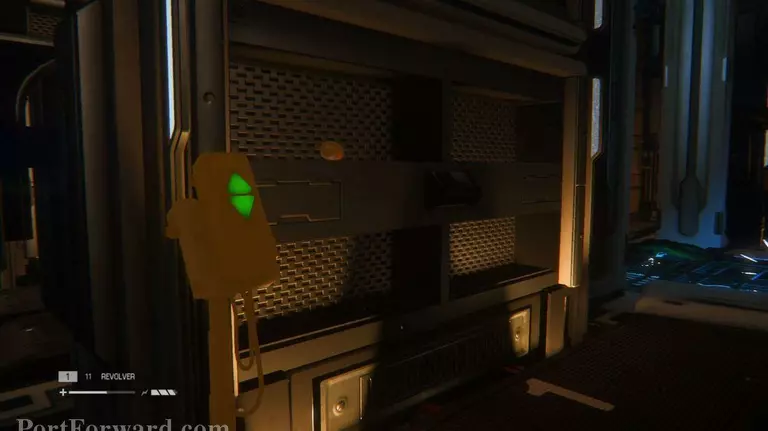
Hit the down button until you see the Compression Cylinder.
Head all the way back to the area where you started.
Place the Compression Cylinder in the correct spot, then ride the elevator up to another floor.
ID Tag: One of the men that were killed by the Alien will leave behind an ID Tag.
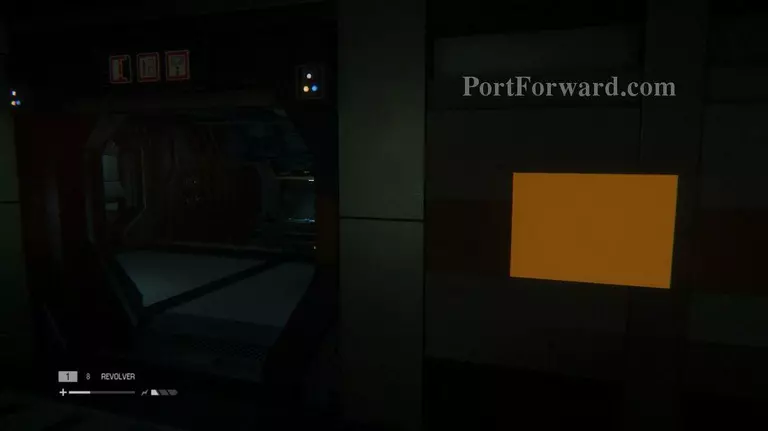
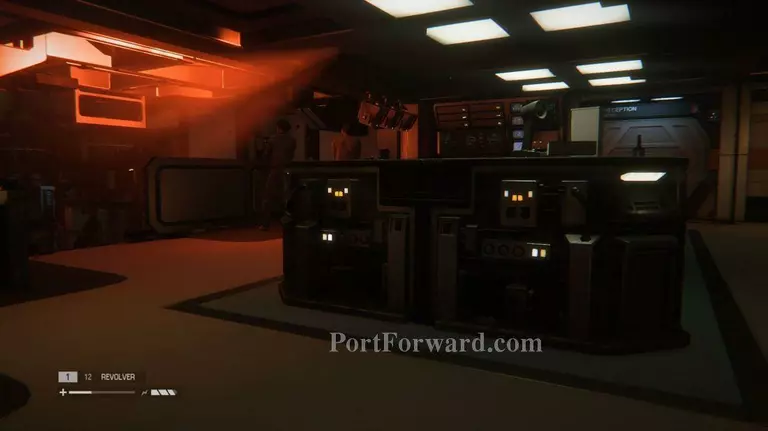
Enter the large room and try to go undetected by the two people shooting from above. You can take the ladder and most likely get killed, or you can use the rewire system on the right wall to deactivate the camera and unlock the nearby door.
Run through the door and through the hallway, then either take the vent or walk all the way to the door.
Archive Logs: There is a computer with a single log in the room with the save station.
Crouch and sneak past the two enemies as they look over the edge. Calmly make your way to the door on the other side.
Enter the elevator to return to the SciMed Tower.

Your job now is to head back to Samuels and Taylor. There you will meet a marshal and his partner who will protect your crew members while you go to the Transit Control to get the transit system working.
More Alien: Isolation Walkthroughs
This Alien: Isolation walkthrough is divided into 19 total pages.


