
This Alien: Isolation walkthrough is divided into 19 total pages.
You can jump to nearby pages of the game using the links above.
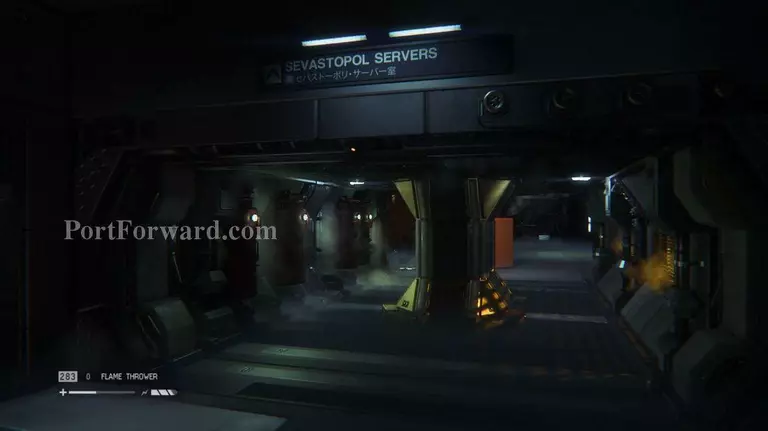
The Trap
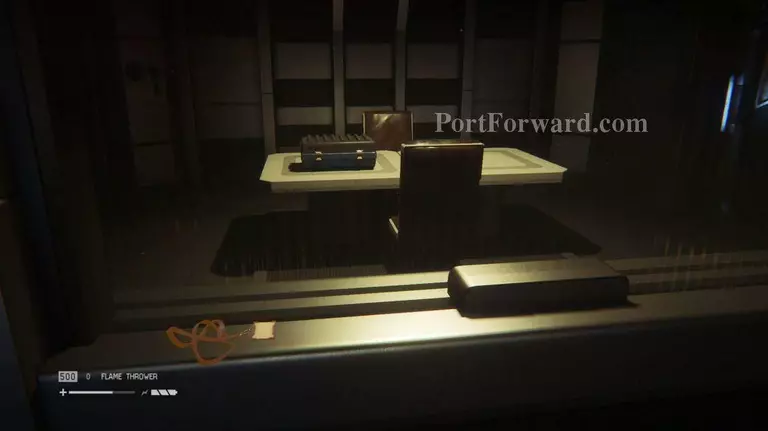
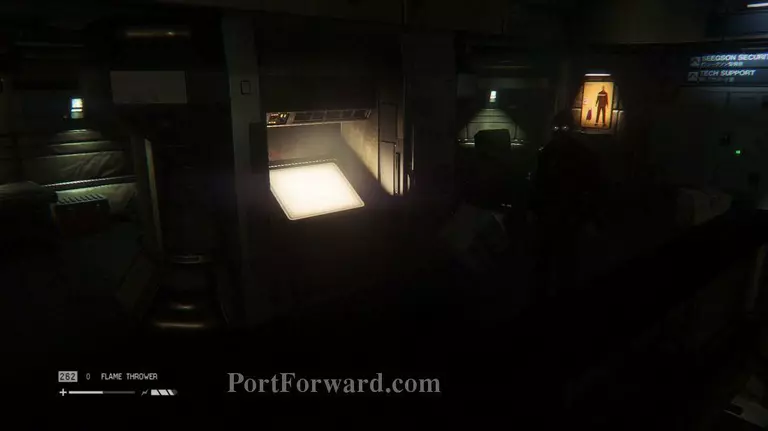
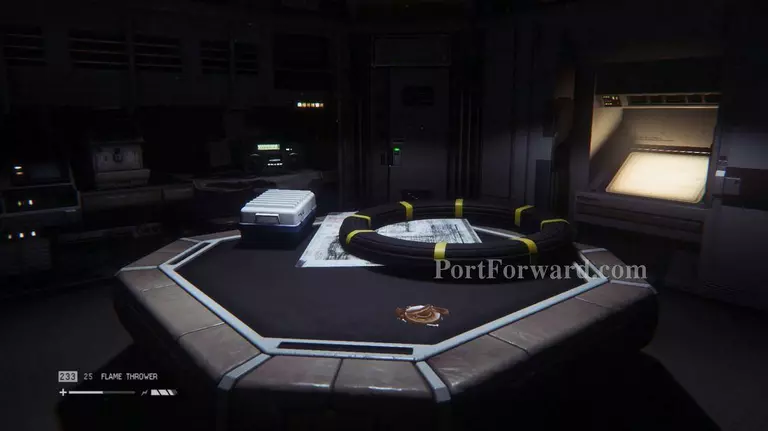
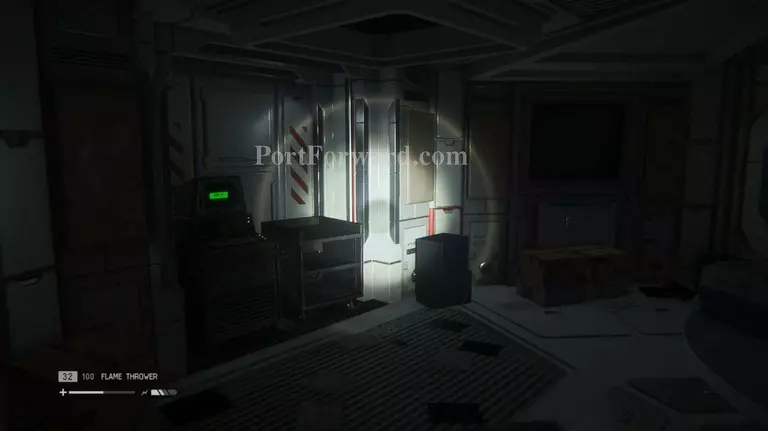
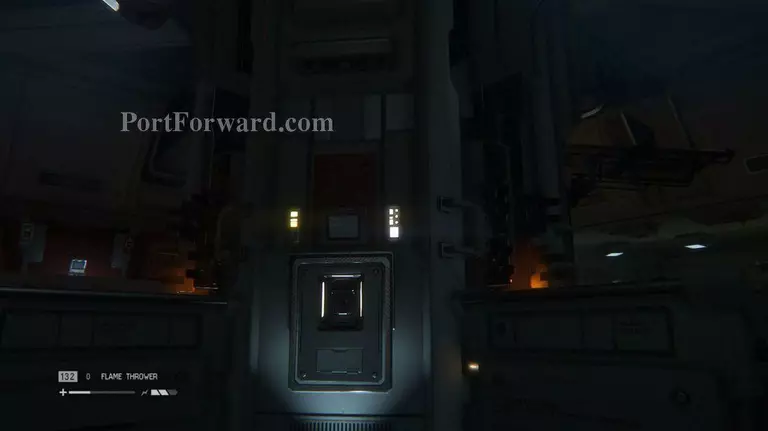
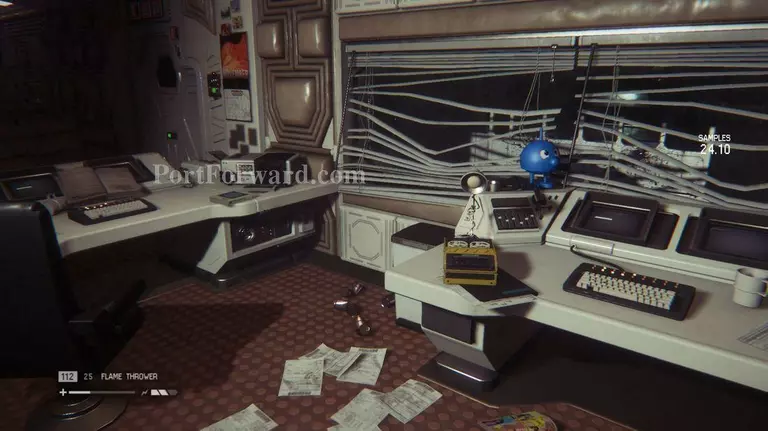
"After the flashback mission, follow the Marshal to a room where you'll get the Flamethrower. Before you follow the next marker on your Motion Detector, take a look at some of the rooms in the area and look for collectibles.
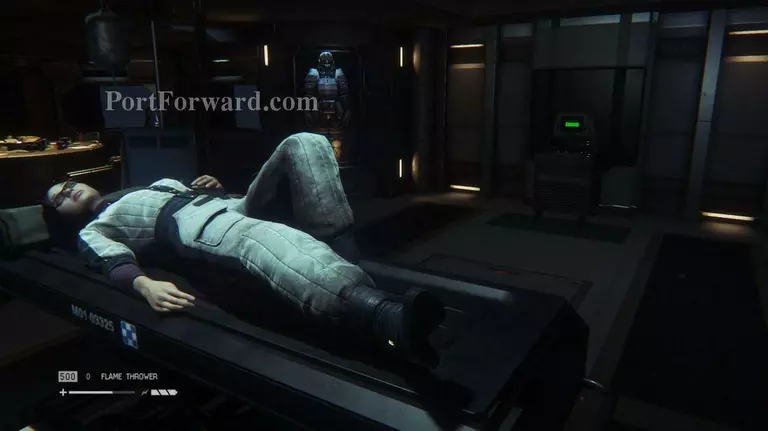
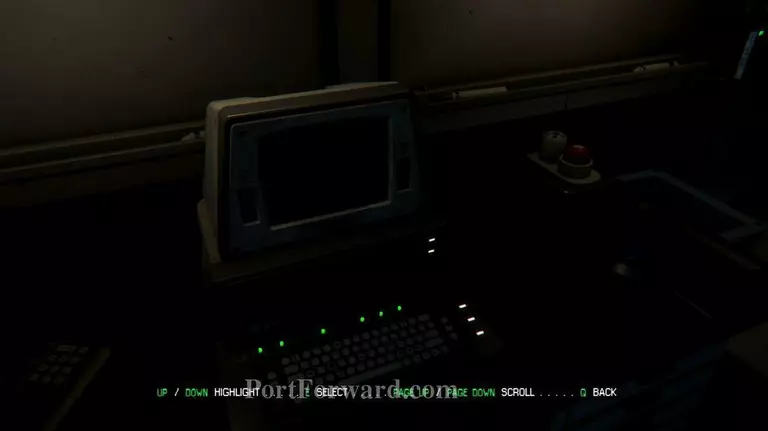
Archive Logs: In the room with Taylor, look up two logs on the computer.

Archive Log: In the same room with the computer and Taylor, look for a recorder on the table.
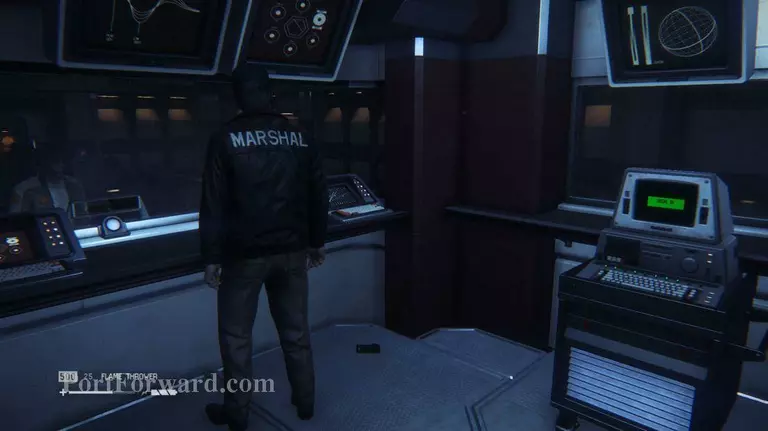
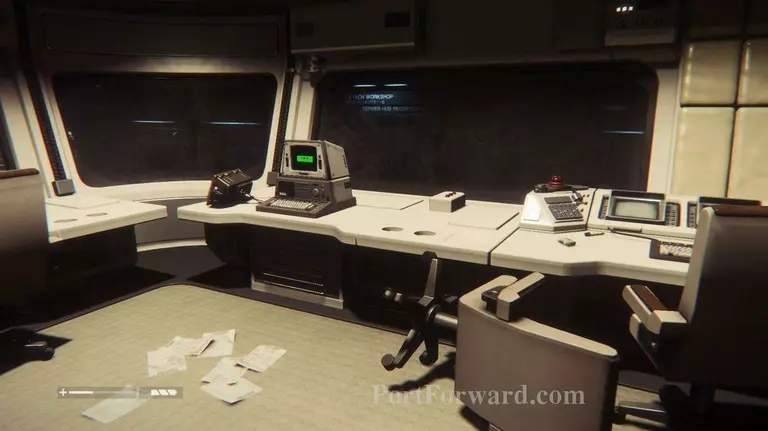
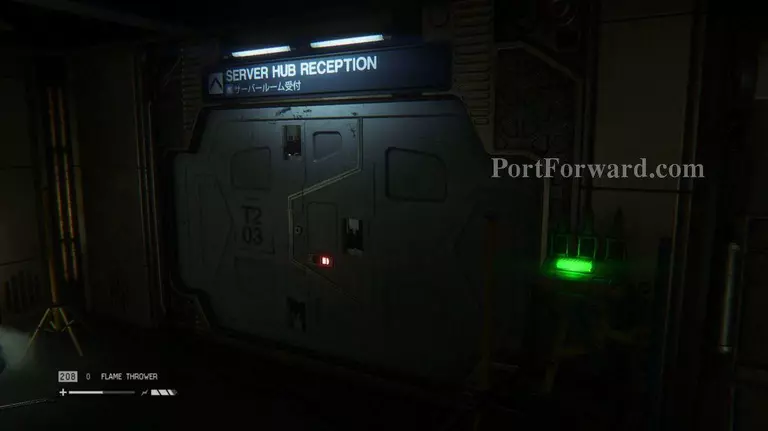
Archive Logs: Walk into the room that acts as a reception to the lobby. The computer there will hold two logs.

"Walk back to the transit station and call for the Lorenz Systech Spire transit car. Enter it and head out.

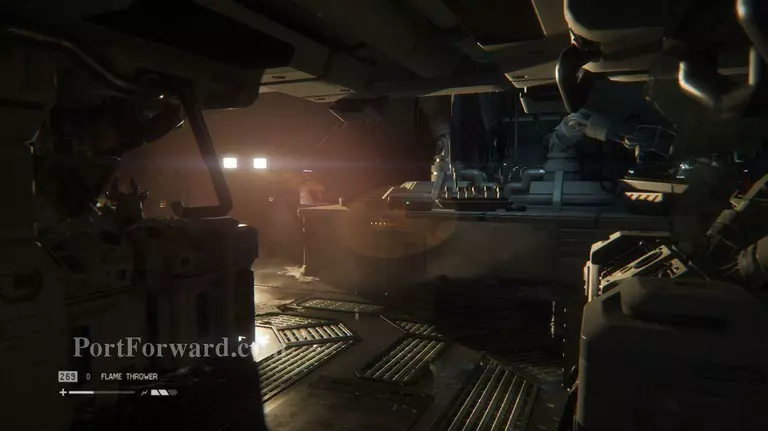
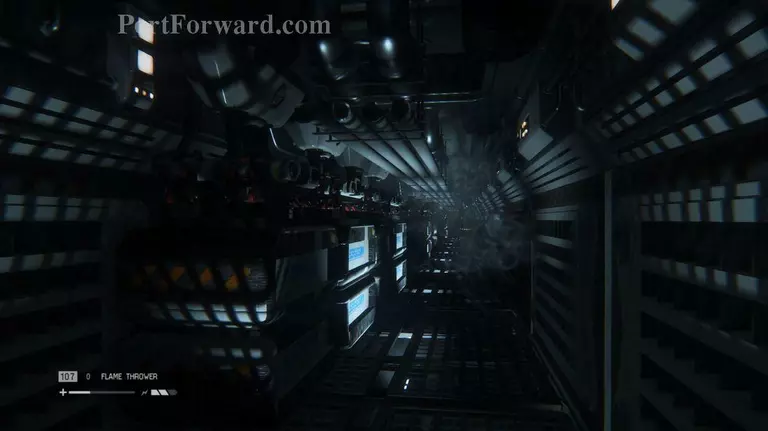
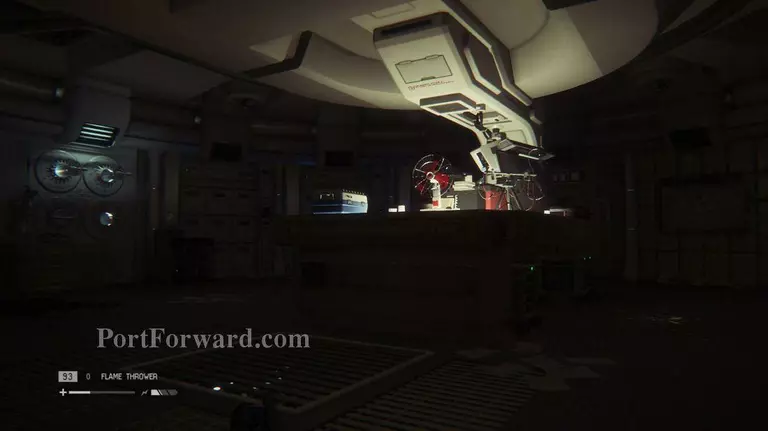
Follow your marker and enter the door. An explosion will rock the entire room, setting it in flames. Before you get up and walk through the room, wait for the android inside to burn up and fall to its death.

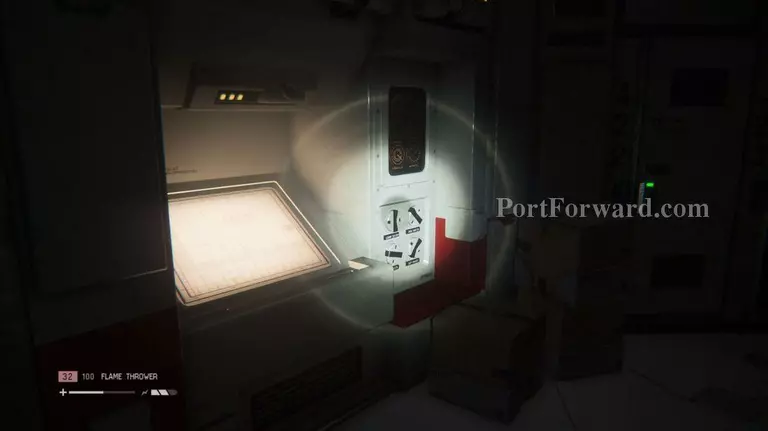
Walk over to the next room and hit the button to activate the sprinkler system and put out the fire.
Keep following the Motion Detector into the room where you first found the Access Tuner. Other survivors can be found here, but it won't last long as the Alien soon arrives. As the Alien takes the others out one by one, make your way upstairs and into the stairwell. From here, walk over to reception and use the computer to open the nearby door. Make sure to save at the save station. Walk into the next room and go all the way up the stairwell and into the top room. Don't mind the android.

Archive Logs: On the computer you use to access the nearby door, take a look at the three logs as well.
Map Locations: There are several maps to collect in the stairwell, as well as in the room at the top of the stairs.

Archive Logs: In the room at the top of the stairs, go to your right to find a computer with two logs.
"In the top room, go ahead and hit the lockdown switch to seal the door nearby. Head back downstairs and into the room on the right. Another lockdown switch can be found here.
Archive Log: A recorder can be found in the room with the second lockdown switch.

"Head over to the left side of the stairwell to find the third lockdown switch. Use the computer to initiate a final lockdown.
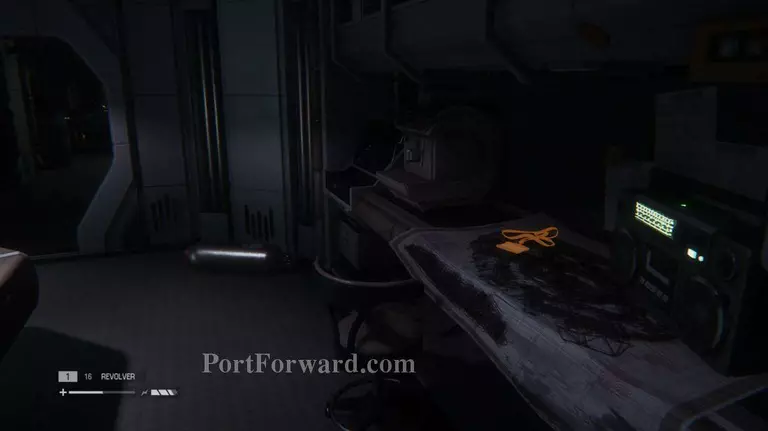
ID Tag: Walk over to the area with the android and keep going until you reach a small room with a large roll of wire on the table. The ID Tag can be found on the counter nearby.
Map Location: There is also a map in the same area as the ID Tag.
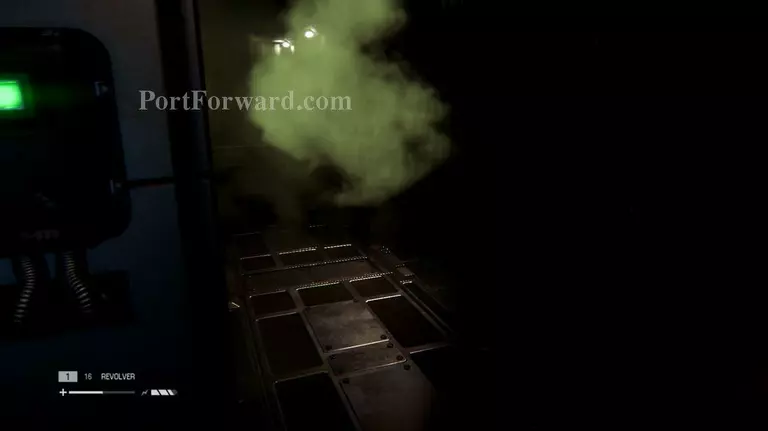
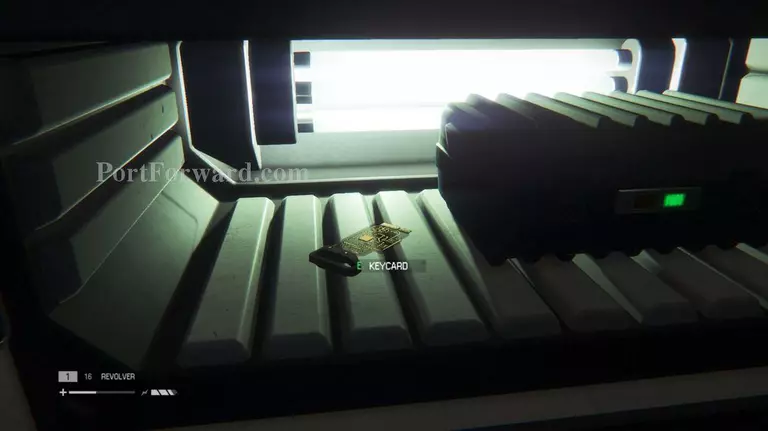
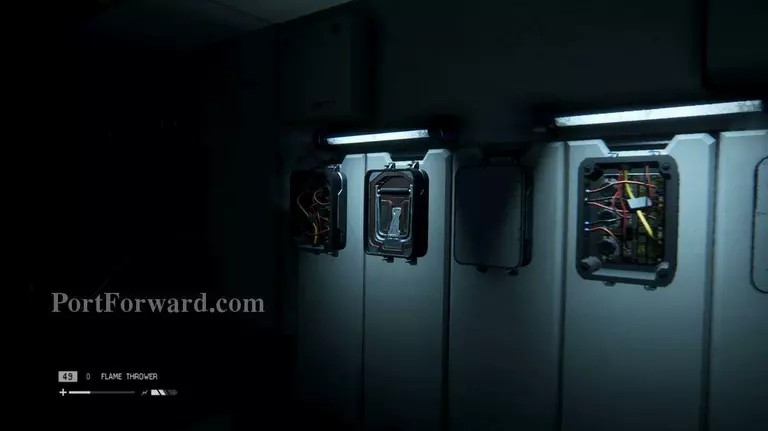
Enter the maintenance area with the poisonous gas. Use the rewire system to deactivate the access to the door across the gas, then deactivate the gas. Walk over to the two doors and unlock the door on the right. Return to the rewire system and put back the gas and the door access. Now you can go through the door you just unlocked to reach the next door. Inside, hack the terminal to get inside the glass storage where a Keycard rests. From there, walk into the room to the right of the android.
Archive Log: After you shut down the area, head over to the computer to access three logs.
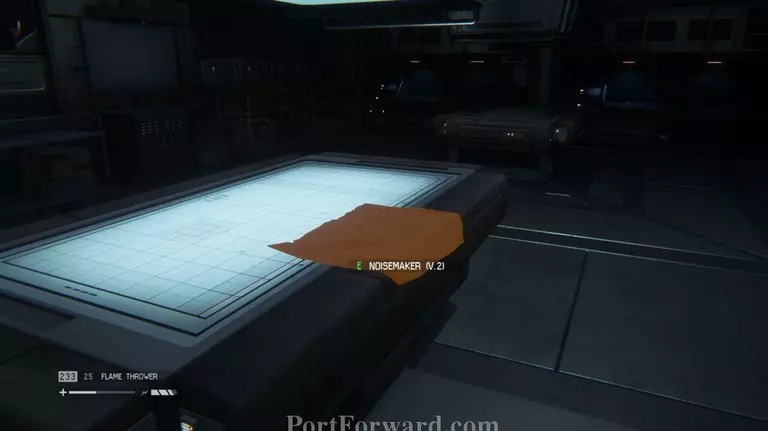
Schematics: In the room to the right of the android, grab the schematics off one of the tables in the center of the room.
Now following your Motion Detector, save at the next save station. Walk down the hallway and into a large room. The Alien will be lurking through these next two rooms, and an android waits in the second room. Walk over to the back of the first room and enter the vent instead of walking through the small hallway.

Exit the vent, crouch, and slowly make your way to the end of the second room by going along the right wall. When you reach the end, walk through the middle door to reach a room with two doors with giant locks. Break them both of, then go through the one on the left to save at the save station you used earlier.
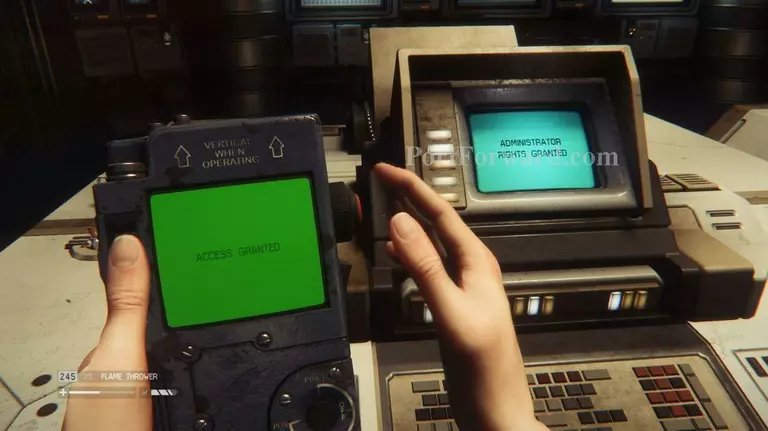
Return to the room with the android and use the Access Tuner on the other door. Hack the terminal in the control room, then make it out of there as quietly as you can. After the power goes out, both the Alien and the android will walk into the room. Find a place to hide nearby and wait for the power to turn on so you can get through the doors. Save at the save station once again.

Turns out you weren't able to keep the Alien locked away. Bummer. Head back to the area where you first found the Access Tuner and ride the elevator in the upstairs room with the couches.

There are other survivors here, so keep your distance and let the Alien get them if need be.
Once you enter the new area, save at the nearby save station. Enter the next room, pass the girl and enter the hallway. Since the power is gone, keep going until you reach a room with a camera.
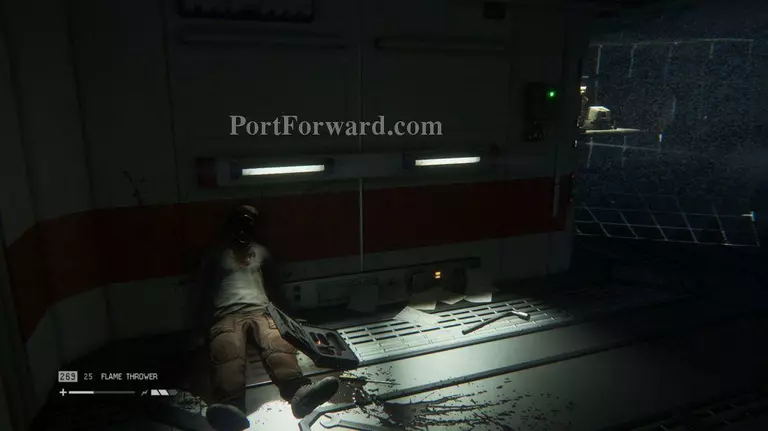
Disable the camera using the rewire system, then grab the Plasma Torch from the dead body nearby.

Open up the door with the Plasma Torch and enter inside. Use the computer to call over the android. This will allow you to go to the next computer and bring back the power.
Archive Logs: There are two logs on the computer you need to access to call over the android.
"Map Location: In the room where you need to call the android is a map.

With the power back on, head through the now opened door. Breathe a sigh of relief and save at the save station. Climb up the stairs and enter the room on the left. Disable the security camera and continue on to the next room.

Map Location: There is a map in the room with the camera.
Archive Logs: If you went into the room on the right, check the computer for two logs.

ID Tag: To the right of the breaker is a bloody vent. Follow it to find an ID Tag next to a dead body.
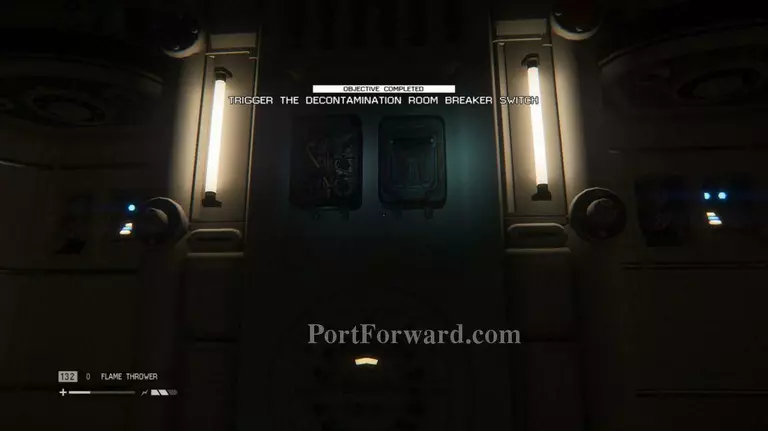
In the next room, hit the breaker and return down the stairs. Follow your Motion Detector until you reach a vent. Crawl all the way through and start heading back to where you started. Disable the now active camera.
Archive Logs: Near the other breaker is door that you can access with the Plasma Torch. Inside is a computer with two logs.
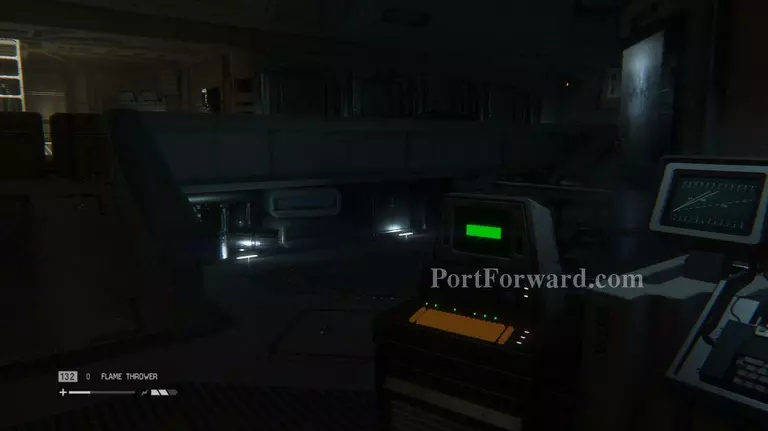
Follow the Motion Detector to the next breaker.
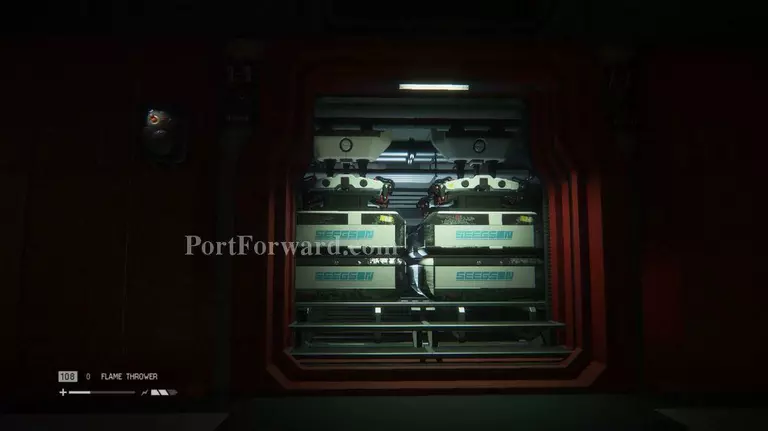
From there, return to the room with the ladder so you can initialize the distribution conduit.
Use the computer to call the android to work the computer while you pull two levers around the machine.
Once both are down, head through the now opened doors in the back.

Keep going until you reach the elevator that will take you to Project KG348.
Thought the mission was over? Nope! It keeps going.

In Project KG348, head through the door on the right to find a save station.

Archive Logs, ID Tag, and Keycard: Walk through the door opposite the save station and pass through a control room.
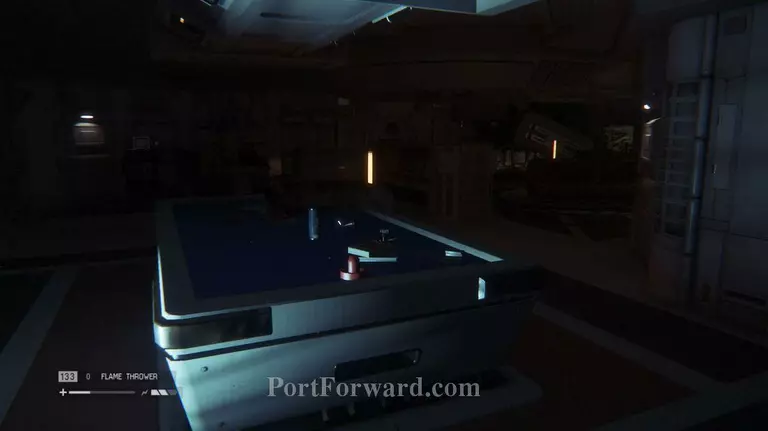
In the next room you will find a man cowering in his room.

Grab the ID Tag from the bed, then read the log from the computer. You can also pick up a Keycard from the dead body on the pool table.

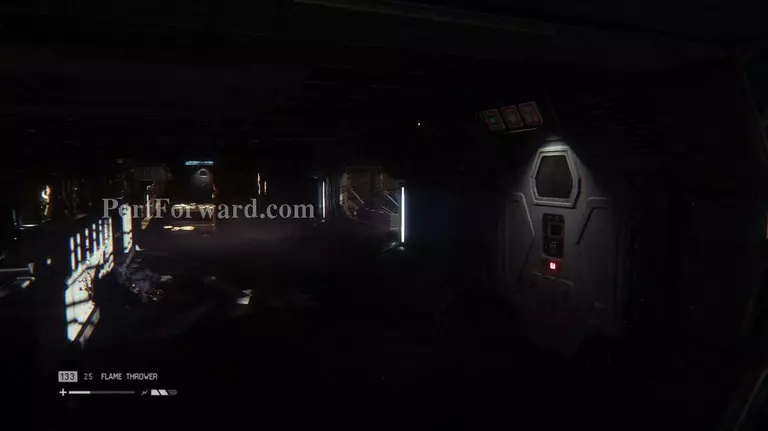
Walk into the area where the windows begin to open. Head to the left and use your Gas Torch to open up the door. Climb down the stairs.
Archive Log: Before you climb down the stairs, open the door on the left with your Keycard.
There is a recorder on the desk.

Now downstairs and in the circular room, enter the first vent you see. As the Alien roams around above, try to reach as for down the hallway as you can.
When the area is clear, exit and enter the next vent. Go to the end and exit so that you enter the center room of the giant area. Save at the save station.
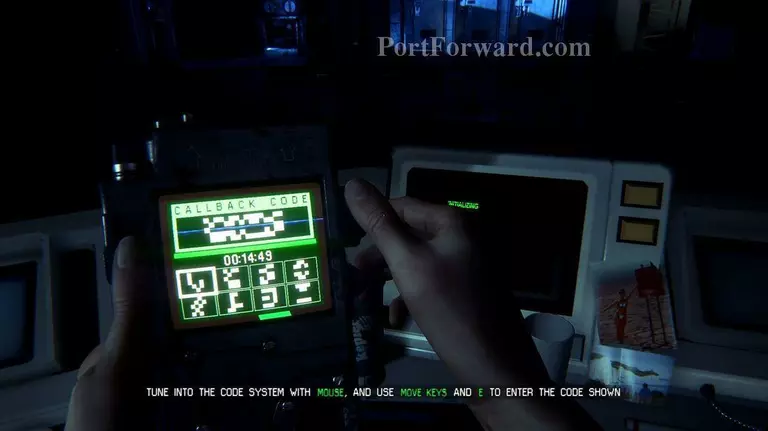
Pull the breaker and head for the next objective in the other room. Once you get there, use the Access Tuner to return power to the area.

Head back to the entrance of the area. Just as you are about to leave, the door slams shut by the Marshall, and Ripley is stranded in the room with the Alien. Head for the airlock system.

Once you pull the lever, wait for the airlock to pressurize. This means you'll have to hide from the Alien for a bit.
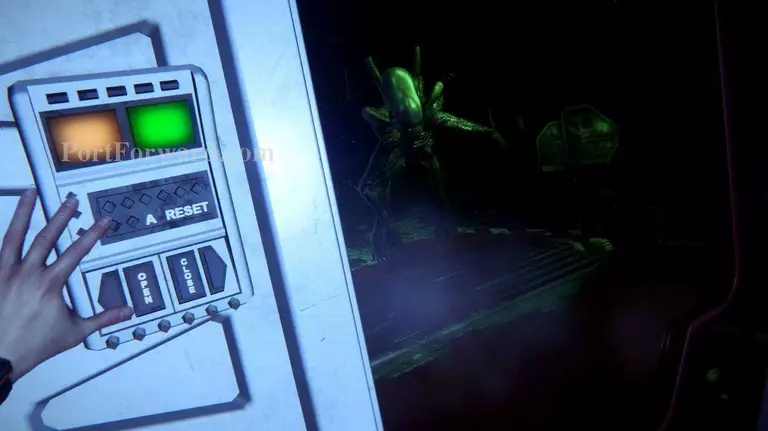
With the airlock open, run inside and lock out the Alien. Throw on a suit and get launched into space.

Watch the cutscene to finally end the mission.
More Alien: Isolation Walkthroughs
This Alien: Isolation walkthrough is divided into 19 total pages.


