This Alien: Isolation walkthrough is divided into 19 total pages.
You can jump to nearby pages of the game using the links above.
A Synthetic Solution
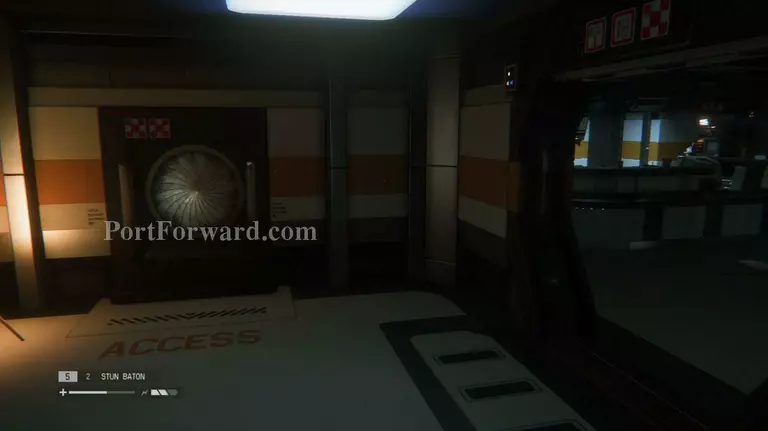
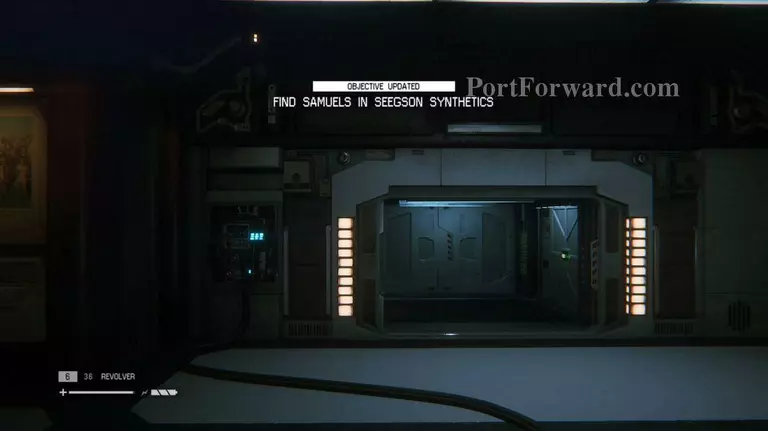
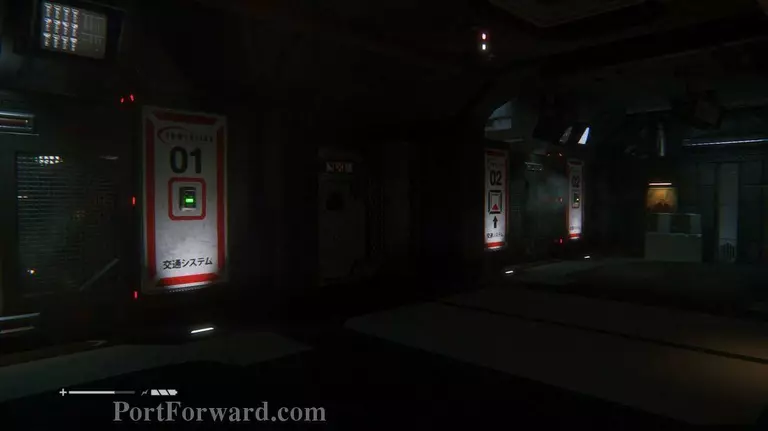
"Now in the SciMed Tower, follow the marker on your Motion Detector to the next elevator. Use it to reach Seegson Synthetics.
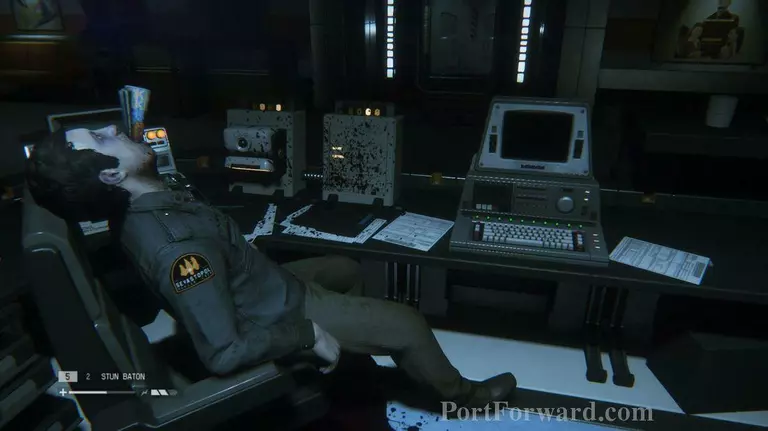
Archive Logs: There are two logs in the computer where you get the passcode.
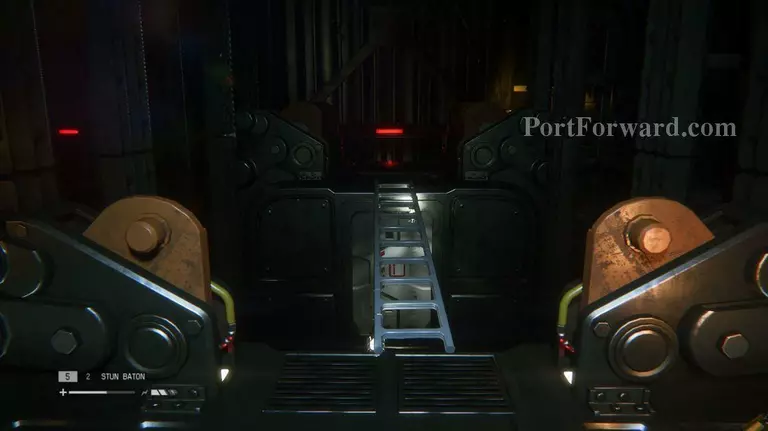
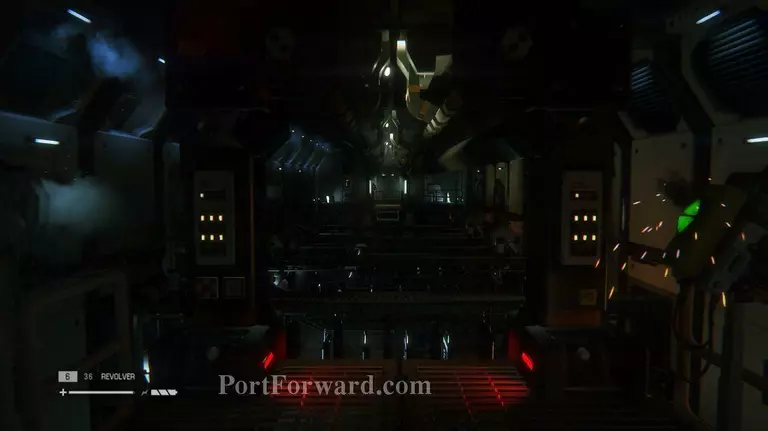
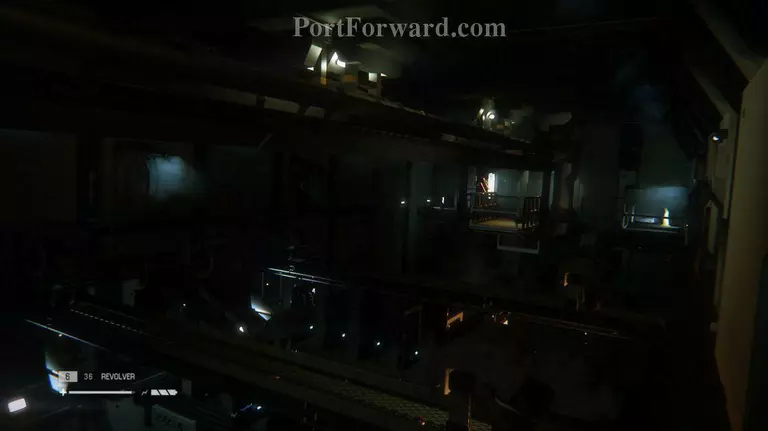
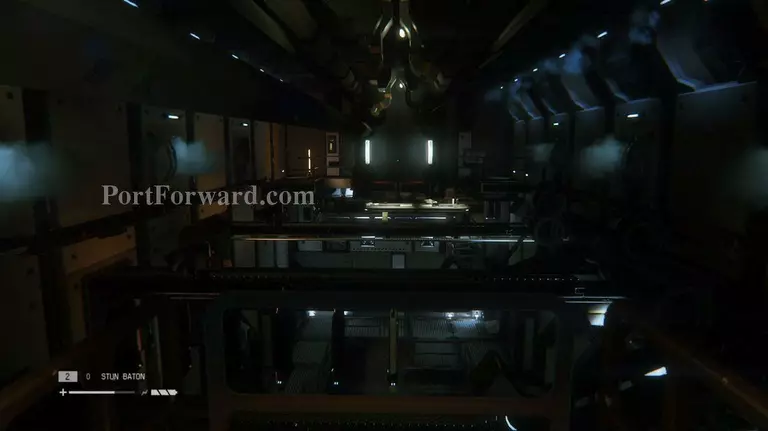
Climb into the vent and start walking across and climbing ladders. And right on cue, the last ladder you cross will fall, along with the elevator you just walked on. Nice.
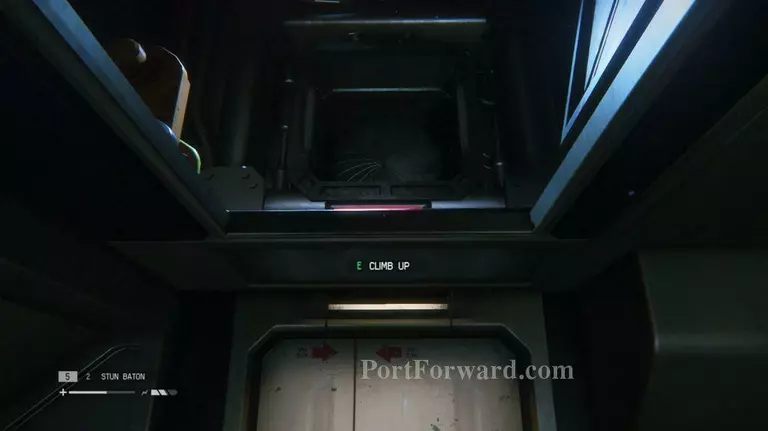
In the broken and smaller elevator, hop through the hatch above and enter the vent.

Exit the vent to find a wasteland of dead androids. Some are still alive, and you can tell by their glowing eyes. Make it over to the save station.

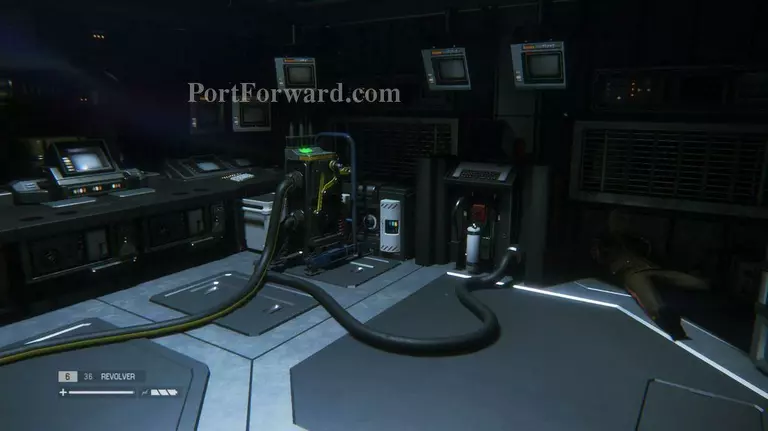
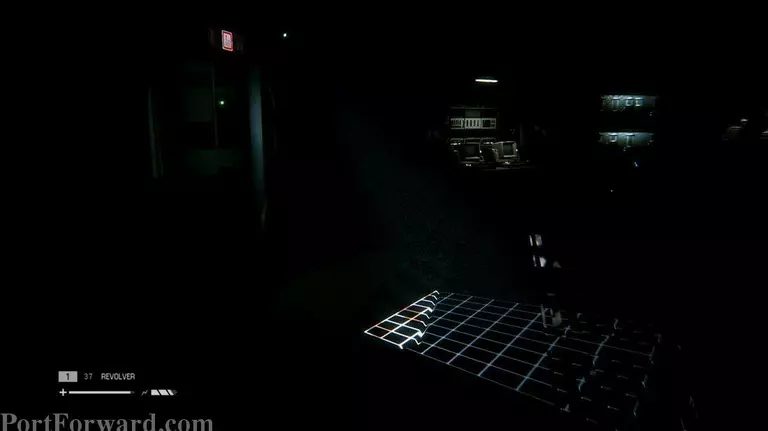
There are four generators you need to reach in the next area. Two are in separate rooms, while the other two are in the central room.

After you turn on the second one in the two rooms, an android will wake up, so be warned!
Archive Logs: There are two logs in the computer found in the center room with all the beds for androids.

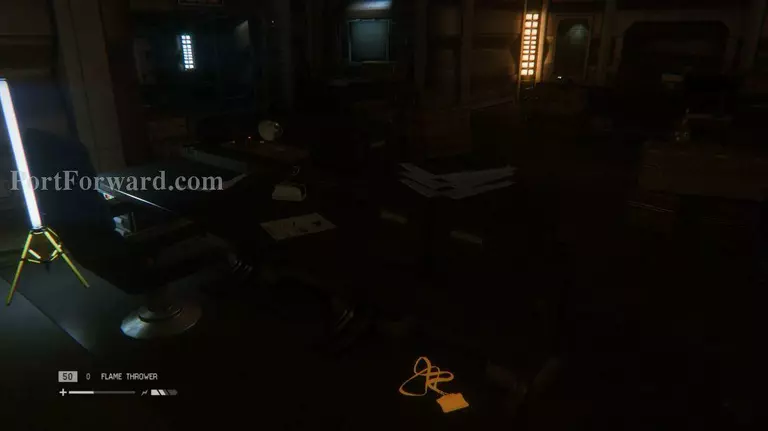
ID Tag: In the room where you have to turn on and off the four generators, go to the end of the hall and enter the room full of desks. The ID Tag will be on a desk on the left.

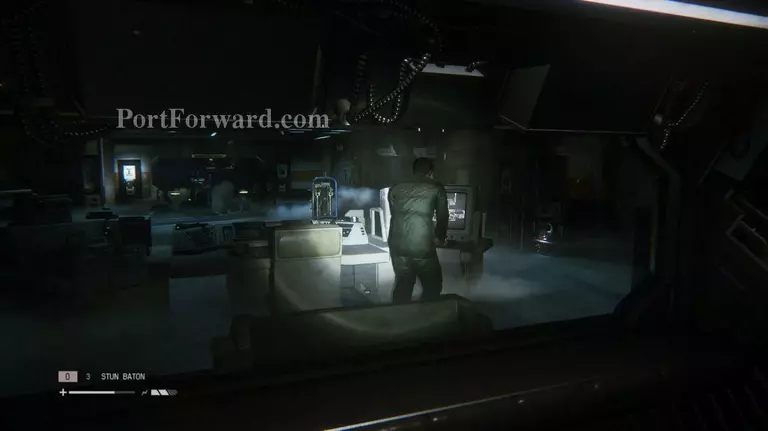
With all the generators changed, enter the now opened door. Hop into the vent on your right, then witness Samuels completely take out an android. Should we be concerned?
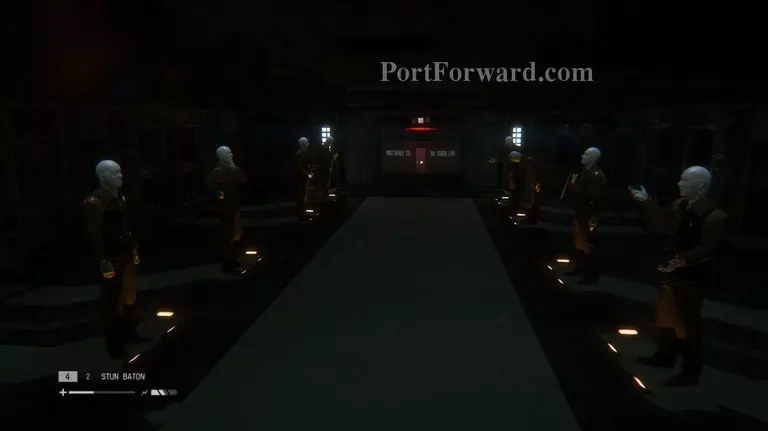
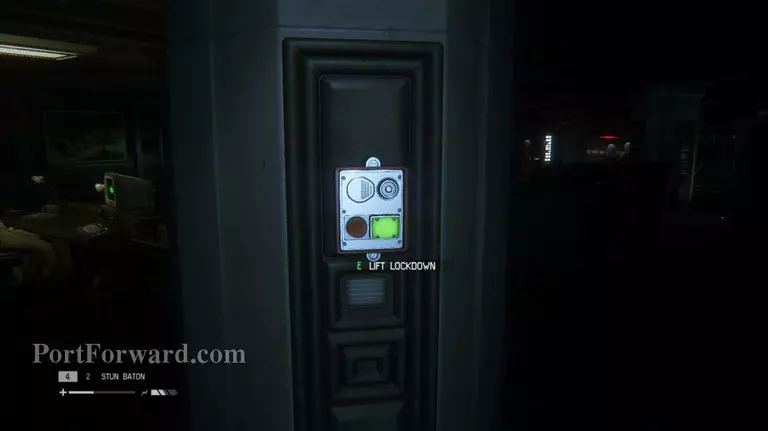
Enter the next room to be greeted by a line of offline androids in various poses. The door is locked, but you can activate it by hitting the button hidden behind the pole to the right of the computer.
As you make your way back to the door, the androids will wake. Get through the door to have it shut, causing all eight androids to pound on the door.
"Archive Logs: The computer in the room with the eight androids has three logs.

Schematics: Before you enter the room in the back, grab the schematics from the dead guy by the door.
ID Tag: This ID Tag can be found under the desk right next to the save station in the room with supplies.

Archive Logs: Two logs can be found in the computer in the room with supplies.

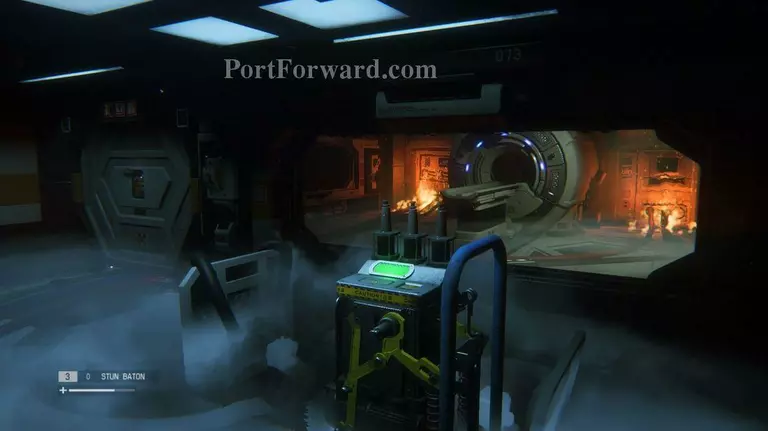
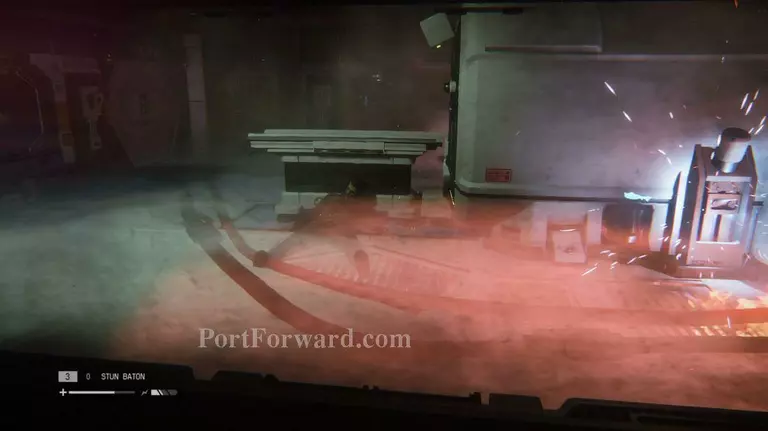
Walk back to the door to see the androids walk out and into the fire. Let them burn for a bit, then throw an EMP Mine that you found in the room with supplies. Repeat this with a Molotov and whatever else if they are still not dead. The last android you kill will have the Keycard you need to get through the next door.
Walk into the room you saw Samuels in previously and turn on the generator to open the elevator. Take it up to the Seegson Synthetics where you'll be met with a malfunctioning machine. Go to your right and start sidestepping along the wall.
Stop in front of the air vents to avoid getting hurt. Once you make it to the other end, don't worry about going down the stairs. That is a place you've been to previously.
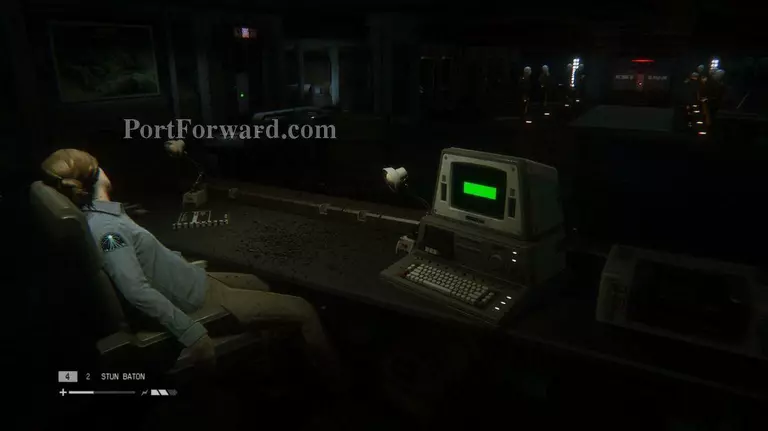
Walk down the hallway and save. Walk inside the next room to see a camera. First take care of the android on the bed, then sneak over and disable the camera through the rewire system.
ID Tag: Enter the floor vent in the office to find an ID Tag inside

Archive Log: On a crate next to the save station is a recorder.
The next two rooms are identical to the first, but there are more androids in the others. You have two options.

You can kill all the androids and disable each camera, or you can go through the vent system located in the offices and sneak your way through.
Enter the next area to find Samuels. Circle around the long hallway as he shares his plan.

Save at the save station before you enter the room he is in. Something is about to go down.

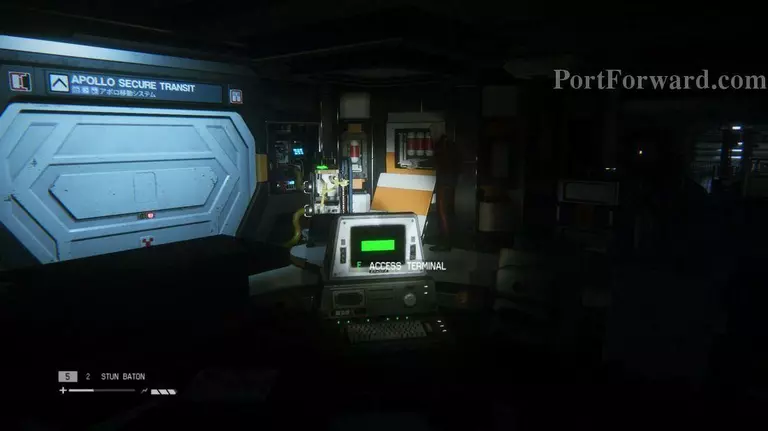
As Samuels is being rejected by Apollo, you need to stop the system by turning off each transmitter in the correct order. Make sure to get a good look at each of the five transmitters so you know which is which.
"Samuels will guide you through, but here is a quick checklist anyway:
"Samuels gains access to Apollo for you, but takes his own synthetic life in the process.
Head back to where you started, this time using the transit car to get across to the elevator.
Fight off any androids you run into and take the transit car to APOLLO Core.
More Alien: Isolation Walkthroughs
This Alien: Isolation walkthrough is divided into 19 total pages.