This Alien: Isolation walkthrough is divided into 19 total pages.
You can jump to nearby pages of the game using the links above.
The Message
Once in the SciMed Tower, follow your Motion Detector to a locked door using your Plasma Torch. Take the elevator across from you down to the San Cristobal Medical Facility. This is the area where you and the Alien were hit by an explosion, and you had to
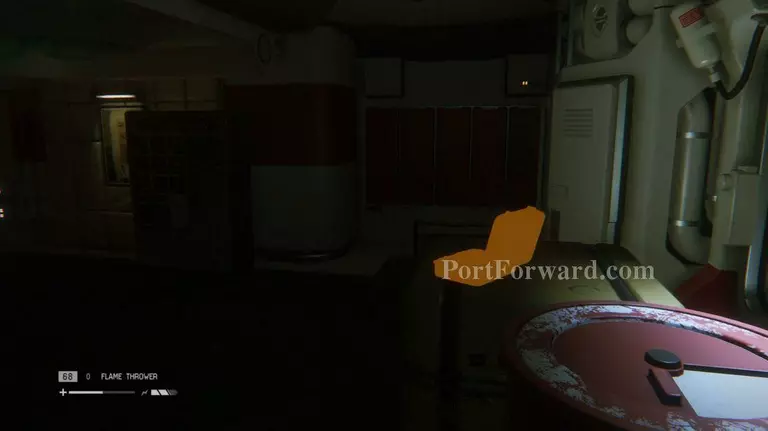
Once you reach the designated room, head to the back to find an upgrade to the Access Tuner on your right.
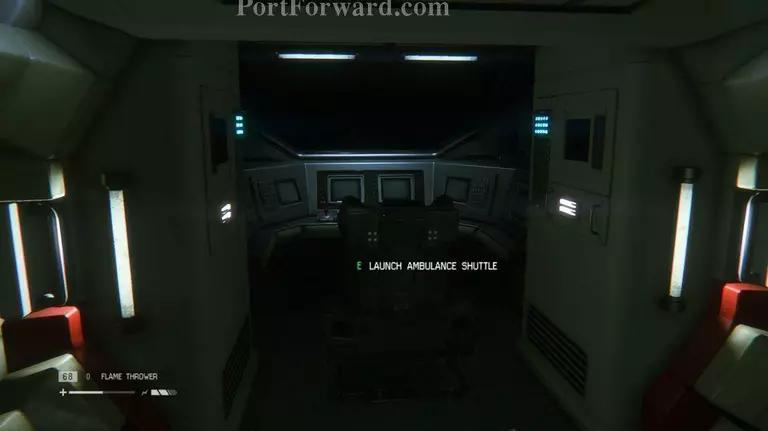
Use it to enter the Ambulance Shuttle. Once inside, take off and head for the Anesidora!
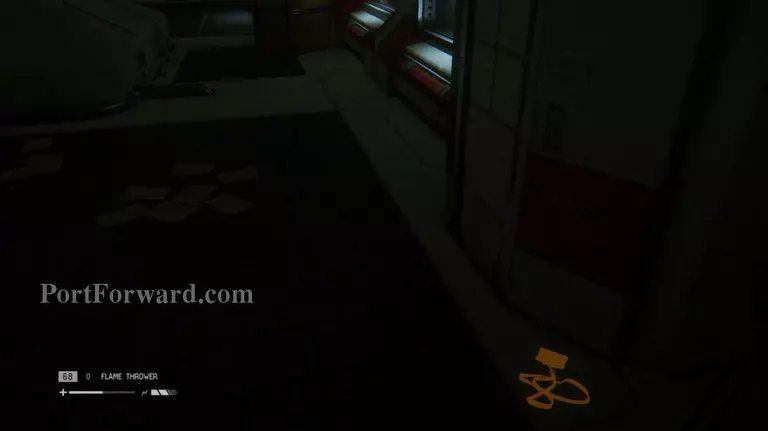
ID Tag: In the opposite corner of the upgrade to the Access Tuner is an ID Tag laying on the floor.
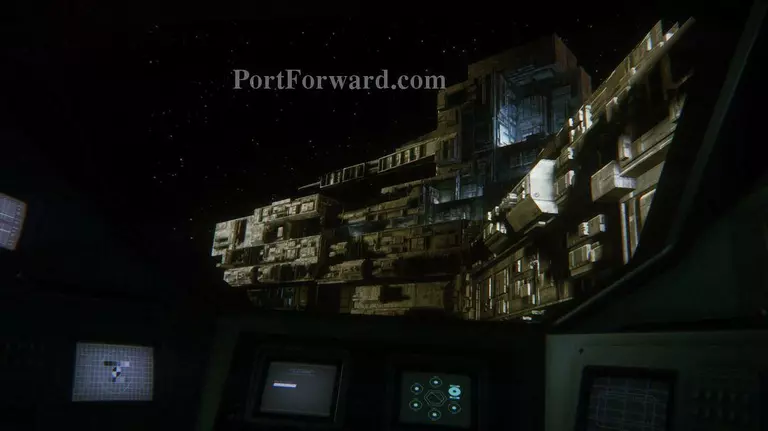
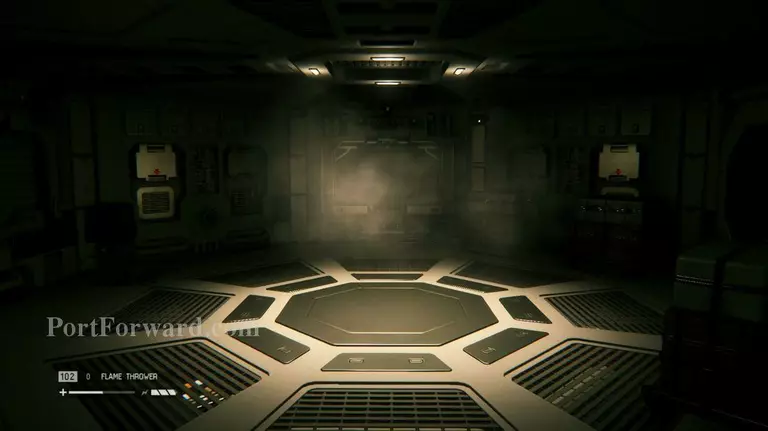
Now in the Anesidora, save at the save station and head through the open door.
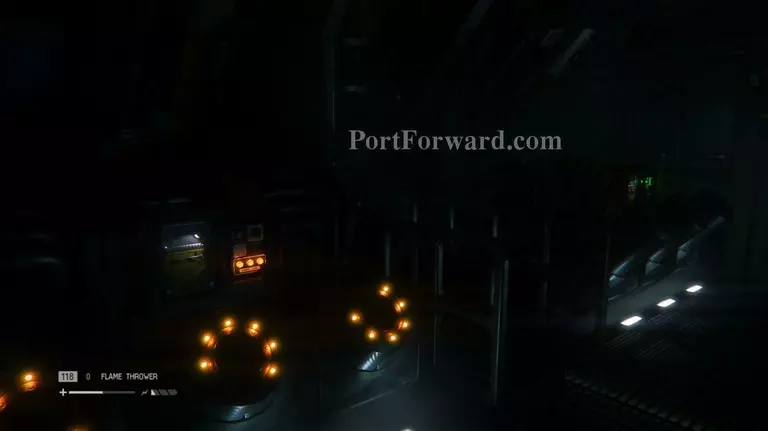
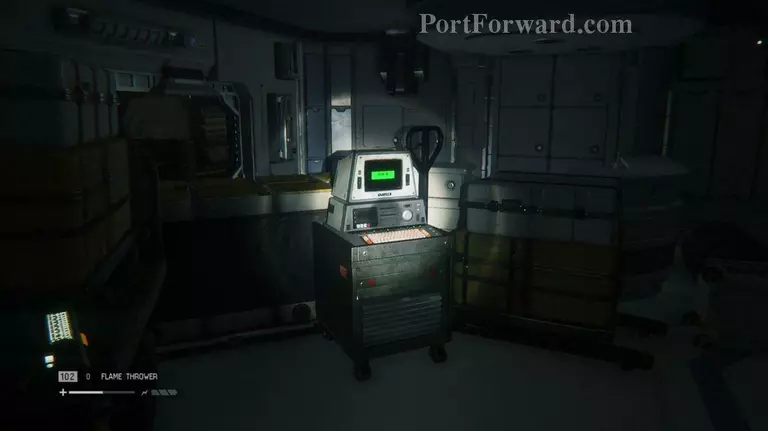
Since there are no enemies in the spacecraft, don't worry about anything popping out on you. Keep going until you reach a room with a computer.
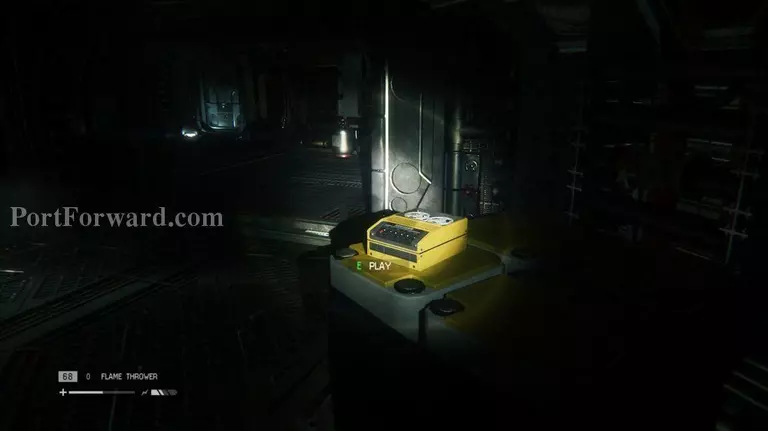
Archive Log: On your way to restoring power to the Anesidora, look out for a recorder on top of a crate on your right.
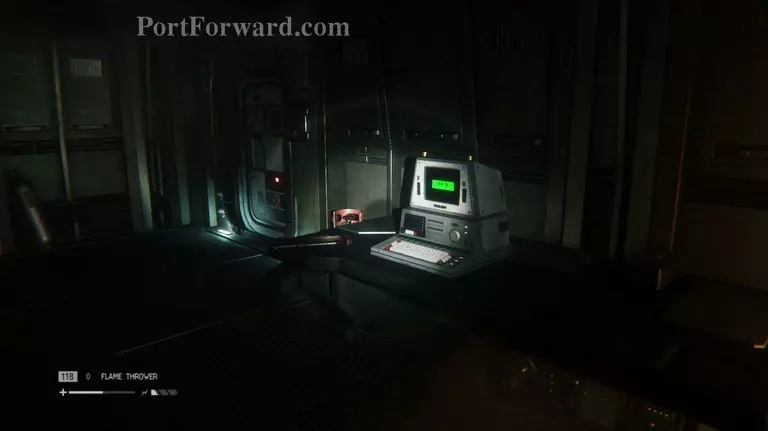
Archive Logs: On the computer with passcode to open the door, make sure to read all three logs.
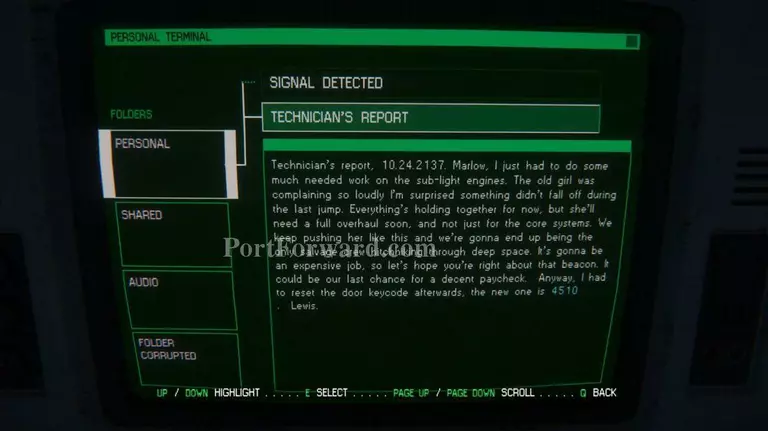
Use the passcode (4510) on the door and turn on both generators. Use the Access Tuner to fully turn it on. Start heading back to your starting point so you can save.
On your way, Marlow will come over the speaker system. Time to find him!
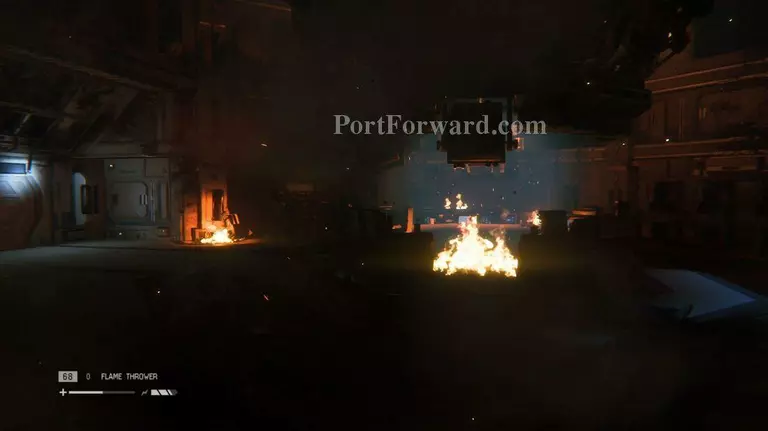
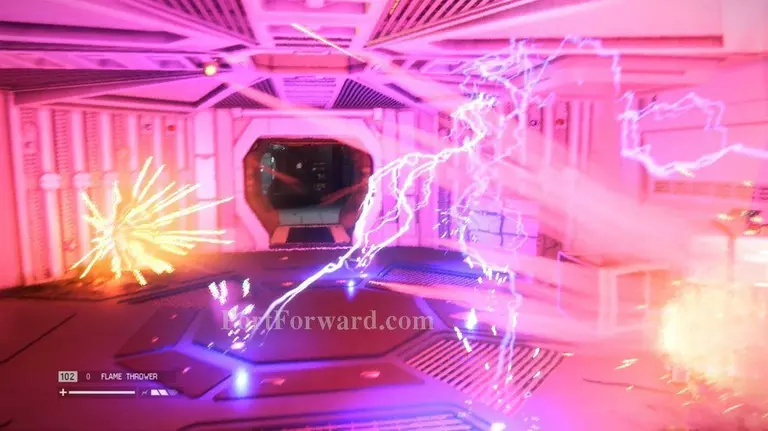
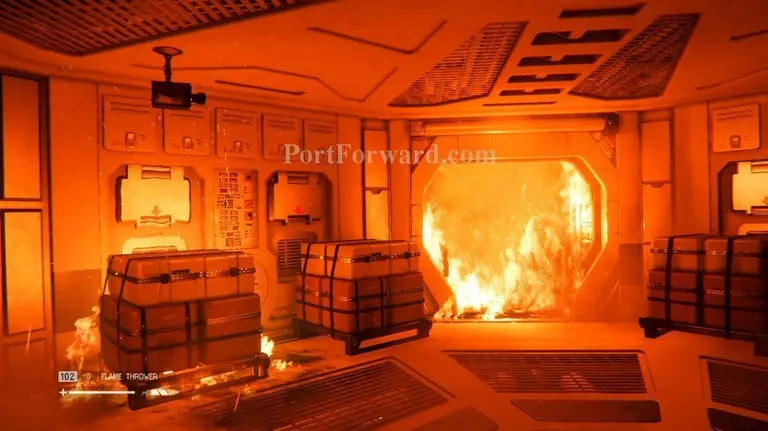
"Go through the now opened room to hear Marlow once again, this time with Taylor in the background. Blast the Facehugger with your Flamethrower that charges at you from behind the stacked boxes in front of you as you enter the next room, then continue on through the next door.
Keep walking down the halls, listening to what Marlow has to say. You'll eventually reach the Nostromo Flight Recorder Data.
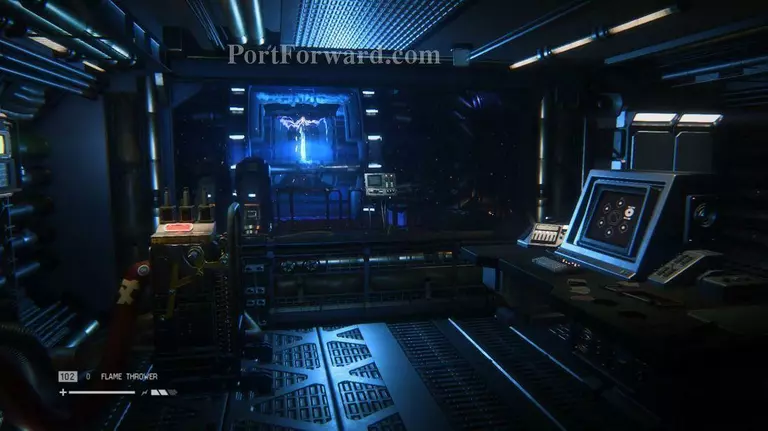
Take a deep breath and listen in.

The data contains a message from Ellen Ripley addressed to you, her daughter, talking about the destroyed Nostromo and the deadly Alien.

After listening to the recording, Marlow will appear with Taylor on the other side of the window.
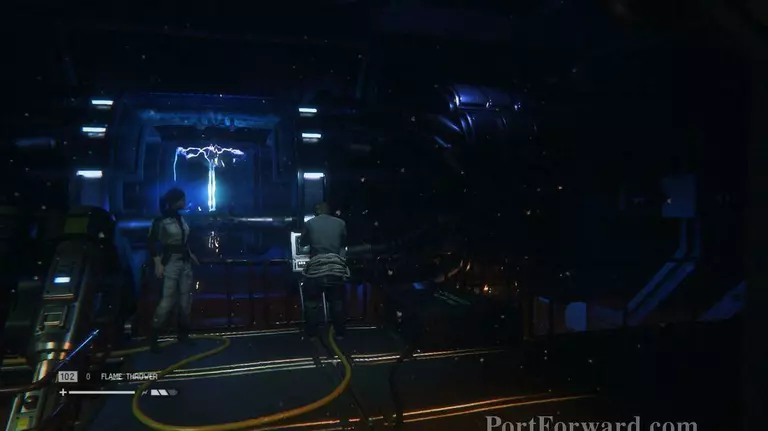
With Taylor at gunpoint, Marlow plans to destroy the entire ship along with the Sevastopol to completely rid the creature and prevent it from getting to Earth.
After Taylor knocks Marlow out, work with her to try to get the power core stabilized.
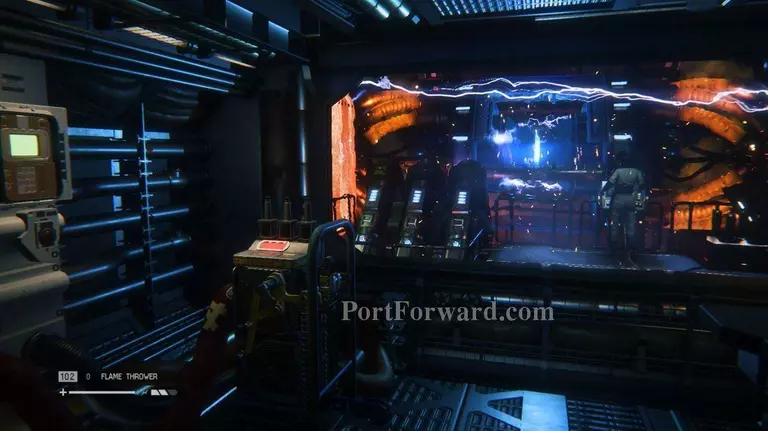
Work together as Taylor activates the different parts needed to stop the power core. If you don't do it fast enough, the thing will blow!
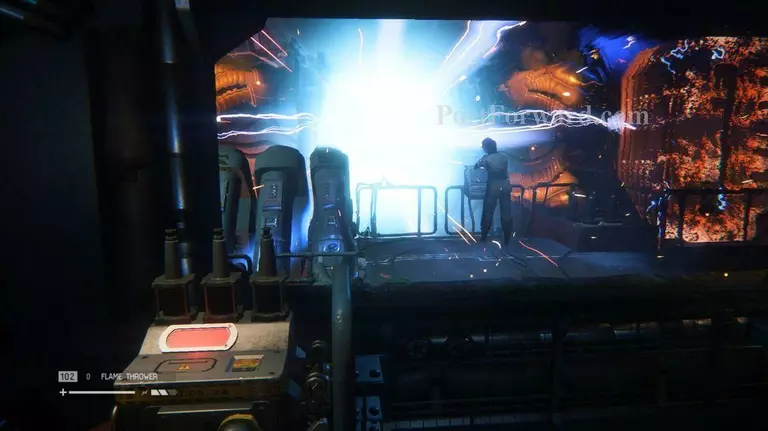
The power core has been overloaded, so there is no saving the ship.
After Taylor gets slammed into the window, start your run back to the ambulance shuttle. Get inside and take off.
More Alien: Isolation Walkthroughs
This Alien: Isolation walkthrough is divided into 19 total pages.