This Alien: Isolation walkthrough is divided into 19 total pages.
You can jump to nearby pages of the game using the links above.
Desolation
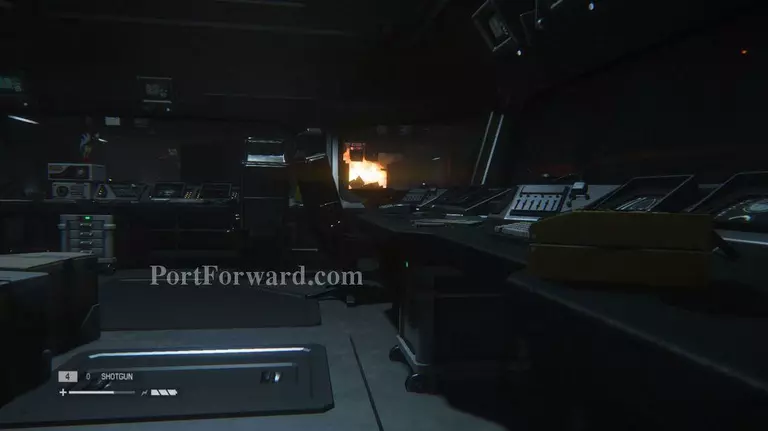
Now in the Solomons Habitation Tower, find a way for The Torrens to dock. There is a single guard in the room. You have several options. You can wait for the Alien to take care of him or you can go over and take him down yourself. You can also use a distraction (like those useless Flares), but make sure to throw it to the right side of the room.
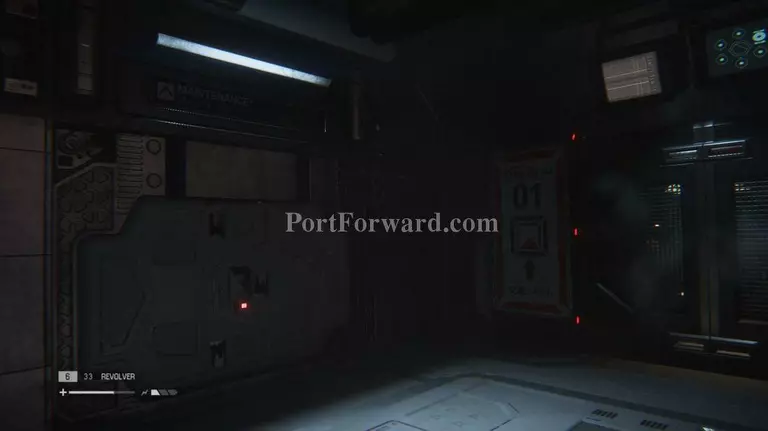
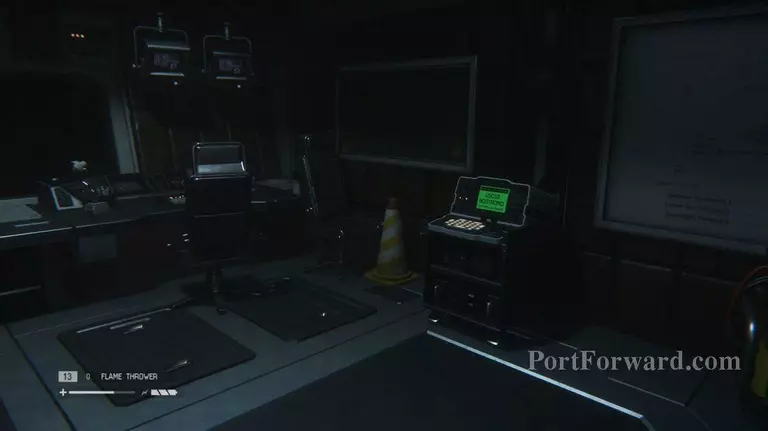
Go to the left side of the room and use your Ion Torch to get through the door. Inside, find the passcode (1851) on the computer.
Archive Logs: There are three logs total on the computer where you get the passcode.
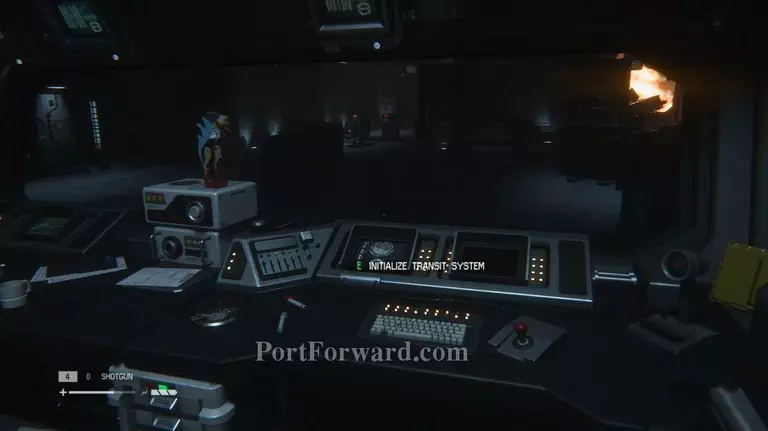
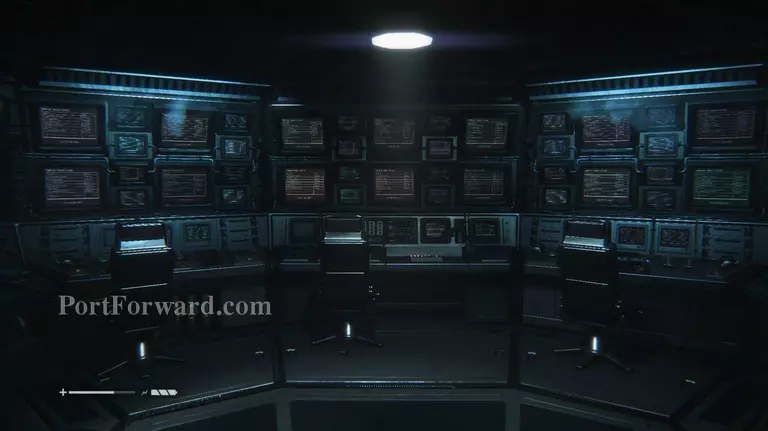
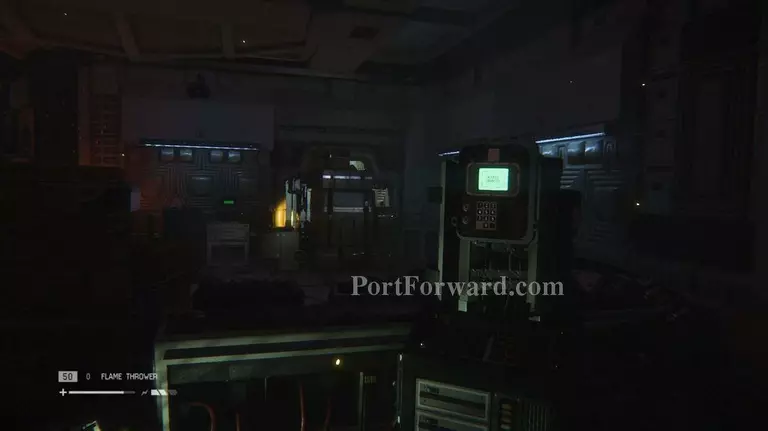
Use the pass code for the room on your left. Inside, reboot the systems, then head over to the door near the save station in the main area. Inside, kill the Facehugger then initialize the transit systems.
Archive Log: Inside the room where you initialize the transit systems, find a recorder in the back of the room.
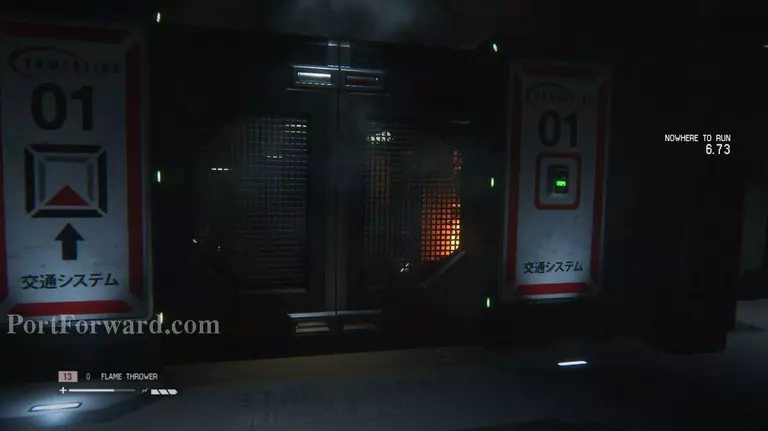
Head over and call the transit car.
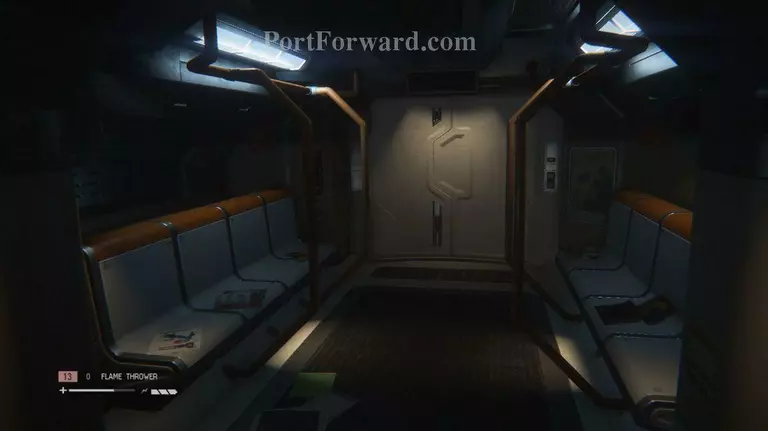
Since there is an Alien running around and the transit car will take some time to get here, walk into the room on your left and wait here for the transit car.
Now in the Upper Transit, head inside the elevator to reach the Spaceflight Terminal.
Nostromo Log: There is a Nostromo Log recorded by Ash in the office near the Spaceflight Terminal elevator.
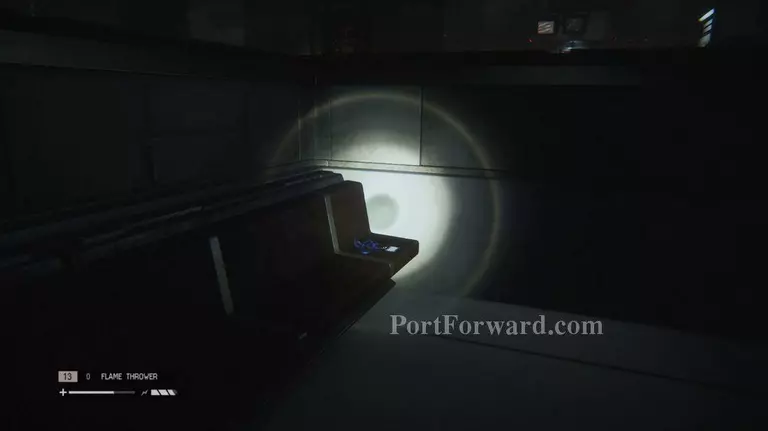
ID Tag: In the room area with the Spaceflight Terminal elevator, walk down the steps and find an ID Tag on the seats nearby.
Right on cue, the elevator will break down and you'll have to find an alternative path. Save at the save station.
A flaming android will come after you in the next room, so hop into the vent on your right and wait for it to pass before continuing on.
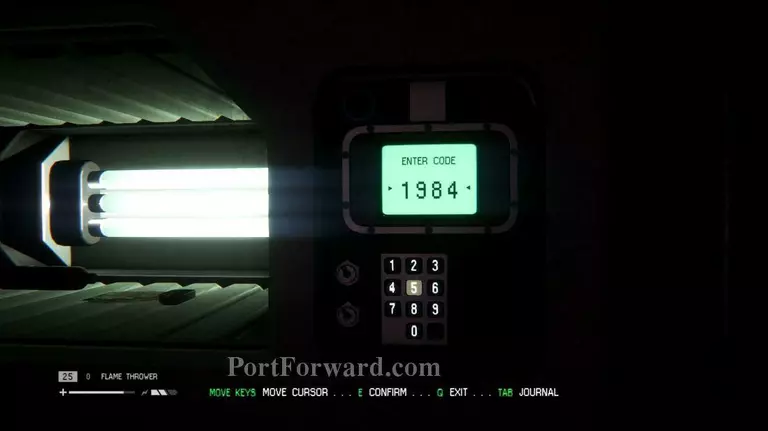
In the next area, you need to have the lifter move the crates blocking the door. Go to the computer, find the passcode (1984), use it on the glass locker to get the Keycard, use the Keycard on the transmitter, and finally crawl under the now lifted crates.
Archive Log: Take a look at the computer in this room to find some more logs.
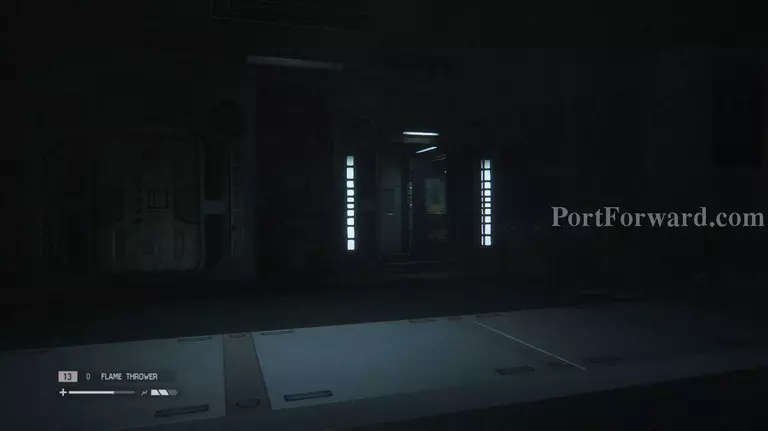
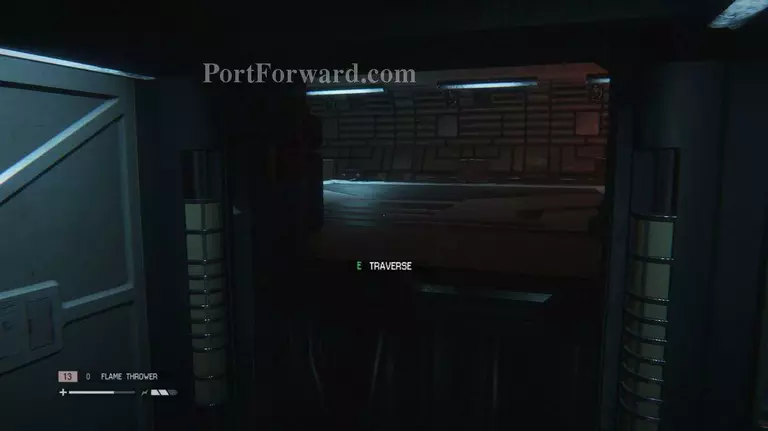
In the next hallway, use your Ion Torch to get through the door on the left. Walk all the way down this long hallway until you reach the next destination. Save at the save station.

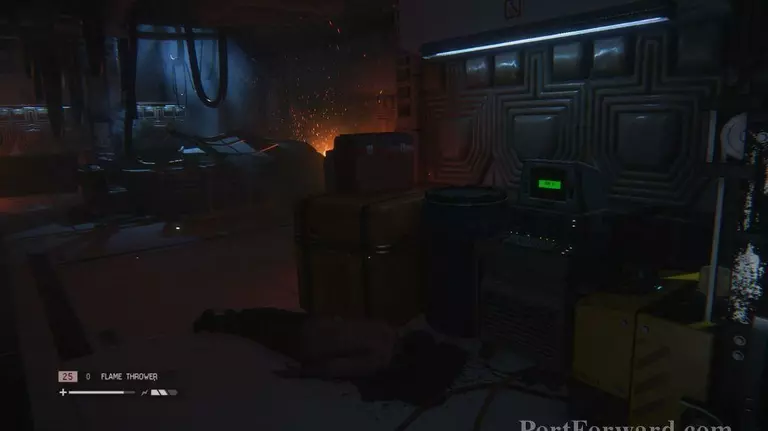
Follow the trail of blood to a dead body holding a Keycard, and watch out for the Facehugger in the same room. Use this Keycard on a power generator in the previous room.
Archive Log: Next to the dead body is a recorder
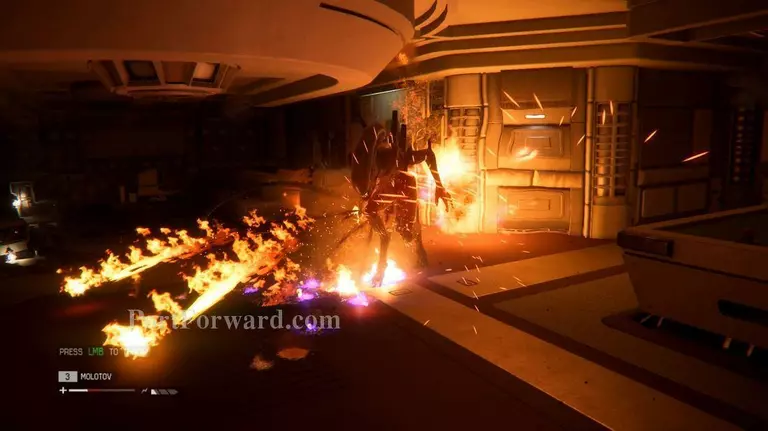
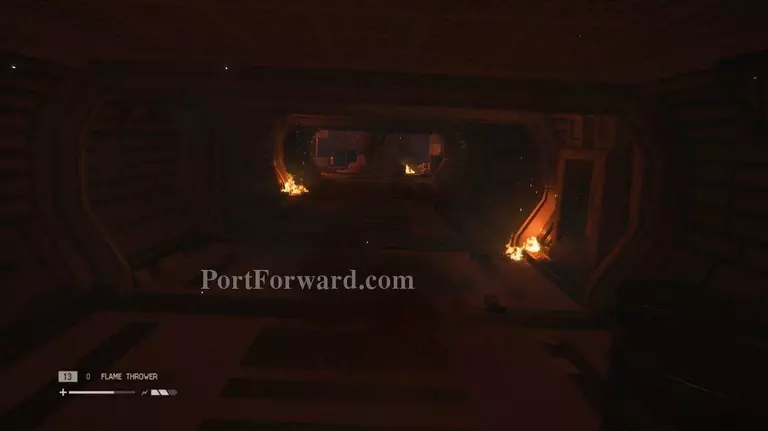
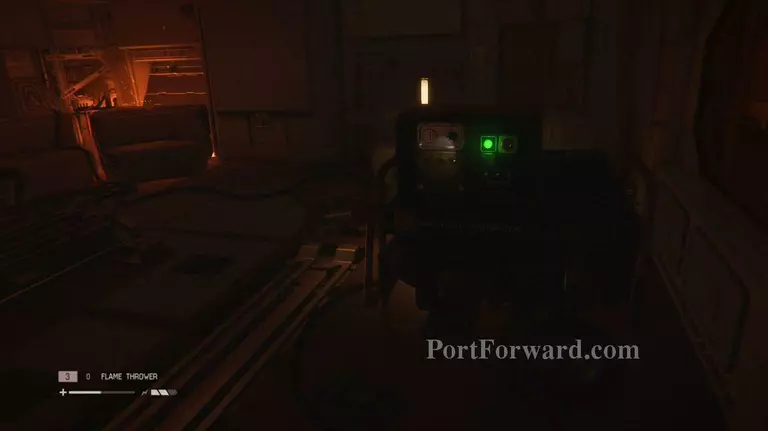
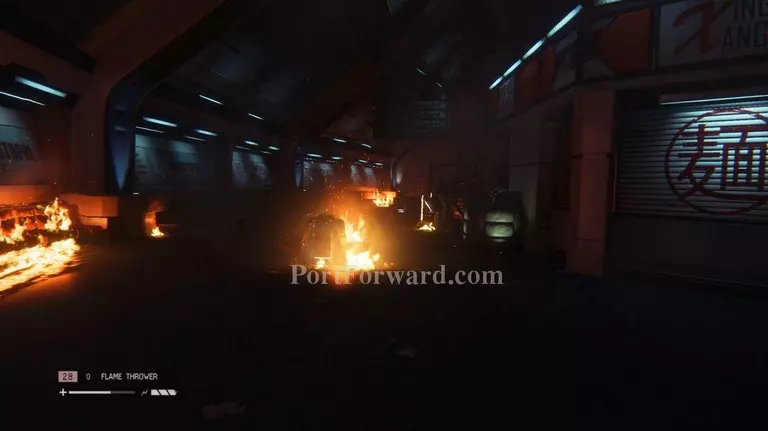
Follow your next waypoint to another room. Get your Flamethrower or a Molotov ready, as the Alien will ambush you in the next room. Pull down the lever near the door and watch as the power goes out.

Hurray! Now you have to go back to the area you just came from to redo the generator. The Alien will appear as soon as you reach the generator, so keep that in mind. Also, take advantage of all the save stations in this area!
This section can be very difficult, provided you do not have an arsenal of weapons at your disposal. The Alien is really out to get you, so have something to shoo it off at all times.
Head back to the lever that caused the power to go out, then enter the vent. From there, use the elevator to get to the Spaceflight Terminal.
"ID Tag: On the bed beside the vent that will take you to the elevator is a lone ID Tag.
Now in the Spaceflight Terminal, use the save station. You'll find yourself in an area that you passed through at the start of the game.

This time you can use the Ion Torch to access the elevator to the Tow Platform. Head there to end the mission.
Nostromo Logs: The final Nostromo Log! When you reach the lobby area from one of the first missions in the game, go down the stairs on the left, then take a right when you reach the bottom. Use your Ion Torch to get through the door that blocks your way to the Nostromo Log.
More Alien: Isolation Walkthroughs
This Alien: Isolation walkthrough is divided into 19 total pages.