
This Alien: Isolation walkthrough is divided into 19 total pages.
You can jump to nearby pages of the game using the links above.
The Descent
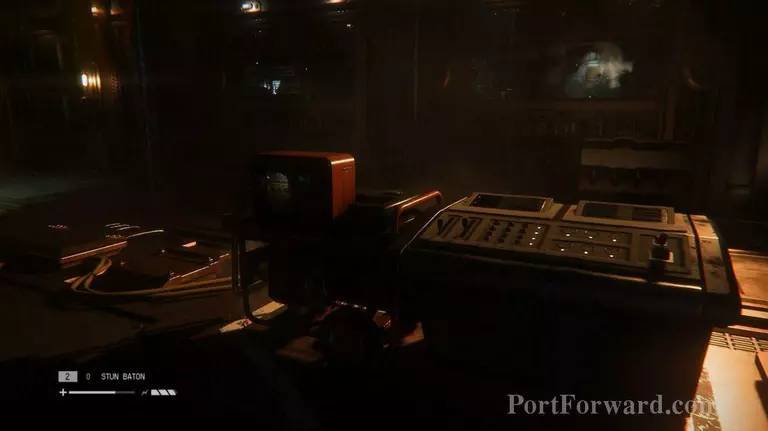
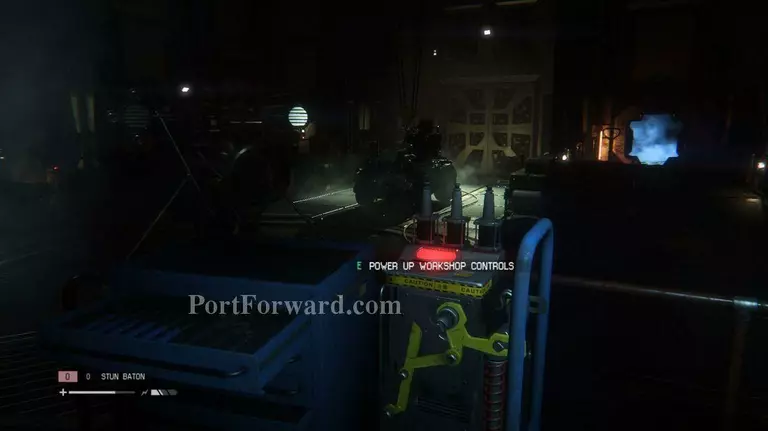
From the elevator, walk into the next room and power up the Tram system. Hit the button to get it moving, then use the save station and enter the next room.

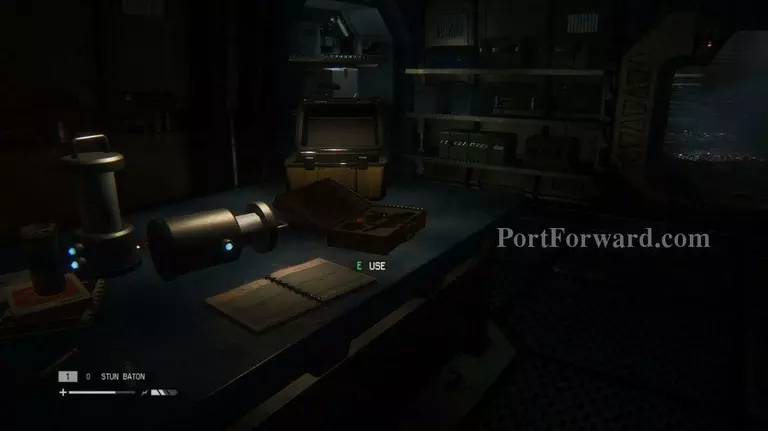
Archive Log: Near the area where you have to hit the button is a recorder.
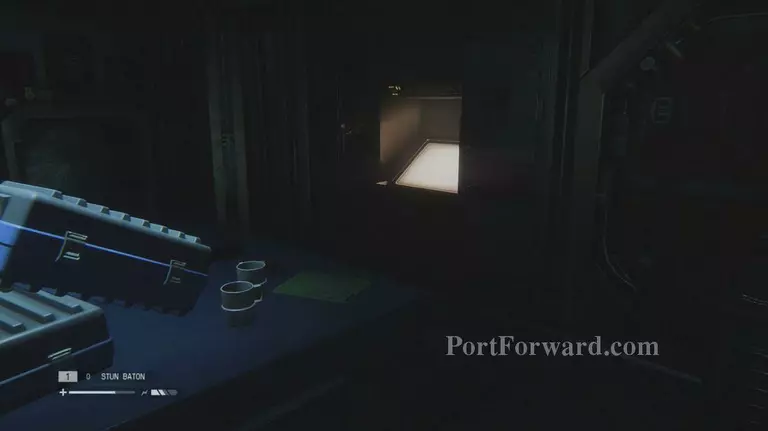
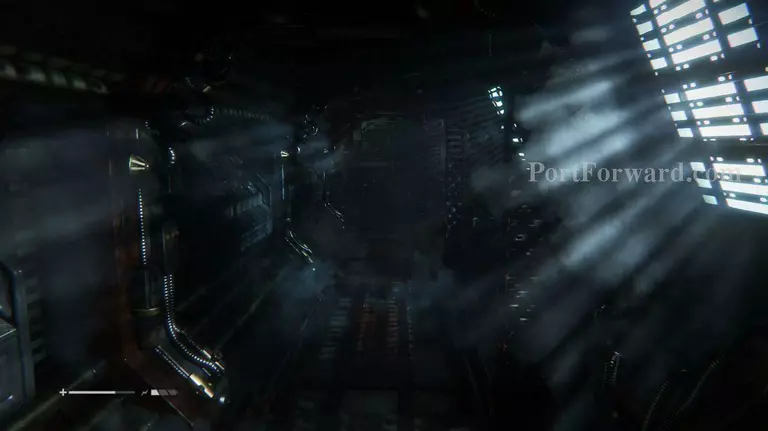
Avoid the camera by entering the vent. Once you exit, you're going to have to take down the lone android.

Use the rewire system in this room to deactivate the camera, then keep walking down the hallway.
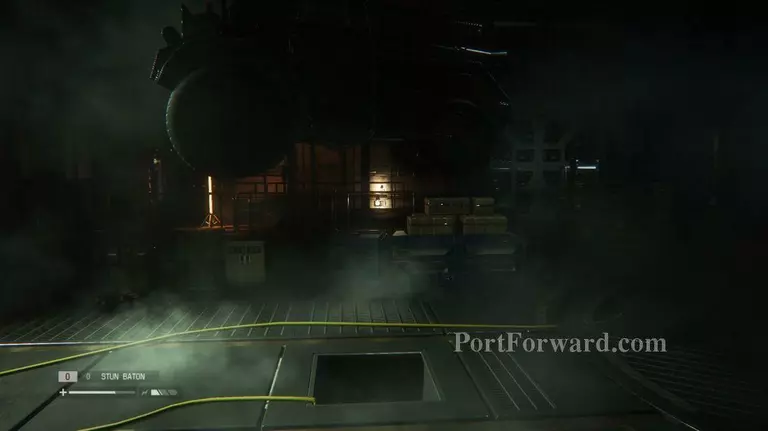
Map Location: In the room with all the fog, look for a map on the right.

In the hallway, enter the room on the left to find an upgrade to the Plasma Torch, the Ion Torch. Up ahead are two cameras. To get past them, simply walk underneath each one when their line of sight is clear.
Use the Ion Torch to open the vent at the end, then save in the next room.
Your best option is to kill the android in the next room, otherwise it'll just get in the way.
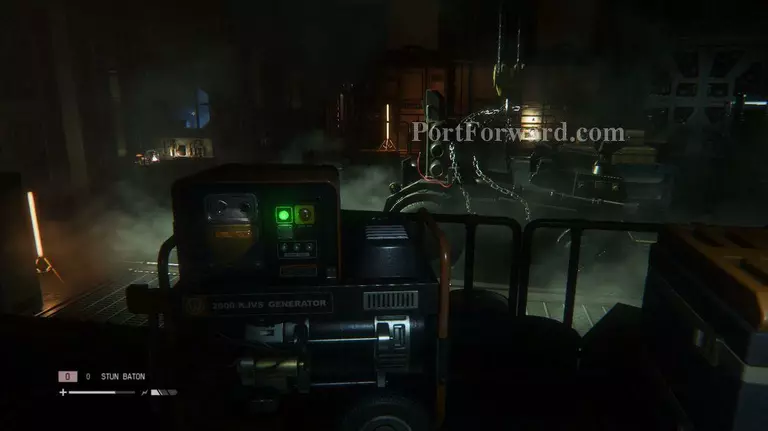
Go around the room and activate all three of the transmitters, then power up the generator to move the car blocking the route in the floor.
Drop down to the vent below to reach the next hallway. Follow the path until you reach another room with androids.
Enter the room on your right, then make a decision about fighting off the next android or simply sneaking by. I say take it down. You have to live a little!
In the next room, pick up the Bolt Gun and prepare to take down some androids! Hop on the computer and enter the passcode (6832) to open the security shutters. Head back to get to the now opened area.
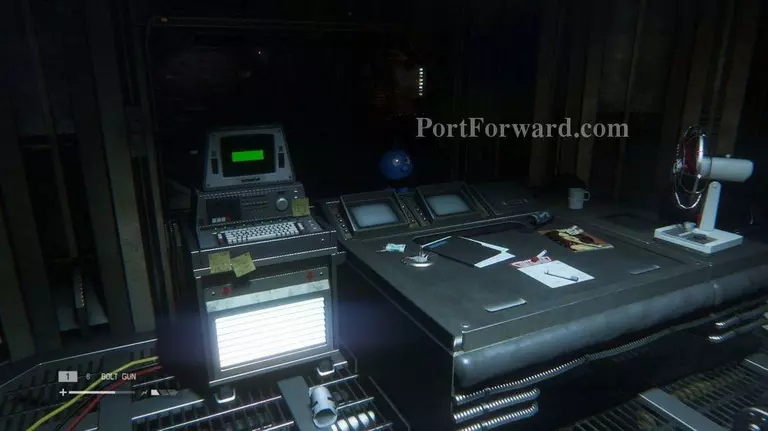
Archive Logs: There are three logs to check out on the computer that you use to open the security shutters.
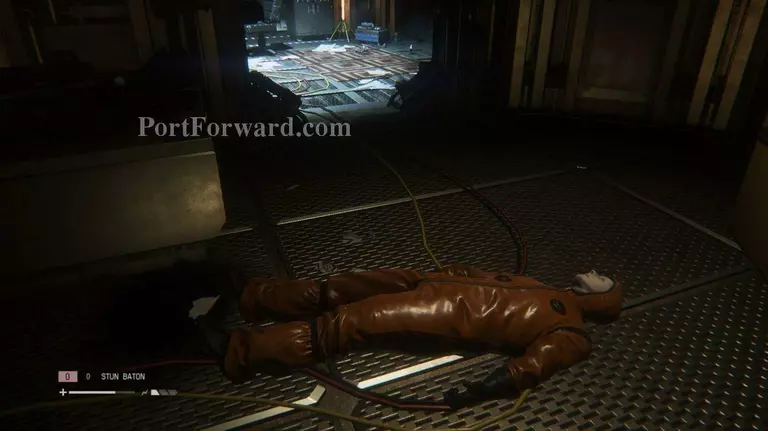
ID Tag: In the back of the room where you find the Bolt Gun is a dead body accompanied by an ID Tag. Sad.

"Walk through the next area until you reach an elevator. Use it to reach a higher level. Walk down the hallway to find your Shotgun and Revolver sitting at the base of a ladder. Climb the ladder to find a save station above.
ID Tag: In the room where you got your Shotgun and Revolver back, look for the ID Tag on the shelf in the back.

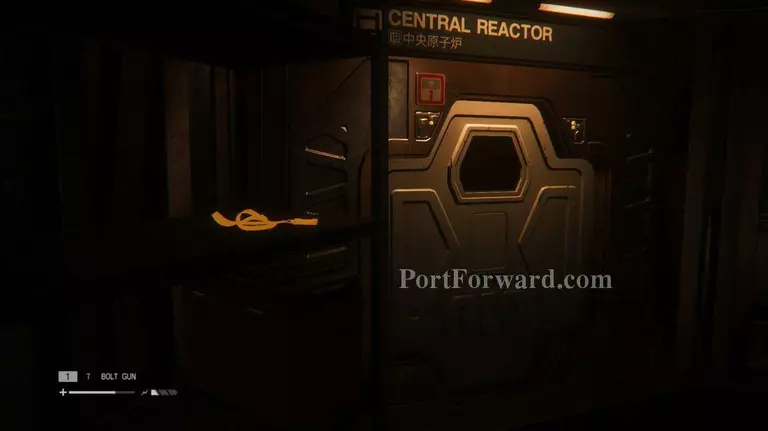
Enter the area with the reactor core and take the elevator down. A higher level android awaits you at the bottom, so be prepared to fight! Remember, don't use an EMP Mine on this kind of android, it doesn't work! Your best bet is to use the Bolt Gun as each android approaches. Keep it aimed at the head to ensure an instant kill. The noise will attract the other androids, so be ready to take them out one by one.
Once the androids are down, run all the way through the area and into the elevator that'll take you to the Central Reactor Maintenance.
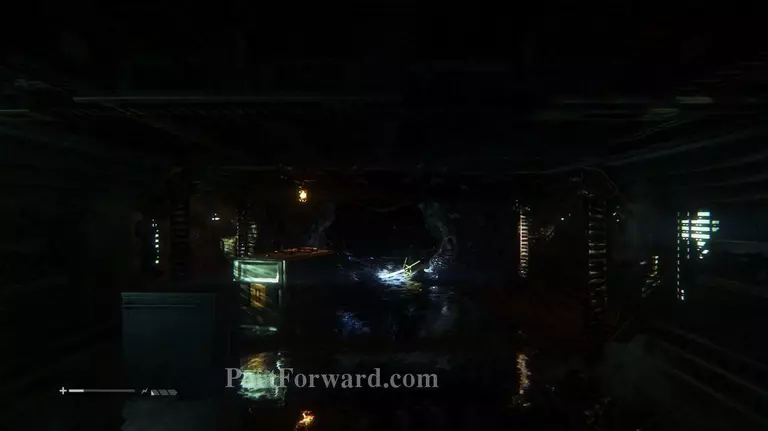
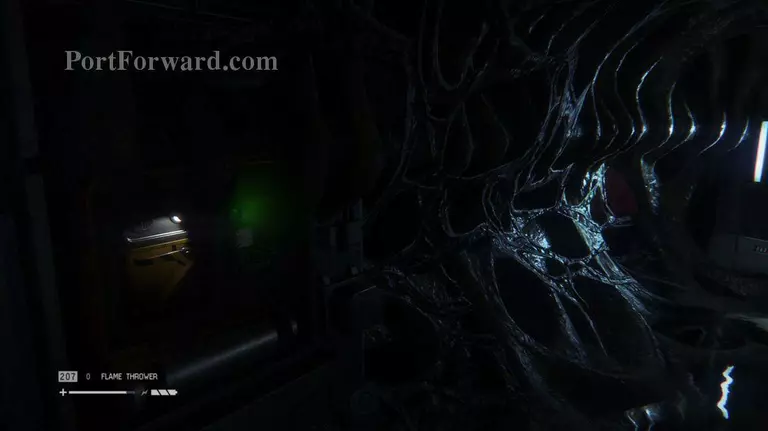
And here we go. The entire place is a nest made by the Alien. Remember all those disappearances you've been hearing about? Yup, they're all down here being used as hosts. Grab your Flamethrower and head over to the main room to save.

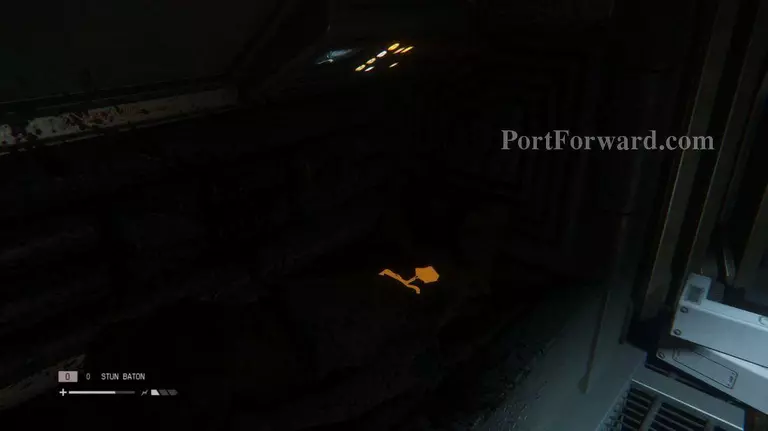
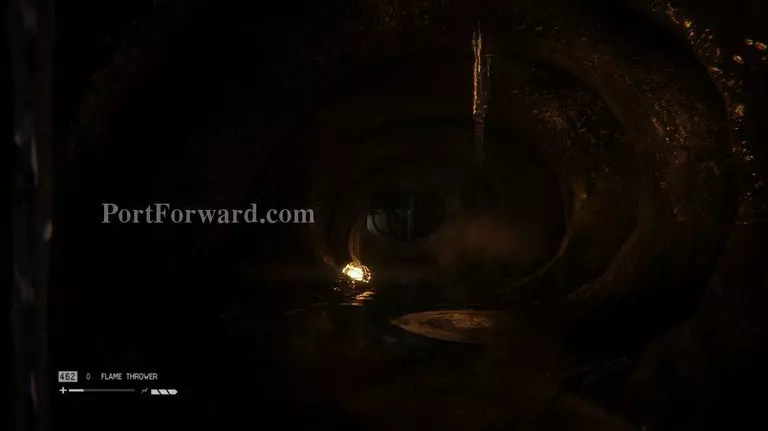
Follow the only path available. As you go down the hallway, watch out for the bud like forms on the ground. A Facehugger may crawl out of one, so be prepared to incinerate when it starts chasing you. Enable the conduit interface, then disengage the locking mechanism in the middle, and finally activate the Alpha Conduit.

This will alert a horde of Aliens. If you haven't already run down the hallway and hid in the small locker, you're doing it wrong.
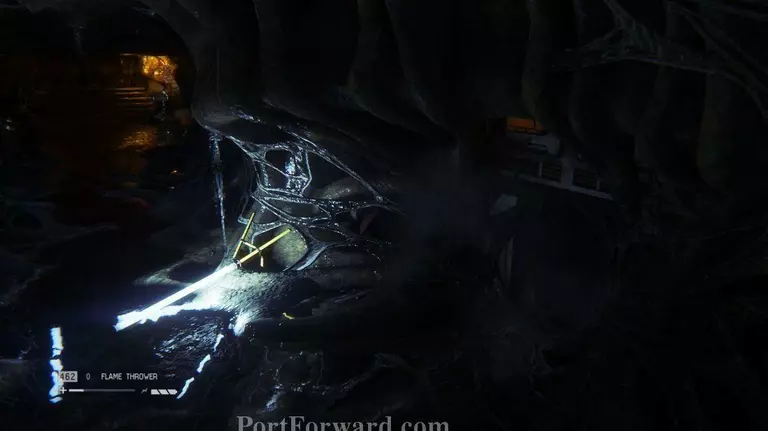
Enter back into the main area where you started. Head down the hall, but don't go too far down. There is a small hole on the right wall that you can take to the other hallway. Things to keep in mind. If you see a closed alien bud on the ground, blast it with fire to take care of it before a Facehugger can get out.
This is a little morbid, but you can always search for loot from the people attached to the walls. And the Alien is everywhere, so keep that in mind. Always have your Flamethrower out.

In the next hallway, use your Motion Detector to guide you down the right path. When the Alien is nowhere in sight, save at the save station. You need to repeat the same process here with the beta conduit as you did with the alpha conduit, but of course, the power is out.
Find another small hole to crawl through to get to a small area with a generator. Restore power and enjoy this tiny room, as the Alien cannot get through.

Once you activate the beta conduit, time to book it out of here. Save whenever you pass a save station, as long as the coast is clear. Take the elevator back up to the reactor core, leaving the nightmare behind.

Our good friends the androids are back. There are four of them again, so use the same method you used the first time, drawing them in and taking them out one by one.

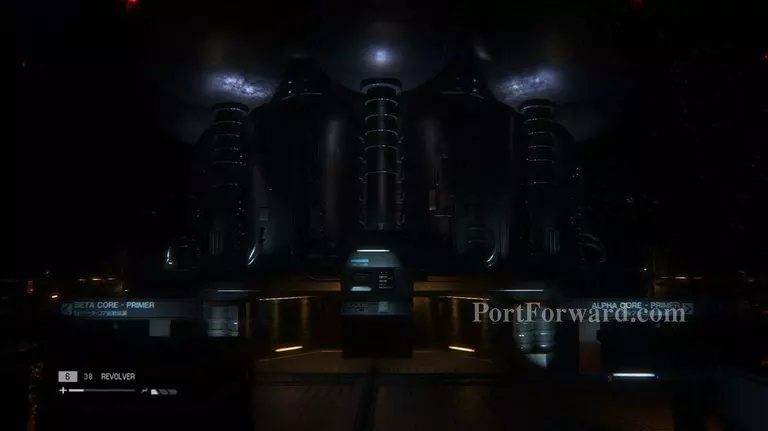
After the androids are gone, follow the instructions in overloading both the beta and alpha cores. Once this is done, you'll have to run back to the starting point where the previously locked door is now open. But of course, some more androids show up.

They'll burn up on their own, so just run the other direction and get around that way.
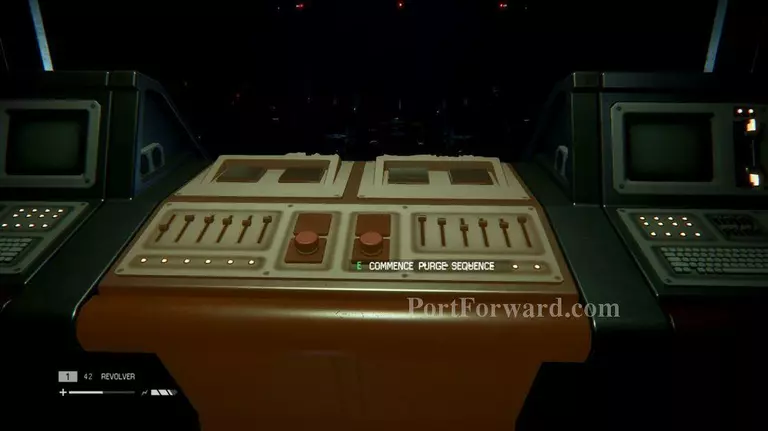
Climb through the vent to get to the room above. Initialize the purge sequence and ultimately start it.
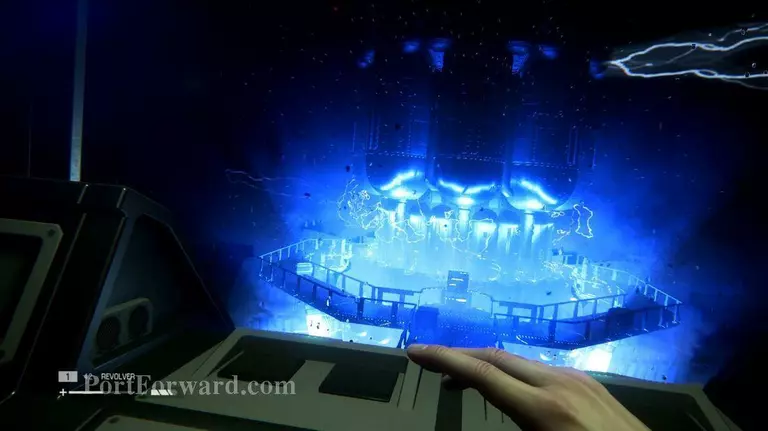
Watch as the core destroys the hive.
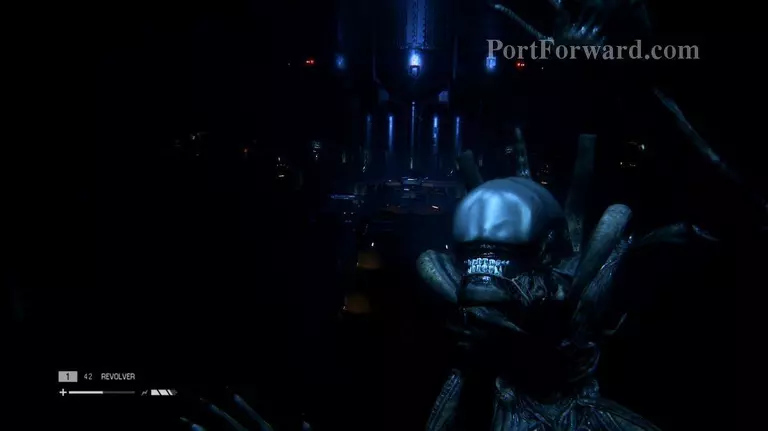
"Please, did you think it would end here? Aliens start showing up outside the room. Looks like you brought them all in. Now we've got more than one running around the Sevastopol.

Head back to the transit station and make a course for the SciMed Tower.
More Alien: Isolation Walkthroughs
This Alien: Isolation walkthrough is divided into 19 total pages.


