
This Alien: Isolation walkthrough is divided into 19 total pages.
You can jump to nearby pages of the game using the links above.
Hazard Containment
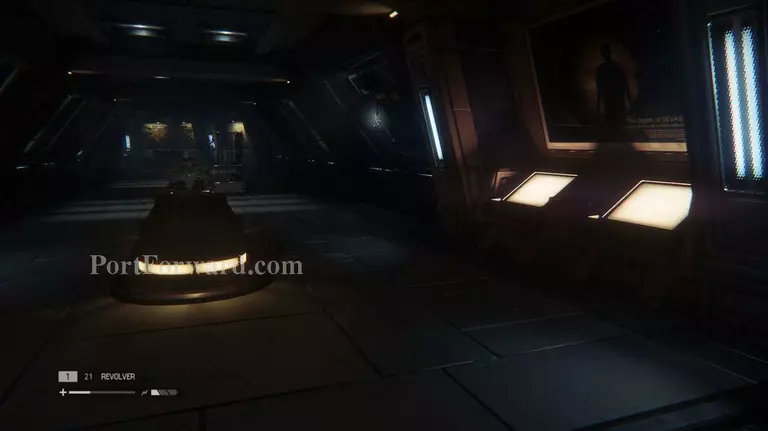
"With the Alien gone, feel free to run over to the first save station. From there, run down the hallway until you reach a blocked off room. After the people on the other side start shooting at you, activate the nearby machine.
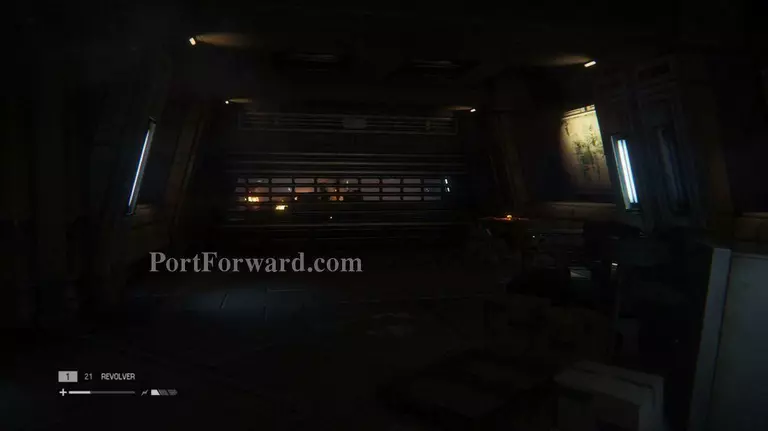
Follow the machine into a vent. Crawl through to find a storage room, and enter the next vent. Exit the vent and open the next door to enter Supply Corridor B.
Enter the door in the middle of the room on the right. Save at the save station.
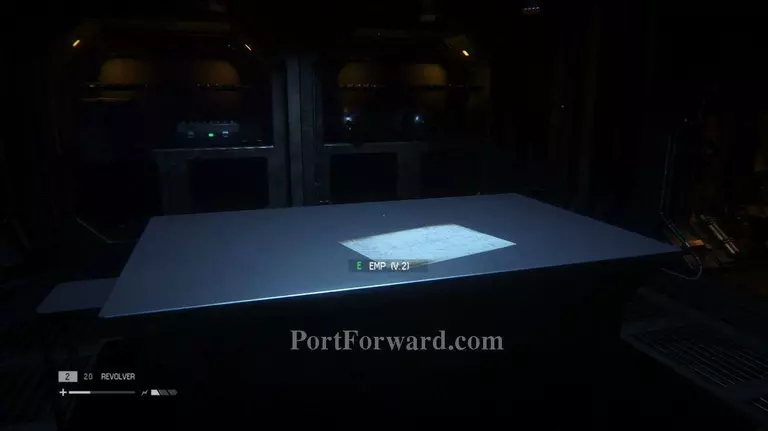
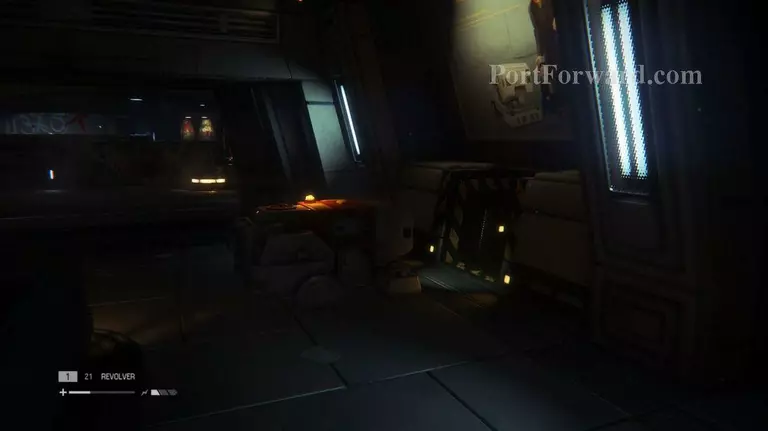
Schematics: Inside the storage room, look for the Schematics on the table.
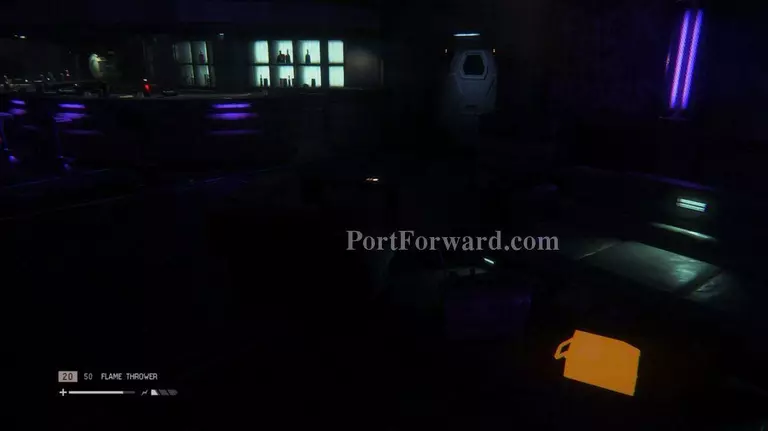
Archive Log: In the bar area, look for a recorder on a small table.
Enter the floor vent in the supply room and use it to reach the room with the generator.
Once the power is back on, the androids outside will start taking out the people you encountered earlier.
ID Tag: There is an ID Tag on the desk in the room with the generator.
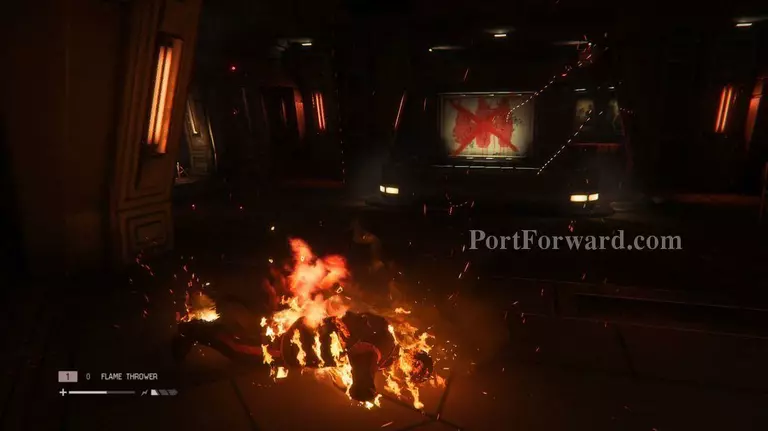
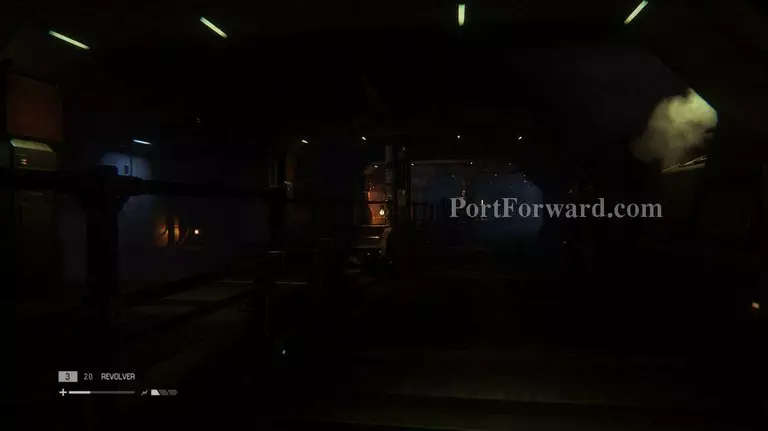
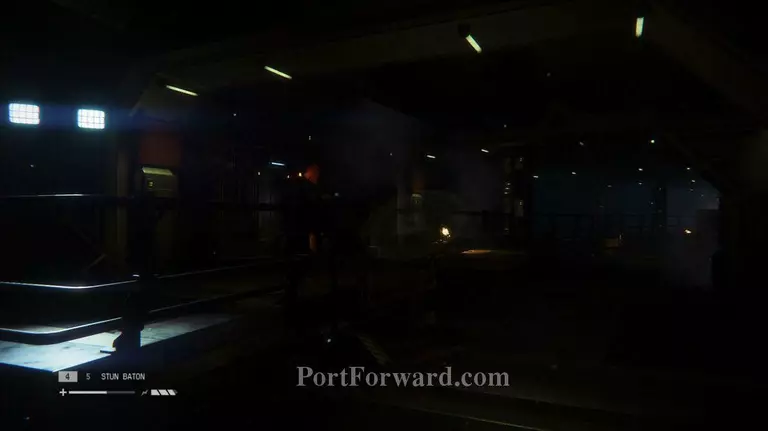
"Walk out in the big room and take down the android in front of you. A combo of fire and Shotgun should do the trick. Keep following the path until you reach some stairs that take you to the lower floor.
"Map Location: Go up the stairs to find a map on the right.
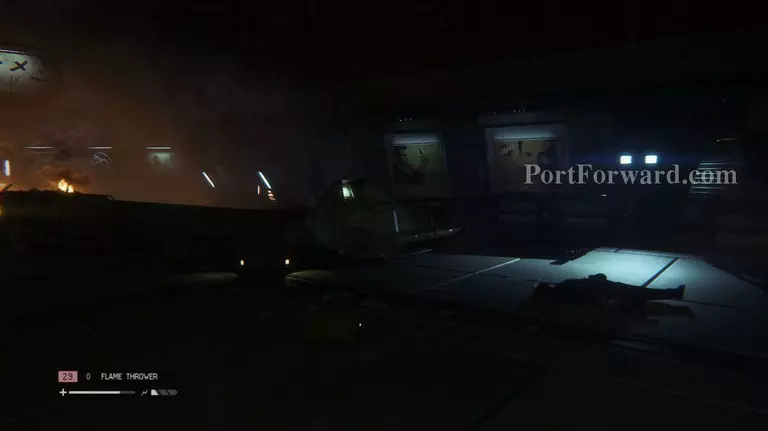
After hearing Waits fighting with an android, follow your Motion Detector to the next location. This will take you up the stairs, through a door on the left, and into a locker room with a save station.

Archive Logs: The terminal in this locker room holds two logs.

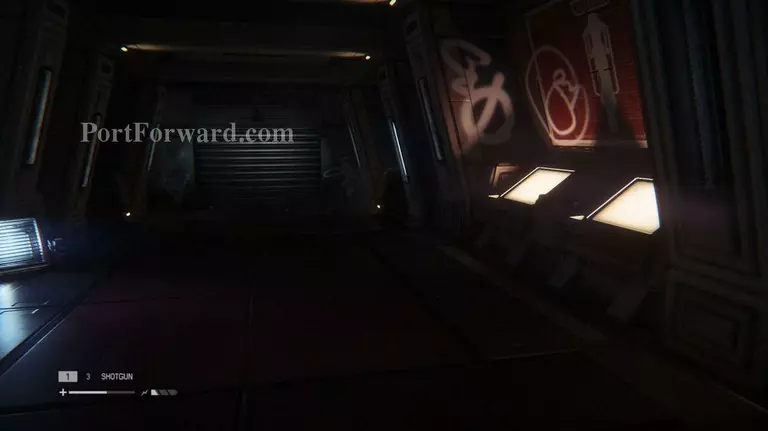
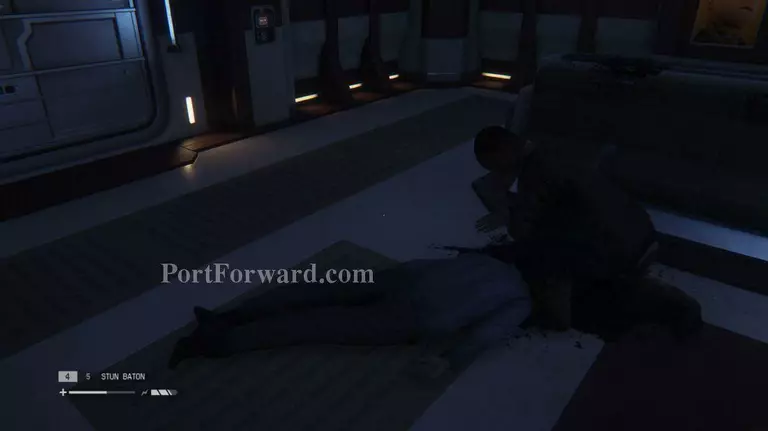
Enter Supply Corridor A and either sneak past the android or take it out. You can also use a Stun Baton and a few good whacks to take it down. Enter the only door in the area and walk down the stairs.
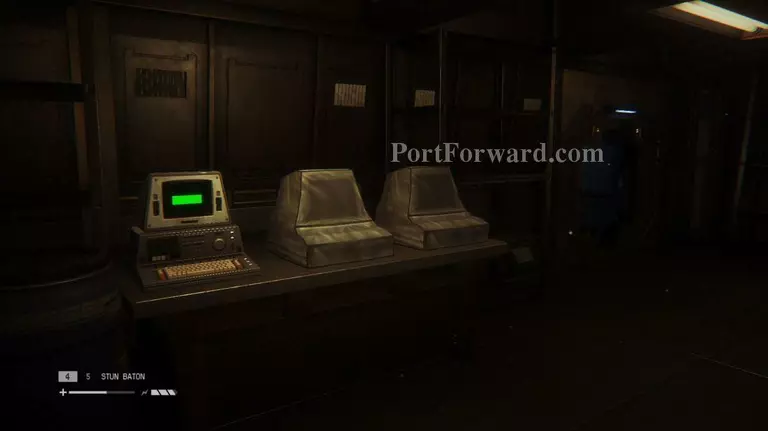
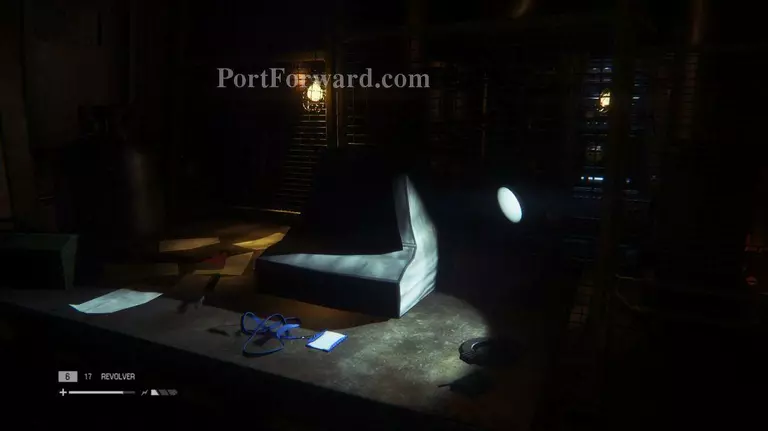
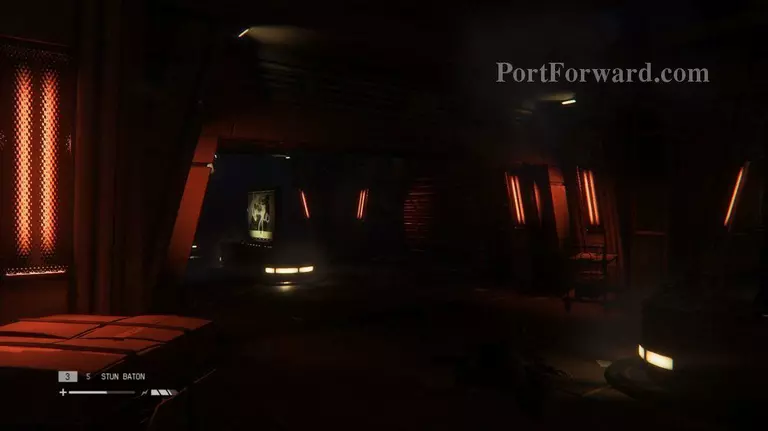
Archive Logs: Open the door in the long supply hall on the bottom floor. Enter the next room and hop inside the floor vent. Climb through, exit into an abandoned store, and head back into the storage room. There you will find a computer with four logs.
nter the vent at the end of the hallway. Exit through the floor vent and into the room where Taylor once rested.
Find a shocked Ricardo among the dead and ask him to look after you from the control room while you go find Samuels. Save at the save station.
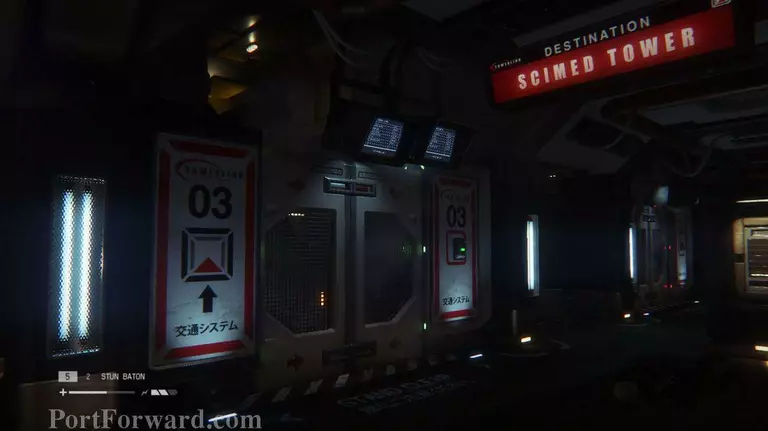
Head back to the transit station and head for the SciMed Tower.
More Alien: Isolation Walkthroughs
This Alien: Isolation walkthrough is divided into 19 total pages.


