This Alien: Isolation walkthrough is divided into 19 total pages.
You can jump to nearby pages of the game using the links above.
Haven
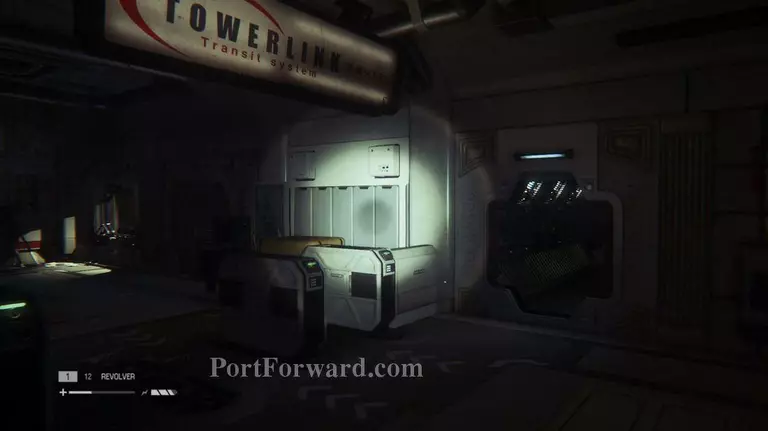
After meeting up with Samuels and Taylor, pull out your Motion Detector and see which direction to go next. Follow the path and you'll reach an elevator that can be accessed by breaking off the giant lock. Enter the elevator.
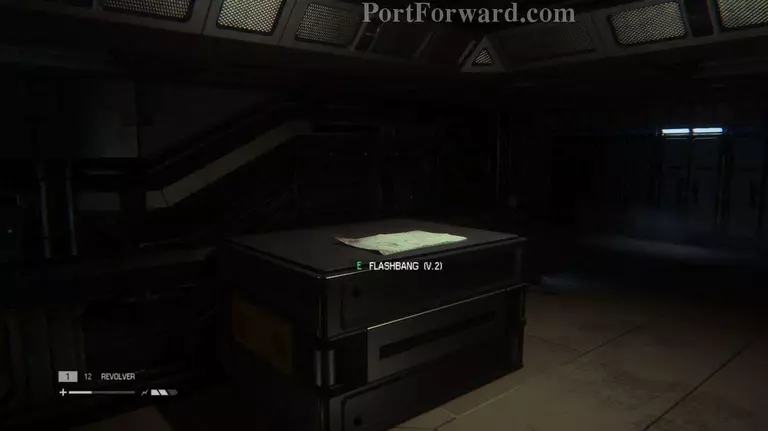
Schematics: As soon as you walk out of the elevator, grab the schematics off the crate.

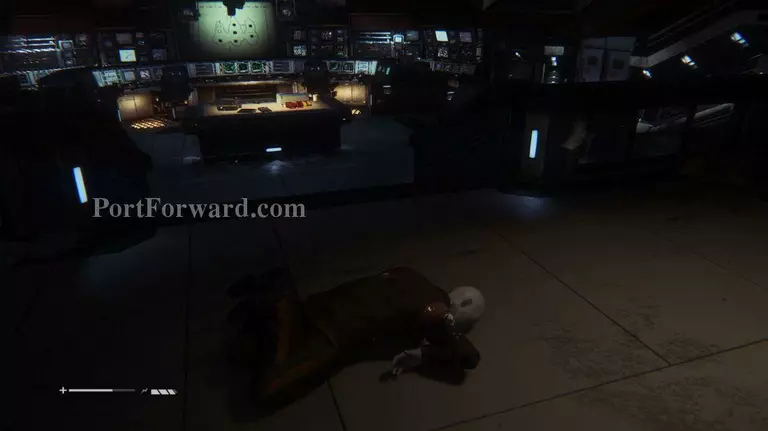
Ignore the banging on the door on your left and walk over to the security controls on the right. Interact with them to find out they have been disabled, then hide when a man walks through the elevator.
Killing the man is optional, but it will make getting to the control lever easier.
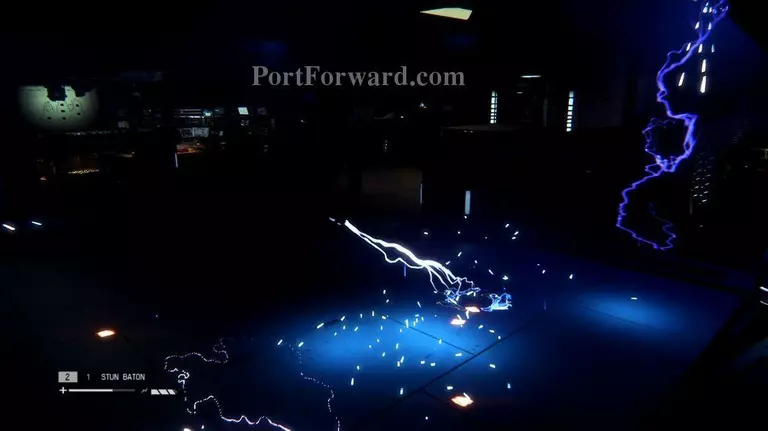
Once you pull the lever, the android will be released. The best option here is to kill the android as you will need him out of the picture in a few minutes.
If you have an EMP Mine, throw that and electrocute the android, then give him a few whacks until it's down.
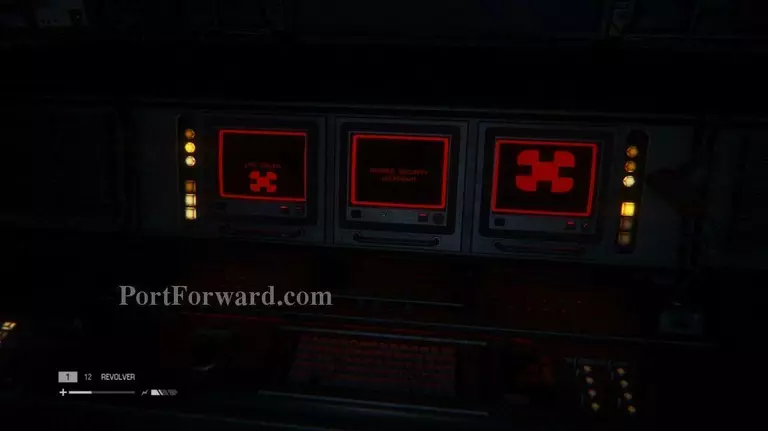
Go back to the computer you used earlier to turn on the power once more.
"This will open up the door on the right, allowing you to get to the save station and the Gas Torch.
Archive Logs: There are two logs to find on the computer in the room where the android was locked up.

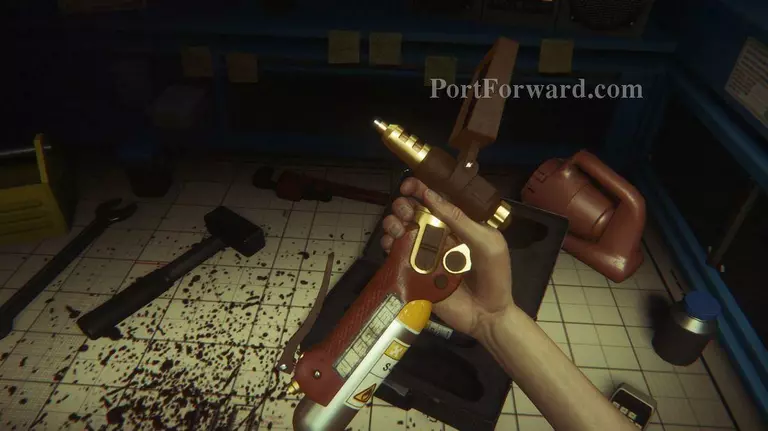
Use the Gas Torch to open the vent near the stairs. Head inside and exit into the next room.
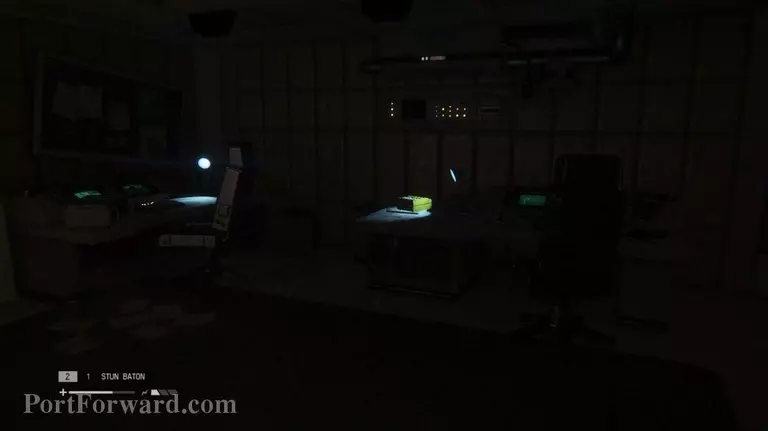
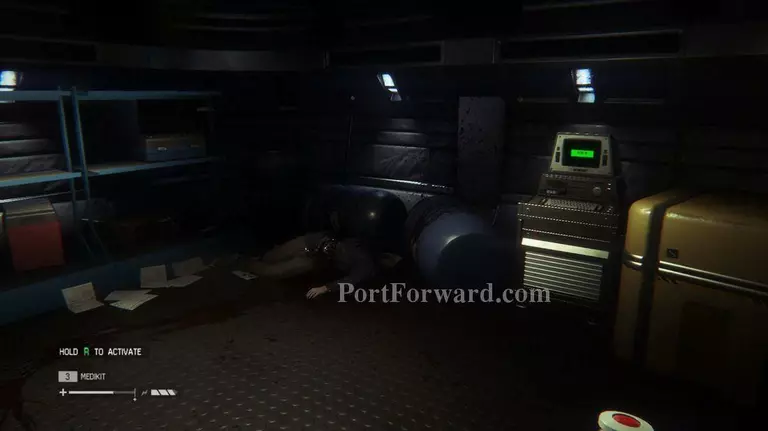
Archive Logs: After you exit the vent, play the recorder on the table.
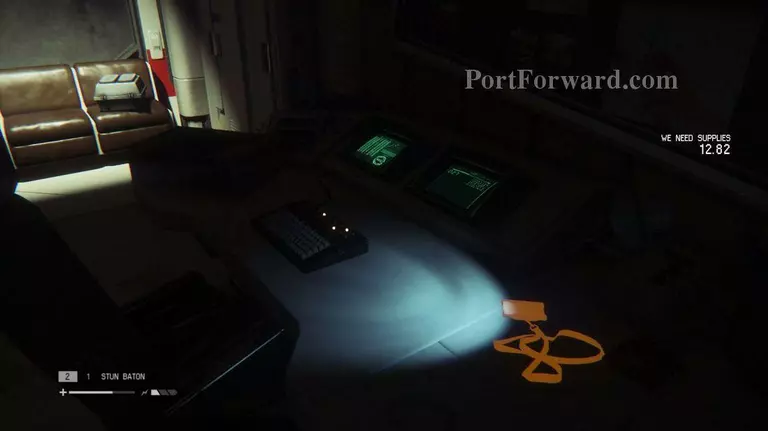
ID Tag: In the same room as the recorder, snag the ID Tag off the other table.

Open the door by pulling down the latch and head back to the transit station. Your friends are gone, but you can call for another transit car. As you do, three human enemies will walk down from the right. Take them all out or sneak your way onto the transit car.
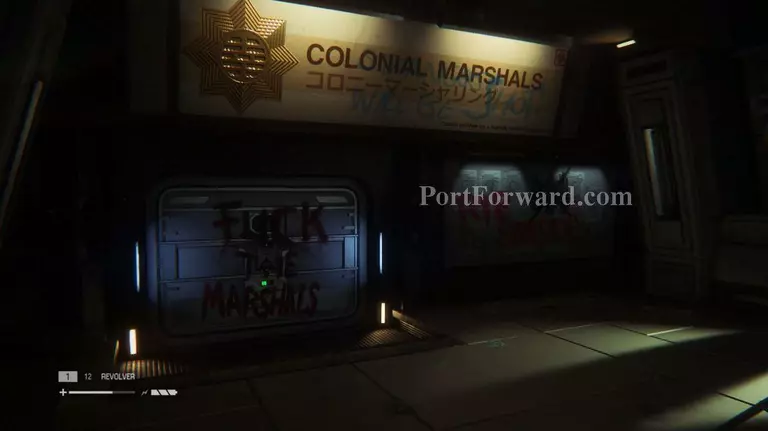
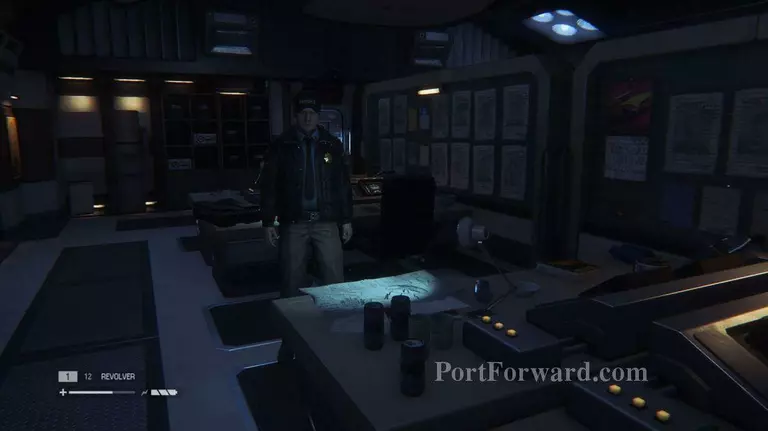
Now in the Solomon Habitations Tower, follow your objection marker on your Motion Detector until you reach the Colonial Marshal Bureau.
"Map Locations: There is a map to collect right before you enter the Bureau.
More Alien: Isolation Walkthroughs
This Alien: Isolation walkthrough is divided into 19 total pages.