This Alien: Isolation walkthrough is divided into 19 total pages.
You can jump to nearby pages of the game using the links above.
Tomorrow, Together
Time to finally escape the Sevastopol! Head into the next room and get back in contact with Verlaine to try and get The Torrens docked.
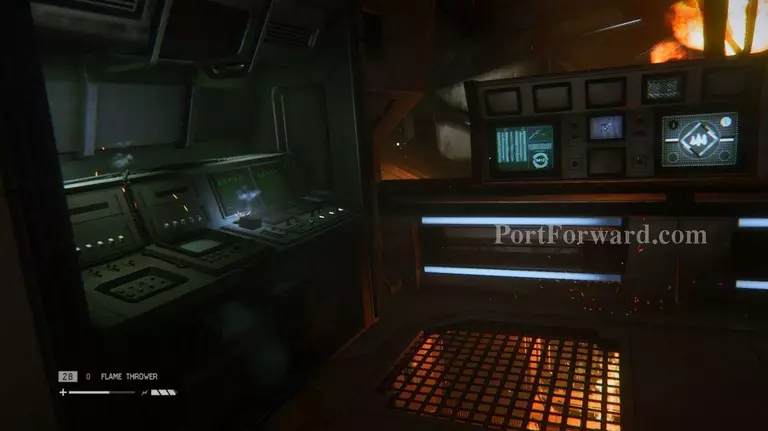
You need to get two different computers on each side of the upper area of the room hacked. The one on the right can be hacked from the start, but the other one has the power missing.
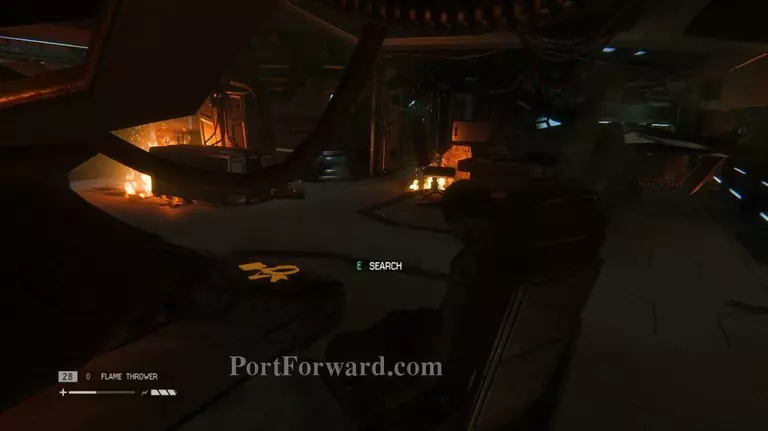
ID Tag: The dead body near the powered down computer has an ID Tag next to it.
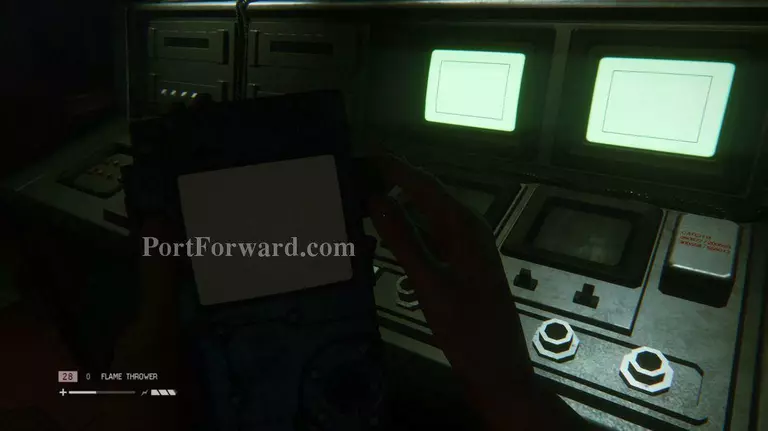
Enter the vents and head for the center to find an open vent that takes you deeper inside. Follow this vent to a lever that will power up the computer. Once that's taken care of, hack the second computer.
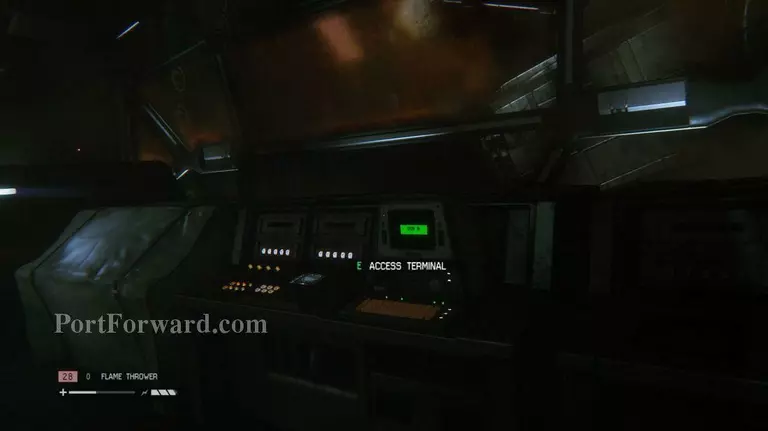
Now head to the computer closer to the windows. A barely alive android lays nearby, so be ready to whack it when it grabs your leg. With the computer on, head to the now opened door.
Archive Log: The computer you use to open up the door has a single log to view.
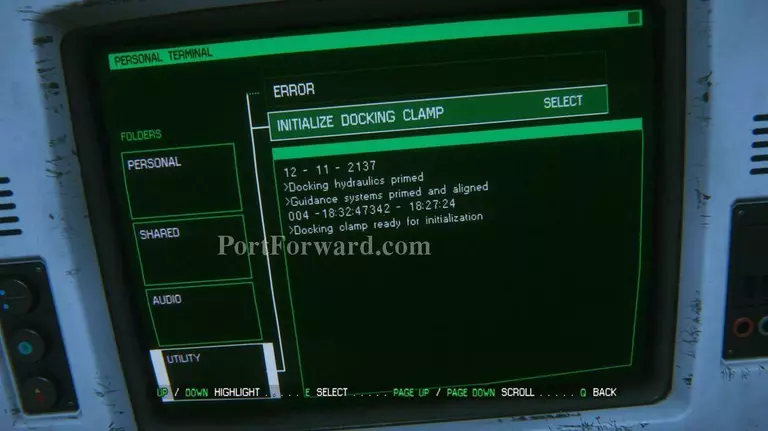
Head up the stairs and enter the next room with the save station. Walk into the control room and access the terminal to open the airlock. With that done, time to head back.
Archive Log: The next computer you have to use also has a single log.
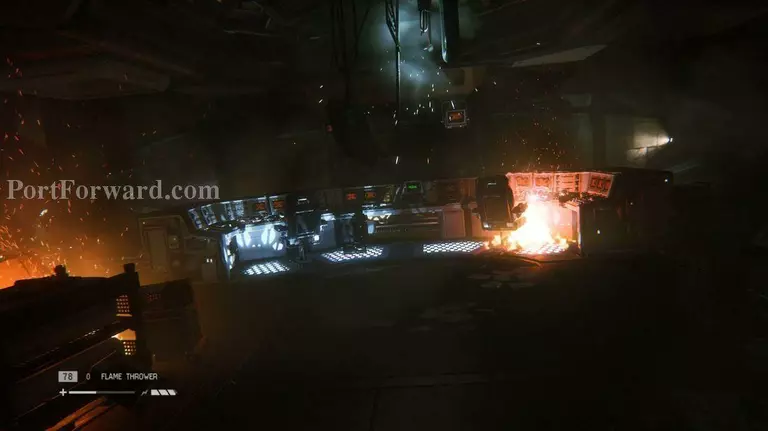
Hopefully you've been stocking up on supplies and crafting weapons, because the Alien will be at full force in trying to stop you. The Alien will return every few seconds, so you will always need to watch your guard. Keep in mind that walking under vents in the ceiling will also have you killed.

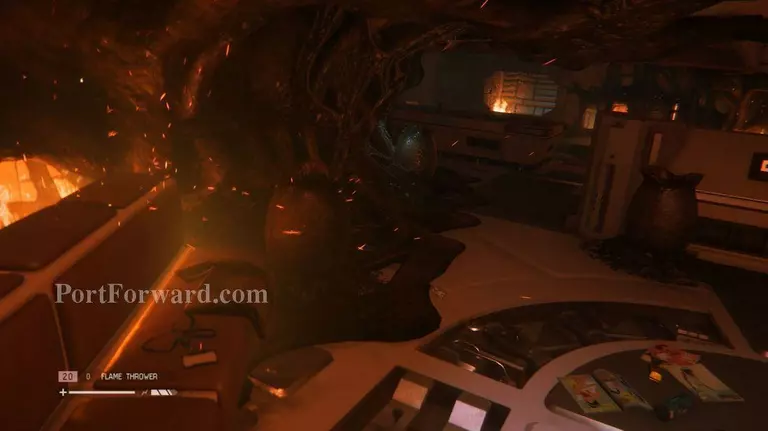
When you reach the airlock, go ahead and start changing. And just when you thought you were safe and the game was finally over, an Alien from above will cause you to crash down through a vent and into another hive. Of course.

Pull yourself off the foreign wall and head out of the room. There are Aliens all over the place, so keep that in mind as you walk under vents.
ID Tag: As soon as you break free from the wall, grab the ID Tag on the bench to your left.

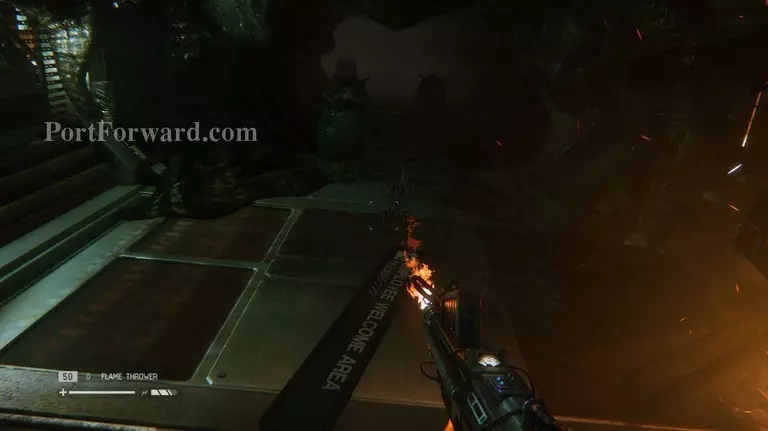
Two Facehuggers will storm at you from the hallway, so give them both a fireball from your Flamethrower. Keep walking on. You'll come to a point where you need to crouch to get through a wrecked hallway.
Do so, but be prepared to blast off several Facehuggers that come your way.
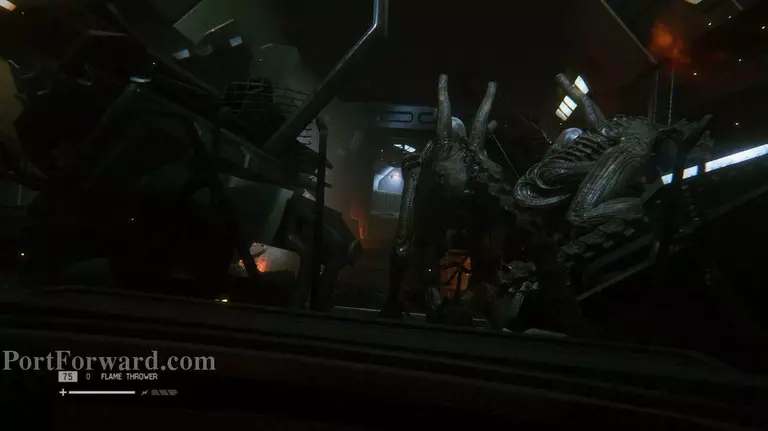
At the end, you'll come across two (!!) Aliens. One will run off, while the other one will have to be attacked with fire.

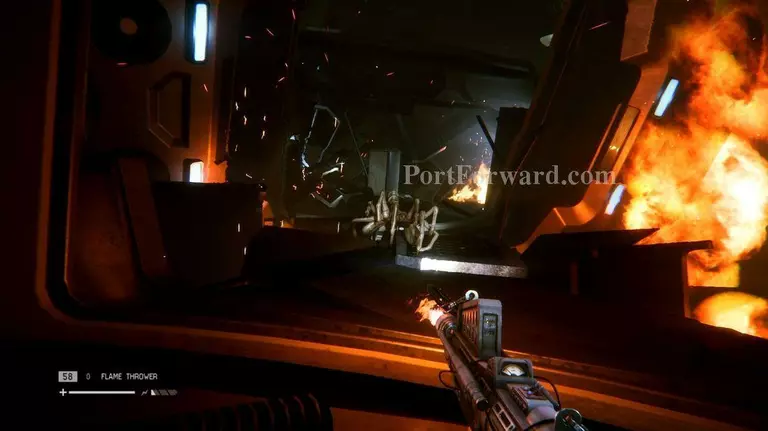
Make your way over to the next room, only to have it tumble down and crash.

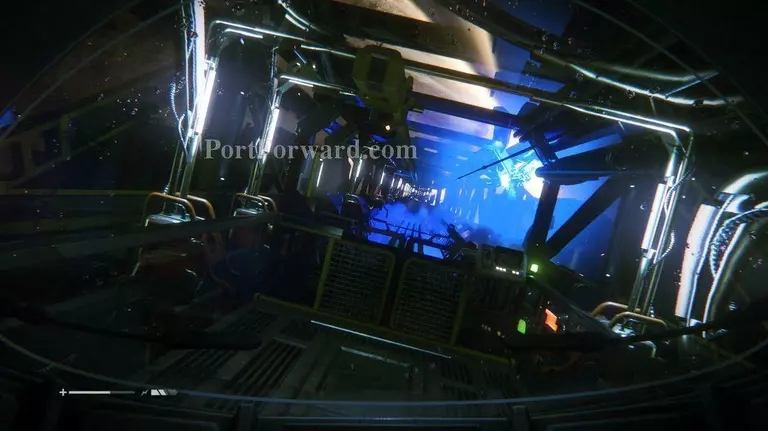
Climb down the stairs of the next room and witness nearly getting hit by a runaway transit car.
Hop onto the tracks and try to make your way to the next area, avoiding any more transit cars that might pass through. Really, don't get hit, it's terrifying.
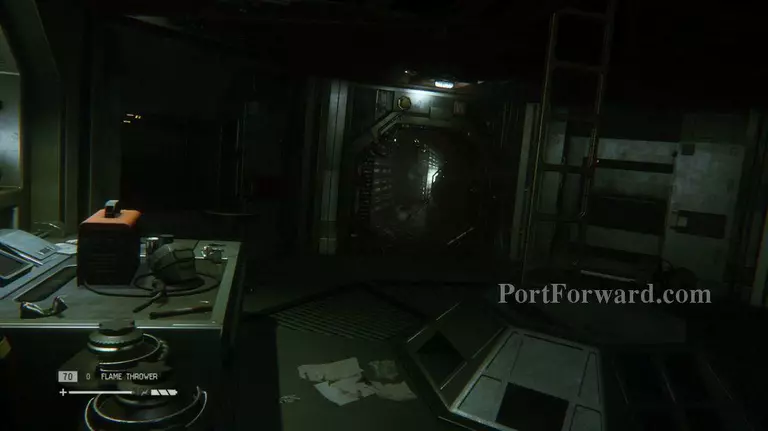
Now that you're safe from the transit cars, enter the vent in the office.
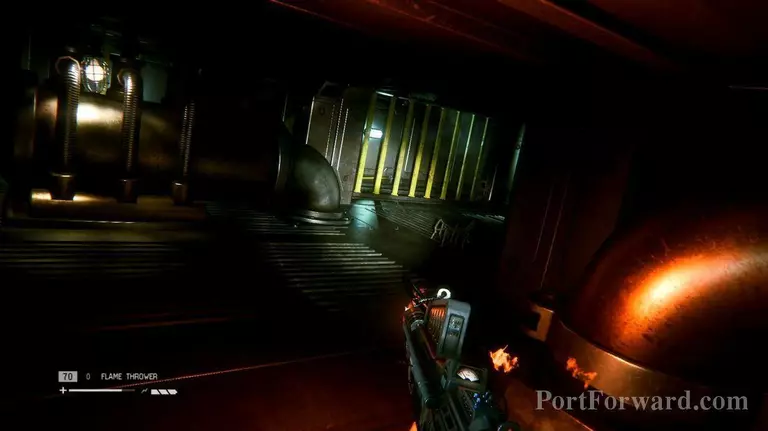
This vent is crawling with Facehuggers, so be prepared with your Flamethrower.
Exit the vent and onto the top of an elevator. Climb down using the ladder, then prepare to take out another Facehugger.
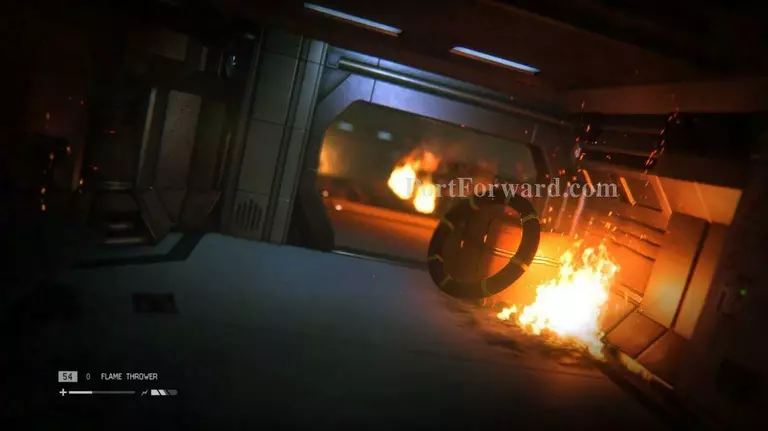
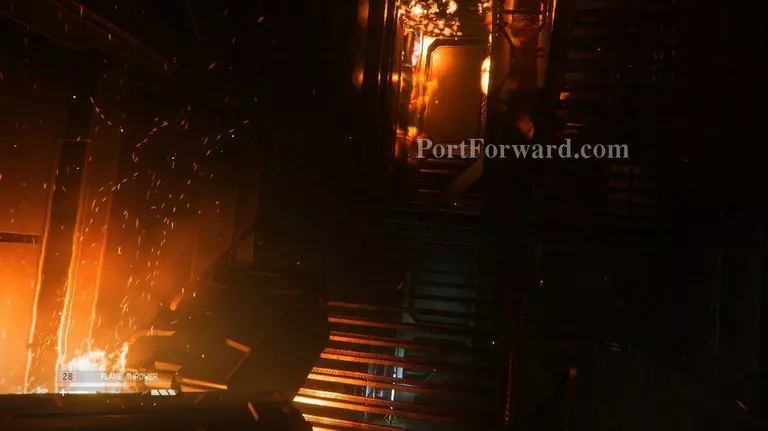
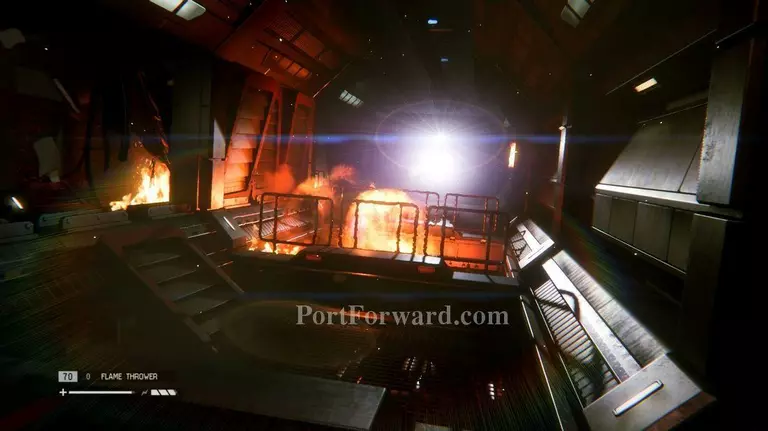
In the next room, run through the fiery inferno and get to the airlock chamber.

You've finally made it outside.
Ride across the platform and prime the release mechanisms by using Keycards locked away by a lever.
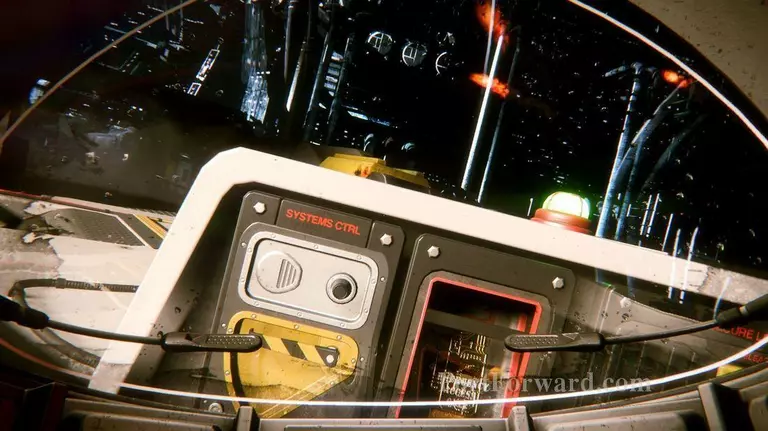
Time to release The Torrens.

Blow the four emergency release bolts, then watch in horror as multiple Aliens appear. After an intense scene, you'll make it back to The Torrens.
More Alien: Isolation Walkthroughs
This Alien: Isolation walkthrough is divided into 19 total pages.