
This Among The Sleep walkthrough is divided into 6 total pages.
You can jump to nearby pages of the game using the links above.
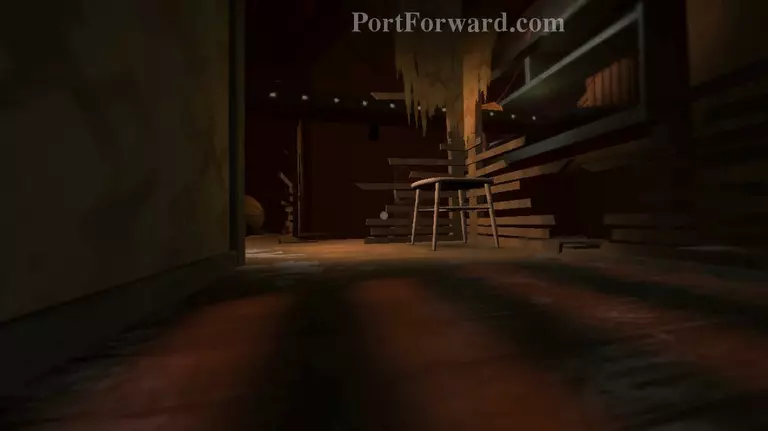
Closet

Crawl forward towards the small crawl space right in front of you and you'll find yourself in a larger room.

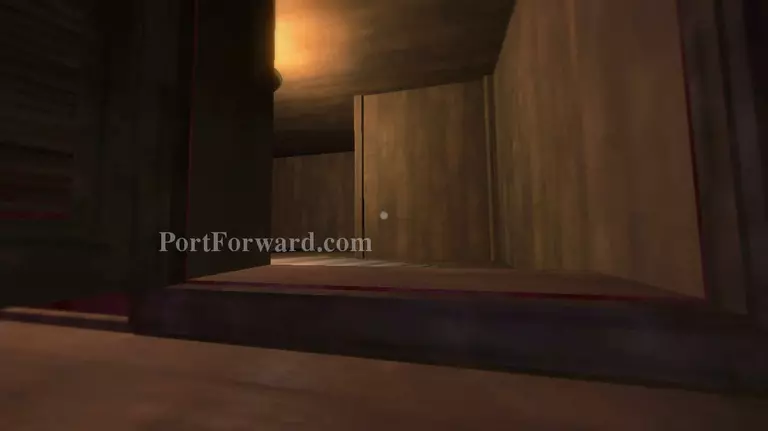
Look to the lower right and you'll see a part of a door that's brightly lit. Climb down towards it and open the door, then head inside.
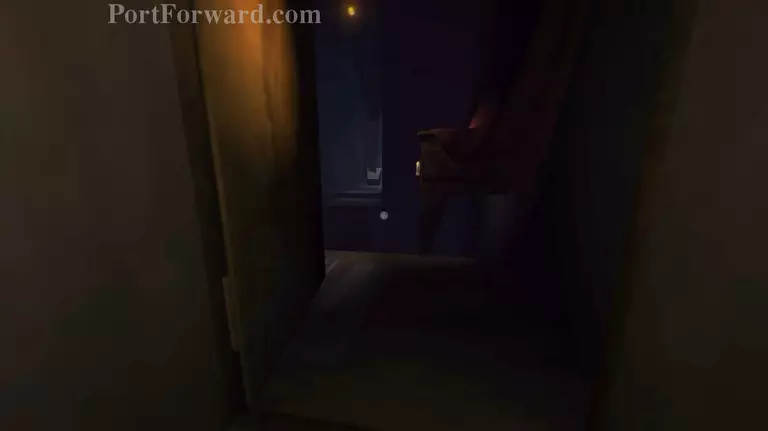
As you enter the door turn left and climb up on the boxes, then turn left again when you get to the top and push the door open.
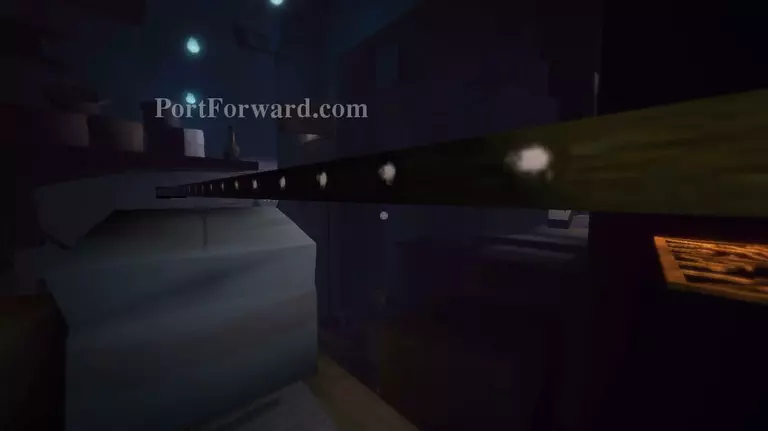
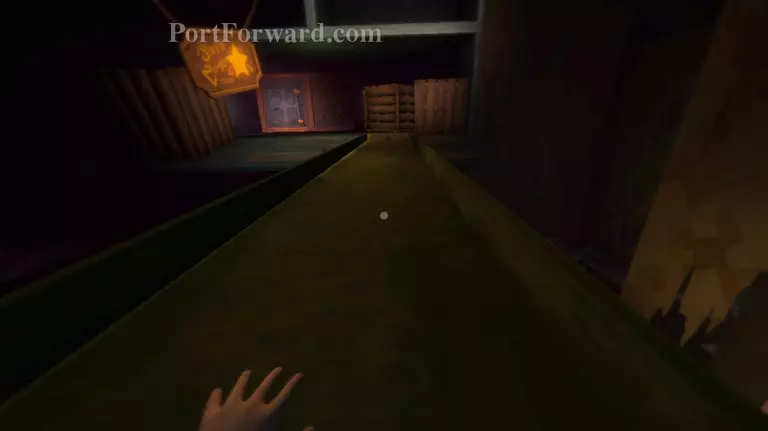
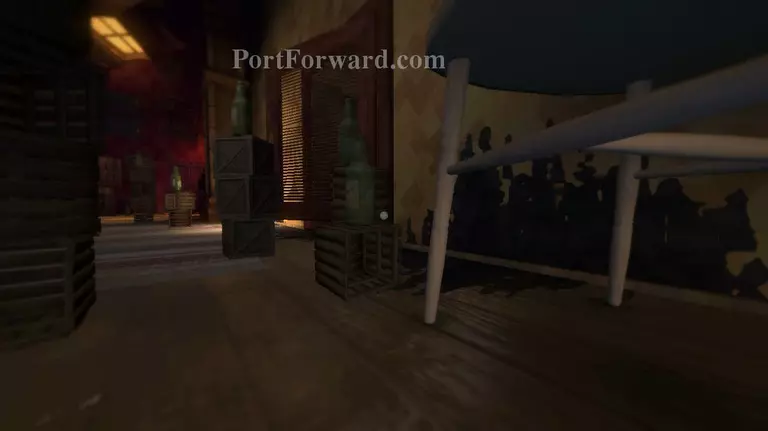
Remove the lock from the side of the grate and a platform will come springing out of it. Turn to the left and climb up on the white box, then get on top of the long platform from there.

Make your way to the other end of the platform and drop down on the knocked over grandfather's clock on the right side, then start heading towards the table and climb up on it.

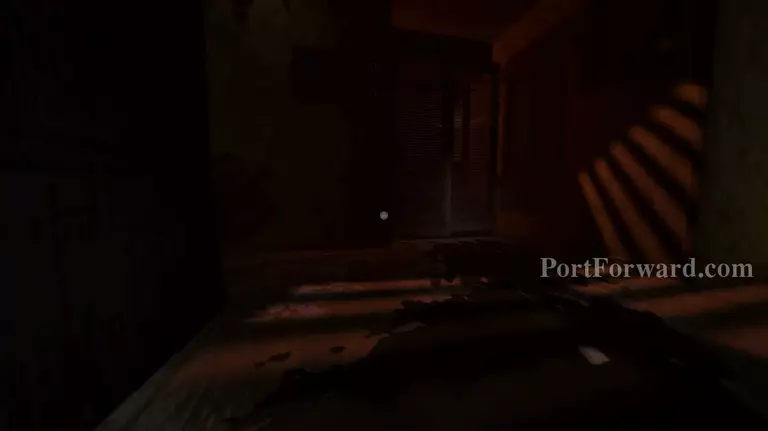
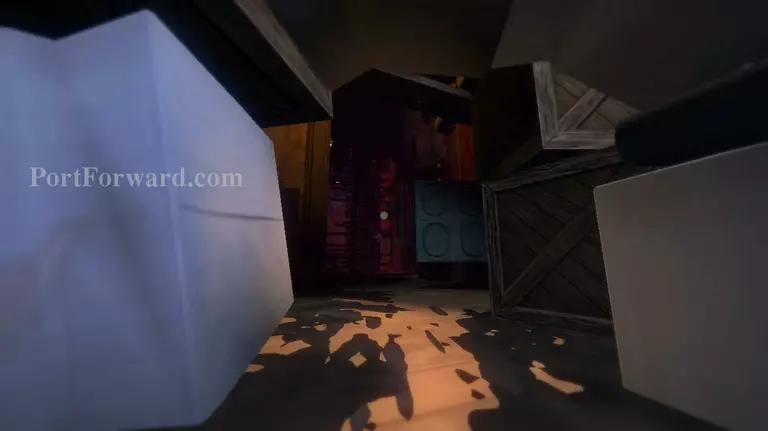
Use the second grandfather's clock to climb up to the higher floor and proceed towards the light on the other end of the corridor. You screen will distort, but don't worry. The monster here doesn't really harm you unless you break an alcohol bottle.
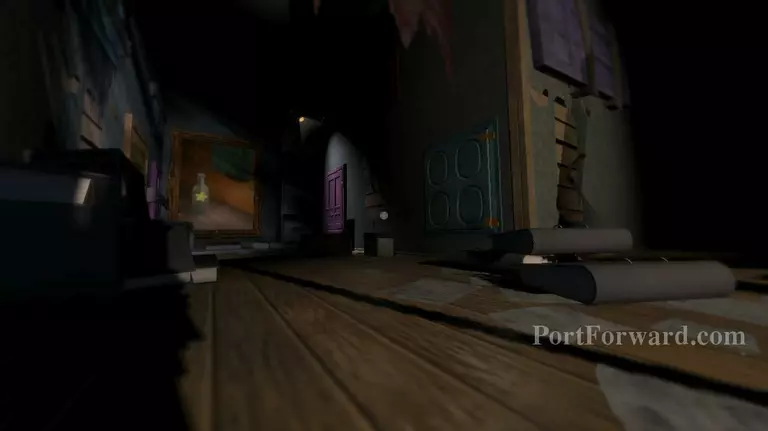
Turn left towards where the light is pointing and look to your left once you get near the purple door and you'll find another door, open it and go in.

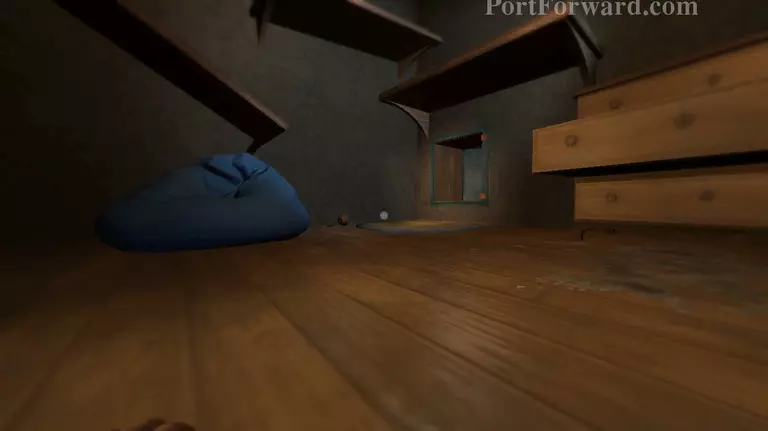
Drop down from the door and enter the only other door below, now crawl through the closet and bring out Teddy if you must. Follow the black liquid until you get to the exit.
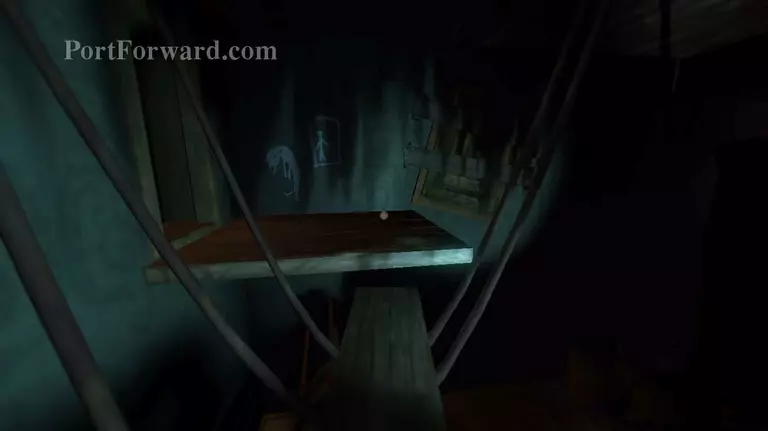
Once again drop down from the exit and grab a tennis or baseball, then throw it at the glass bottle that's in front of the cloth mound.
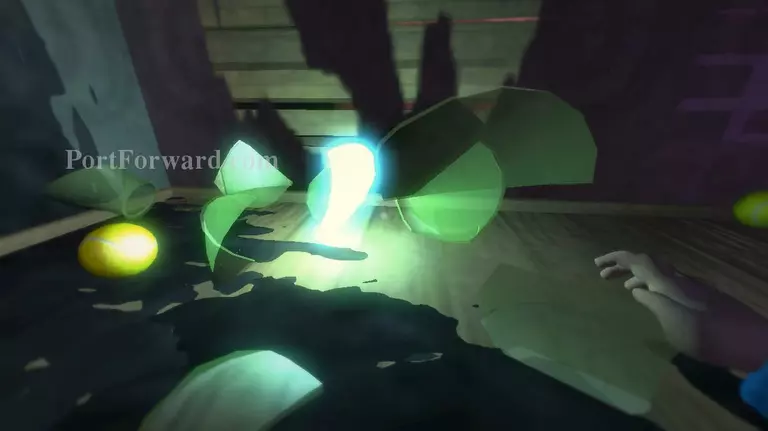
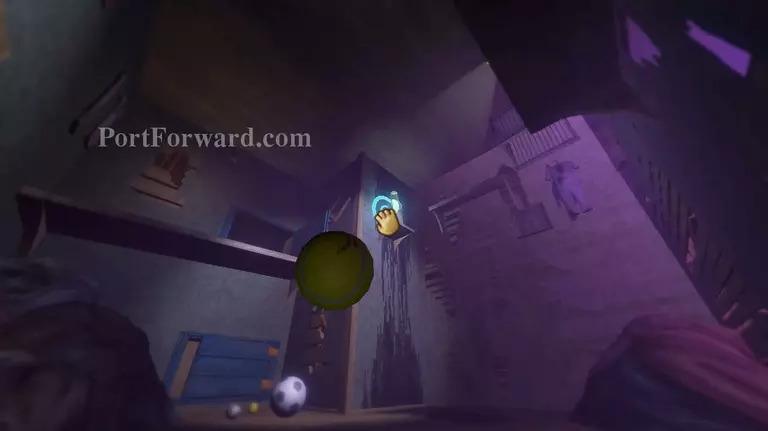
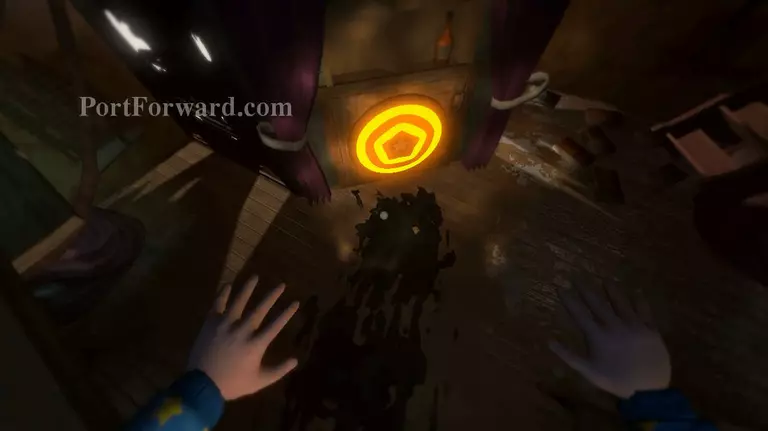
After the bottle falls, wait for the distortion to disappear and grab the moon from the floor. Now head for the door and place the moon on it, then it will open.
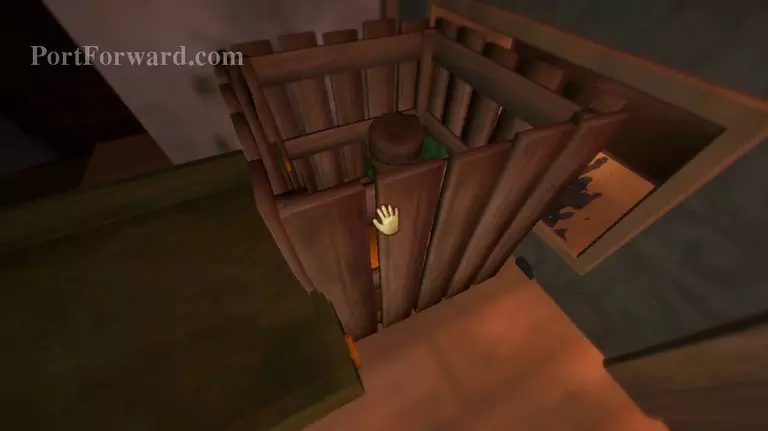
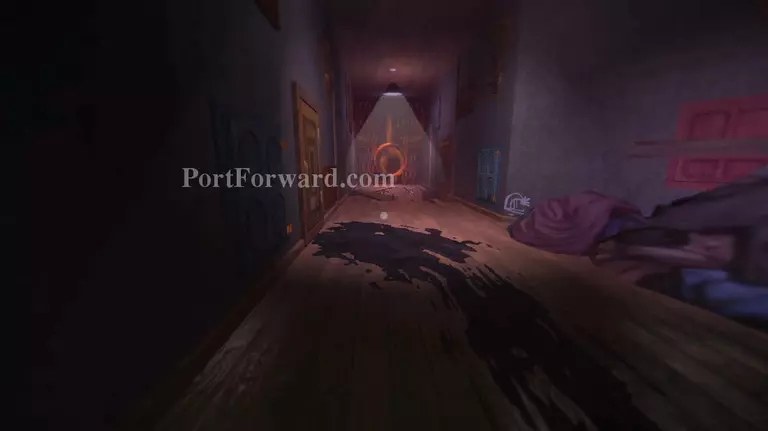
Crawl towards the brightly glowing orange door and take a left as you approach it. Keep crawling and you'll find more black stains on the floor, follow them and open the closet at that they lead to.
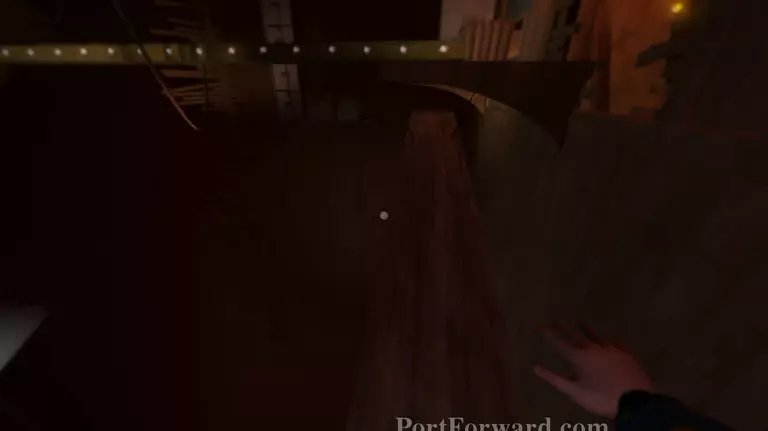
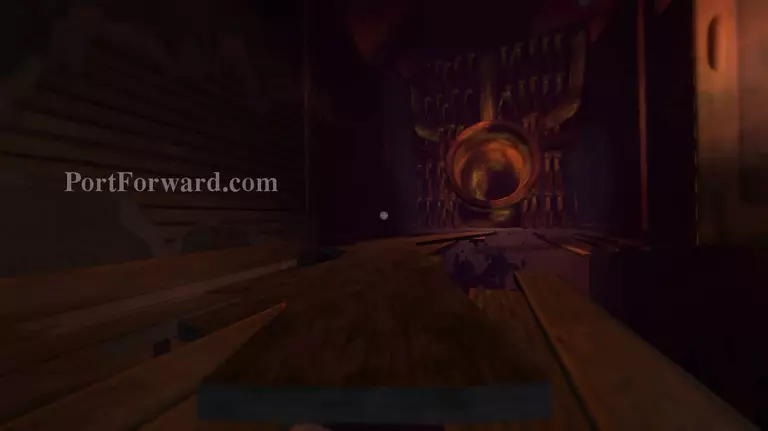
Climb up the open hole in the closet and cross the bridge to get to the otherside where the mechanism is hitting a crate of bottles.
The crate is too heavy for you to move at the moment, so slowly remove the bottles one by one and put them at a safe place. Avoid breaking them.

You'll be able to remove the crate once there's only one bottle left inside. Move the crate to the side so that the mechanism can pass through the hole.
Head back into the closet and wait for the trench coat to disappear, then take a left around the corner where it came from.

Pull out the lowest and highest drawer then use them to climb up towards the mechanism that you allowed to pass through the hole.
Use the mechanism platform as a bridge and cross to the otherside of the room, then enter the small door on the left. Open the door right in front of that and you'll find yourself inside the kitchen.

Climb up onto the island counter, grab an apple and throw it at the bottle that's on top of the stove. Now you have a fraction of a second to get off of that counter and hide inside the island cabinet.

Once the trench coat is gone, grab the star and go back into the door that you came from. You'll notice that there are black stains on the floor which points to the left.

Climb up the table and drop down on the opposite end of it. Don't walk forward as you drop down, just turn left and open the door then head inside.
Get up the crate and make your way out from the only other door in that closet. Cross the bridge and open the door on the other end of it.
You'll immediately find black stains on the floor again. Follow the stains, just be careful not to break any bottles on your way.
If you're really bad at avoiding them, then grab the bottle and safely place it on the floor. It might take you longer but you'll be safer.

The trench coat will also pass through the corridors every now and then so hide inside cabinets and wait a second before continuing down the corridor.
Keep going through the corridors until you reach the slightly open closet door at the very end of it. Enter the closet and drop down from the door on the other end.
You'll find yourself near the door that you need to get to. Crawl to the other side of the plank that you're standing on then drop down on the left side of it at the very end.

Head for the door and open it, then go inside. Turn right and pull on the first drawer and use it to climb up to the table right next to it. Make your way way up to the elephant from there.
Climb back down the drawers and turn right. You'll find a small opening underneath the second shelf that you stepped on, head in through there.
Keep crawling forward until you get to the long hallway, enter the door on the left first and wait for the trench coat to leave the area.
When it's gone, leave your hiding spot and quickly go to the tunnel at the end of the corridor.
More Among The Sleep Walkthroughs
This Among The Sleep walkthrough is divided into 6 total pages.


