
This Another World walkthrough is divided into 8 total pages.
You can jump to nearby pages of the game using the links above.
Jail
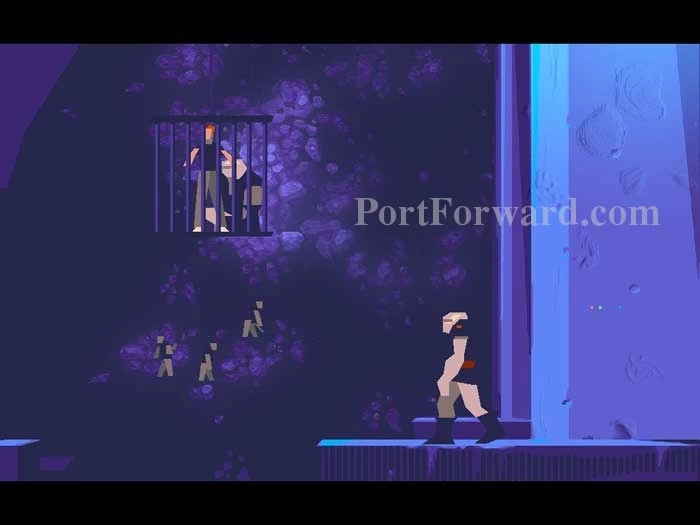
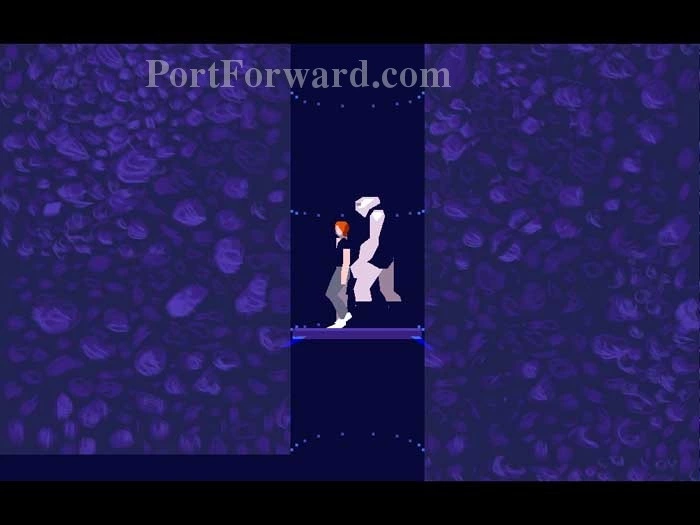
Rock the cage left and right to get it swinging. It will eventually break free and drop onto the patrol.
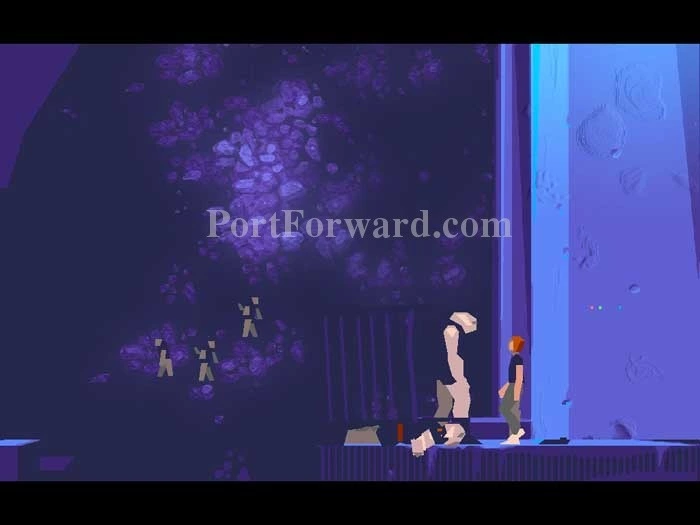
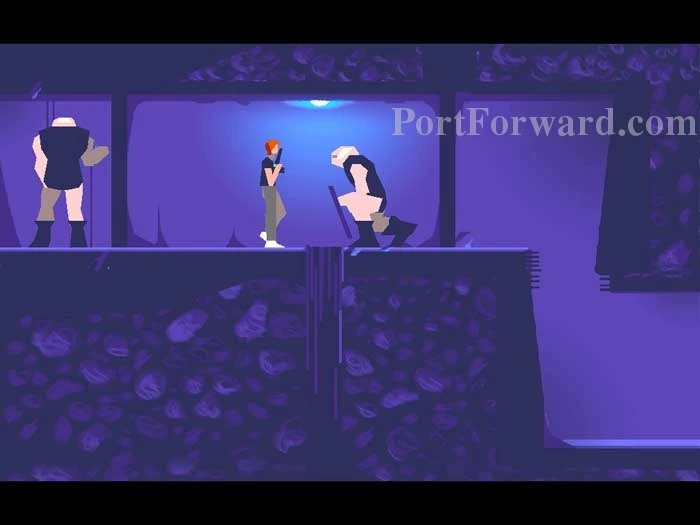
Emerge from the cage with your cell mate, "Buddy." Crouch down to grab the gun seen to the right of Lester.
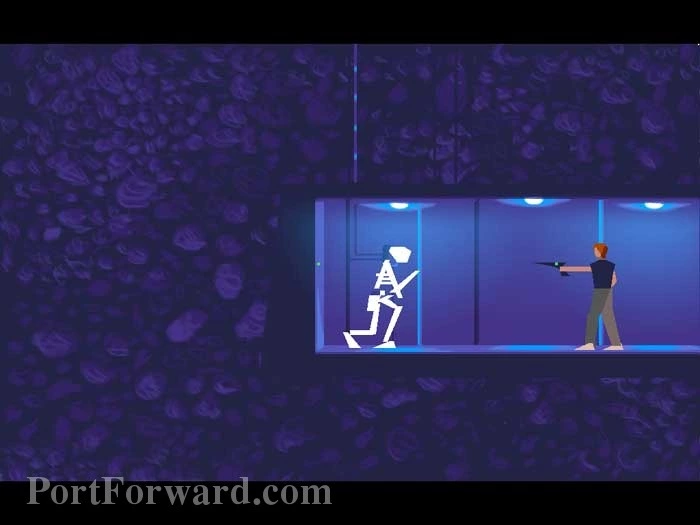
Walk to the right and fire upon the approaching guard. He's quickly skeletonized.
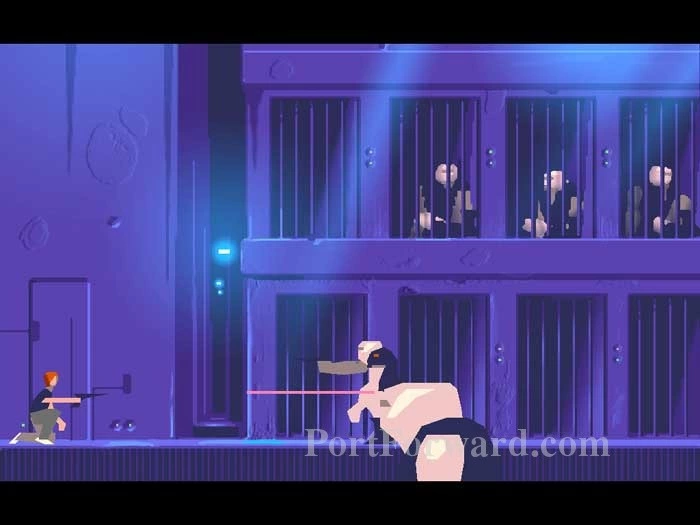
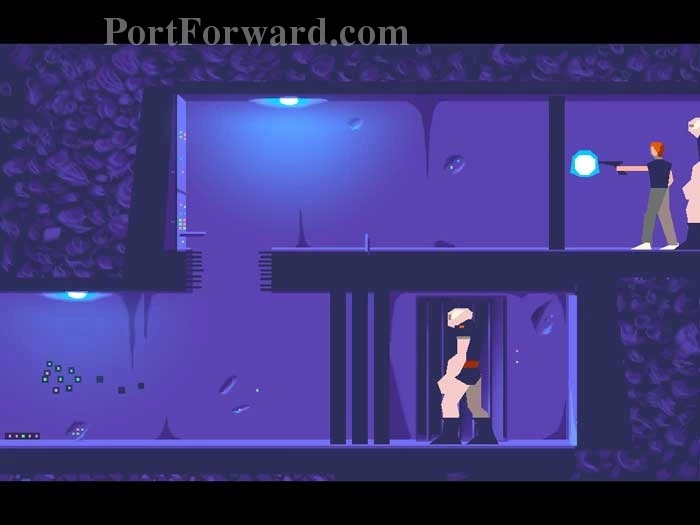
Advance two frames to the right and protect Buddy while he works on the access panel. Per the introductory pictogram, a quick press of the control key fires, a brief press-and-hold creates a shield, a long press-and-hold creates a shield buster. My best technique was to focus on offense. Immediately fire a shield buster and then send him a rapid succession of quick blasts.
Step onto the platform, controlled by your arrow keys.
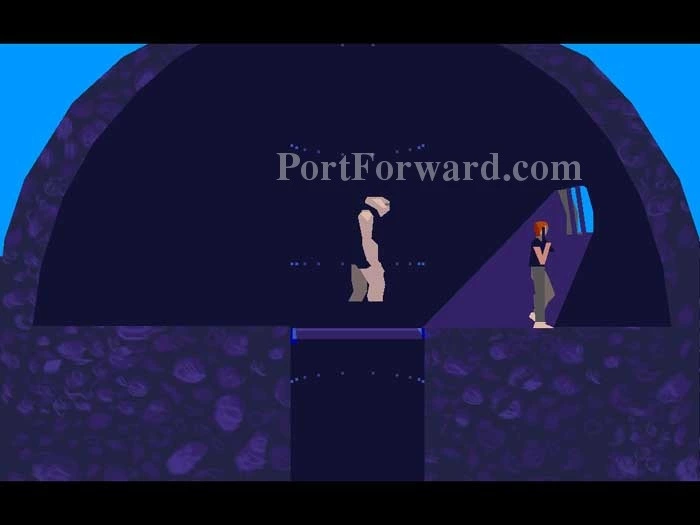
Moving up takes you to this brief sightseeing spot.

Approach the window to spy this breathtaking view of your new surroundings.
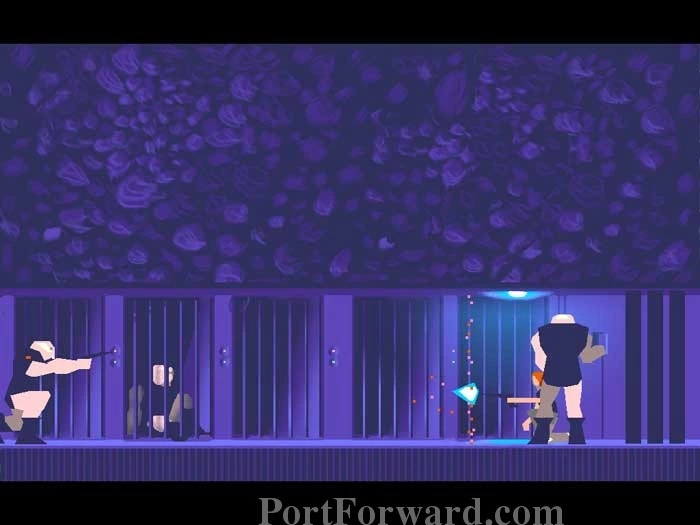
Step back onto the lift and ride it all the way down. (Don't exit on the level just above this one.) Head left and shoot fast to take out this guard. Fire at the green light behind him to deactivate the power.
Ride the lift up to the level you bypassed before and head left. A long press-and-hold will destroy this barrier (plus drain your gun), and the guard below must do the same to his three barriers because you've taken out the power. Use the down arrow to drop below the gap in the floor, then quickly advance left before the guard destroys his three barriers.
Your up arrow gets you to the level above. Drop through the trap door opened by Buddy before the guard attacks from the left.
More Another World Walkthroughs
This Another World walkthrough is divided into 8 total pages.


