
This Another World walkthrough is divided into 8 total pages.
You can jump to nearby pages of the game using the links above.
City 2
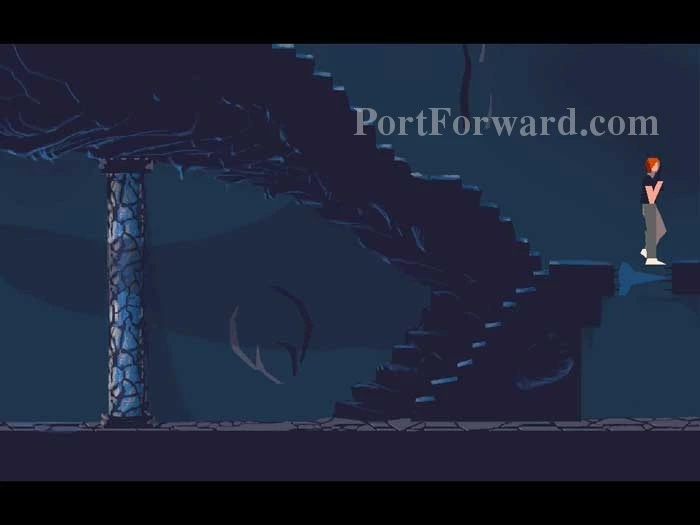
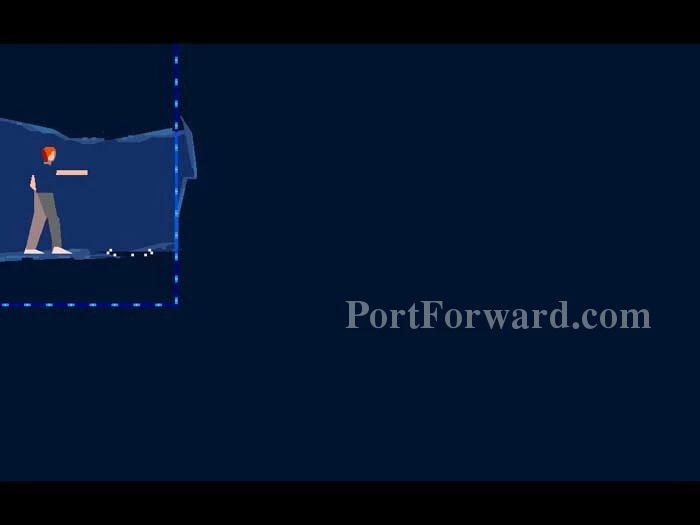
Continue right til you get to this guy. This next guy is tough. One simple strategy is to stay atop the stairs and wait behind a shield. Zap him as he ascends the stairs.
Another strategy is to immediately jump to the bottom of the stairs and erect a force field. Push your gun through the force field and shoot a press-and-hold blast to destroy his force field. Then quickly zap him before he has time to recover.
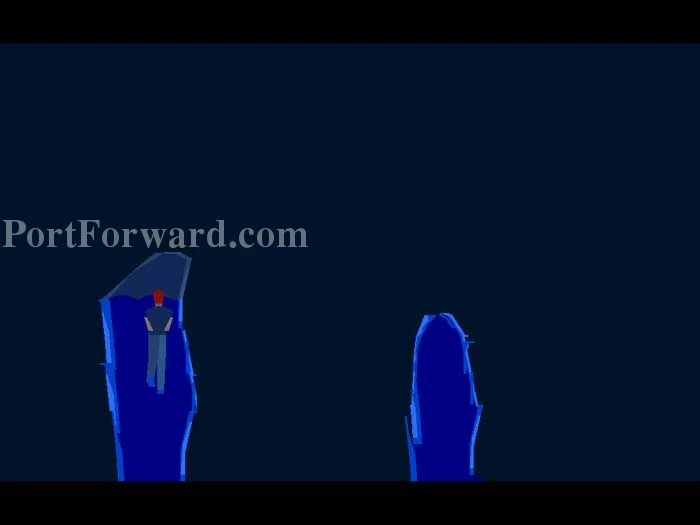
Leap over these stairs.
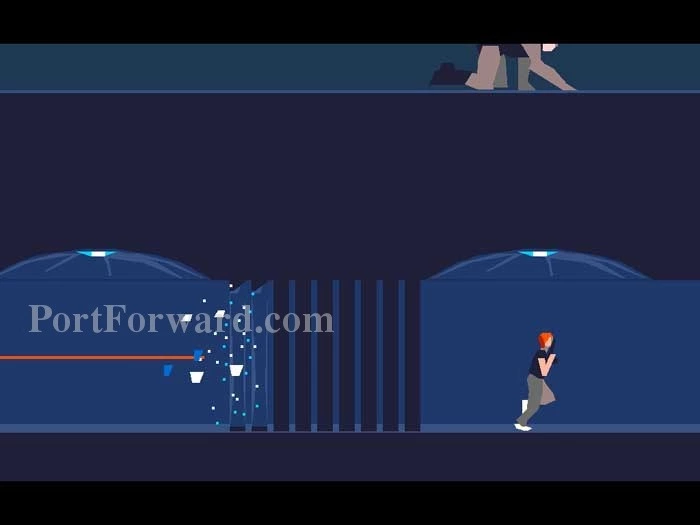
Erect a force field then approach to trigger the doors. The guard lobs a grenade your way -- back off to close the doors. The grenade boomerangs back to the guard, who is vaporized. Destroy the wall behind him to reach the next pane.
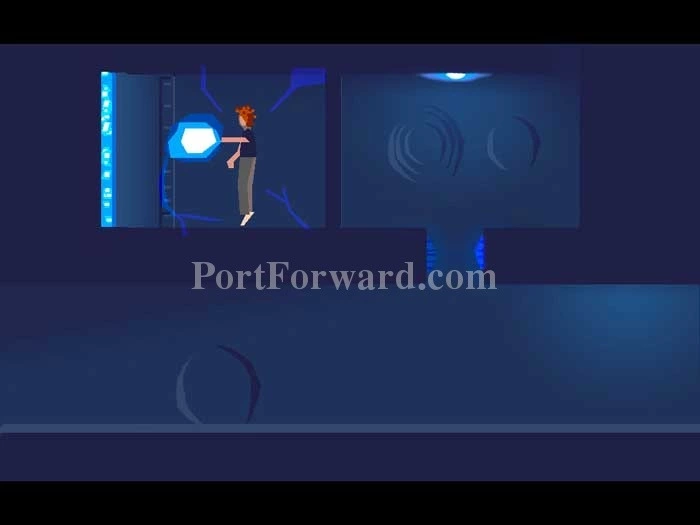
Here you'll find another charging station for your gun.
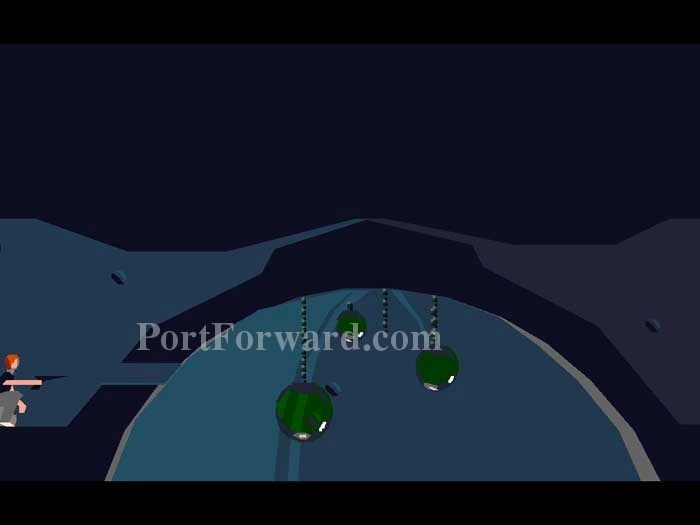
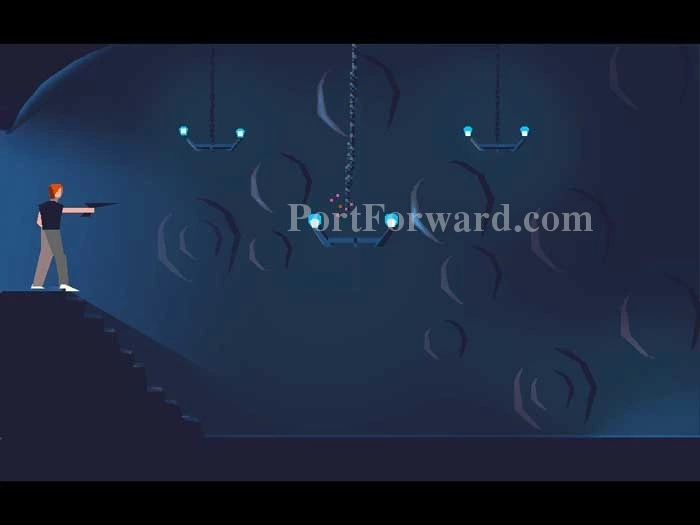
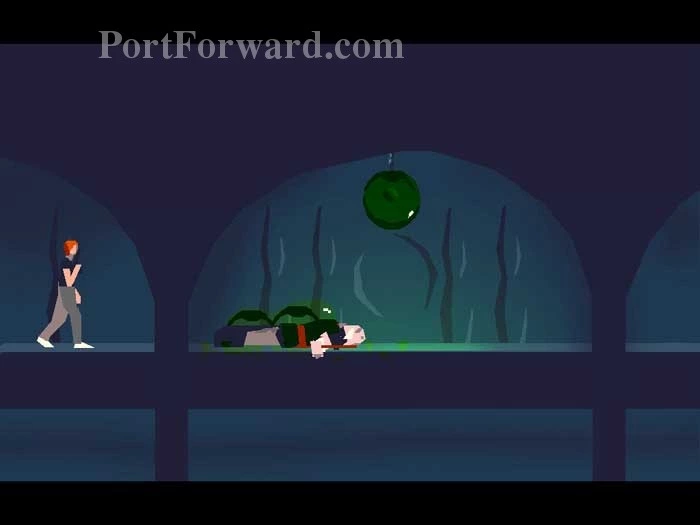
Notice the reflection of a guard patrolling beneath these glass balls. Crouch and fire when the reflection is paused in the center of the ball. When it crashes, you can hear him yell. If you miss, he'll fire upon you and you'll need to re-load the area.

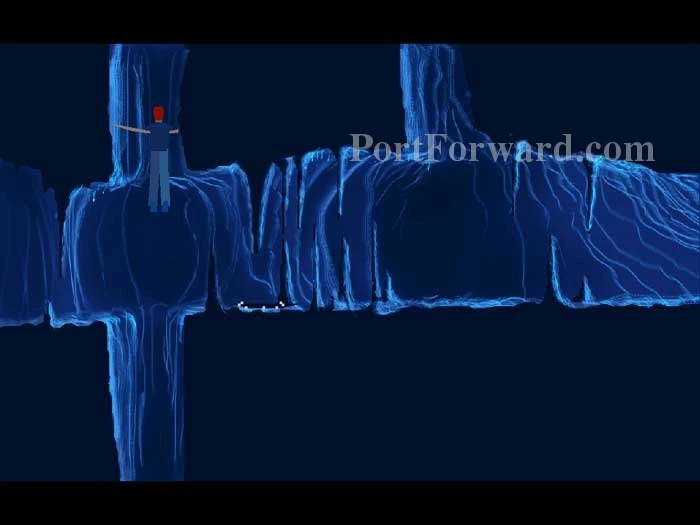
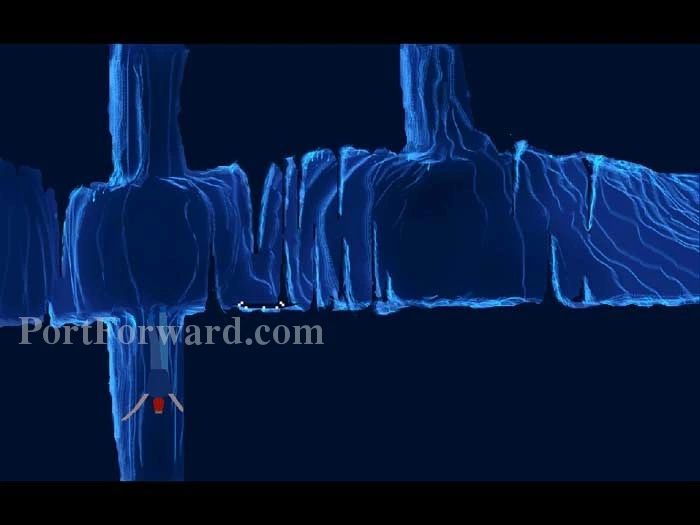
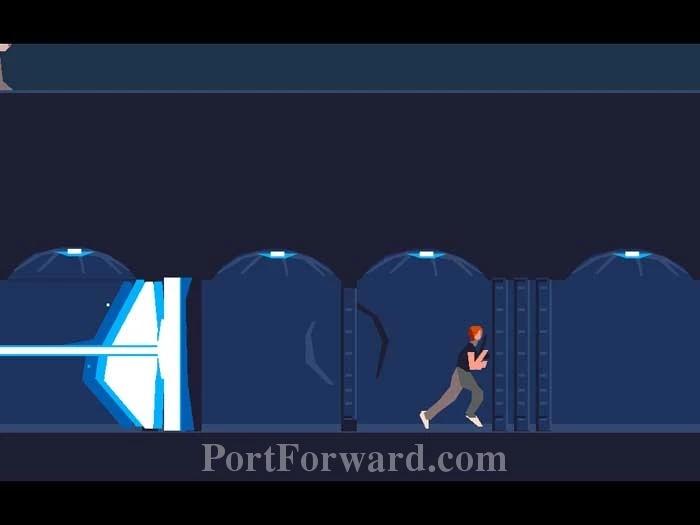
Return left, this time descending the stairs.
Use your down arrow to transport to the floor below. You can head left or right, but you'll do yourself a favor by starting left.
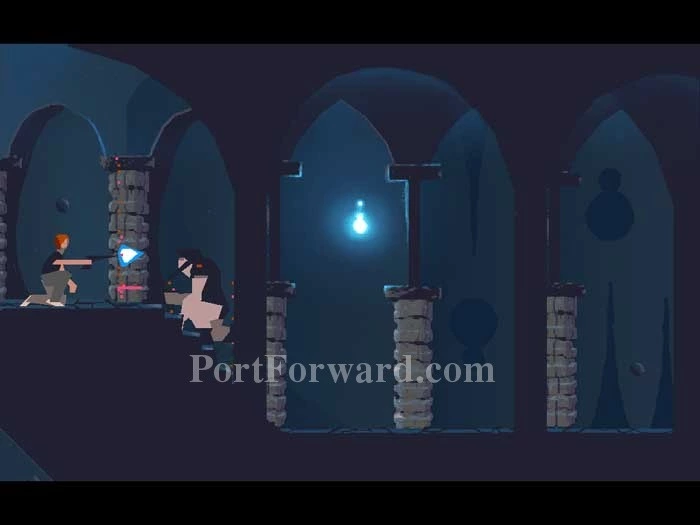
Take out this guard. My preferred technique is to immediately erect a force field. Poke the gun through the force field then fire a press-and-hold blast to destroy his force field, quickly followed by a zap before he has time to erect a new force field.
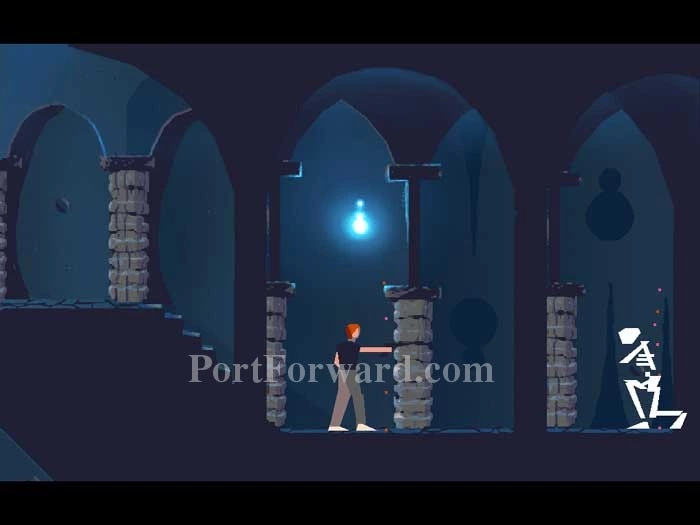
Advance to the left pane and shoot this chandelier, unblocking the obstacle from Buddy's path.
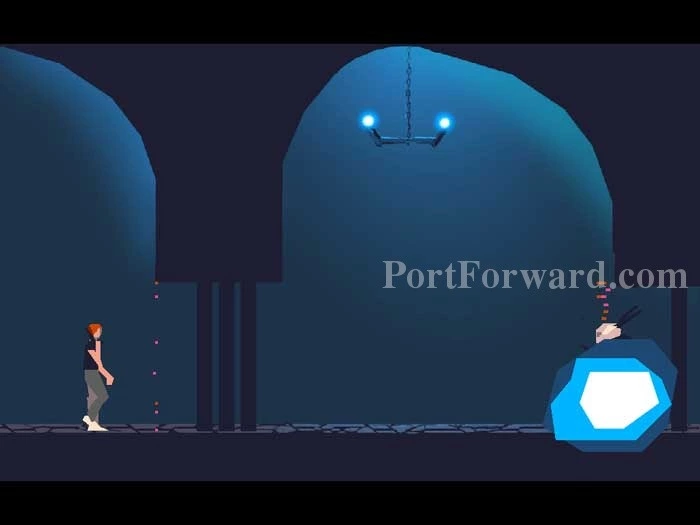
Return right to this pane, and attempt to advance right. You are grabbed by this guard and your gun is flung across the floor. Press the fire key to kick him in the groin, and he releases you. Quickly retrieve your gun (where indicated) and fire before he regains his composure.

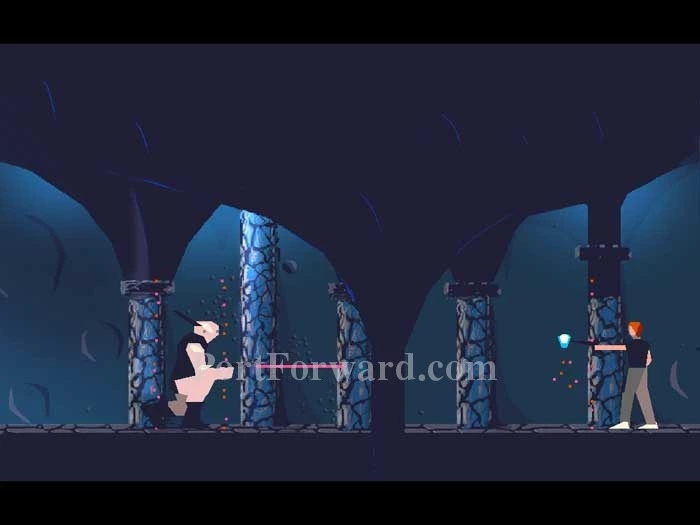
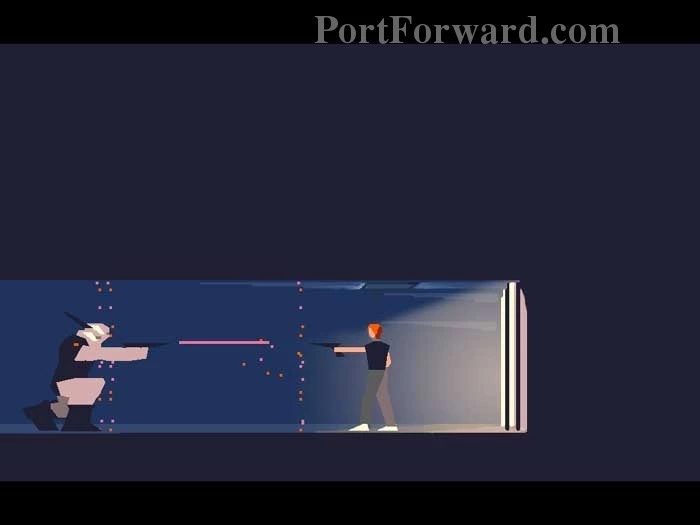
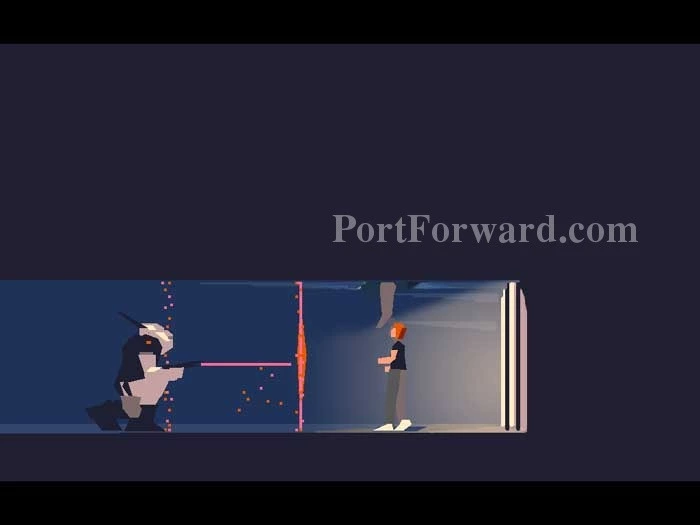
Advance right to this crazy-hard gunfight. My technique is to focus on killing the guard on the right after erecting two force fields on either side of Lester. Don't erect the left force field too far left or the guard will just walk past it.
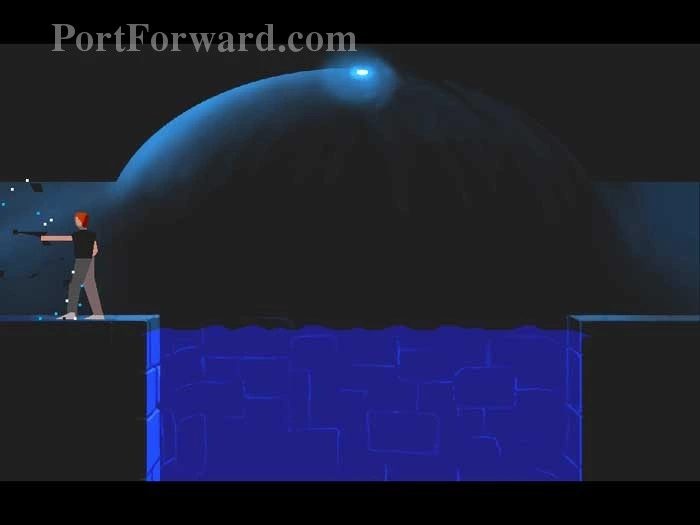
Rush right to this pane, then quickly turn around to ambush the pursuing guard. Dive into the pool and swim down. (If you continue to the pane on the right, you'll encounter the guard you smashed with the glass ball. We'll get there soon enough.)
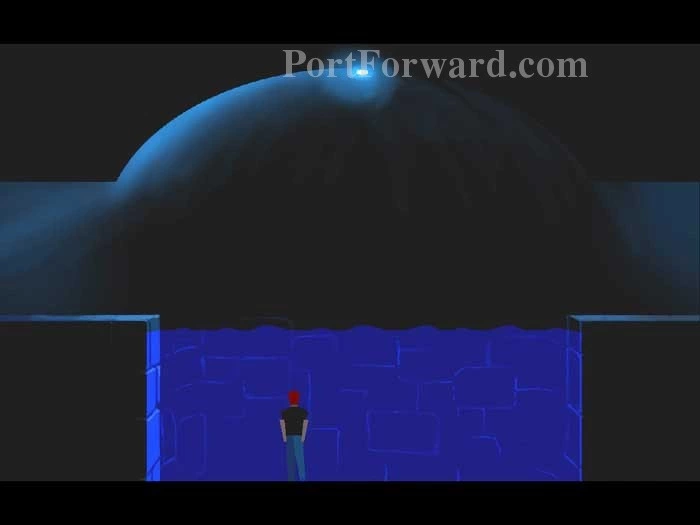
Swim all the way down, then left through the wall you destroyed previously. Notice that your gun doesn't work underwater. You wouldn't have been able to destroy the wall now.
Continue left, then swim up through this tunnel.
Take a breath in this small chamber.
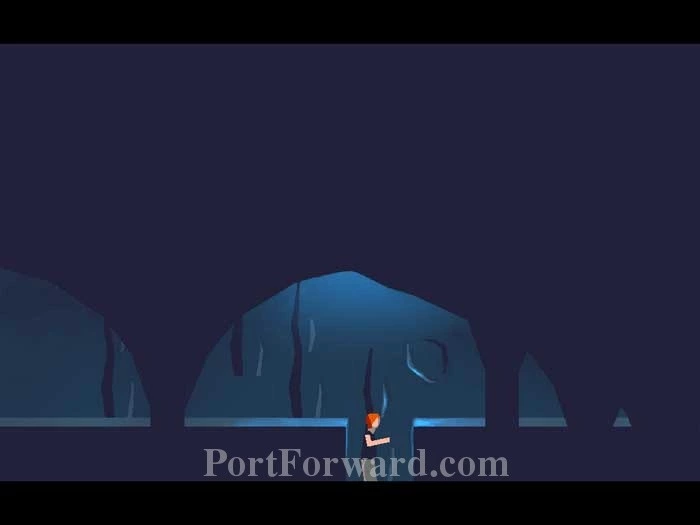
Swim down through this tunnel. (You can continue to the pane on the left, but a cave-in prevents further progress.)
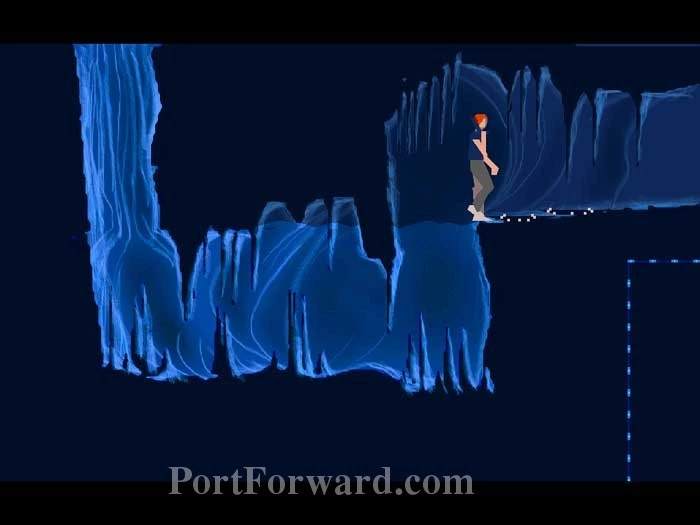
Exit the water then jump over the munchers. Note the power line lower-right.
Continue right then shoot the power line.
Now return back the way you came. Emerge right from the pool.
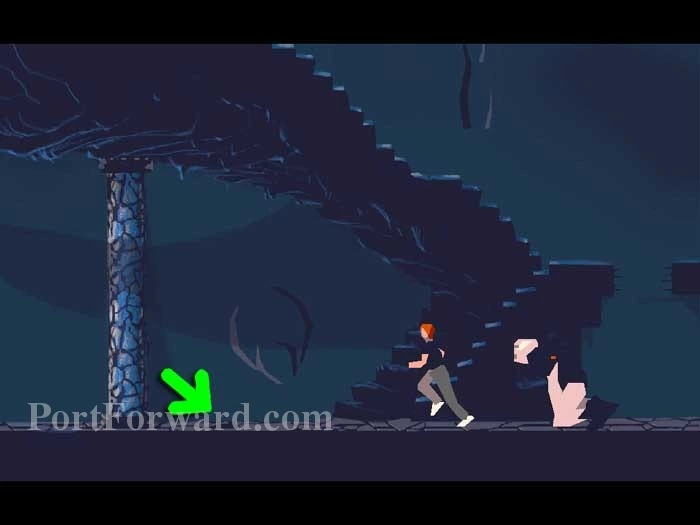
Walk past the guard you knocked out with the glass ball earlier.
Drop into this pit.

A blast from the left is protected by a door, closed when you shot out the power line earlier. Move quickly to shoot the door on the right, before the leftmost door is blasted through.
Continue right. The doors open, then close, automatically. Keep pace to exit right before the doors are blasted through. Note your buddy in the crawlspace above.
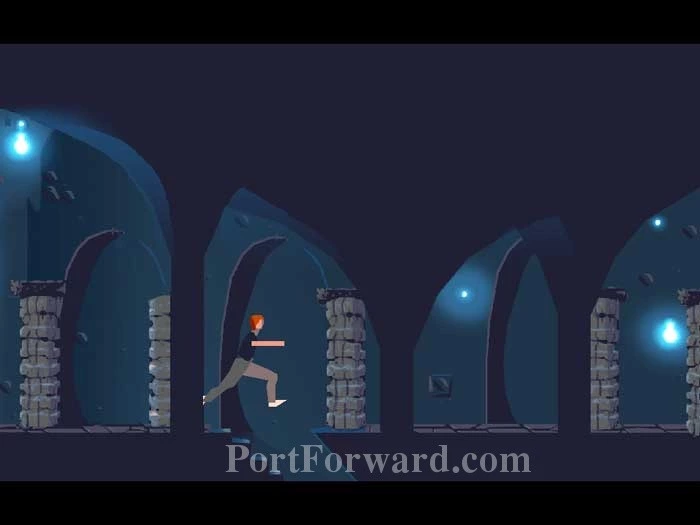
Continue running right past many more doors.
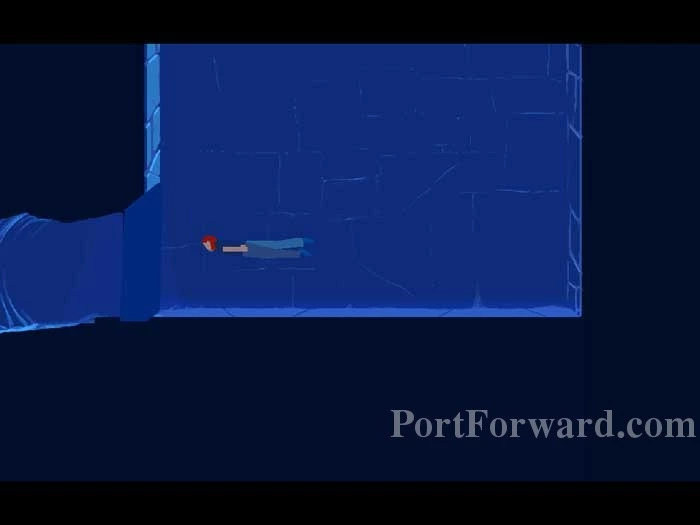
Turn around when you reach the bars. Try to position yourself as I am here, under the trap door in the ceiling. Erect many force fields to bide your time.
After a few tense moments, your buddy's arm reaches through the trap door, pulling you to safety.
More Another World Walkthroughs
This Another World walkthrough is divided into 8 total pages.


