This Another World walkthrough is divided into 8 total pages.
You can jump to nearby pages of the game using the links above.
Palais
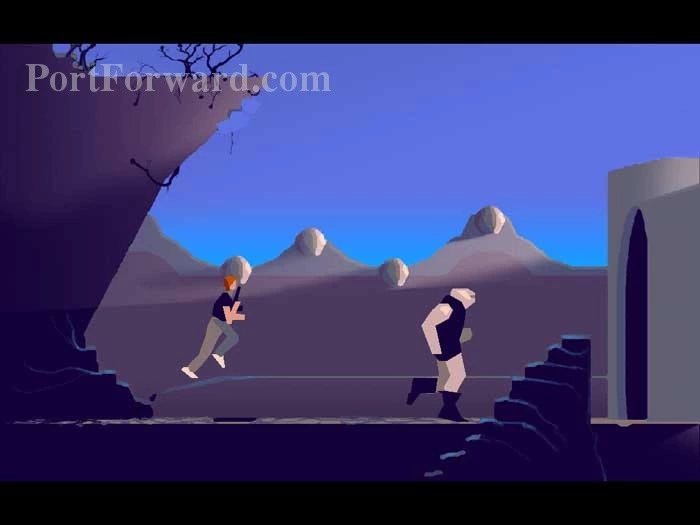
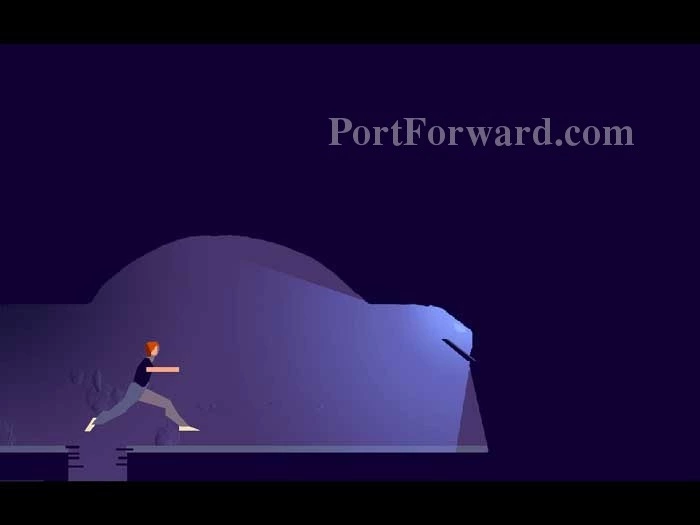
Following Buddy through the doorway results in instant death. Don't do it. Instead, head left then turn around to take the slightly elevated walkway behind the building.
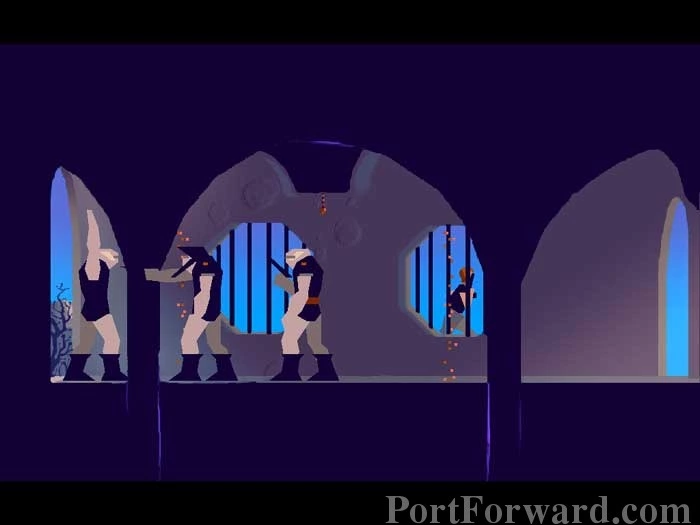
You can see the guards inside capturing Buddy as you sneak around back.
Turn around and enter through the back door.
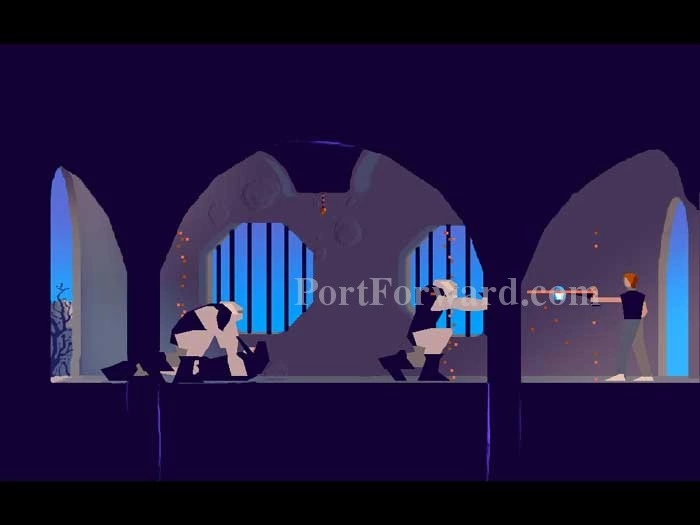
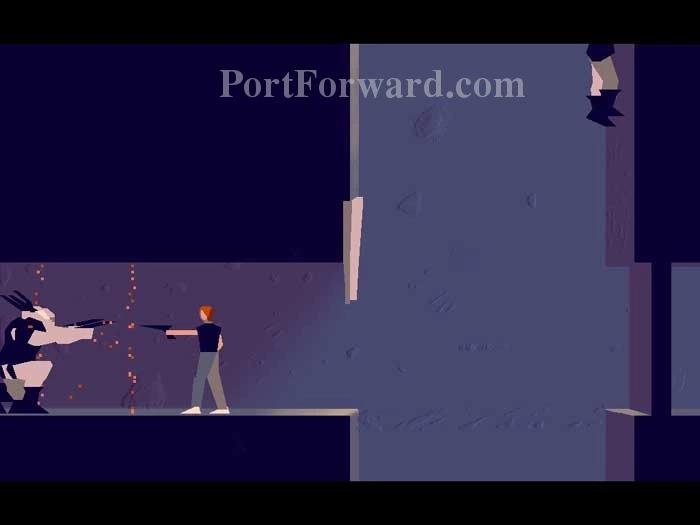
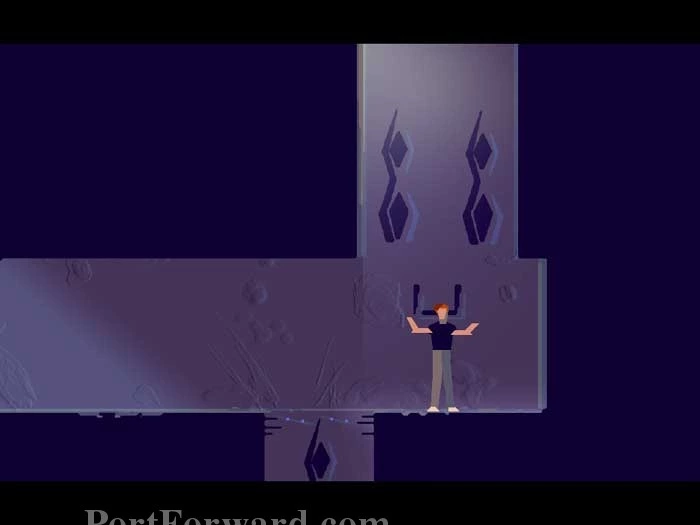
Erect a force field and take out one guard while Buddy takes out the other.
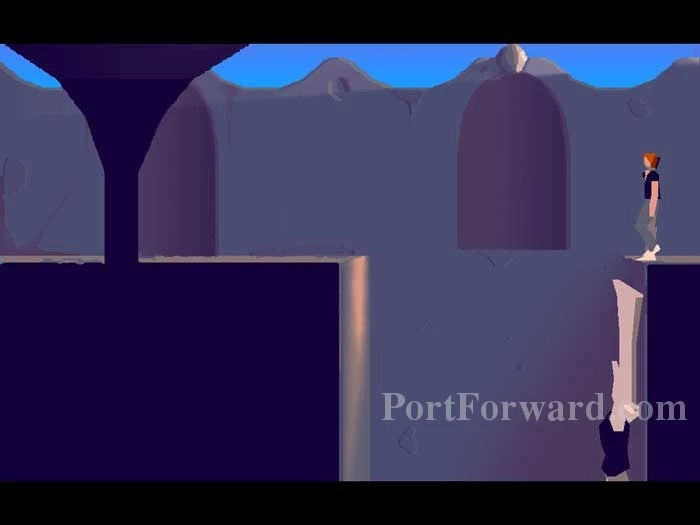
After Buddy tosses you to the opposite ledge, he finds himself dangling over the pit. Turn around and jump to the left.
Another awning breaks your fall, and then two very difficult guards attack. You have to be fast. Erect a force field, poke your gun through and fire a super blast followed by a fast zap. Then repeat very quickly to defeat the second guard.

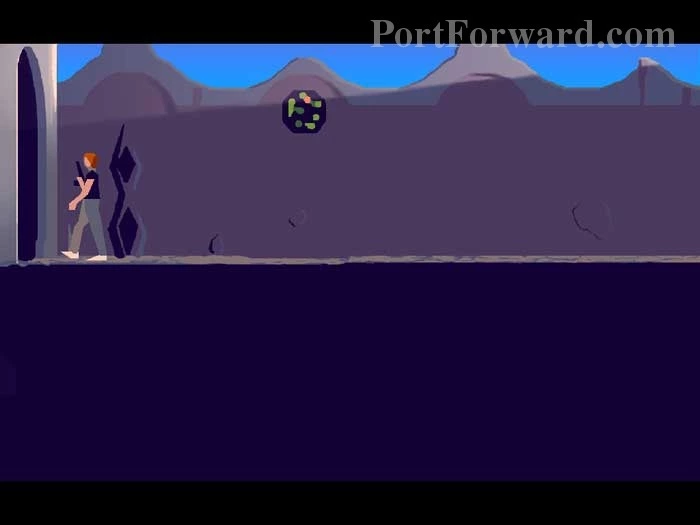
Continue left then point your gun at this abandoned guard (but keep your distance or he'll beat you senseless). He pushes a button to close two doors.
Backtrack right, then ascend these stairs.
Jump to the right of the stairs, erect a force field, then blast the door between yourself and the guard. Let him roll four grenades before shooting him. The grenades fall down the stairs and blast a hole in the floor.
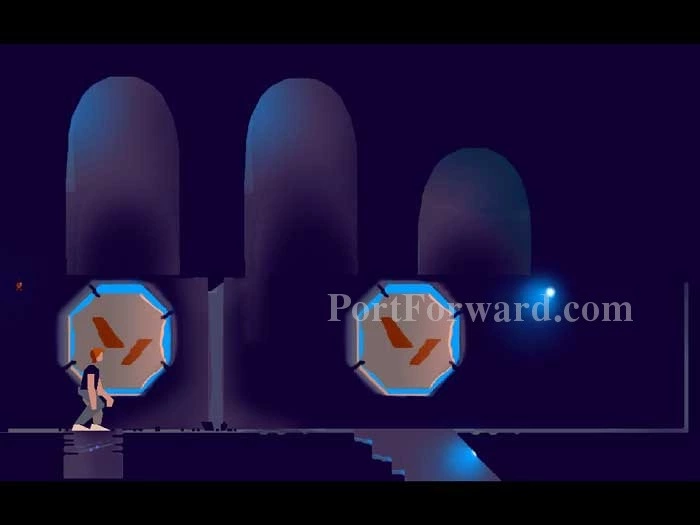
Use the transporter on the left to access the level below.

You have a moment to erect a force field, thanks to the door the guard lowered earlier. The guard above destroys the door shortly. Blast away his force field then zap him.
Ride this transporter down.
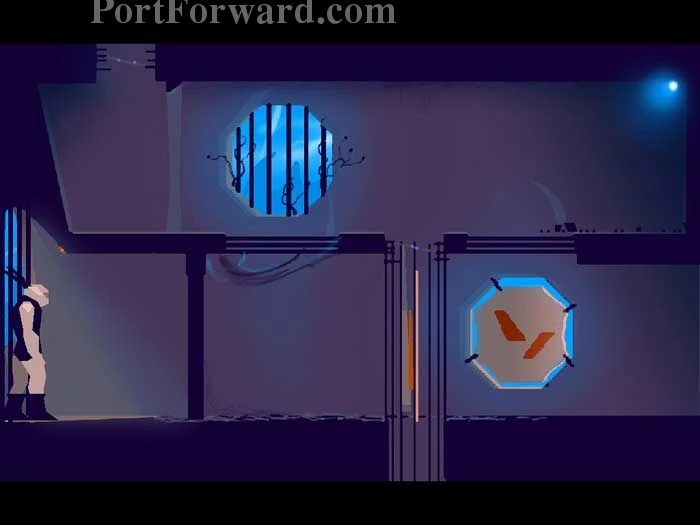
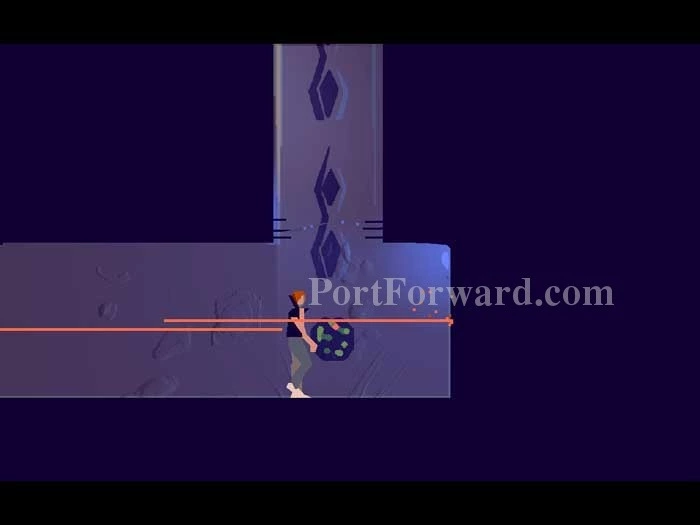
You arrive here. Shoot the power line then ride the transporter back up.

Backtrack to these stairs, and drop through the newly-created hole in the floor.
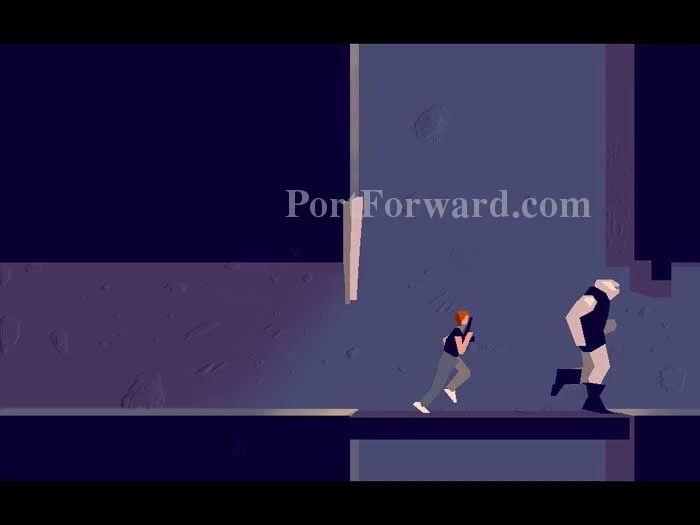
Head right, and the lights go out (thanks to the power line you shot out a moment ago.) Whoever is shooting at you through the grate can't see, so long as it's dark. Just run right without stopping and his shots will trail you.
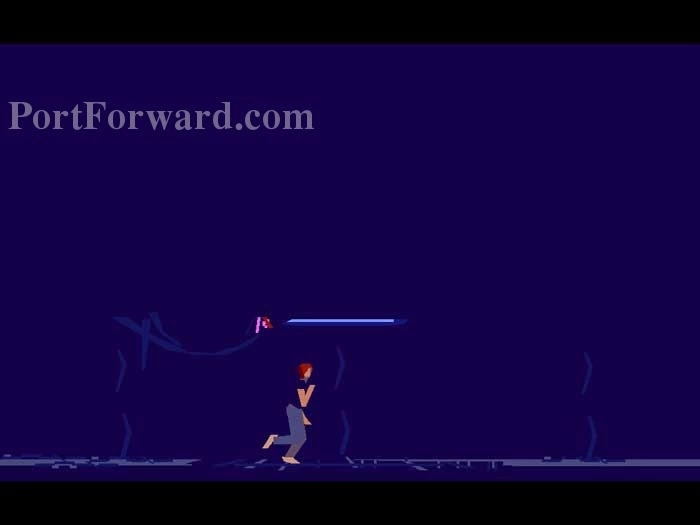
Jump over this hole, pull the lever on the right, then drop through the hole.
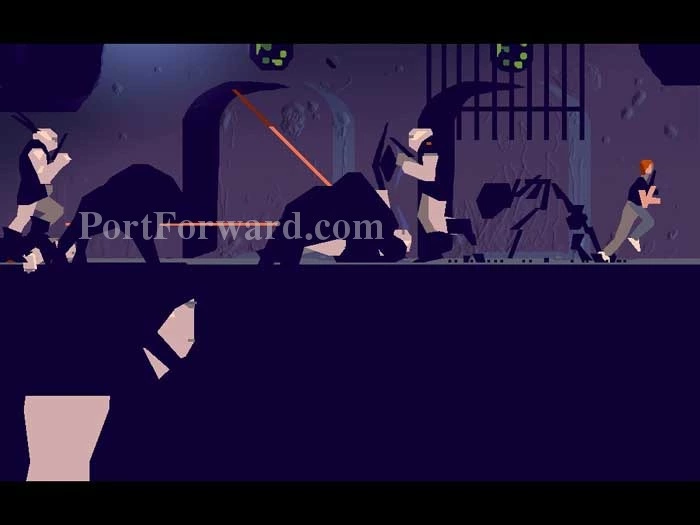
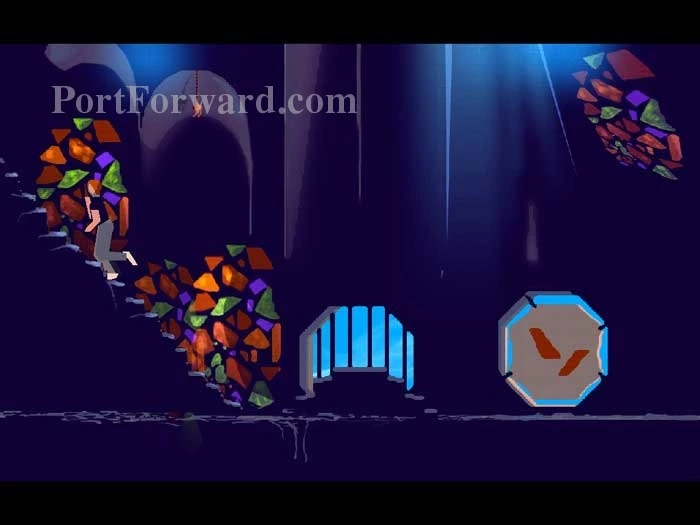
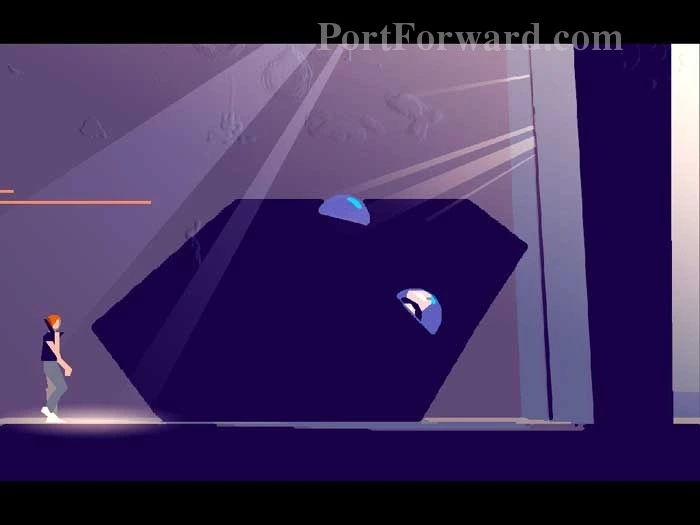
Pulling the lever released several big cats. Rush several frames to the right during the chaos.
Ride this transporter up.
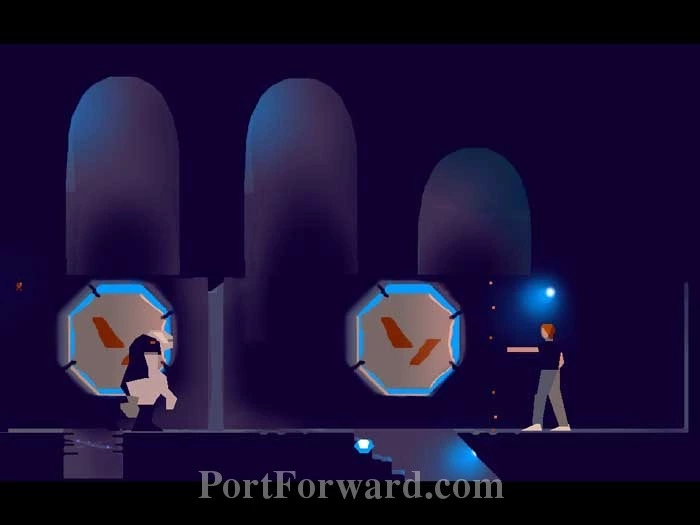
Find Buddy on the left, then follow him.
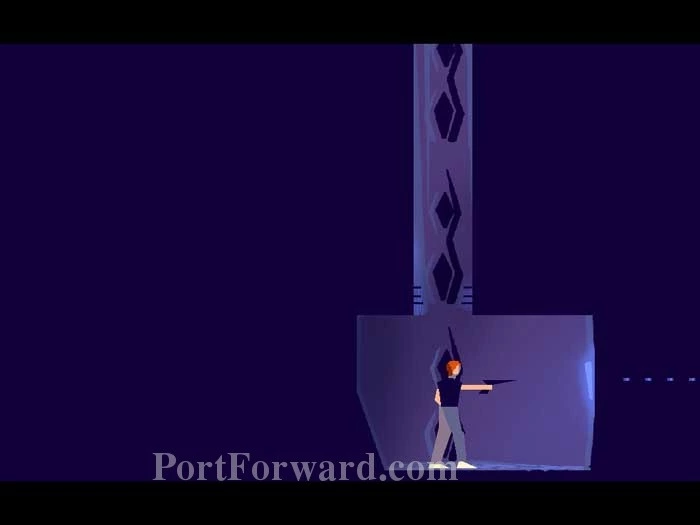
Ride this transporter up.
Follow Buddy to this strange device...
More Another World Walkthroughs
This Another World walkthrough is divided into 8 total pages.