This Assassins Creed Revelations walkthrough is divided into 9 total pages.
You can jump to nearby pages of the game using the links above.
Sequence 6- Fortune's Disfavor
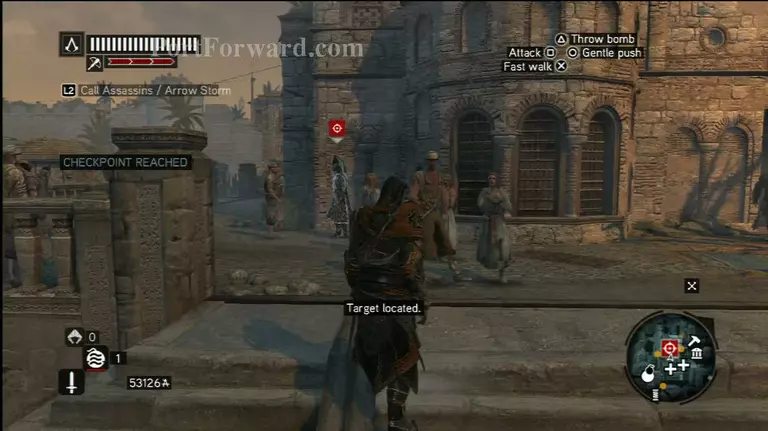
Memory 1 - After your conversation with Suleiman, make your way over to the target and identify the Janissary. You have a few choices in how to take him out without causing a panic. You can throw a smoke bomb and move in through the fog, use a distraction bomb to divert the crowds attention, or draw the soldier towards an uncrowded area.
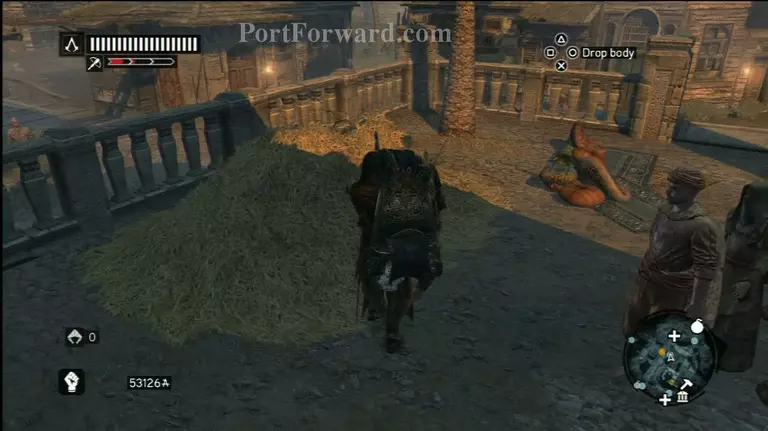
Either way, you should make it a point to kill him near the haystack that sits on the other side of the tower. Your ultimate goal in the Memory is to hide the Janissary's body amidst the straw, so the shorter distance you need to carry him, the better. You'll complete the mission once he's safely tucked away.
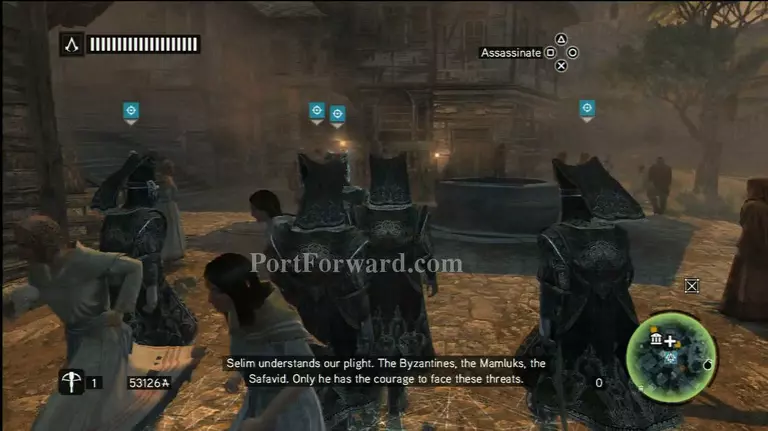
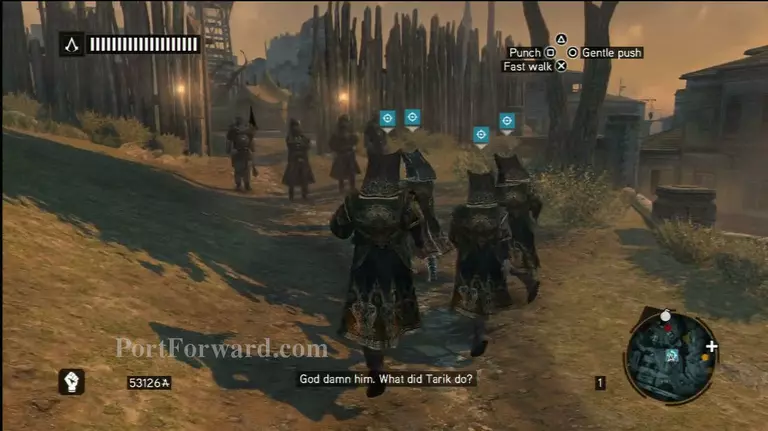
Memory 2 - Blend in with your fellow Janissary and make your way towards the target.
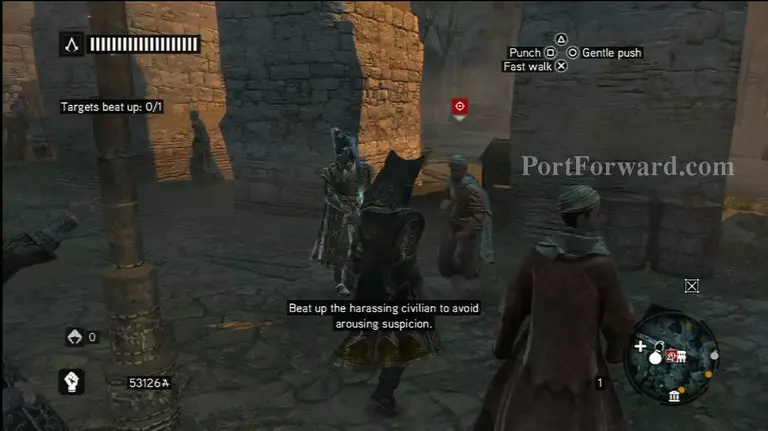
When you reach a citizen who's harassing the guards, keep up your cover by beating him up a little bit. Press on up the hill towards the gate.
Once you're inside the Janissary compound you'll have to be extra careful, as the slightest misstep will result in you being detected. Quickly hop into the tent directly in front of you and wait for your awareness to dwindle.

Exit out the back and climb up the wall in the corner to the platform with the bomb-making station. Refill your supply of Tactical and Diversion Bombs, using British Gunpowder to ensure the largest blast radius.
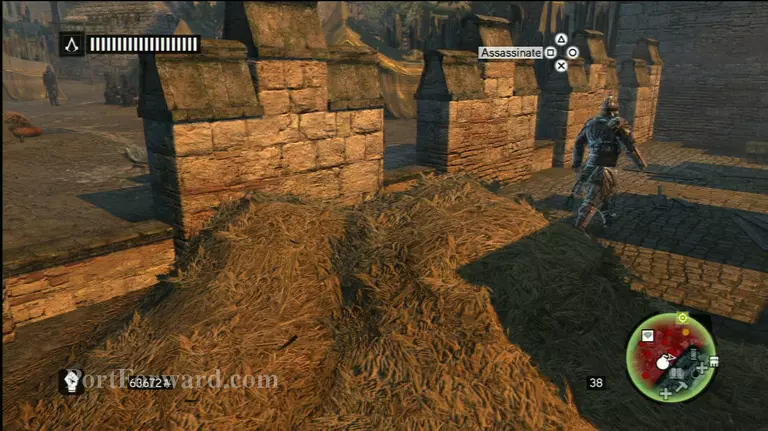
When you're done, walk to the edge and wait for the guard to turn his back before you hop down into the haystack. Wait in hiding until the guard comes back, then take him out.
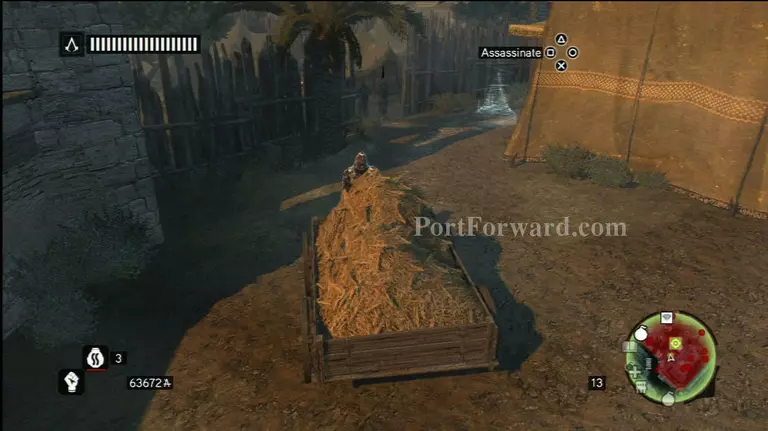
Run to the other side of the platform and climb the tower to reach your next vantage point. Wait for your awareness to go down, then hop off the tower into the haystack below. Aim a smoke bomb at the guard near you to distract him, then quickly dash to the entrance of the tent to initiate the cinematic.
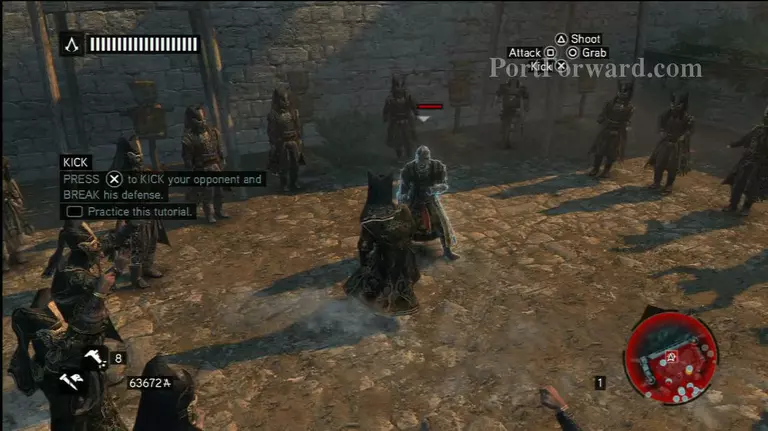
Once you're back in control of Ezio, run forward and attack Tarik. The Janissary will circle you and you'll have to fight your way out. Once Tarik is dead, you'll have to escape the encampment with a mass of soldiers chasing after you.
Run across Constantinople until you escape the red zone, then find a haystack to hide in to lower your awareness ending memory 2.
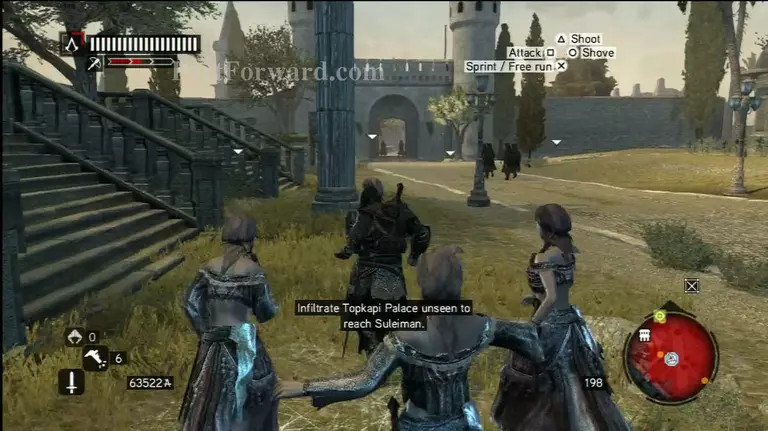
Memory 3 - You goal in this Memory is to speak with Suleiman regarding what you just did.
The area is restricted, so pay Romani to follow you as soon as you enter.
Use them to keep you concealed as you navigate the palace towards the target.
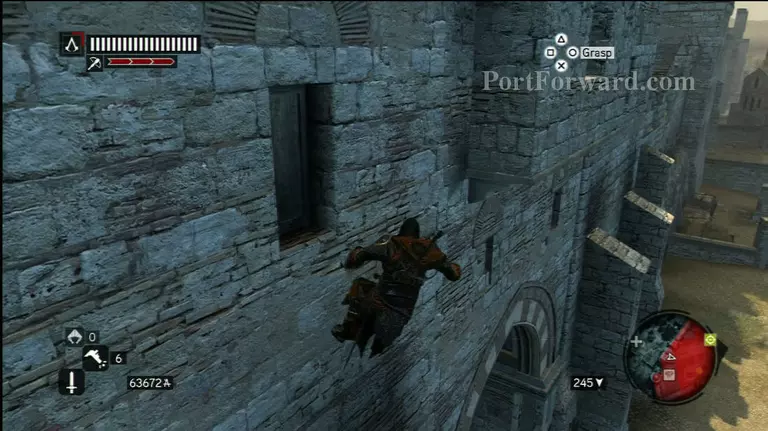
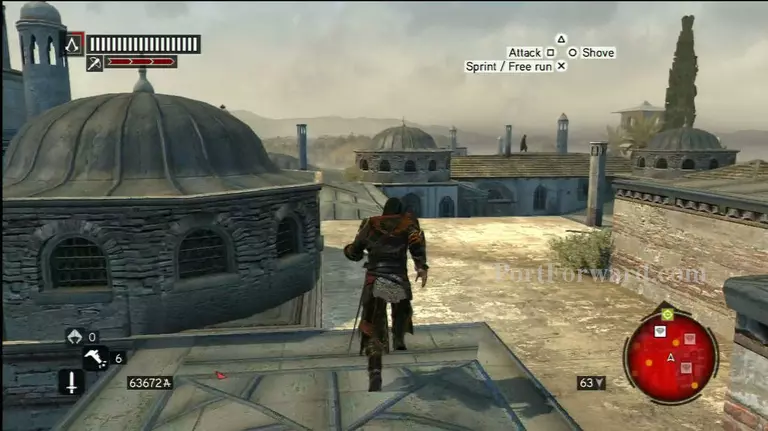
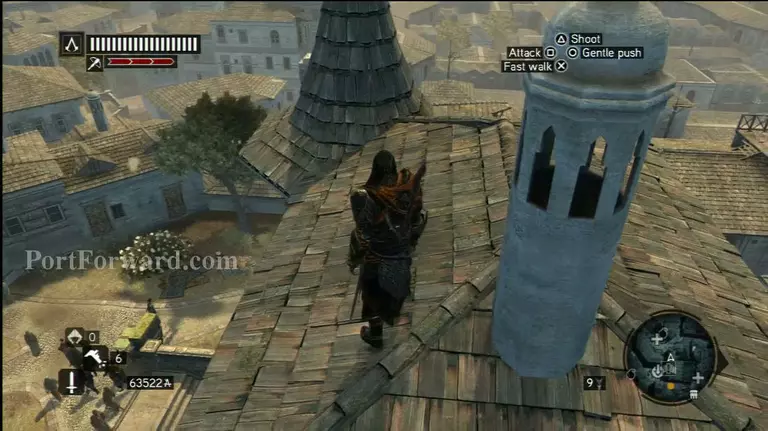
Climb to the rooftops once you get near Suleiman to avoid being spotted.

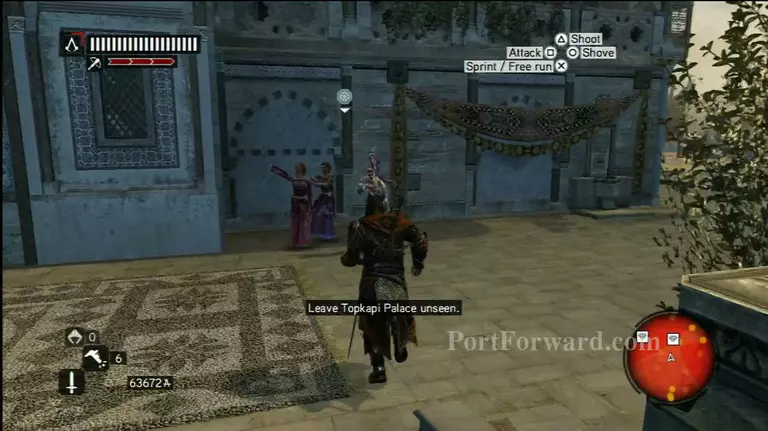
After the conversation, run to the group of Romani and hire them in order to escape the palace unseen.
Memory 4 - Visit Sofia and speak to her about your troubles. She'll send you on an errand to gather flowers from hear near the Hagia Sophia.

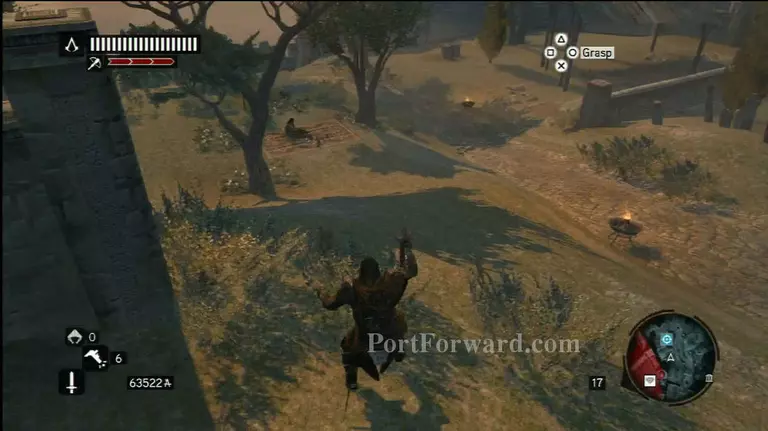
Head to the target and follow him without being spotted to learn where he gets his flowers from.
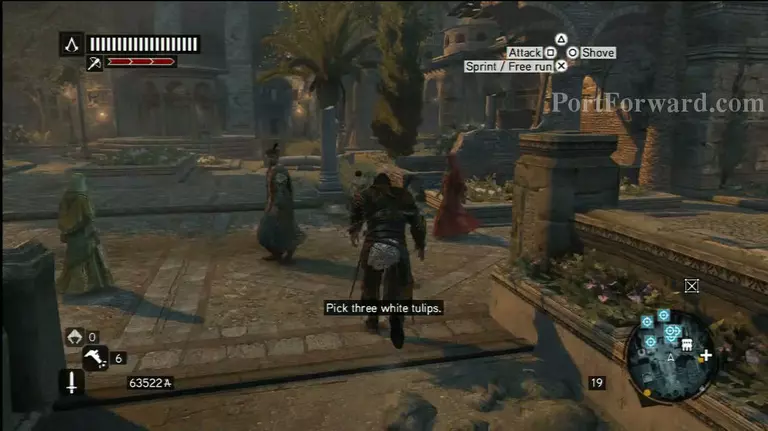
Once you reach the garden, pick three tulips and meet Sofia for a picnic.
Enjoy the picnic... ;)

Memory 5 - Climb the tower and use your Eagle Sense to spot the location of the next book.
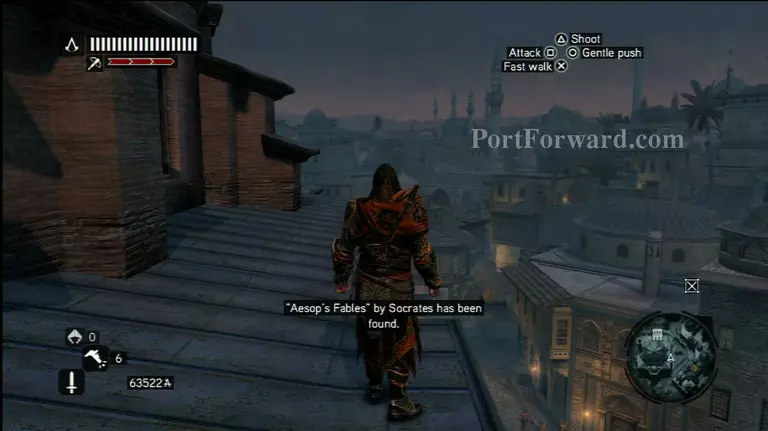
Head over to the light and recover a cope of Aesop's Fables.
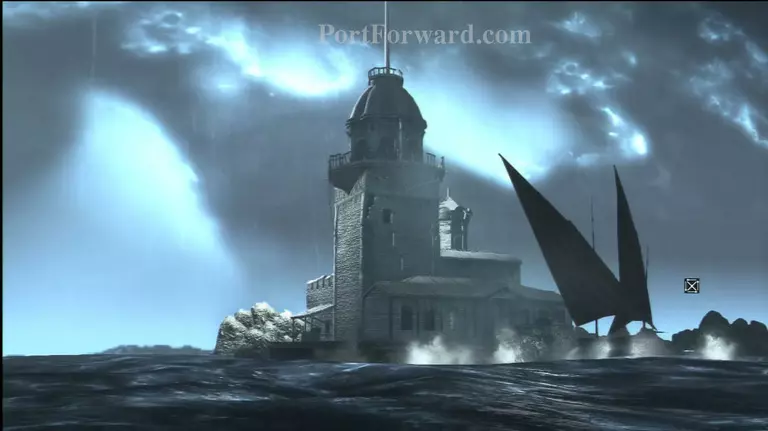
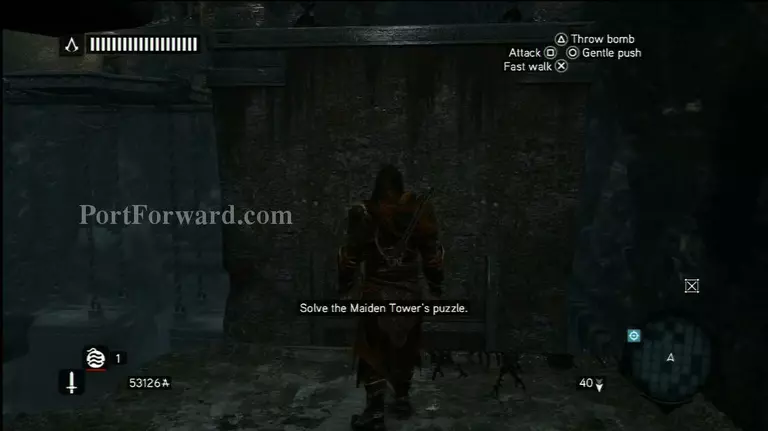
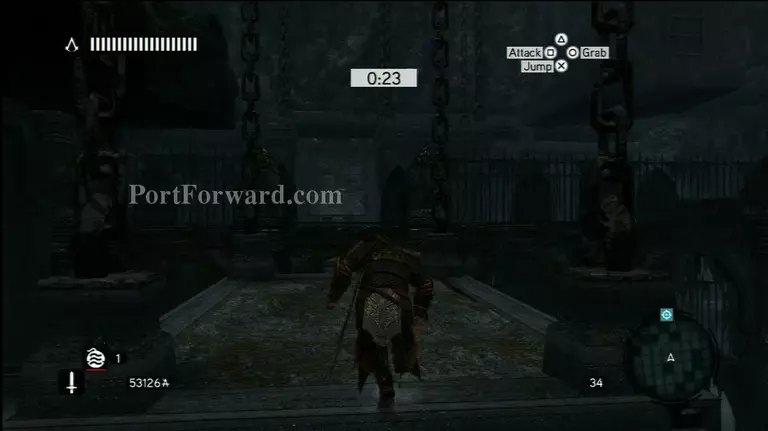
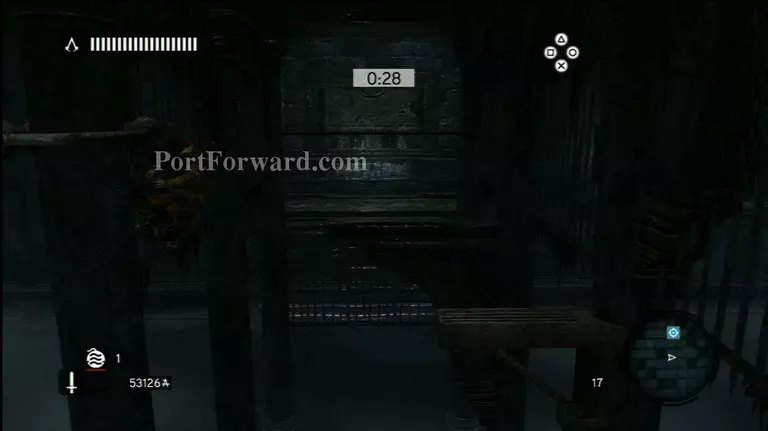
Memory 6 - The Maiden's Tower is one of the most complex puzzles in the game. Once you enter the main chamber, head over and pull the switch. You'll have 30 seconds to climb over to the open area and hit the next trigger, lowers the stones into the water.
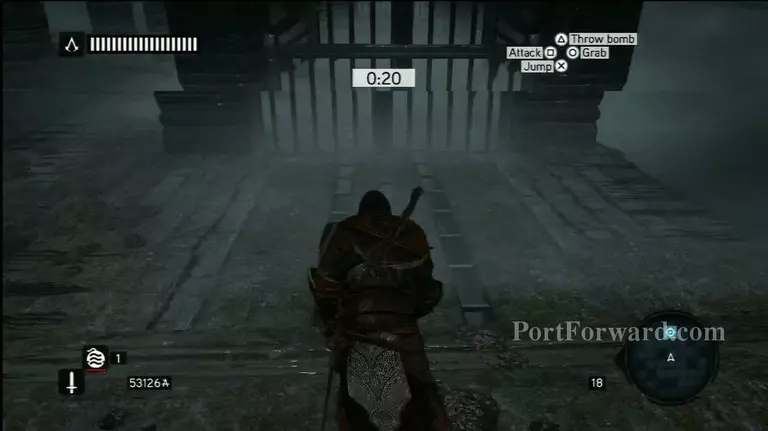
Jump to the hanging slab in front of you and climb down. Hop behind you and shimmy along the wall until you reach solid ground. Run across the platform and activate the switch. This time you'll have 50 seconds to reach the open area. Climb up and swing across the bars until you reach the wall. Turn the corner until you can spot your target across the room. Use the bars and platforms to hop your way across the water and hit the switch before the time expires.
With the platforms rearranged, head right and pull yet another switch. This time you have 70 seconds to navigate your way over to the open wall. Use the hanging slabs as platforms and hop across them to the other side of the room.
You'll eventually reach the pillars and be forced to hang on them and circle around in order to slowly make your way towards the target. Keep rotating on the beams to line your jumps correctly. When you finally reach the target, pull the switch to adjust the placement of the obstacles yet again.
The central platform will raise and the gate will lower, revealing your next destination. You have 60 seconds to simply hop down to the walkway below you, run around to the other side of the cage and climb in.
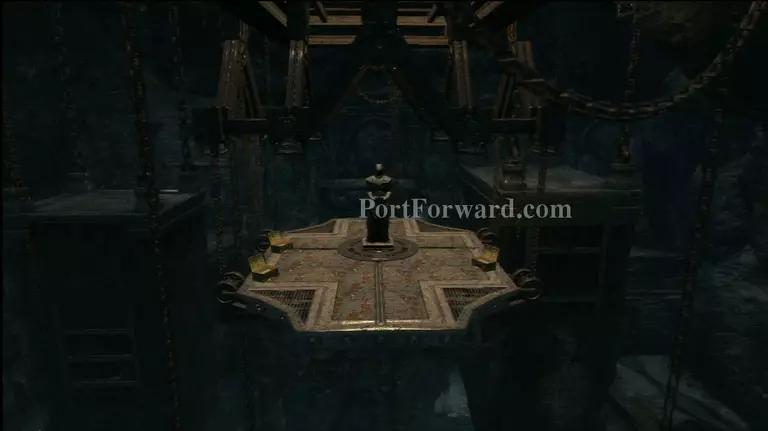
Once you've hit the final switch, the Masyaf Key will reveal itself at the top of the chamber. Climb up there to retrieve your prize.
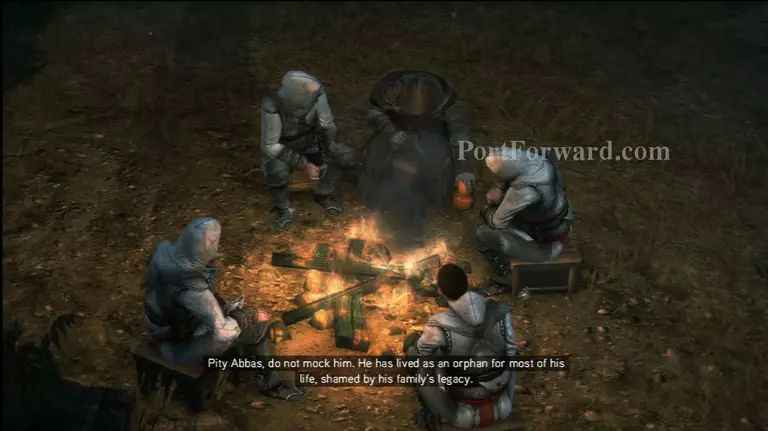
Memory 7 - Altair is now a man in his twilight years. After the campfire scene, progress up the hill through the village.
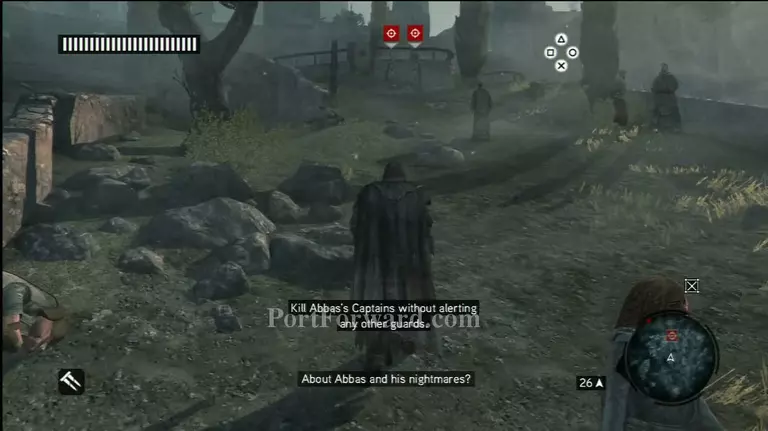
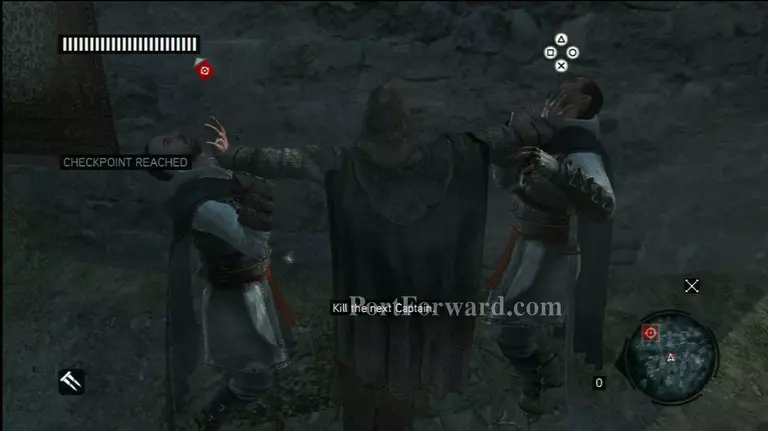
The older Altair is no longer the agile assassin he once was, so your movements will be slow and limited. Press on towards the target, and a swam of assassin with begin battling each other. Head straight for the Captain and counter his attacks to take him out.
Further on up the hill you come across a group of assassin who still pledge their allegiance to you. Follow them through the gates and continue up the hill.
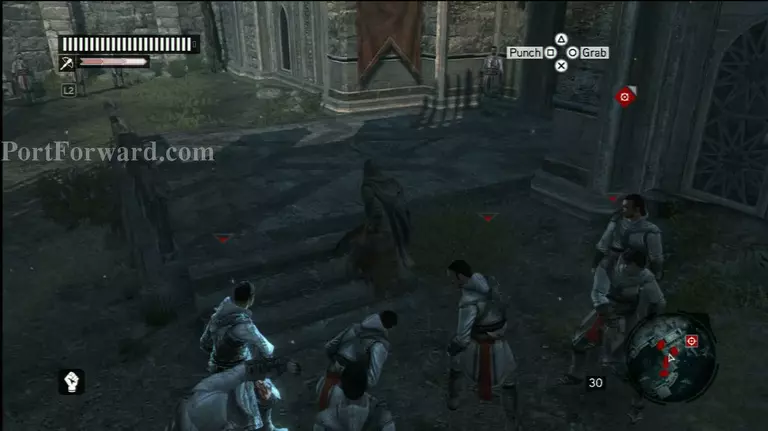
Some enemies will begin to attack you, but your allies will come to your aid. Ignore all the soldiers and keep heading towards the door.
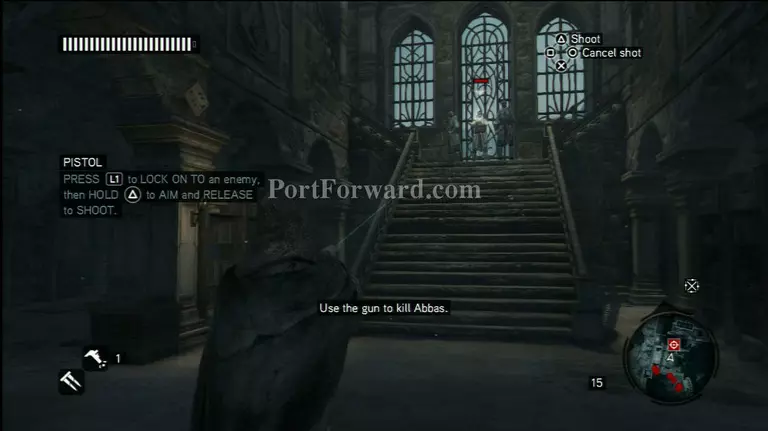
Once inside, pull out your gun and fire at Abbas to finally gain your revenge.
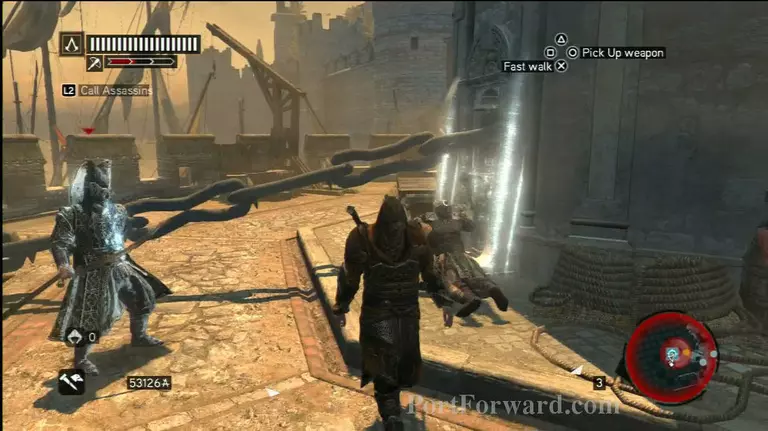
Memory 8 - Speak with Yusuf before heading to the giant chain at the docks. Place the bomb where the chain meets the tower to cause chaos in the area.
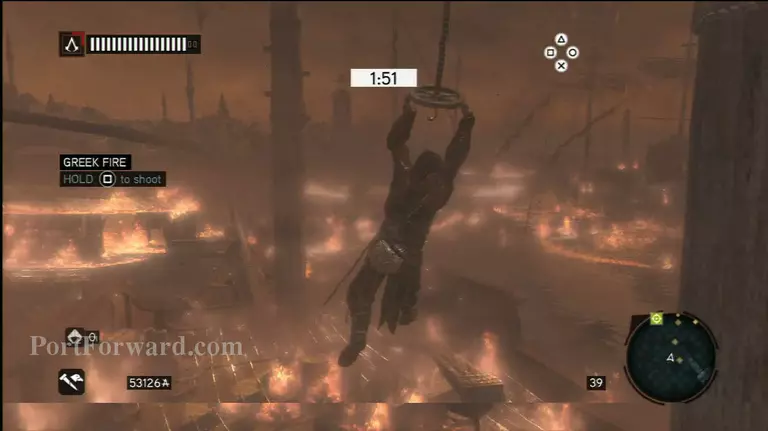
After Ezio takes the zipline to the boat, run to the cannon and begin spraying fire on the opposing ships. Destroy all seven before hopping through the fire from boat to boat.
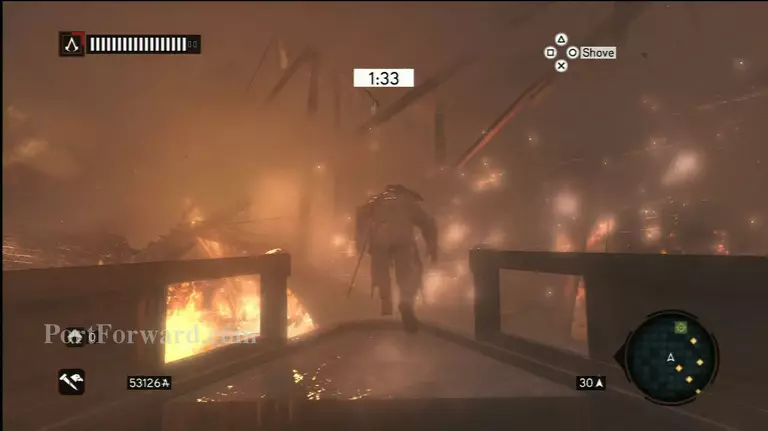
You have two minutes to make it back to the safety of your ship. It's a straightforward shot to your target.
Just keep running forward and Ezio will do all the work in terms of jumping and balancing.
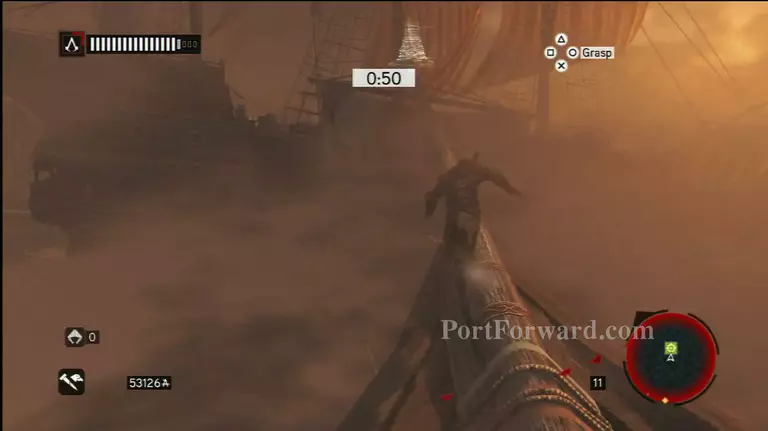
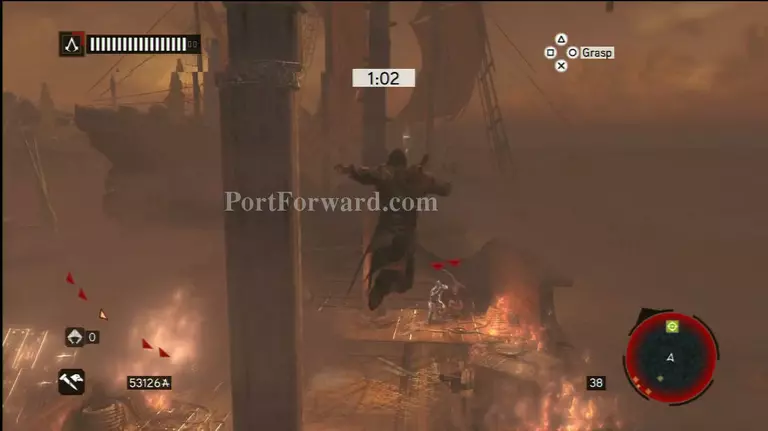
When you reach the final ship, a group of enemies will attack. Ignore them in favor of running to the glowing spot at the front of the boat. Ezio will reach safety as soon as you make it to the target, so don't even waste your time fighting the enemies.
More Assassins Creed Revelations Walkthroughs
This Assassins Creed Revelations walkthrough is divided into 9 total pages.