This Assassins Creed Revelations walkthrough is divided into 9 total pages.
You can jump to nearby pages of the game using the links above.
Sequence 3- Lost and Found
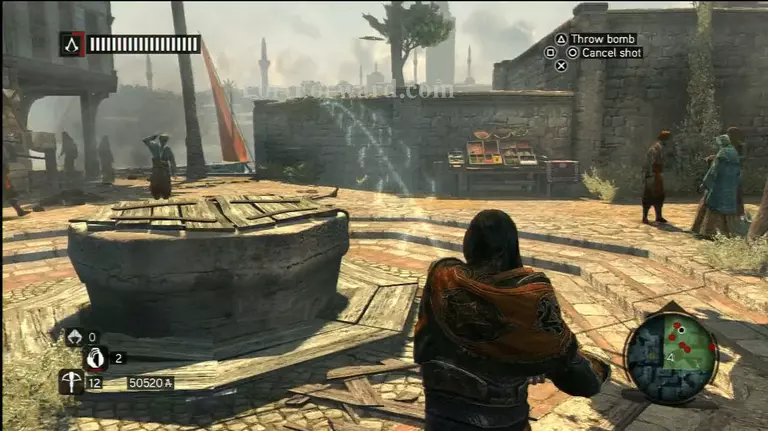
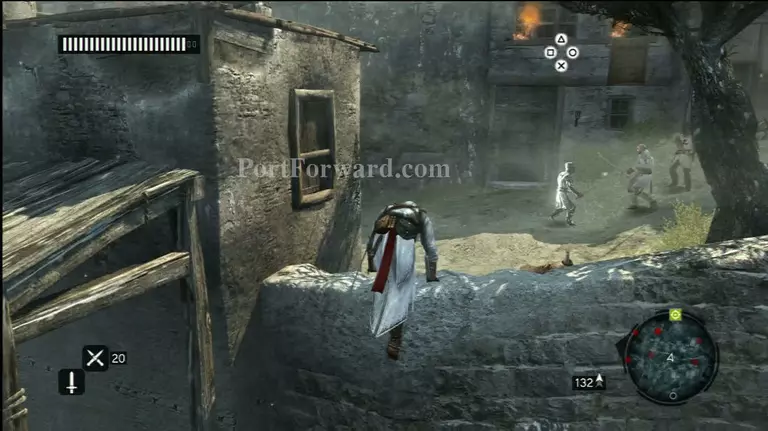
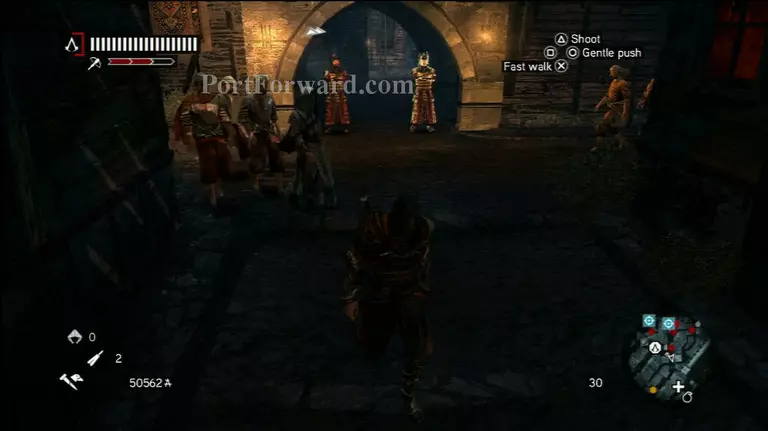
Memory 1 - Your goal is to free the prisoner and add him to your growing assassin posse.
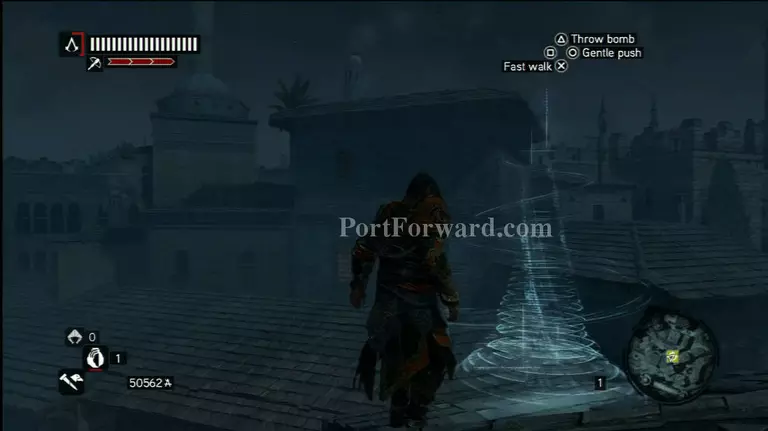
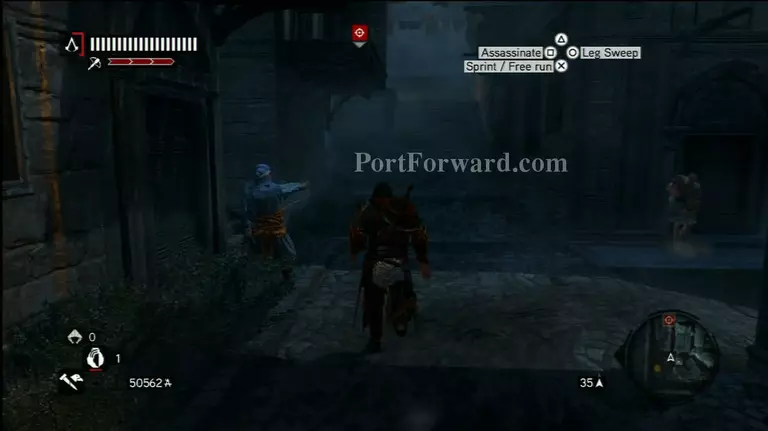
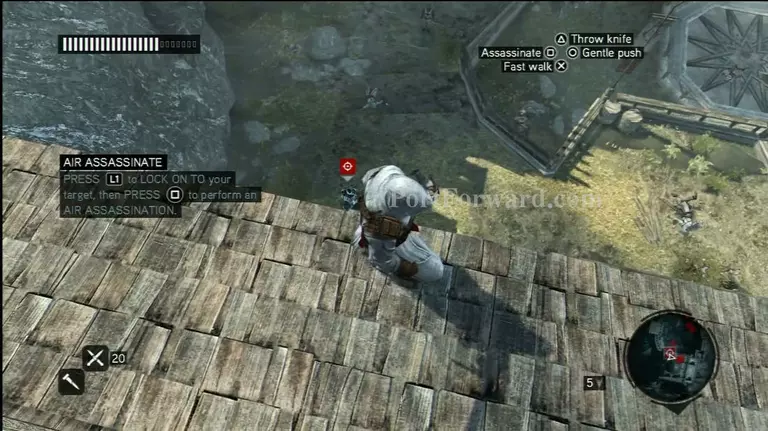
Head towards the marker and toss a bomb near the guards to distract their attention. With them gone, enter the restricted area and climb up to the roof to survey the area. Use your eagle vision to spot the target. Once he's in your sights, you need to grab the key from him.
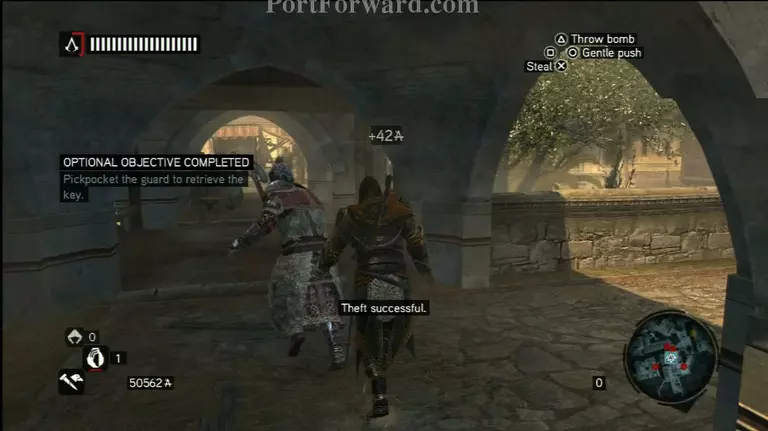
You can do it sneakily and earn Full Sync by walking behind him and pickpocketing it, or you can throw caution to the wind and just kill him. Either way, return the key to the prisoner to complete the Memory.
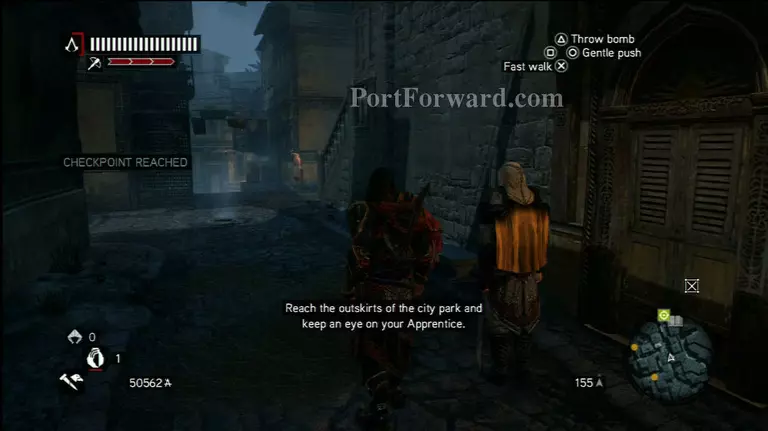
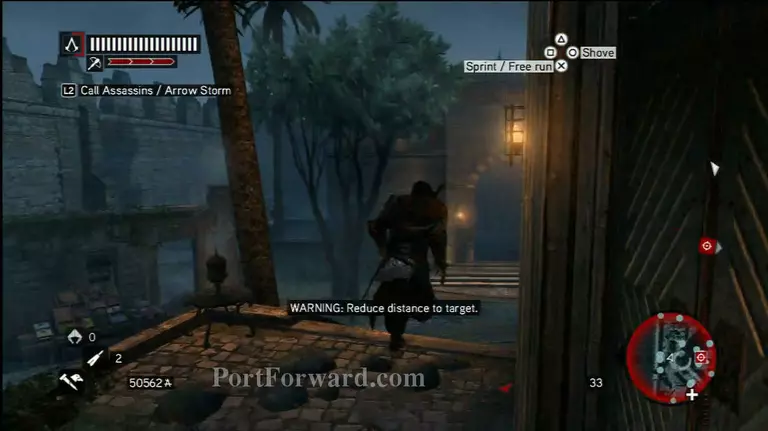
Memory 2 - Run to the marker to have your Apprentice take out the two guards on the streets.
With them gone, your goal is to take out the remaining guards without raising an alert.
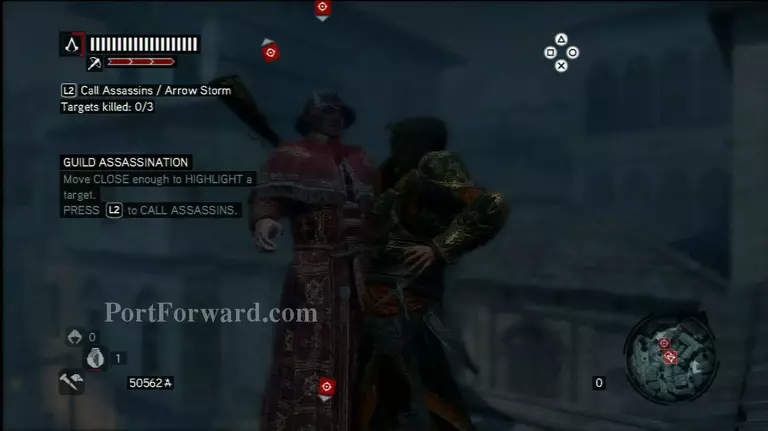
Use ranged attacks or sneak up behind them to avoid causing a scene
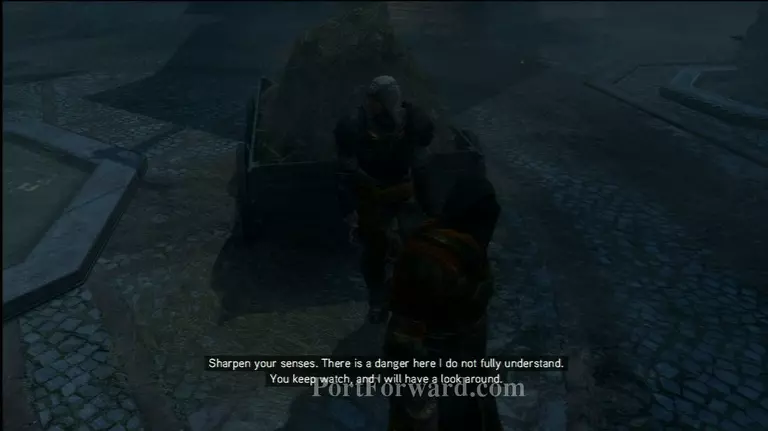
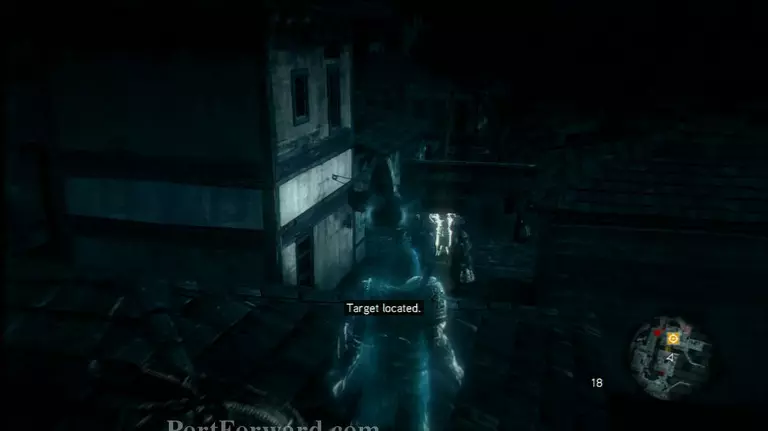
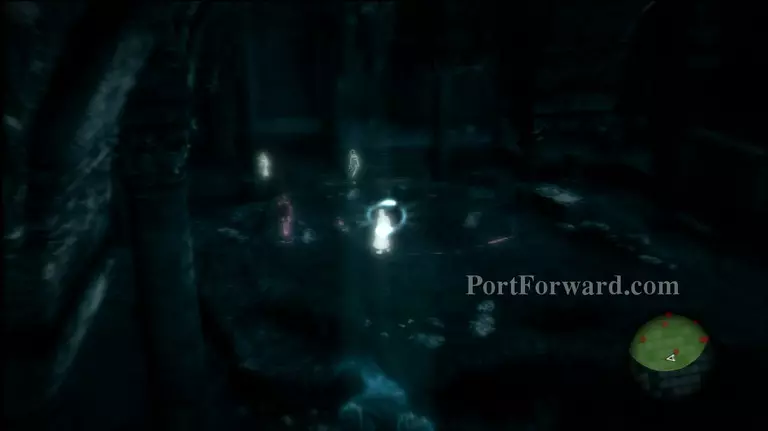
Meet back with your Apprentice at the haystack afterwards and use your Eagle Sense to view the final moments of the murder victim.
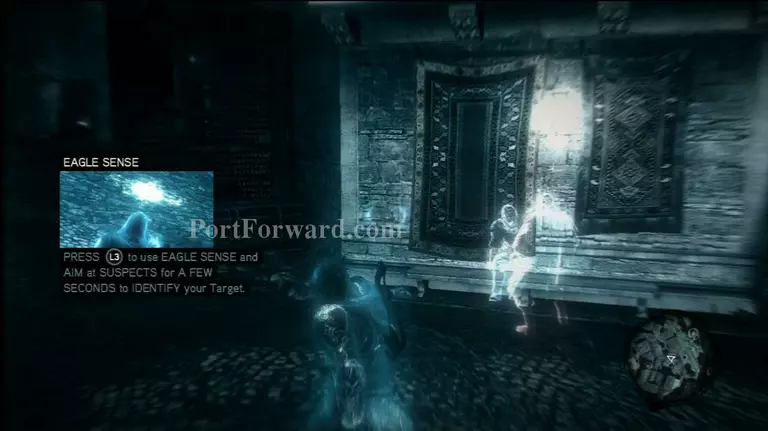
Remain in Eagle Sense mode and follow the spiritual until you stumble upon the culprit.
"Chase the Sentinel through town, making sure that you don't fall too far behind. Your Apprentice will eventually hop off the roof, but fail to kill the target. Fight your way out of the ensuing brawl to finish off the Memory.
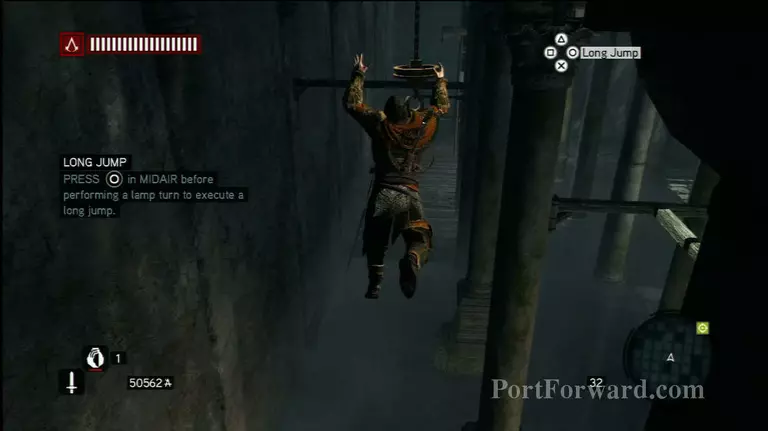
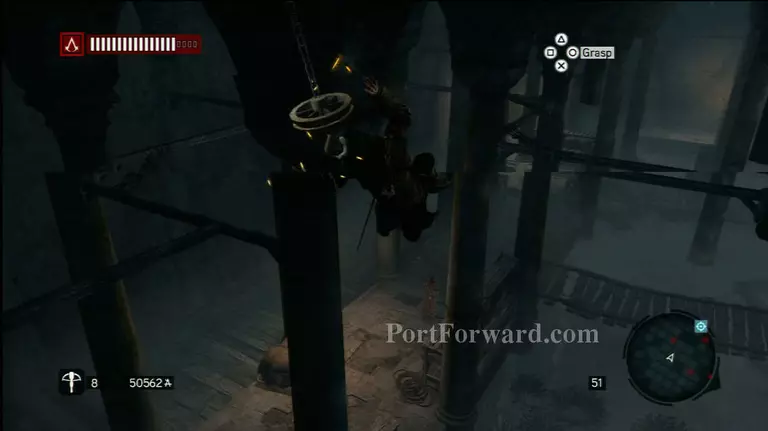
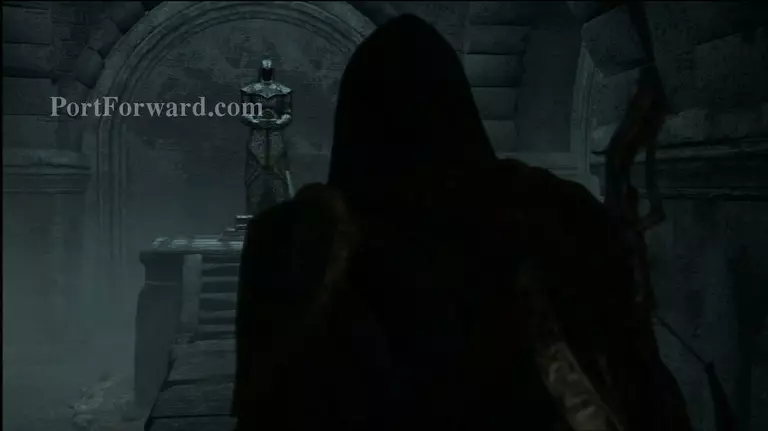
(Memory 3-5 are straightforward on screen key combinations) Memory 6 - The Yerebatan Cistern is a massive, shadowy labyrinth that just so happens to be heavily patrolled by guards. This section goes smoothly until you're detected, so try your hardest to remain in hiding. Try to remain up in the scaffolding and take out your targets using ranged weapons like throwing knives and the crossbow. If you do not have these weapons yet, craft a lethal bomb using shrapnel and an impact shell.
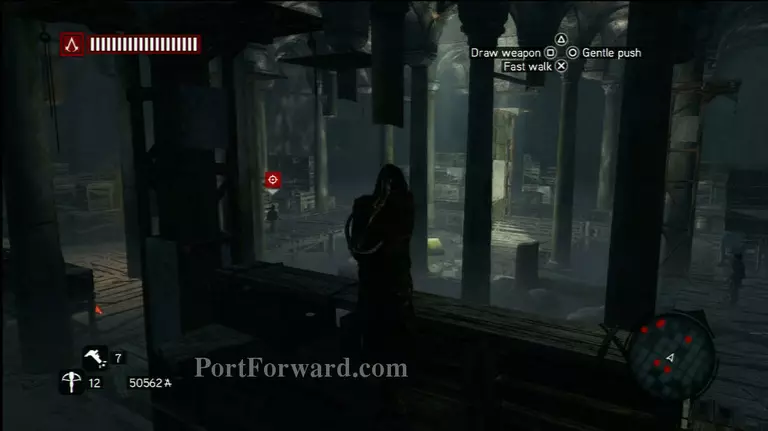
There's one enemy in each area that holds a key, so use your Eagle Sense to signal him out. Keep in mind that you obtain the key as soon as you kill the Captain, so don't worry about taking them out from a distance.
Use the bomb crafting stations scattered throughout the Cistern to arm yourself with a slew of diversionary weapons. These will allow you to distract enemies or draw them towards you in order to take them out in secrecy.
If you do get detected, prepare to take out all of the enemies in the room before you advance. You can't exit the room until you become undetected, and the easiest way to do that is to just kill all of your pursuers. The 3rd chamber opens up in the form of multi-tiered ruins.
Your target lies on the second level at the far end, so make your way towards him. If you have any bolts or bullets left, taking him out from a distance will keep you from having to navigate the intricate platforms necessary to get to his landing. Once you've obtained his key, exit the room and head towards the final encounter of the Memory.
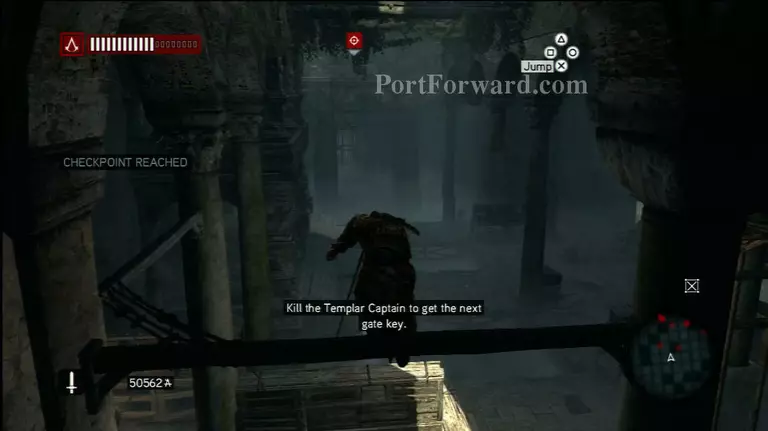
The last chamber is a large, open area with your target patrolling around the center.
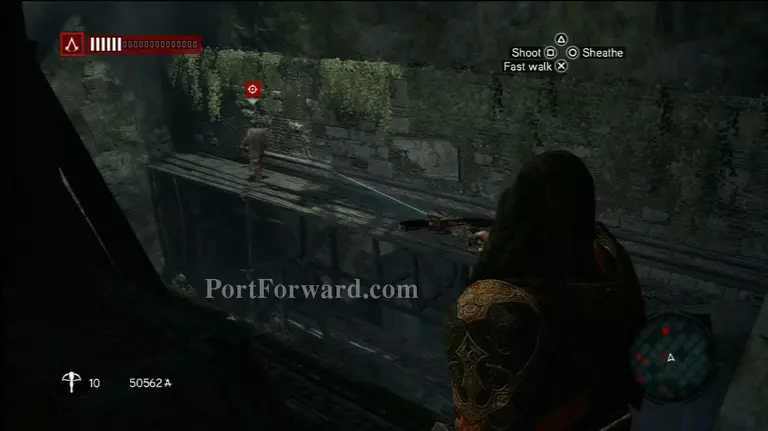
Again, if you have any ranged weapons, climb up towards the scaffolding and sneak your way towards the center, close enough to take him out from a distance.
If not, simply pull out your sword and clear the entire room out. Once the final captain is dead, exit the room and head towards the statue to acquire your Masyaf Key.
Memory 7 - After the conversation, exit the building.
"Head over to the fountain to meet up with Yusuf to complete this brief, mostly cinematic Memory.
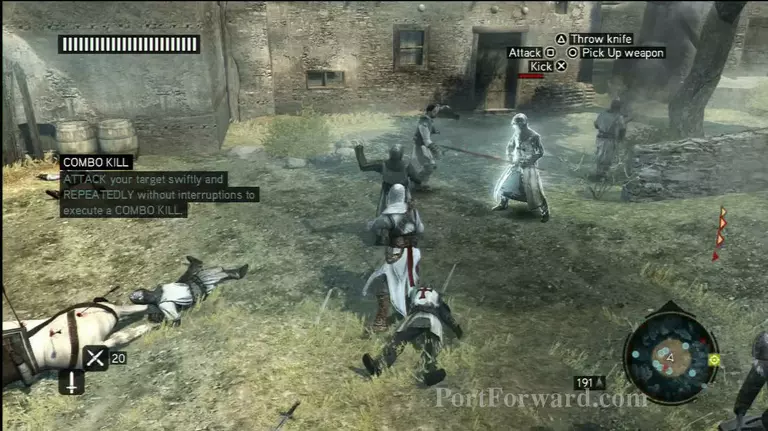
Memory 8 - This mission puts you back in the shoes of Altair Ibn-La'Ahad. Chaos has erupted in Masyaf, so you'll have to wade through the carnage to make it back up to the keep.
You'll be pitted against a seemingly unending wave of Templar, so concentrate more on making it up the hill than on disposing of each and every enemy.
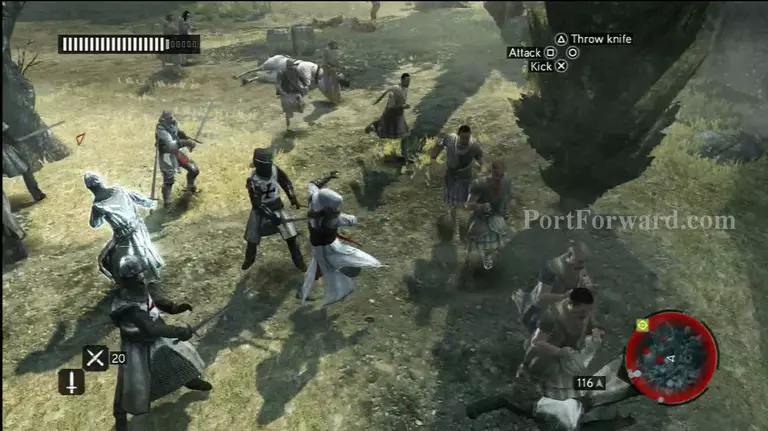
Keep your wits when you are forced into combat. These Knights are particularly adept at defending, so you'll have to use kicks to break their stances before attacking.
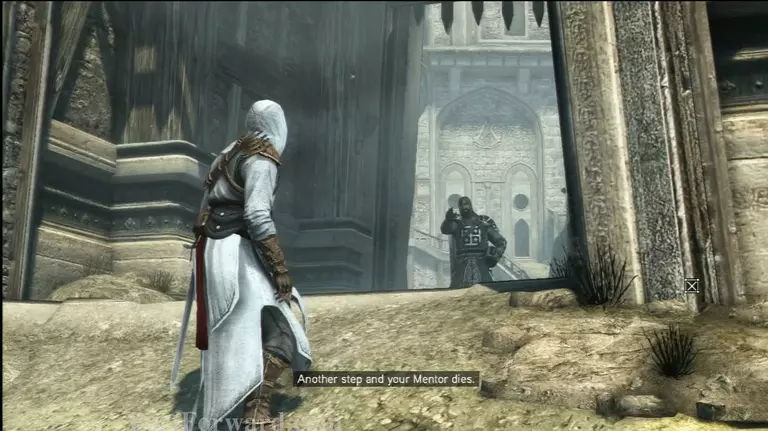
At the top of the hill, the Templar will close the gate and begin killing citizens one-by-one.
Quickly scale the wall to the right and take out the enemies that patrol the higher levels.
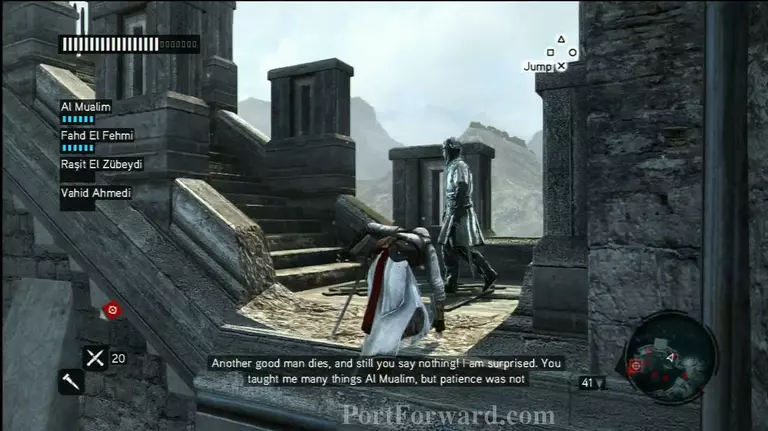
Once you've cleared the upper hallways of Templar, focus on the enemy below you and perform an air assassination. Once Al Mualim is safe, talk with him to conclude the Memory.
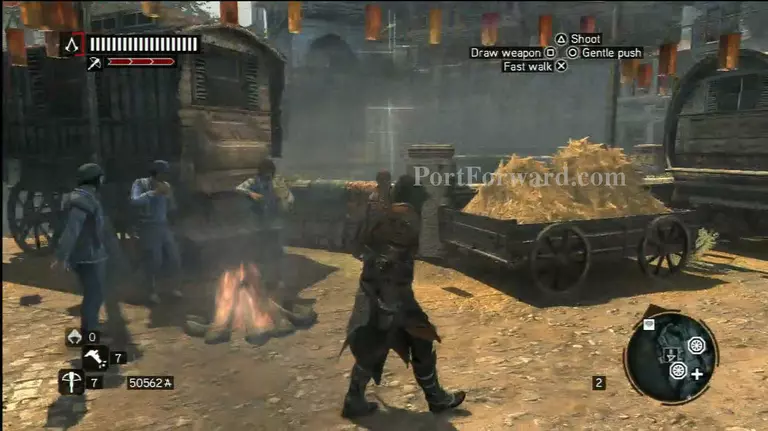
Memory 9 - Make your way to the Romani encampment on the southwest side of the city to begin this mission.
You're tasked with scaring off the couriers of a chest by poisoning them from a distance and making it seem as if the parcel is haunted.
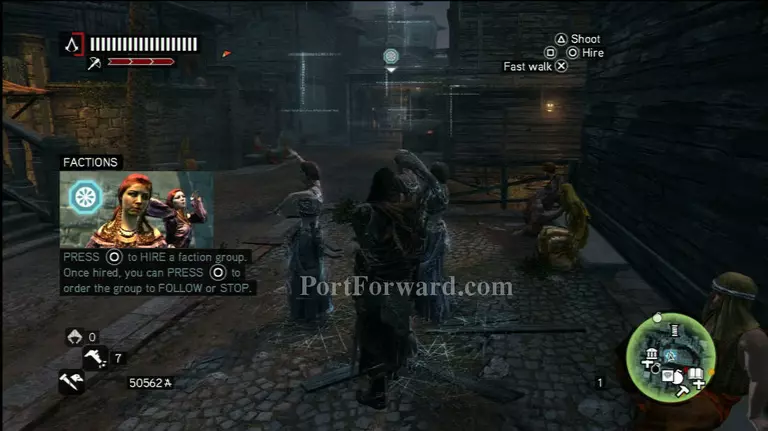
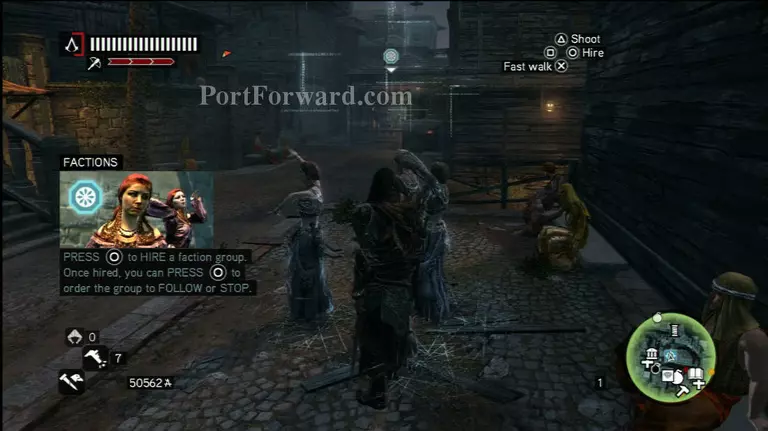
Head to the marker on the map and hire the Romanies to act as your escort.
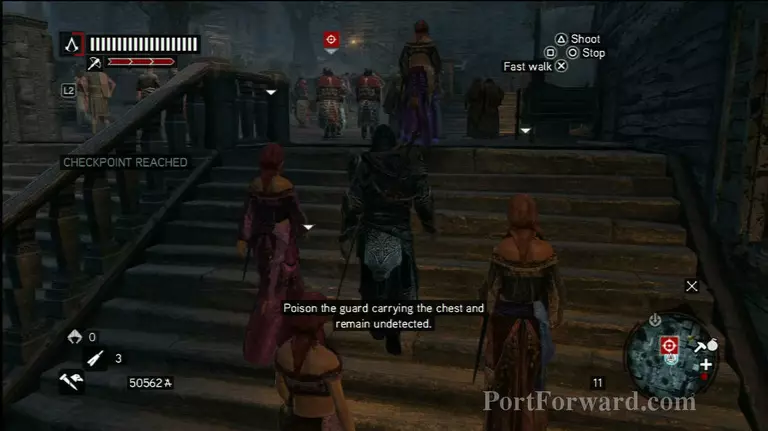
Stay in the middle of the group to blend in as you slowly make your way towards the keepers of the chest.
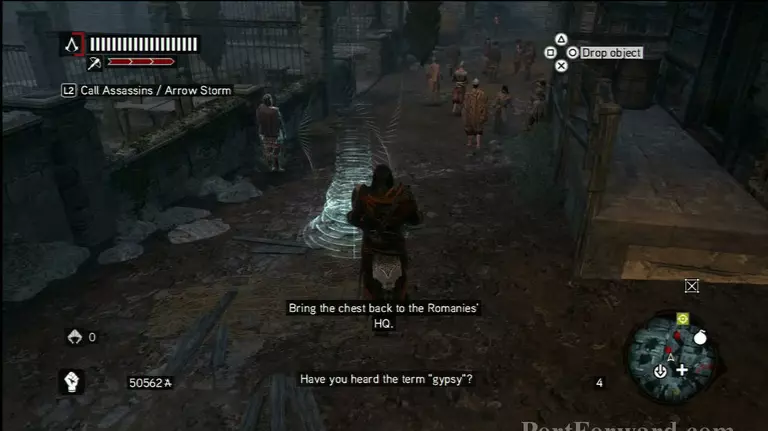
Once you find your targets, you can use your poison blade to take them out, but that will cause a ruckus. The better alternative is to equip your poison darts and kill them while still remaining undercover with the Romani.
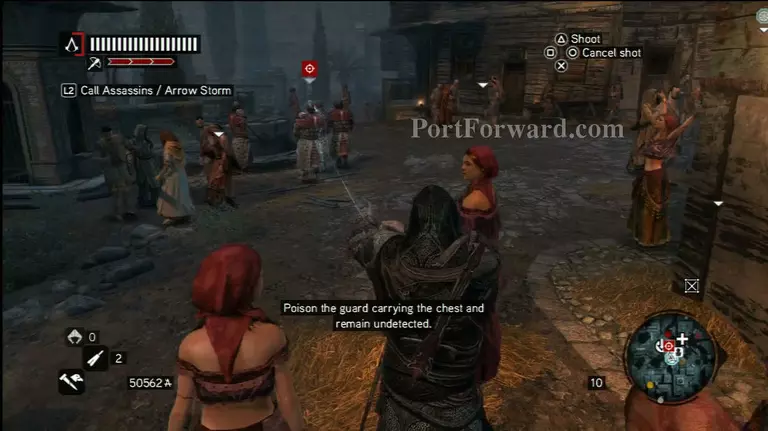
Once you've poisoned your targets, watch them thrash around for a moment before finally succumbing to your deadly concoction. Once you've taken out three separate guards, the rest will flee the parcel in terror. Grab the chest and take it back to the Romani encampment to complete the task.
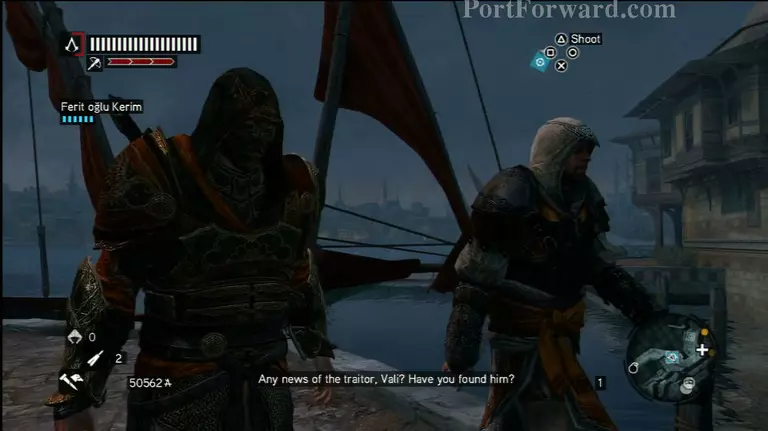
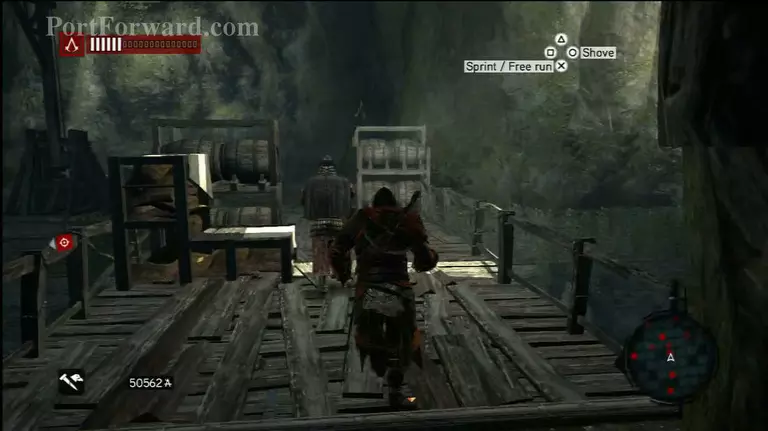
Memory 10 - Head back to the docks to initiate the final Memory of Sequence 3.
Meet up with your fellow assassin and make your way towards the area that houses a pair of prisoners. In order to free them, you'll need to dispatch with the guards in front of their cells.
The safest and easiest way to do this is to stick to the rooftops and use your Assassin Signals to send your followers swooping in to take care of the guards.
With their captors dead, hop onto the streets and free the prisoner.
Repeat this with the second assassin to free both of your followers.
After your rescue attempt, head to the maker to run into The Sentinel once again. Follow him along the ground as your Apprentice does the same along the rooftops. Once you've gotten close enough, your Apprentice will swoop down and finish off your target,
More Assassins Creed Revelations Walkthroughs
This Assassins Creed Revelations walkthrough is divided into 9 total pages.