This Assassins Creed Revelations walkthrough is divided into 9 total pages.
You can jump to nearby pages of the game using the links above.
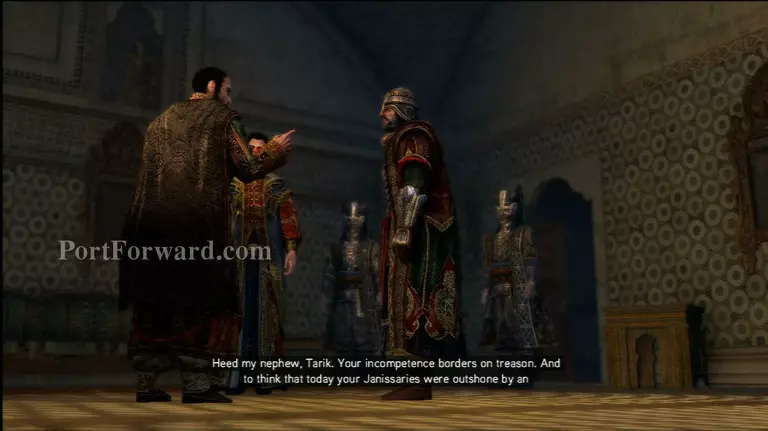
Sequence 4- The Uncivil War
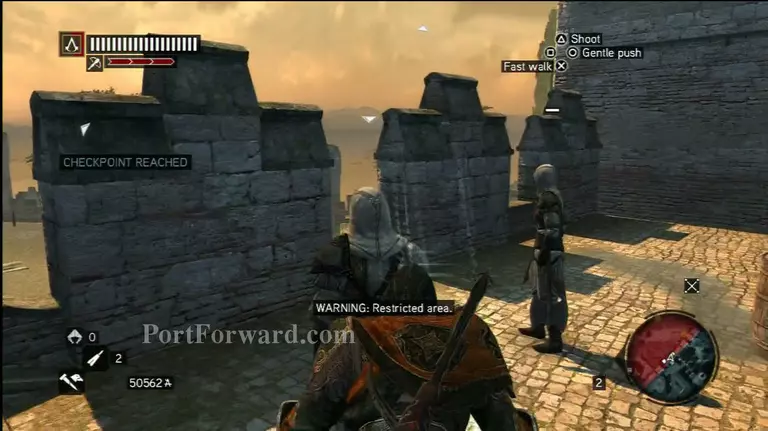
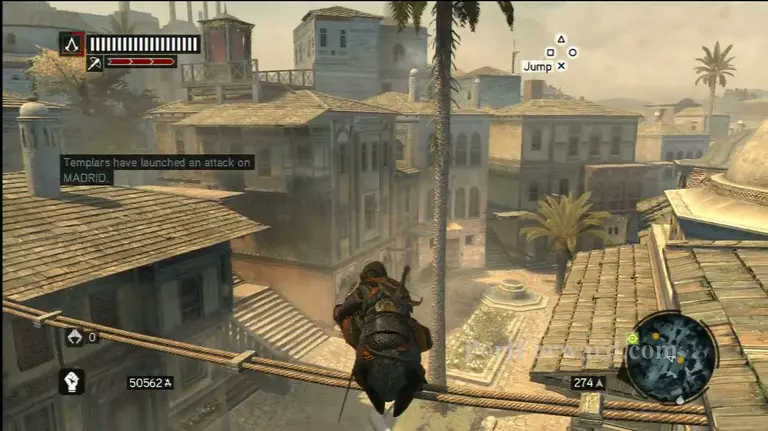
Memory 1 - Race alongside your fellow assassin across Constantinople to Topkapi Palace. Once you've reached the marker, hop down and knock out the first trio of Minstrels. Pick them up and toss them in the haystack before pressing on. If you do the first one, your a
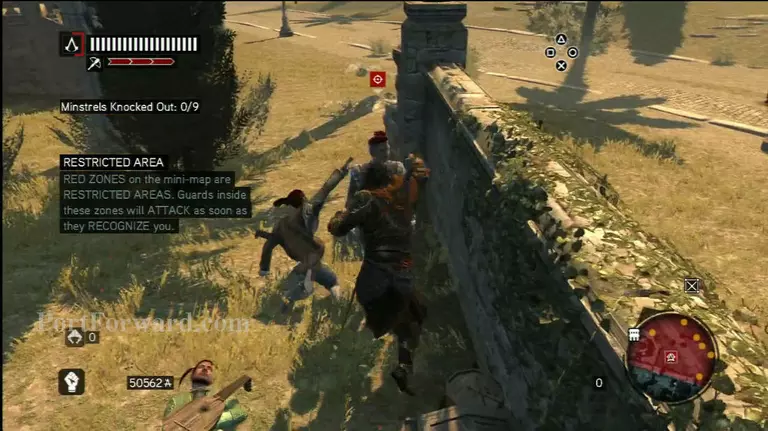
Hop over the wall and repeat the action with the second set of Minstrels. This time, hiding their bodies is a bit trickier.
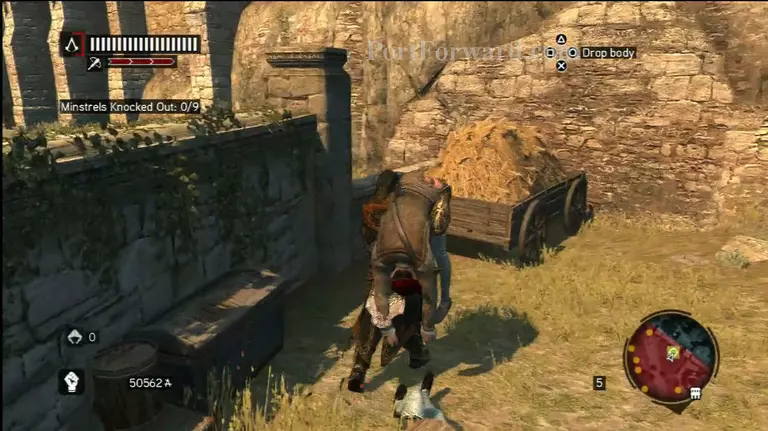
Slowly walk along the wall behind the guards, making sure that you don't get too close and attract their attention.
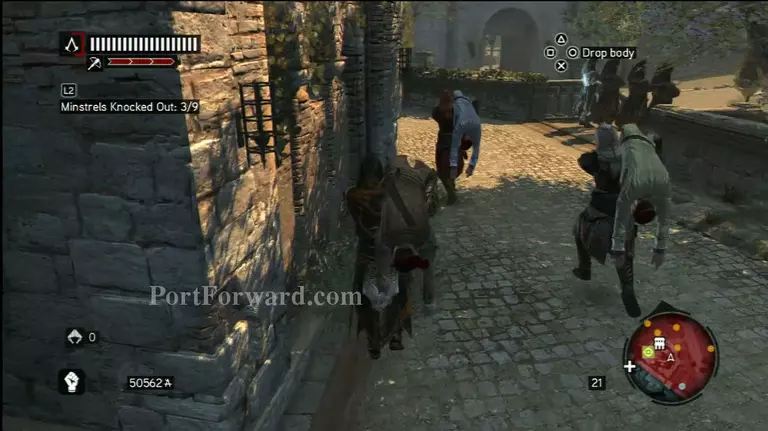
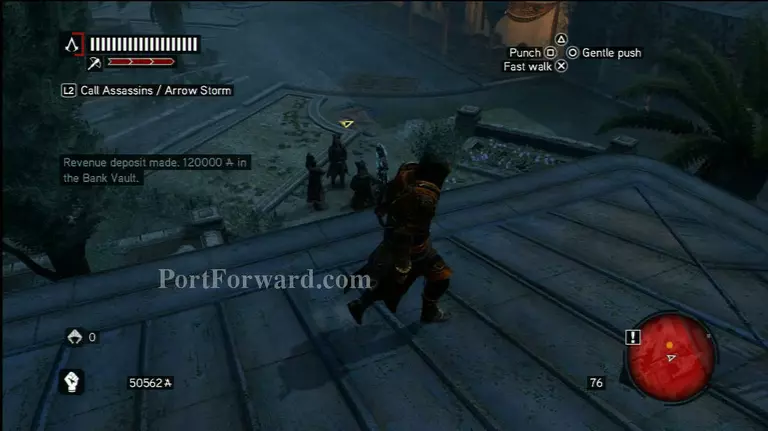
With this trio safely hidden, navigate along the rooftops towards the final group. Knock them out and hide the bodies to initiate the next part of the mission.
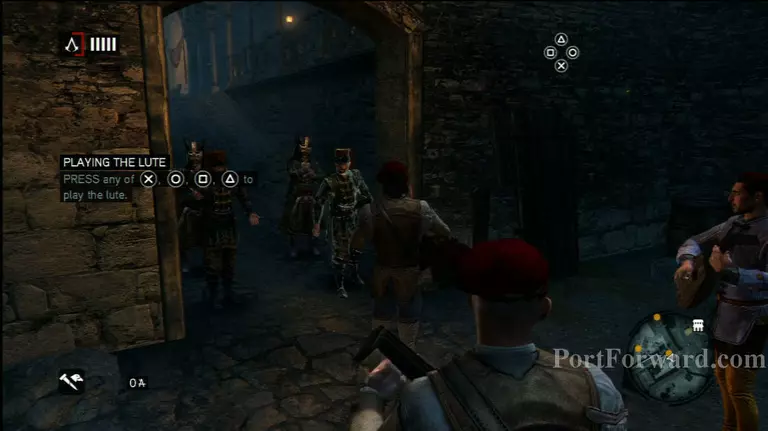
In costume and armed with a lute, it's now your job to distract the guards and party-goers while your compatriots take care of their targets. Hit any of the face buttons to play your instrument in front of the guards. This will allow your group to enter the party without setting off any alarms.
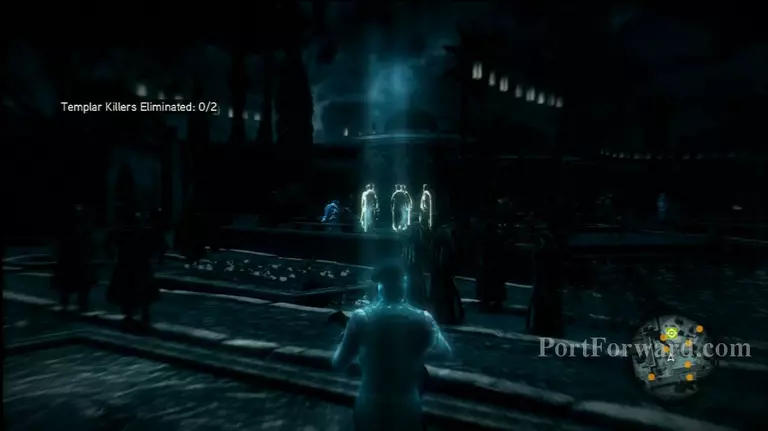
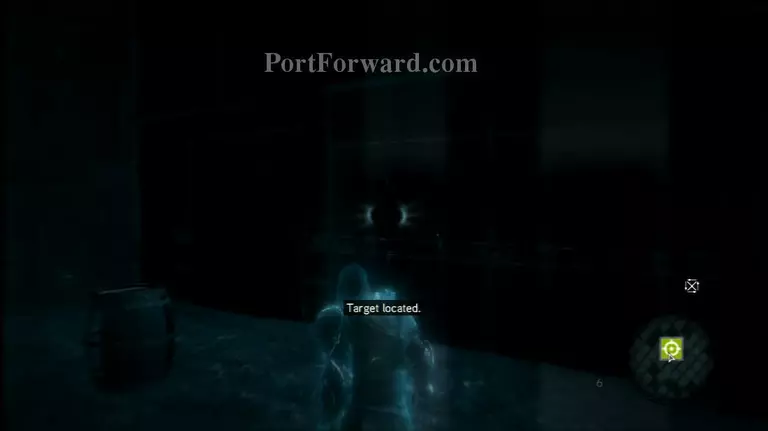
Once inside, use Eagle Vision to identify your Templar targets. Head to the designated spots and play your lute to allow your companions to perform their assassinations.
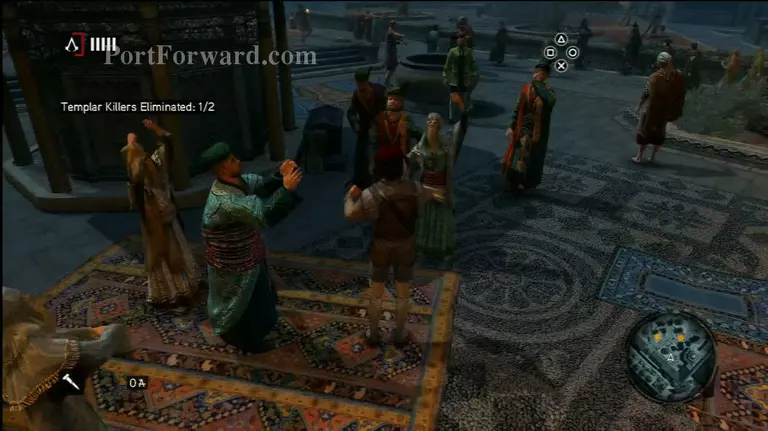
After the first two, move on to the area containing Prince Suleiman and take care of another four Templar.
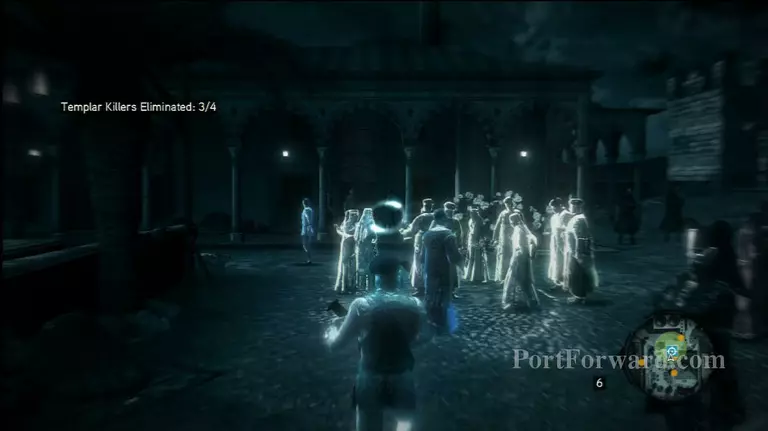
With all of your targets downed, the Templar will make one final push at killing Suleiman.
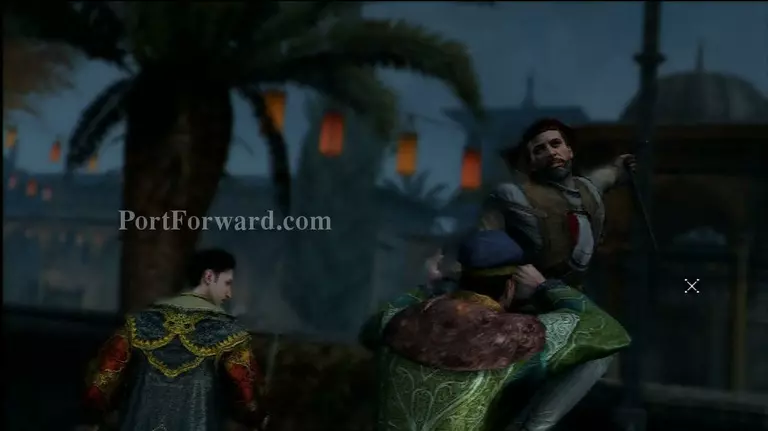
Quickly charge towards the final enemy before he gets to the Prince and stop him from completing his mission. This will earn you a great ally, and finish off the Memory.
Memory 2 - Navigate your way through the palace to rendezvous with Suleiman again. Get to him by sneaking along the rooftops to avoid drawing any attention from the guards.
Once he has explained his fears, accept the mission and head back up to the roof on your way to the tower.
Make sure to stay out of sight from the guards as you approach the bell-tower.
At the top, enter the secret door and spy on the treachery inside. Speak again with Suleiman to complete your mission.
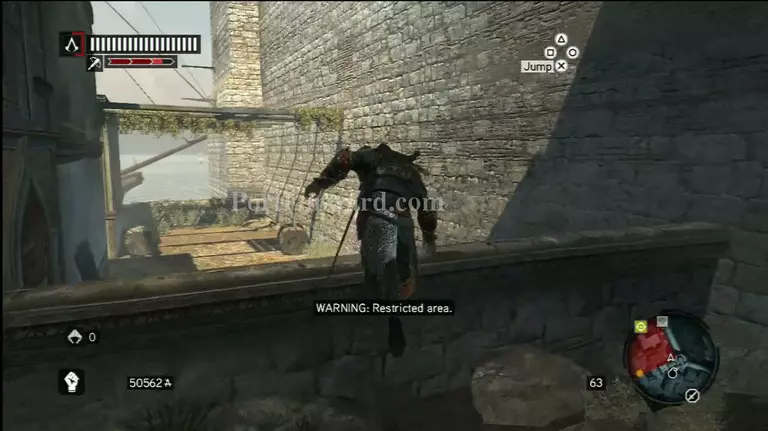
Memory 3 - Once you reach the port, your goal is to make it into the boat on the far side of the water.
With the straight route guarded by enemies, your best bet is to head down the alleyway to the right and dive into the water.

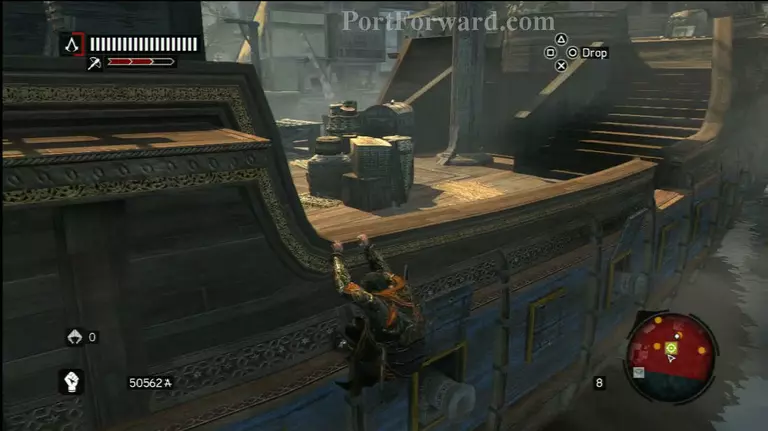
Circle around the far side of the boat and climb up part-ways. You'll need to take out the two guards patrolling the deck in order to be able to find the parcel you're looking for.
The easiest way to do this is to hang on the side of the boat, target each of the soldiers, and use your Assassin Signal to have your allies take them out. They'll remove both guards without setting off any alarms, leaving you free reign to explore the boat.
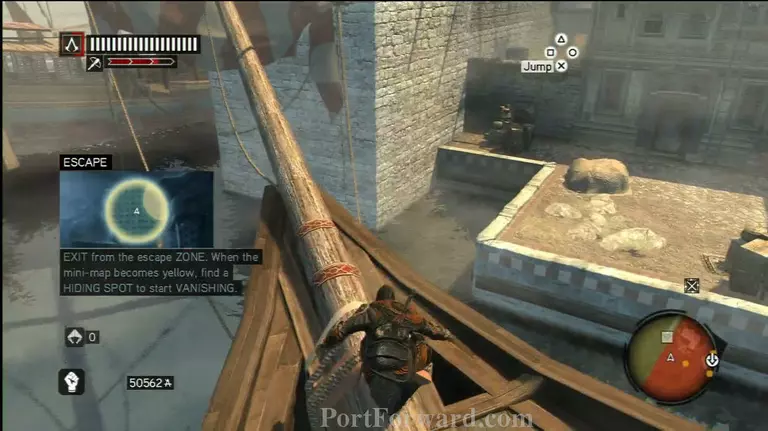
Use your Eagle Sense to highlight the documents. The one you want is located at the front of the ship just next to the steering wheel. Once you've grabbed it, you'll need to exit the port without causing alarm.
The best way to do this is to just dive into the water and swim away long enough to escape the restricted area ring. Once you're safe, head across town back to Sofia's and deliver the package to her.
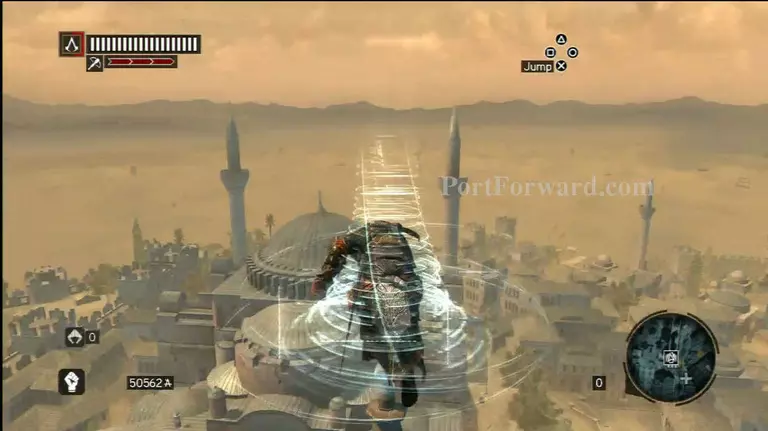
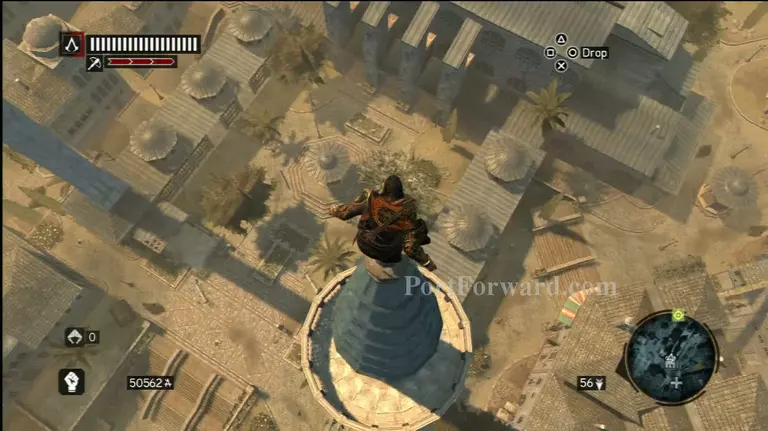
Memory 4 - Make your way to the target and begin ascending the tower.
Once you've reached the top, use your Eagle Sight and begin focusing on the various glowing spots until you uncover the resting place of the book.
Hop off your ledge and glide over to it using a parachute, or just land in the haystack and scamper over to the light.
Regardless of how you get there, your prize is a copy of "Mission to Constantinople" by Liutprand of Cremona.
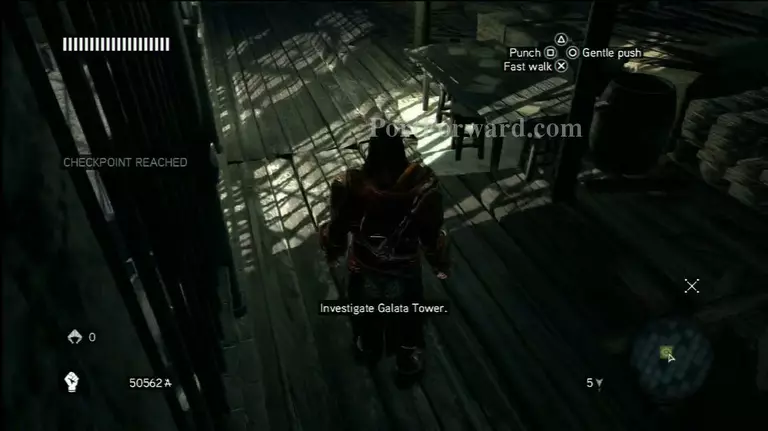
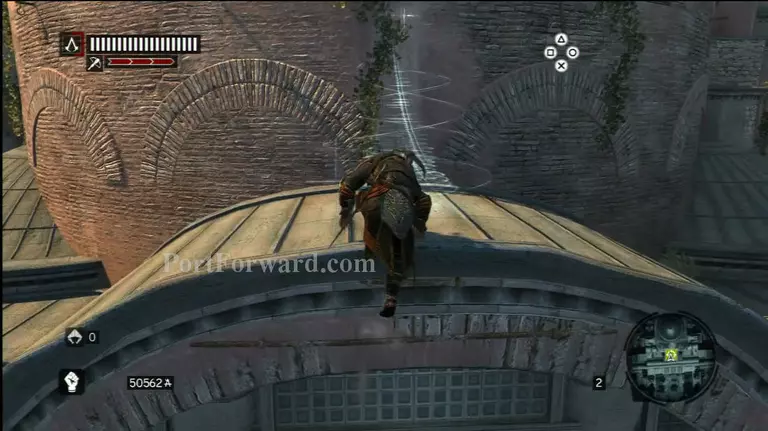
Memory 5 - Head back to Galata Tower and enter the structure to begin a lengthy platforming segment.
Head down the stairs to the opening in the wall and leap towards the hanging platform.
The rope will snap and send you plummeting down to the bottom of the chamber.
Slide along the floor until Ezio grabs on to the piece of wood. Climb up and jump backwards to the arch just in time to avoid more falling debris.
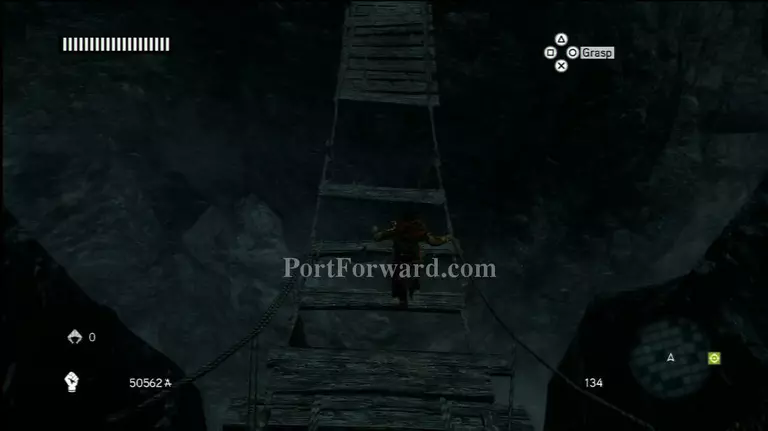
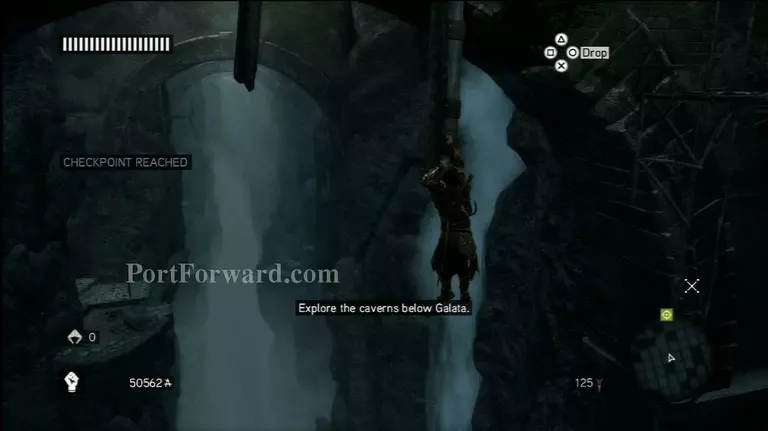
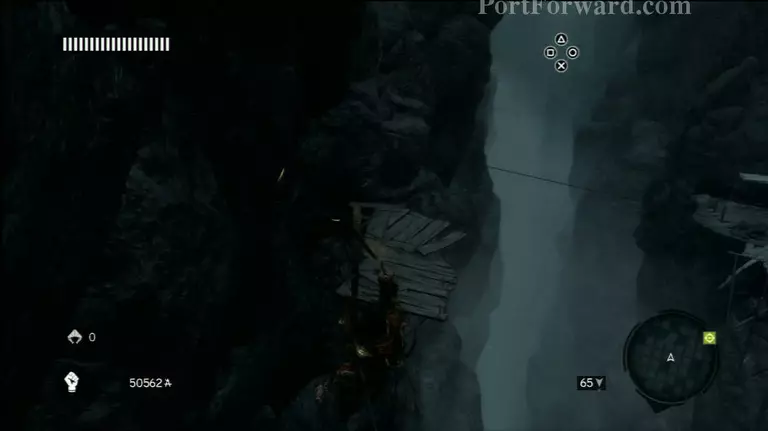
Shimmy over to the ledge and use the zipline to reach solid ground. Head through the cave, climbing up onto the pillars as you continue to press forwards.
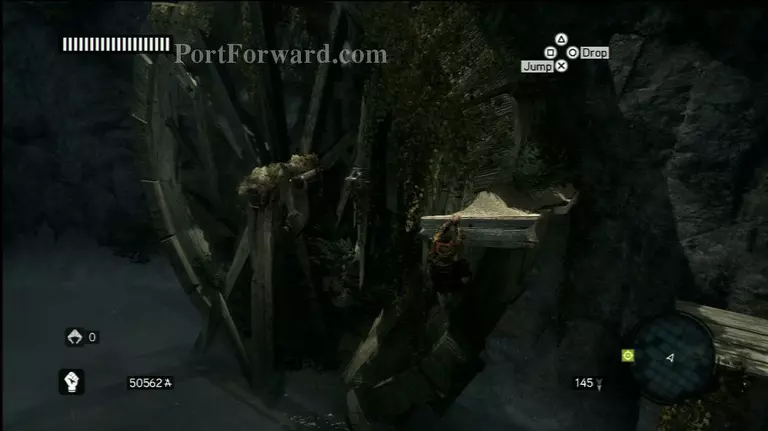
Swing and hop your way up to the stationary water wheel. Shimmy across and jump backwards to read the platform that leads out of this chamber.
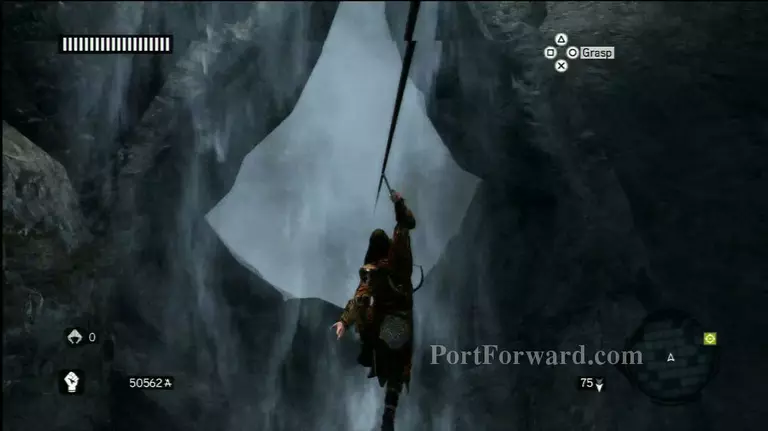
Use the ziplines to make your way through the waterfall and the bottom of a much larger room. Continue climbing until you reach a wooden tower that collapses.
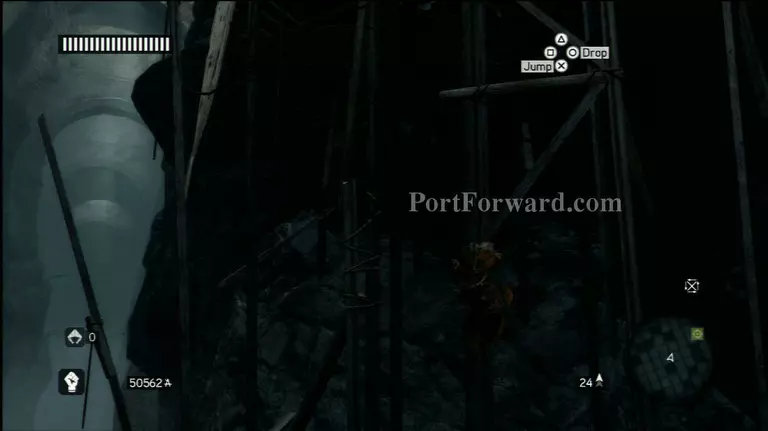
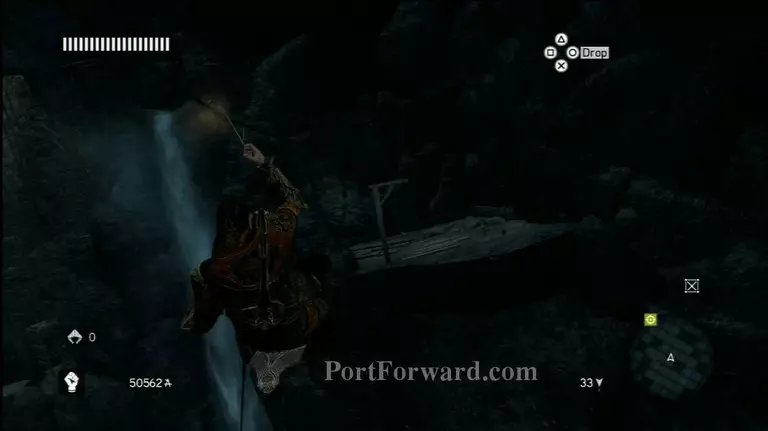
After Ezio jumps out of the way, use the next zipline to reach the top of a waterfall. Dive to the bottom and continue pressing on after you reemerge from the water.
Keep heading forward and always try to maintain your momentum. After the final zipline snaps, climb back up the side of the cliff and enter the tomb.
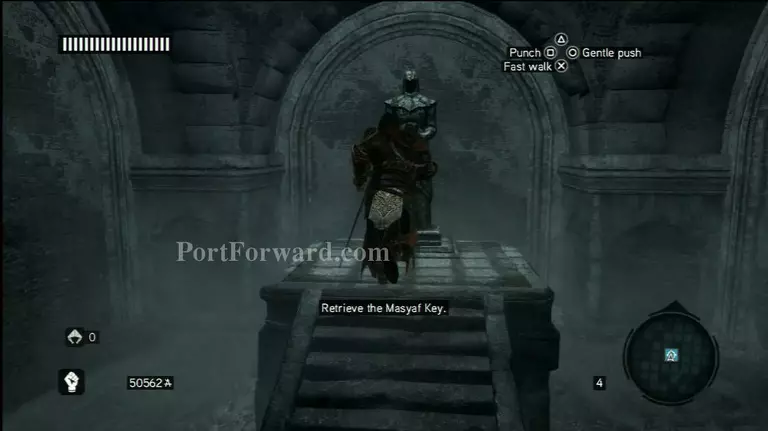
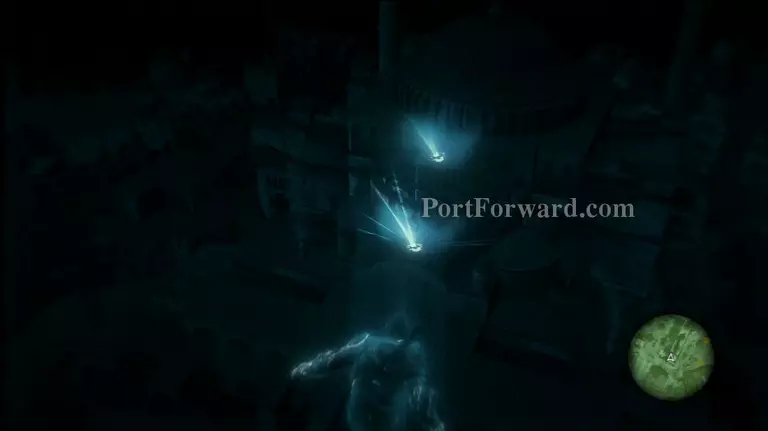
Use your Eagle Sense on one of the doors to your right to spot the hidden passages. Go inside to grab your second Masyaf key.

Memory 6 - This next Altair mission puts you in the shoes of the fabled assassin just moments after the conclusion of the first Assassin's Creed game.
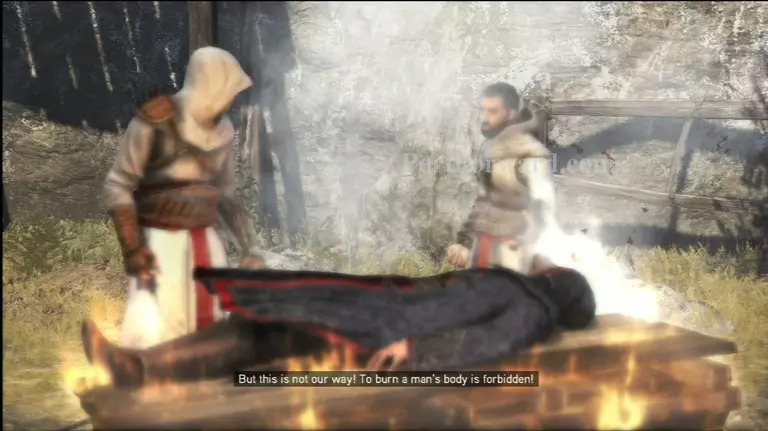
With the body of your mentor Al Mualim in hand, make your way out of the keep and down the hill. Ignore the numerous onlookers as you make your way towards the pyre.
Once you reach the fire, place Al Mualim's body on the slab of wood. Igniting your former mentor will cause a rift in the group, dividing those who are with you against those who are not.
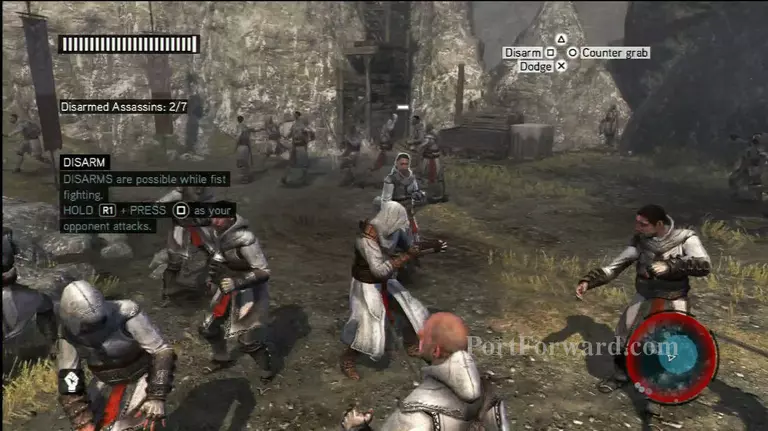
Once you regain your footing, disarm your fellow assassins by holding R1 and hitting the disarm button as soon as they're about to make contact with you. Subdue 7 of them to trigger the next cutscene.
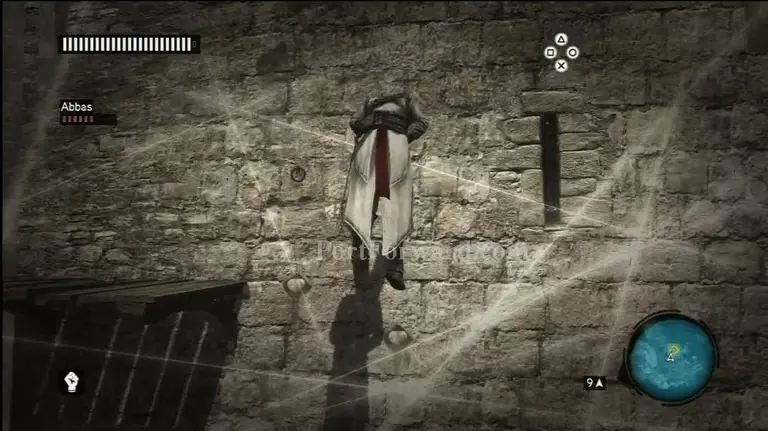
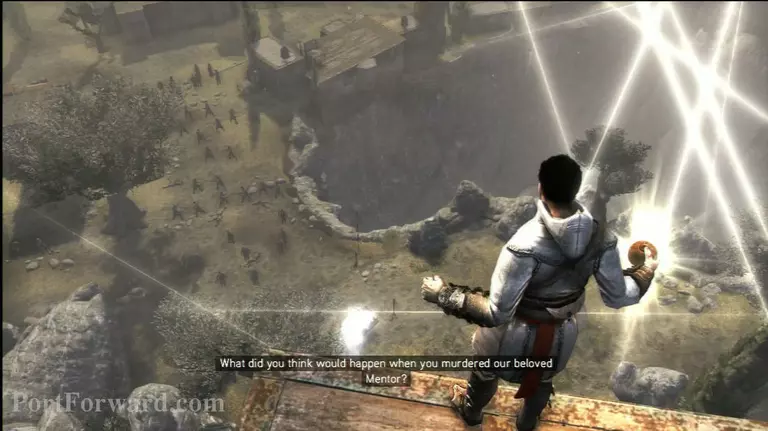
You are now tasked with reaching Abbas while the Apple of Eden grows out of control. Listen to the sound cues for when the Apple releases a surge of energy.
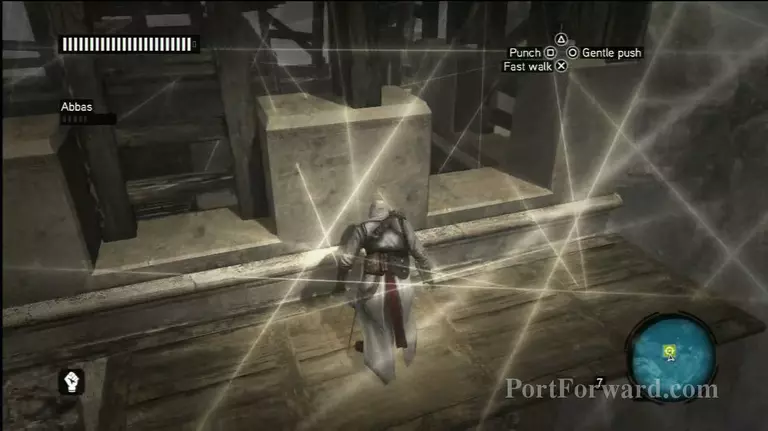
Make sure you have proper footing at these moments, because you'll be knocked down if you're in the middle of scaling the wall. Climb to the top of the tower and grab the Apple before Abbas dies in order to complete the Sequence.
More Assassins Creed Revelations Walkthroughs
This Assassins Creed Revelations walkthrough is divided into 9 total pages.