
This Bastion walkthrough is divided into 30 total pages.
You can jump to nearby pages of the game using the links above.
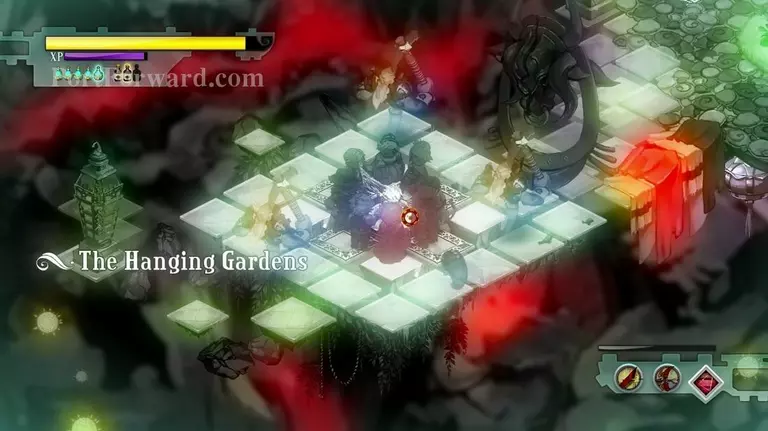
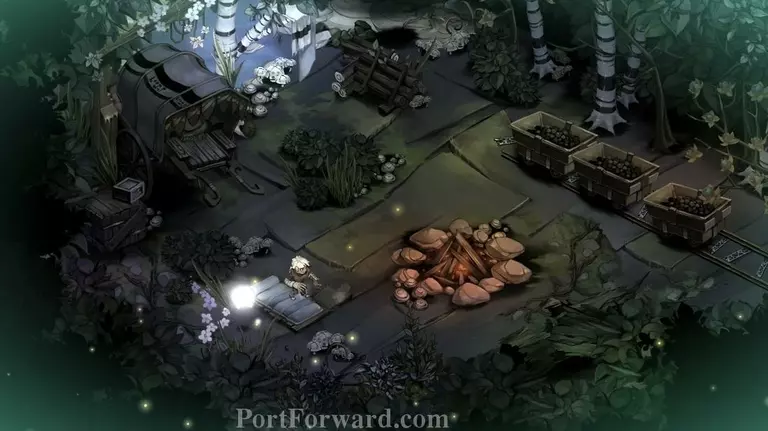
Jawson Bog
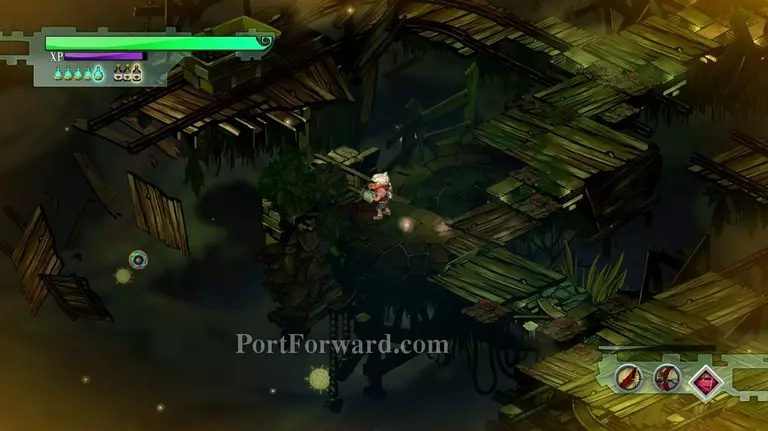
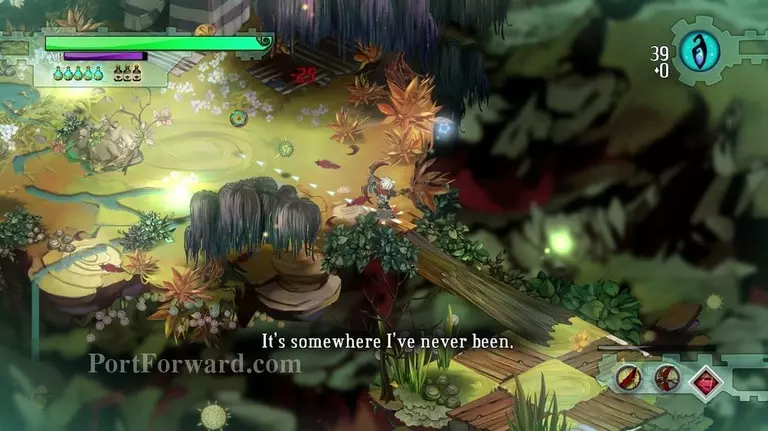
Jawson Bog is one of the more interesting missions.
Not many secrets here though.
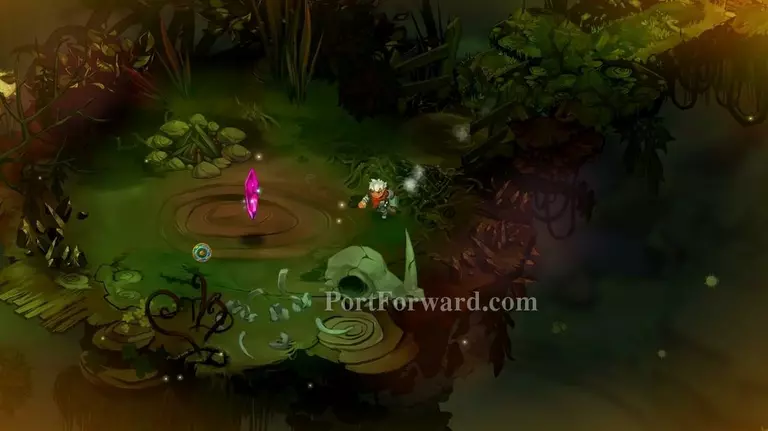
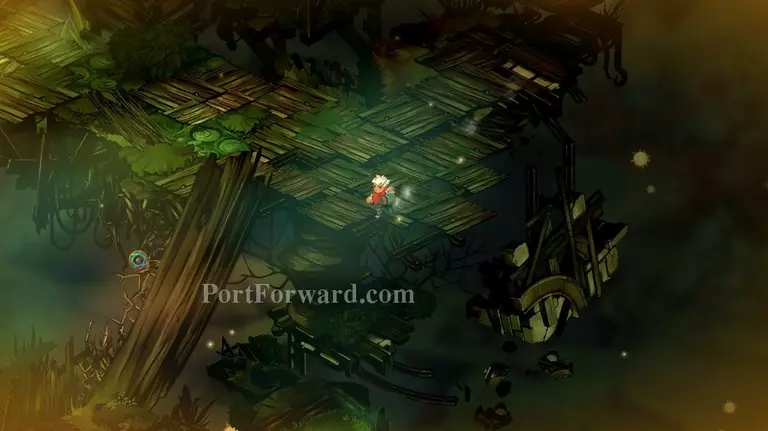
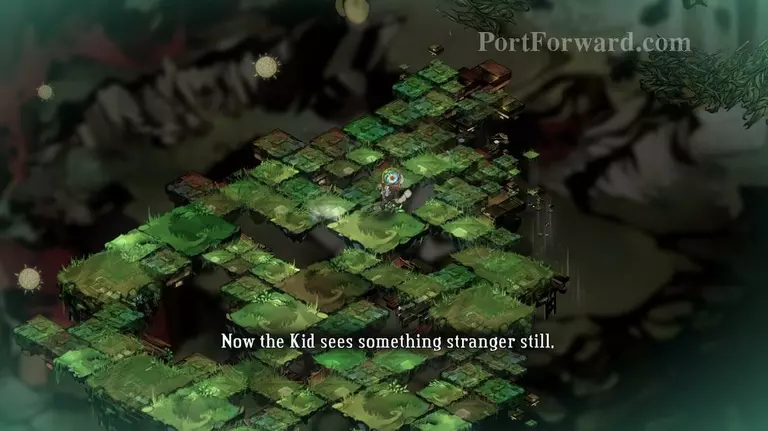
Without fighting a single enemy you will find the shard.
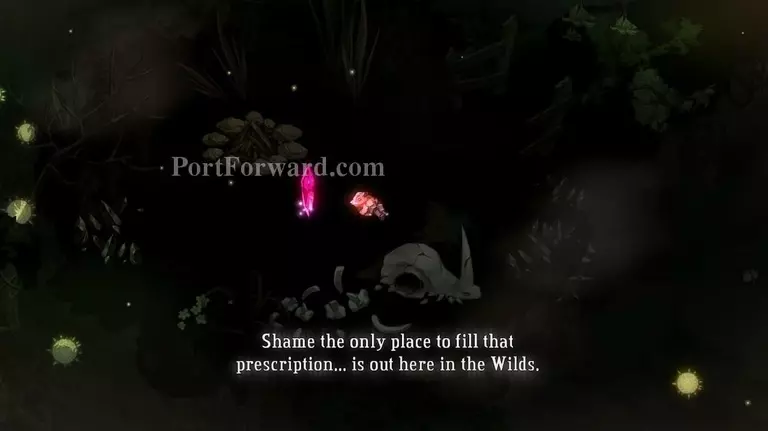
But right before you grab it, you will fall asleep.

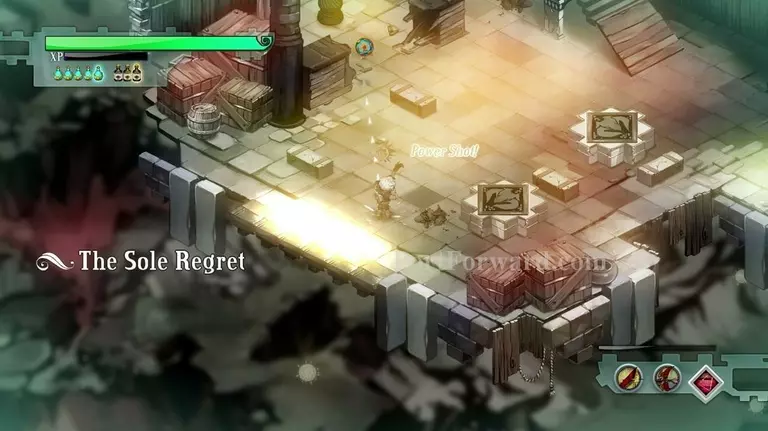
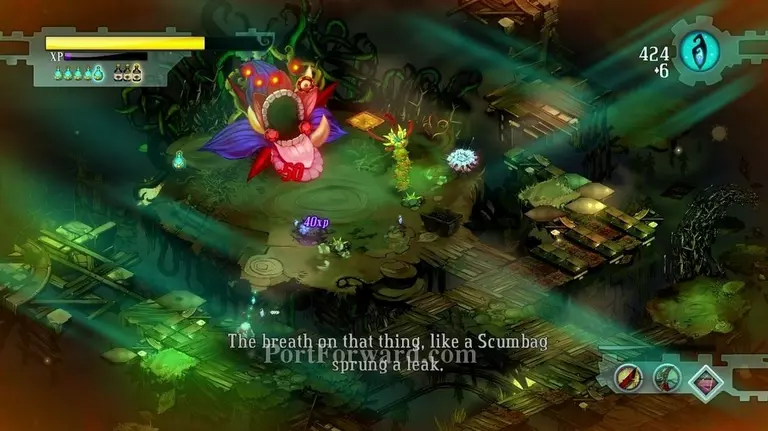
You are in something like a dreamworld. New enemies. First we have those weird eyes. When you look at them, they close and you do little damage to them. When you look away, they open and you are able to damage them properly.
They do not close instantly, so you have a bit of time to do a fair ammount of damage.
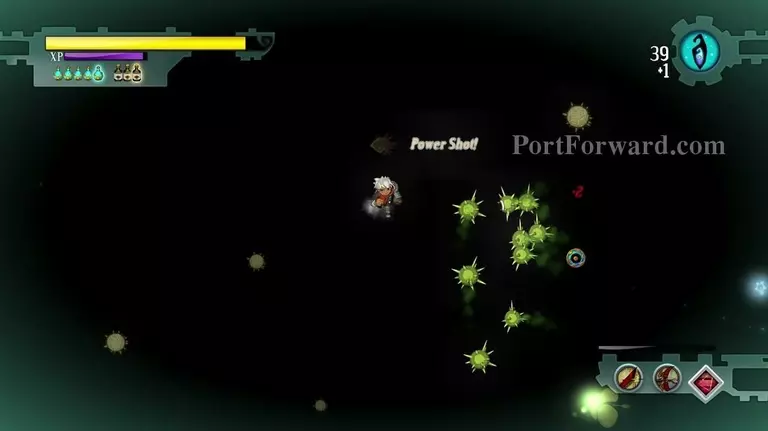
When they reach you, they explode.
It doesn't do that much damage, but it is still recommended to not let them blow up on you.
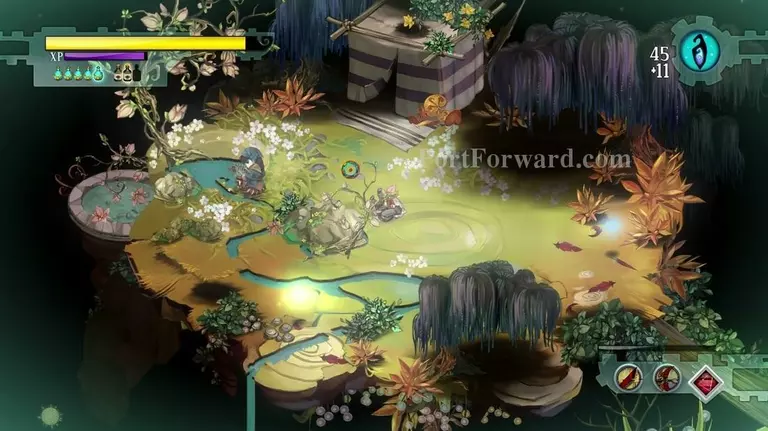
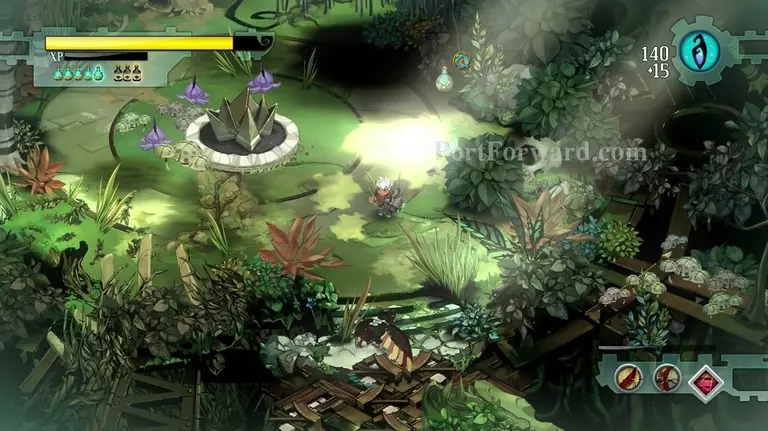
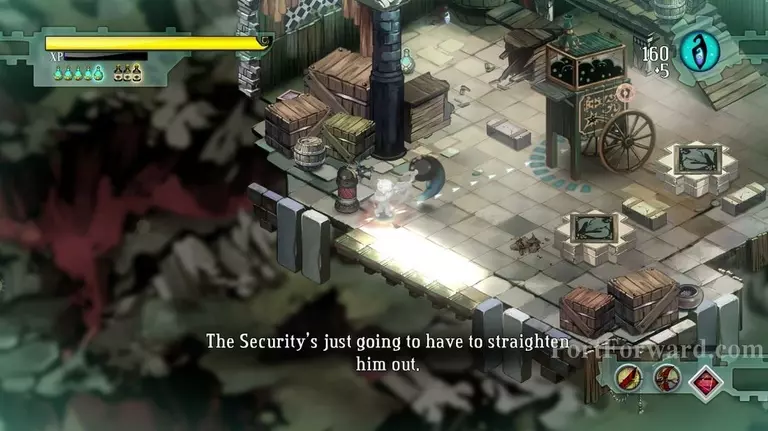
After you're done, the Siren will appear. Talk with her.
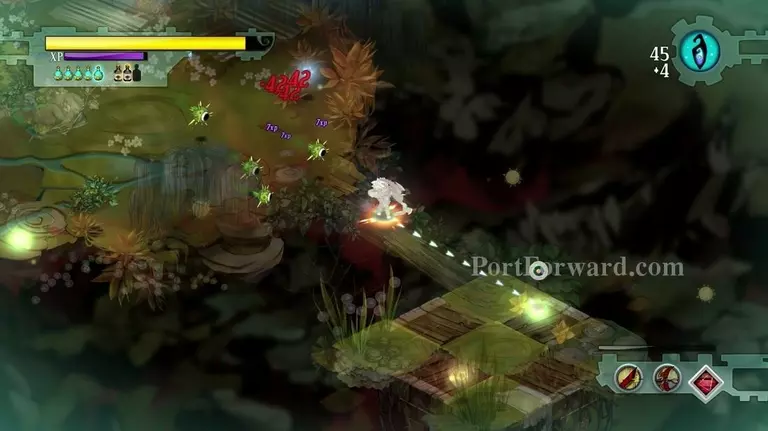
You will teleport to a new place, surrounded with statues, gasfellas and squirts. Taking care of them should not be too hard, just be careful not to fall of the edge.

After you're done, talk with the NPC.
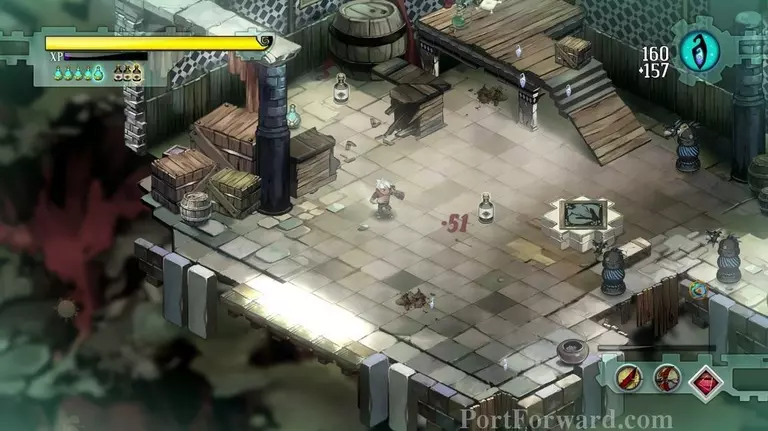
You will be teleported to a new area again.
It can be a bit tough with all the creatures, but if you roll away before they attack you should be alright.
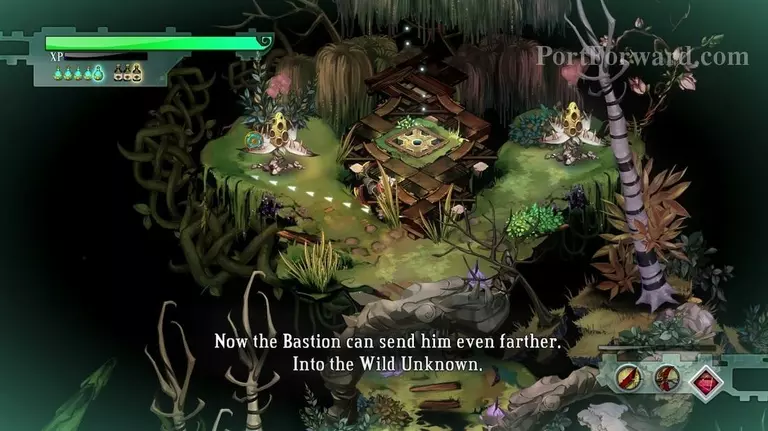
After you're done, go to the skyway.
You will be teleported yet again.
There's a huge squirt-o-matic.
After you destroy it, a bunch of turrets should appear.
After you're done with that room, you will be teleported for the last time.
Would you look at that, the Cael hammer again...
...only this time it is not happy to see you.
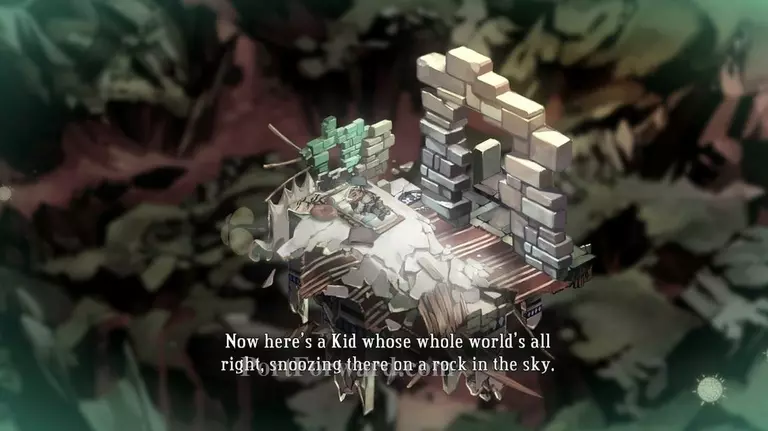
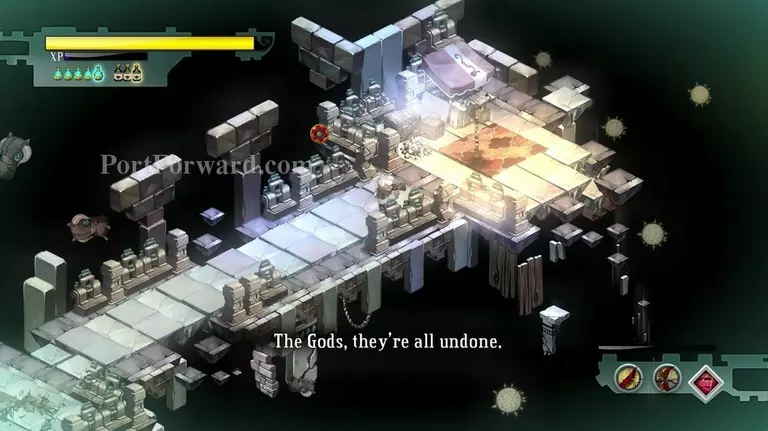
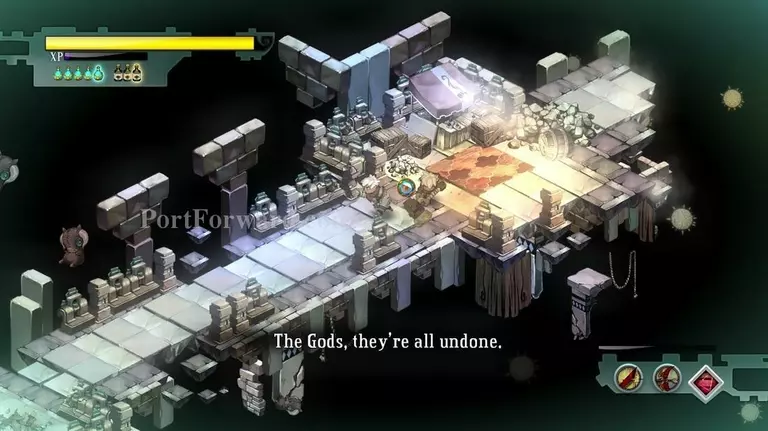
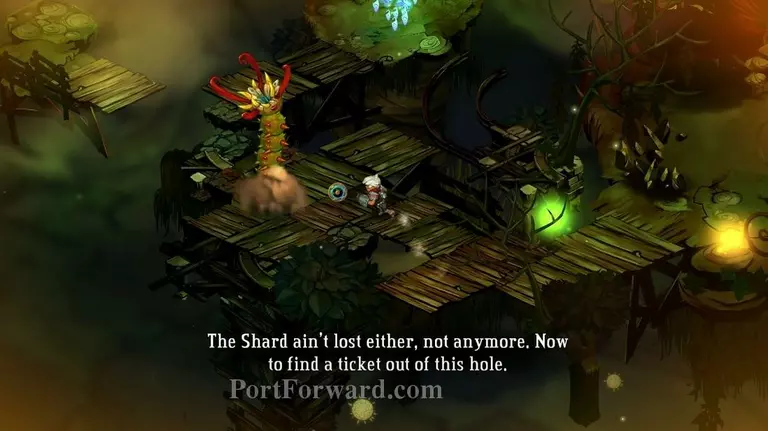
After defeating yourself, continue forward and you will be teleported for one last time.
You have to follow the ball of light.
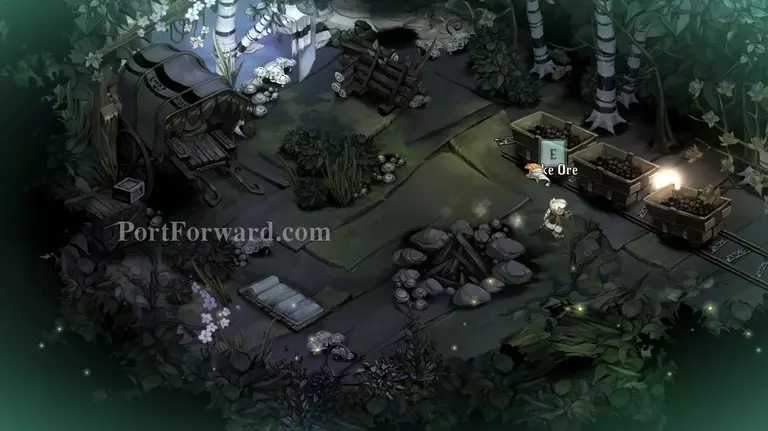
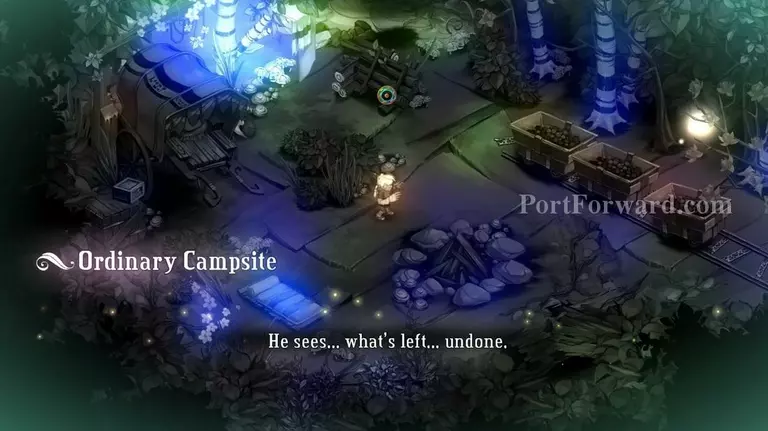
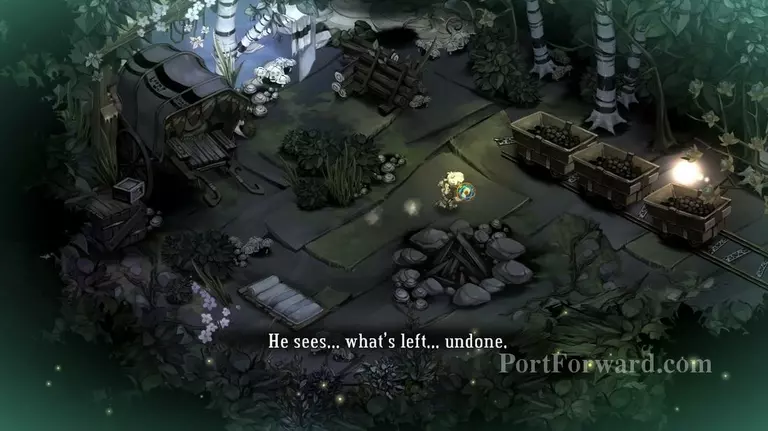
Take Ore.
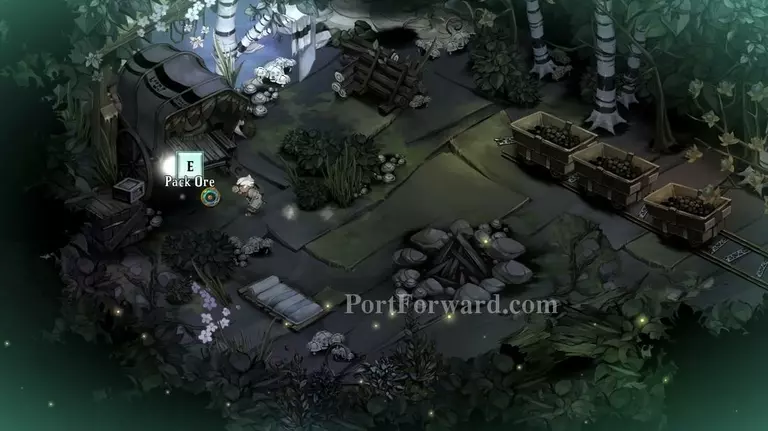
Pack Ore.
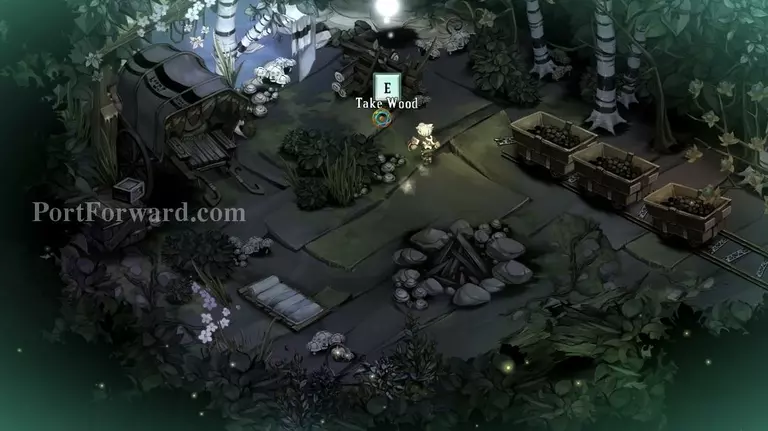
Take Wood.
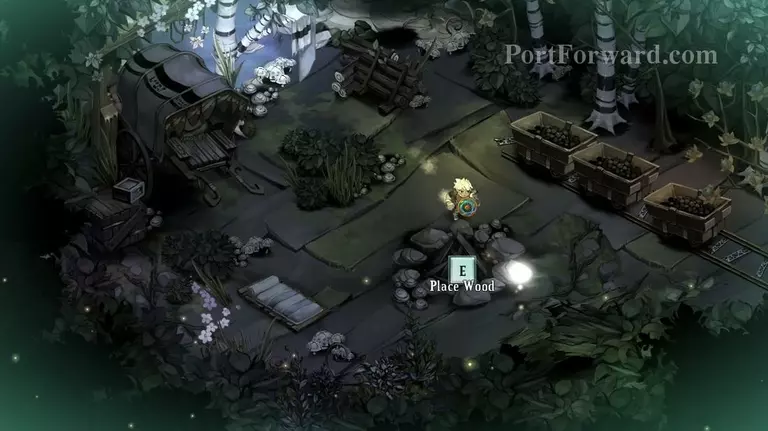
Place Wood.
And finally fall asleep.
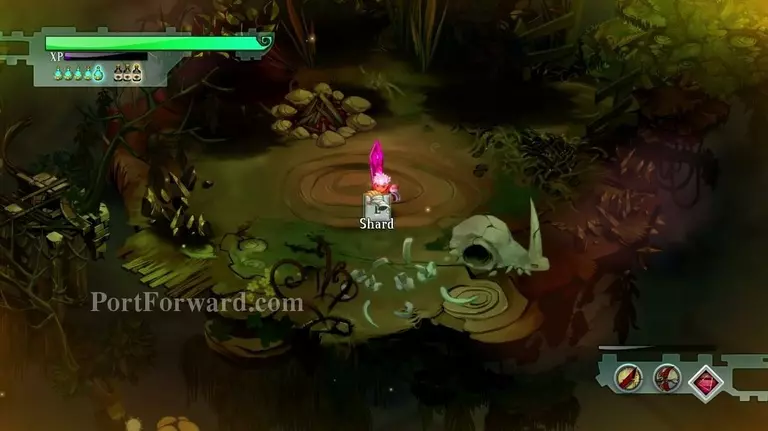
You are done with that and you are back to Jawson Bog. Take the shard and you're ready to leave.
You will find a new enemy, worm like creature. He grabs you into a cake, which you can destroy with a melee weapon.
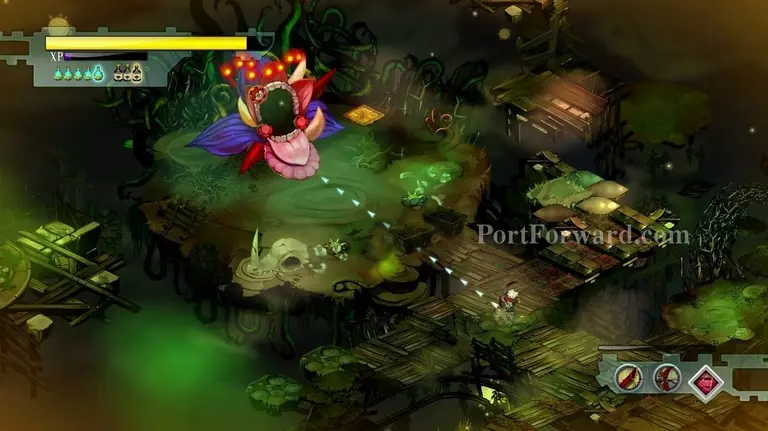
Going a bit forward, you will see a boss with the skyway next to it. I recommend shooting it with a ranged weapon while dodging most of the things it throws at you.
He will spawn enemies the more damage you do to him.

Try to get rid of the smaller creatures first.

After you defeat him, take the skyway and return to the Bastion.
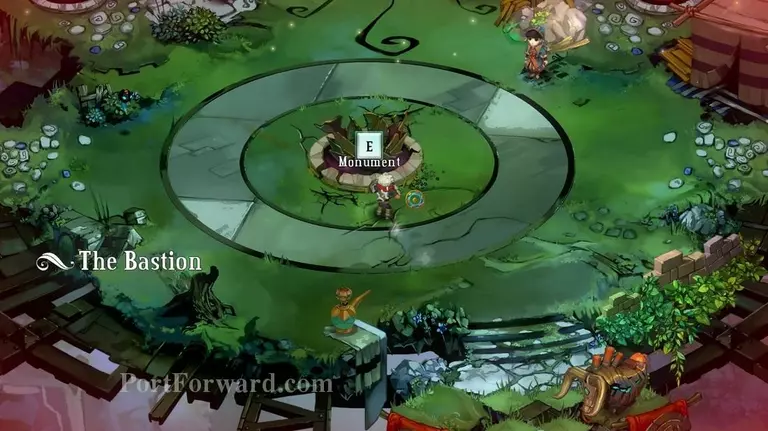
Using the shard on the monument will allow you to upgrade one of your buildings.

I chose to upgrade the forge since it allows you to upgrade your weapons more.
More Bastion Walkthroughs
This Bastion walkthrough is divided into 30 total pages.


