
This Bastion walkthrough is divided into 30 total pages.
You can jump to nearby pages of the game using the links above.
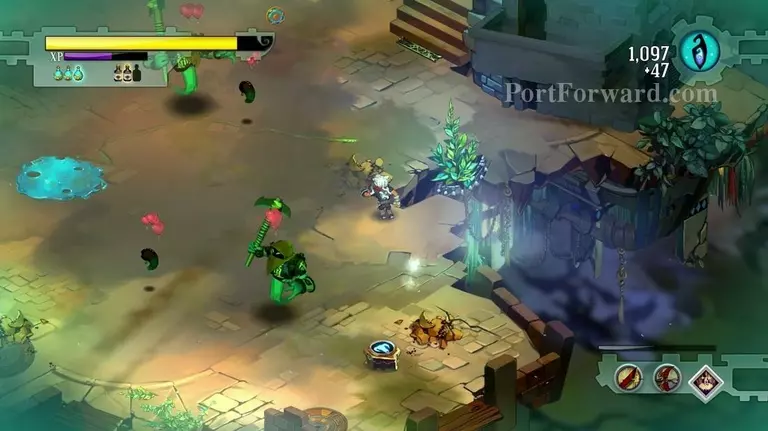
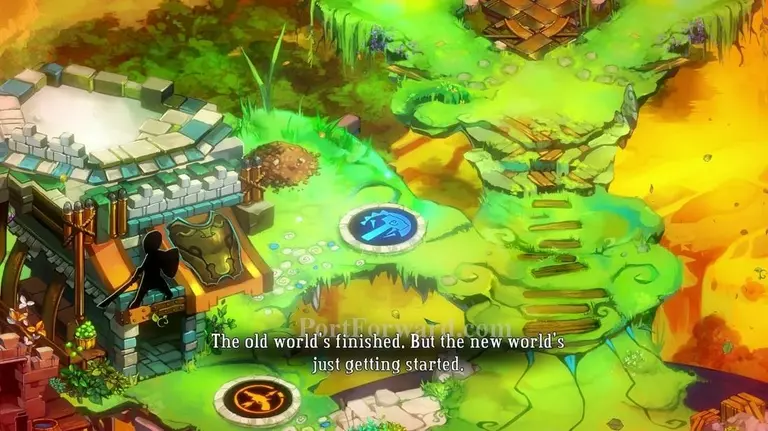
The Melting Pot
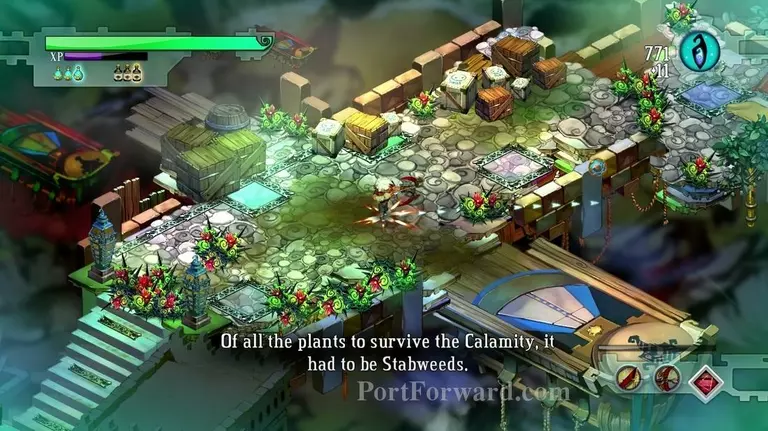
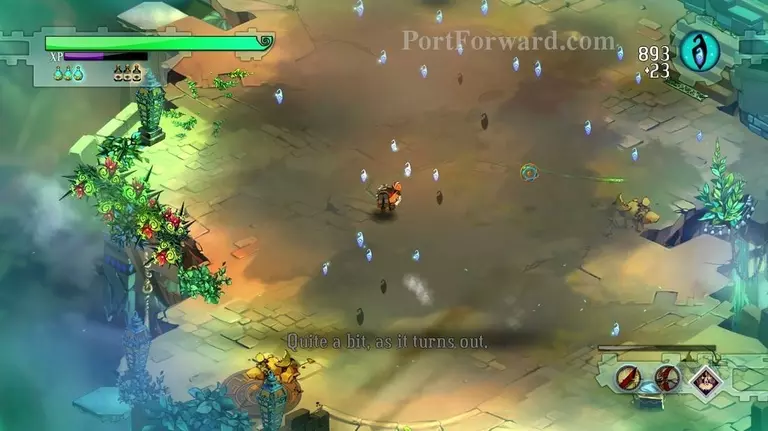
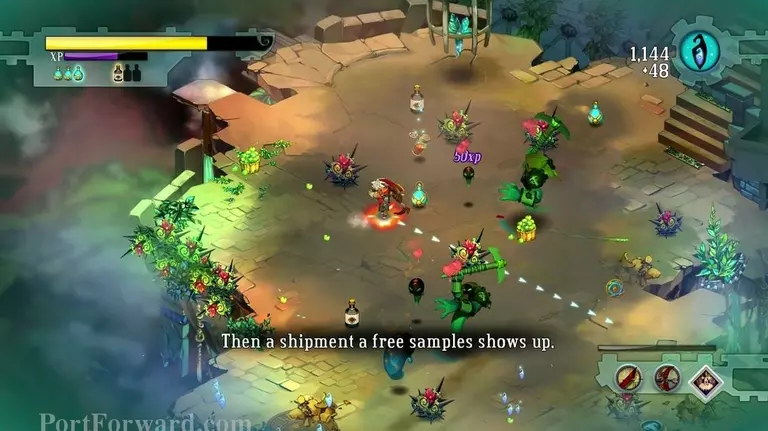
This mission introduces you to damage dealing objects, in this case called the Stabweeds.
I recommend, destroy them all.
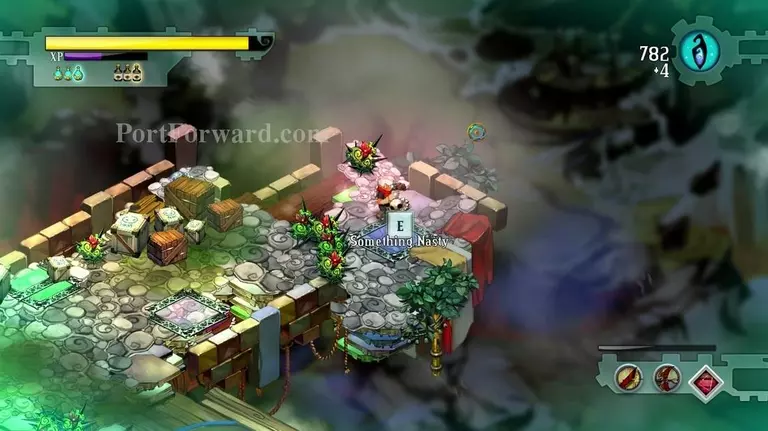
Also, to the right you will find Something Nasty, another crafting component.
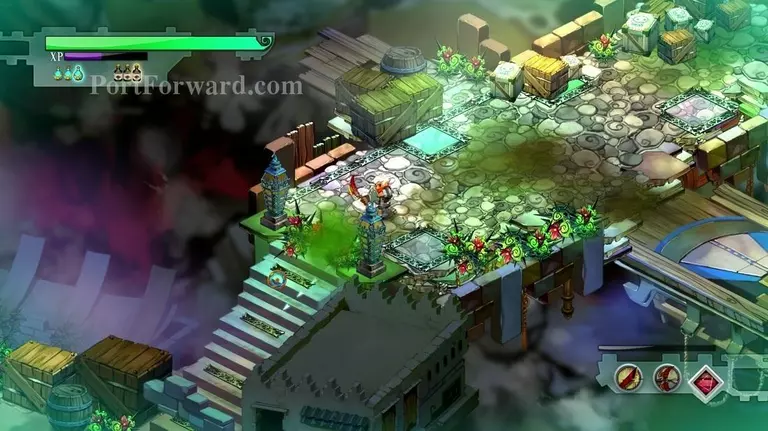
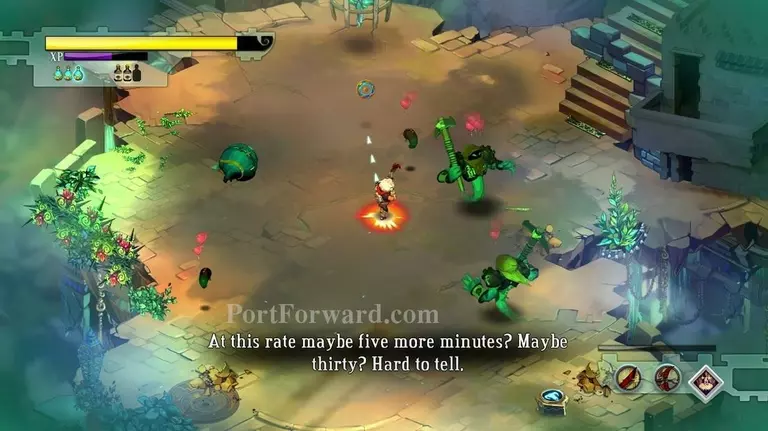
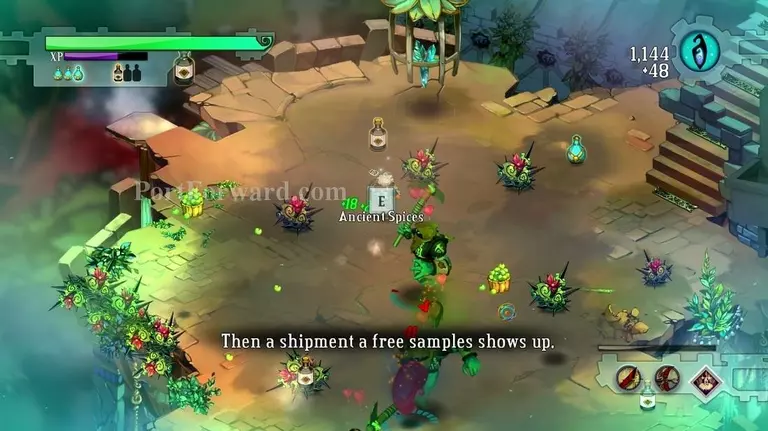
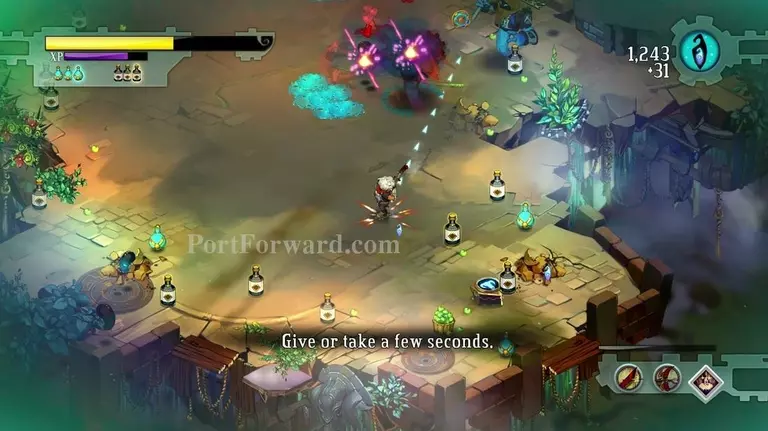
The area to the south is one of the longest gauntlets you will do.
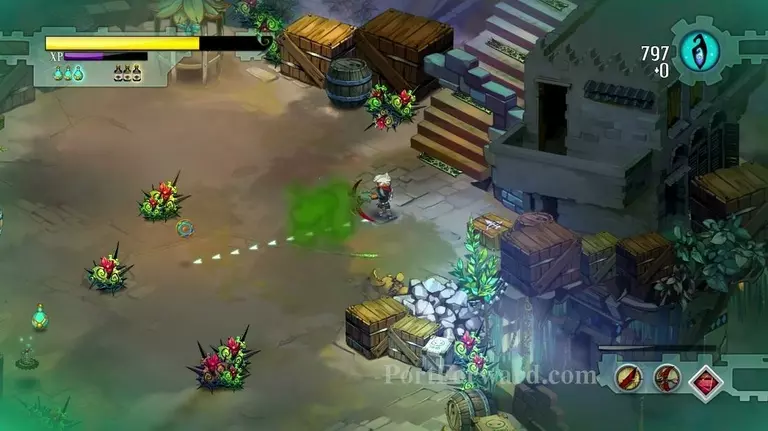
I recommend destroying all the stabweeds and boxes before pressing the button to the south.
The trip mine is to the south-west. Trip mine is a mine you put on the ground, exploding a bit after an enemy walks over it. Deals about as much damage as the Hand Grenade.
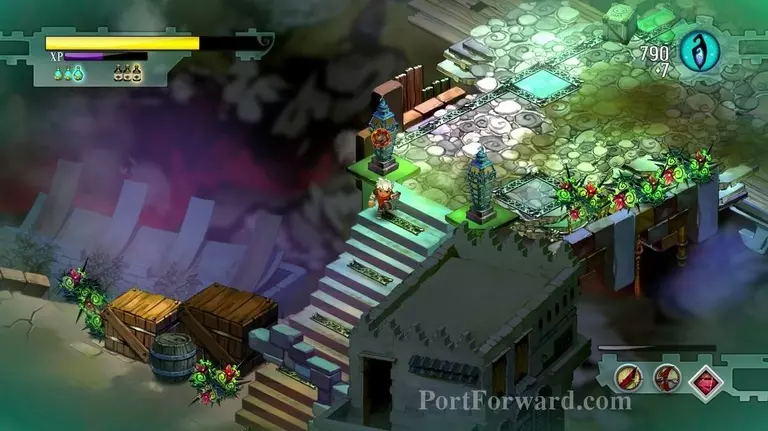
Also, over to the east you will find a bunch of fragments stacked up.
When you're done with everything, press the switch to the south.
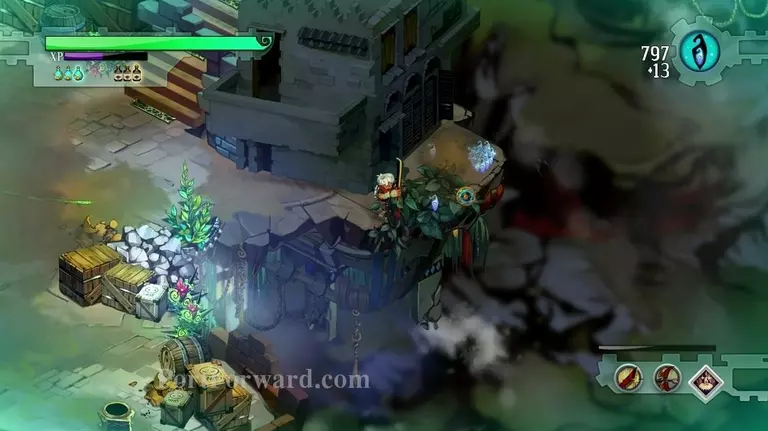
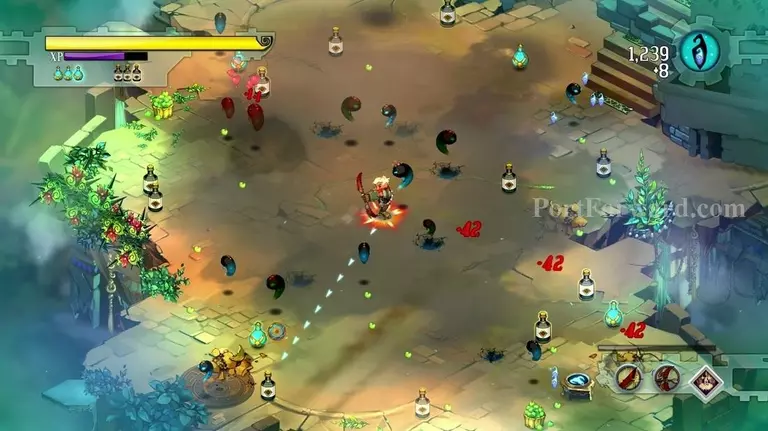
Bit after you press it, the first phase will start. During this phase, fragments fall from the sky.
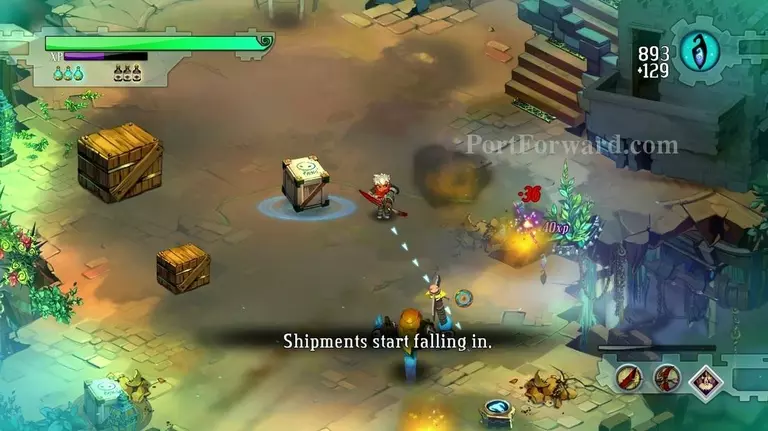
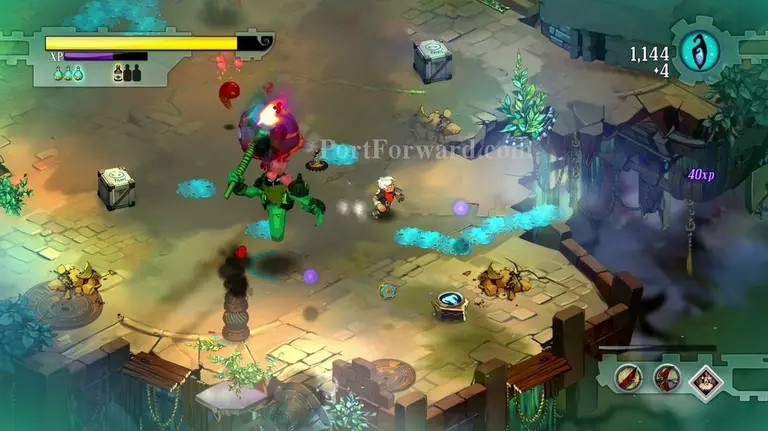
Phase two: a bunch of boxes start falling, some of them with enemies inside.
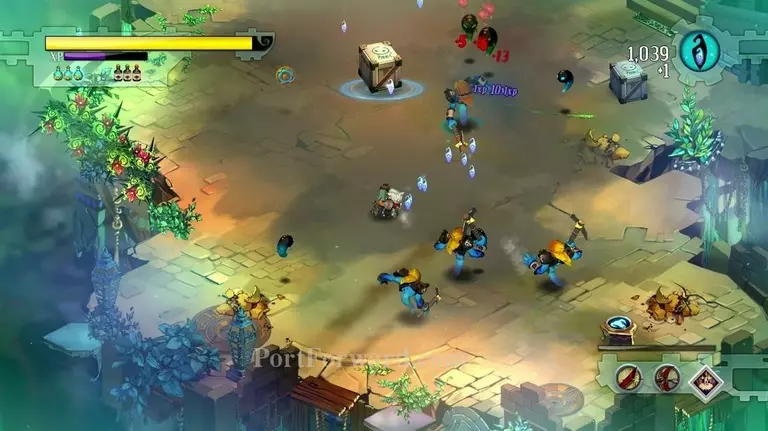
Phase three: a squirts and boxes spawn. The green squirts are your allies.
Phase four: Scumbags and more boxes with gasfellas.
Some green gasfellas, allies should arrive as well.
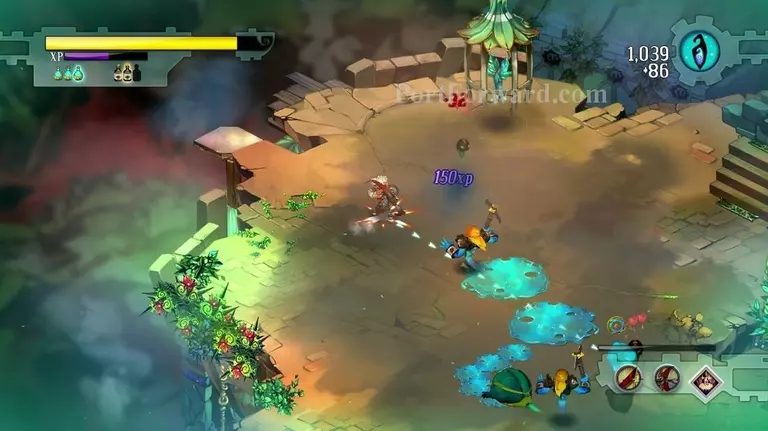
After a bit of waiting, more scumbags should start falling from the sky...
...with gasfellas to back them up.
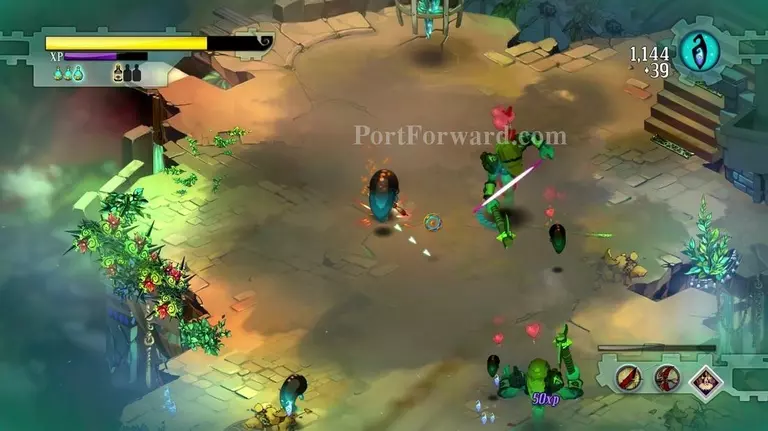
Bigger squirts start appearing as well.
Suddenly a bunch of squirts, weeds, potions and fragments fall from the sky.
And a lore item to top it off, don't forget to pick it up.
A bunch of squirt-o-matics and turrets will fall from the sky. I recommend using the trip mines on the squirt producing annoyances.
Squirts will start coming out of the ground again after you're done with the previous enemies.
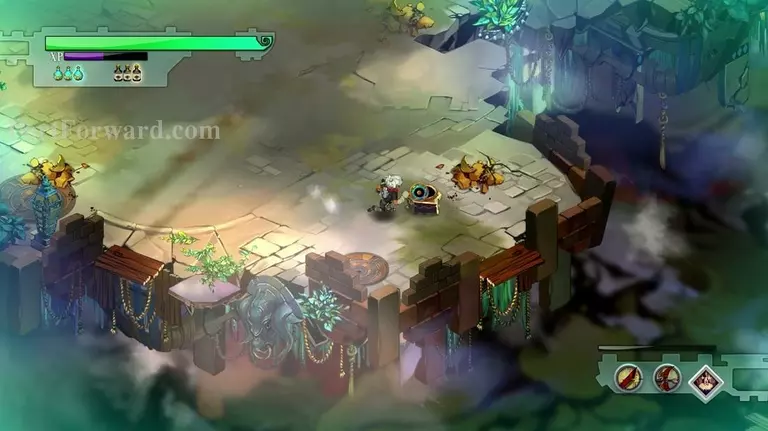
Just to take care of the rest of the enemies and...
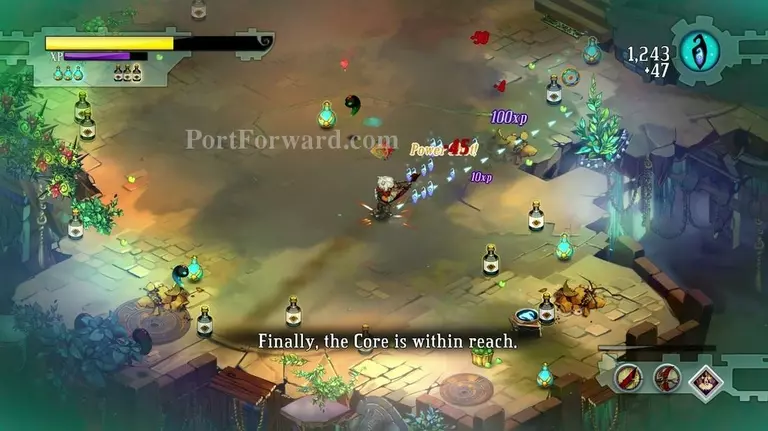
...you're done.
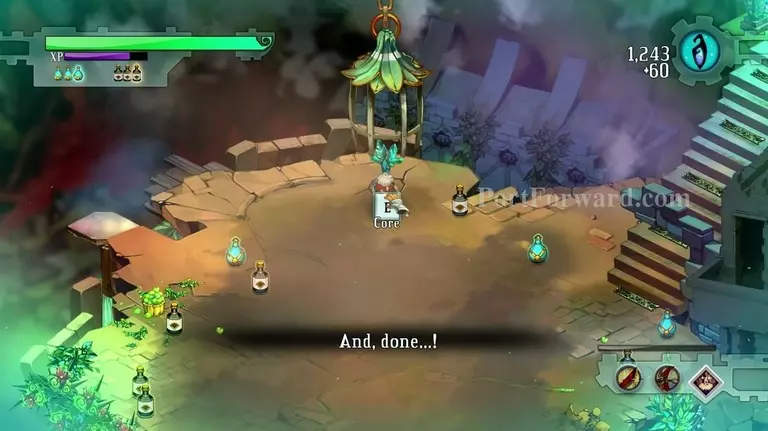
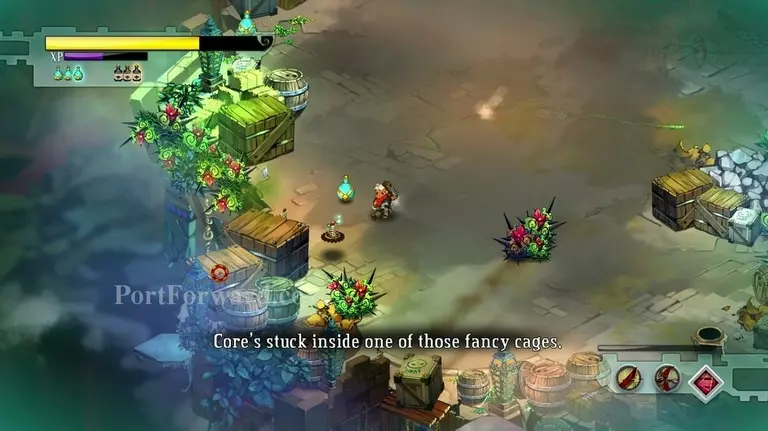
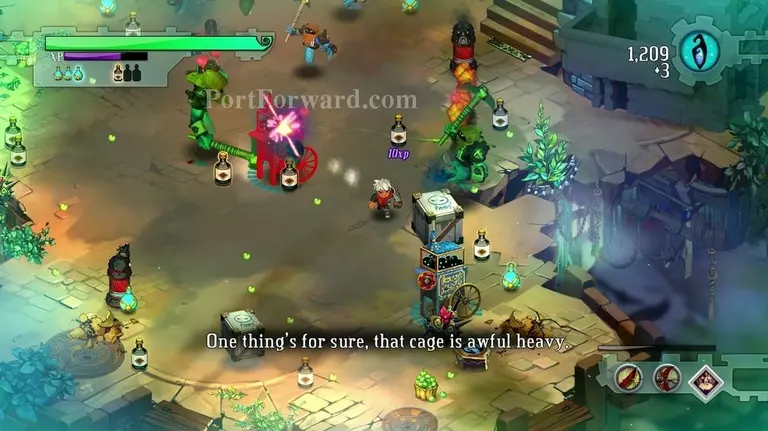
Grab the core and it's time to get out of here.
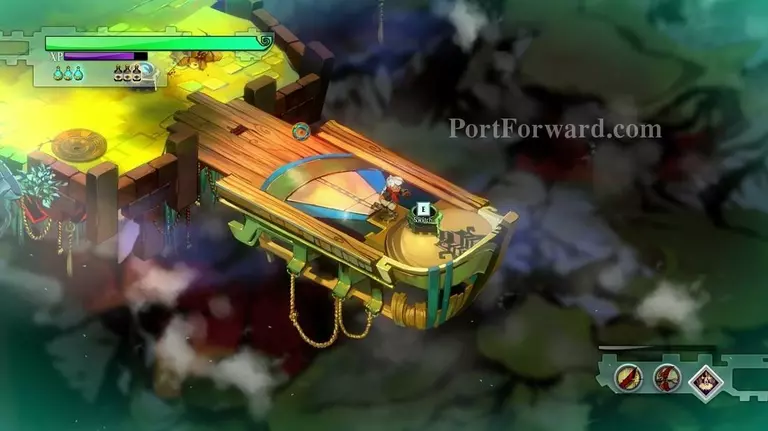
You do that with the vehicle like contranption to the south, right next to the switch.
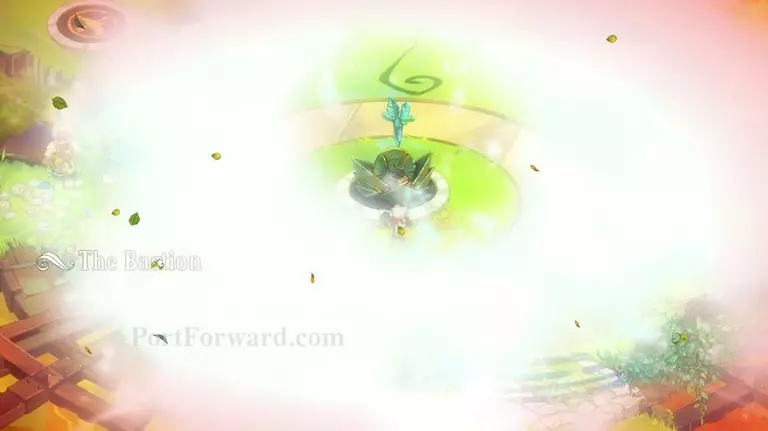
Use the core at the bastion...
And you will be able to build yourself another structure.
More Bastion Walkthroughs
This Bastion walkthrough is divided into 30 total pages.


