This Bioshock Infinite: Burial at Sea - Episode Two walkthrough is divided into 6 total pages.
You can jump to nearby pages of the game using the links above.
Back in Rapture
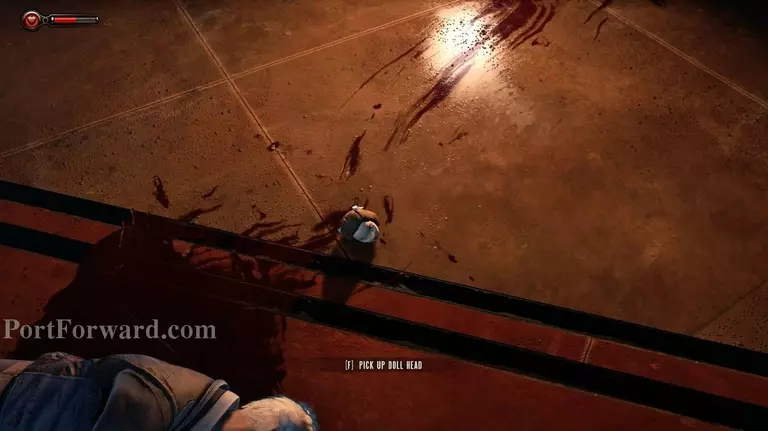
When you have control pick up the doll's head on the ground just in front of you.
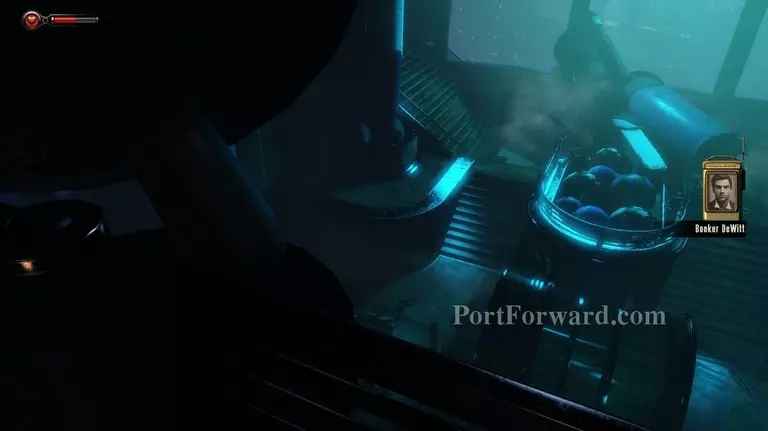
When that's done, to get your bearings, you can look around. You'll probably recognize this place from the last episode.
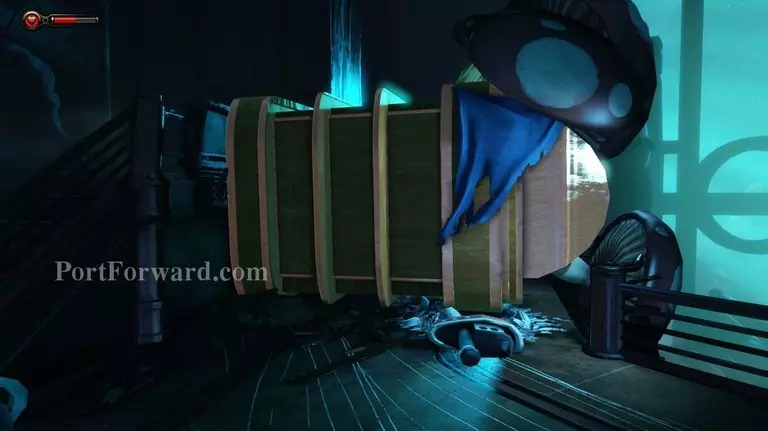
Head to the left (if you're looking over the balcony; otherwise it's probably to the right). Use the fallen shelving unit to climb on top of it.
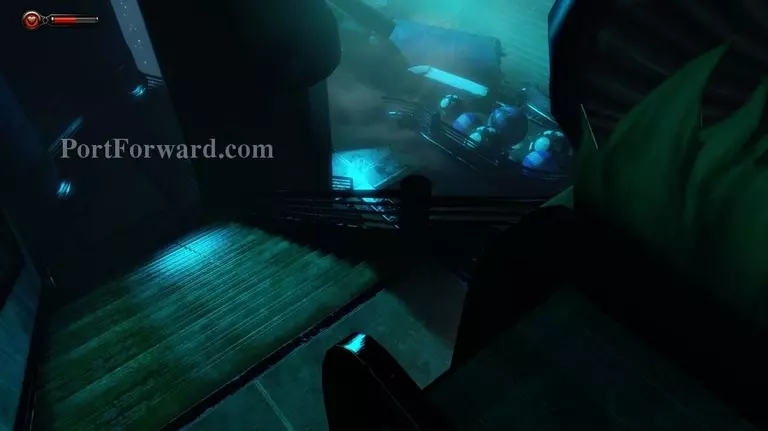
Then jump down the other side and head down the stairs.
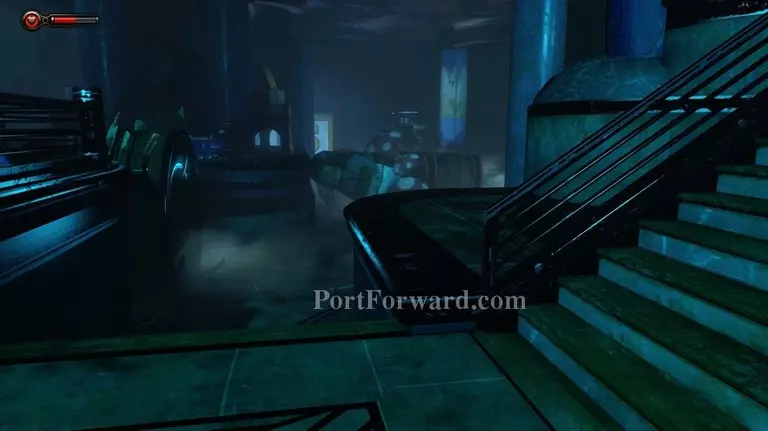
Take a right at the bottom of the stairs and continue down more stairs and up the path.
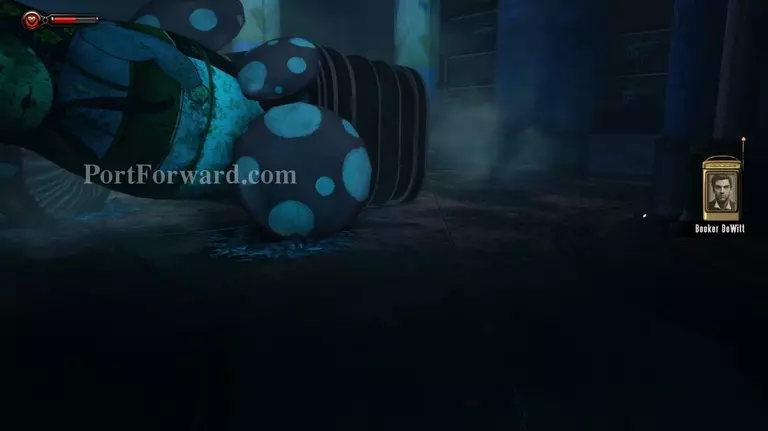
When you get to the fallen pillar go around it and move on to the left on the other side.
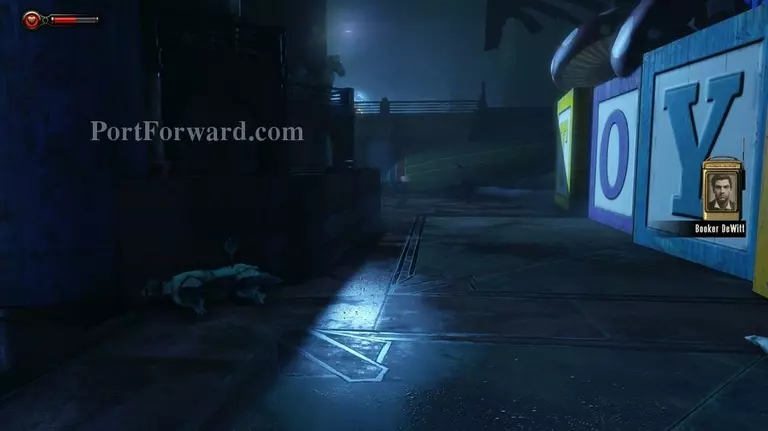
Continue left, down the path, and make another left at the end of the big blocks that spells "TOYS".

At the bottom of the stairs continue going forward past the counters (there's nothing to pick up yet so no reason really to search the area).
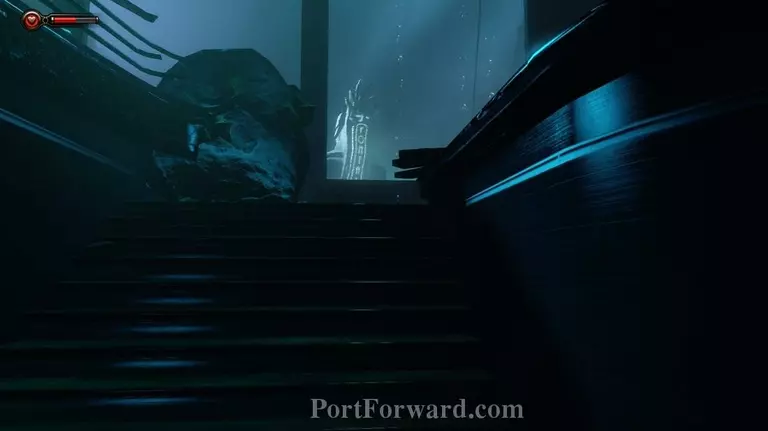
At the other end of the path, head up the stairs, then to the right past some more shelves.

You'll see a big cracked wall ahead with some kind of large round object blocking it.
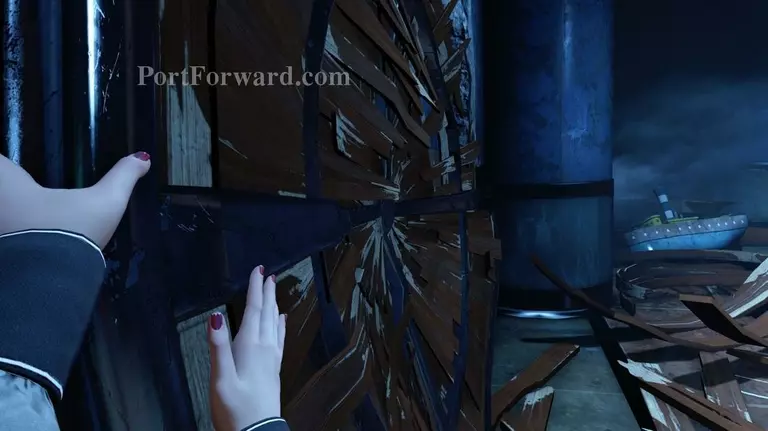
Use the object and Elizabeth will push it out of the way.

This twist is fairly early. Elizabeth is already dead.
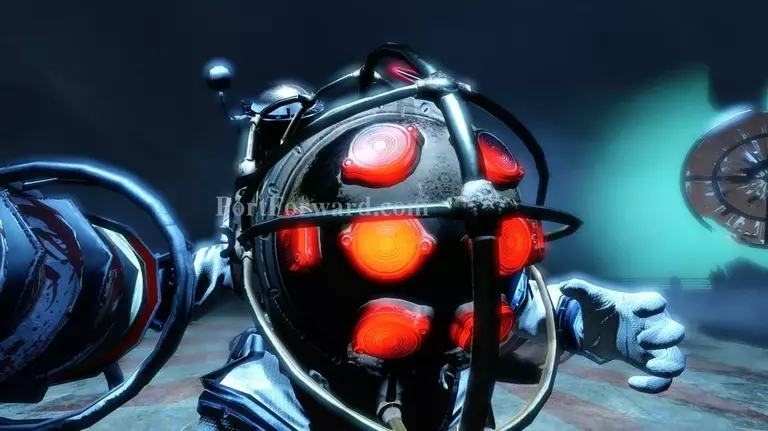
Elizabeth was apparently killed by the Big Daddy shortly after Booker was. You can try and piece that together if you want.

Strangely, Elizabeth also has her pinky which means she is powerless- she cannot see between realities or contol portals like she usually can.
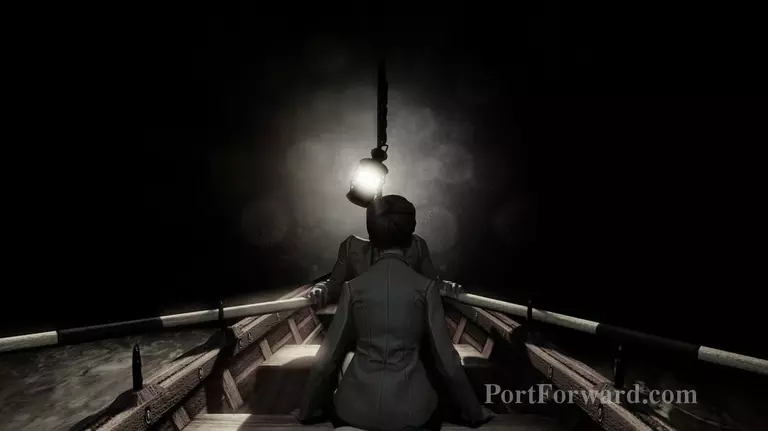
Elizabeth recalls being with the Lutece twins and you are transported to this meeting.
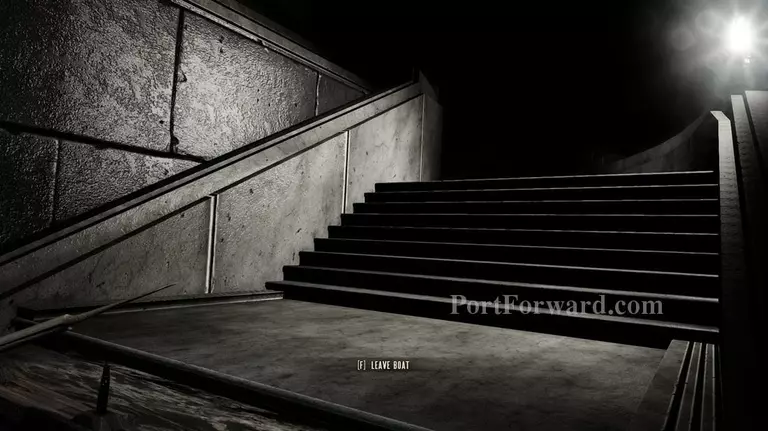
At the end of the boat ride you can get off onto the stairs.

If you want you can wait for the Lutece's to leave (as they always have such fun dialogue to listen to).

Then head up the stairs.

At the top take a left and go through the door.
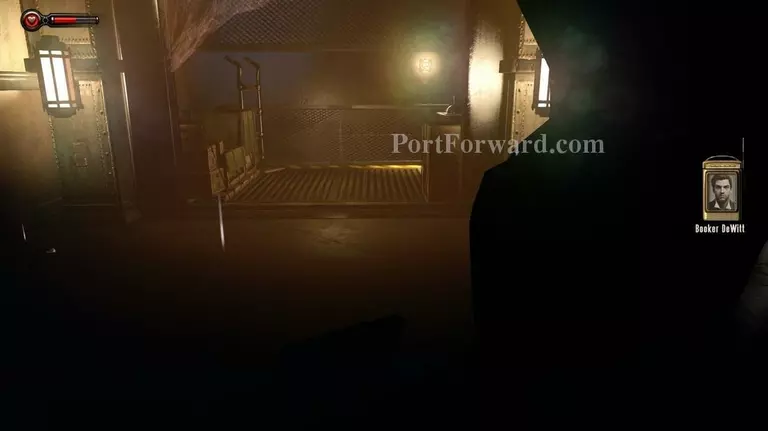
Elizabeth will be back at her... own dead body. After the conversation with "Booker" go to the left side where the elevator is to continue forward.
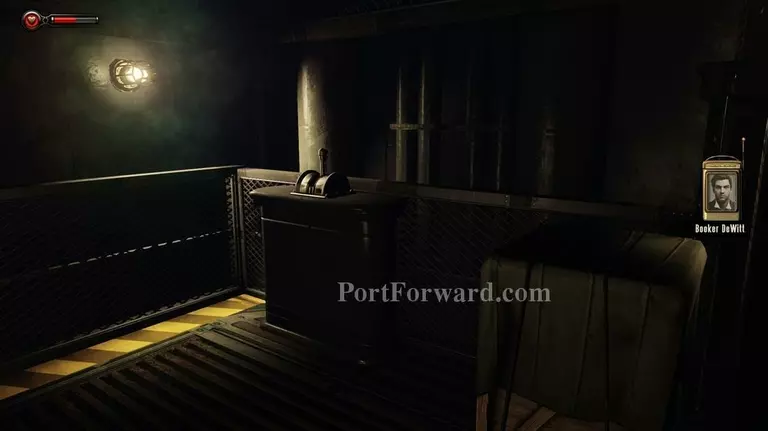
Head for the switch and pull it.
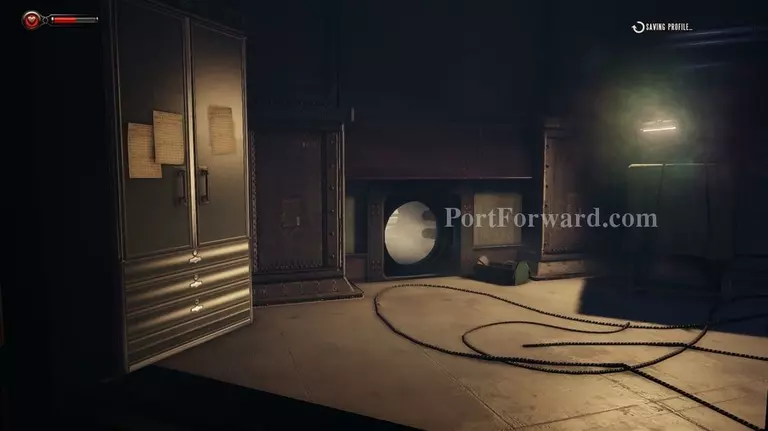
At the bottom, exit the elevator.
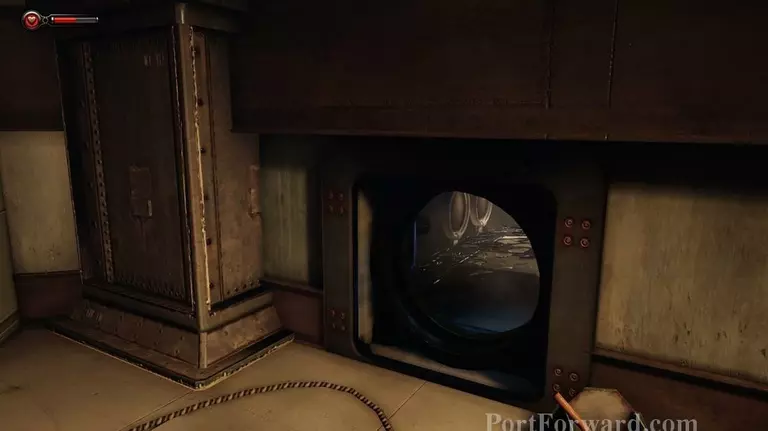
Duck down and head into the service vent on the left side of the room.
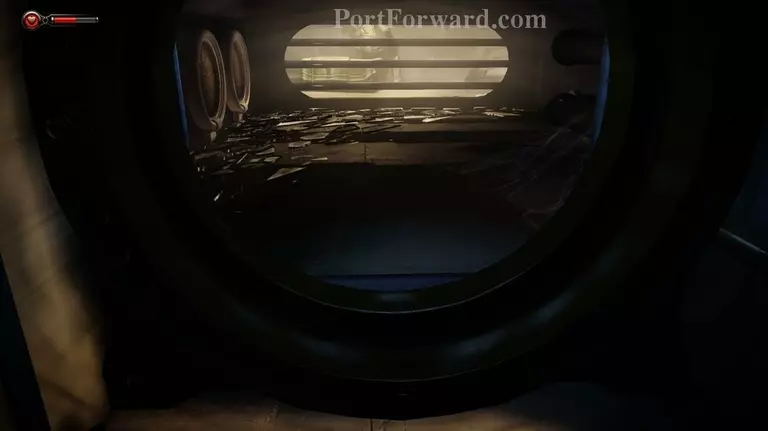
This area is intended to tutorialize you on some new mechanics to Bioshock Infinite- namely that since you are playing Elizabeth this game is more stealth oriented than action.
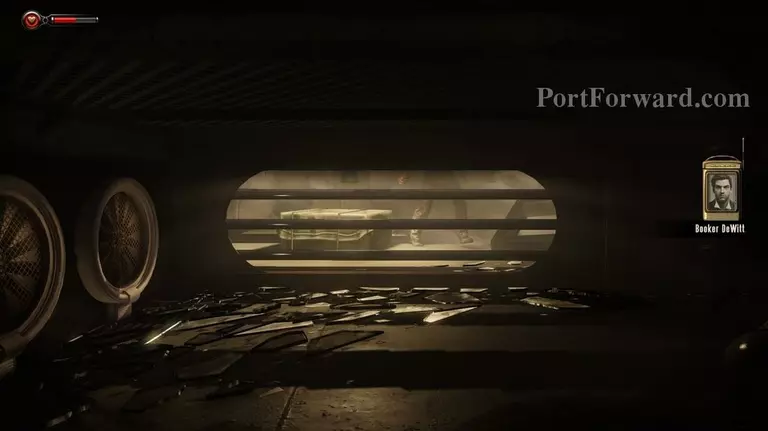
If you step on glass you will make noise and enemies can hear it.
Head around the vent to the right.
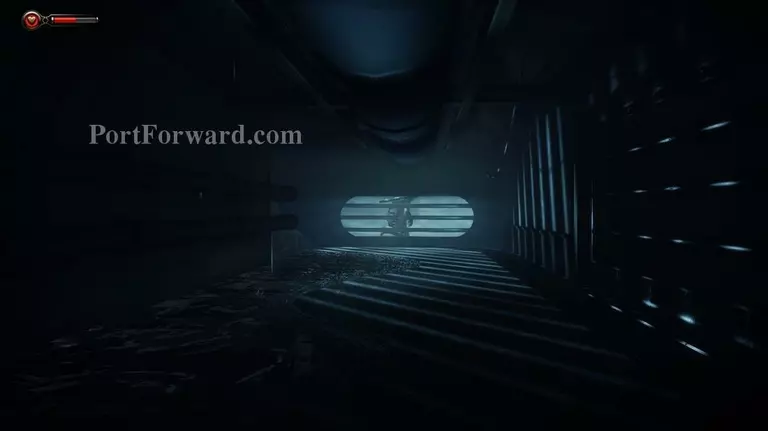
When you step through water it makes noise too so be careful. There is not much to worry about in here as the Splicers can't get to you while you're in here, but it's something to keep in mind for the future.

Head around the next corner to the left.
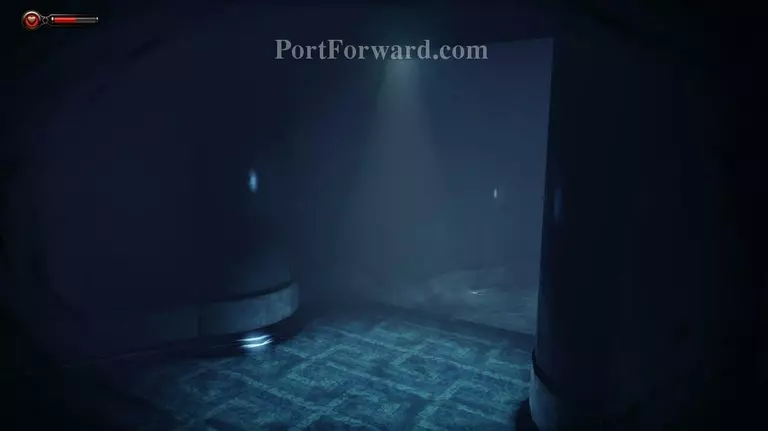
Continue forward and exit the vent onto some carpet.
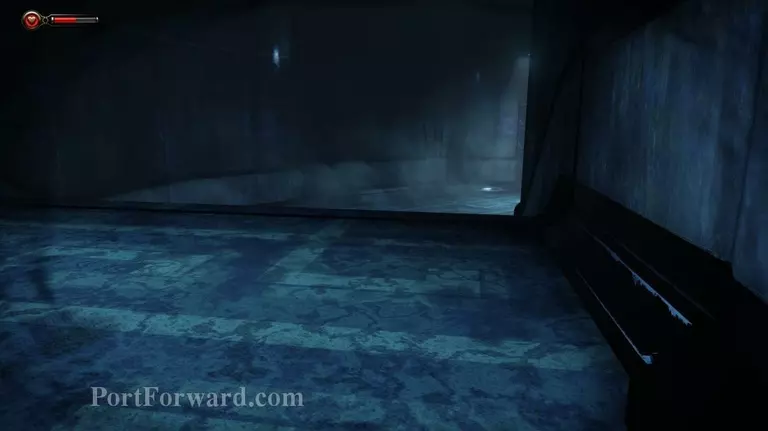
The game lets you know that carpet is silent to walk on so you can move quicker on carpet without being heard. I didn't find this particular piece of information useful, though, as I didn't find a whole lot of carpet that I noticed, but it's good to know none the less. From the vent head to the right.

Continue down the stairs and the game gives you a Splicer to practice sneaking up on.
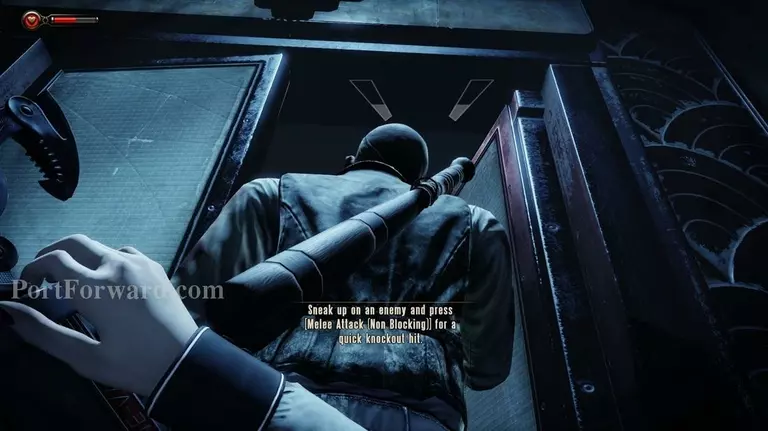
Sneak up behind him and use the melee attack to knock the Splicer out.
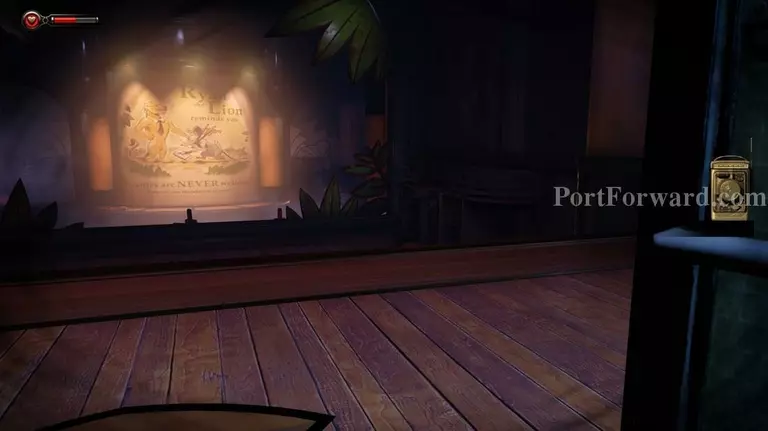
Continue on to the next area through the door ahead.

Take a left from the door.
Then head around the right corner.
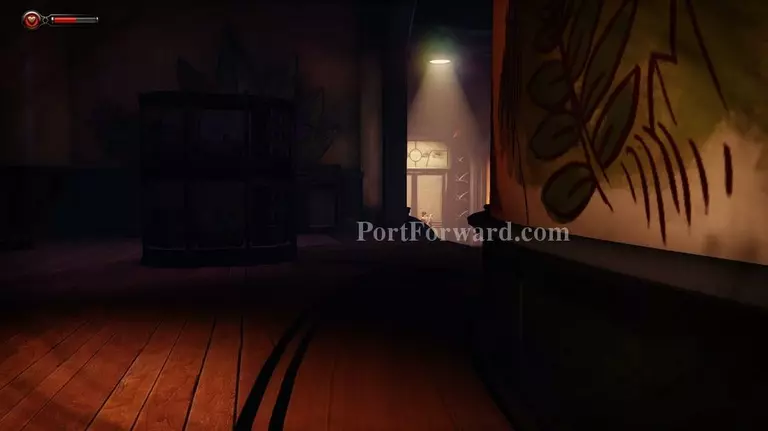
Continue forward and you should see another Splicer trying to get in a locked room ahead.
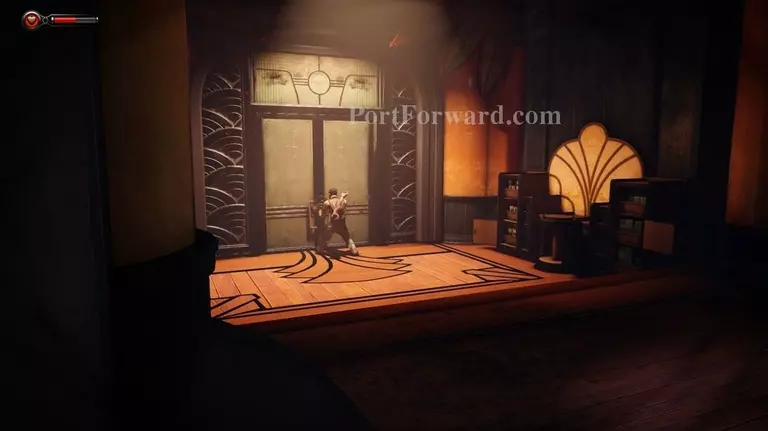
If you stay low and move slowly you should be able to sneak up on him without attracting attention.

Once you get up on him you can knock him out.

You need to then loot the body to get a lock pick.
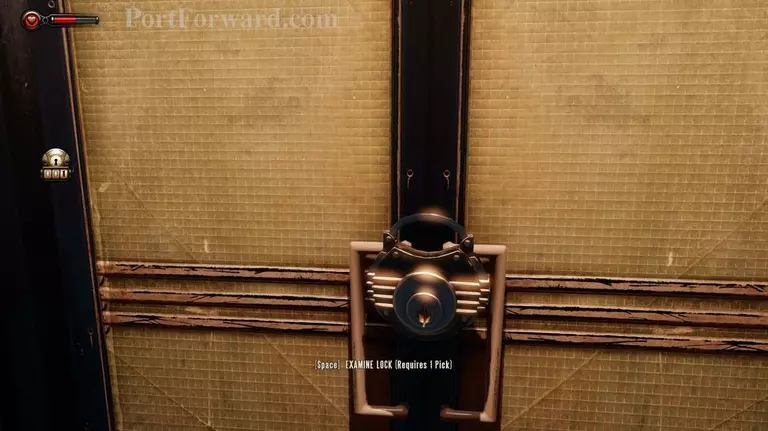
When you go to lockpick the door it will trigger a cutscene.

I found the instructions the game gives to be a tad confusing so that's why I am showing this here. When lockpicking there are three possibly colors- red, blue, and white.
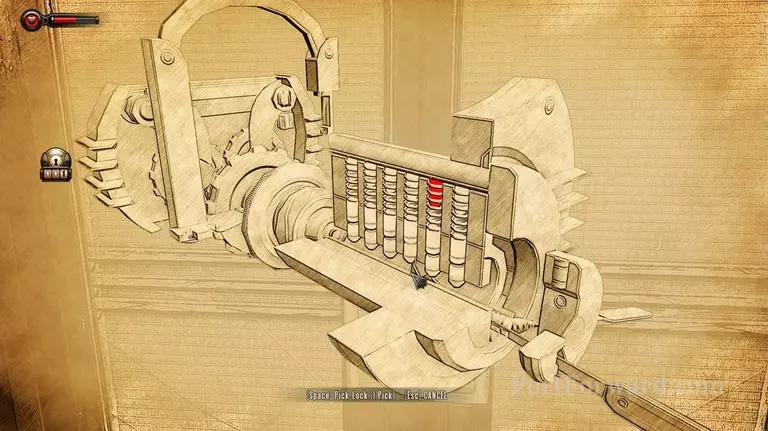
While lockpicking the pick moves on it's own across the bottom of all the pins. The only thing you have to do is hit the use key when it's under a pin that wont set off alarms. The only bad color is red. For now all you want to focus on is using the use key when it's under a white pin.
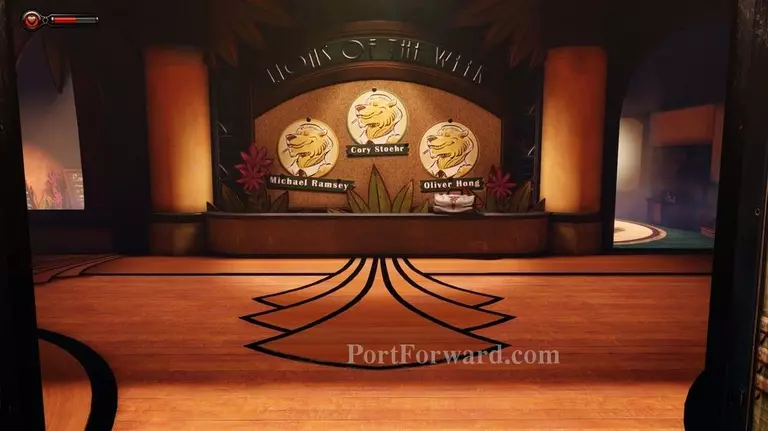
The door should then open.
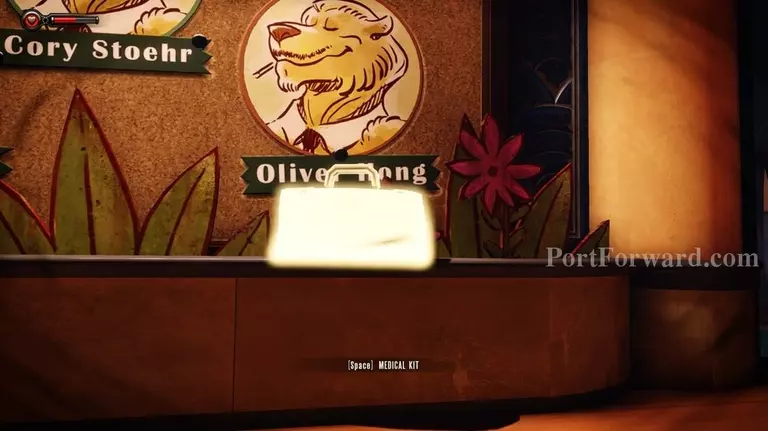
Head forward and pick up the medical bag on the fake planter ahead.
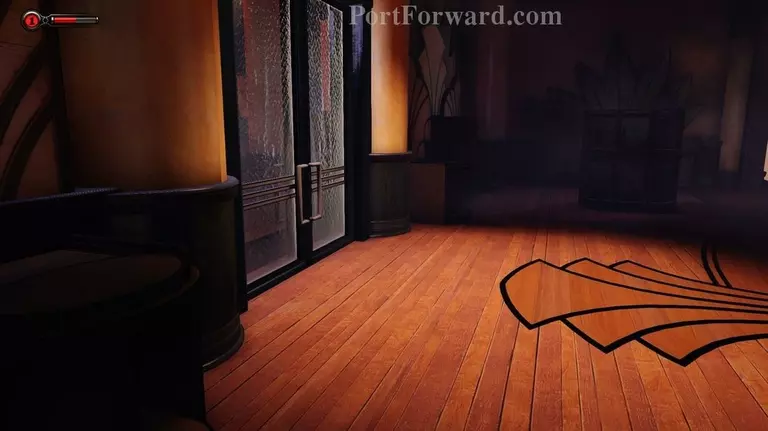
Before moving on head back to the area just up the stairs just before you knocked the guy out. There's a door on the left here.
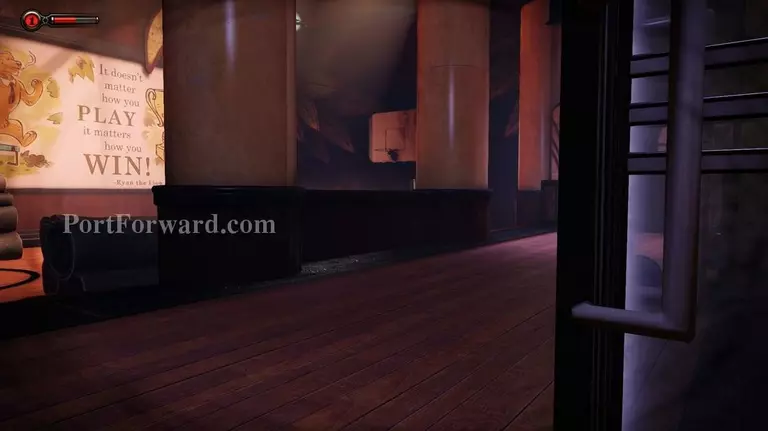
You don't have to worry inside, there's no enemies here.
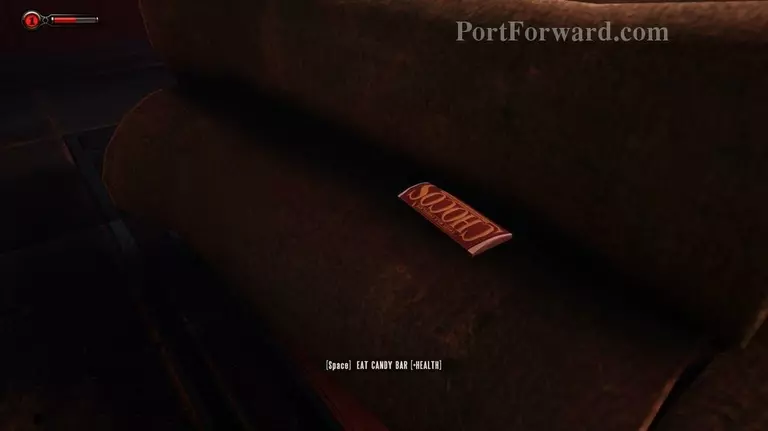
Really the only reason to go in here is to pick up the candy bar to restore some health, but I want to bring up that I can't tell you areas to search on a constant basis so just remember to always look around and search everything for food and supplies. I will try to let you know when an area is dangerous.
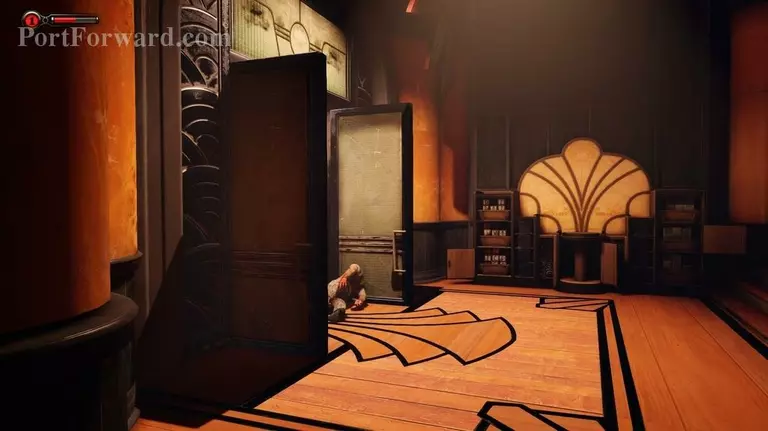
Anyway head back out and go through the door on the left.
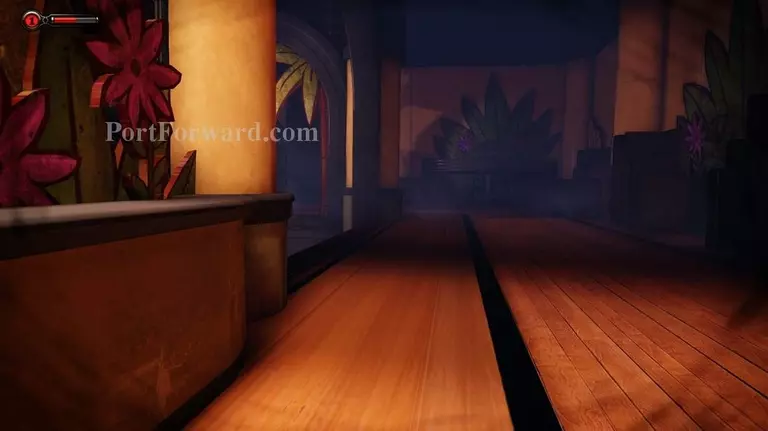
Then move to the right towards the opening into the video center on the left side.
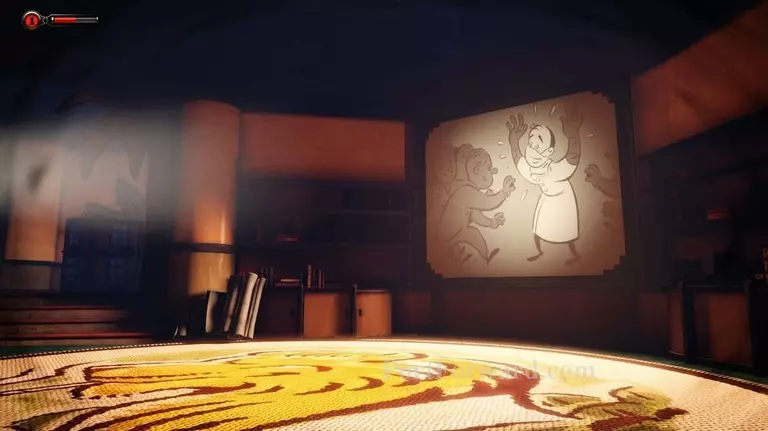
You'll see a movie playing. It's typical Andrew Ryan type propaganda, but it has some interesting satire on current political leanings which I found interesting how blunt it is.
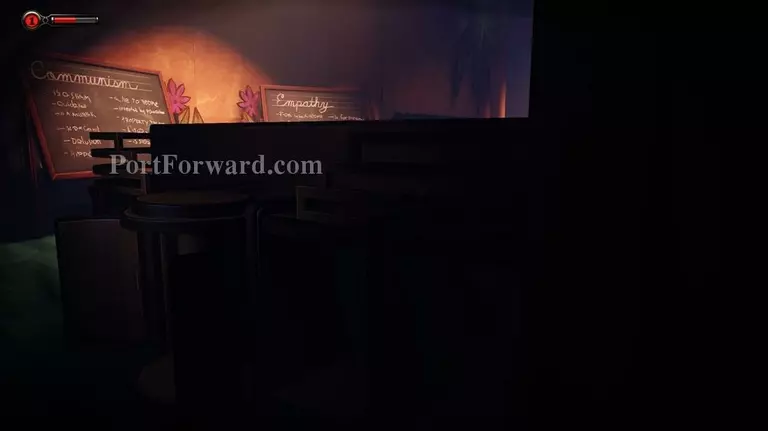
Anyway, continue on to the left side of the room and you'll come to a room with chalk boards.
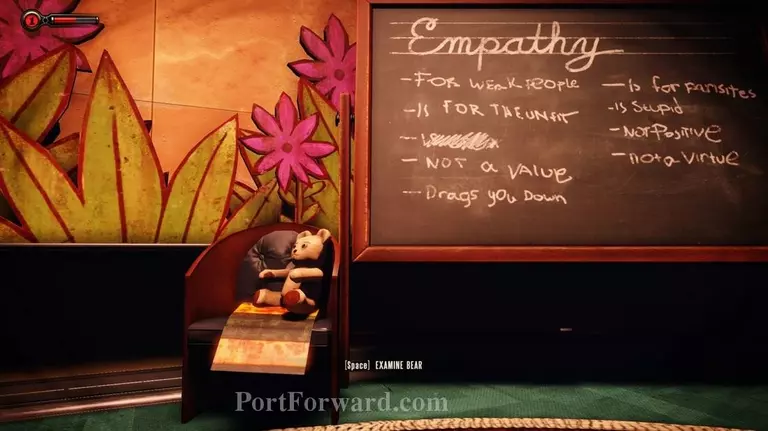
When you head around to in front of them there is a bear on a chair in front of the chalk boards that you can use which gives Elizabeth strange flashbacks.
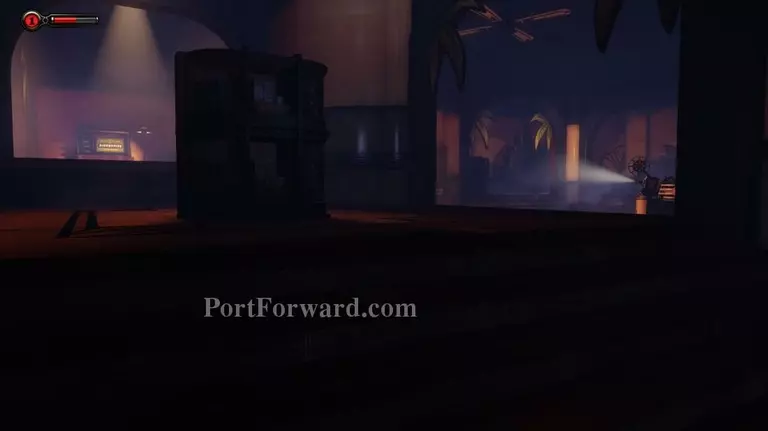
Then continue down the path until you see stairs on the right. It's to the right of a room filled with targets (for bow and arrow practice I believe). Head to the stairs and go around the bookshelf.
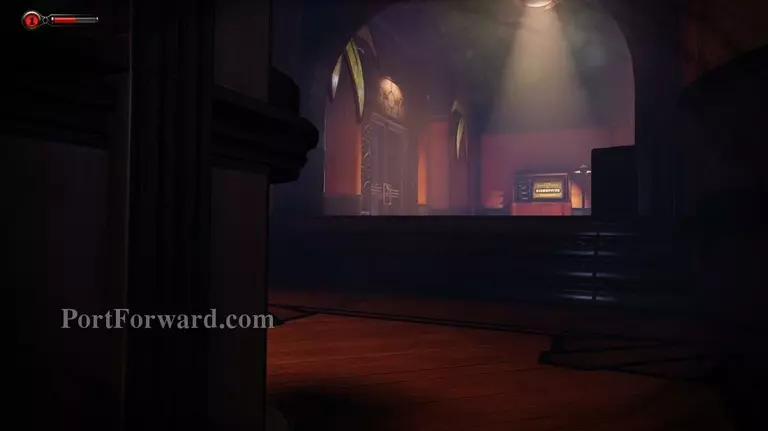
On the other side of the bookshelf continue up the stairs.
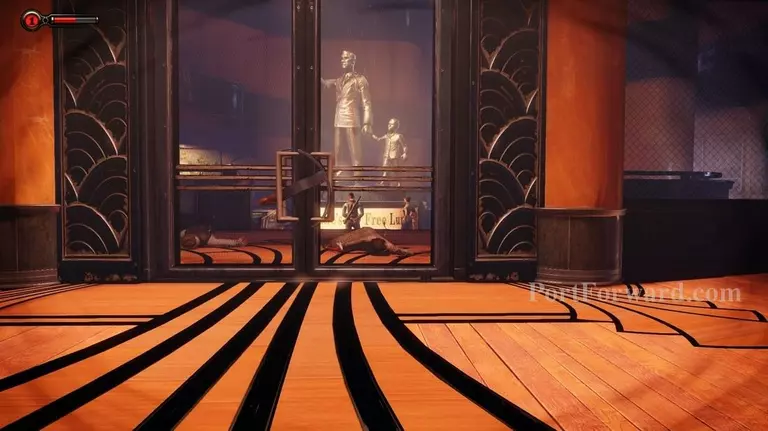
On your left you will see a door with a crossbow in it. You will also notice some Splicers on the other side of the door.
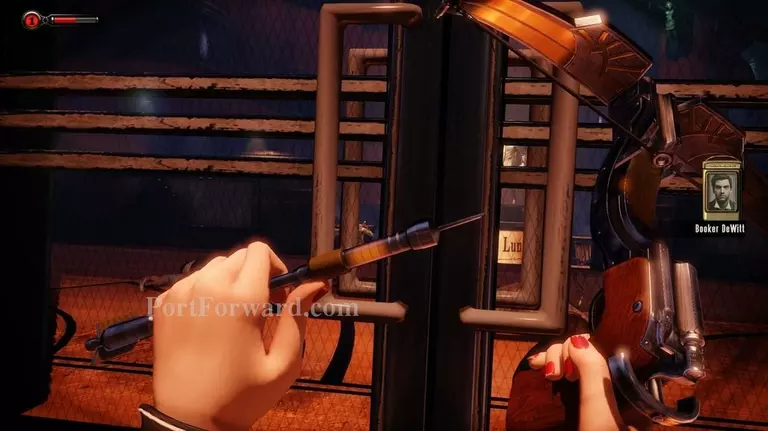
You first need to pick up the crossbow. Elizabeth explains that it uses sleeping darts.
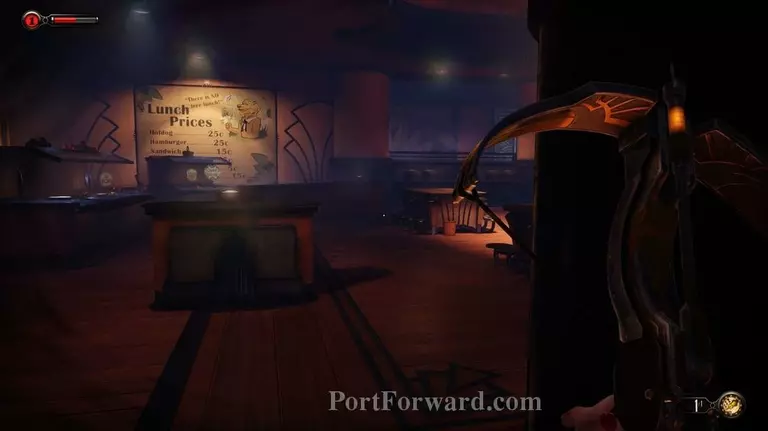
From the door head inside the next room and to the left.
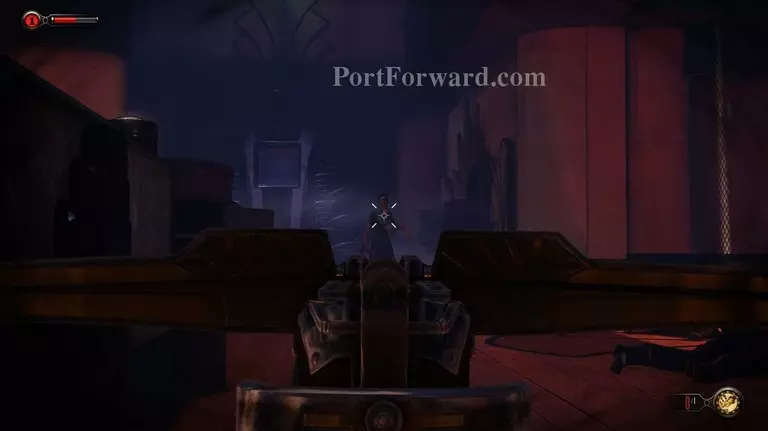
You may need to quickly turn around, as one of the Splicers is patrolling this part of the room. If needed shoot her with a sleeping dart.
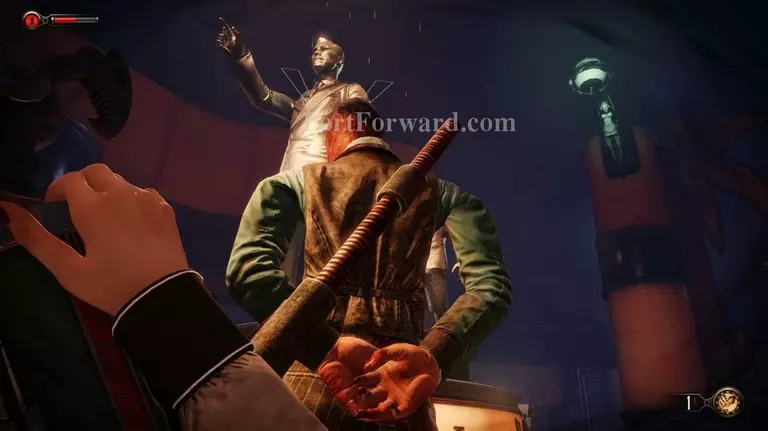
Once she is down you can take out the Splicer in the center of the room. You shouldn't need to waste a dart to do this.
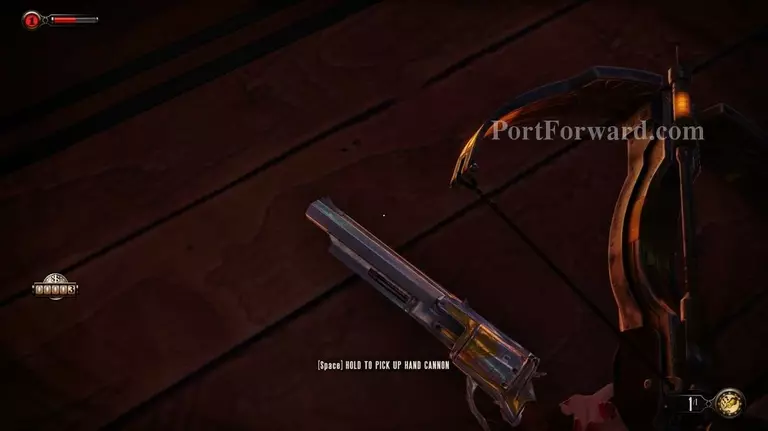
I want to bring up briefly now that you can pick up deadly weapons (that I noticed, there are pistols and shotguns, but it's possible there are others). It is up to you if you want to use lethal force or stealthy non lethal means of taking down enemies. Both are available options, but I played through without killing anyone and it wasn't that difficult to do so. This walkthrough is written from that angle.
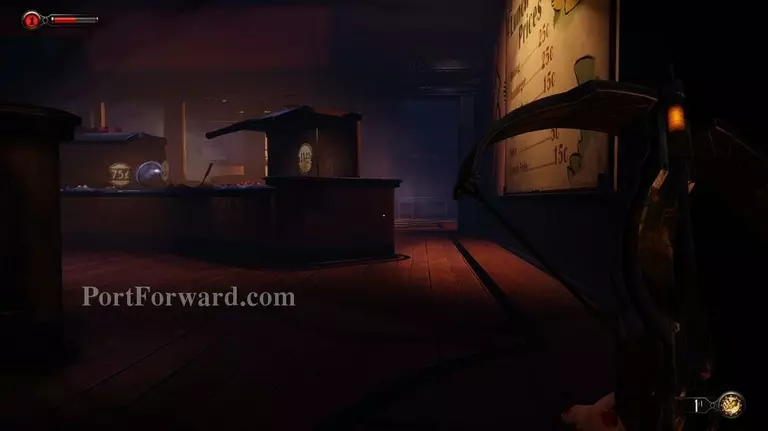
Anyway, head towards the back of the room. There is a kitchen area.

Head into the kitchen and to the left.
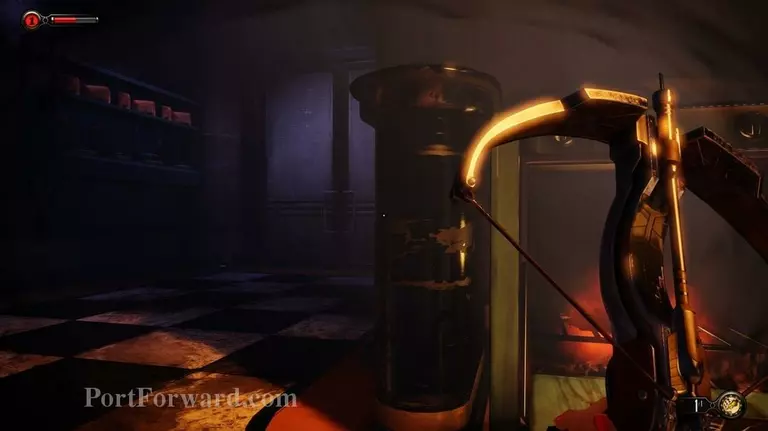
At the back of the kitchen is a door you can go into.
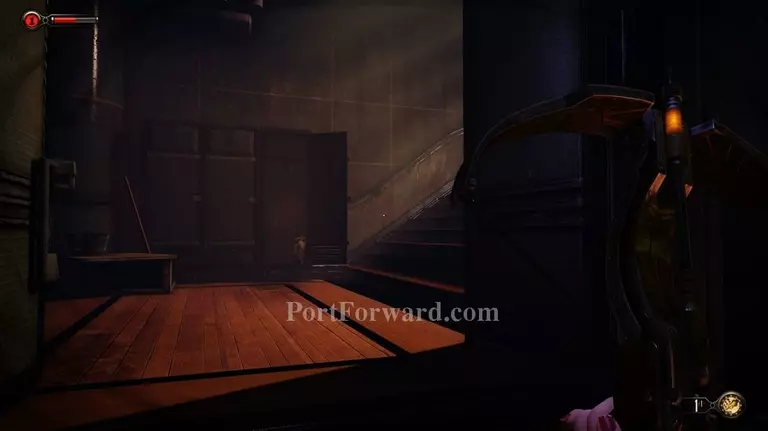
On the other side move around the corner and up the stairs on the right.
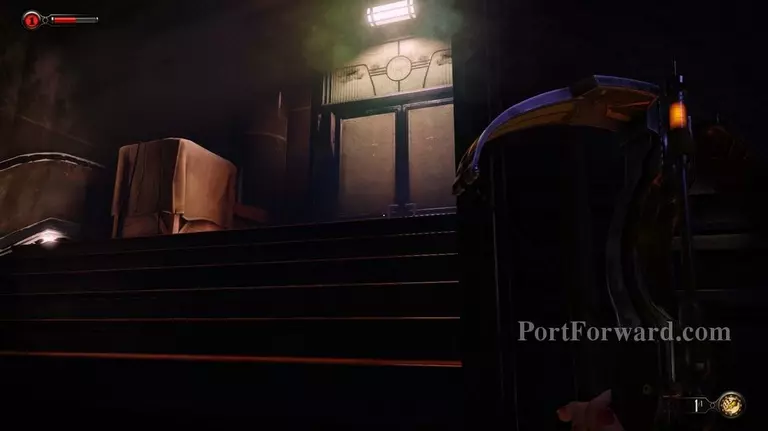
There's a door up there you can enter.
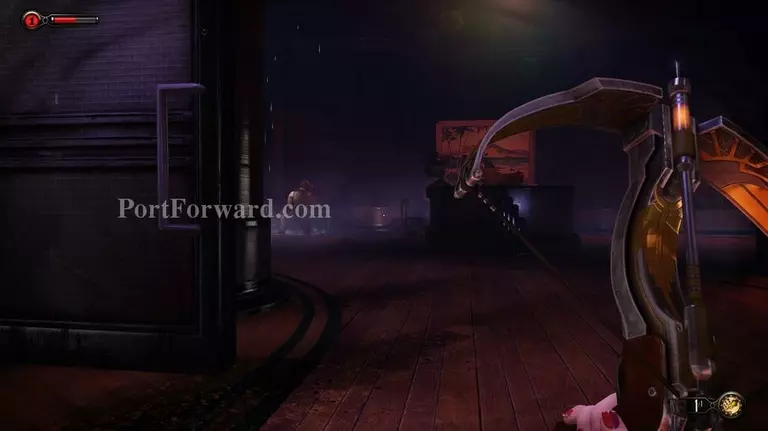
You've probably been hearing this guy the whole time. He's the last Splicer in the immediate area. He's standing in a puddle on the left.
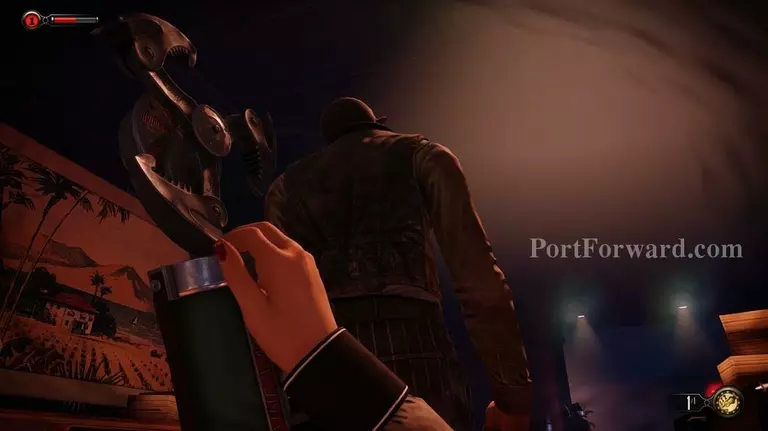
If you move quietly you can knock him out with no trouble.
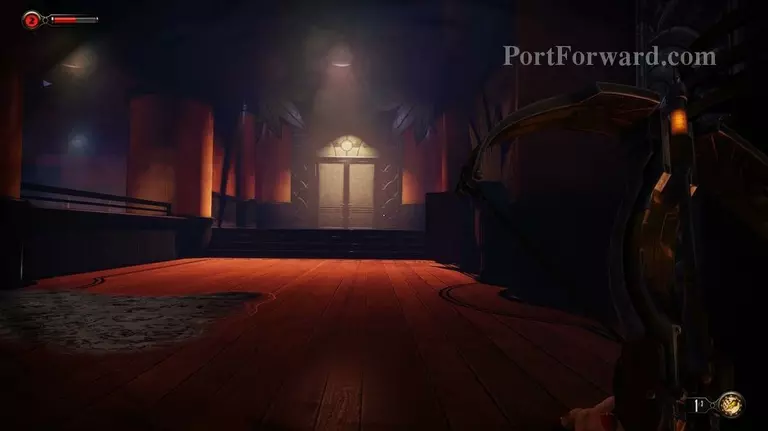
After searching all those areas (there's things to pick up that I didn't touch on- none of it is hard to find) head back out to the main hall where the first two Splicers were knocked out and head around the partition on the right side of the room to see the door.
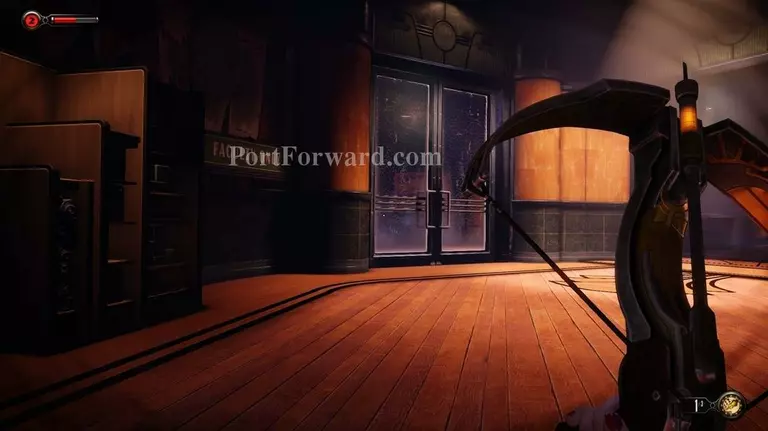
On the other side of the door go into the "Faculty Only" room on the left.

Inside you'll find a small office you can search. Nothing specific needs to be pointed out in here, though. It is important to search everywhere in this Episode as money is scarce and there are a few times you may need to buy lock picks or needles for the crossbow.
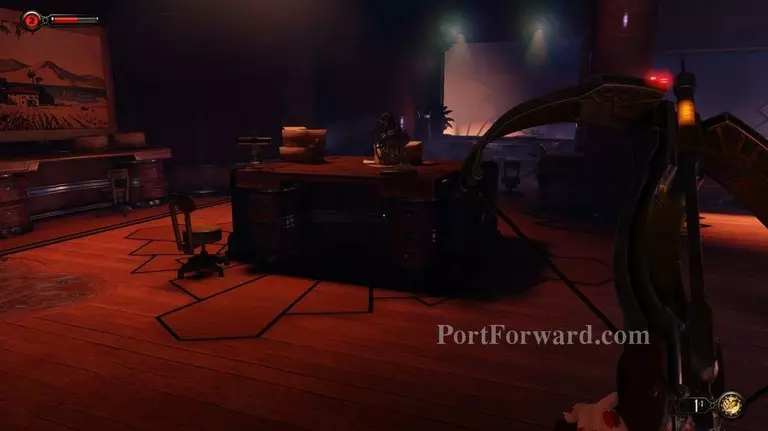
When you head back out of the office go to the left.

If you go around the front desk (you can open the divider) you should be able to see a big red exit sign over a door just ahead of you.
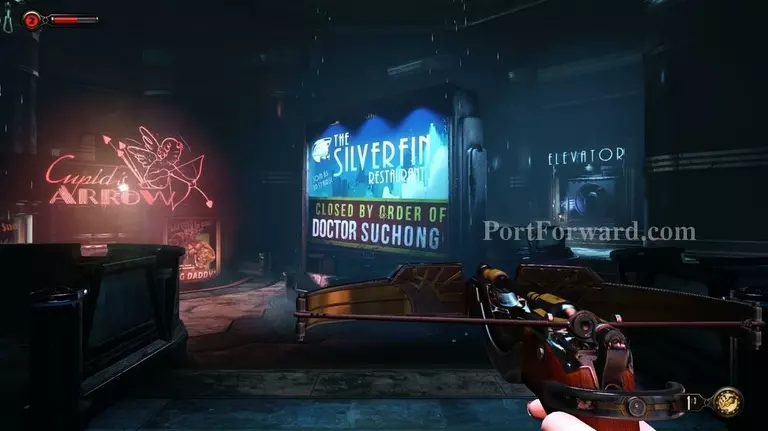
On the other side of the door is a big billboard for "The Silverfin Restaurant". Elizabeth discusses this place with "Booker" and decides that would be the place she needs to go to.
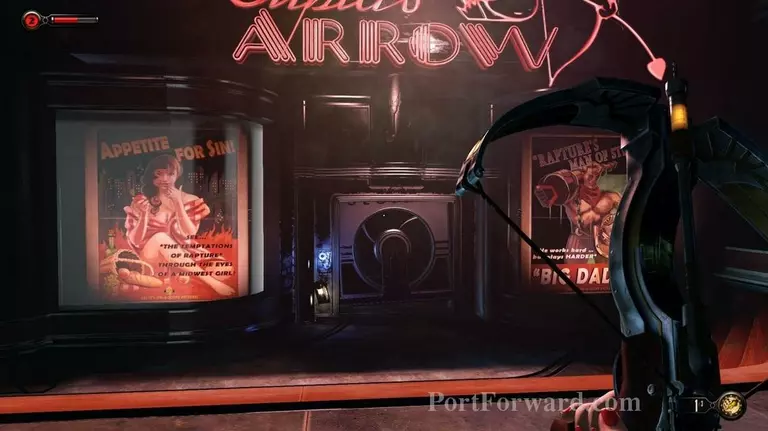
Before we go to the right, though, head into the store on the left. I don't think I've ever seen Bioshock games touch on pornography or adult entertainment in general before so it's interesting that this is here.
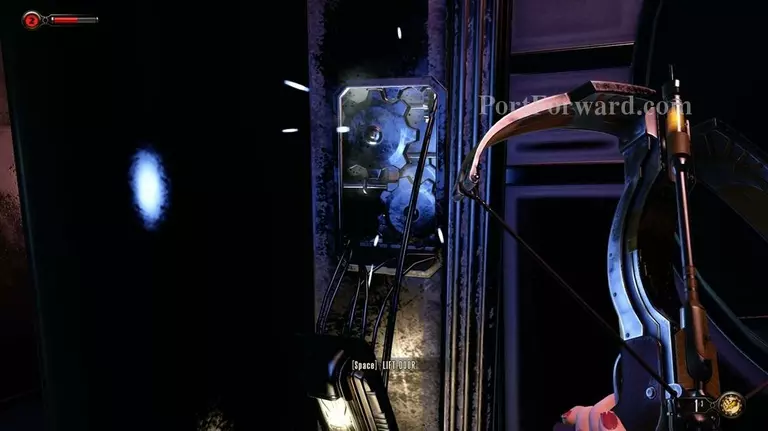
Elizabeth can open these broken doors with her sky hook/air grabber.
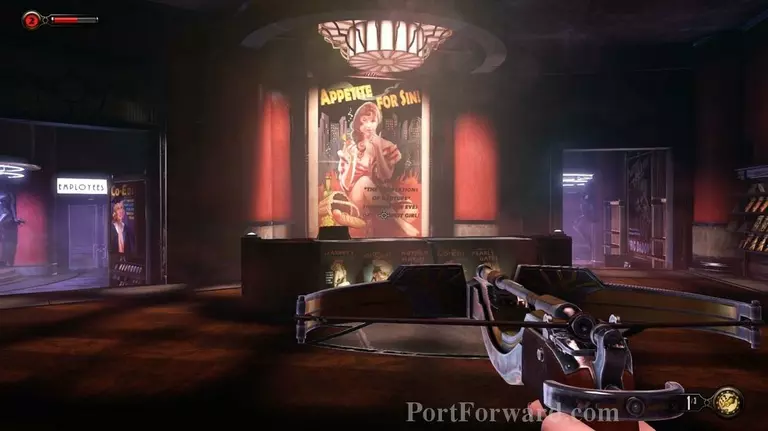
Don't worry, by the way. The pornography/adult entertainment is very tame in relation to real world modern day stuff. This just stood out to me as I've never seen what Rapture would think of such a place.
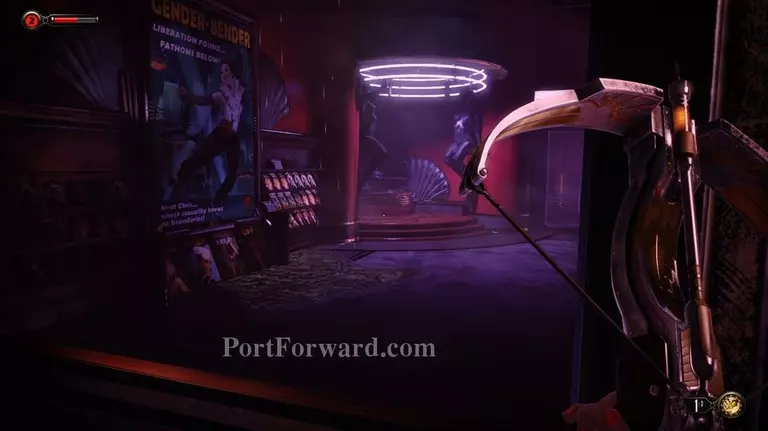
Inside head to the left.
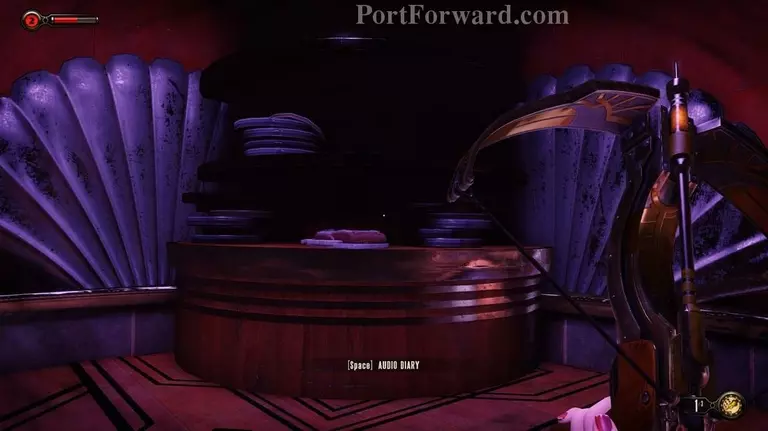
There's an audio log on one of the shelves on the left side in the back.

You should look around as usual as there are lockpicks here and you need as many of these as you can get. There are a lot of locked doors in this Episode.
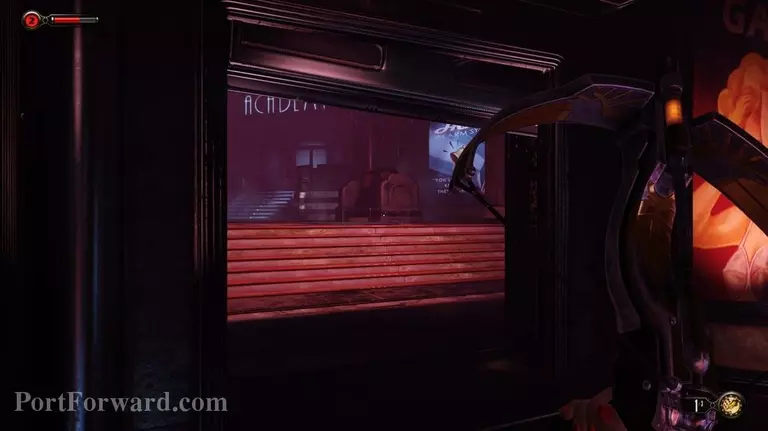
When you're done searching the store head back out.
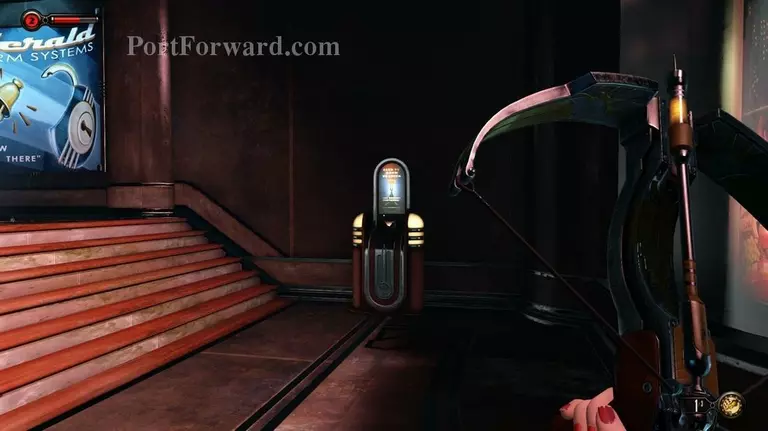
Turn to the right and you should see a Kinetoscope machine you can view about sex.
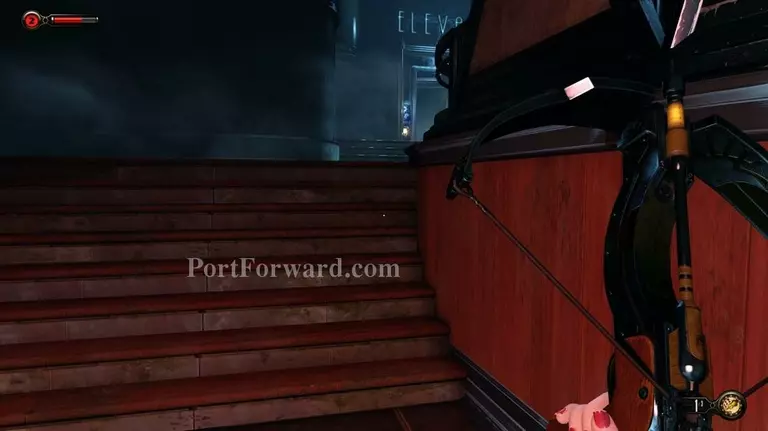
Turn around when you're done viewing that and head up the stairs.

If you head around to the right you'll find another Kinetoscope machine by a vending machine that you can view.
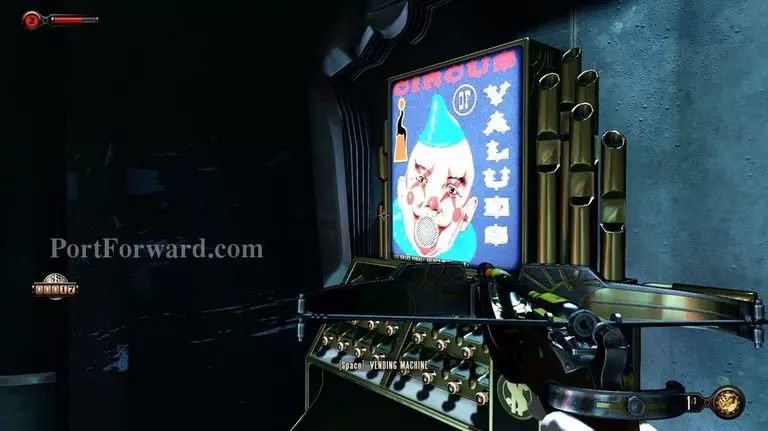
If you've been searching you may have a few dollars to check the vending machine for any needed supplies as well.
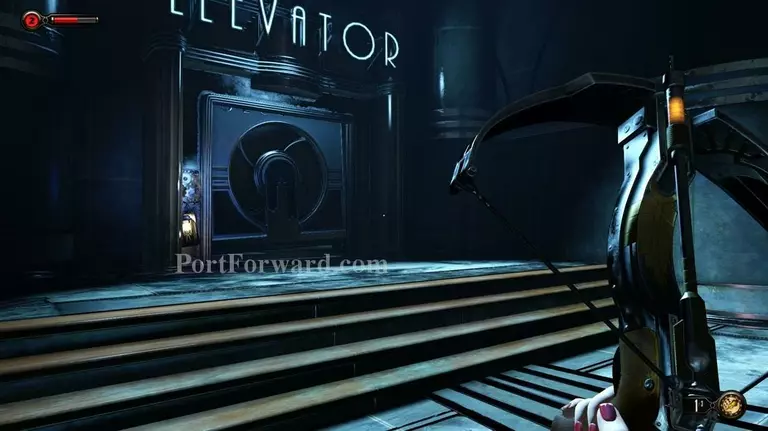
When you're done, head back to the left and to the Elevator door (the door that is marked Elevator).
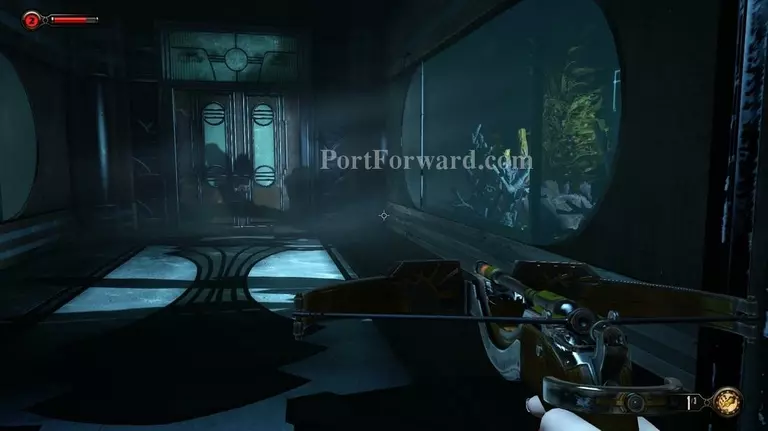
Head across the hall to the next door.
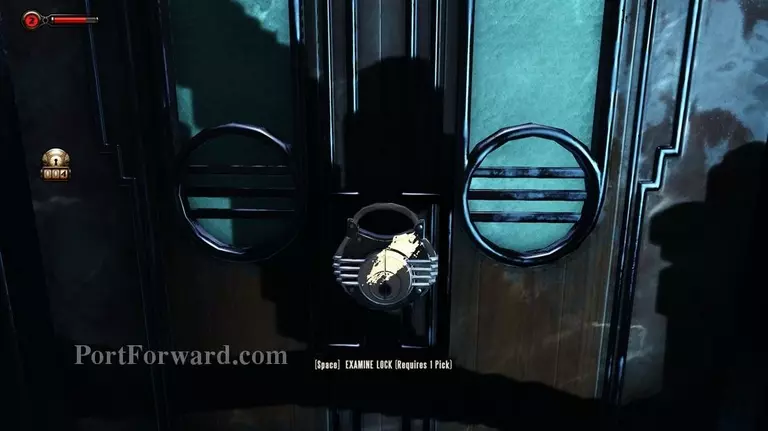
It's locked so you'll have to pick it.
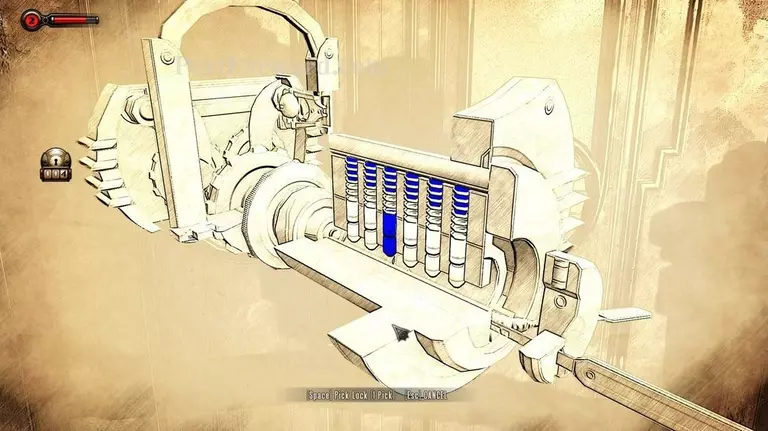
This lock is a tutorial on blue pins. The importance of these is if you do happen to land on one you get a new bolt.
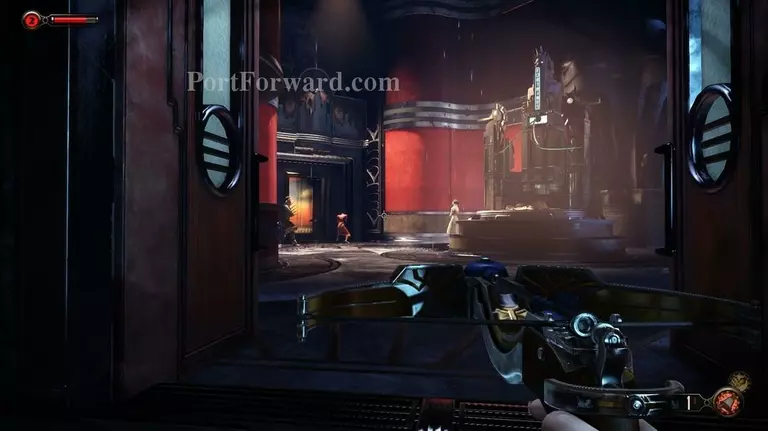
When you open the door you obtain your first distraction bolt. There are three Splicers hanging around the elevator you need to get in so this will be useful.
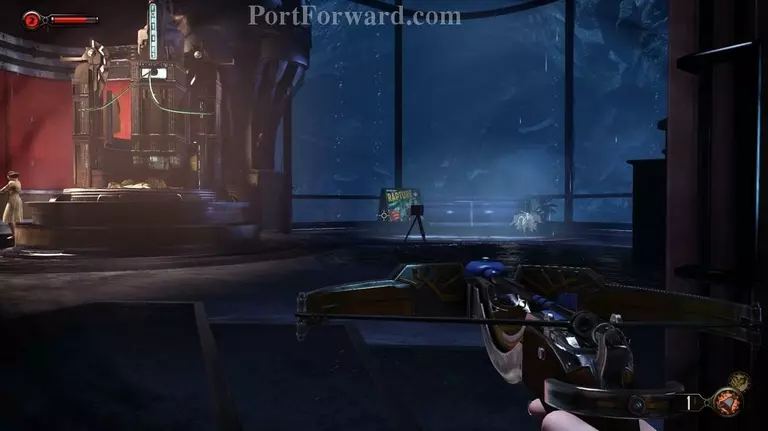
Turn slightly to your right and shoot a distraction bolt towards the window. This will cause the Splicers to move over there to find out what the noise is.
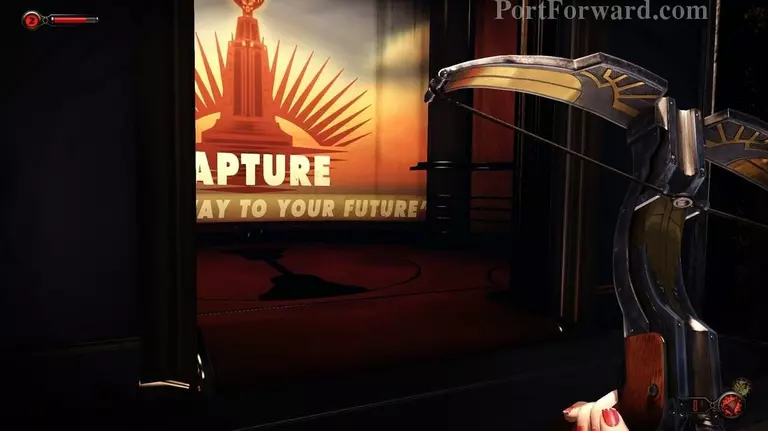
While they are doing that sneak to the left, around the counter, and head into the elevator.
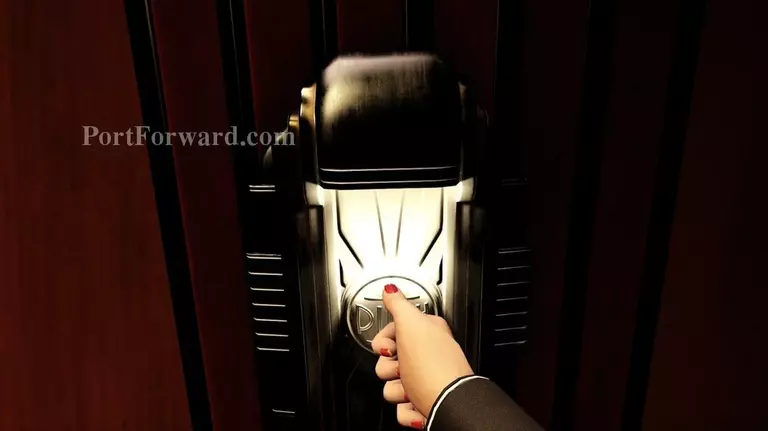
Then hit the button to move on.
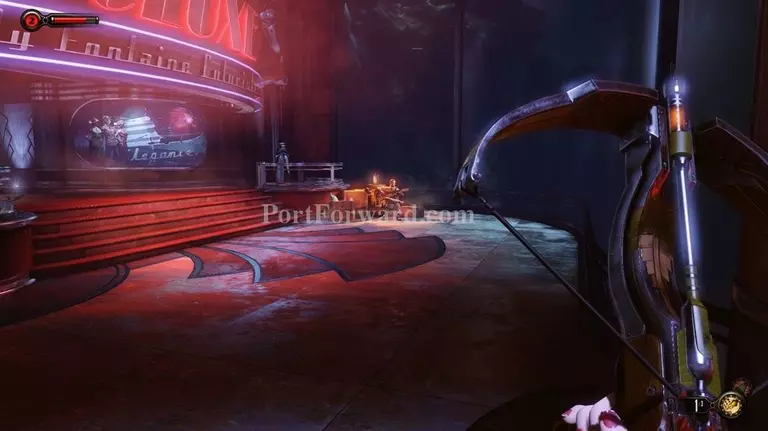
Once you reach the top you see a man playing a guitar and singing a song on a soap box in the right corner of the room ahead.
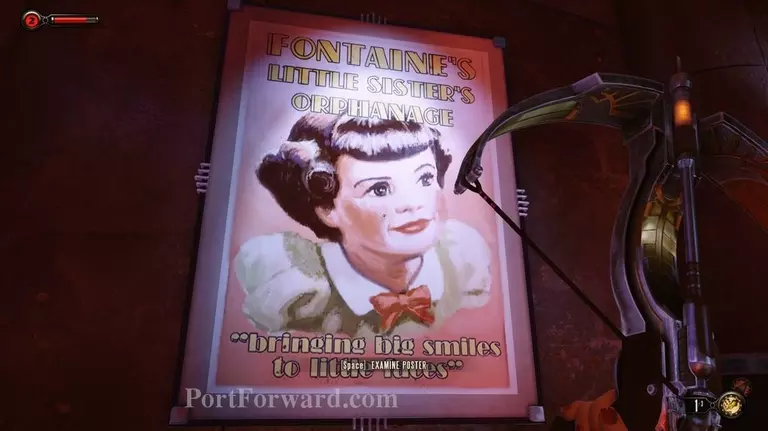
Before you go over turn to your left slightly and there is a poster on the wall you can examine for another Elizabeth flashback.
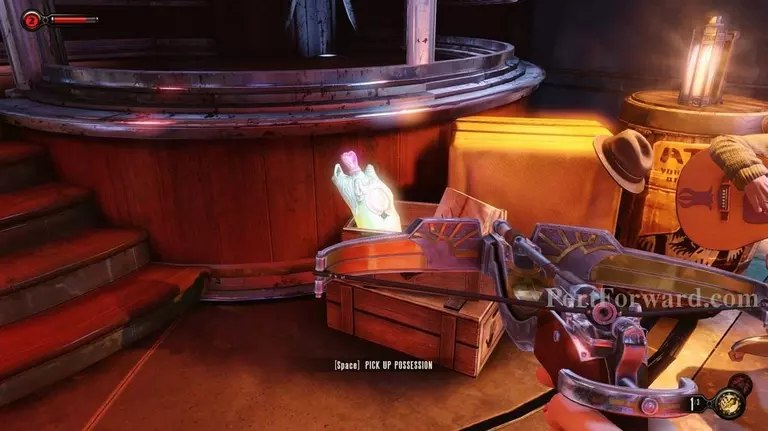
Then head over to the musician. You can pick up the possession plasmid next to him.
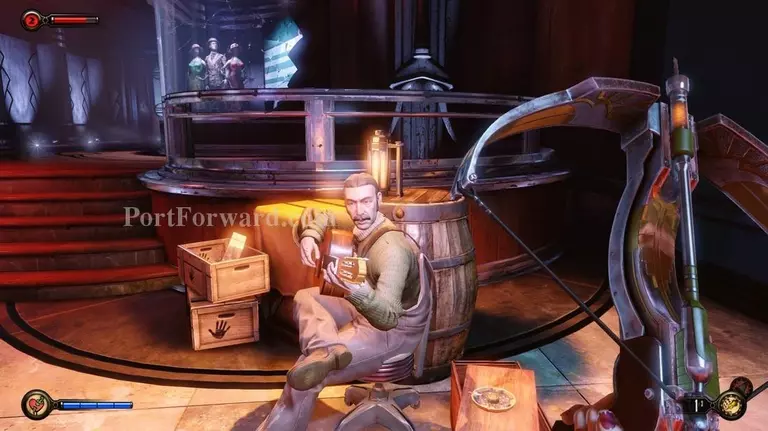
If you want, before moving on, you can listen to the guys song. It's kind of eerie in it's relevance, but I appreciated that it's about Rapture. It's not very often music actually capture the political mood of a world in video games so it's neat to see this here.
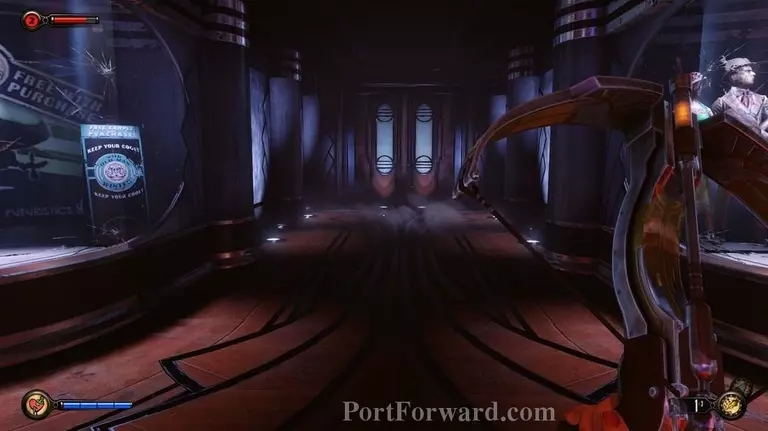
Head up the stairs when you're ready and go through the door.
More Bioshock Infinite: Burial at Sea - Episode Two Walkthroughs
This Bioshock Infinite: Burial at Sea - Episode Two walkthrough is divided into 6 total pages.


