
This Bioshock Infinite: Burial at Sea - Episode Two walkthrough is divided into 6 total pages.
You can jump to nearby pages of the game using the links above.
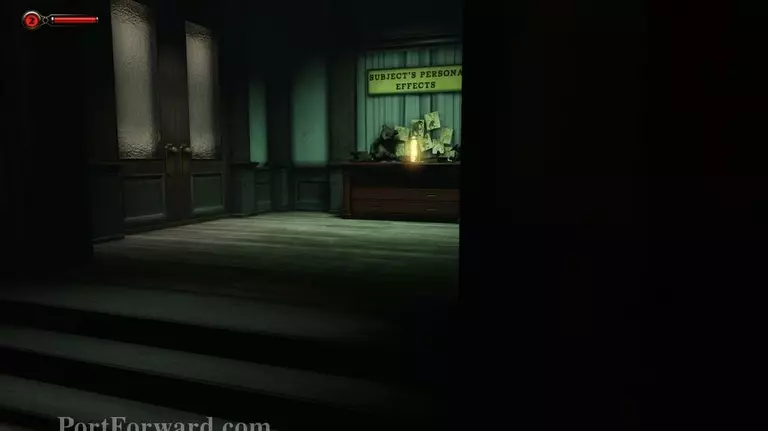
Columbia

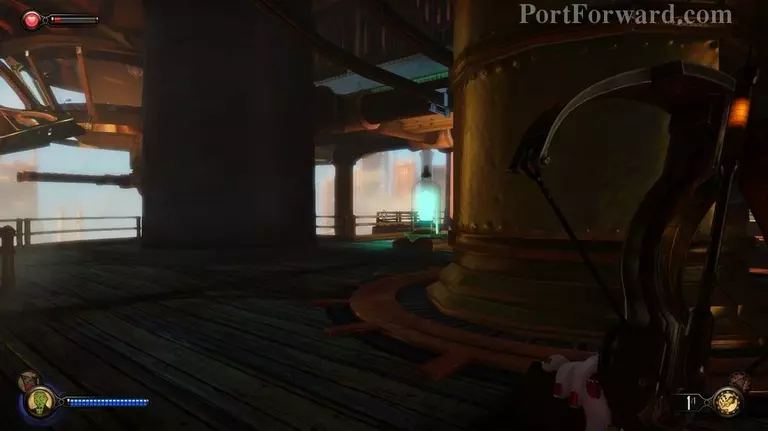
After emerging from the tear you arrive in a familiar place- Columbia.
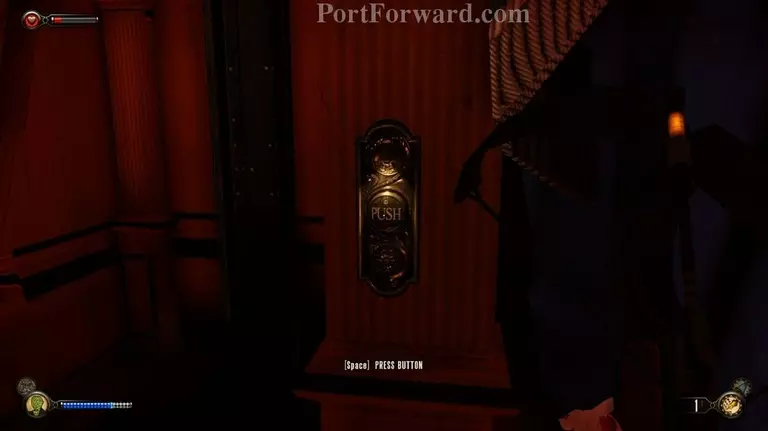
From the place you're standing turn to the right and press the button.
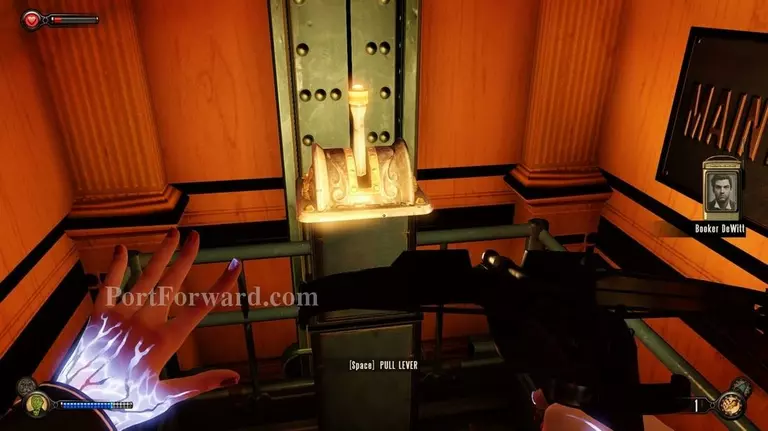
It brings down a small elevator. Pull the switch to take the elevator up.
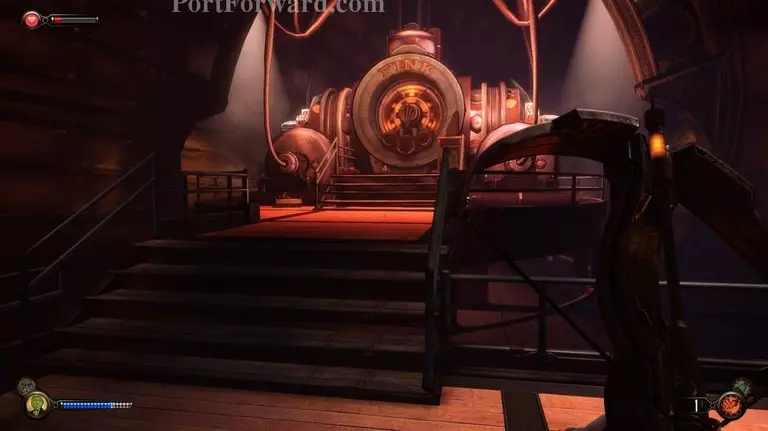
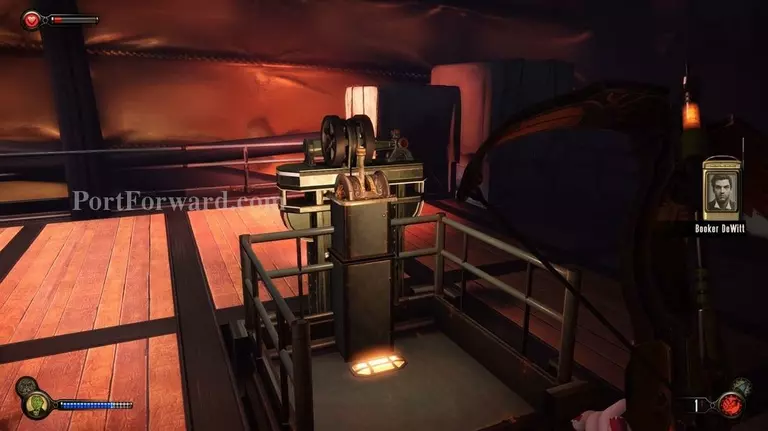
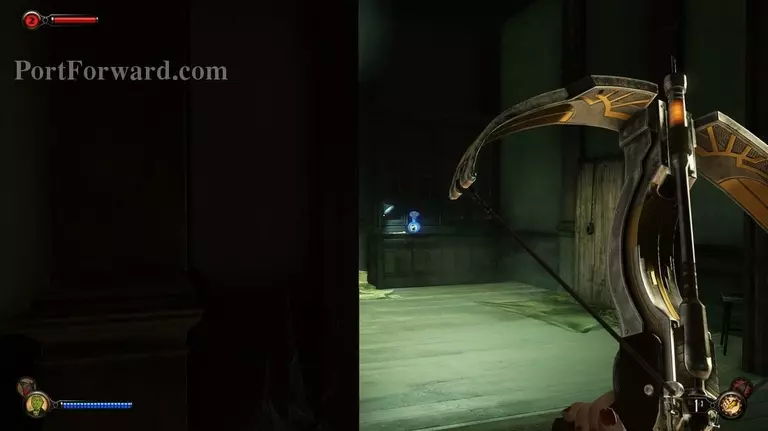
At the top move to the big machine on the right side.
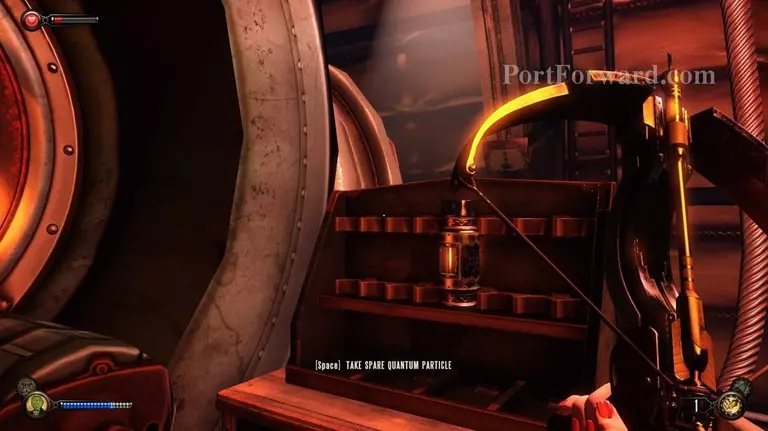
Once you get to the machine look over to the right side and pick up the "Spare Quantum Particle."
Then head back to the elevator and pull the switch to head back down.
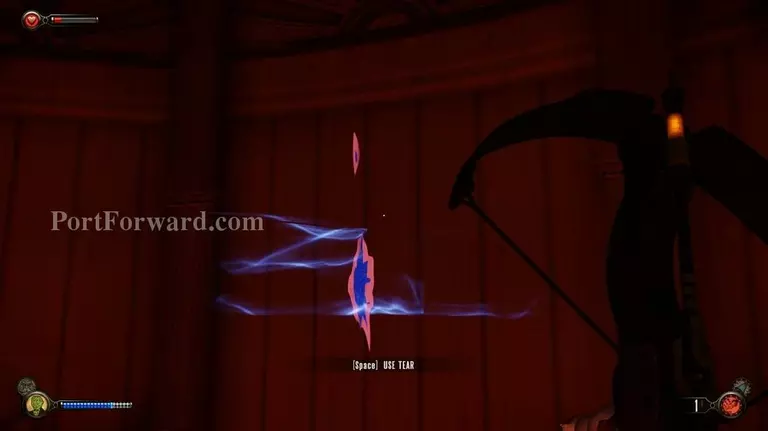
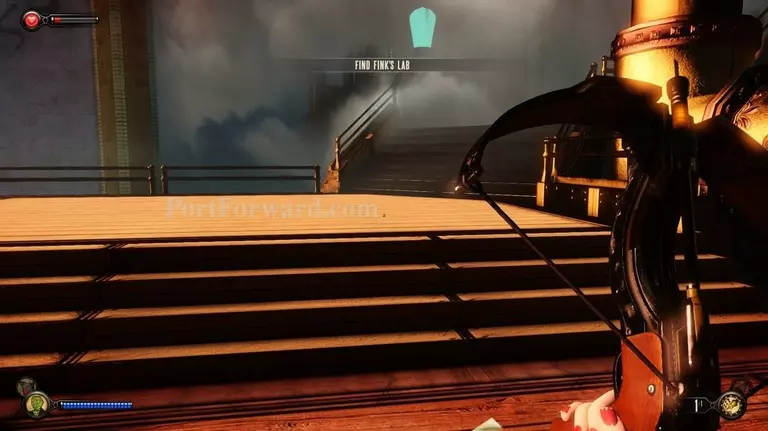
Turn to your left and go back to the tear. That was easy.
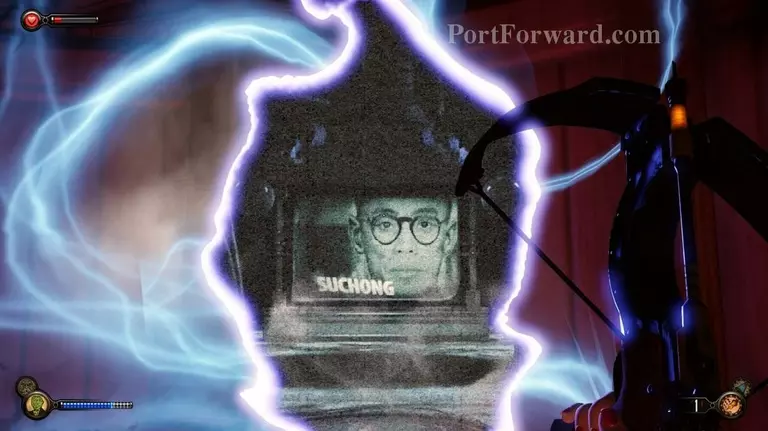
Just kidding. Suchong actually wants you to get a strand of hair from Fink's lab before he will let you come back.

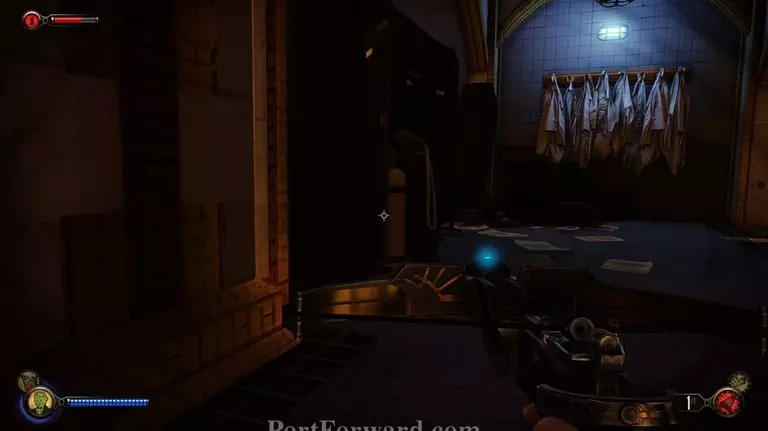
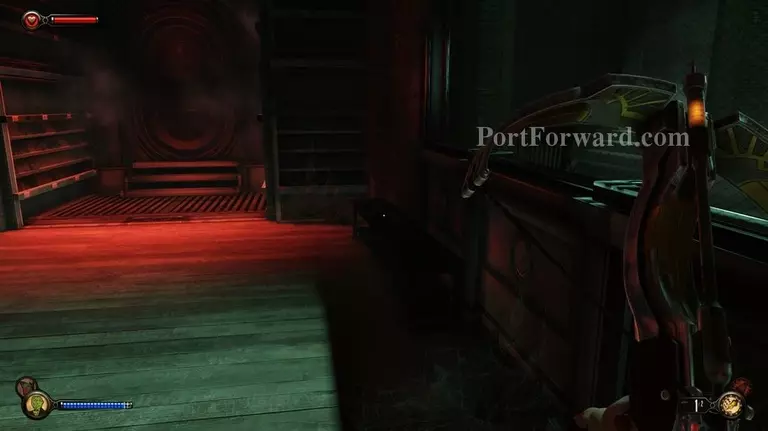
Turn around and head to the door on the other side of this room.
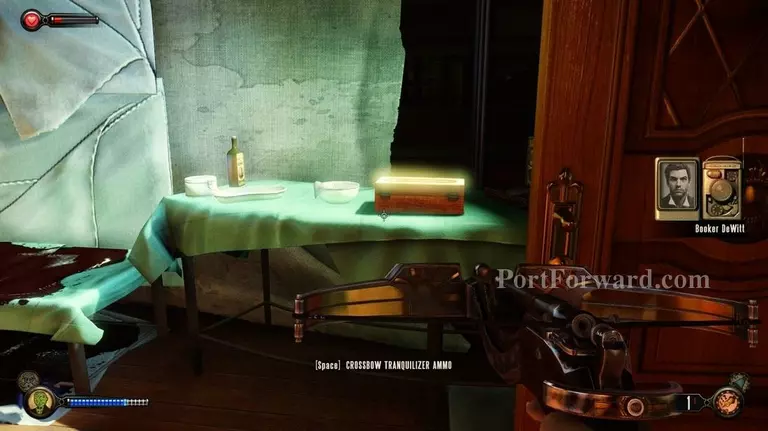
On the other side you'll notice a familiar site. Turn to the right of the door to pick up some more tranquilizer darts.
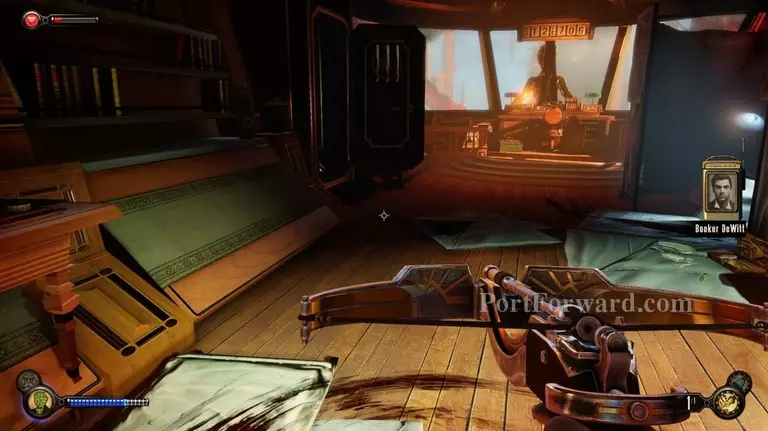
Then head to the door on the far right side of the blimp.
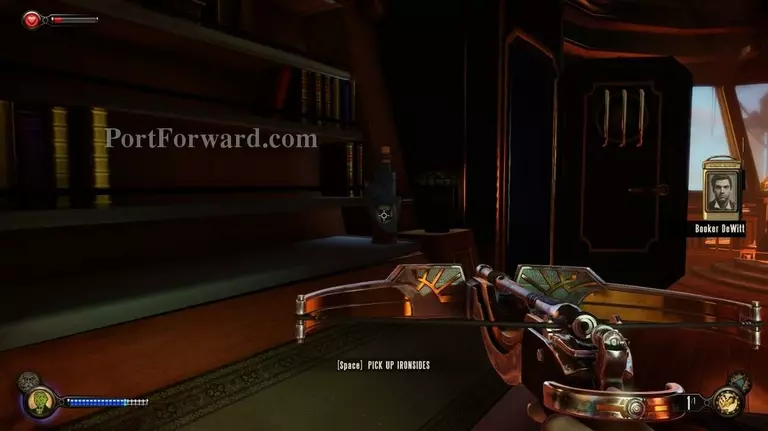
Before going through the door you can pick up a new plasmid called "Ironsides." I didn't use it all that much, but it works like a barrier and you can upgrade it so it refills your ammo if you want.
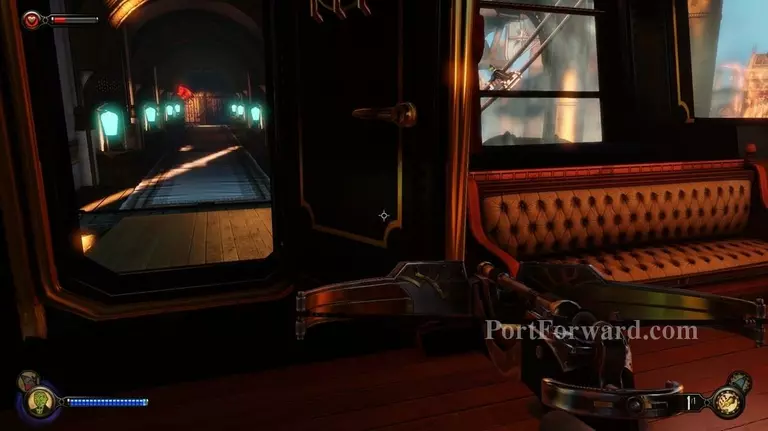
After that, head through the door right next to it.
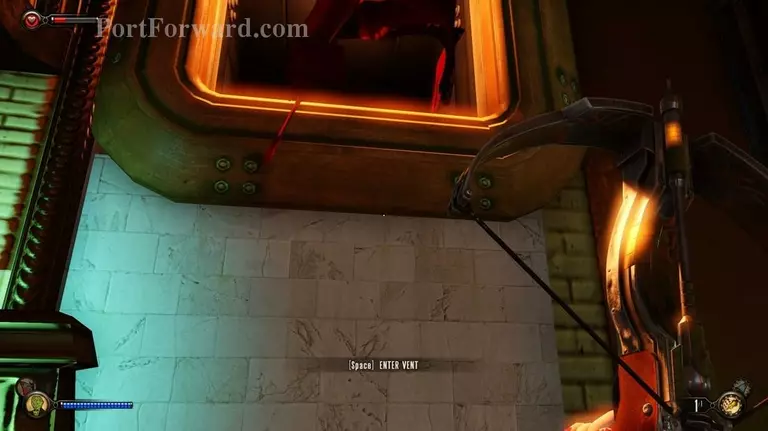
All the way on the other end of the corridor is a vent. There's nowhere else to go so head inside.
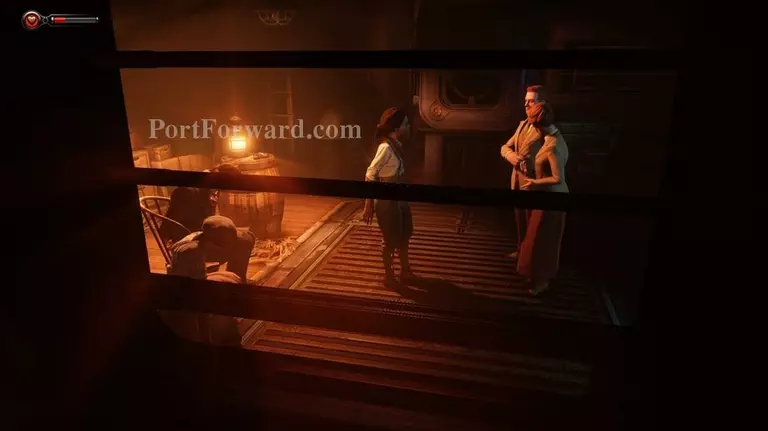
A little bit ahead you can watch the Lutece's discuss Elizabeth's future with the leader of the resistance in Columbia.

After you are done watching that, move all the way through the vent. Before you jump down, though, notice that there is a patrol out here.
Take out the closest enemy (knock him or her out).

You may come in contact with another one to your right which you should use a dart on to knock out.
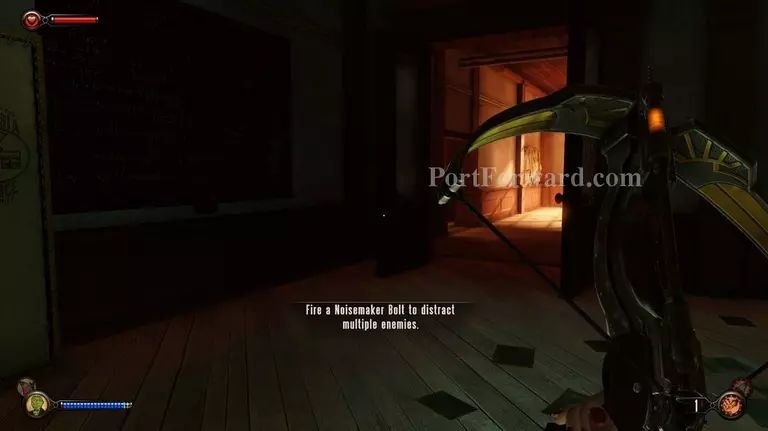
To the left there is probably a large group of enemies coming your way. If you have a gas dart this is a good place to use it.
Either way, head back around to the right (the opposite direction from where the group of enemies is) and down the stairs.
Go to the right, past the bottom of the stairs, and keep moving forward.
At the other end will be some stairs- so head up.
Then go through the door on the left.
There will be more enemies inside the next room- so stay low.
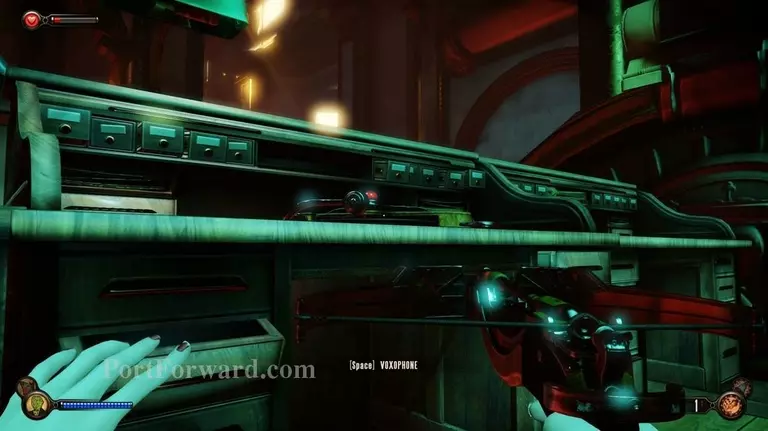
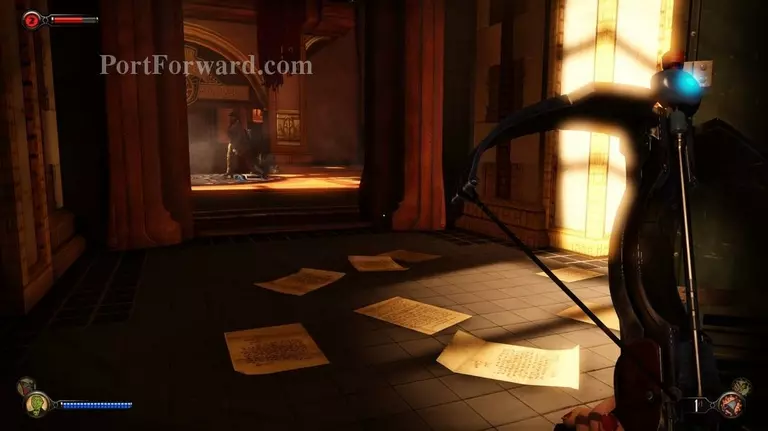
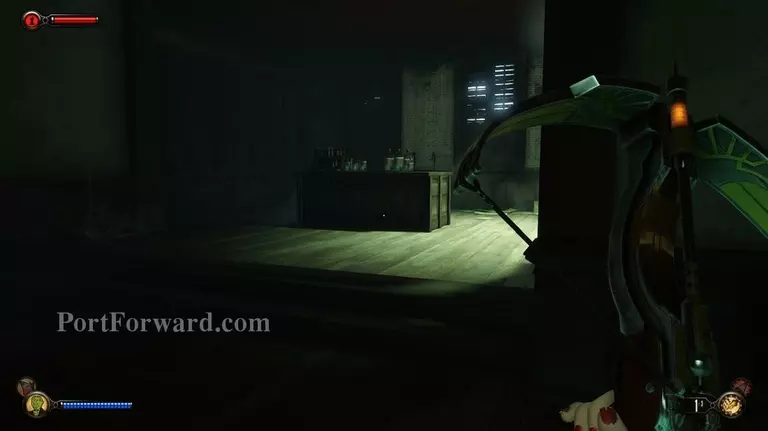
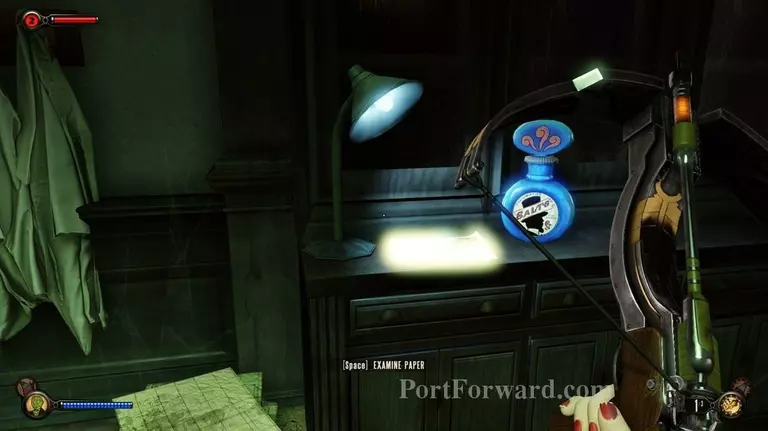
After knocking out any enemies in your way you can search the immediate area. There's a voxophone on one of the desks that you can listen to.

Then head around the desks, but be careful as there are two or three enemies searching bodies on the other side.
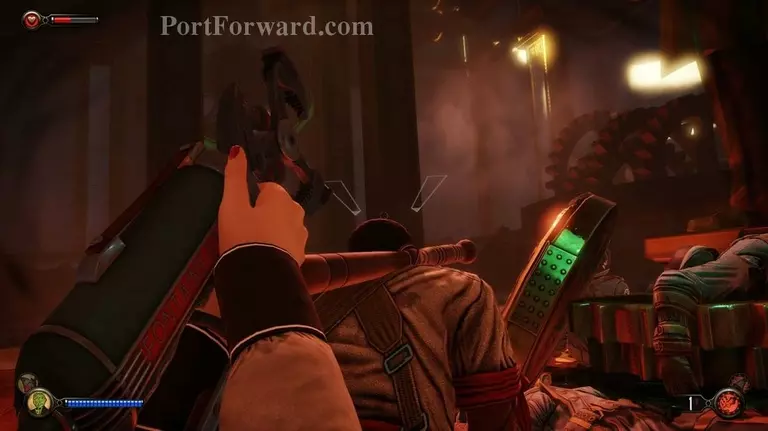
Head around on the left and knock out the enemies one by one.

Then turn to the left and go through the door on that side of the room.
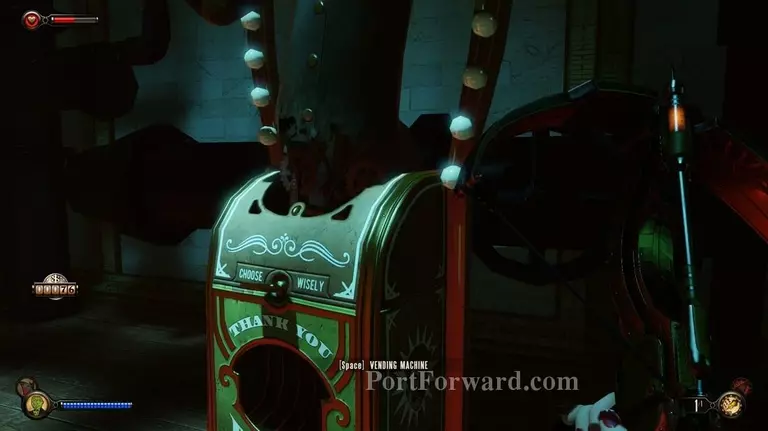
In case you're curious about the door on the other side; there is nothing to find there. However, there is a vending machine you can use if you need to buy any supplies.
Anyway, on the other side of the door go down the stairs.
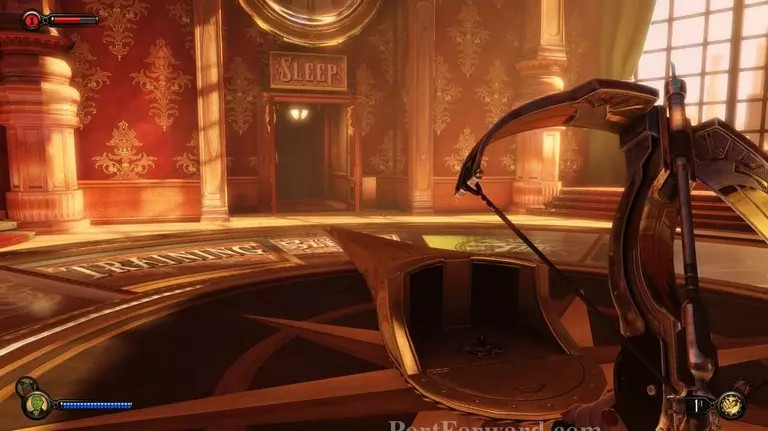
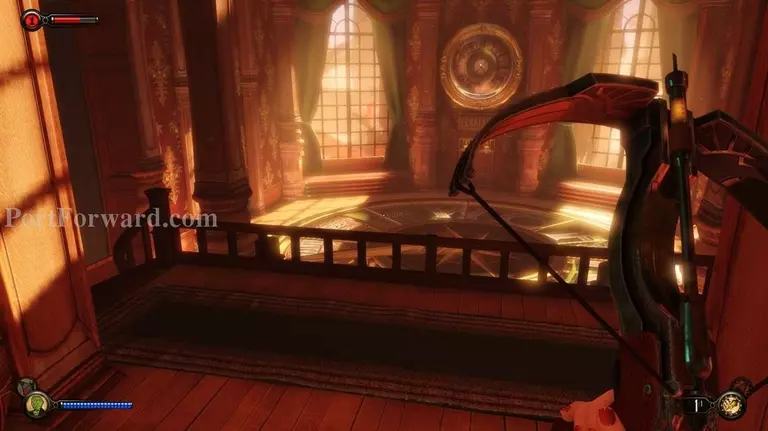
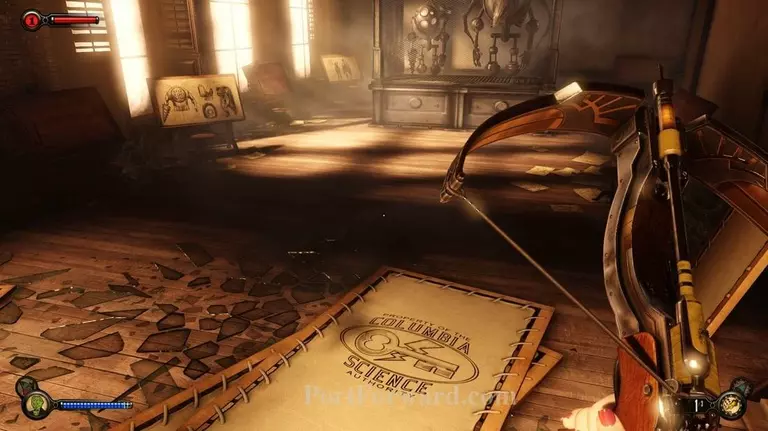
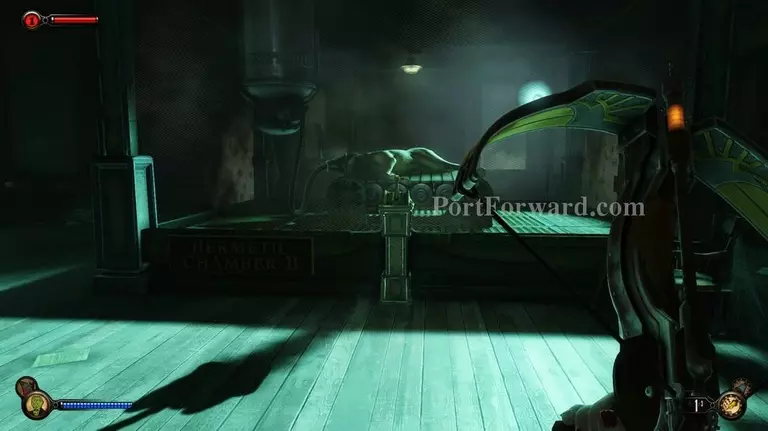
All the way at the bottom you'll notice the floor is shaped like a clock with an arm currently dialed in on a door labelled "sleep."

There isn't anything we can do with the clock face yet so go through the door into the "sleep" room.
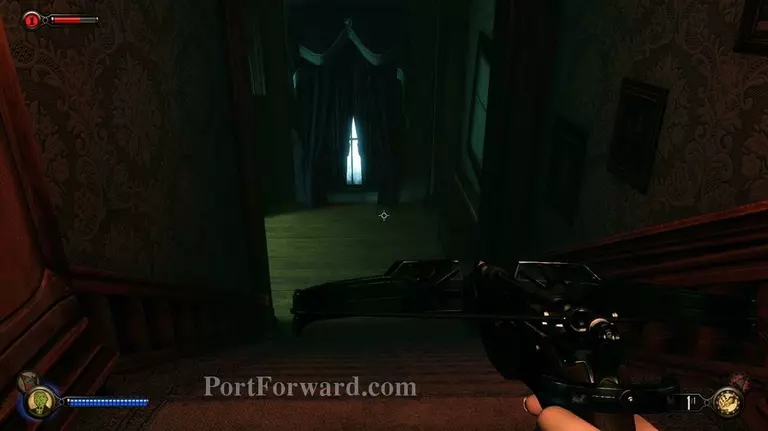
Once inside move down the stairs and go to the left.
Inside you won't see a whole lot to this room.
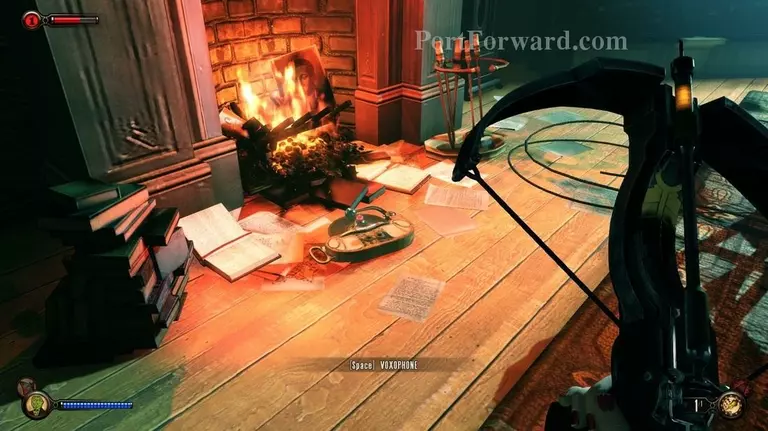
By the fireplace, on the left, you will find a voxophone on the ground.
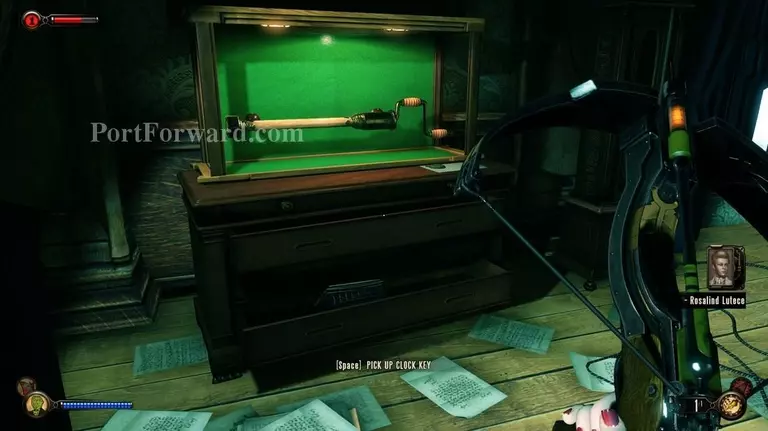
On the right side of the room you can find the crank you need to move the clock faced central room upstairs. Go ahead and grab that.
Then go back upstairs.
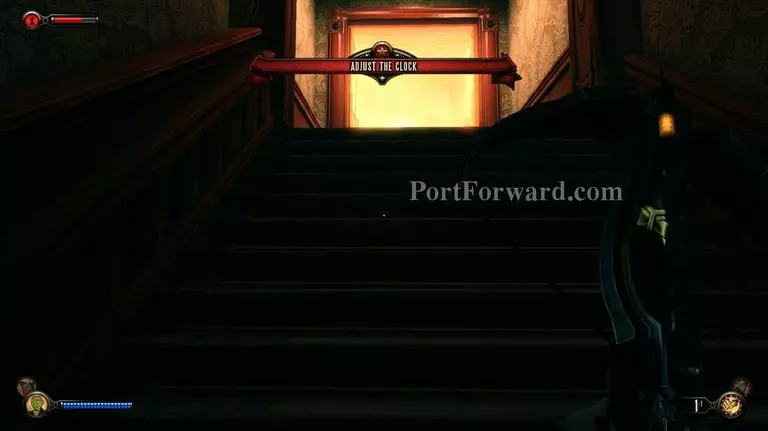
Use the crank on the center piece.

It will spin the room to the door labelled "Prayer."
Head through the door and go down the stairs.
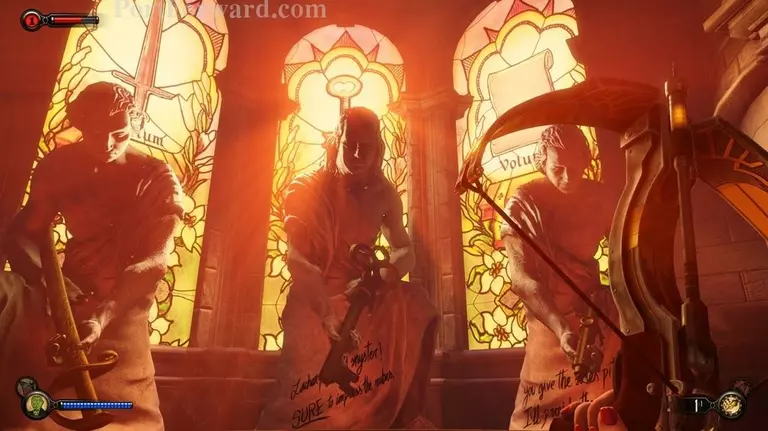
I may be deliberately wasting your time in here, though, as there isn't really anything here. It looks cool, though. Environmental story telling and what not.

Ok, you can go back to the clock room and spin it again.
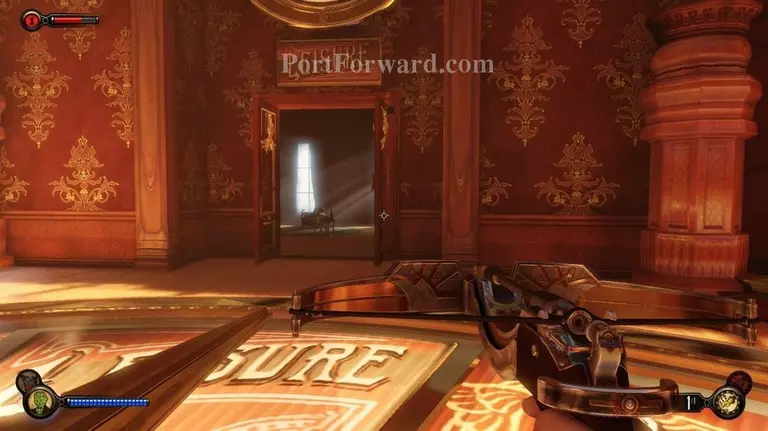
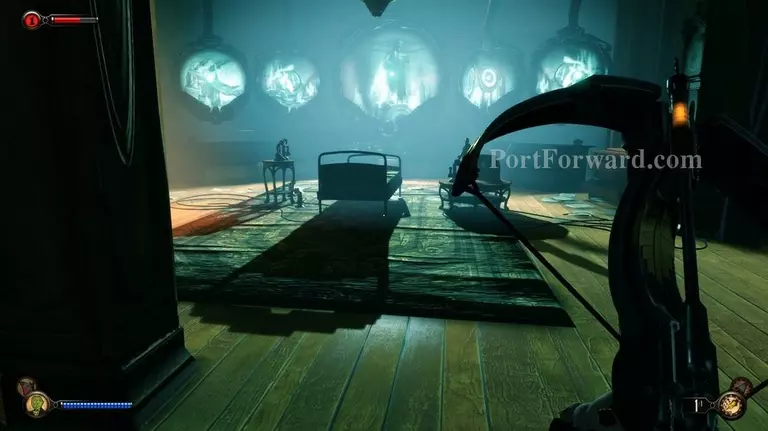
The next door is "Leisure."
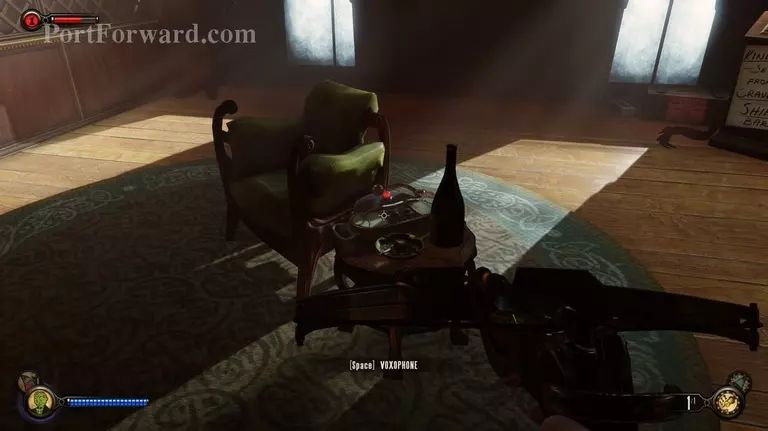
Inside there is another voxophone you can listen to.
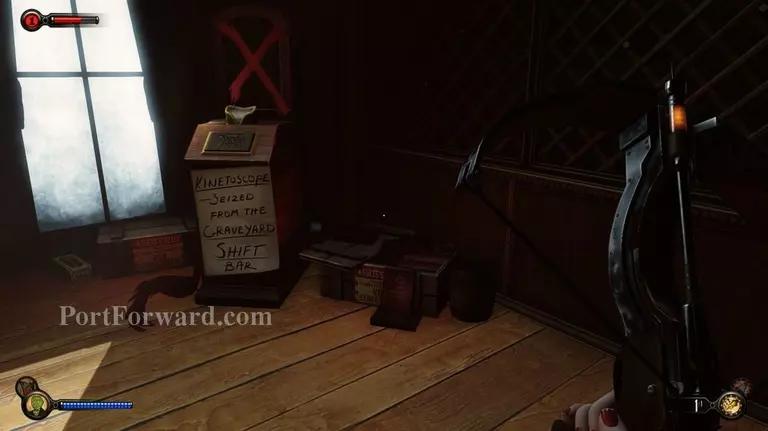
There is also a Kinetoscope in the back of the room you can watch.

When you're done with that, head back to the crank, and give it one more whirl.
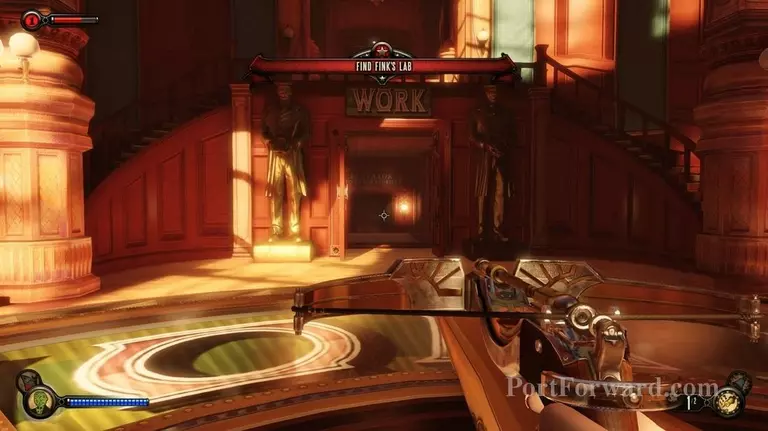
The actual door you want to go through is labelled "Work."
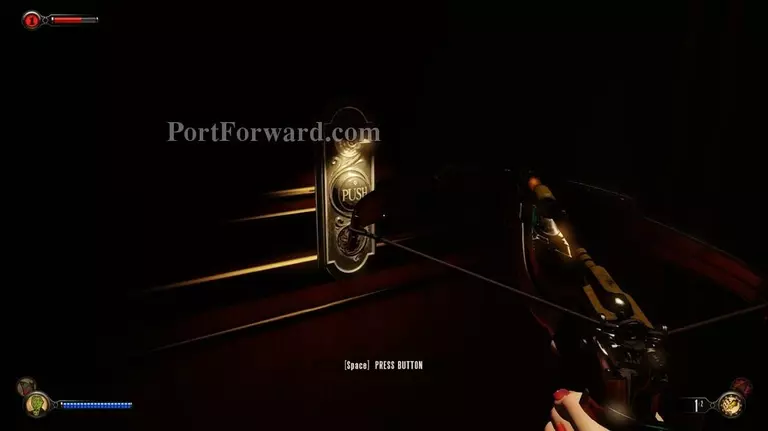
Head all the way through and press the button to activate the elevator.
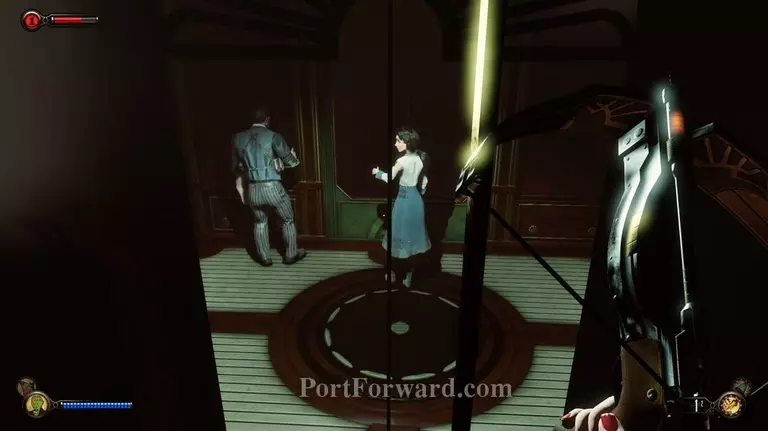
The elvator will go down and Elizabeth has another conversation with her imaginary friend. You may recognize a scene playing out in one of the rooms you pass by that is from the original 'Bioshock Infinite' storyline.
At the bottom turn to the left.
Go into the room on that side and you can search for stuff. It will be easier on the inside of the room as there are several enemies more centered around the central area outside.
Continue to the left and on the other side is a doorway. You can see further into the room from here.
You may need to sneak up on a few enemies and knock them out, but you are heading to that room on the other side of this area.
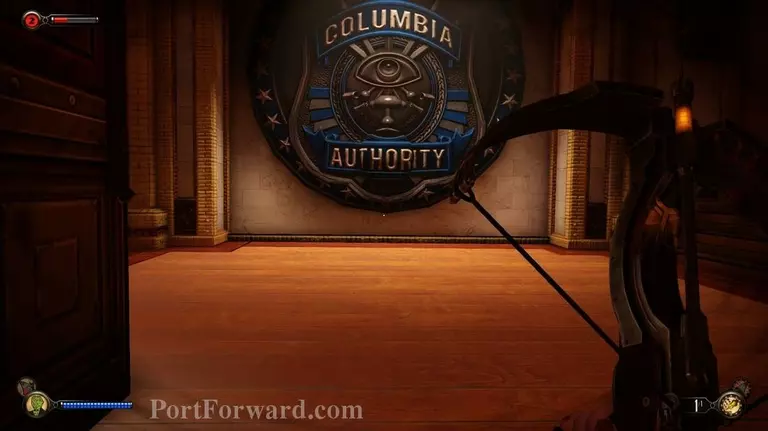
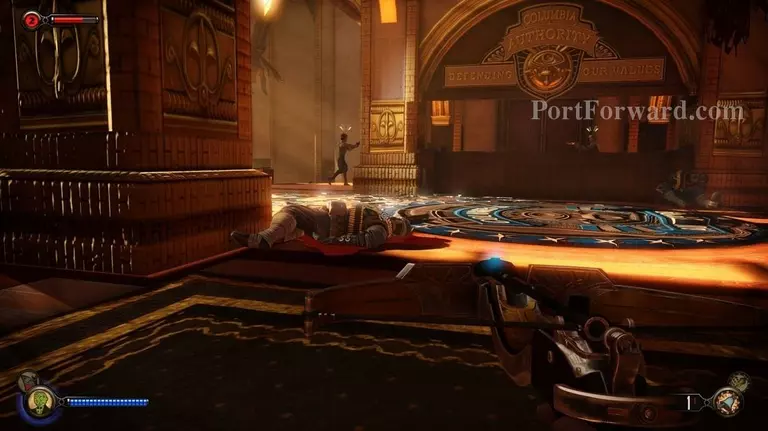
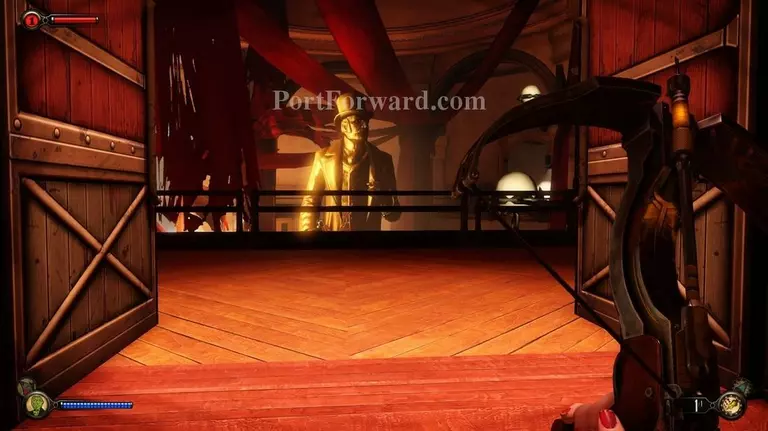
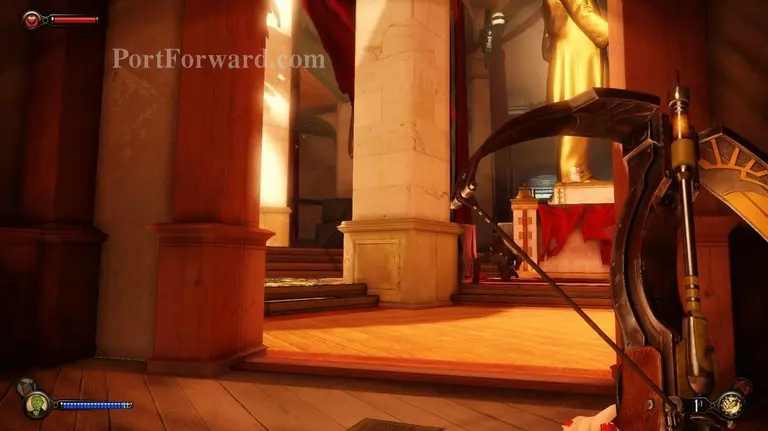
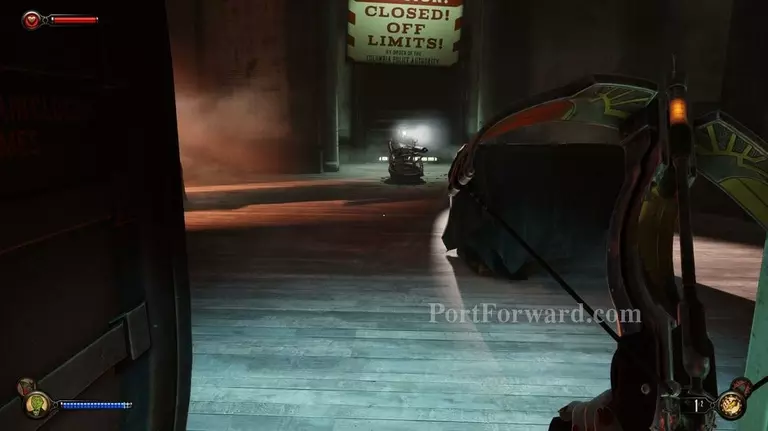
When it's safe for you to do so (watch out for the turret in the back left on a floating vehicle) go all the way across the room, and through the door. You will be greeted by a big seal that says "Columbia Authority."
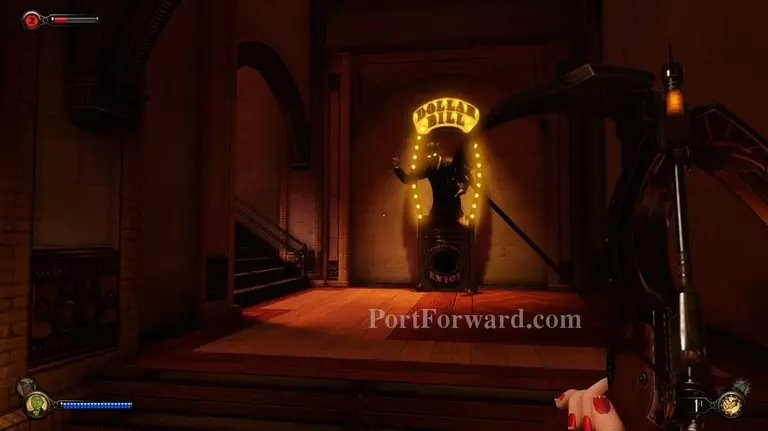
Head to the right and up the stairs. There will be a "Dollar Bill" on the stairs if you need to buy any supplies.
Go through the door at the top of the stairs.
From the door, if you look to your right, you should see a few hooks; one which is higher up than the others. Jump to the higher one first.
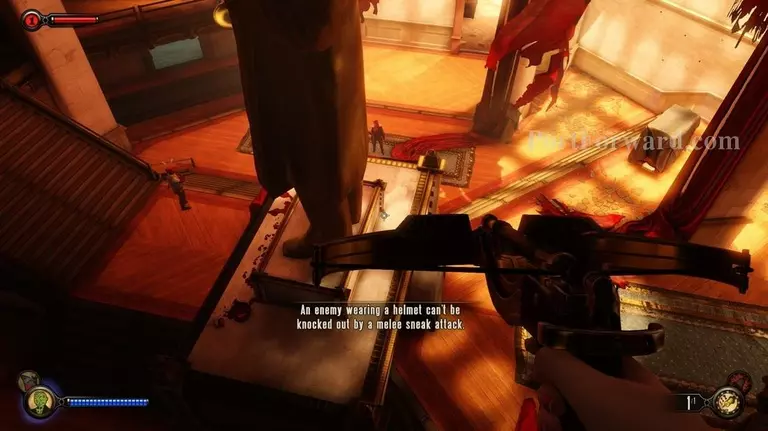
You will be able to have a good vantage on the enemies in this room from here. Don't dawdle (as it starts to make noise if you're there to long), but you'll notice this room is pretty full of enemies.

What is easiest to do here is to use the hook to quietly land behind enemies, and then knock them out.
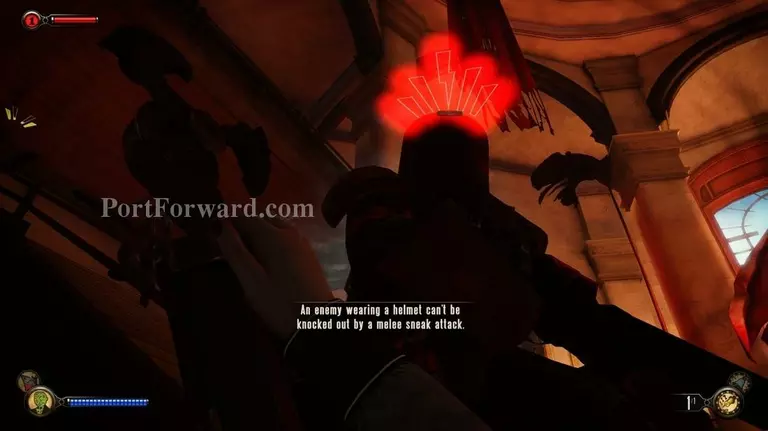
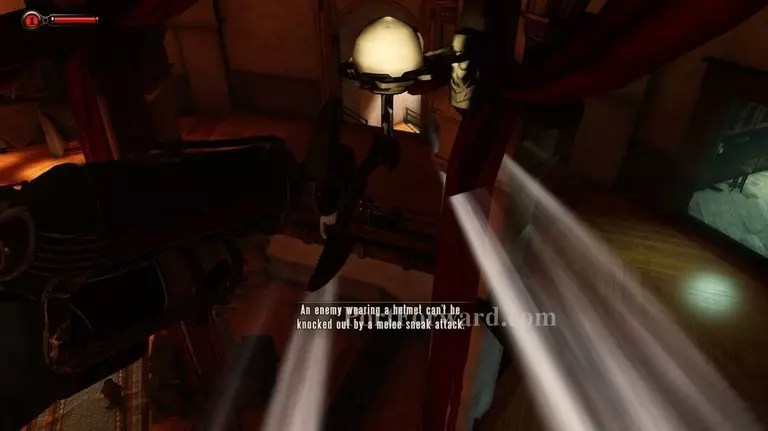
Beware, though, there are now enemies that cannot be knocked out by sneak attacking them (the game says they are the ones that are wearing helmets).
I recommend to only knock out the ones that you need to, but just keep moving silently and you should be able to take control of this room well enough to look around.
The rooms around the immediate area are not important as of yet for advancing the story or anything.
You should look around, though, and pick up any supplies you need. Finding supplies in the world is easier than buying it, I found, in this episode.
When you are ready to move on head towards the far left side of the main room.
You can tell if you're in the right place if you are on the statues right hand side.
You will also notice broken glass on the floor near the back wall here. Watch out as it does alert enemies to your presence if you make environmental noise.
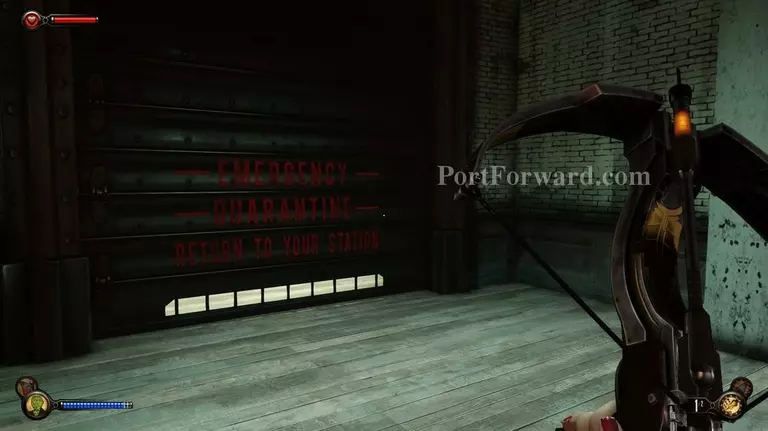
If you head towards the back of the room from the left side you should come to a big door that says "Emergency- Quarantine..." on it.

This one will open and you will come to another hall. Move down the hall and through the next door.
Then go through the next door down another hall.
On the other side of this door you will see a turret ahead. Don't worry- from here the turret can't see you. You are actually safe from the turret in this room if you stick to the walls as they are all too far away for the turret to see and you can also avoid the light to be sure as well.

You will notice the door in the back says that area is closed- "Off Limits!"- but that's where you need to go.

Instead of going there- from the door head to the left.
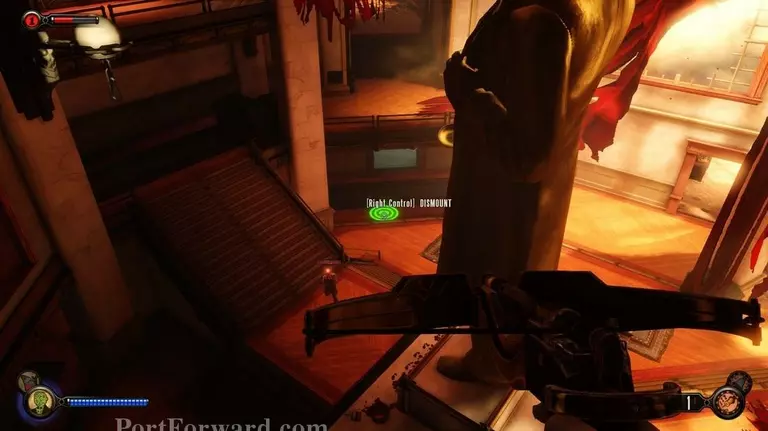
You should be able to go through the window on to a floating vehicle. From the vehicle if you look out on to the next building behind it you should see a hook. Go ahead and jump to the hook.
From the hook jump down to the platform where there is two broken windows ahead of you.
Go through a broken window into the building ahead.
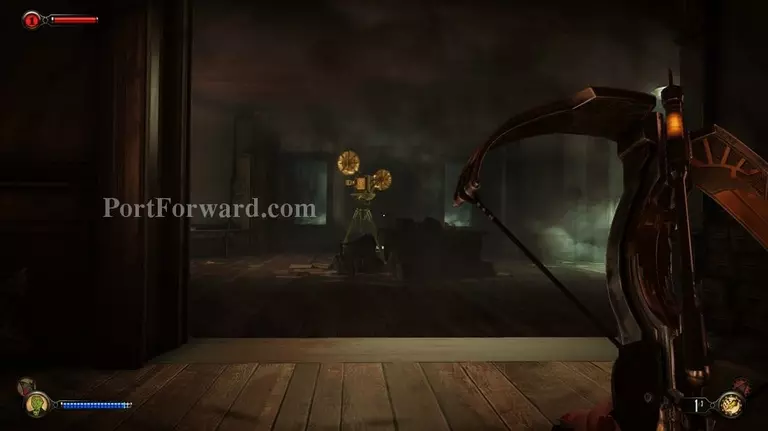
You can look around here. I didn't see enemies when I did this. In the next room you will come to a very old projector.
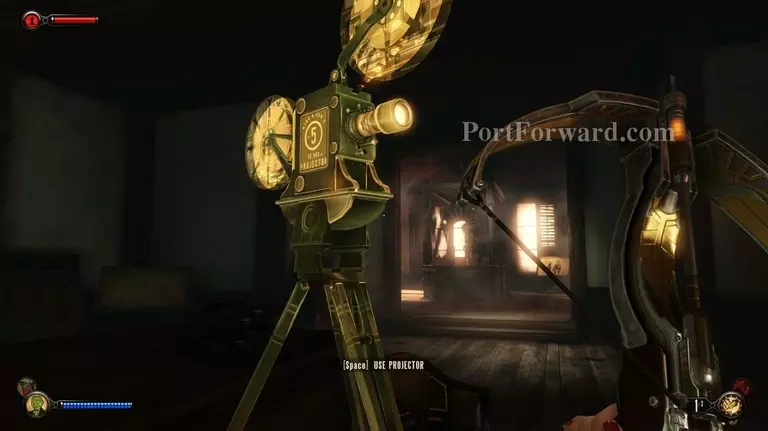
Turn on the projector and Elizabeth will have a short conversation with herself ("with Booker") about the Big Daddy and it's correlation to Songbird and herself.
When you are done head to the door behind the projector.
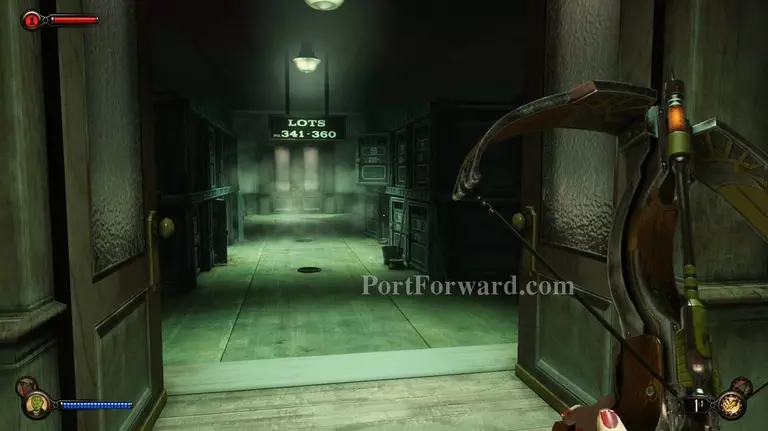
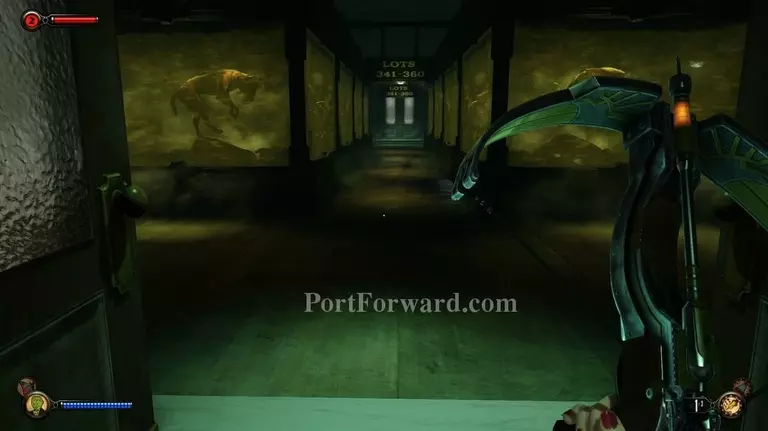
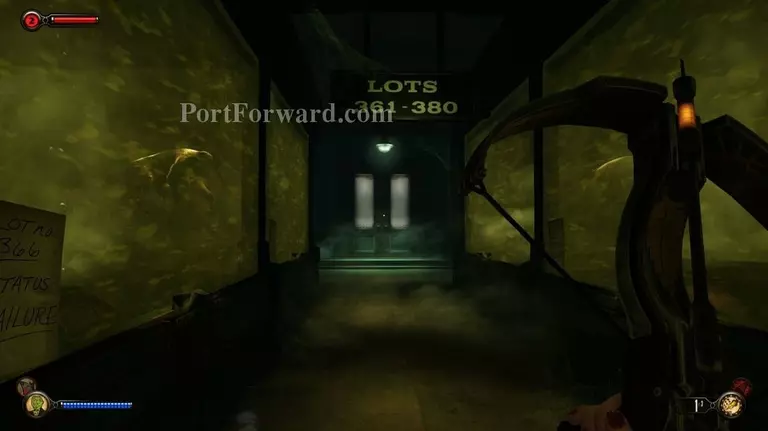
Open the door and go through an area with "lots." I believe it's basically storage of past experiments, or maybe where animals were kept once to be experimented on. Anyway you are heading to the door you can see all the way in the back.
On the other side of the door go down the stairs.
Continue down, and to the right a few floors, and you will come to another door. Move through this door as well.
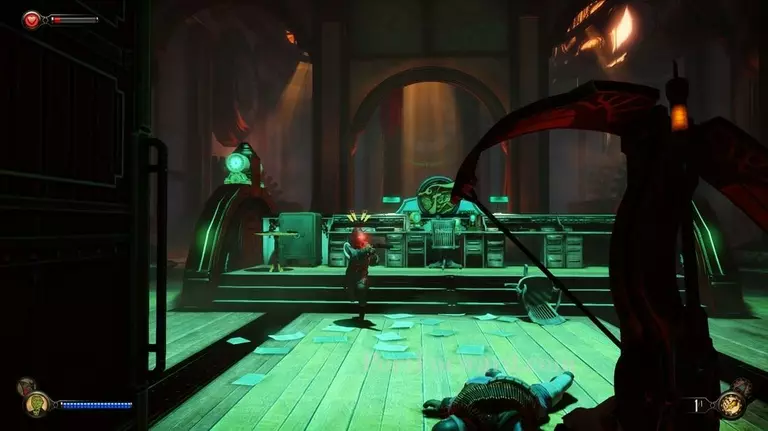
On the other side you begin to see all the research that Fink was doing in an attempt to understand imprinting- creating a connection for Elizabeth to Songbird, much like the Little Sisters connection to Big Daddy in the original 'Bioshock'. You can also pull a switch here to see more of this experiment. Don't worry it doesn't harm the animal more than it already is (it may actually be dead at this point, it's hard to tell).
Move around the case, and to the left. You can go up some stairs on this side.
Head around the corner on towards the right from there and you will come to another experiment. This one was a dog- I have no idea if it's still alive or not.
From the dog go to the left and up the next set of stairs.

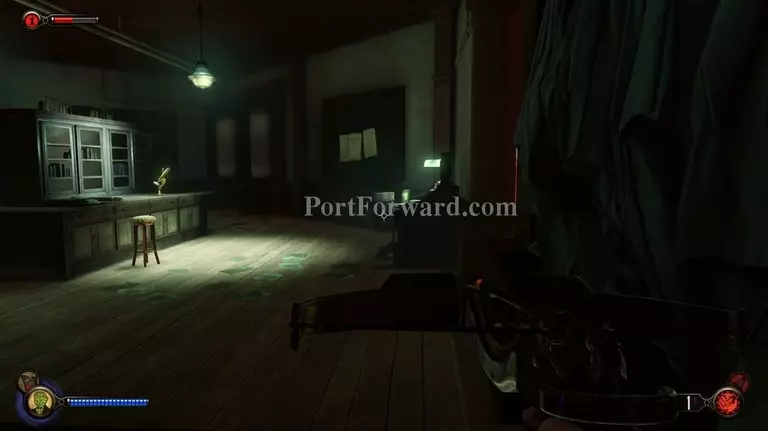
In front of you will be a table. On the table you can read some of Fink's notes.
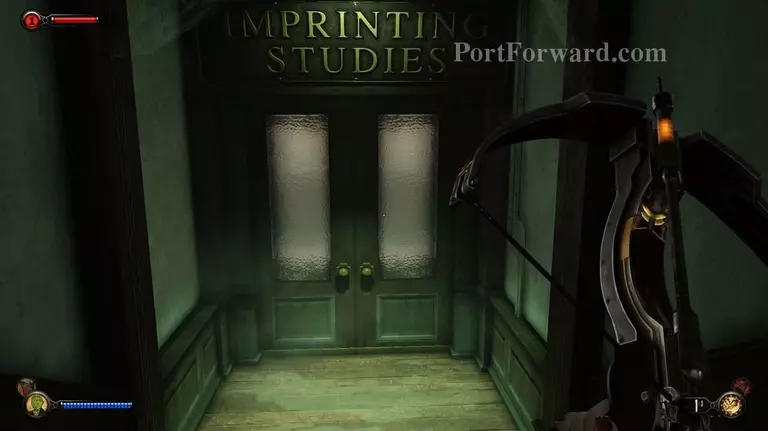
Then go to the door on the right.
On the other side you find a kind of sickening site. There are lot of water tanks with animals in them. They may all be dead, it's not really clear, but they are clearly thrown away to die at this point at any rate.
Head through the terrible display of science and you will see a door at the other end you can continue on through.
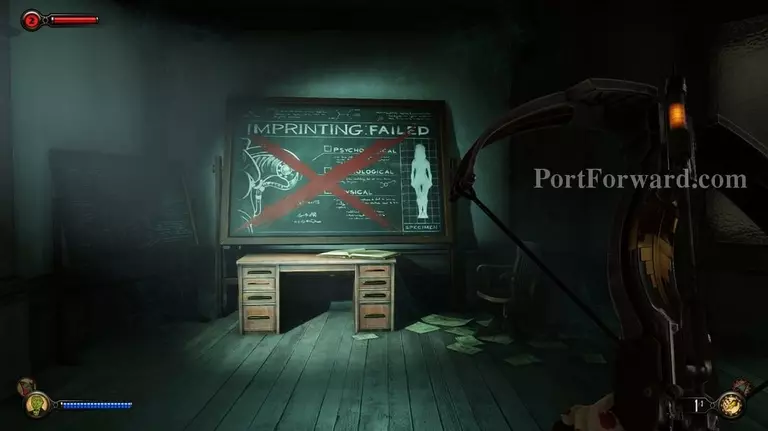
On the other side you will find a chalkboard that implies the imprinting of Songbird on Elizabeth was a failure at some point.
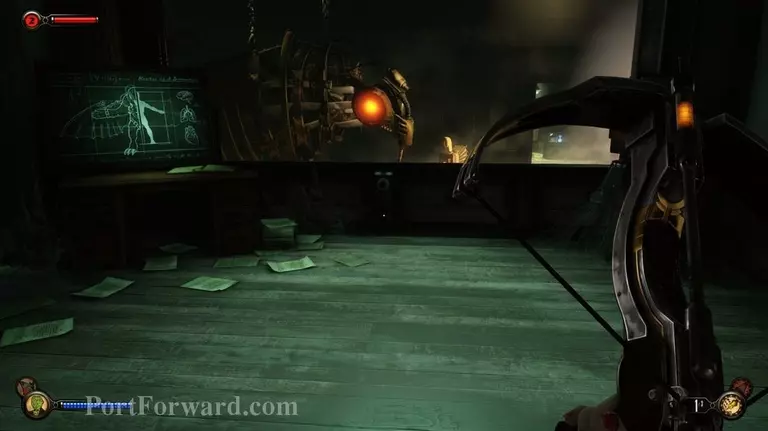
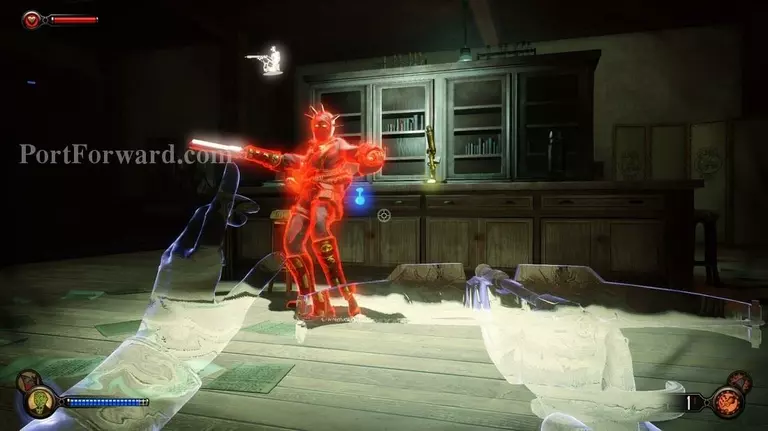
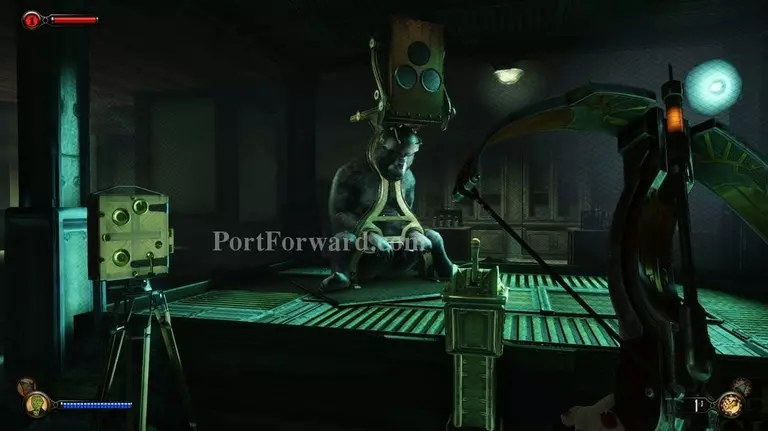
To the right of that you can see some kind of prototype Songbird. It looks like they were attempting to imprint using archaic forms of brainwashing and other types of manipulation.
You can move to the other side of the Songbird prototype around the left side and find a door on the other side.
Inside the next room you will find another note.
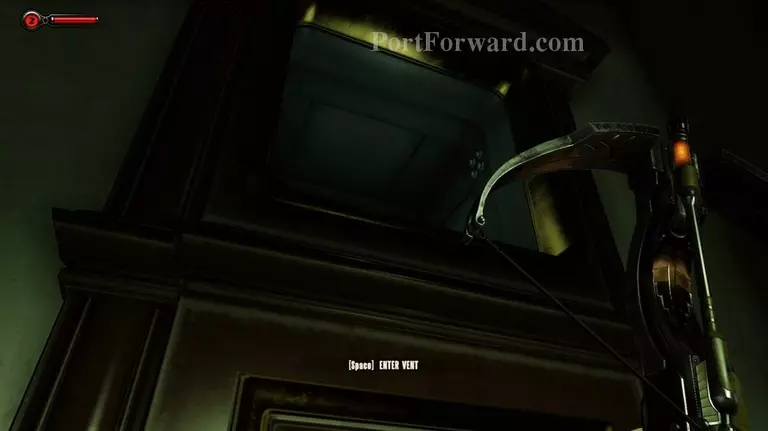
To the left of the table with the note on it you can go inside another vent.
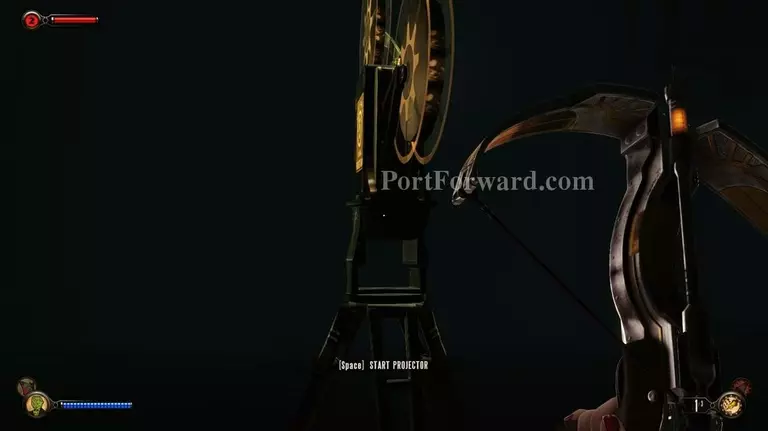
On the other side of the vent you can drop down into another room with a projector. Go ahead and watch it. The video implies that imprinting was a simple matter of human nature. Once the Songbird was hurt and Elizabeth was there to help it get fixed, imprinting was successful- they created a bond with one another. Much like the old fable about the mouse and the lion.
If you move to the right of the projector you will see another set of stairs to go up.
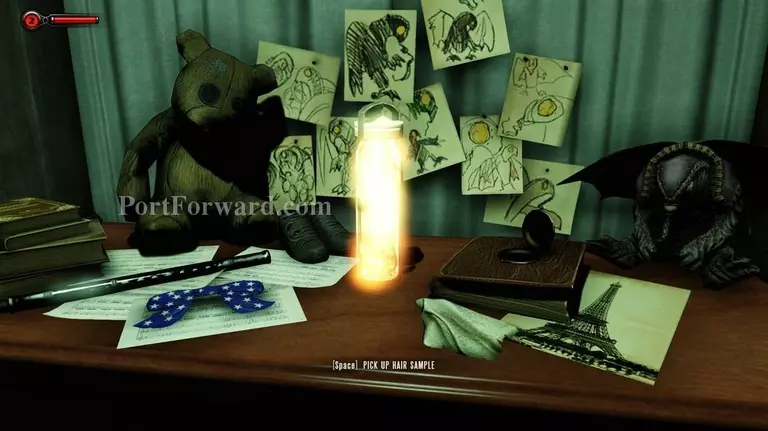
At the back you will finally come to the hair sample that Suchong wanted. Go ahead and pick it up.
Then head through the door on your left.

On the other side of the door look to the right and use the switch.
This will open all of the quarantine doors that were locked before allowing you to (now) leave this place. You may want to stay low as you will hear Vox Populi approaching from the other side. img(225999); If you look around using peeping tom (while not moving) you will notice there are several Vox Populi waiting around the area to catch you. img(226000); Head out the door on the right. img(226001); Just above you, you will notice there is a hook. Jump to it. img(226002); If you look over to the right you will see the second floor just ahead. Jump over to the right side. img(226003); You want to go through the door just ahead of that. You can see the way you entered from here. img(226004); Instead of going the way you entered this area, go to the right of it and into the room ahead. img(226005); Head around to the left and you will notice the broken windows you came in through earlier. Move outside. img(226006); Jump back over to the hook in order to get back to the other side. img(226007); From the hook jump back onto the floating vehicle. img(226008); Then head down the ramp back into the room. img(226009); Before leaving you will notice the turret here was destroyed by someone. Head around the walls on the left. img(226010); Be careful, though, as you lifted the quarantine so the door in the back left is now open and there are Vox Populi patrolling that room (that's where we just came from). img(226011); Continue around the wall in this room with the turret and you'll come to a door that was closed before, but is now open. img(226012); You should head inside. img(226013); If you recall from earlier when you came in there is a voxophone on a desk in here and some supplies. img(226014); When you are done with that head back out and around the left to the entrance. img(226015); Go through the next hall and out the door. img(226016); On the other side continue through the next hall and through the other door that leads back to the main hall where you came in a while ago now. img(226017); As you move ahead you will notice that hook on your left just above you- to the left side of the statue. Jump to the hook. img(226018); From this hook look to the right and jump to the hook that is the farthest to the right side (of where you're currently looking). img(226019); Using this hook you can quietly land on the balcony just behind you and go into the office that is right in front of you. img(226020); Once inside you will see a desk just ahead of you. img(226021); If you move to the desk you will find another voxophone you can listen to. img(226022); From there head to the right and you will find a door leading back to the second floor breezeway just outside. img(226023); From this door go to the left and you will see the door you came into this room from when you first got here. img(226024); Head through the door and down the stairs to the right. You can use the vending machine on the stairs here if you need any supplies. img(226025); On the right in the stairway you will recognize the big sign on the right wall. Go through the door on the left. img(226026); Then from this door continue left and up the stairs. img(226027); Head up more stairs that veer to the right and towards the center of the entrance walkway. img(226028); About the center, just behind you, you will see the elevator door you came in on earlier. Go inside. img(226029); Then press the button to move back up to the top. img(226030); You'll come out at the hallway that leads back to the clock room; head up the stairs. img(226031); Go back out into the clock room. img(226032); Head around the stairs behind you (either side- they both go to the same place), and go back up to the top. img(226033); Turn to the left, at the top, and you will see supplies you can scavenge on the floor. img(226034); When you're ready, go to open the door and begin the lock picking mini game. This one is a pain as almost all the pins are red except one blue pin. I landed on the blue one with luck and unfortunately there is no trick to this. Just hit the use button at the right time and you'll be fine. Otherwise, you'll get alarms, and a turret will spring up by the door. img(226035); From the other side of the door head to the right, and around the desks. img(226036); Go back through the door under the "FINK MFG." sign and you will be back out on the outside causeway you entered from much earlier when you got to Columbia. img(226037); Head around the dead Vox Populi version of the "Handyman." Be careful, though, as there are still several enemies out here you need to sneak up on and knock out. img(226038); Go up the stairs just ahead when it's clear and head around to the left side making sure to watch for more enemies. img(226039); Knock out any Vox Populi that are in your way and stay out of sight. img(226040); Then go through the door with the FINK MFG. label on it- on the right. img(226041); You should recognize this hall from when you first got here. Keep moving towards the tear at the end of it. img(226042); Use the tear to open it. img(226043); Then go through the tear to get back to Rapture.
More Bioshock Infinite: Burial at Sea - Episode Two Walkthroughs
This Bioshock Infinite: Burial at Sea - Episode Two walkthrough is divided into 6 total pages.


