This Blade Kitten walkthrough is divided into 13 total pages.
You can jump to nearby pages of the game using the links above.
Berserk
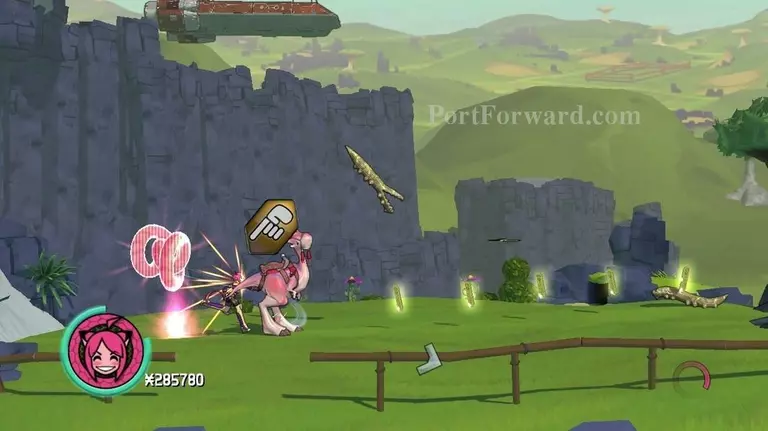
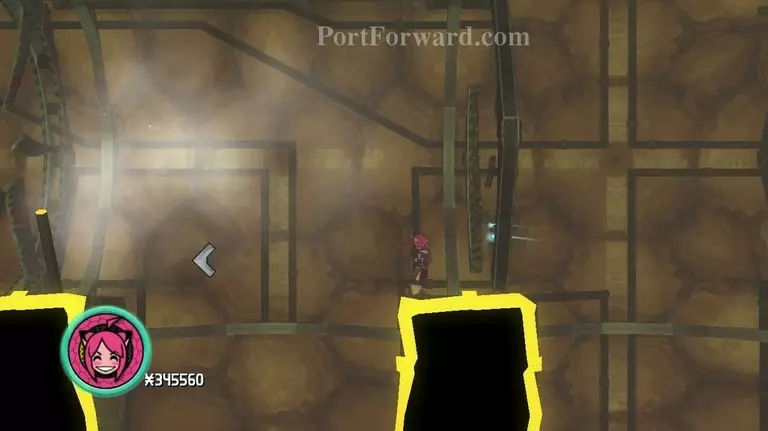
Head down right and off the cliff to reach Noot.
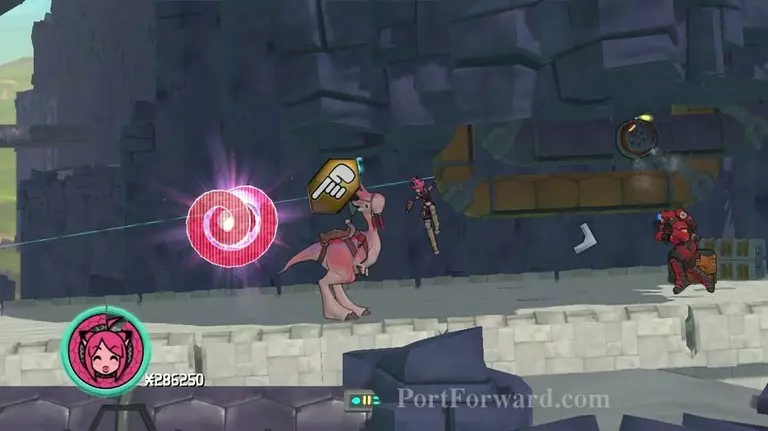
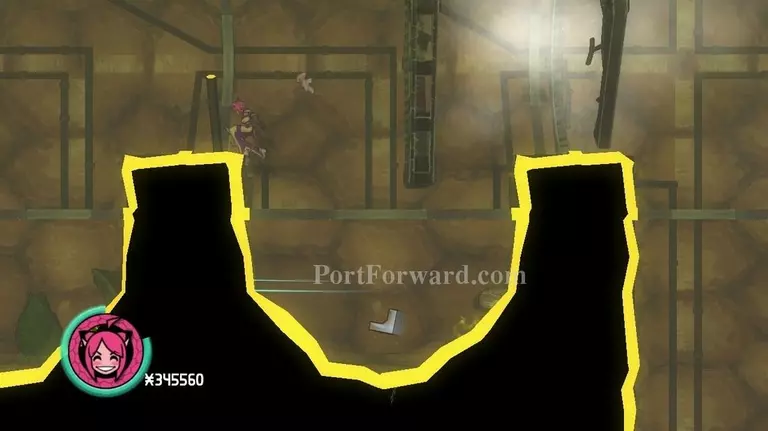
Go right until there will be a section of pipe blocking your way. Get off Noot and proceed on foot.
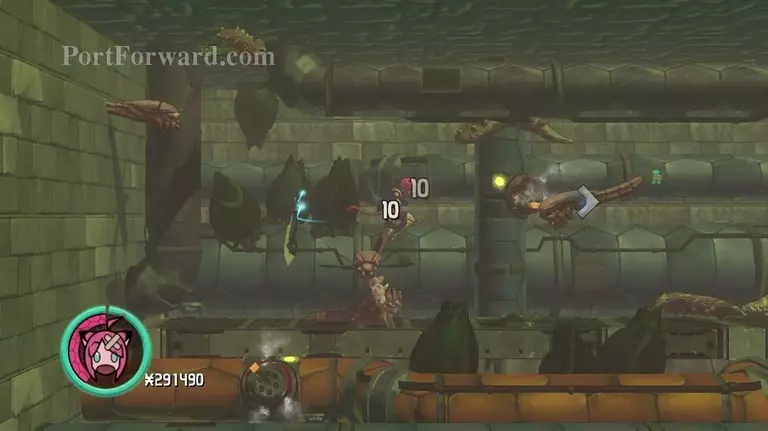
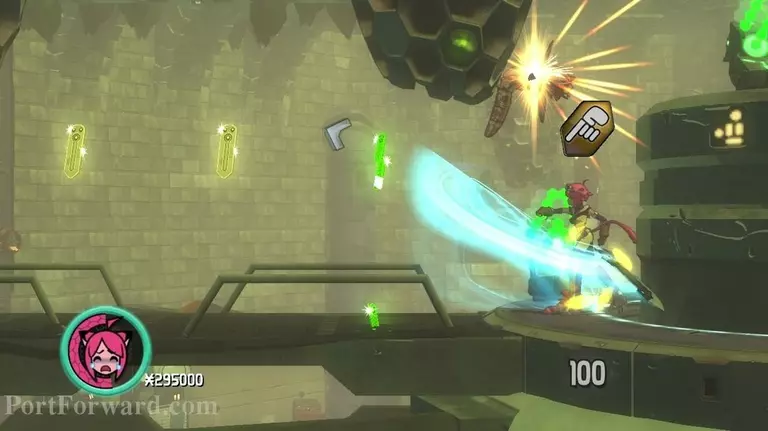
Enter the sewers and you'll be greeted with a new foe. They will swarm you from every possible direction and becomes real annoyances when in any number higher than 2.
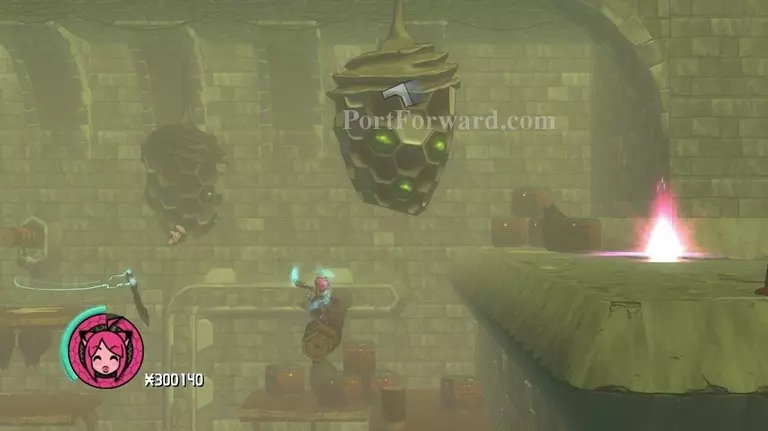
Go right and destroy any cocoon you come across.
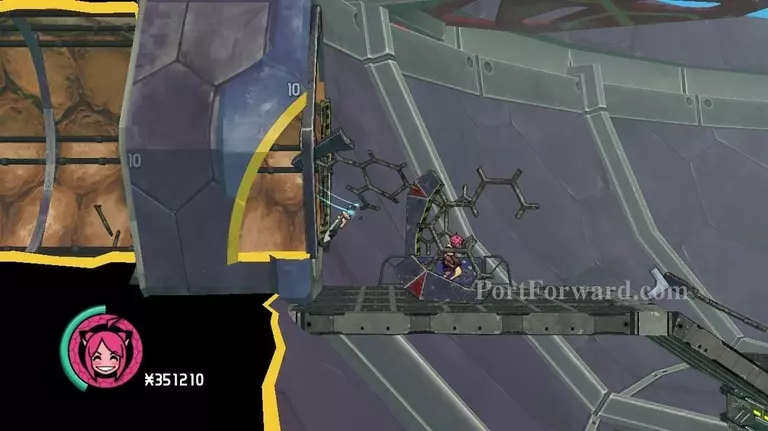
Head up the elevator and take out the cocoons before proceeding right..
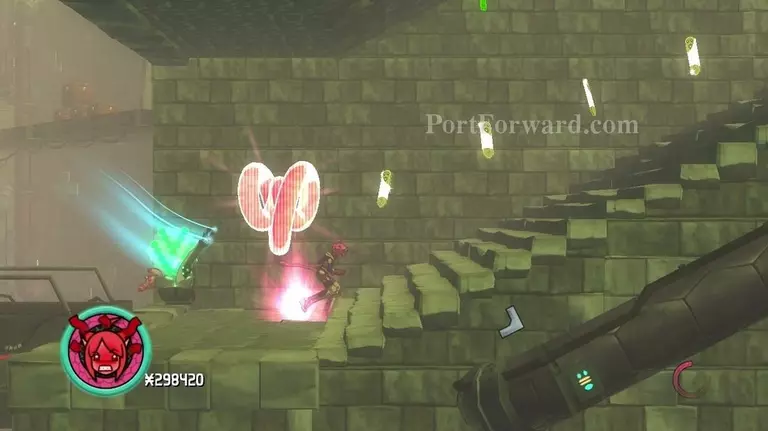
Lower the lift and continue onwards.
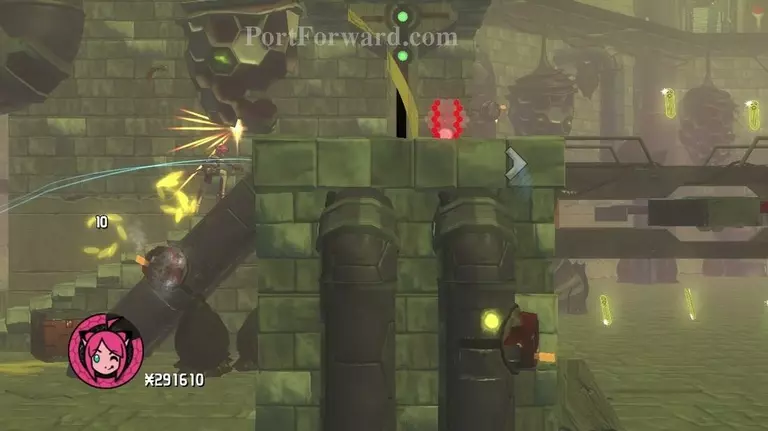
You'll come across a section with moving pillars. Keep going up..
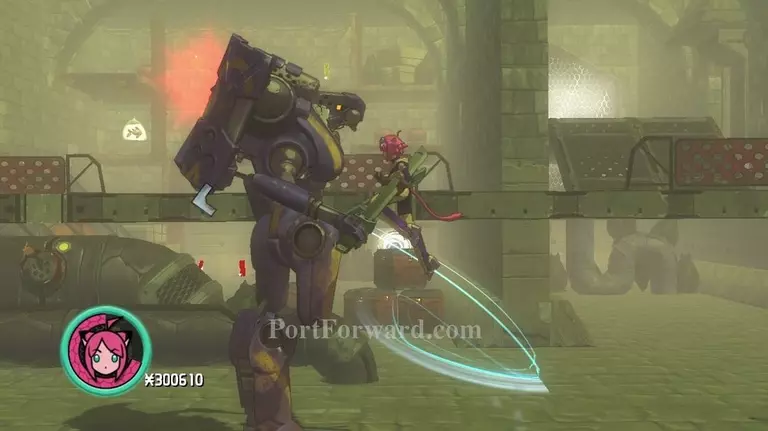
Until you come across a large mecha boss. No real tactic with this one except non-stop attacking.
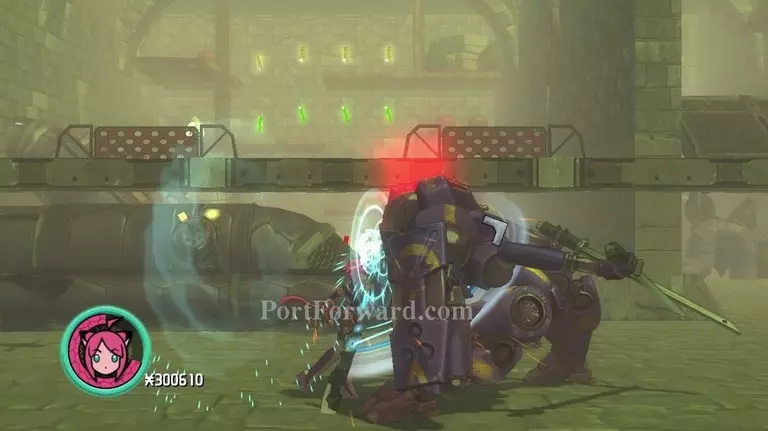
Jump over and hit him from above/the back whenever he gets into his "prone" blocking mode.
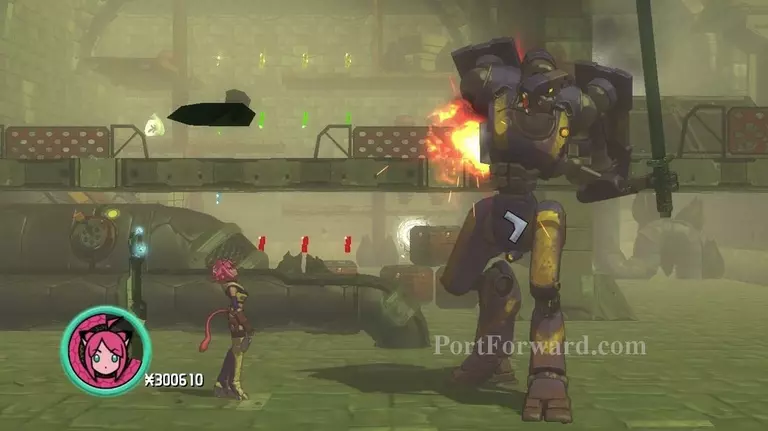
He'll eventually have an arm destroyed and flee.

Continue down, left and down after that.
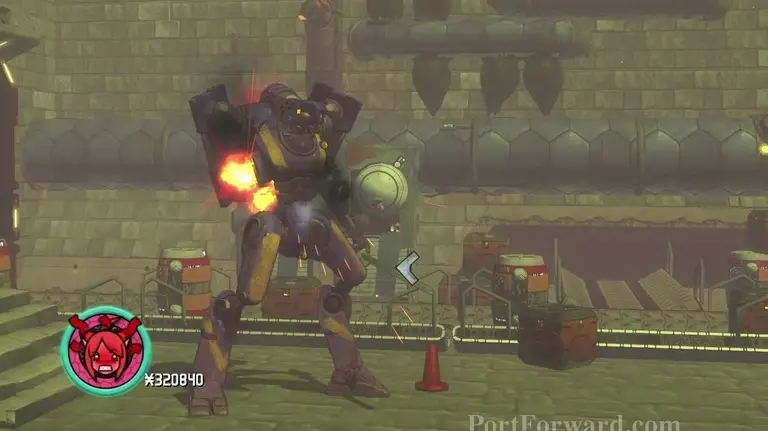
The mecha will appear and disappear again. Same strategy.
Go up the elevator after defeating him.
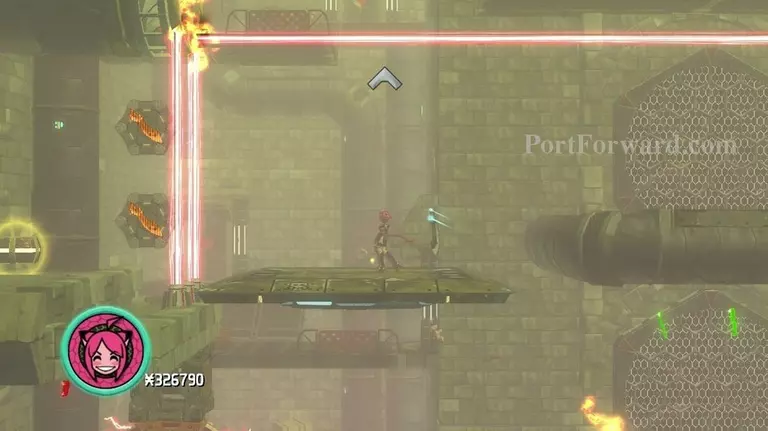
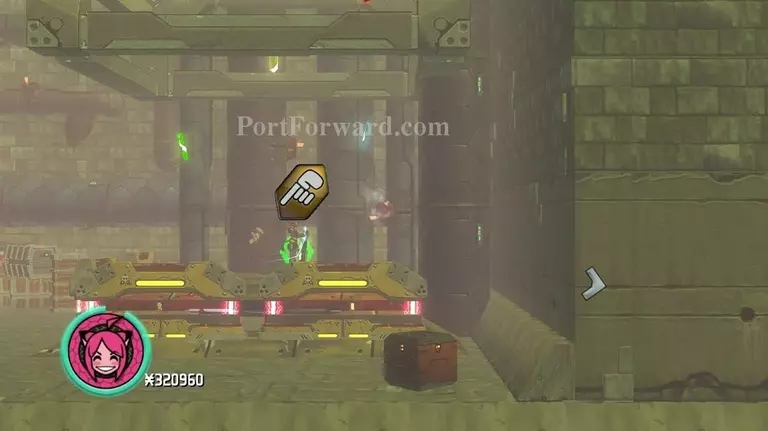
There will be a large laser puzzle up ahead. Destroy the buttons to your left using (M2) before the platform reaches up.
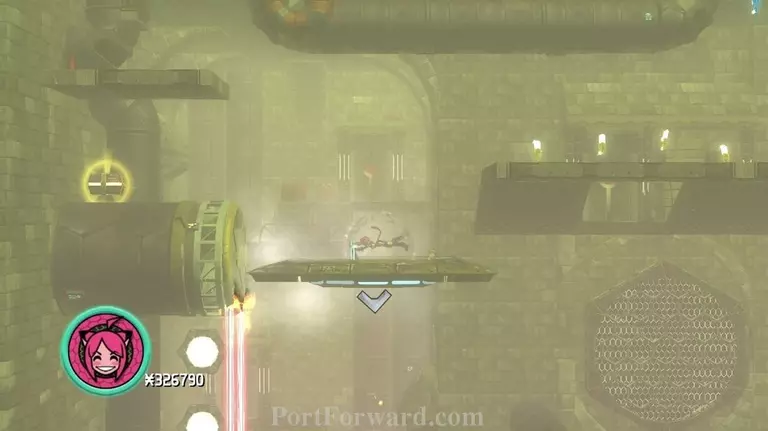
Once gone, the pipe will then instead start giving out a large air-flow. Use (Q) to impale your sword onto the platform.
Head further up after that.
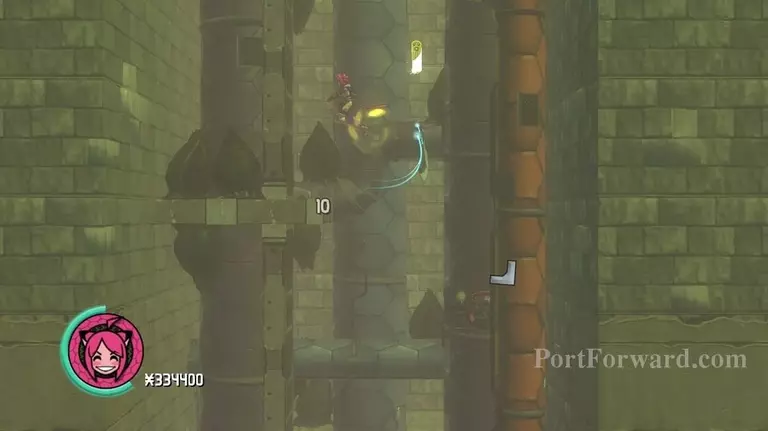
Once out of the small sewer section, head left and start working yourself through the long ventilation shaft.
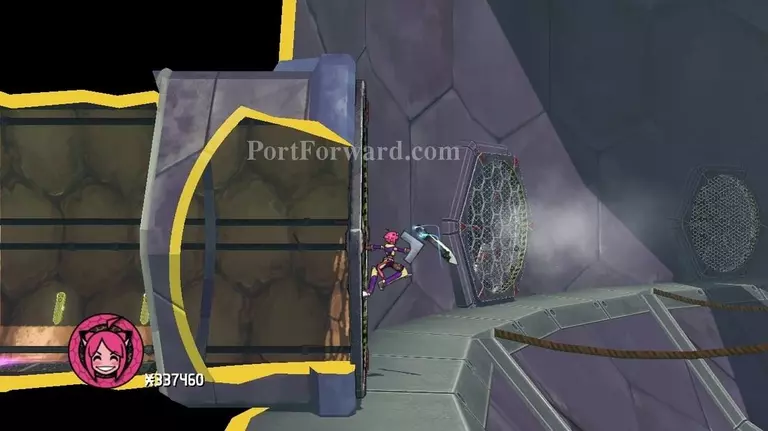
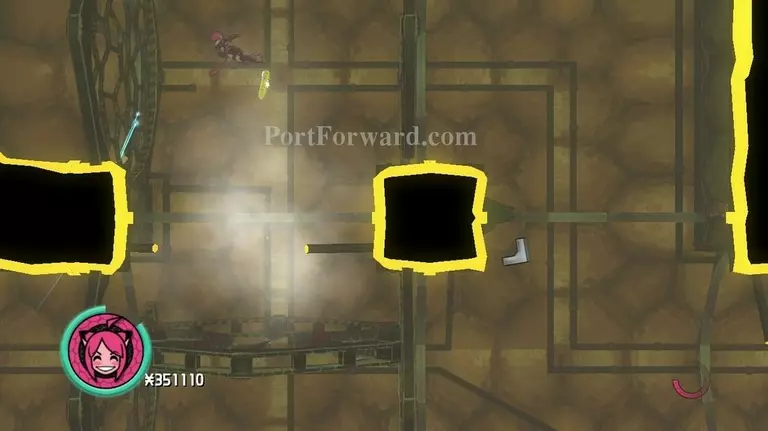
Once as far up as you can go in the ventilation shaft, you'll come across a timed air-flow. Destroy the ventilation fences and watch your timing to get through.
Run under once the giant fan floats over you while you're in the hole.
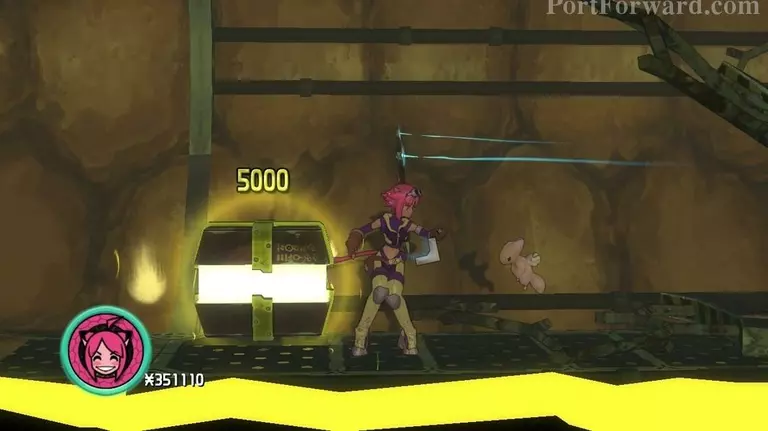
Loads of treasure to be found here too. Explore if desired.
Once you see it, ride up on the horizontal going fan.
Blast yourself through the exit..

And engage another mecha. Same strategy. Once he's dead, the level will end.
More Blade Kitten Walkthroughs
This Blade Kitten walkthrough is divided into 13 total pages.