
This Borderlands 2 walkthrough is divided into 16 total pages.
You can jump to nearby pages of the game using the links above.
Toil And Trouble
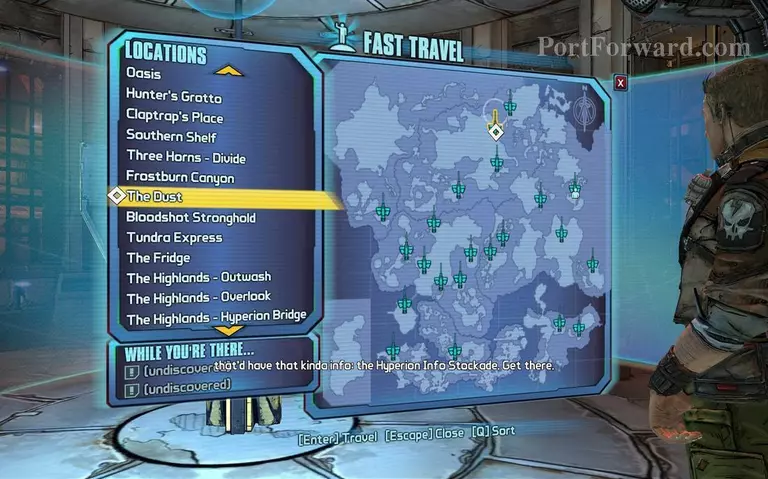
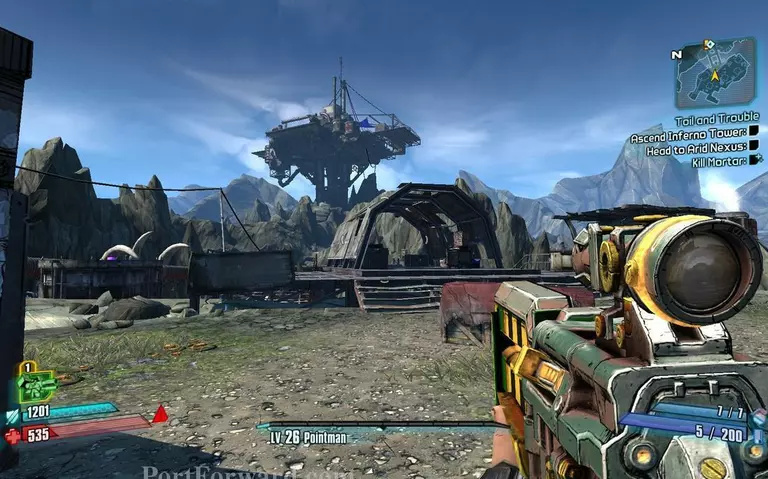
Travel to The Dust
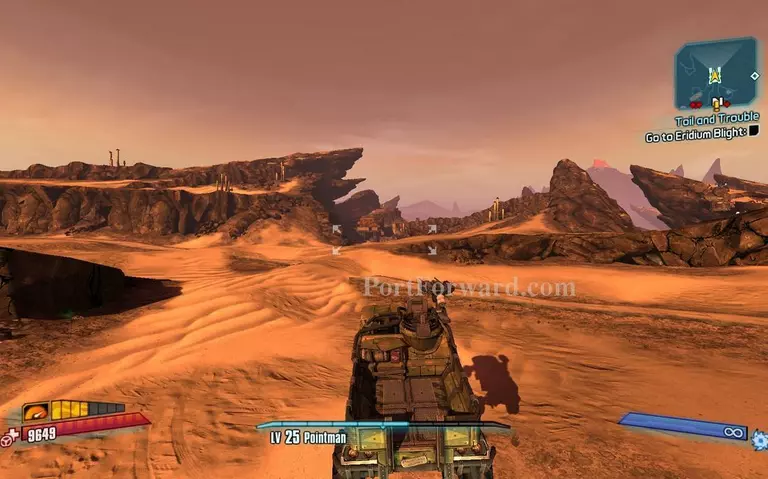
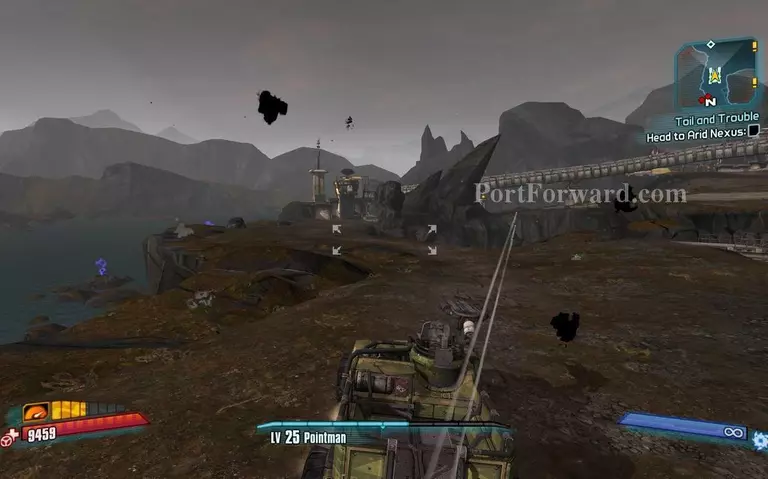
Get a vehicle and head on to very very back of the map
You should see a gateway that leads to Eridium Blight.
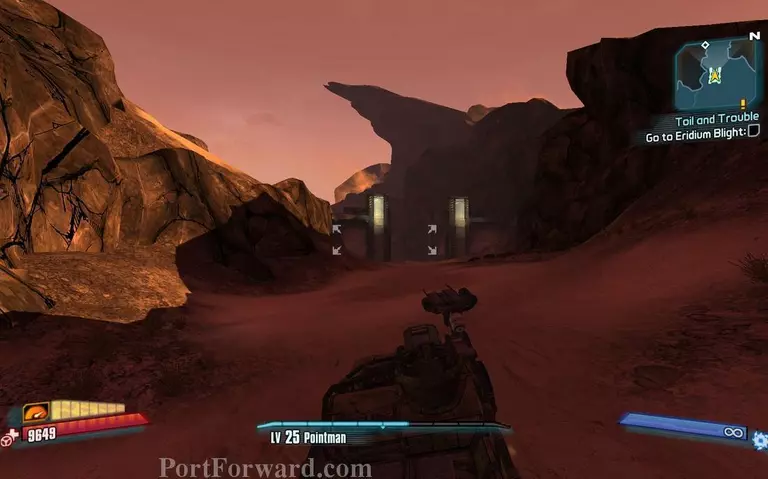
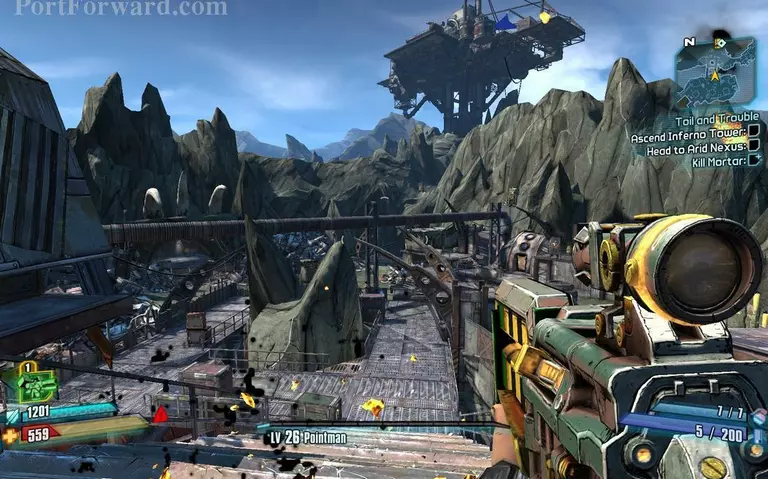
Drive past the bridge and take a right under the pipe.
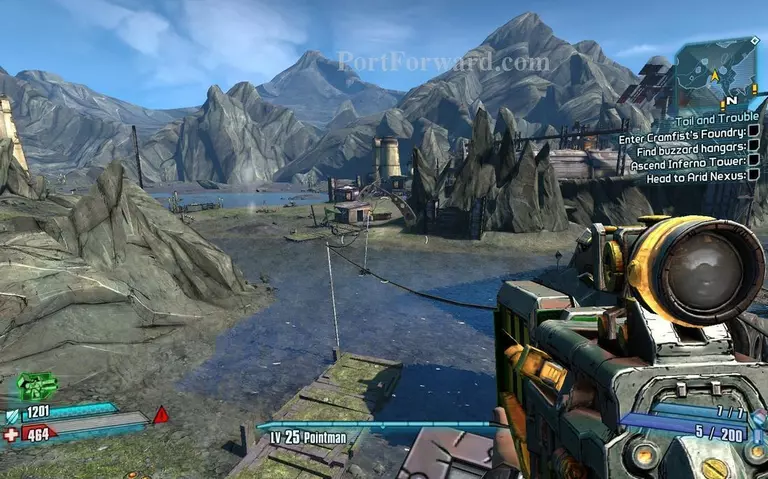
Drive over to the bridge.
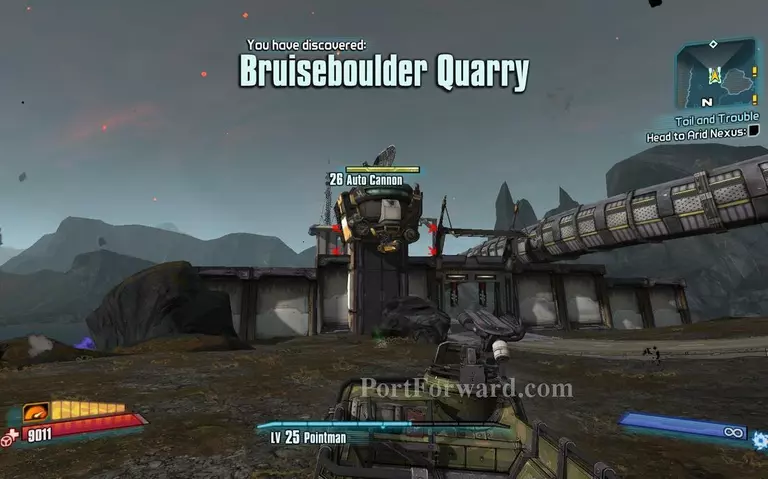
Take out that turret and drive over to the bridge.
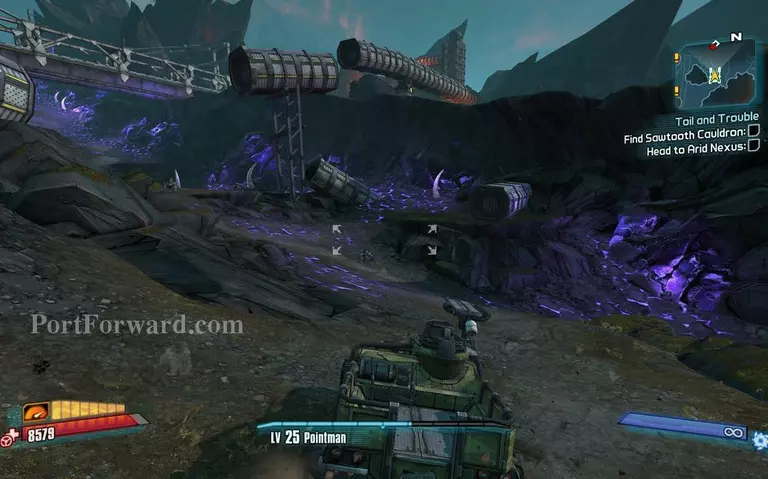
Turn around and drive past that pipe you drove under take a left and drive up the Eridium path until you can take another left.

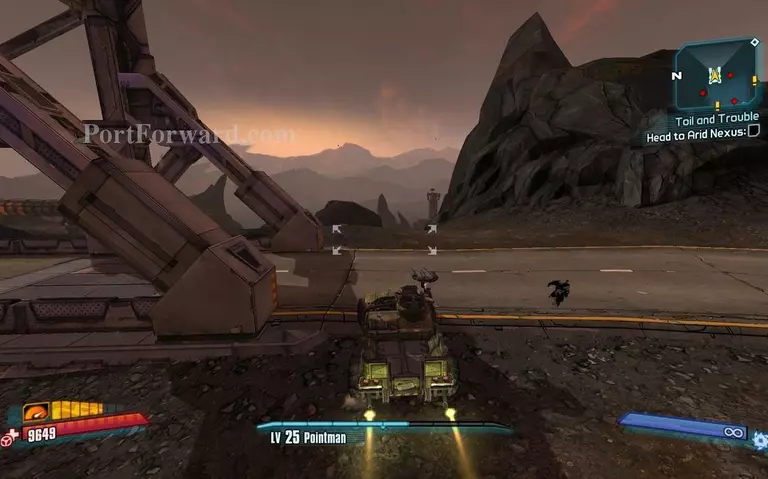
Drive over the bridge.
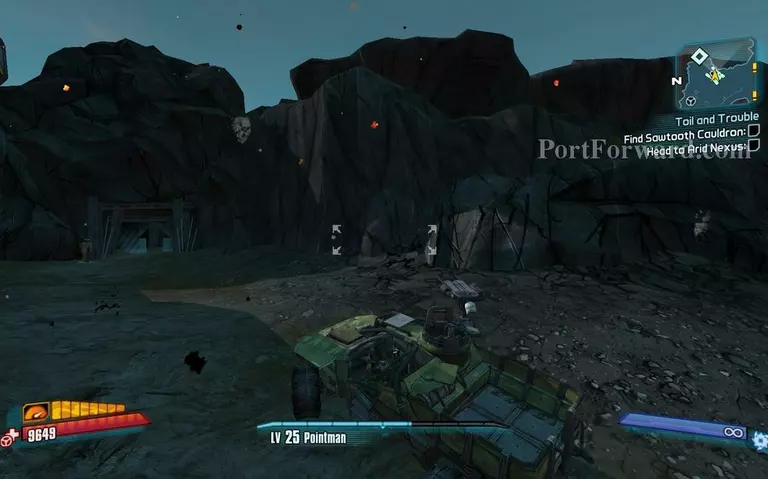
And up the hill and travel to Arid Nexus.
Go right and jump off the edge straight to the waypoint.
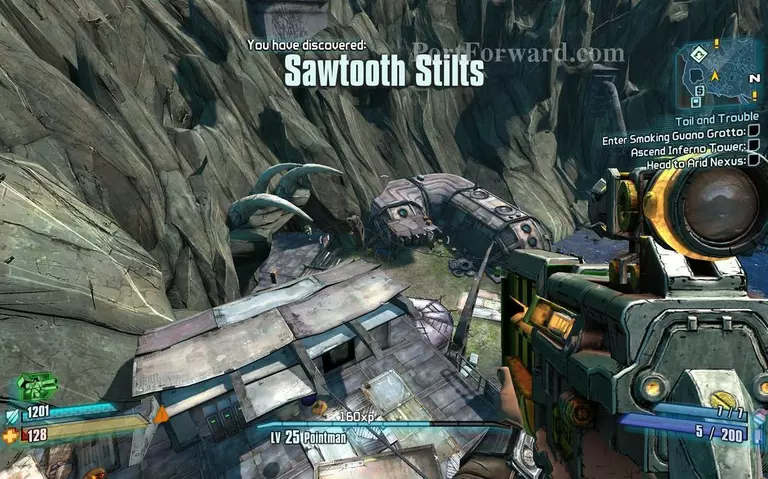
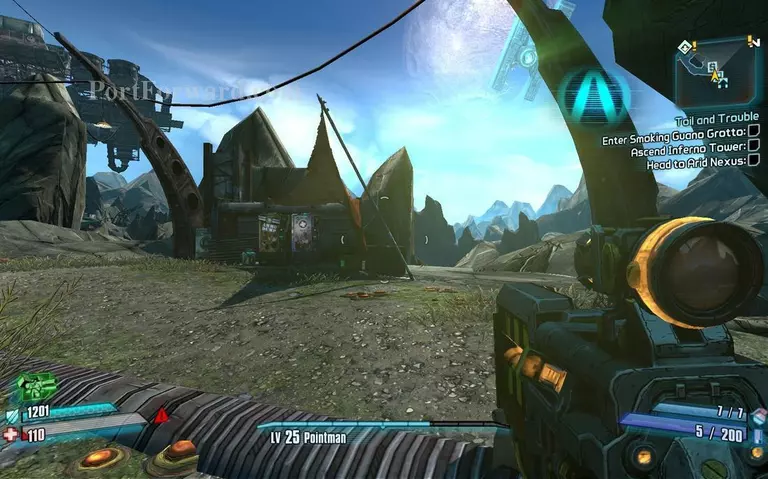
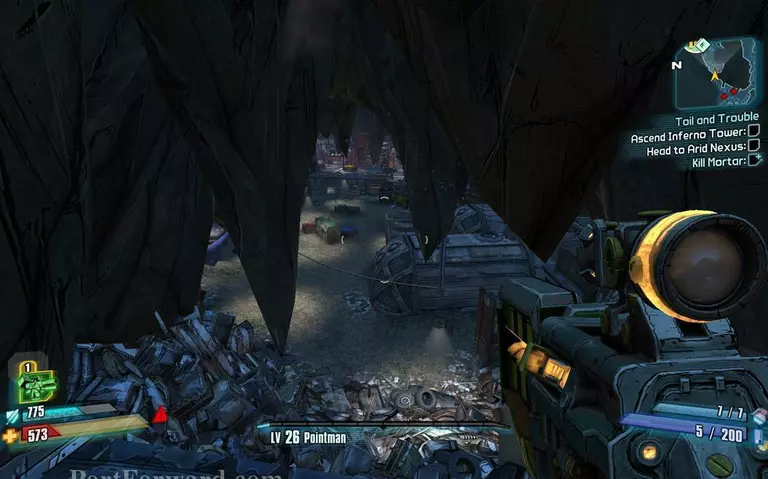
You should see claws coming out of the mountain there is your entry point.
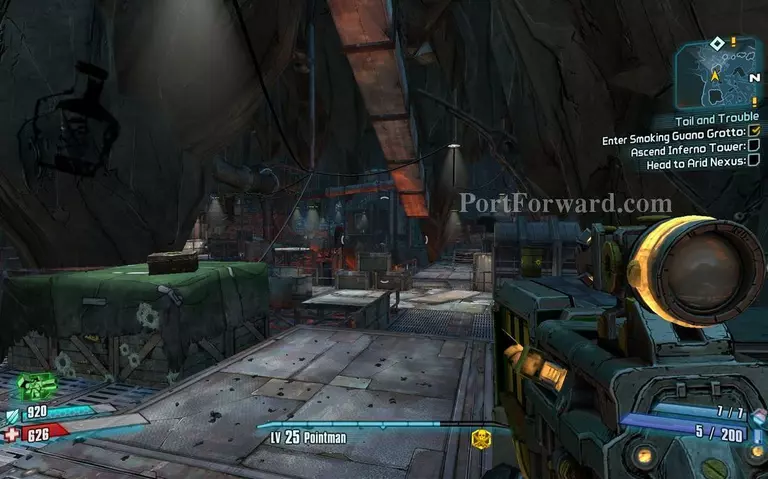
Head Right when you enter all the way to the waypoint.
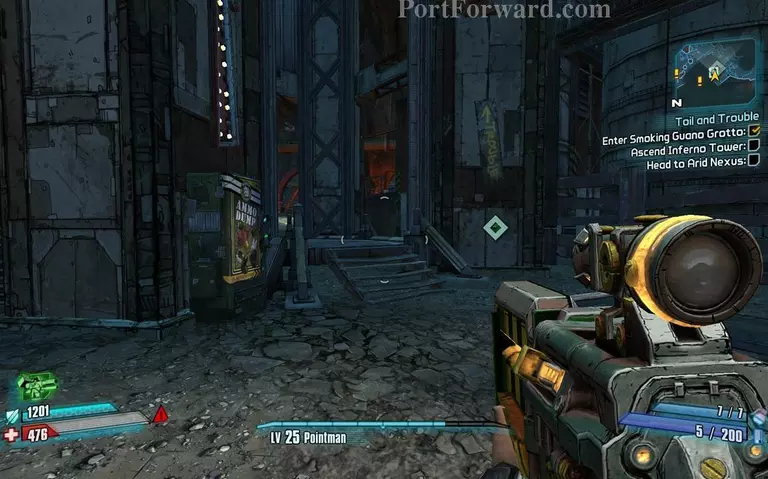
Restock before you press the button.
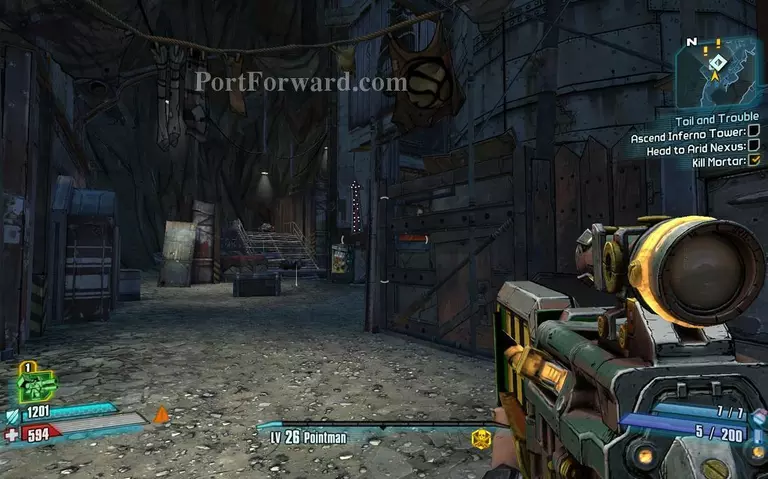
After you fought the enemies Head back but not outside, but now take a right again and go to the other open door.
Now go over the river and fight a Thresher then continue on the path.
Head up to thos buildings but watch out for Gun Turrets with lazers.
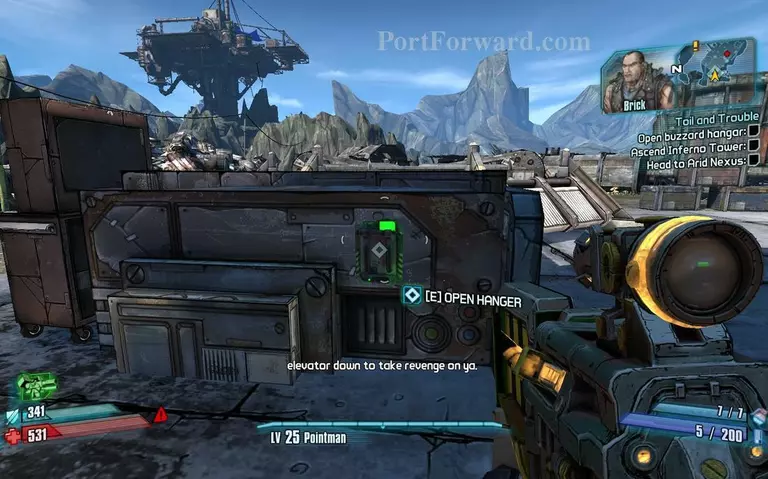
Open the Hanger and destroy the buzzard.
Return down and look for a conveyor just in line with that building.
The conveyor belt is just straight down.

There it is jump on it and go down.
Continue left all the way.
But watch out for Mortar in the lift next to the Ammo Shop.Then go up in the lift.
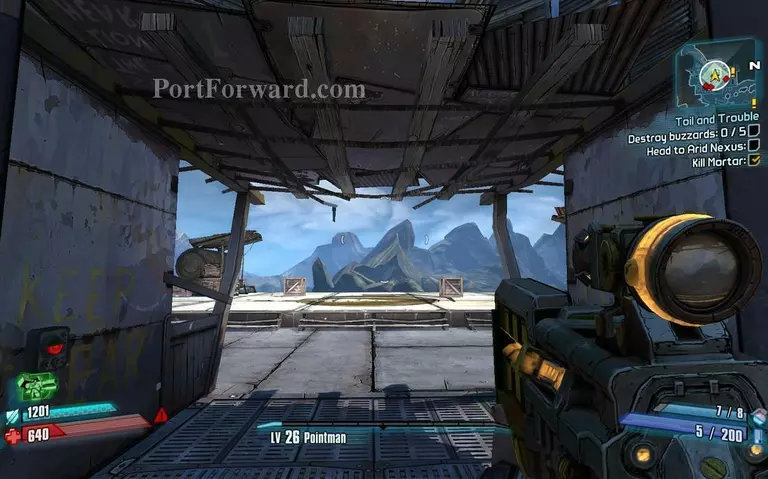
You can stand under the cover above you just right infront of the lift and shoot the buzzards.
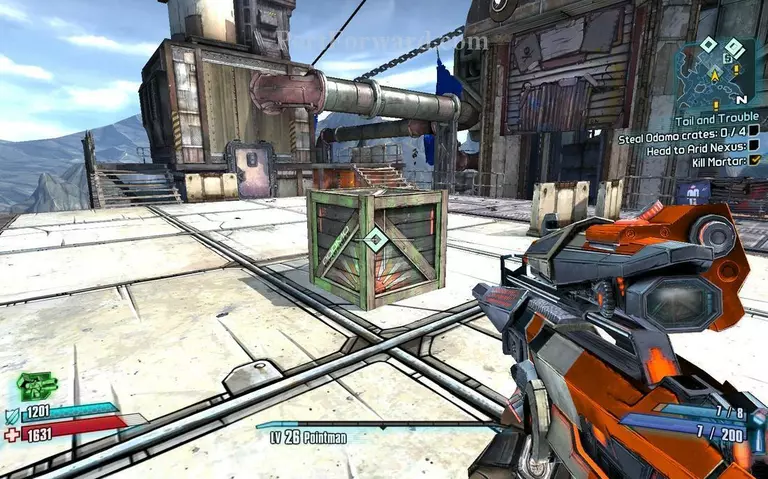
After you shot them all down you must put beacons on the crates around the area for the friendly buzzards to come pick up.
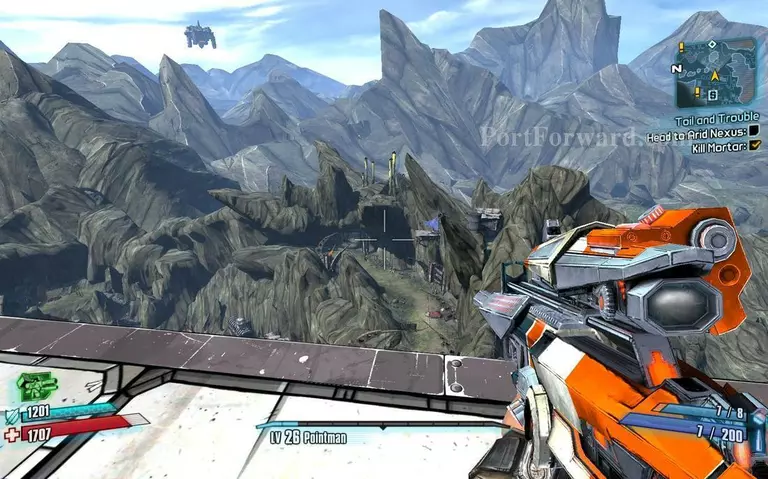
Just jump off the ledge in the same line where you came in the map, and head back to Eridium Blight.
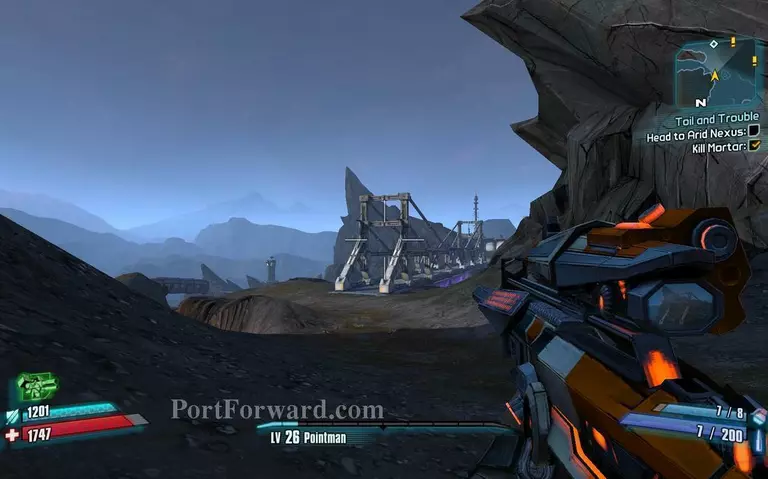
Then go back to that same bridge that you went to first and go to Arid Nexus Boneyard.
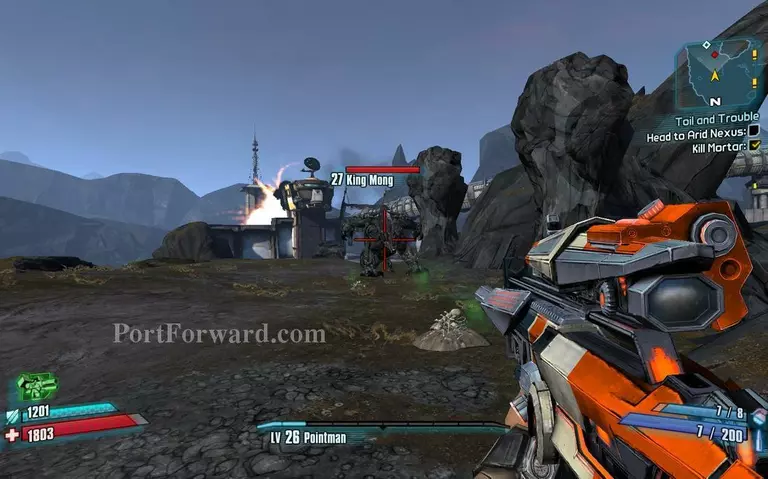
Kill King Mong and go over to the bridge.
More Borderlands 2 Walkthroughs
This Borderlands 2 walkthrough is divided into 16 total pages.


