
This Borderlands 2 walkthrough is divided into 16 total pages.
You can jump to nearby pages of the game using the links above.
Bright Lights Flying City
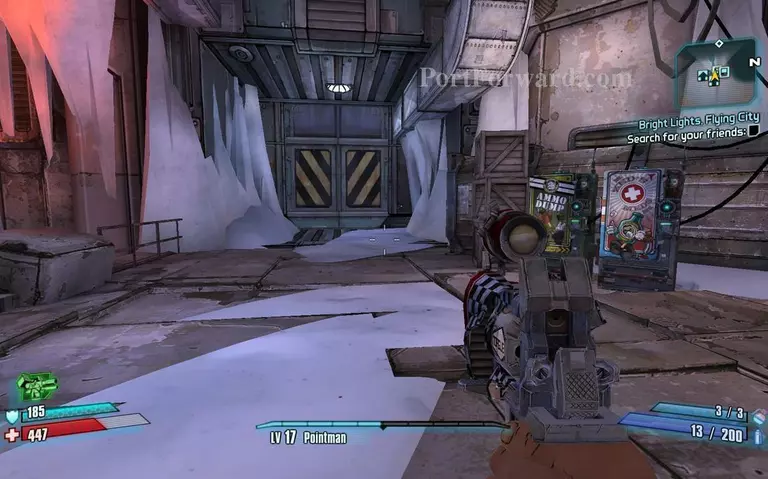
Restock your ammo.
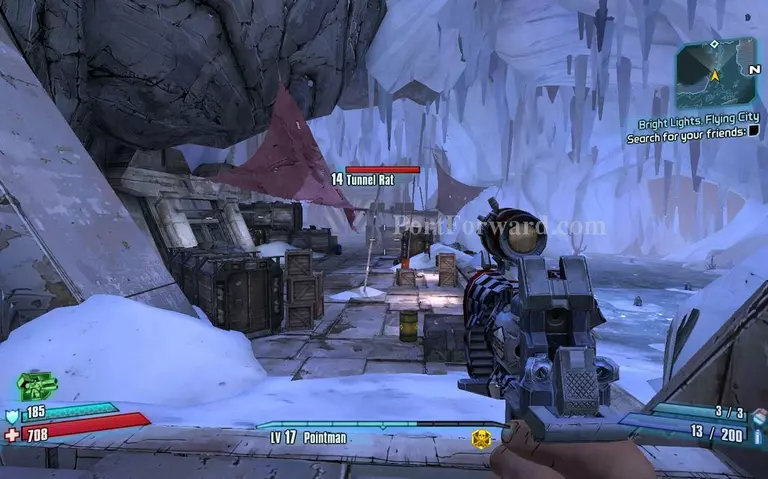
Fight through the crazy waves of Rats until you get to the Door.
When you get to the lift just jump down to save some time
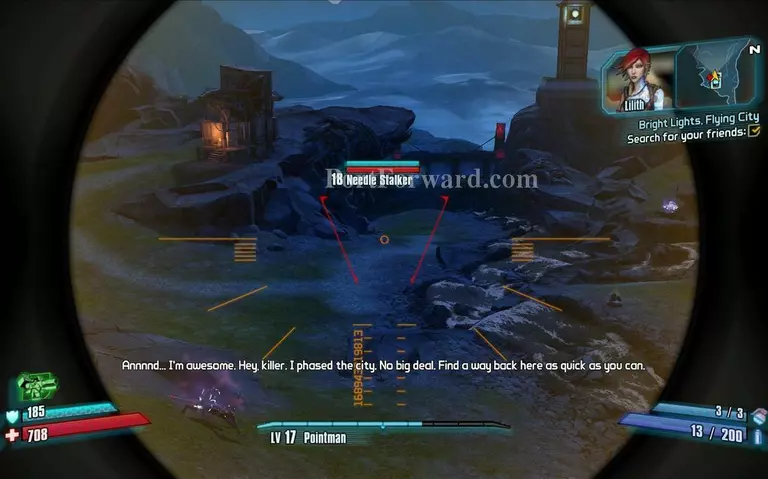
These Stalkers go invisible so remember to have an electric weapon this time.follow the quest mark and go over the river with that lift in the middle.
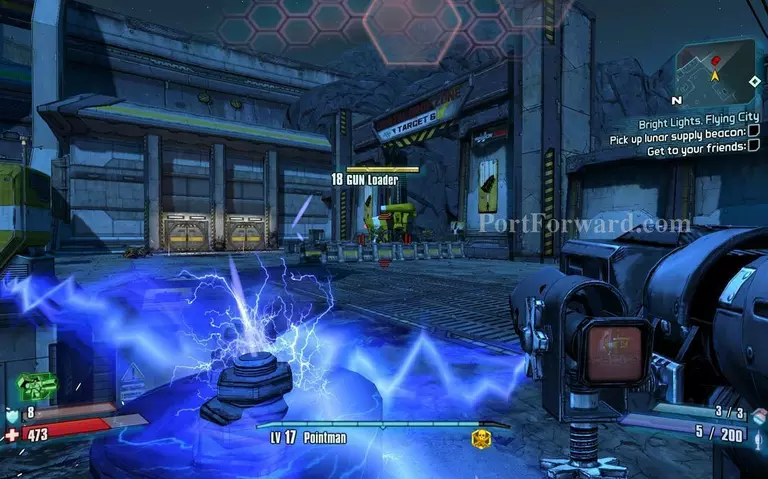
Destroy the constructor,after you did this the is a Very large Thresher after this shoot it in its glowing parts near its head.
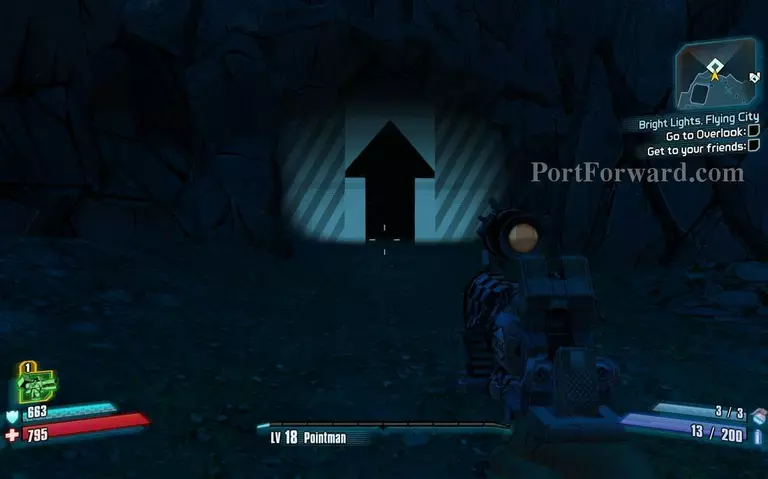
Progress onto the next map after you defeated the thresher.
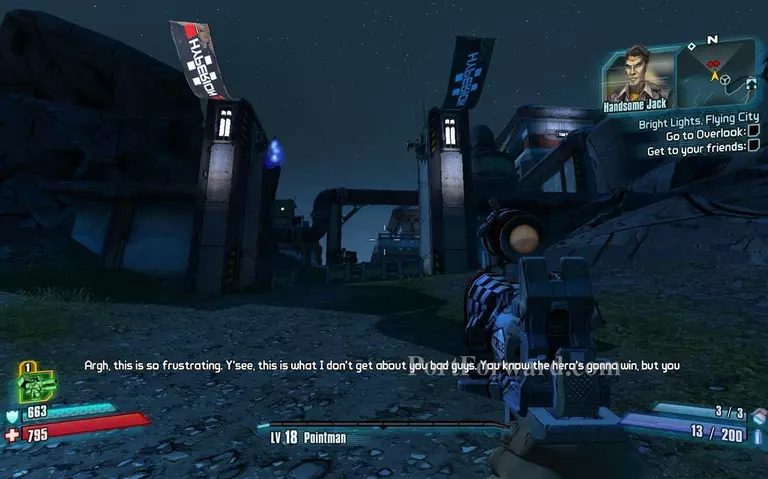
Run up to this place on the right side of the new map,Watch out there are two turrets just next to the flags.
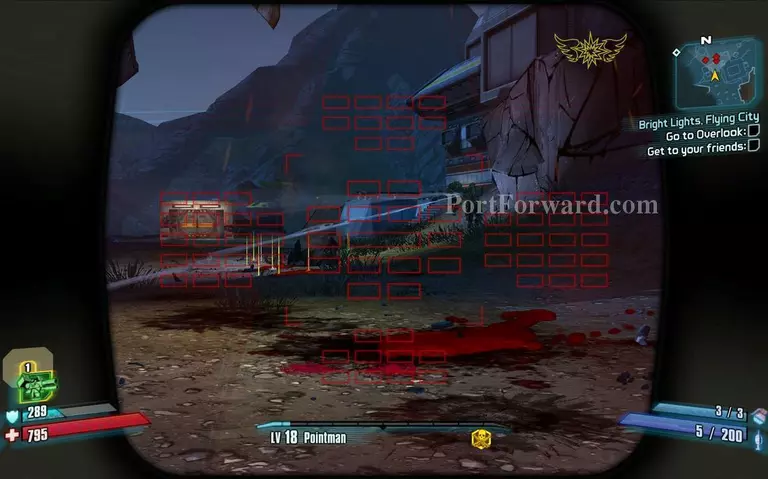
Just after you destroy the two turrets , you will encounter two Badass loaders so be stocked up!
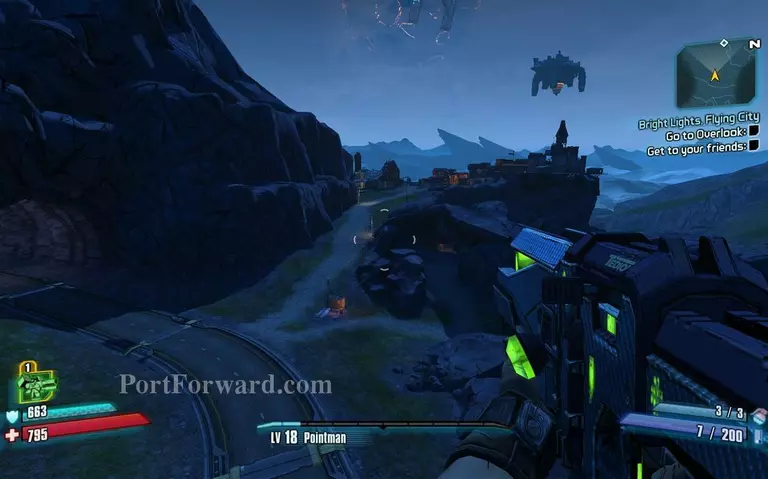
Just jump down the ledge and continue to that town.
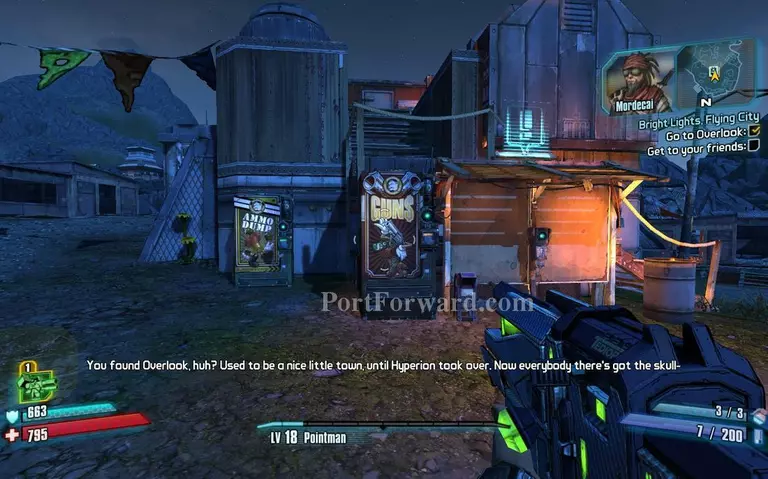
Restock and check out the Gun Shop.
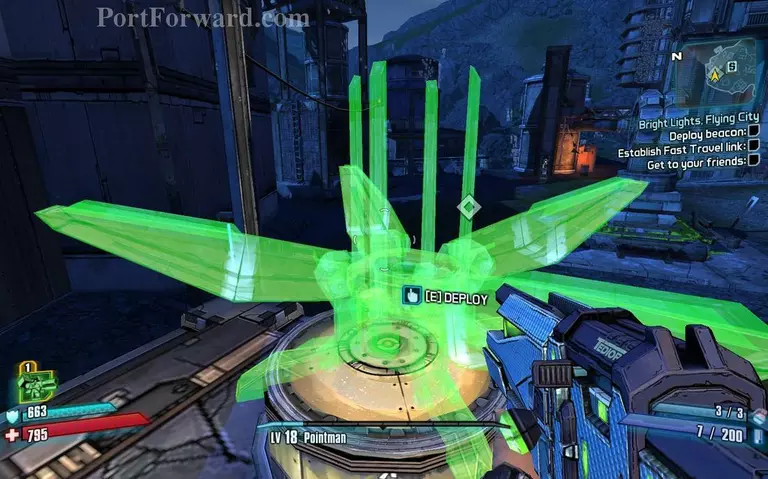
Deploy the beacon and run to the ladder as seen behind the beacon on the pic.
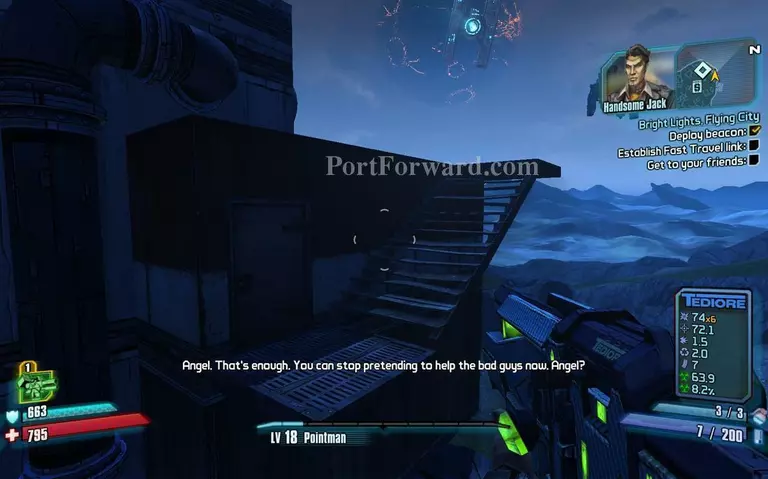
Above the ladder, turn around and jump over the ledge and climb another ladder.
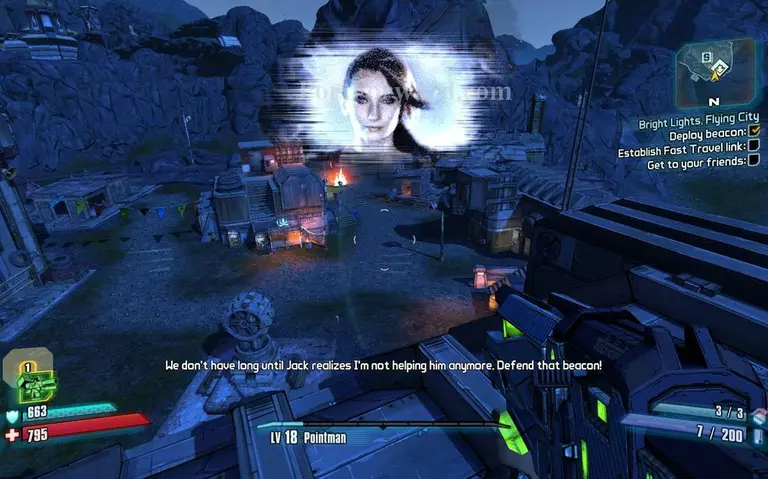
Fight through the waves and PROTECT the beacon at all costs until the Fast Travel Station has landed.
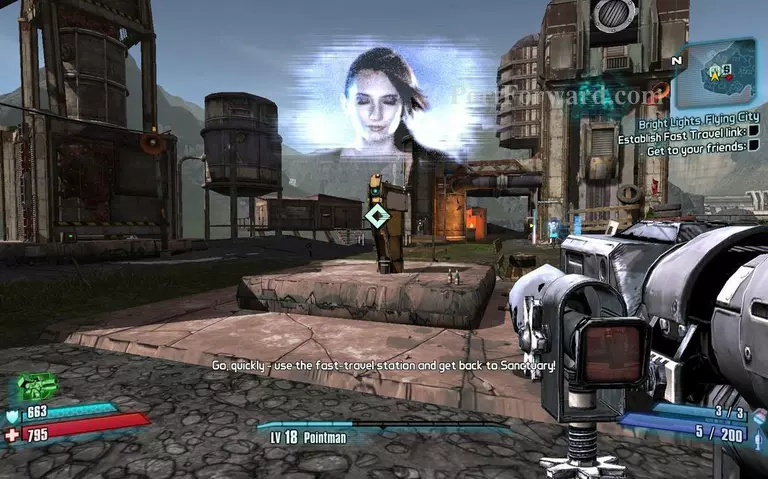
Returm to sanctuary and turn in the quest.
More Borderlands 2 Walkthroughs
This Borderlands 2 walkthrough is divided into 16 total pages.


