
This Bully walkthrough is divided into 6 total pages.
You can jump to nearby pages of the game using the links above.
Chapter 1: Making New Friends

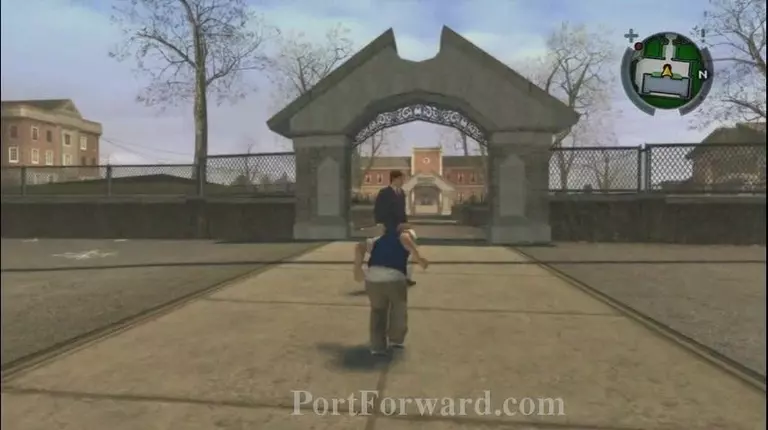
Crabblesnitch will tell you to go get your uniform on, so it's time to get to the dorms. Go back outside the same way you entered the school, and go back towards the school gates.
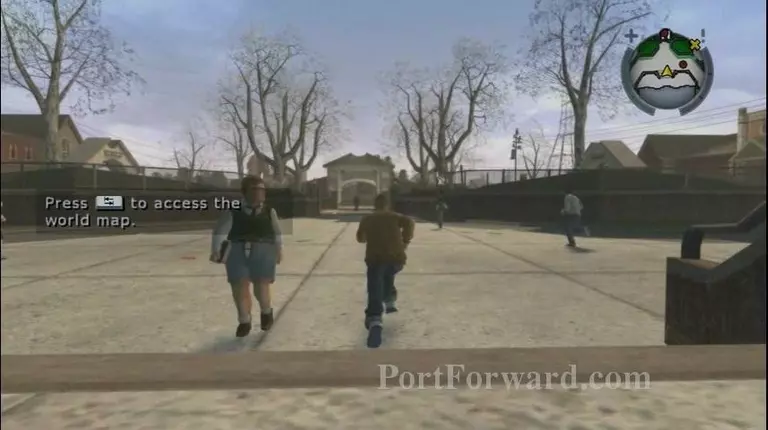
On your way there, you'll be ambushed by a couple of bullies and the game will give you a brief overview of how to fight. This is also your first brush with the bullies' leader, a powerhouse named Russell.

Enter the boys' dorm.
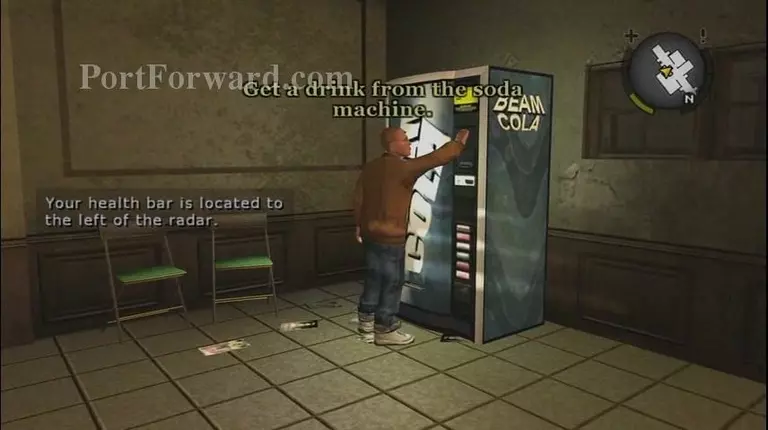
Get some soda to regenerate your health.
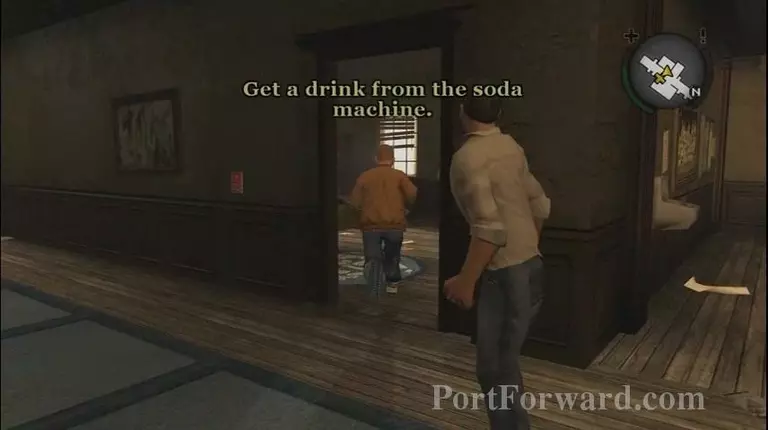
Jimmy's room is right by the main corridor; change into your uniform by walking over to the glowing coat hanger symbol.
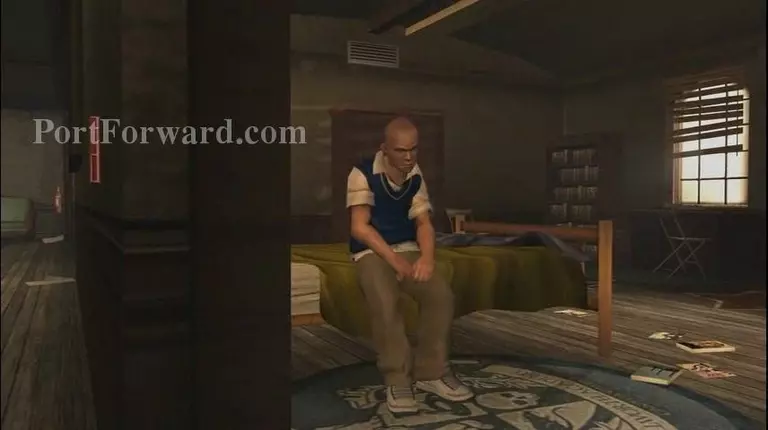
At this point, you'll meet Petey Kowalski. He's a weedy, quiet kid who tries and fails to make a good impression, no thanks to an interruption from Gary. Jimmy boots the pair of them out to unpack, and you'll be presented with an opportunity to save your game. Walk over to the diary on Jimmy's desk .
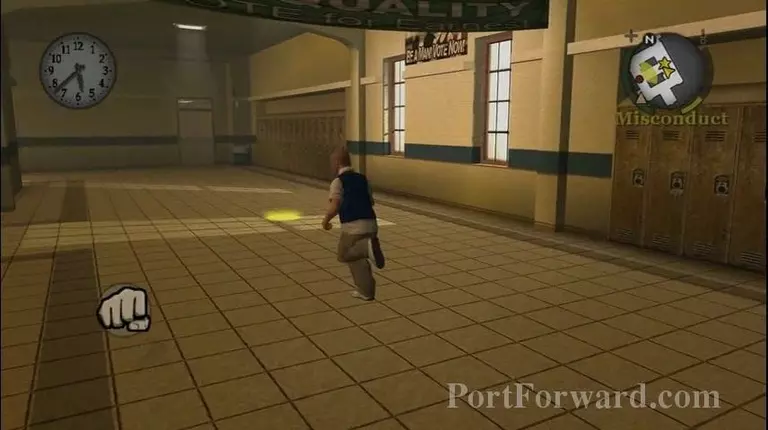
Get to the entrance of the main building to start the next mission.

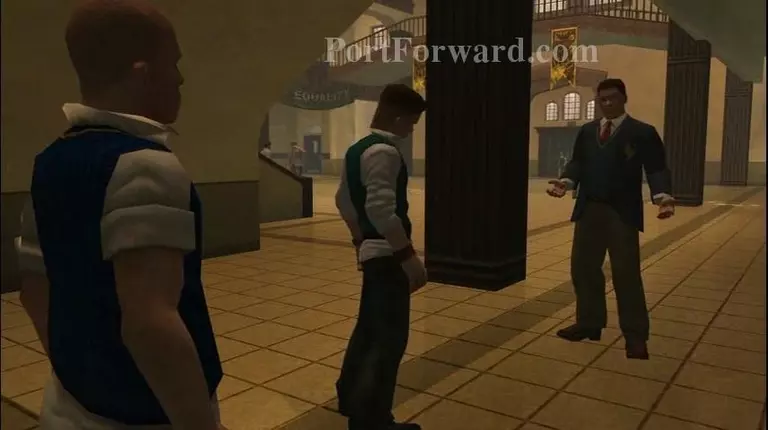
Gary wants to show you around Bullworth, follow him around the corridors to Russell's locker.
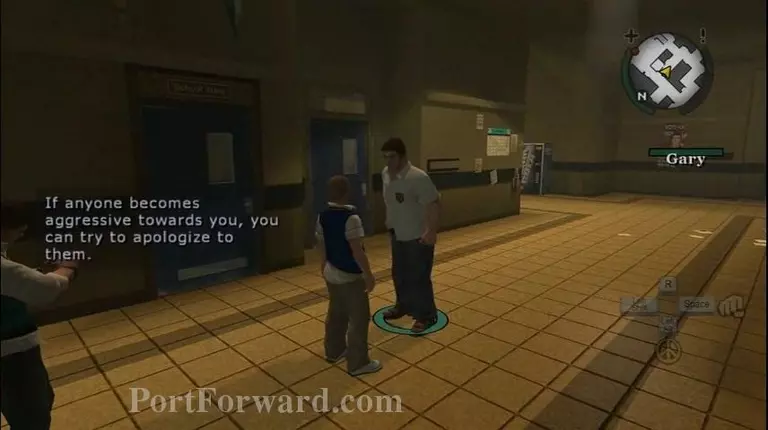
Apologise to him when the apologise icon shows, and pay him off when the dollar sign appears.
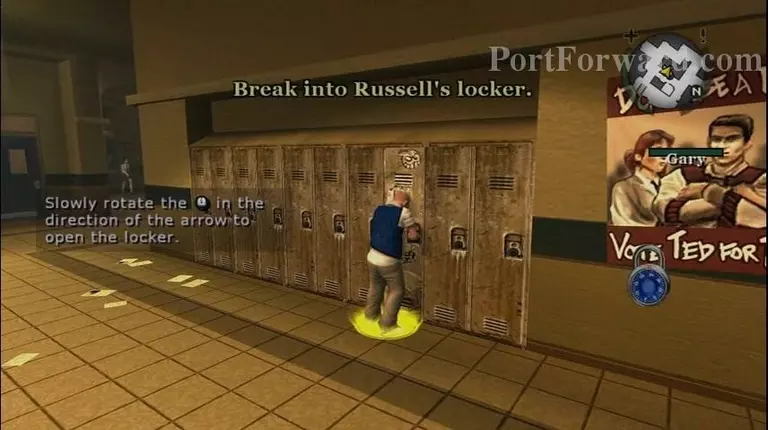
You'll then be given a brief intro to lockpicking, depending if you're on PC or console, rotate your analog stick or mouse to unlock the lock, and you'll have Russell's locker open in no time.
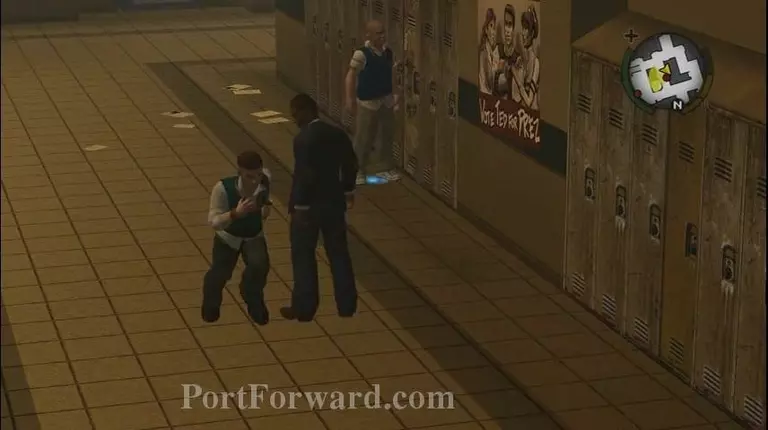
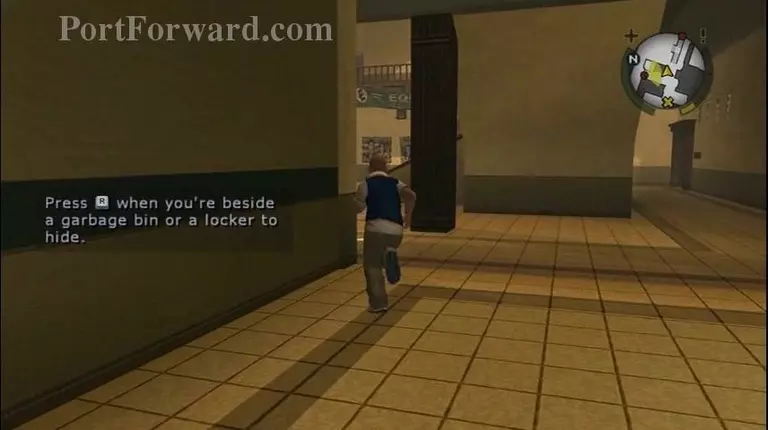
Unfortunately a prefect spots you, and they don't like people breaking and entering. Lucky for you, Gary distracts them giving you some time to hide.
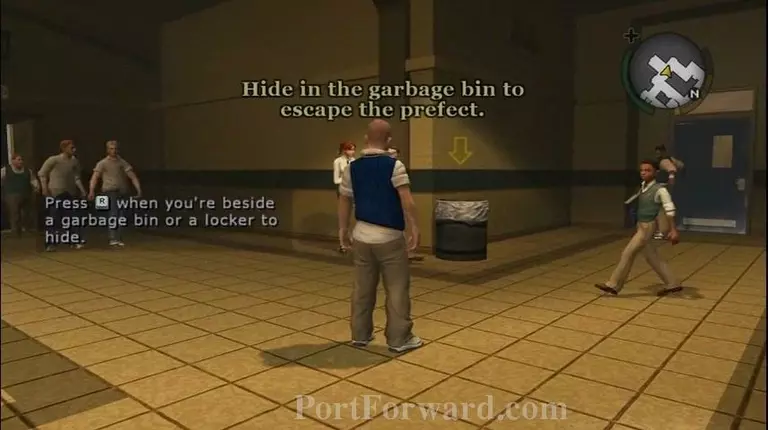
Jump into a trashcan with the action button when no one's looking, and wait until your trouble meter empties before you climb out again.
Find Gary again (look for the yellow x).
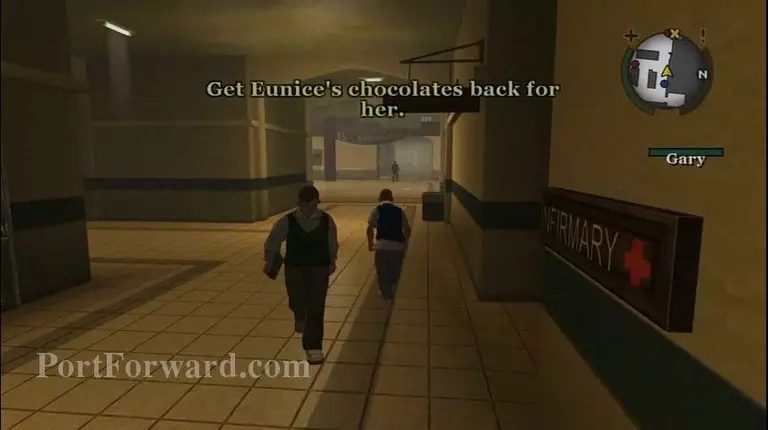
He'll lead you to Eunice outside the girls' bathroom.
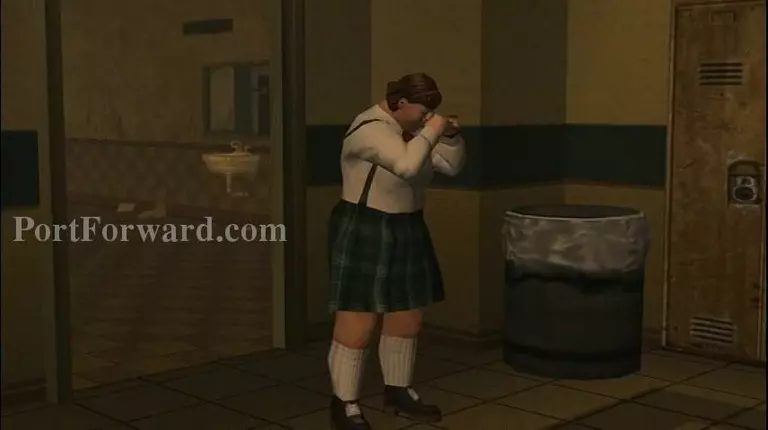
Someone's stolen Eunice's chocolates and it's up to you to find them.
Follow the yellow x on your radar to Constantinos in the boys' restroom; humiliate him.
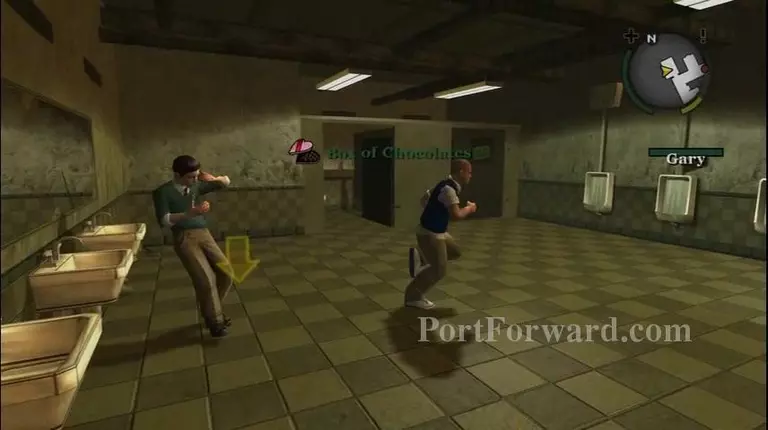
You'll get the candy back that way.
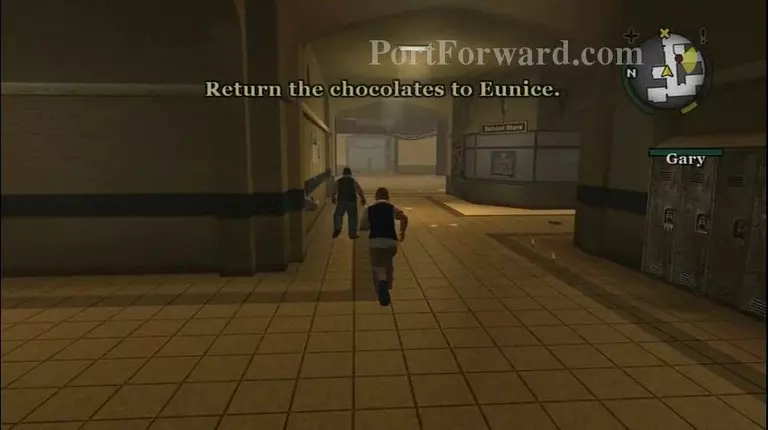
Take the box to Eunice and she'll reward you in a slightly distasteful way.
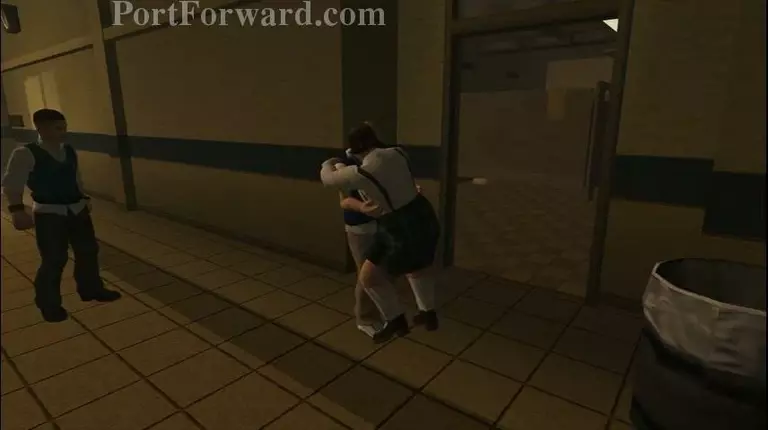
That's quite a reward...blah!
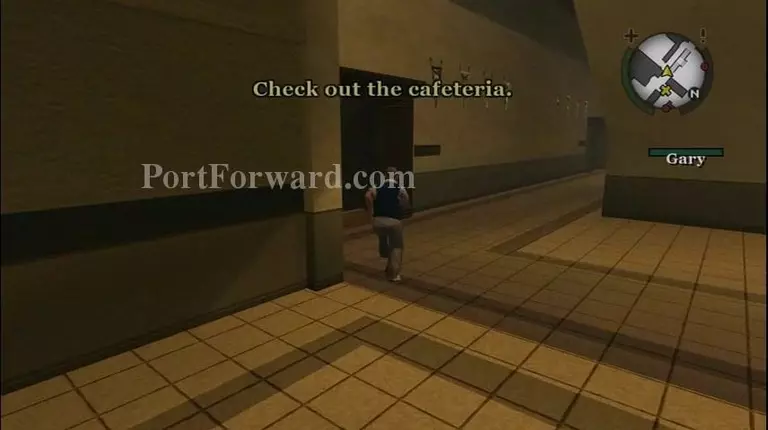
Gary will lead you to the cafeteria afterwards.
Once that's done, a Prefect will show up to tell you to get to class.
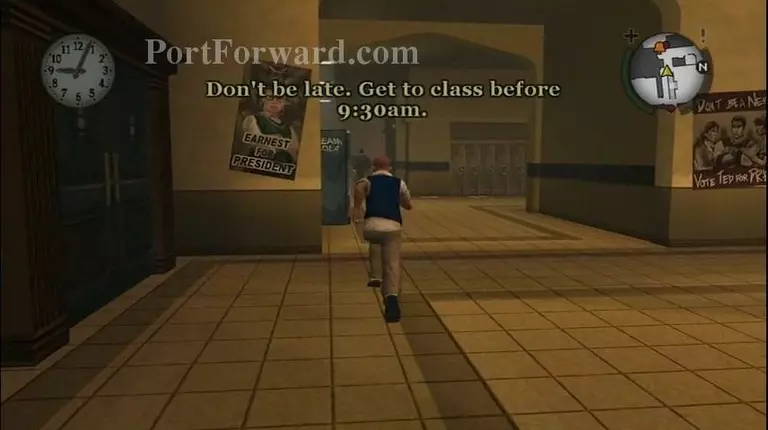
Follow the orange bell icon to your Chemistry class before 9:30.

Follow Davis to give him what he deserves.

Follow him all the way to the auto yard.
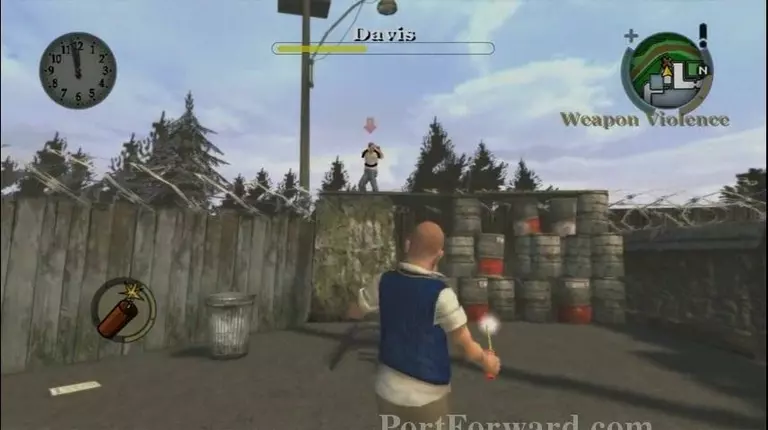
Attack him with throwable objects on the floor or firerackers you just recieved.

You'll recieve the slingshot when you defeat Davis.
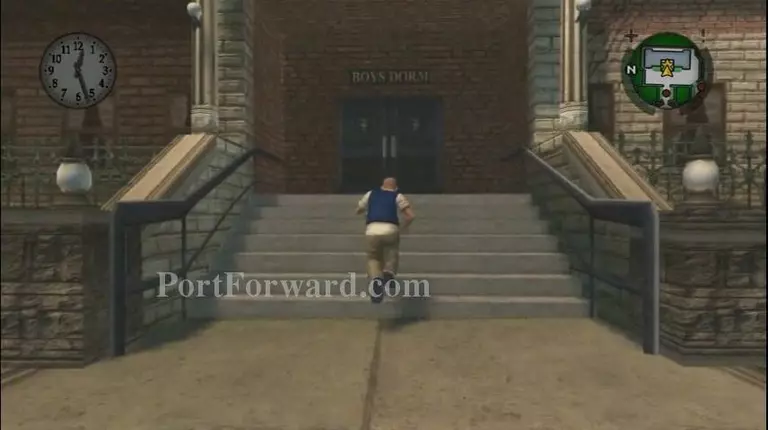
Go inside the Boy's Dorm to start the next mission.
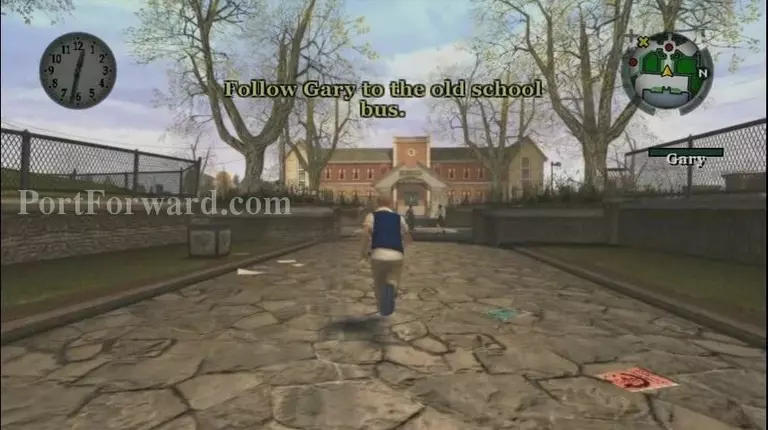
Follow Gary to the old school bus, in the car park on the West side of the main school building.
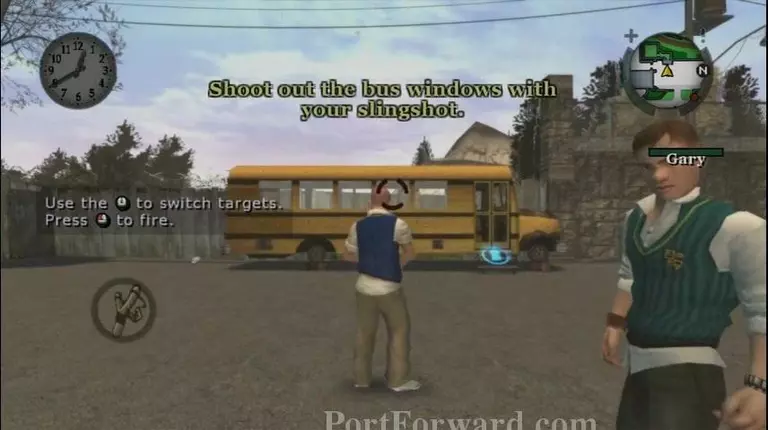
Lock on and shoot the slingshot to break the windows on the bus.
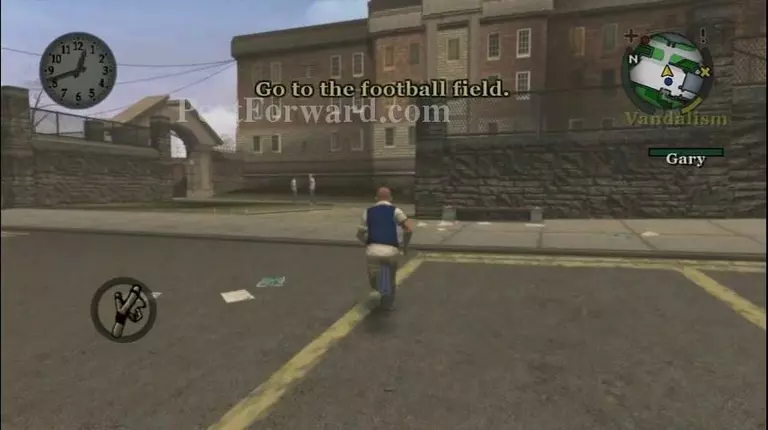
When you're done, Gary's got a plan to annoy the jocks, so follow him to the football field, to the south of the school.
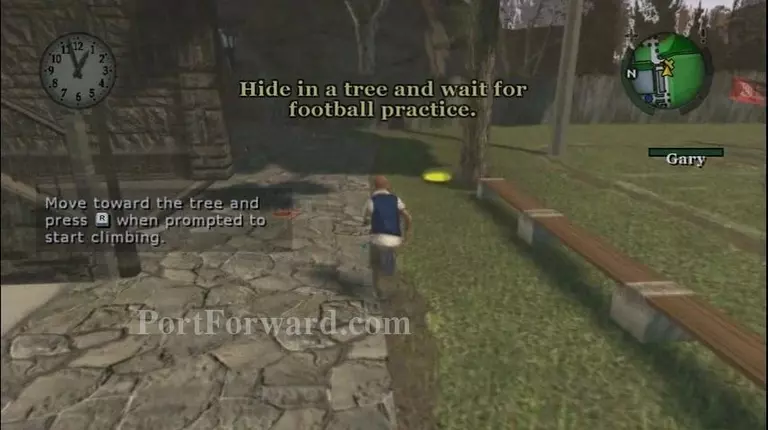
Get inside the circle to climb the tree and get on a branch.
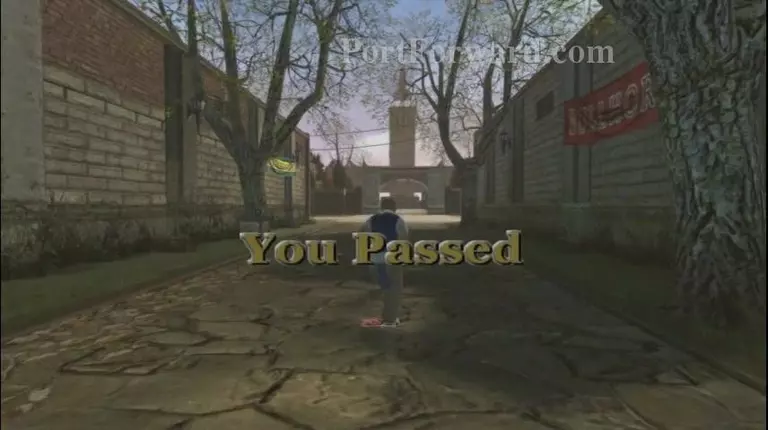
Just lock ona nd shoot the jocks and you'll pass the mission.
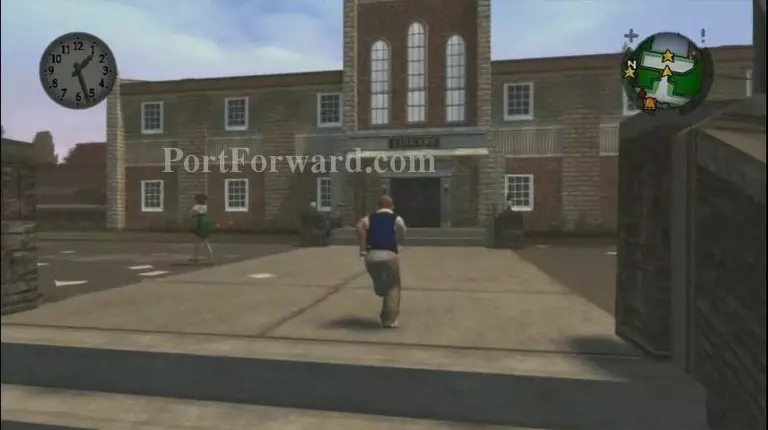
Just run to the bathroom in the main building and dont let the bullies get to him.
You've got a short time to get Algie inside the school and upstairs into one of the bathrooms, it's marked on your radar as a yellow X.

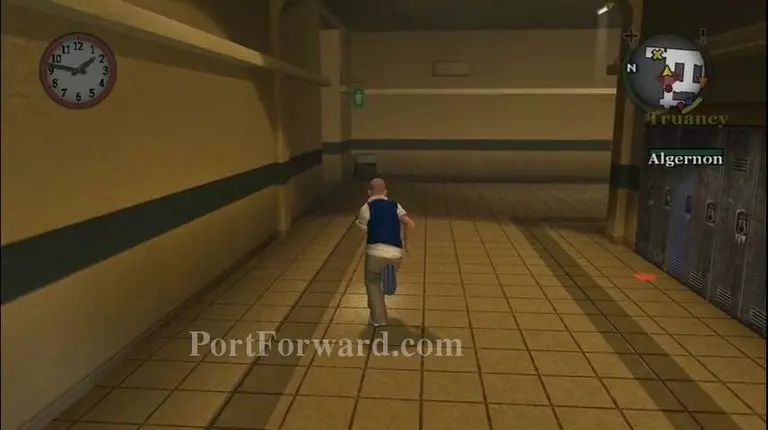
Don't let anyone else come in the bathroom.
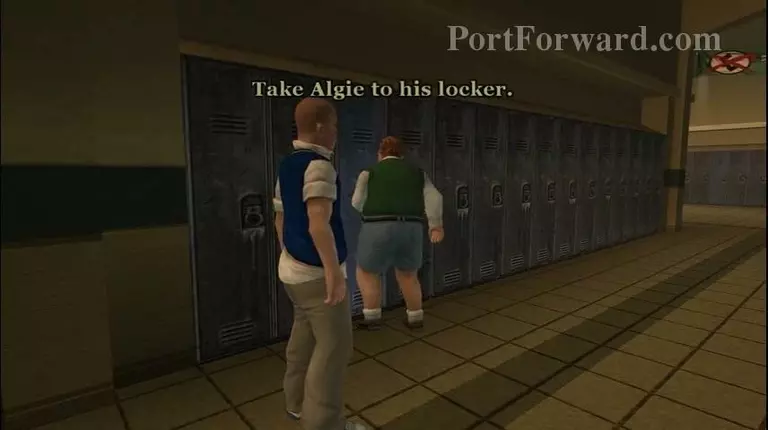
Then take him to his locker.

And you're done!
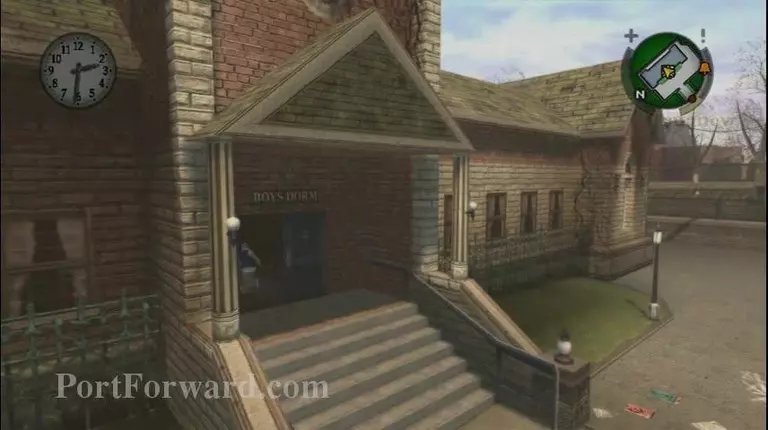
Go inside the Boy's Dorm to start the next mission.
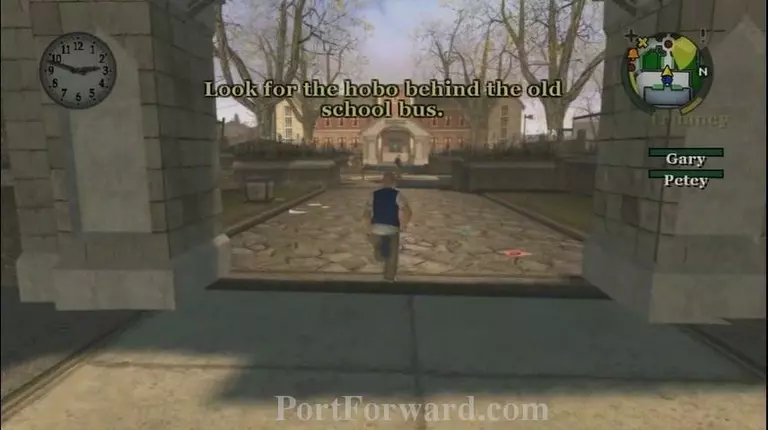
Go back to the old school bus on the west side of the main building.
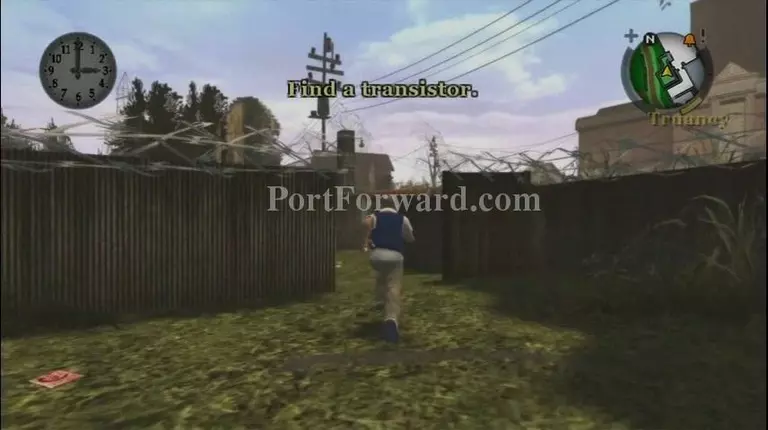
The drunk claims he was a special forces soldier during the Korean War, and offers to teach Jimmy a couple of moves, as long as you bring him a transistor.

Get to the auto shop and find a ladder. Go up it and you'll find the transistor.
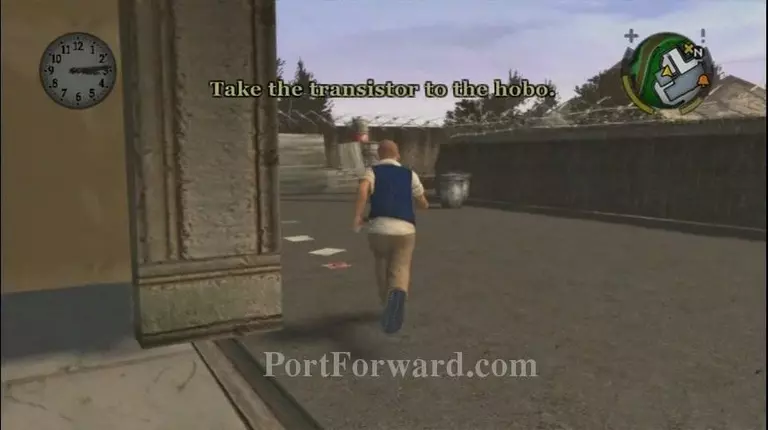
Now run back to the hobo to give it to him.
He'll then show you some fighting moves.
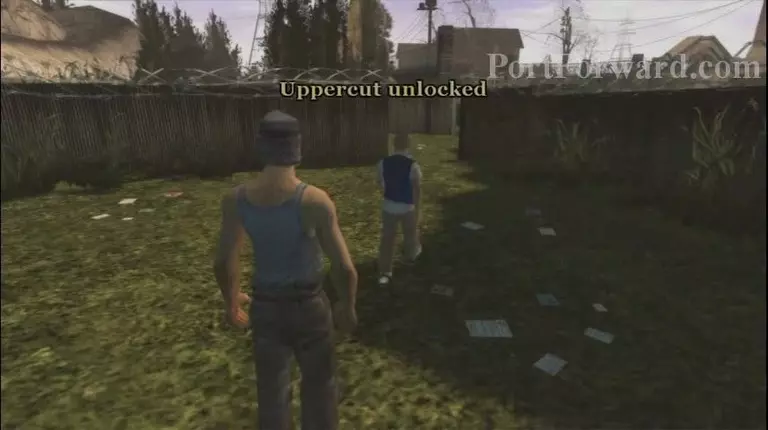
Done!

Go inside the Girl's Dorm to start the next mission.
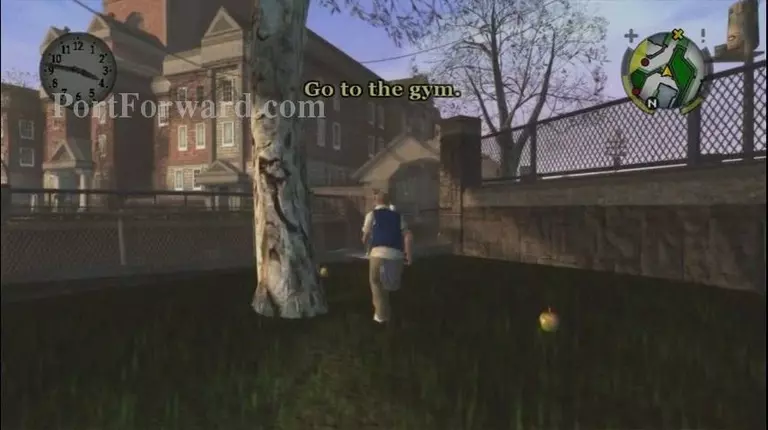
Head to the gym which is a yellow x on the radar.

Go downstairs to the girl's locker room and find Mandy's locker.
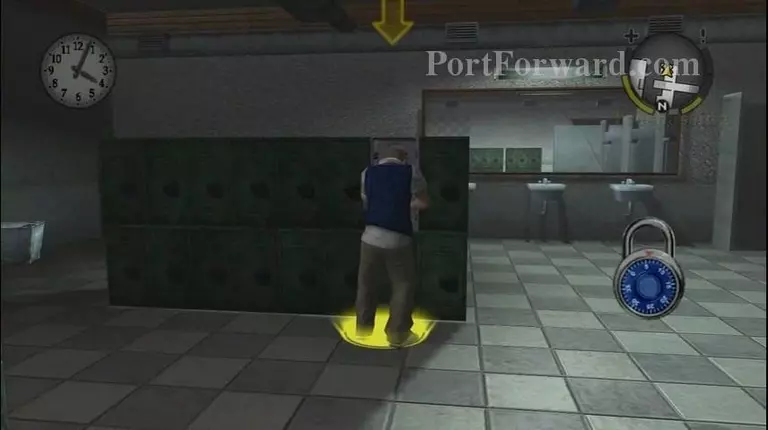
Then break into it.
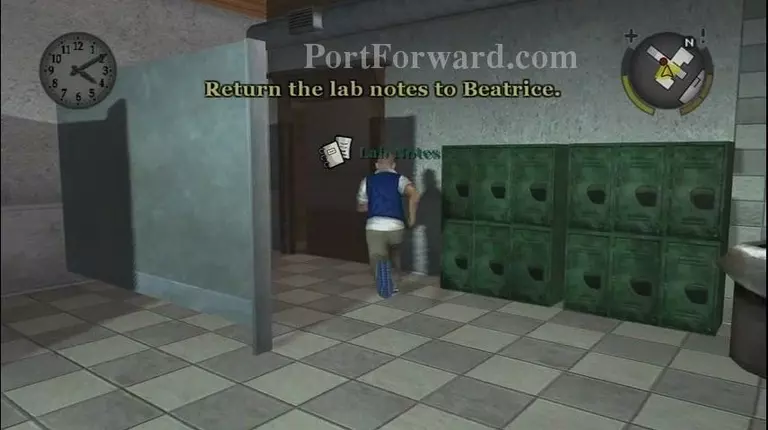
Now return back to Beatrice who is at the Girls Dorm.
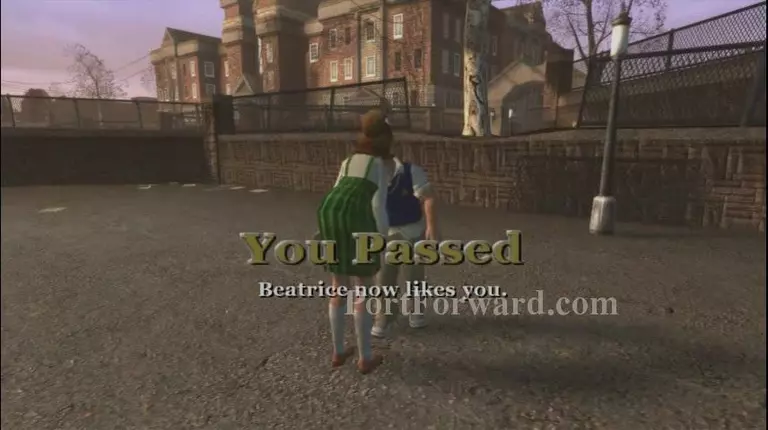
Done!

Go back to the Boy's Dorm to start the next mission.

Follow the X on the radar to find Bucky.

He'll be at the auto yard.
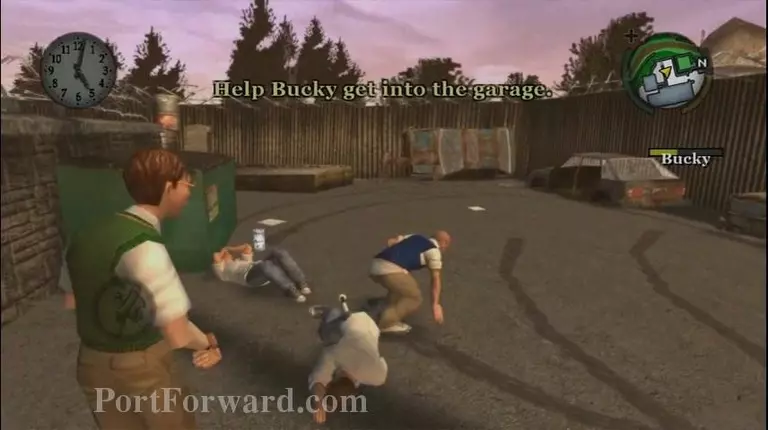
Help him defend himself from the bulies then escort him to the garage.
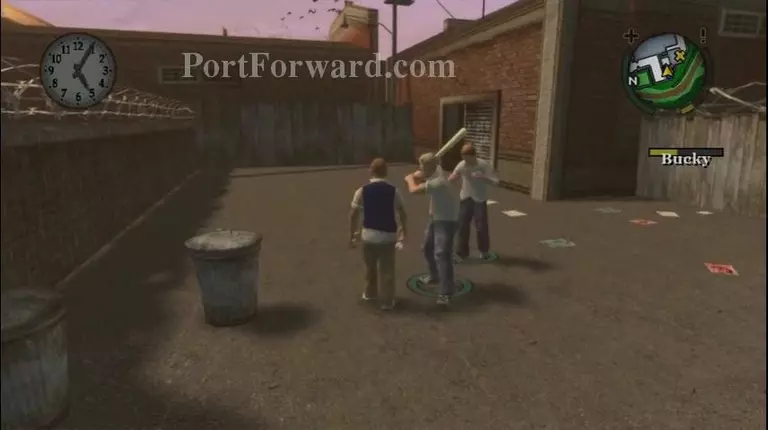
Take out the bullies that are in your way.
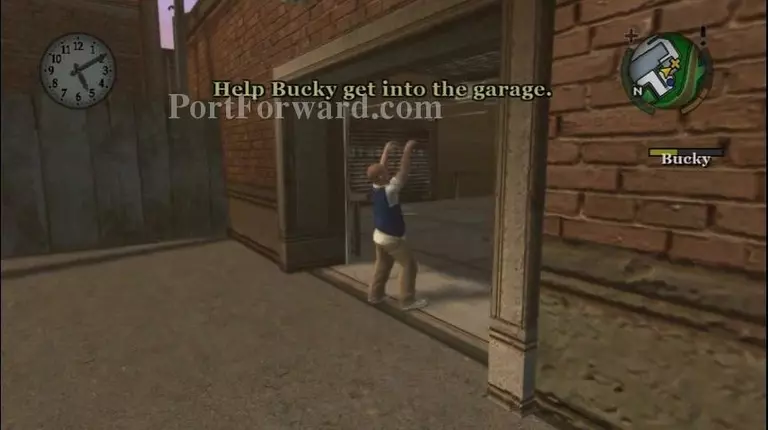
Then open the door for him.
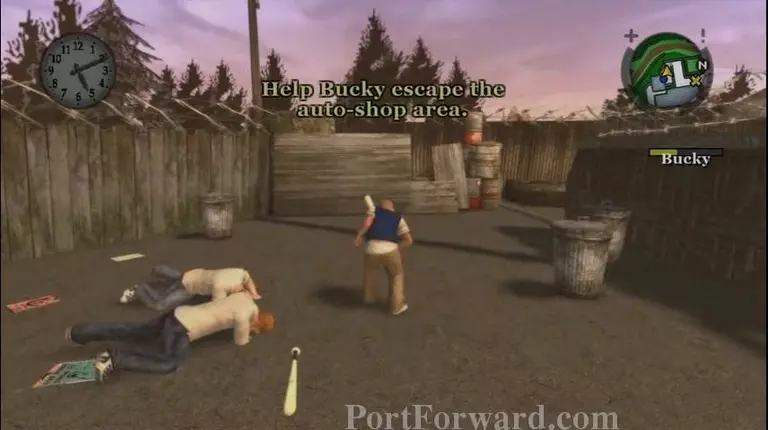
Now help him leave the auto shop.
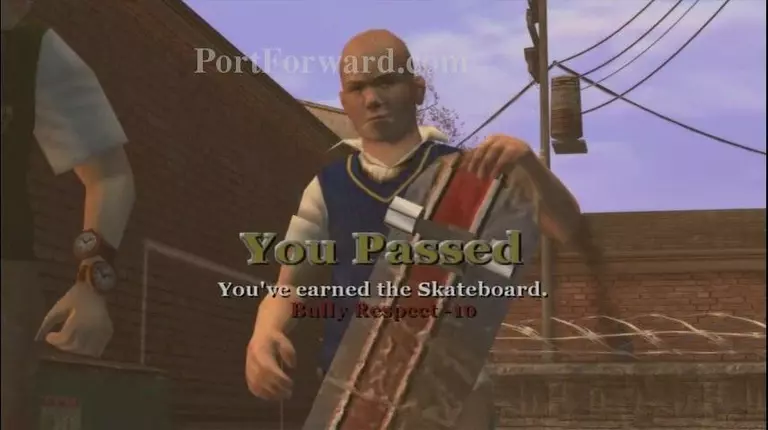
And there you go!
Go inside the Main Building to start the next mission.
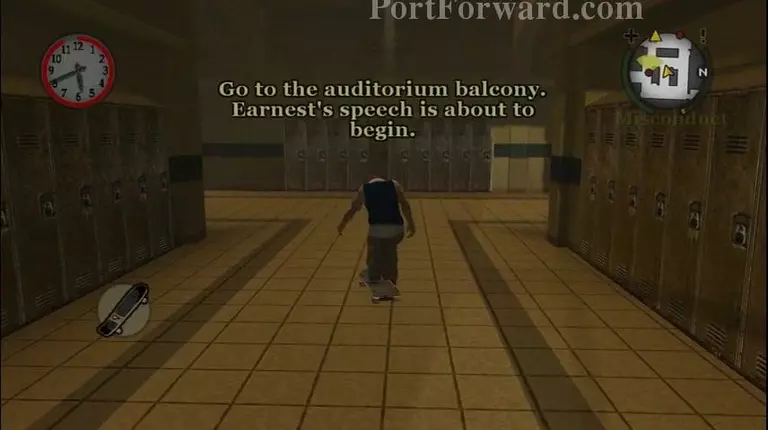
Head upstairs to the balcony to help Earnest with his speech.
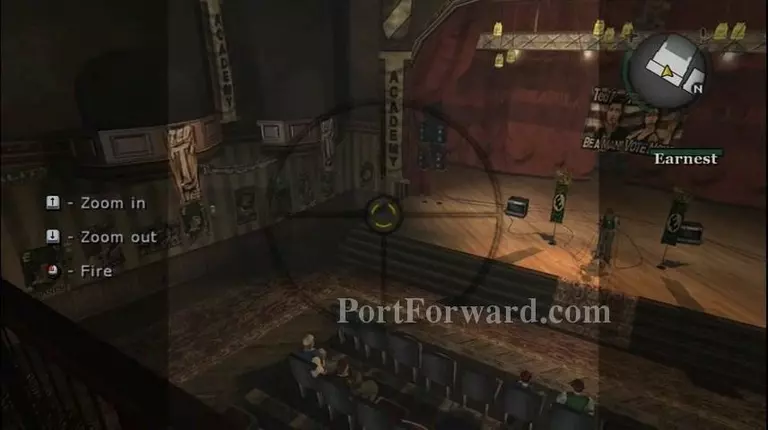
Just take out all the bullies that are trying to ruin Earnest's speech.
And that's it!
Head into the Boy's dorm to start the next mission.

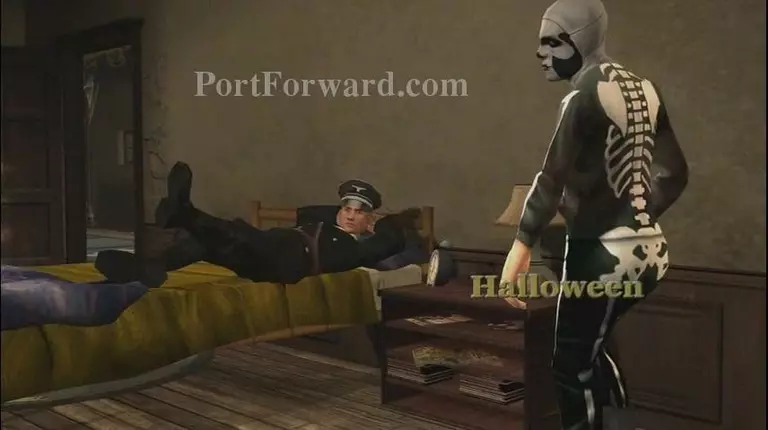
Find all the blue X's and they'll tell you all the pransk to do on certain people.
After you're done with those, go to the boy's dorm and sleep.
Then start the next mission.
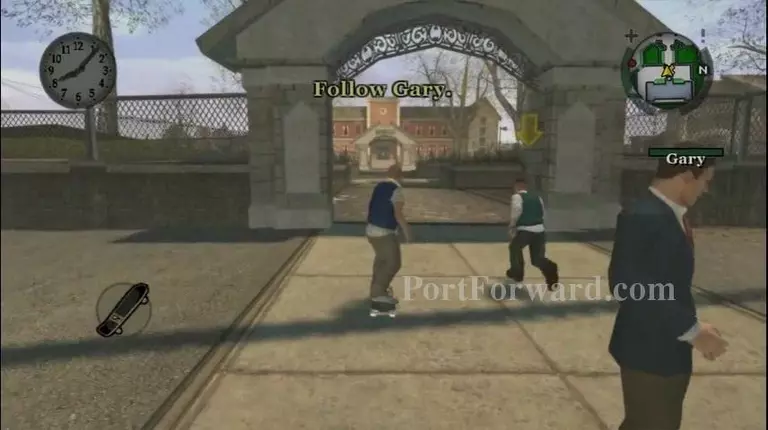
Follow Gary.
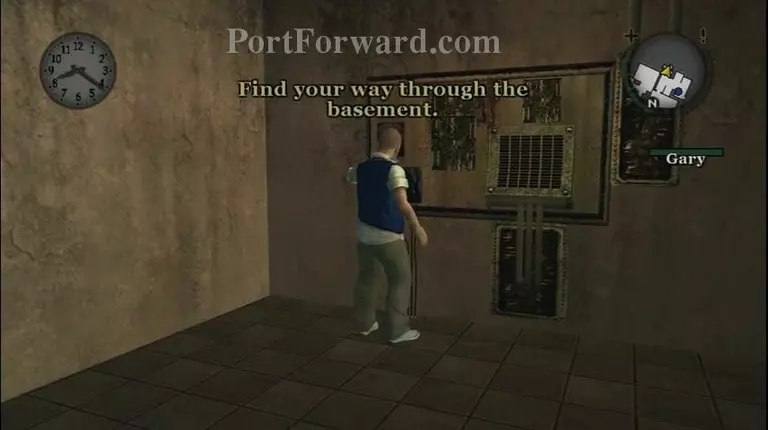
Once he shows you to the basement, you'll have to find different ways to open the doors.
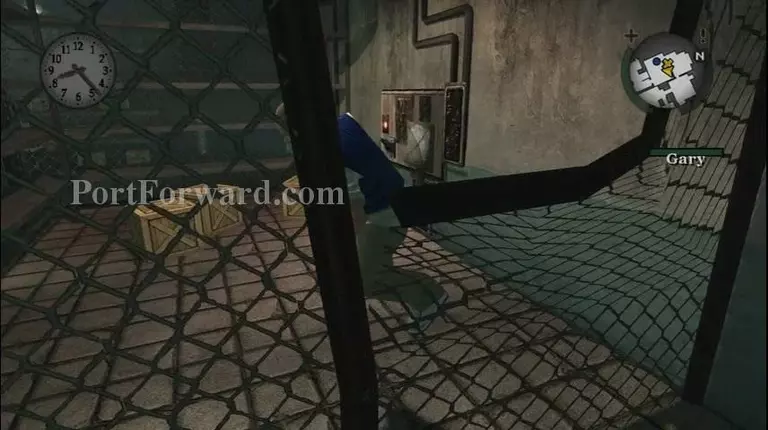
You might have to climb or crawl under the fences but they're easy to find and do.
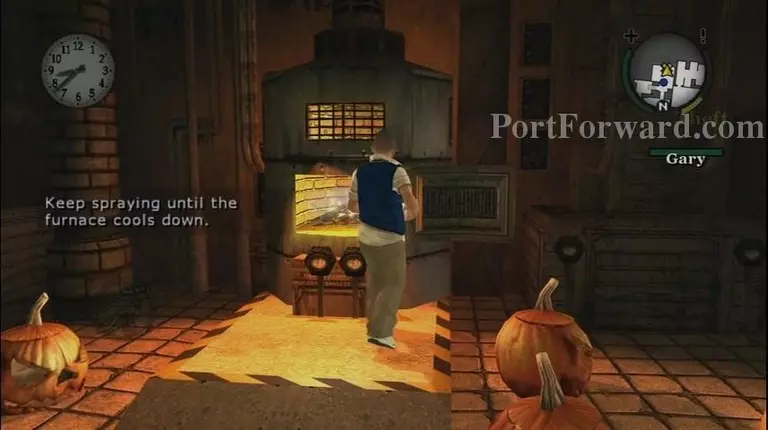
Then to open the last door, cool down the furnace.
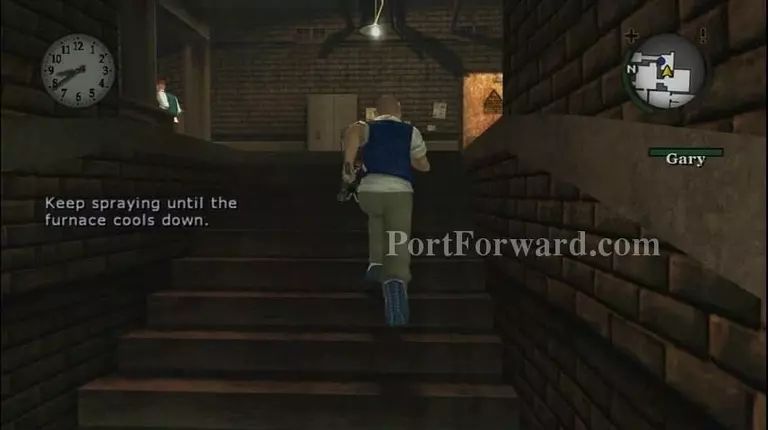
Then go upstairs and continue to follow Gary.
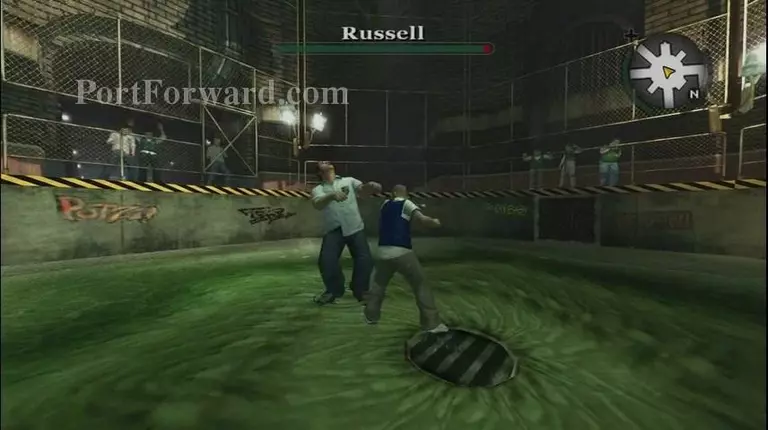
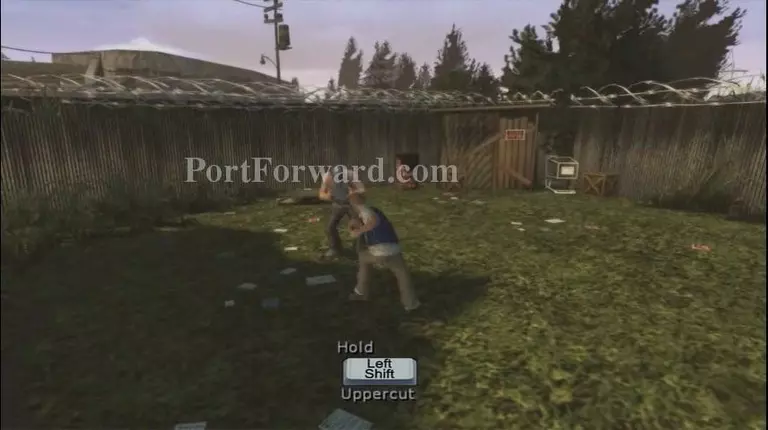
It was a set up. Russell is now very mad. Just beat him up with basic fighting and throwable objects. That is the end of Chapter 1.
More Bully Walkthroughs
This Bully walkthrough is divided into 6 total pages.


