
This Crysis walkthrough is divided into 11 total pages.
You can jump to nearby pages of the game using the links above.
Core
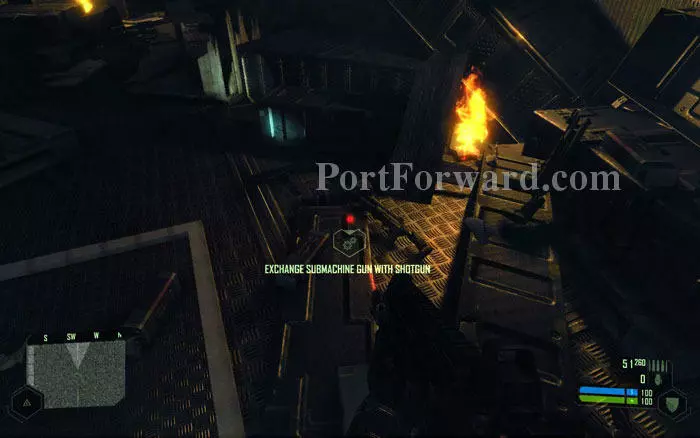
There are some weapons ahead. Pack up. You'll need all the ammo you can carry.
Pistols can be found a few steps ahead, and an FY71 rifle is up the stairs. You'll have to choose two among FY71, SMG and shotgun. Shotgun is a must have. Whatever you choose, get full ammo.
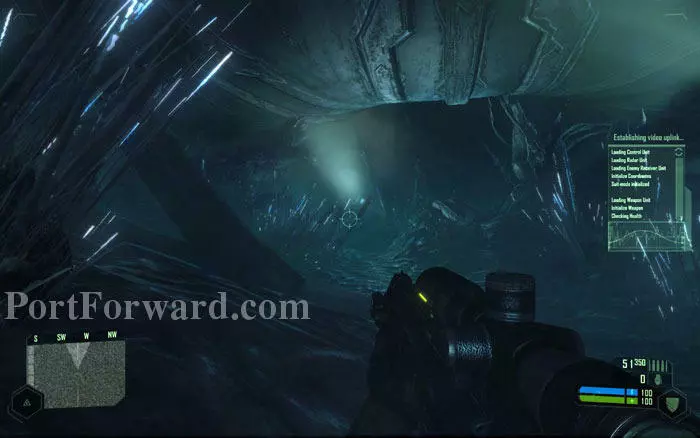
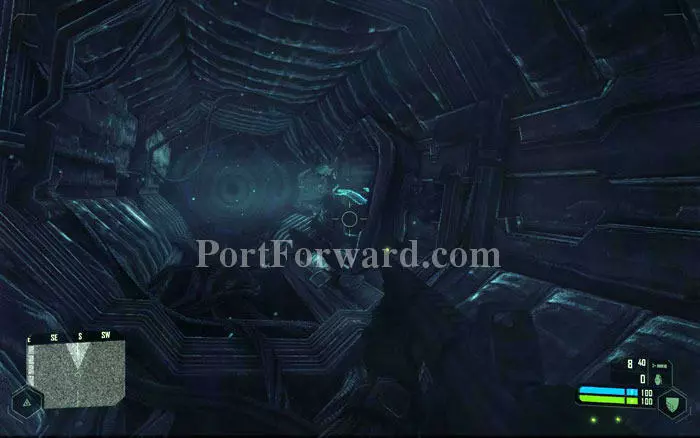
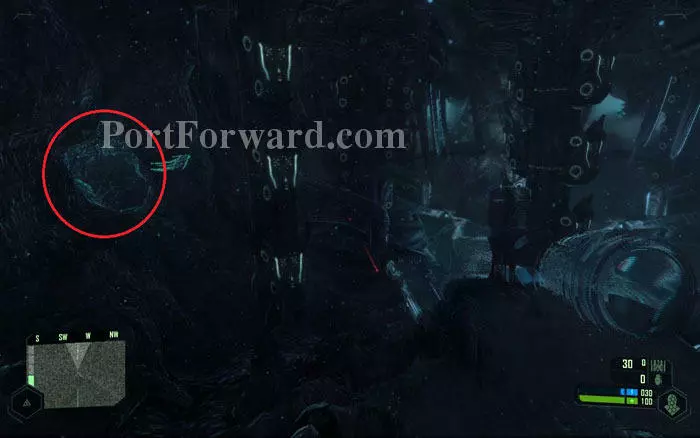
Take the stairs to the upper platform. Your map and radar show nothing but static, but the lights here leave no doubt about the way to go.

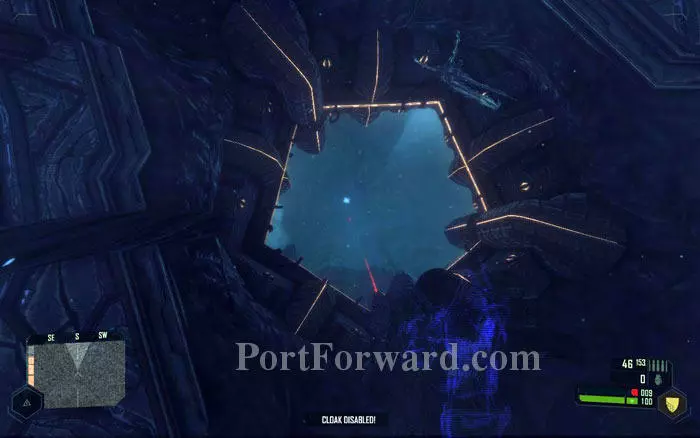
This is going to be a memorable journey. Break the grate by punching, shooting or melee attack with your gun and walk in.
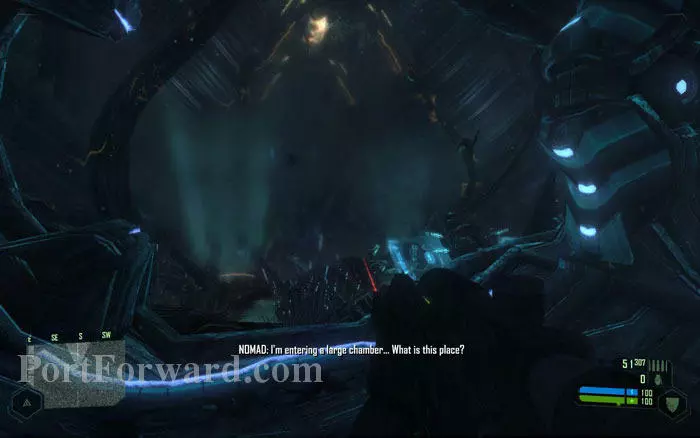
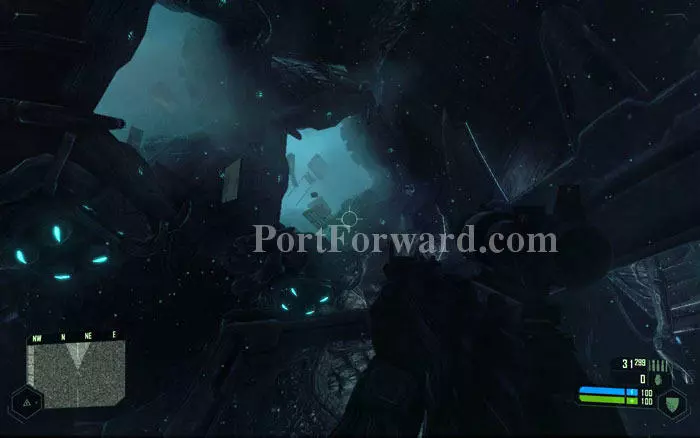
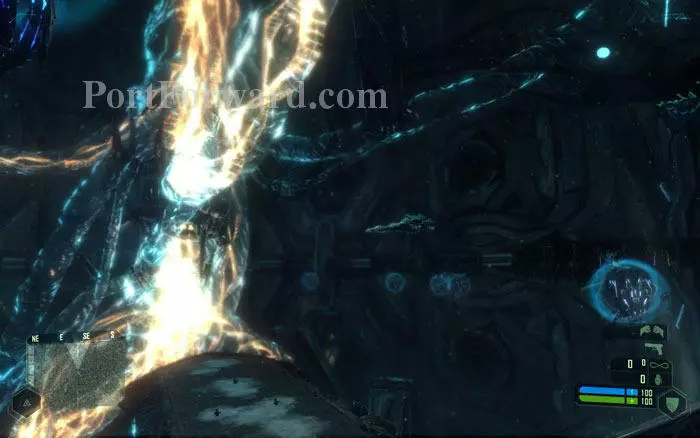
The world inside is like an alien planet. A creepy, dark, cold planet. The VTOL pilot will tell you that he lost your video signal. Well, it wasn't any better when he had the signal.
You'll notice that the compass is swinging wildly, rendering it useless. Hoping his buddies can see the unbelievable environment, Nomad boosts his video feed.

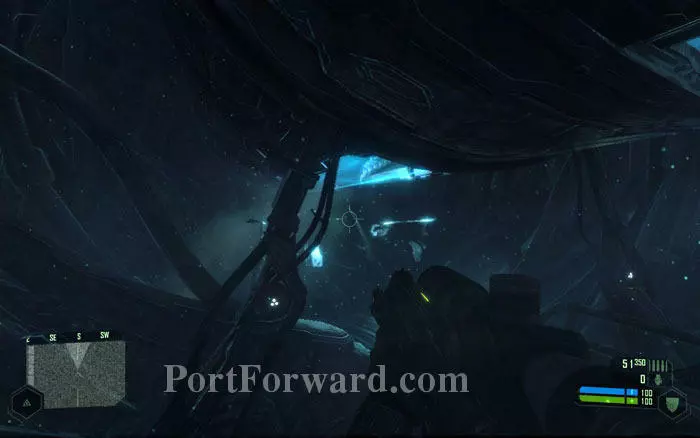
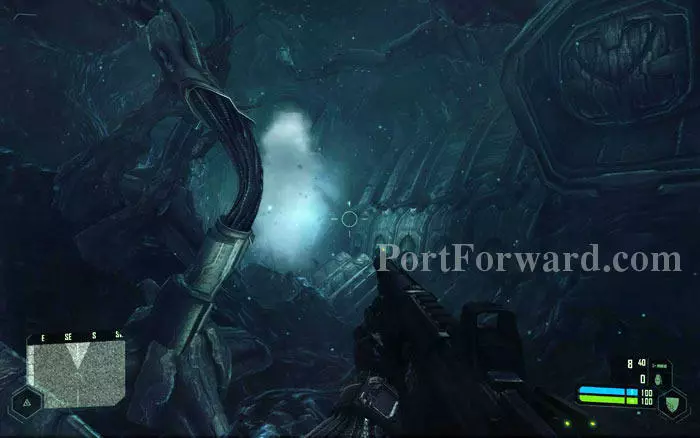
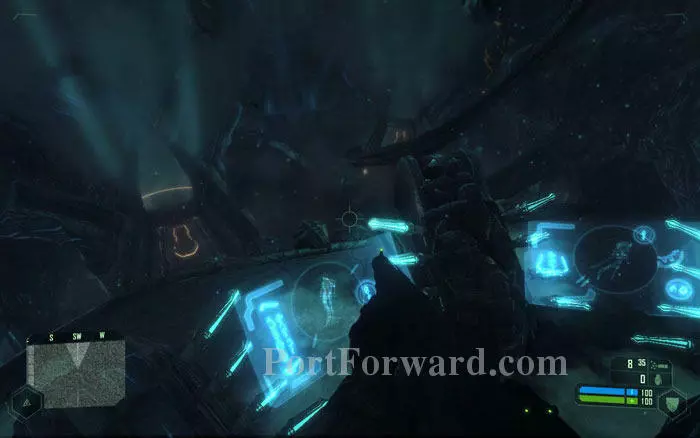
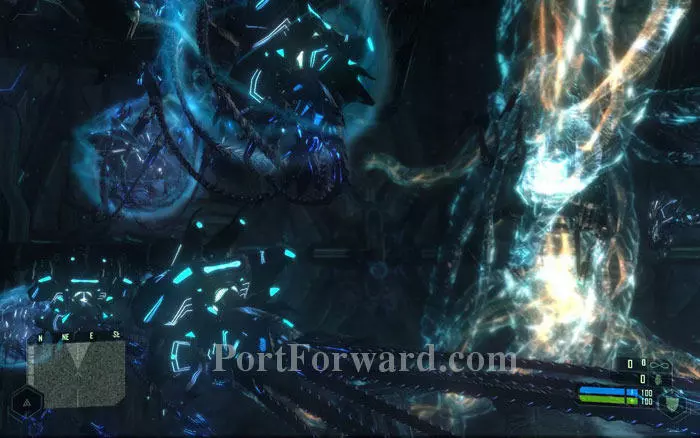
Its fun to smash these ice crystals. Better not waste your bullets on them, though.
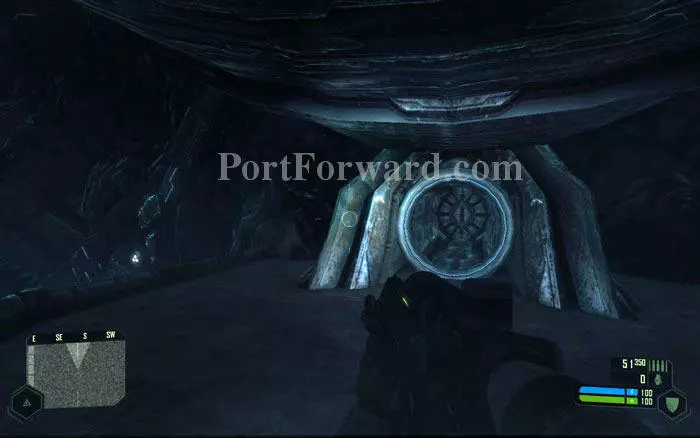
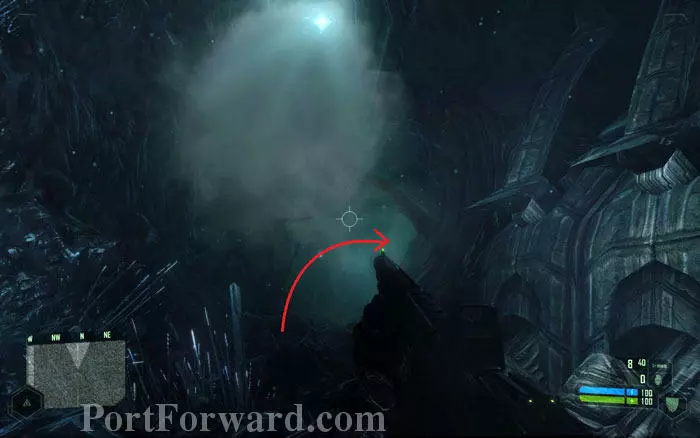
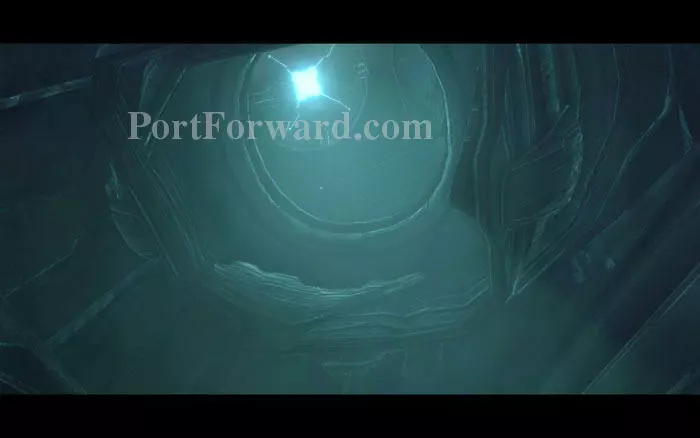
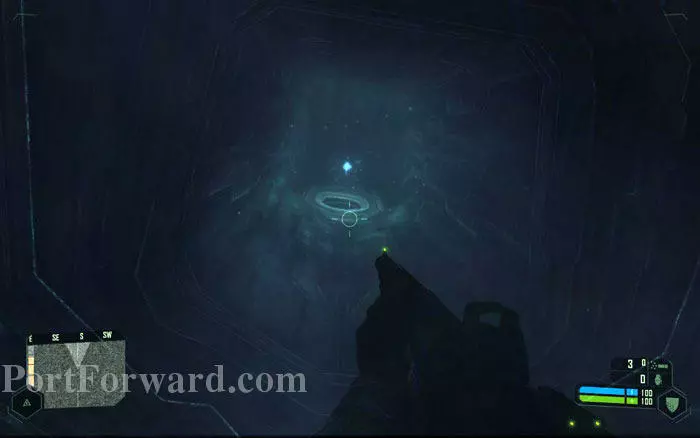
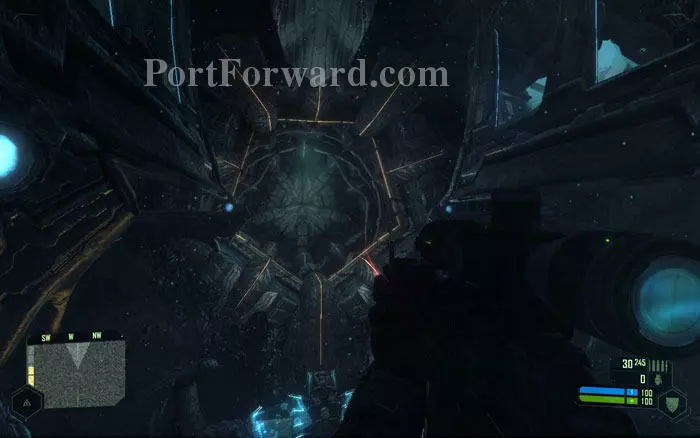
Move past the crystals to this circular opening. It will open when you get close to it. Walk in and get across.
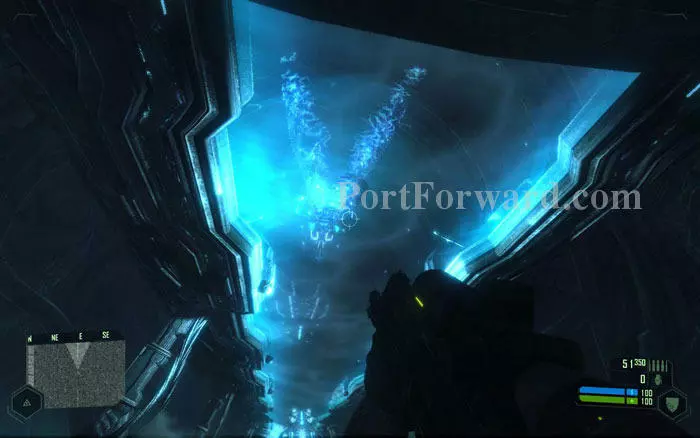
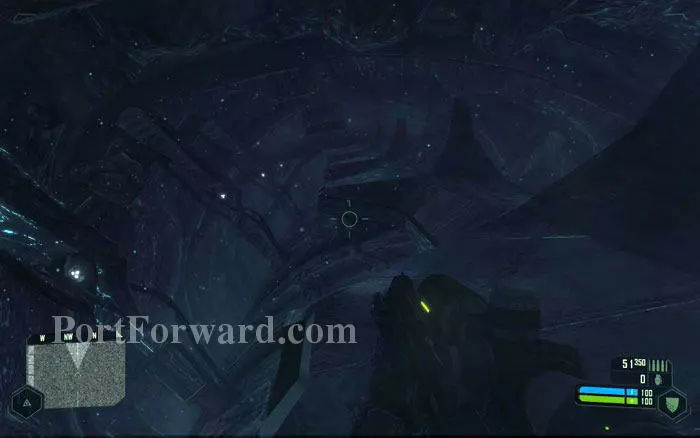
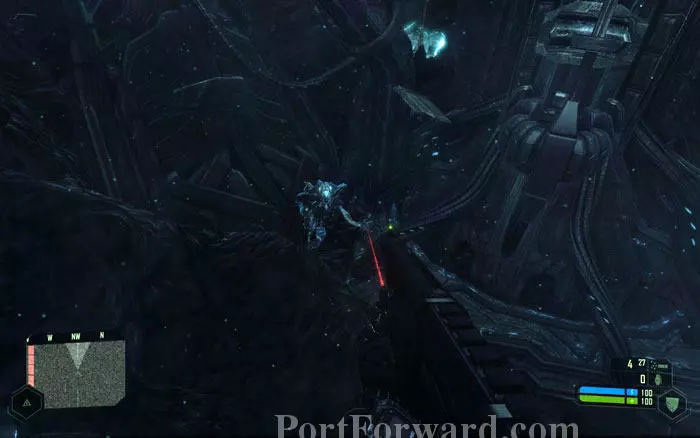
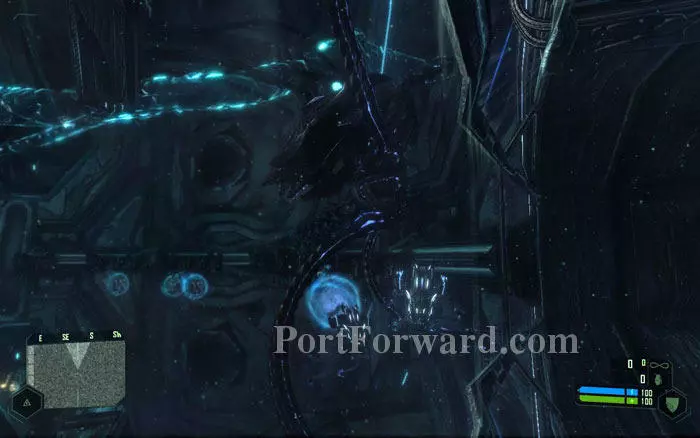
In the next chamber, walk ahead and look up. You'll see what seems like an alien assembly line shaped like a cylinder above you.
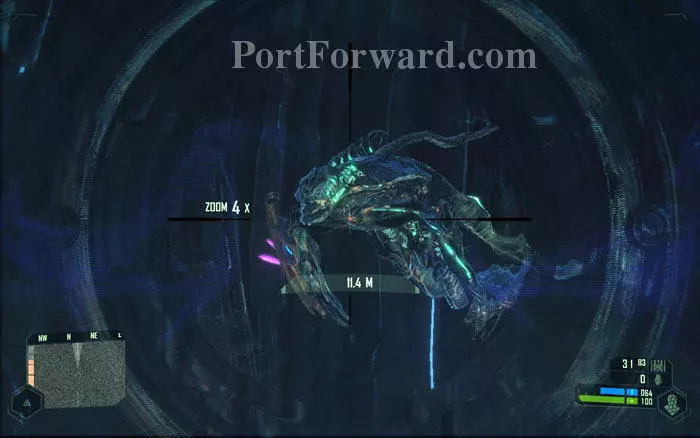
You can see an Alien Scout, the same type of alien life form that snatched your friends earlier, getting recharged and repaired.
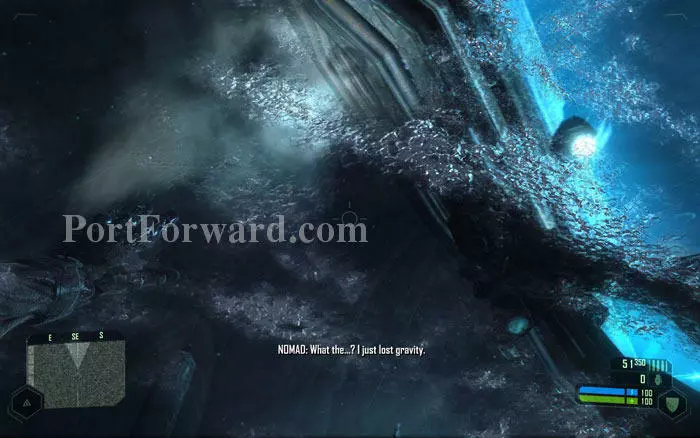
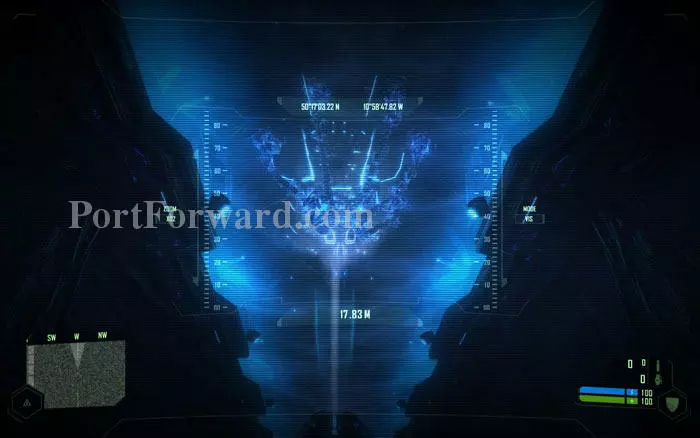
Soon some type of cold gas will fill the room and you'll start floating around, as if the place has no gravity.
With no gravity, you'll feel like you are in space. Luckily your Nanosuit has thrusters so that you can control your movement. Use movement keys as usual to move forward, backward, left and right. Press the 'crouch' key to go down and jump key to go up.
This may take some getting used to so float around the area for a while. It's easy to get disoriented in this environment. When this happens, locate something obvious and move to it. This will help to regain the sense of direction. Luckily the thrusters will keep you upright even if you go upside down.
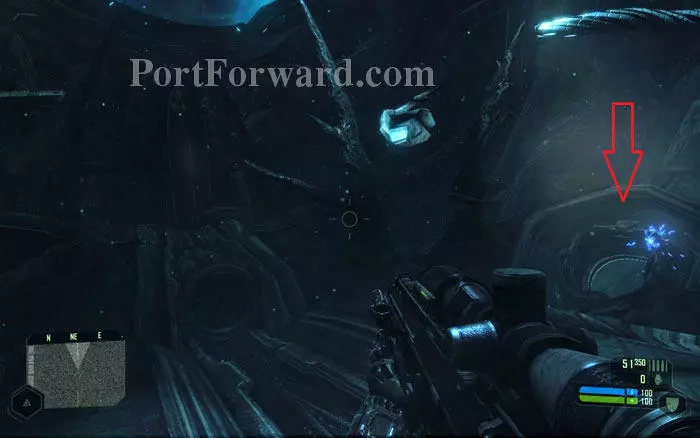
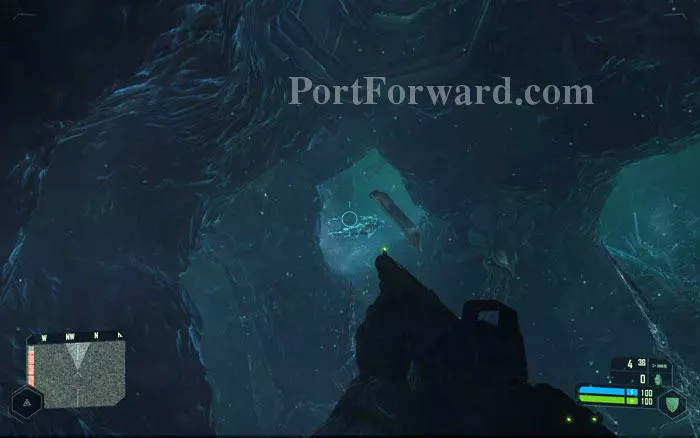
When you are ready to leave, come to ground level and look for this hole with sparks around it. It will be to your right if you face the far end of the assembly line.
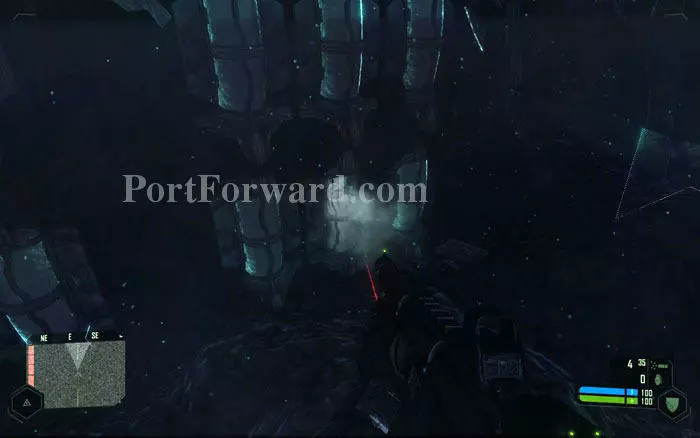
The hole takes you to a tunnel. Midway through the tunnel, something will smash the grate to your right from the other side with a startling groan. Go through the grate.

The background music sets the mood to match the dark and creepy environment as you move to a rock tunnel with ice crystals on all sides. Proceed through the tunnel.
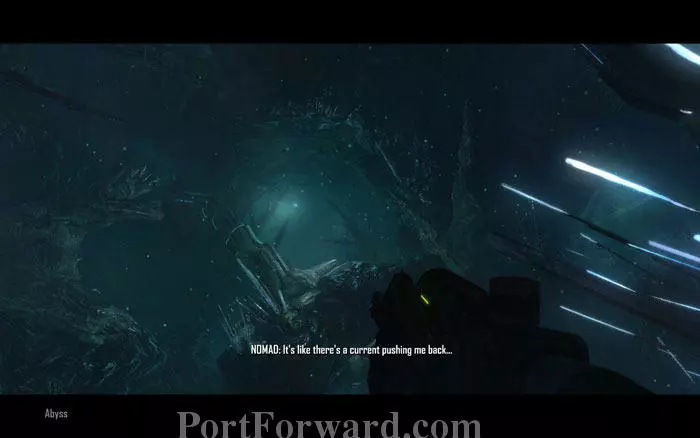
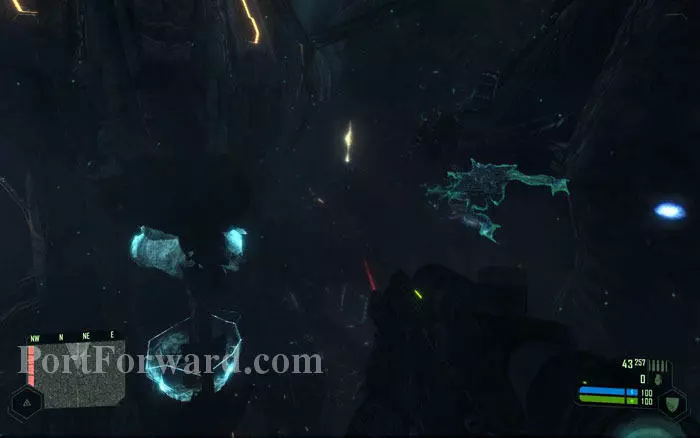
The walls here seem irregular but actually the path is linear. Nomad notices a current pushing him back and decides to move against it. So just keep going against the current, brushing past the particles flying against you.
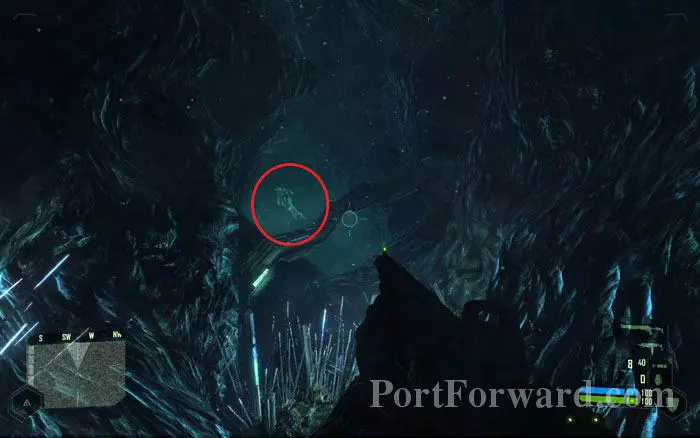
If you move quickly you may get a glimpse of the creature that smashed the grate. It moves fast and disappears. You are not alone down here.
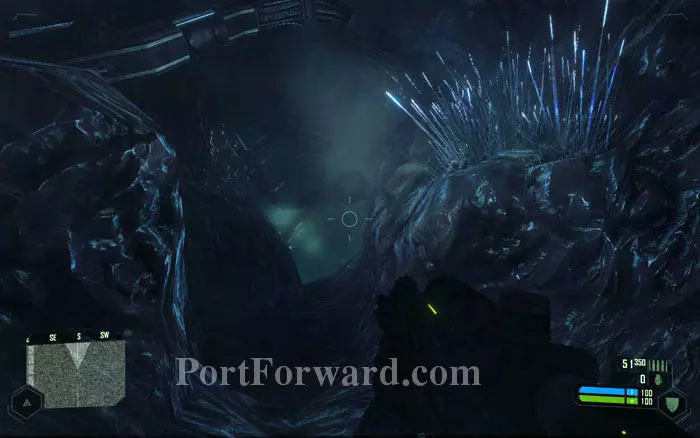
Keep going against the current. When you see a large circular opening below, go through it.
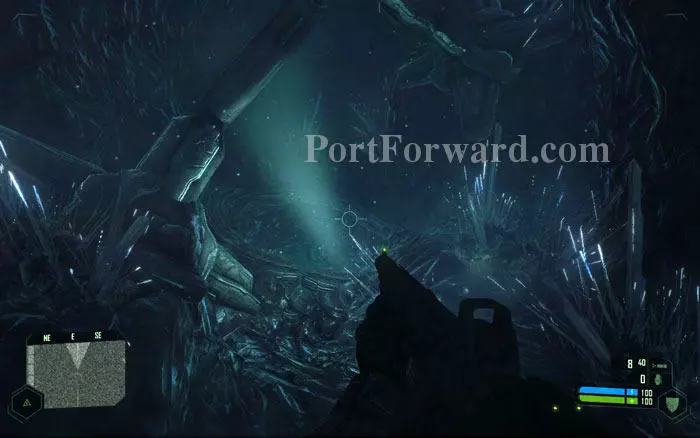
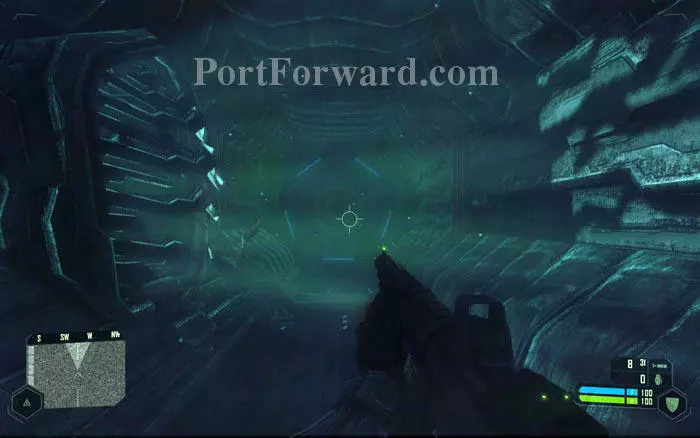
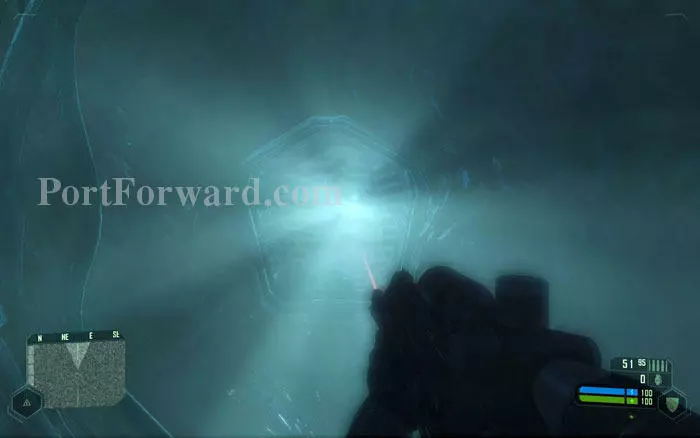
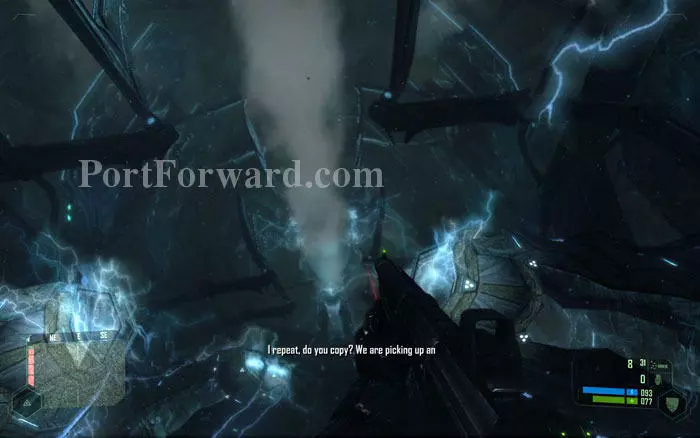
The tunnel continues. Soon you'll see a vent emitting a strong jet of steam-like gas ahead. Move close to it.
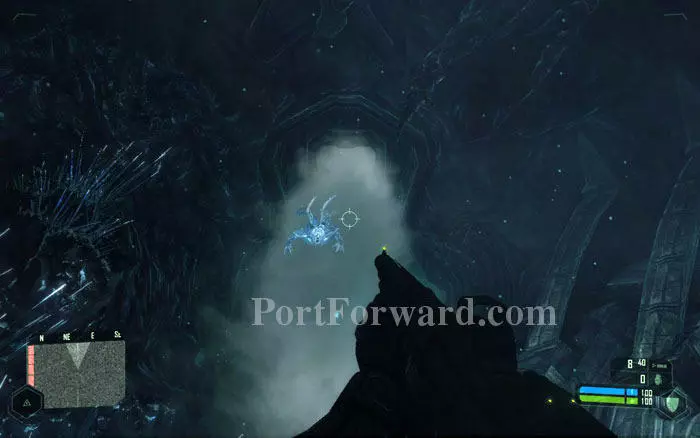
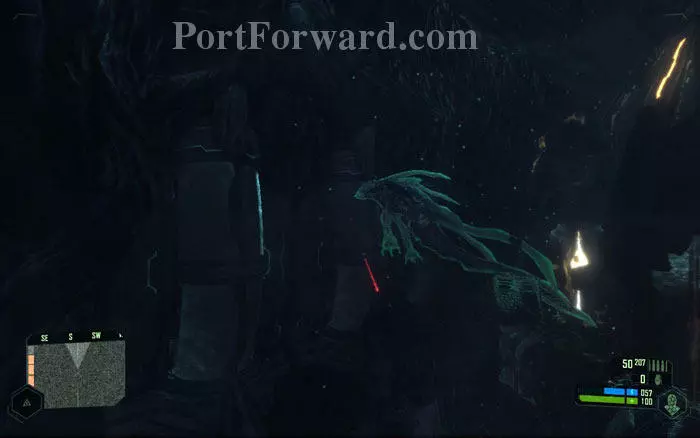
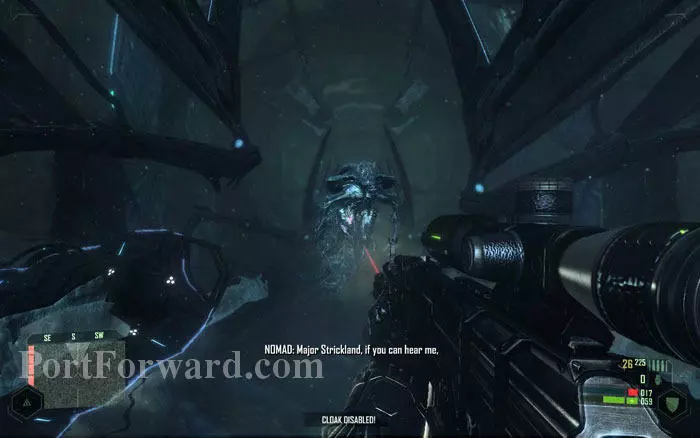
With a roar, an alien creature will dash at you and hit you.
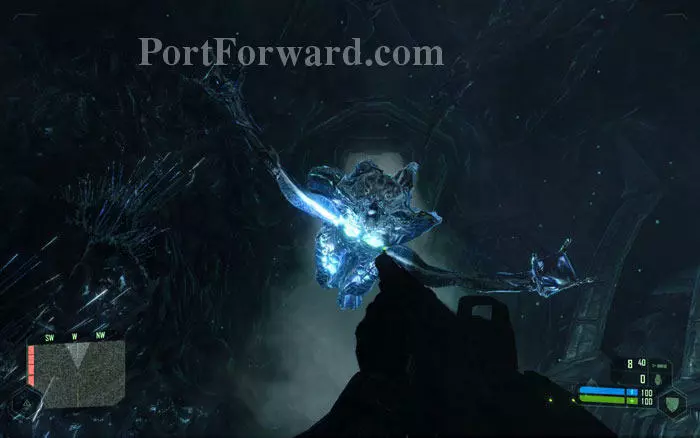
The Crysis gaming community refers to these guys as "Naked Alien", as they don't have an exoskeleton. They have glowing translucent bodies and move around very fast like fish underwater.
Their charging melee attack is very powerful. A straight hit depletes your armor completely and causes partial health damage in Normal difficulty.
Once the Alien retreats, closing the vent behind him, move to the opening on the right side.
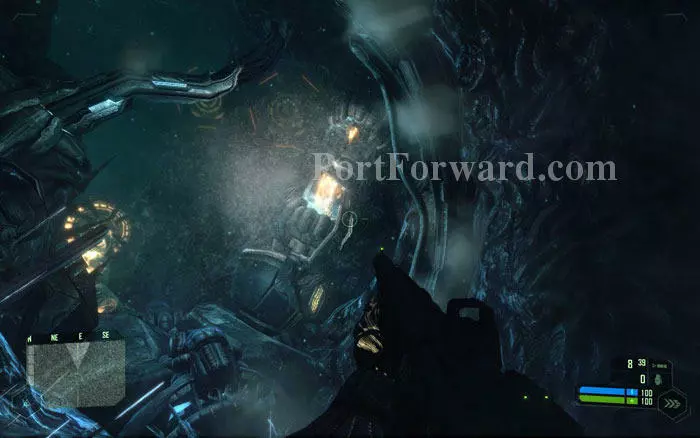
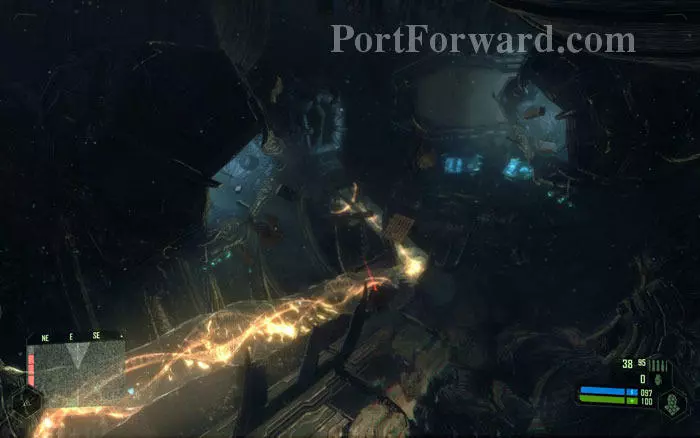
The current is so strong here that you can't move forward. Nomad comments that these machines must be generating the current so he has to knock out the power.
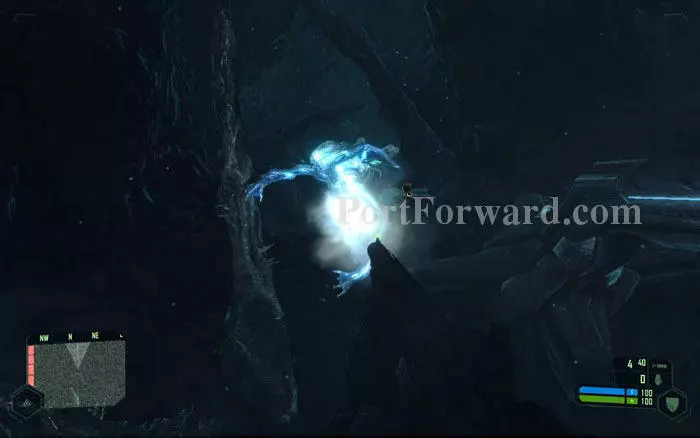
Shoot the capsule-shaped machine just ahead that has a stream of energy running through it. That will stop the current. Now you can keep going.
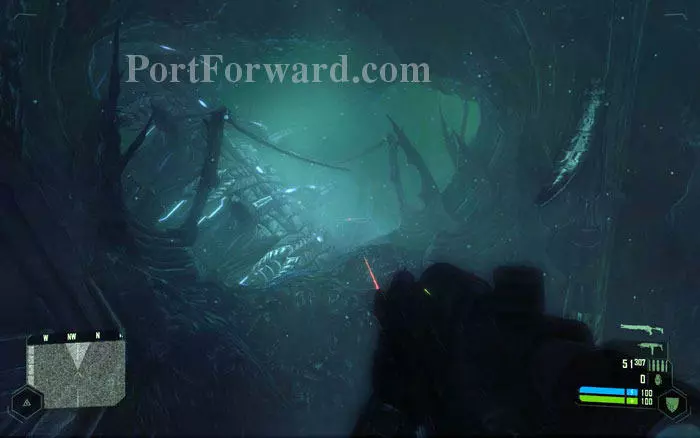
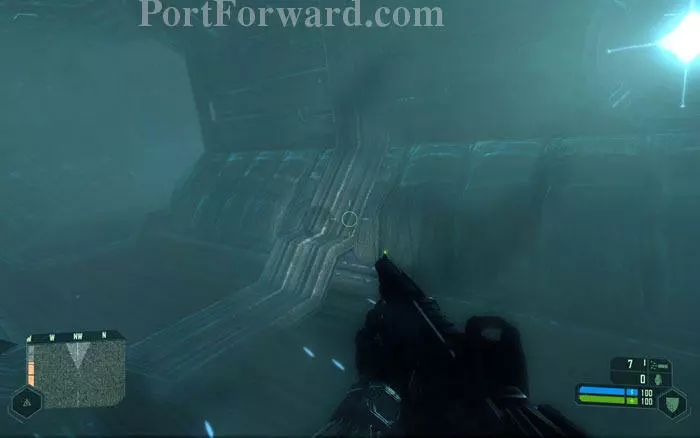
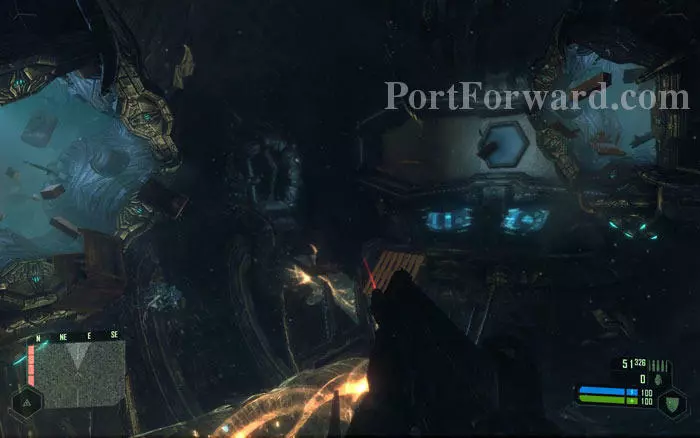
Down below there is a strange fluffy tube that seems to carry power. Follow it to the other end.

At the other end the tunnel seems to curve up. Go up and go past the circular opening.
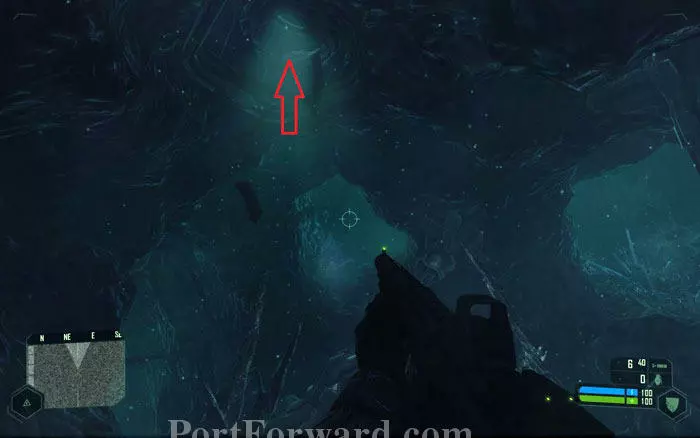
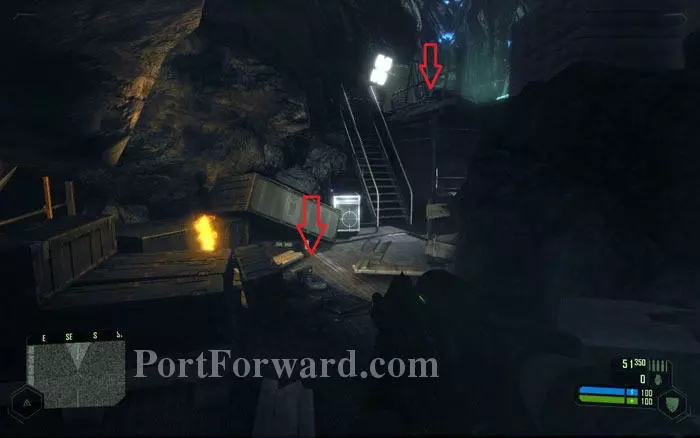
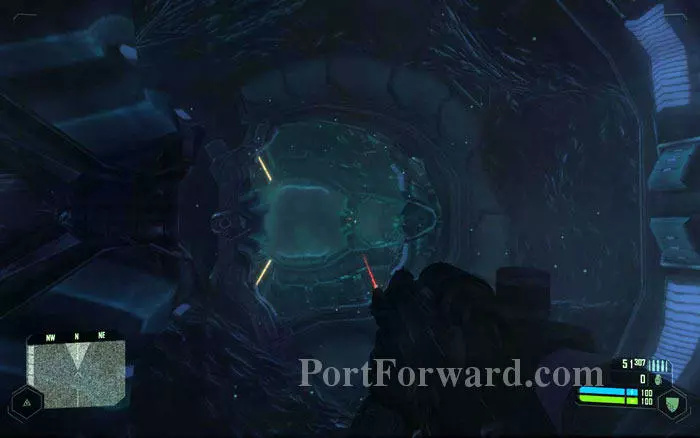
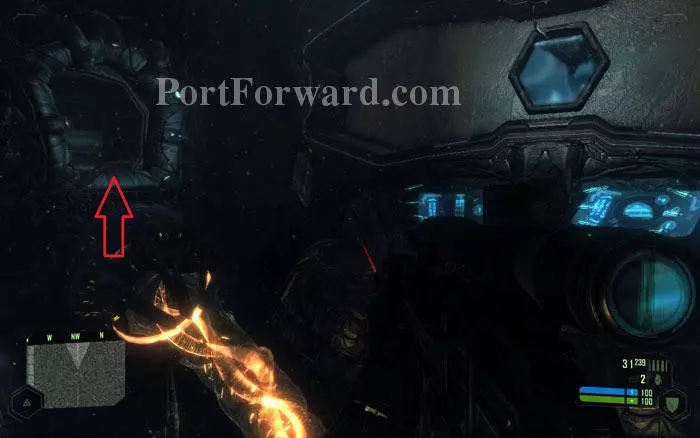
When you emerge from the hole, you'll see three paths straight ahead. All three of them will just loop you back to the original position. Instead, move to the circular hole above, marked by the arrow.
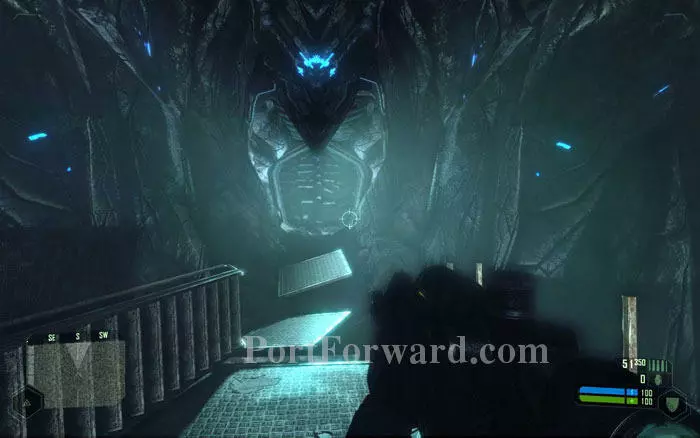
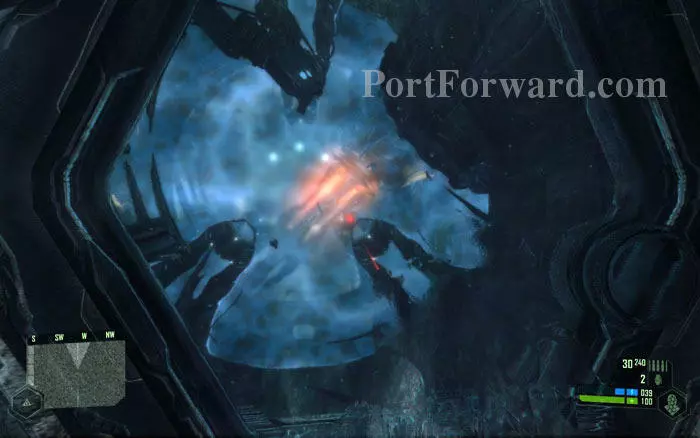
As you approach the hole, a small cutscene starts.

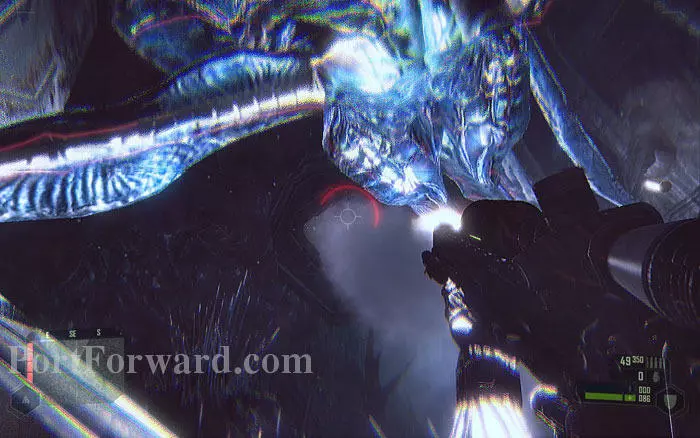
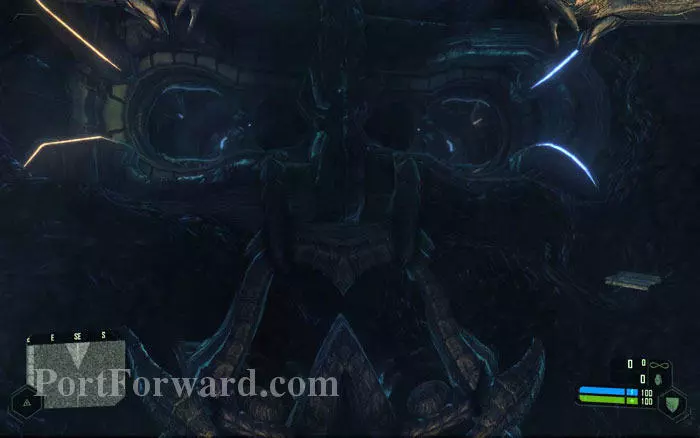
Out of the blue, an Alien pokes his face at you and emits a good long roar. Gosh; these things are ugly. The Alien pushes you back to the cave leaving you stunned.
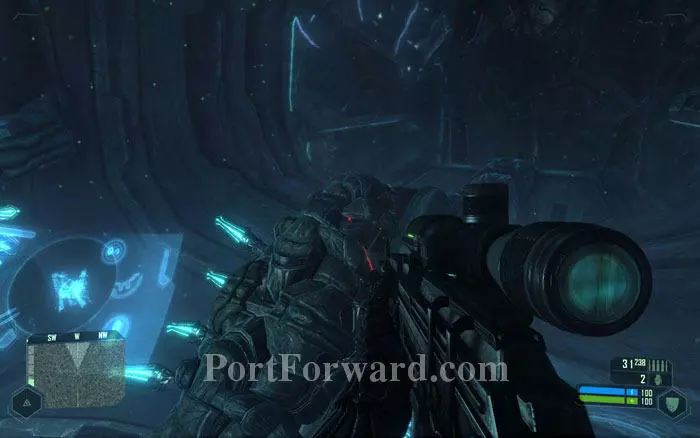
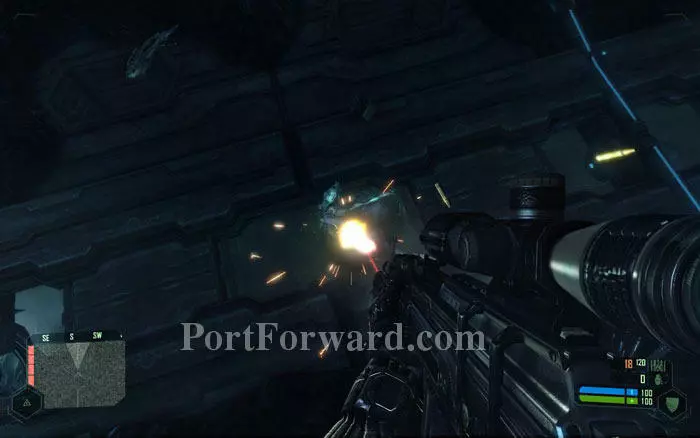
The Alien will be moving around the loops of the cave and charging at you to make its melee attack. Get ready to fire. When charging at you, these guys will emit a screeching roar so when you hear that, step aside and look around to locate them.
The best chance to shoot at them is when they charge at you. They don't have much health so they'll go down with a couple of well-placed shots with the shotgun or about 10 bullets with a rifle.
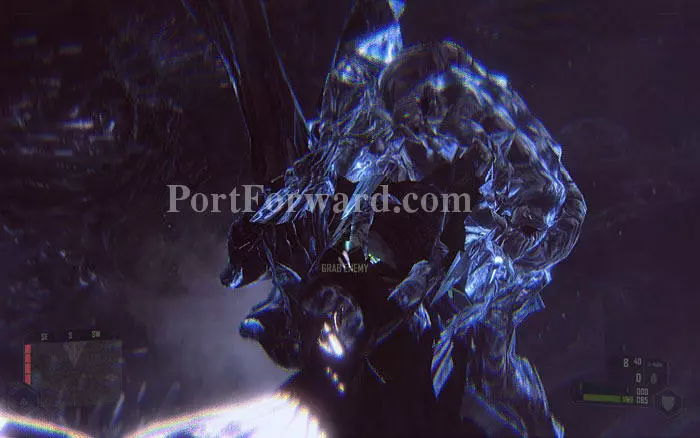
Note that you can grab the Aliens when they come really close to you, just like you did with KPA soldiers, although this is very difficult due to their high speed. Grab an Alien and throw it away to make an instant kill.
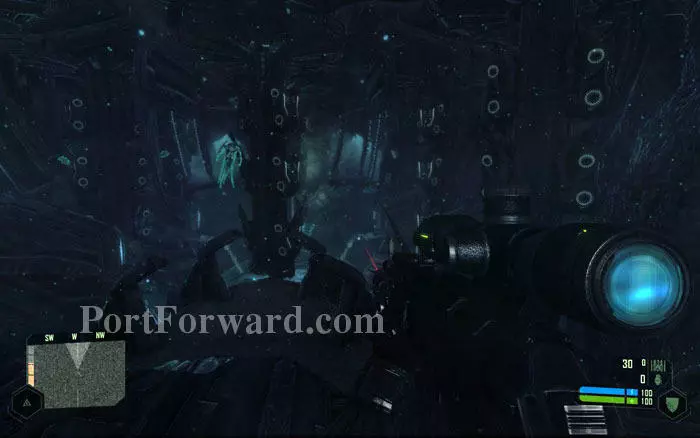
After killing the Alien, get through the hole. You'll reach a narrow tunnel. The pentagonal door at the end will not open, so go through the grate to the left.
You'll reach a chamber with something that looks like a giant exoskeleton. Nothing of importance here. Just go ahead and turn right.
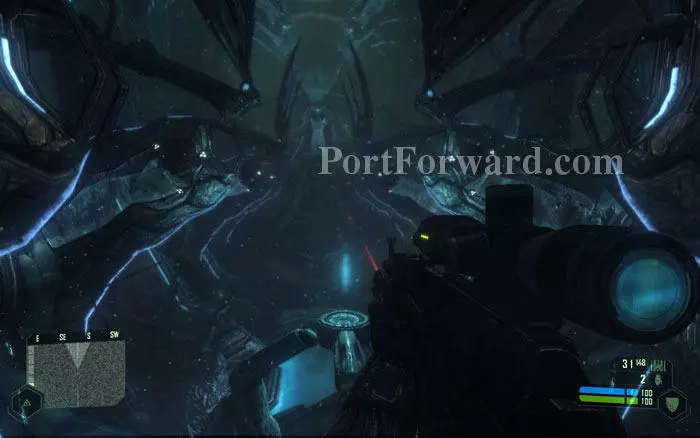
From the chamber you will pass through a series of arches. There is an oval-shaped opening ahead. Move through it.
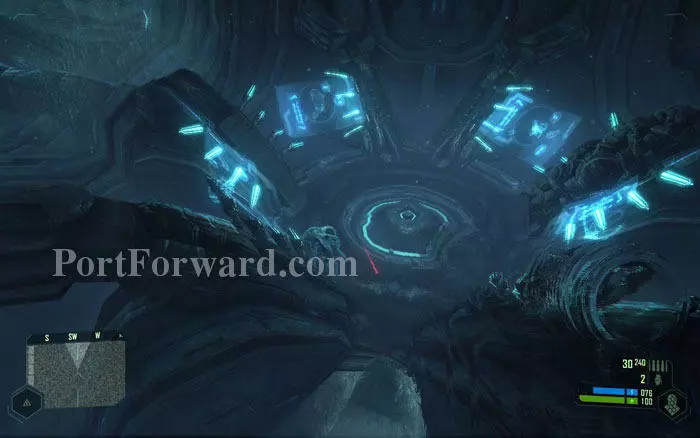
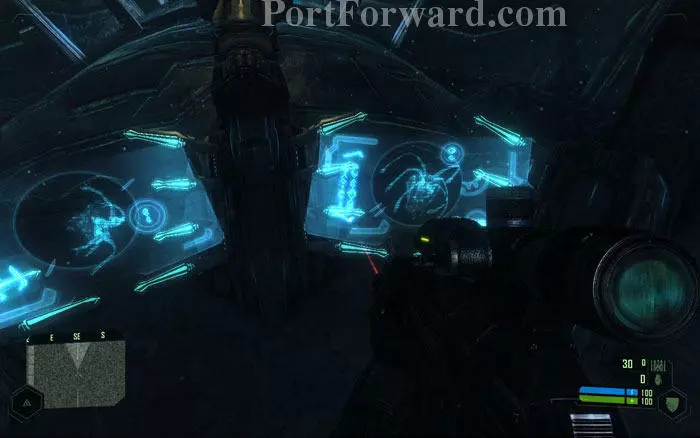
The opening takes you to another large chamber with a lot of eye-catching objects. When you come here, Nomad will ask "What is this place". This is an alien generator room.
Two display panels just ahead show diagrams of the Aliens. Move past them and look under.

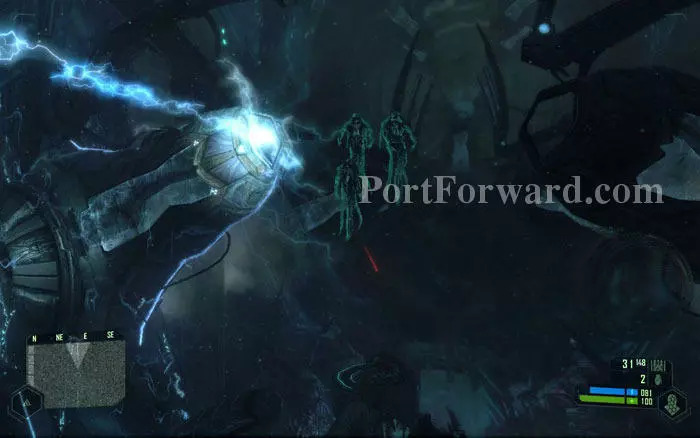
You'll see capsule-shaped generators containing swirling streams of energy. There are several Aliens also in the chamber. They won't attack you until you open fire.
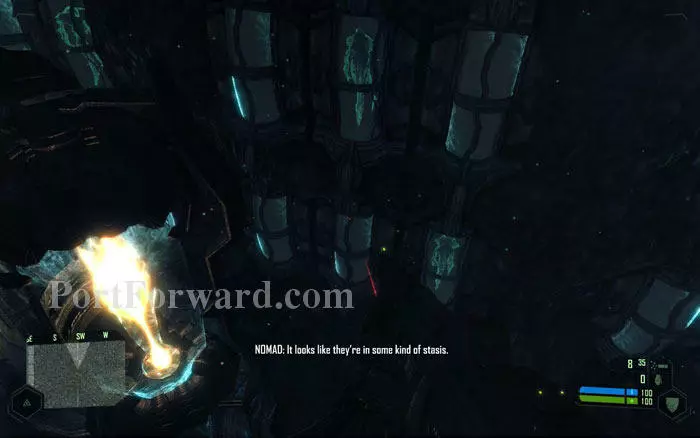
On both sides of the chamber you can see several Aliens in some kind of stasis.
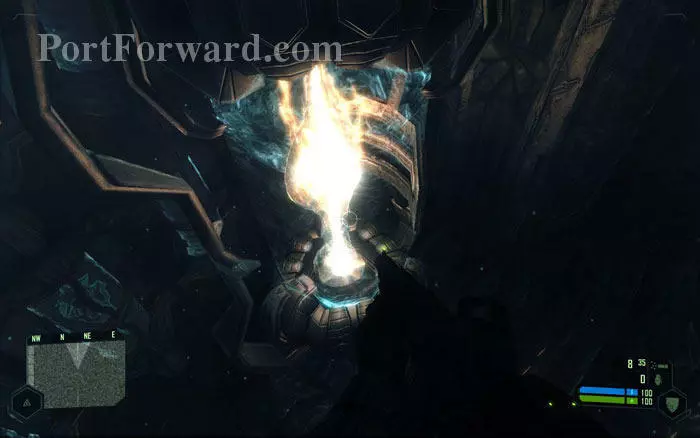
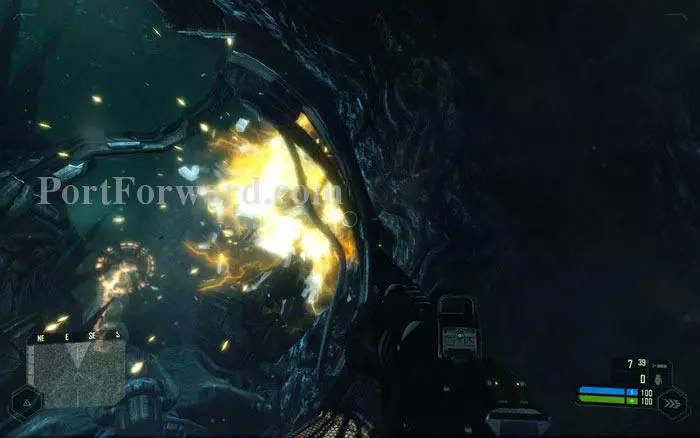
Your objective is to destroy all five of the power capsules. Shoot the glass to destroy them.
The shooting will, of course, alert the Aliens and they will start attacking you. As said earlier, it's easiest to kill them when they are charging at you.
One by one, more of them will wake up from stasis and join the fight. Destroy all generators fast.
The Aliens prefer to attack you from the back or sides. When charging at you, these guys will produce a distinctive, high-pitched roar. When you hear this, turn around and move aside to dodge the attack.
Note that if you do not use the flash light attachment, the Aliens will not be able to detect you while you are in 'cloak mode'. Use this trick to sneak away.
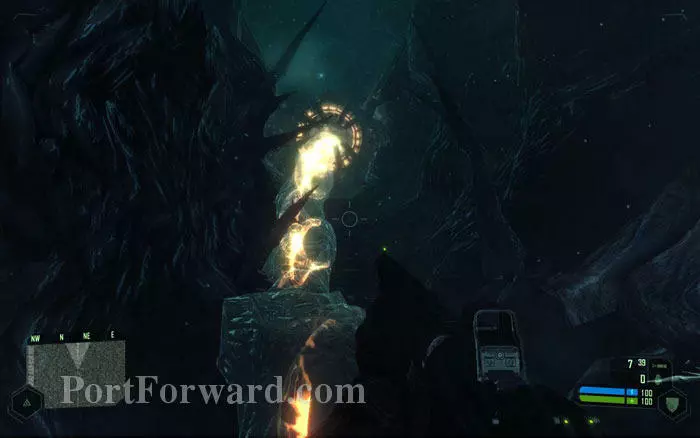
When all the generators are destroyed, a pentagonal door will open at the bottom. It's easy to spot because of the lights lining the edges. Escape through the door.
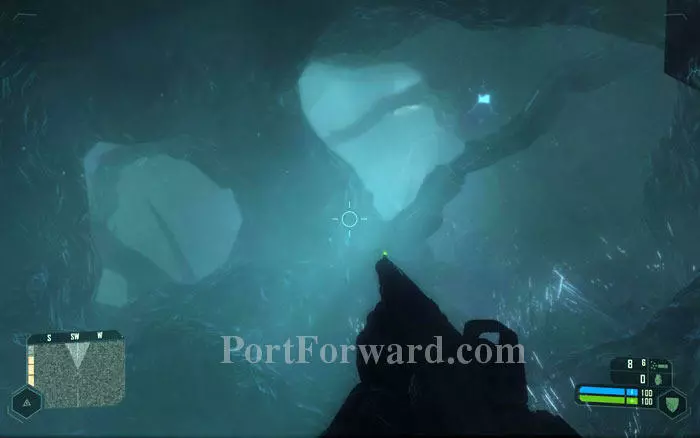
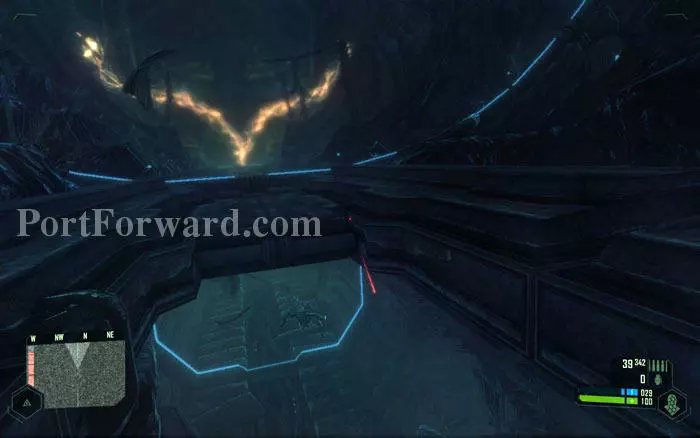
You will reach a rock cave with ice crystals on the walls. Although the walls are irregular, the path is linear. Keep going.
At the other end, there is another grate. Break it and enter.
The grate opens to a tunnel. Turn left and proceed.
The tunnel curves up, leading to a hole. Go through it.
In the next chamber, there are two deposits of objects from the outside. Apparently the Aliens have been gathering objects from the outside. You will find guns and ammo (not the magazine!) among other stuff.

Stock up on weapons and ammo from the deposits. You'll find FY71 rifle and incendiary ammo for the same, which is highly recommended.
One of the deposits holds a minigun. But sadly the fast-moving Aliens are good at evading fire and the minigun will run out of ammo before you can kill many of them. So pick up the minigun only if you want to scare the Aliens.
At the far end of this chamber there is a hexagonal window above a couple of display panels. Look through the window to see some heavy alien production machines at work.
Take the tunnel to the left to exit this chamber. The bioelectrical cable leads to the tunnel so it's easy to spot.
The tunnel will take you to a small room with several display panels and a lone alien working at the panels. Switch to cloak mode before moving in if you want to sneak up on this guy.
Sneak up from behind and grab then throw it away to score an easy kill. Or just put a shotgun round through its back.
From here, move to the passage which will be to the right if you look from the tunnel you came through. You'll find yourself at the hall with heavy machines that you had watched through the hexagonal window.
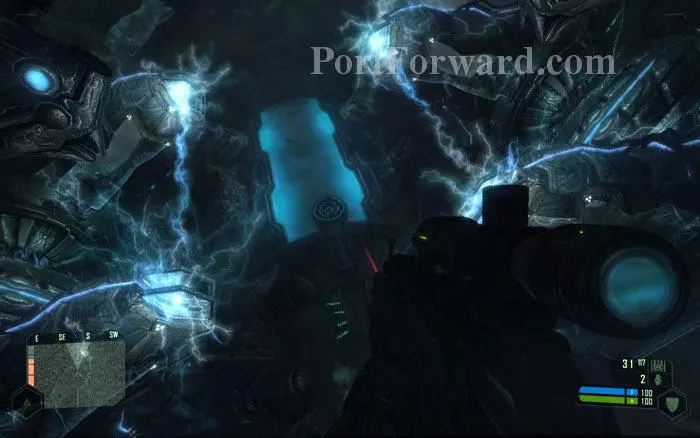
This hall is separated by three energy shields that act as gateways. The shields turn on and off in a timed sequence as the machinery operates. As Nomad suggests, you have to step in as each shield opens. The sequence is fairly simple anyway.
Several Aliens will be on to you, but they can't pass through the shields either.
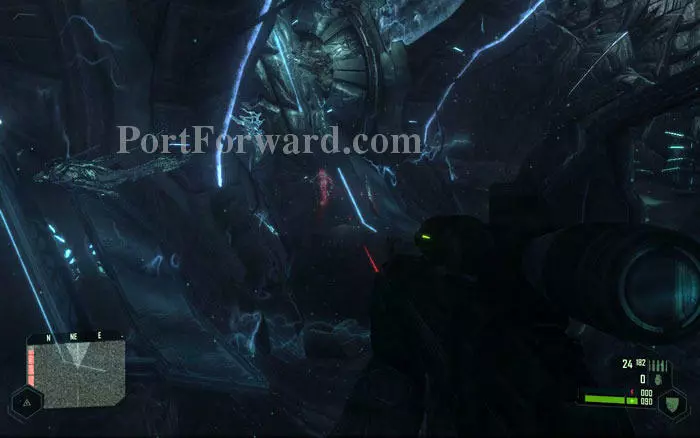
The Aliens mostly resort to the crawlspace at the bottom of the hall so keep your eyes on the ground. FY71 incendiary ammo seems to work best for this battle.
Note that you can sneak through instead of engaging the enemy by using 'cloak mode'. Make sure you don't use the flashlight attachment.
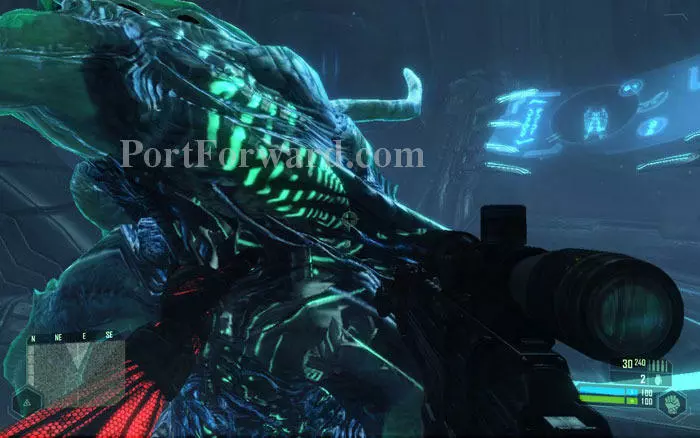
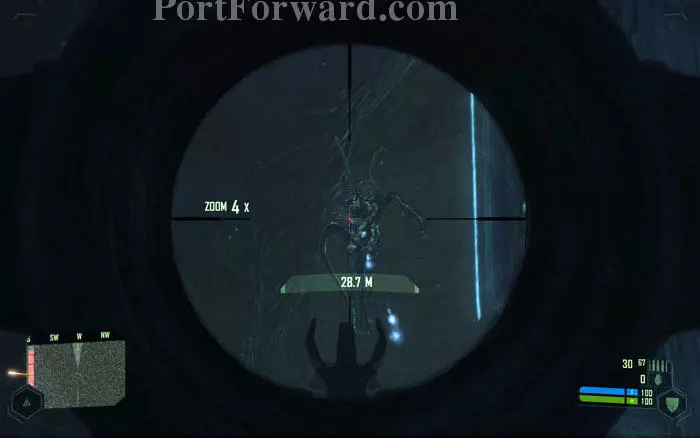
Some of the Aliens here will be carrying a weapon as seen in the picture that fires a stream of ice crystals. The ice crystals damage you just as any automatic rifle fire does.
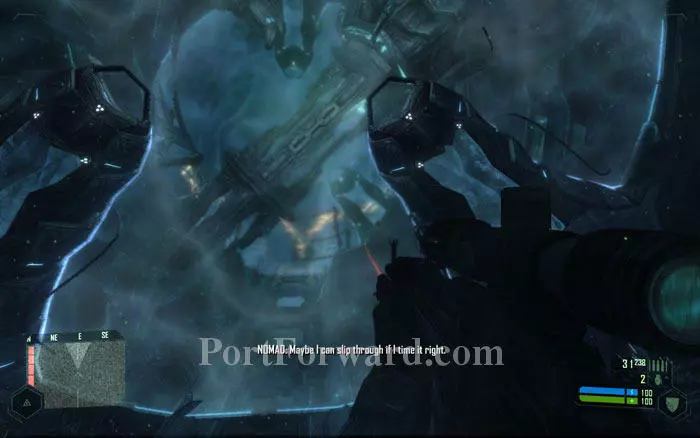
Once you are past all the shields, you can see the other end of the hall that looks like a demonic face. The tunnel to the right just pushes you back while the one on the left will suck you in. Take the left one.

You will be taken in a long, ultra speed journey through various parts of the alien structure. Just sit back and try to get a glimpse of the areas that you pass through.
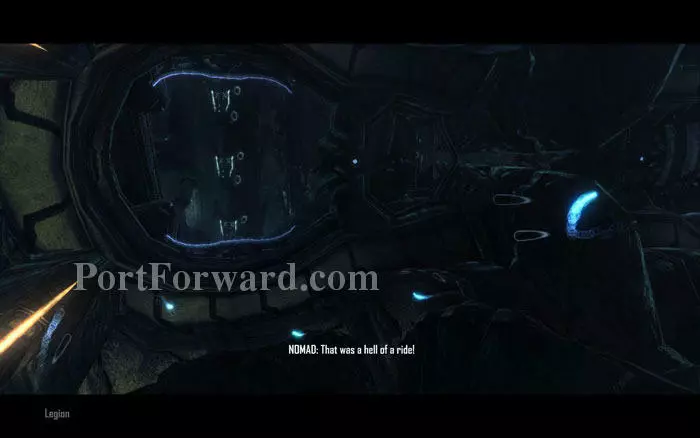
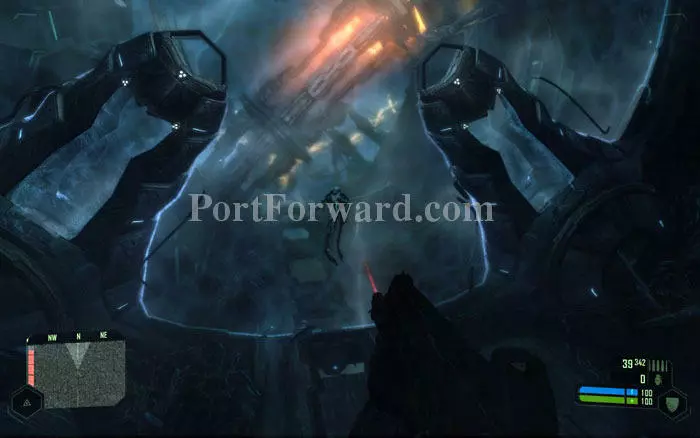
Your ride ends at an entirely different part of the alien structure.
Move ahead to the large chamber. This place is devoid of enemies for the time being.
There are four deposits with weapons. Restock on ammo. Look for FY71 incendiary ammo.
The display panels below show some new forms of aliens.
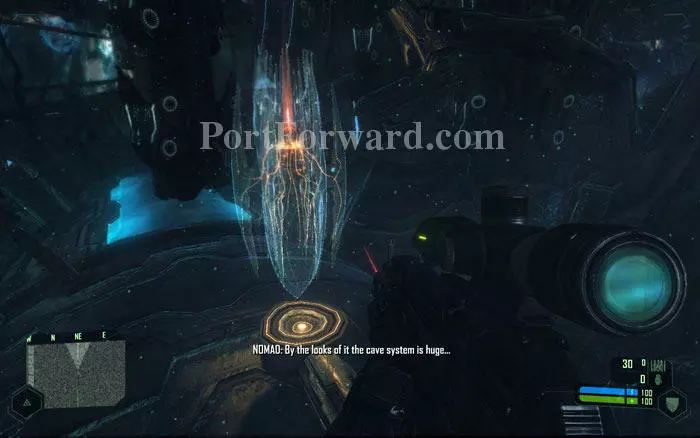
This hologram is a schematic of the alien structure. Move to the large window at the other end of the chamber.
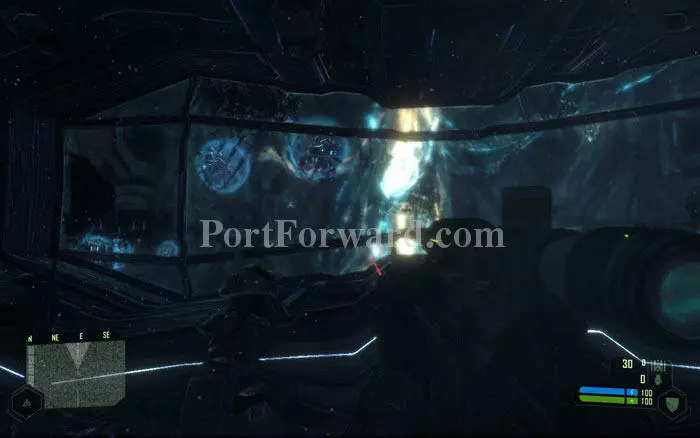
Something huge is going in the area across the window. Move close to the window to take a look.
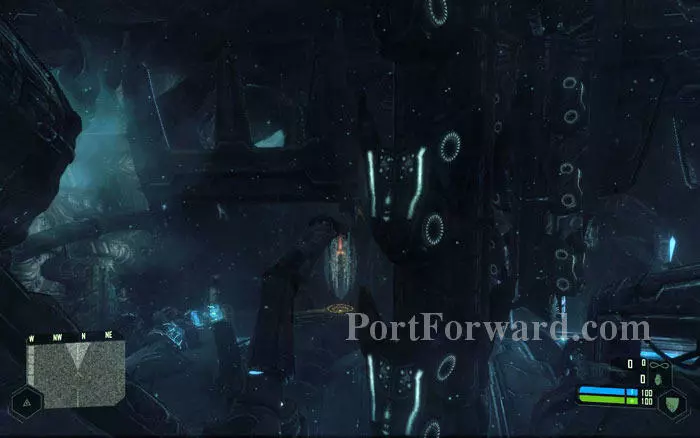
You'll see a hangar of alien war machines. Several naked Aliens are also in the area.
Loads of alien combat units here. These units must be piloted by the naked Aliens.
This one is huge! It looks like one that we saw in the display panels.
After you look through the window, several Aliens will start gathering behind you. This can't be avoided because looking through the window is required to trigger events that let you proceed in the game.
You can either fight the Aliens or try to sneak through. Your target location is the opposite end of the camber. The caves on the sides will help you sneak across.
Whether you engage the Aliens or not, move to the other end of the chamber and look for this pentagonal door right above the display panels. The door will open when you approach it. Go through.
You'll reach another huge chamber with a hologram straight ahead of you. This chamber is devoid of Aliens at first. But beware; you are being set up for an ambush.

The hologram shows a series of symbols that look like a countdown. After it turns red, the lights will go out.
When the lights come back, there will be a ton of Aliens in the chamber. Switch to 'cloak mode' before the lights come back, so as to avoid these guys charging at you.
You'll have to fight a long fight before you can leave this place. If you prefer the pacifist approach, hide in a corner and watch your front. Use 'cloak mode' to hide and switch to 'armor mode' to recharge the suit. Some fighting is inevitable though.
These energy grids will slowly power up, one-by-one. The exit from here opens only when all the grids are powered up.
If you choose to take on your enemy, always stay in 'armor mode' because, in any other mode, one straight hit by the Alien may kill you. Keep moving constantly to dodge their attacks.
Some of the Aliens will be equipped with crystal-firing weapons. Use your rifle to take them out.
Once all the grids are powered up, a circular exit will open at the far end of the chamber. The jet of gas going into it will make it easy to find this exit. Move in and it will suck you in.
Just wait as this exit takes you out of the caves.
More Crysis Walkthroughs
This Crysis walkthrough is divided into 11 total pages.


