
This Crysis walkthrough is divided into 11 total pages.
You can jump to nearby pages of the game using the links above.
Awakening
Proceed along the road as Strickland briefs you about the mining facility, refinery and office complex, all of which we'll be visiting in reverse order. The main objective is the refinery and secondary is to infiltrate and obtain intel from the office buildings just ahead. As always, we are going to do secondary also.
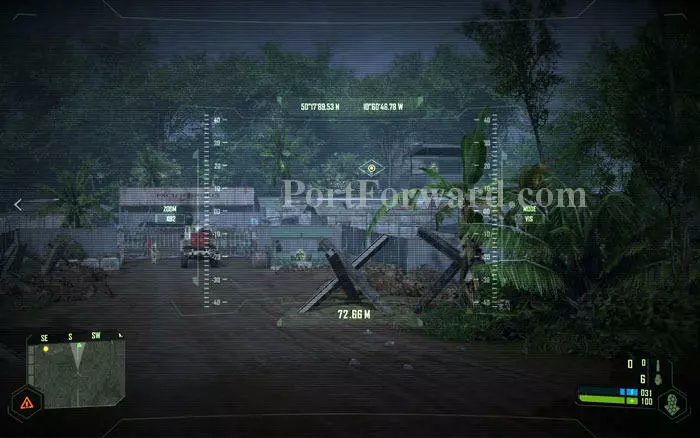
The office buildings are pretty hot. It's possible to just walk straight in with all guns blazing, but it won't be easy because of the defenses up front.
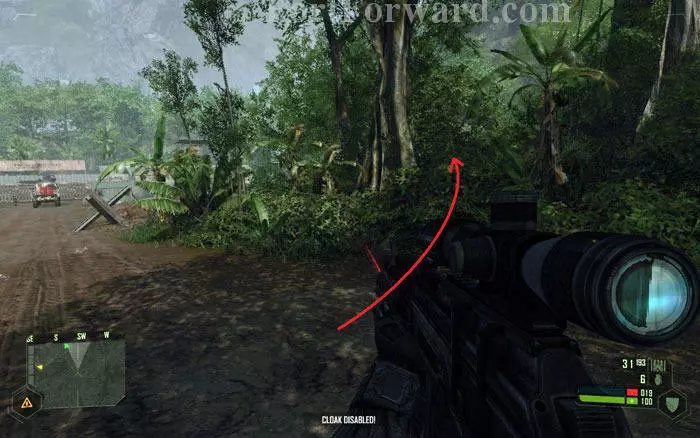
Let's take a more covert approach. Walk in to the bushes to the right. The trees, bushes and rocks will give you ample cover. Just be careful not to reveal yourself.
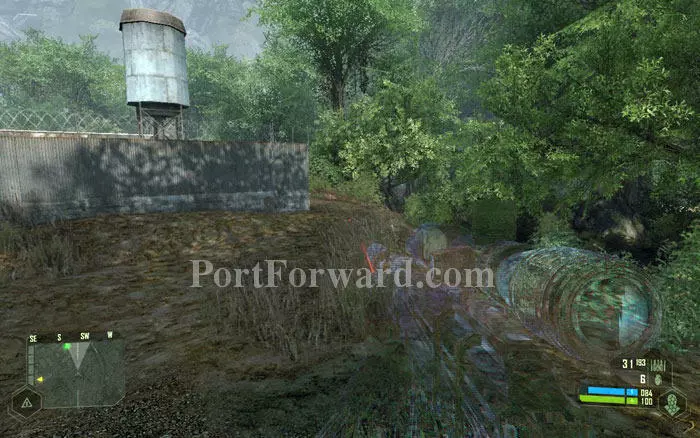
Proceed to the corner of the fence with a water tower. Use 'cloak mode' as needed.
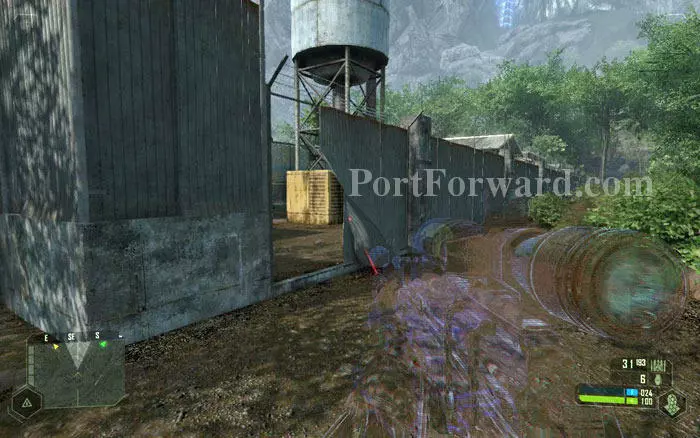
Just around the corner, there is an opening in the fence. That's your ticket in. Make sure you are in 'cloak mode' with the NanoSuit fully powered when you get in.
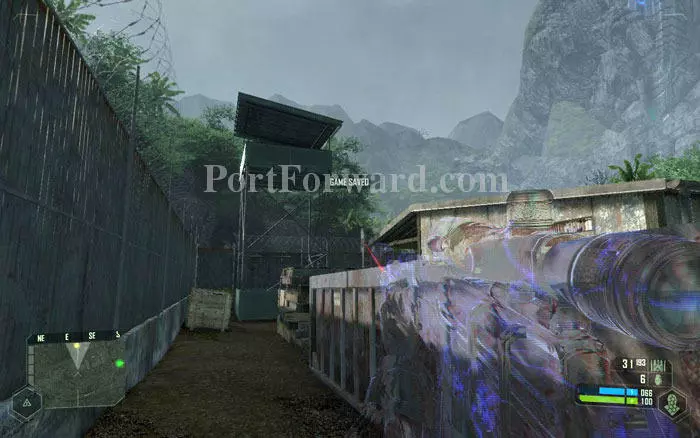
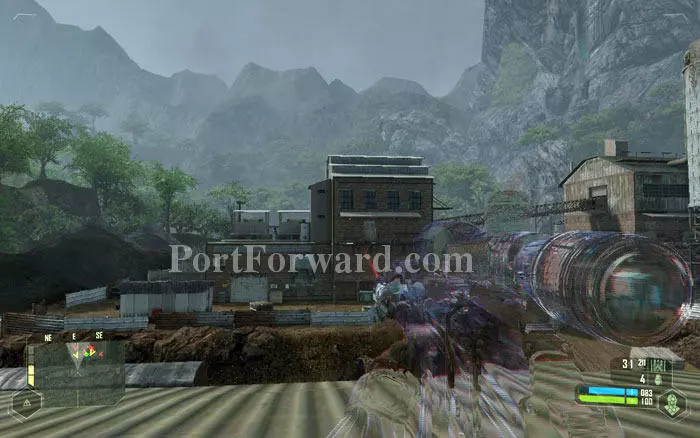
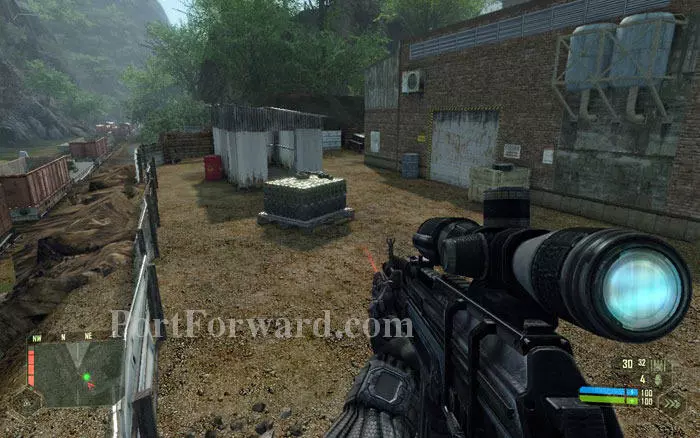
Your target is this sniper tower. Sneak your way to the ladder. Avoid bumping into any KPA soldiers walking around here.
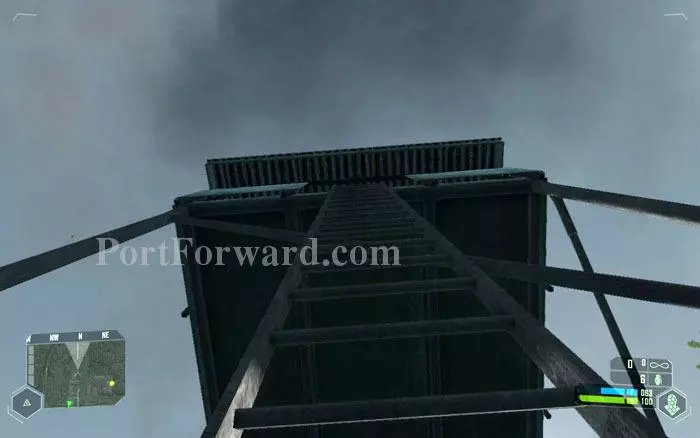
Climb the ladder, still in 'cloak mode'.

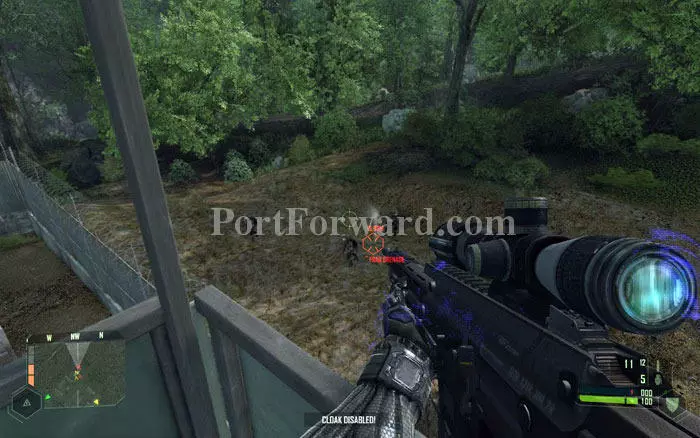
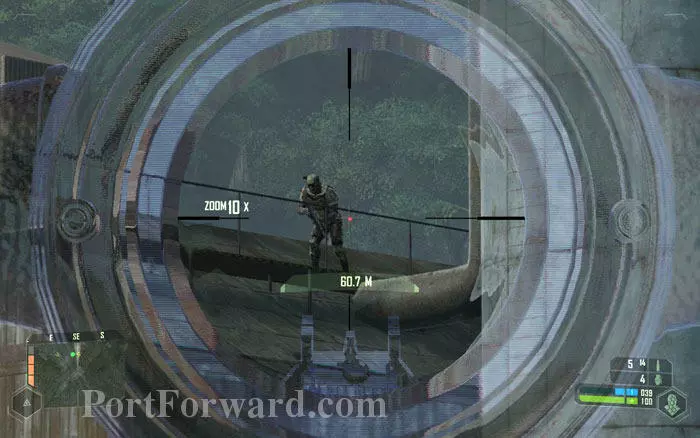
Quickly take out the sniper. No need to be hidden from here on.
Swap the Gauss rifle for the precision rifle. Alternately you can use Gauss rifle with sniper scope, but using it on ordinary KPA soldiers is a waste. Let's save it for later.
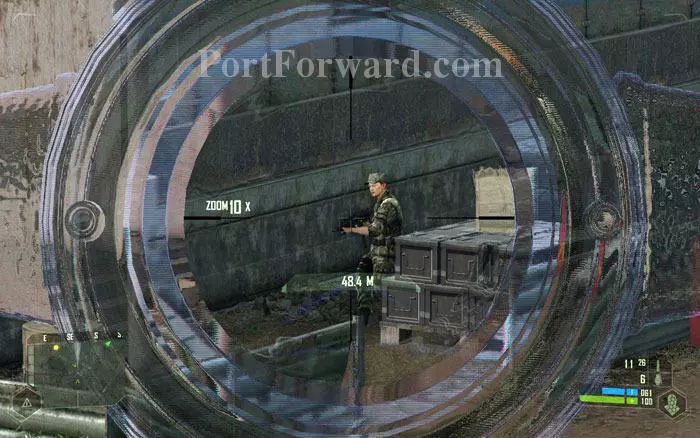
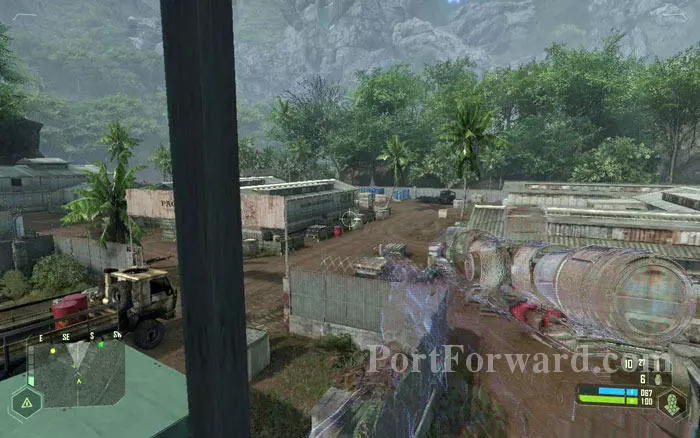
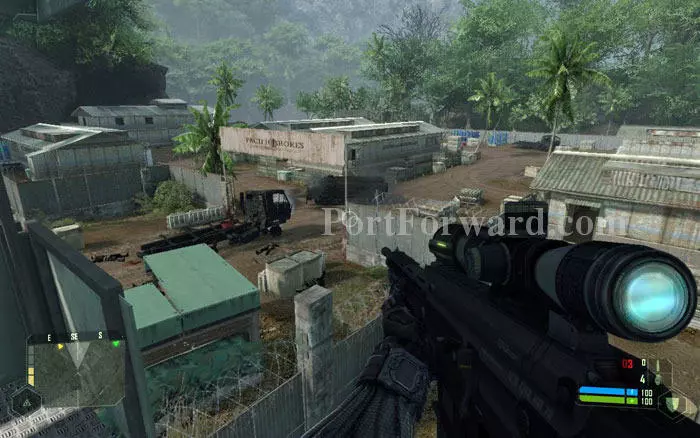
Start sniping the KPA soldiers around the area. From the safety of the sniper tower, this will be just target practice.
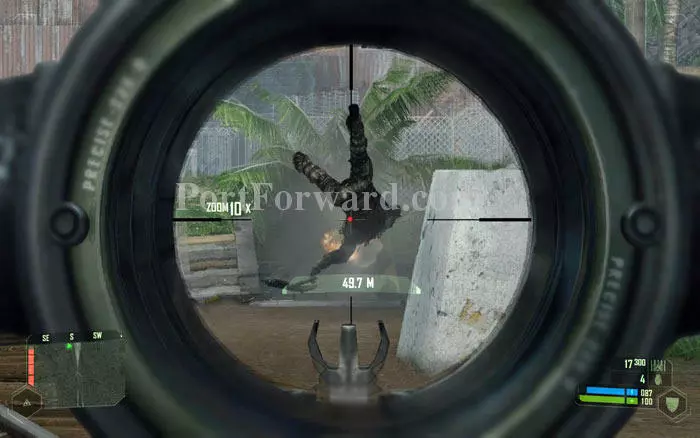
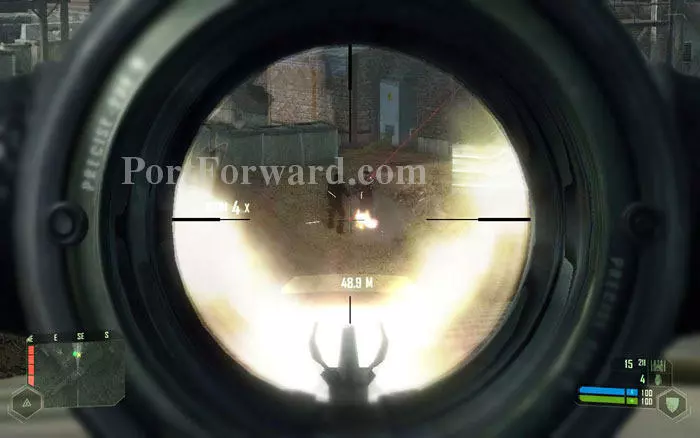
Once you raise the alarm, a fire-spitting APC will show up. This nasty thing is the main reason we did not choose a head-on approach. Duck and take out your missile launcher.
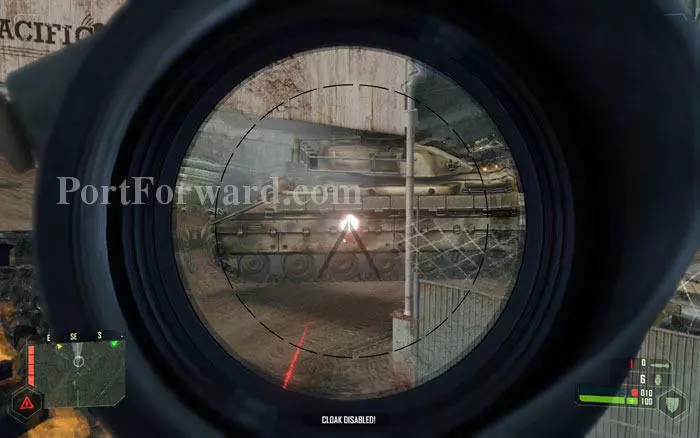
A couple of missiles on the body will destroy the APC. If you don't have missiles, use FY71 rifle grenades.
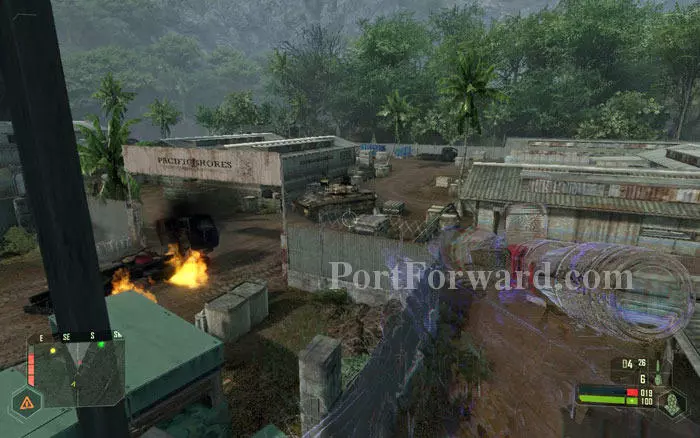
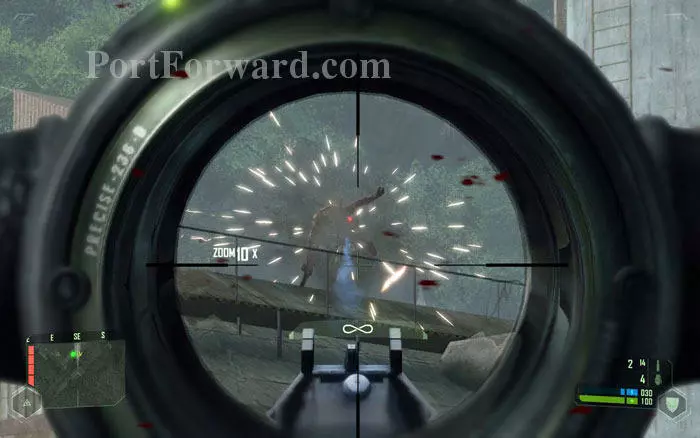
Continue your reign of terror from the sniper tower. Blow up the fuel drums to kill nearby enemies.
Your dimwitted foes will gather around the sniper tower in an effort to shoot you down. Use grenades to take out clusters of KPA.
Once the place gets quiet, swap back the Gauss rifle and get down.
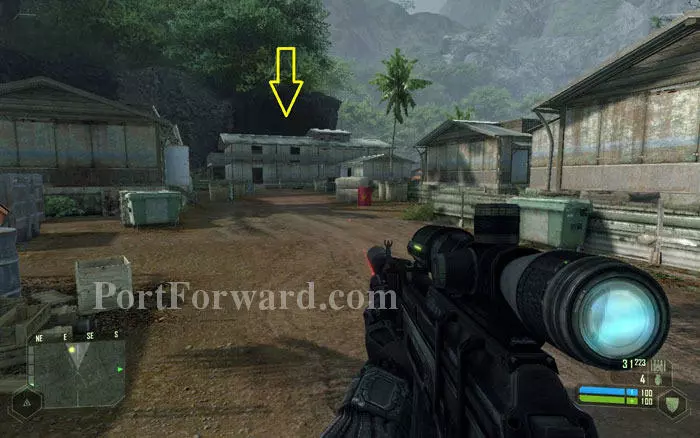
Proceed to the two-storey building which contains the secondary objective. Take out any stranded KPA guys remaining.
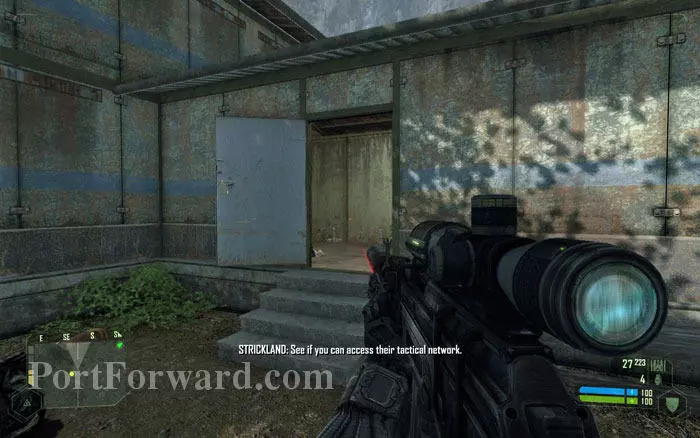
The computer terminal that lets you access the KPA tactical network is on the upper level. Get inside and find the stairs.
Go up the stairs, engaging any enemy who comes at you. Take the door to the right.
More KPA on the upper storey. Eliminate all of them.
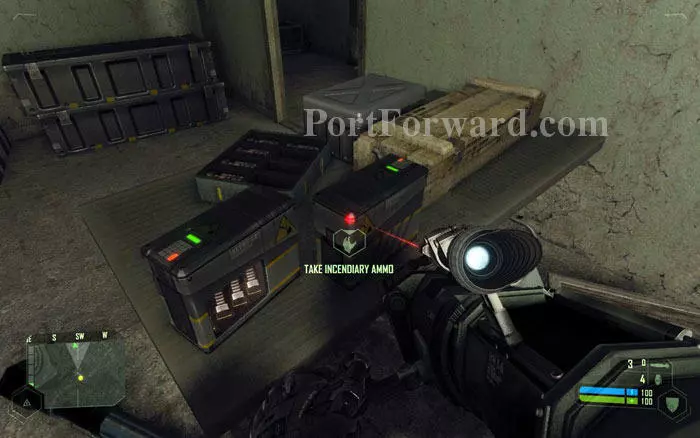
There is plenty of ammo stored here. Don't forget to stock up on incendiary ammo and a new missile launcher.
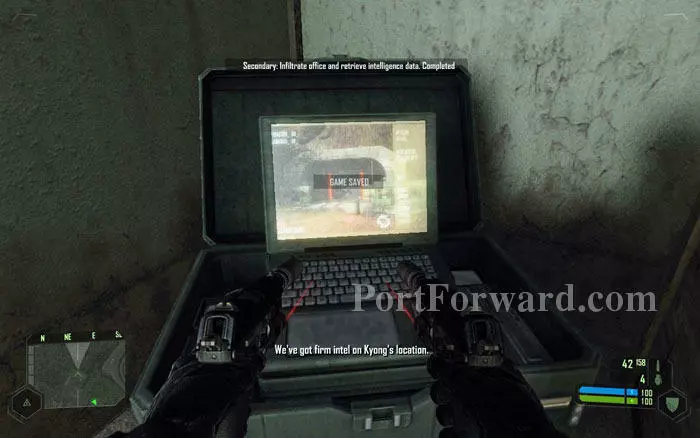
Access the terminal on the corner of the room to complete the secondary objective.
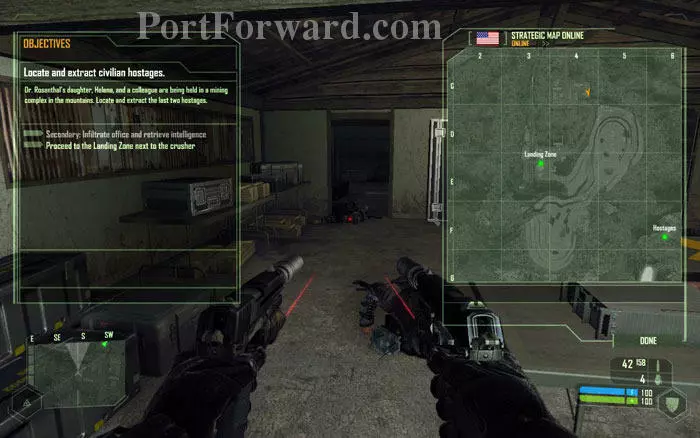
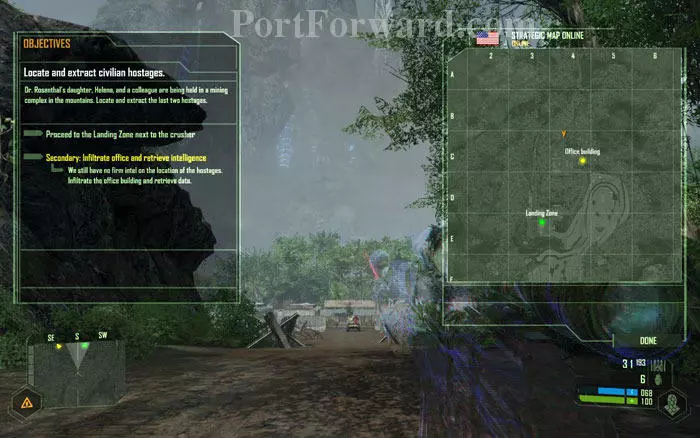
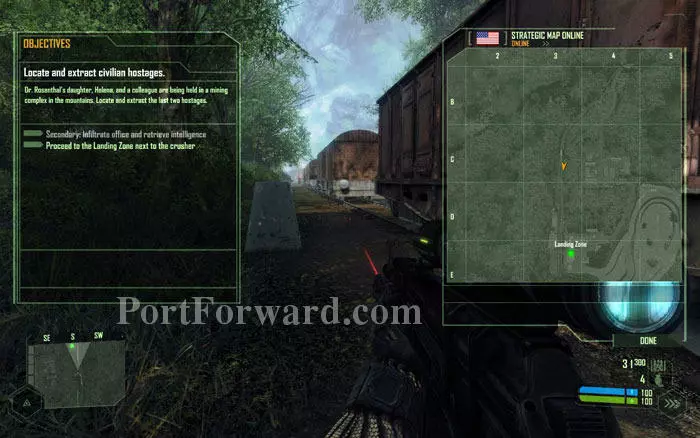
The intel we just picked up reveals where General Kyong is holding hostages. Your next objective is to clear out the landing zone marked in the map.
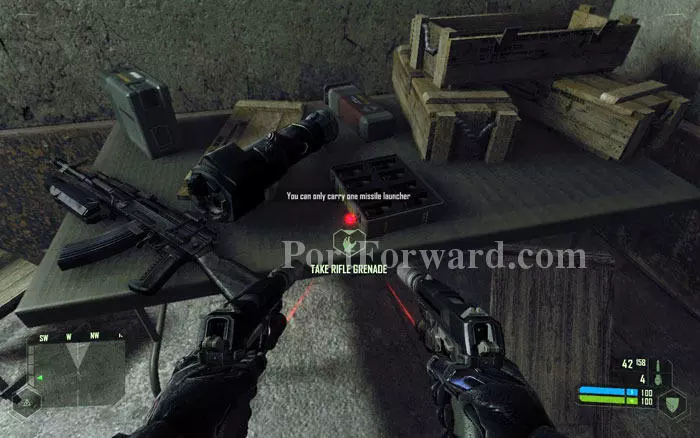
Before leaving the area, check out the nearby buildings to find a lavish supply of weapons and ammo. Isn't it sad that we can carry only 3 missiles at a time?
This path to the south-east of the office buildings will take you to the front of the refinery, where the primary objective is. But that place is under heavy guard. Seriously heavy guard, including NanoSuit-wearing KPA! So driving up the front door is not a very good idea.
Instead, get out through the hole in the fence that we used to get in, near the water tower.
Go west across the trees to find the rail tracks with a train. Get down to the tracks and turn left.
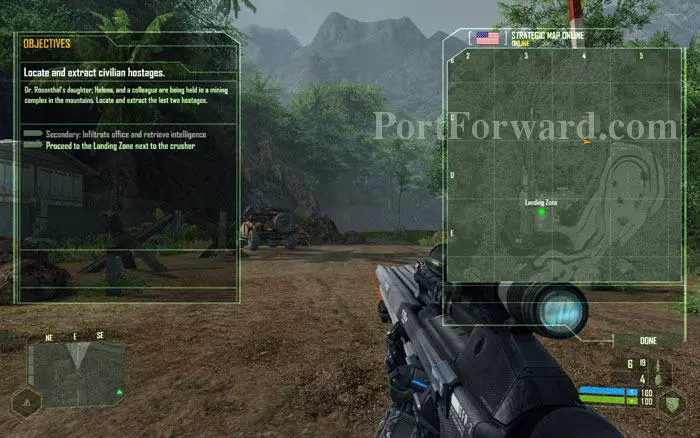
Proceed south along the tracks to reach the back side of the refinery, which contains our landing zone.
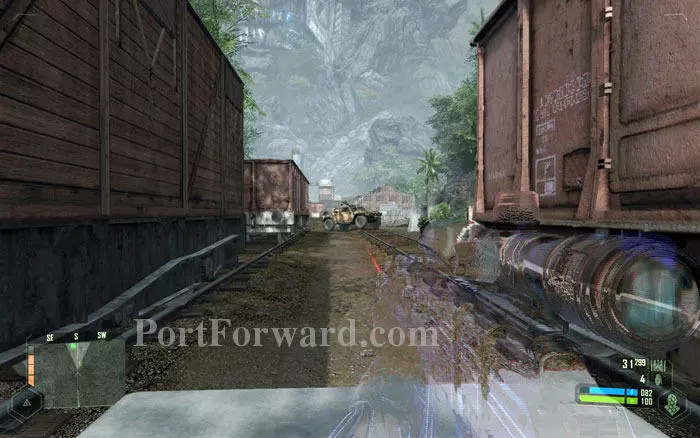
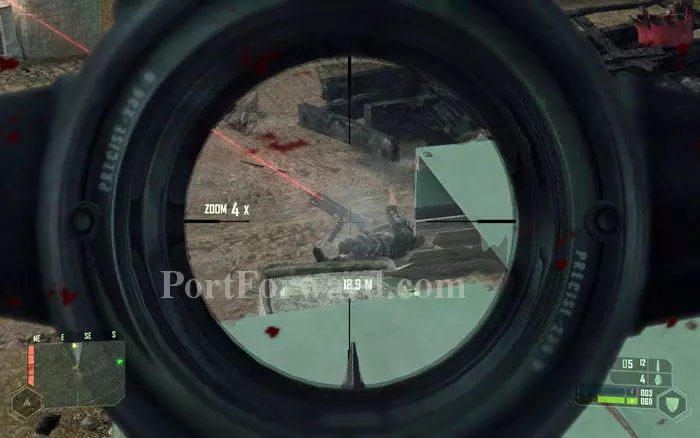
You'll find a KPA Jeep and a few soldiers standing guard here. Let's try the Gauss rifle on the Jeep.
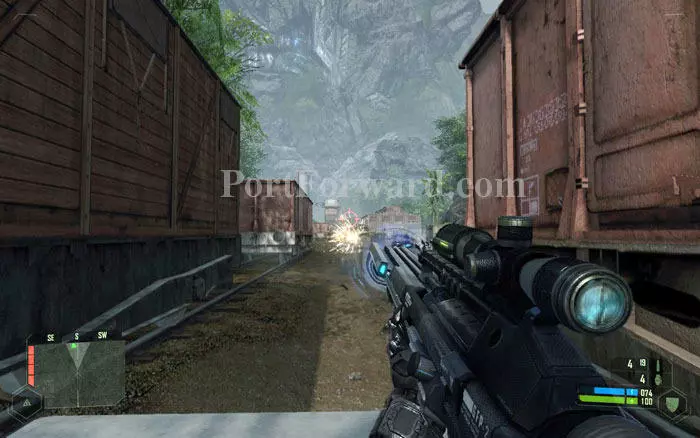
Gauss rifle is an anti-material weapon: two hits by its heavy slugs (which one can hardly see due to ultra-high velocity) will blow the Jeep.
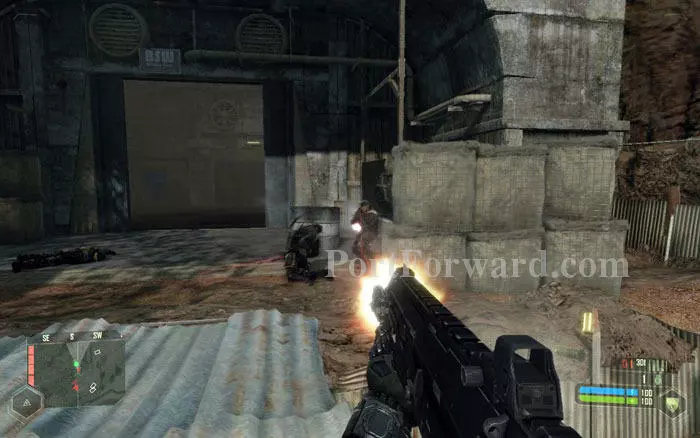
Clear up the remaining soldiers with your ordinary weapons. Looks like even the incendiary bullets from the FY71 are too much for some of them!

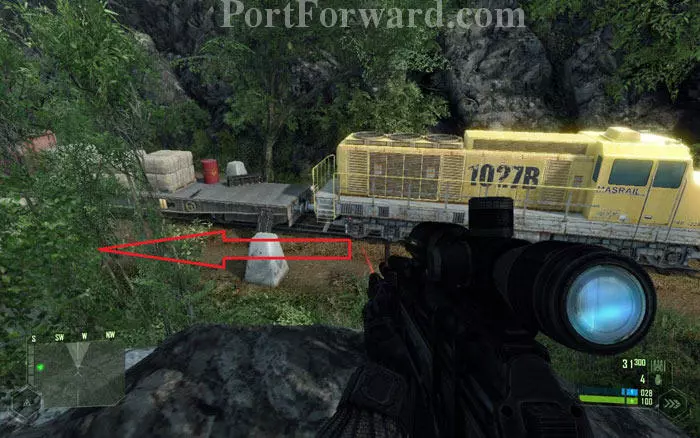
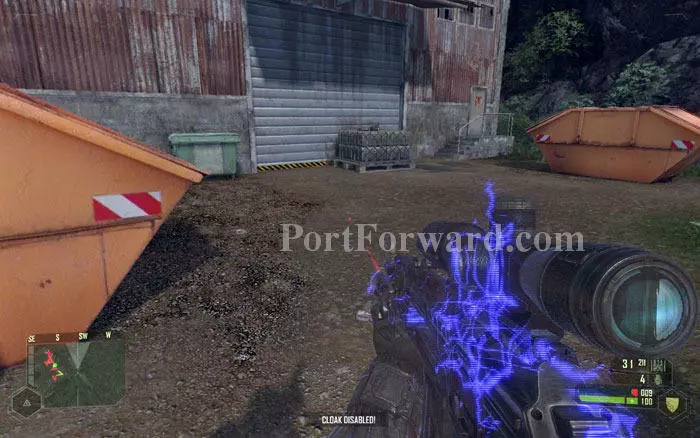
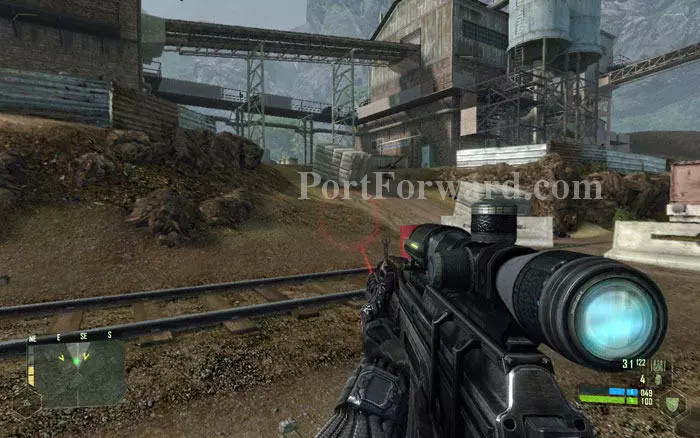
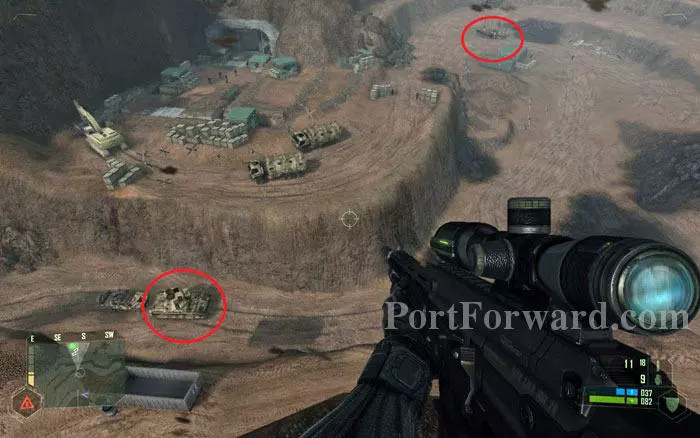
Take out this annoying sniper on the roof of the warehouse just ahead. He is occupying the sweet sniping spot that we are planning to use.
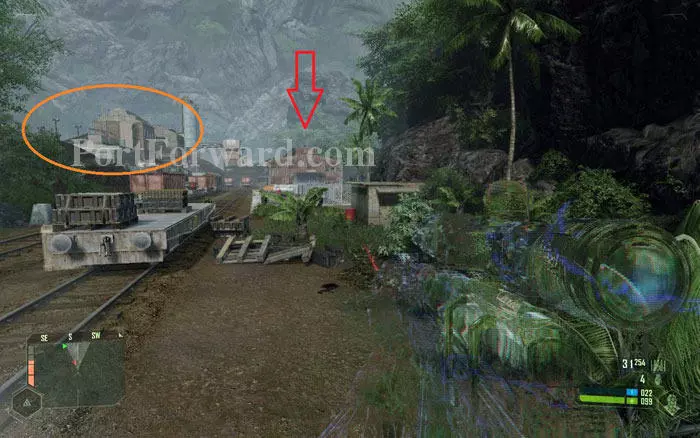
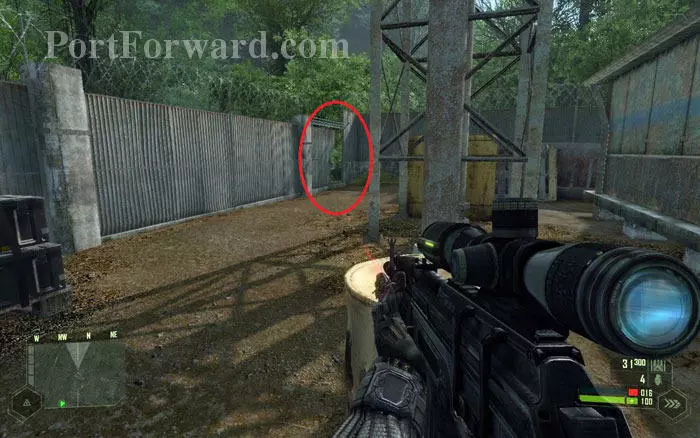
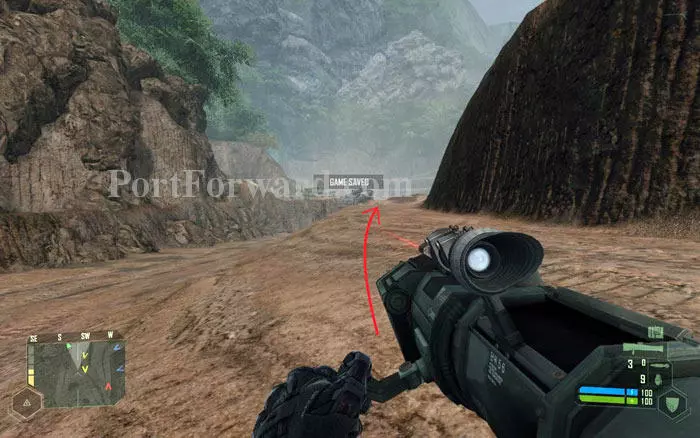
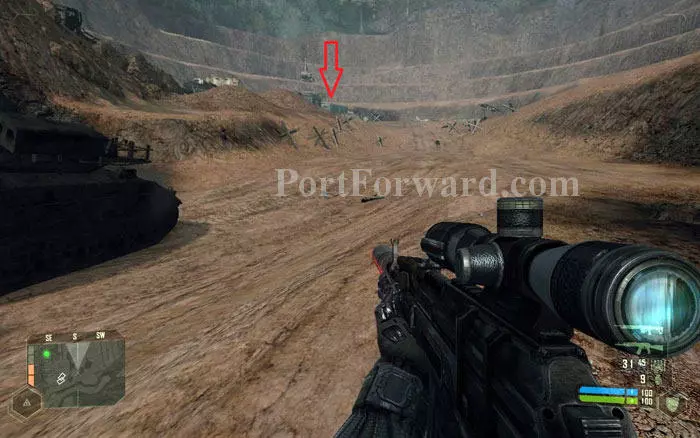
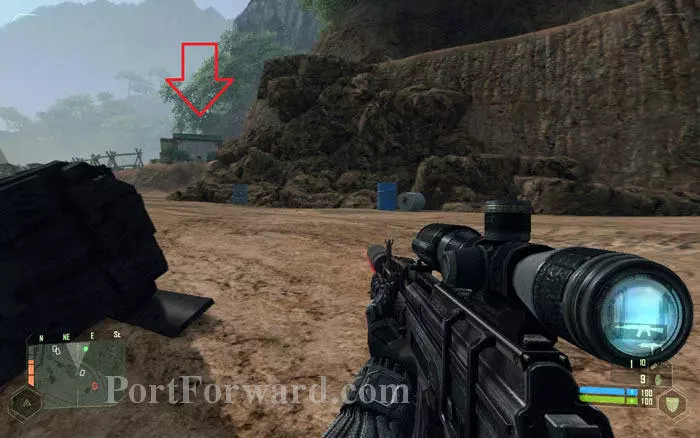
Now move towards the warehouse (red arrow). The orange circle marks the crushers, which is crawling with all the KPA menace that forced us to use this backdoor entrance.
Sneak towards the warehouse without being spotted by the bad guys on and around the crushers. You can see the density of KPA forces there in your radar.
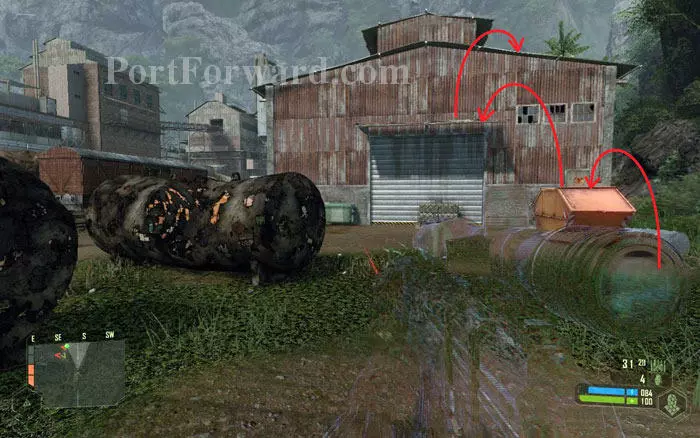
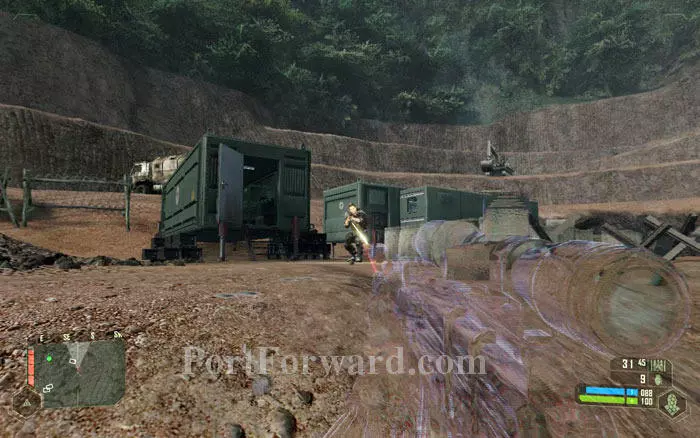
Using strength mode, hop up to the roof of the warehouse using the several objects and ledges as shown in the picture.
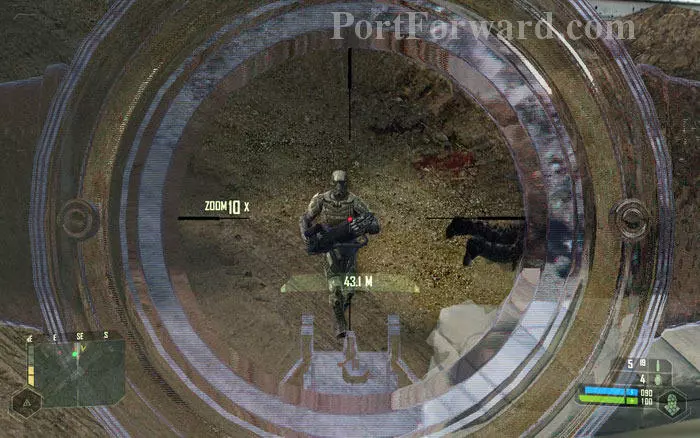
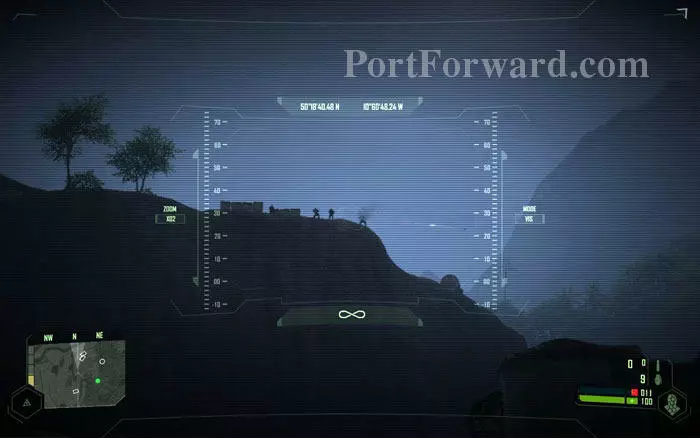
Once you are on the roof, crouch and use the binocs to scan the area. Look for Nanosuited KPA soldiers. There are two with Sniper rifles and two with Miniguns. Yes, Miniguns!

The red circles mark the approximate locations of the two Nanosuits whom you can see from here. Another two, wielding miniguns, will be walking around on the ground on the other side of the buildings. The yellow rectangle marks the catwalk, where two machine guns are mounted.
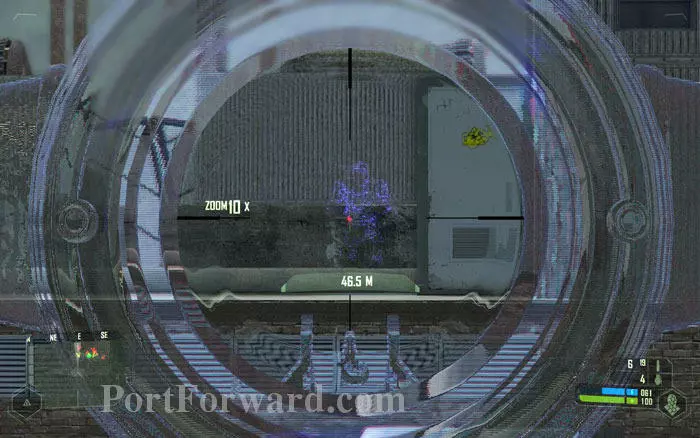
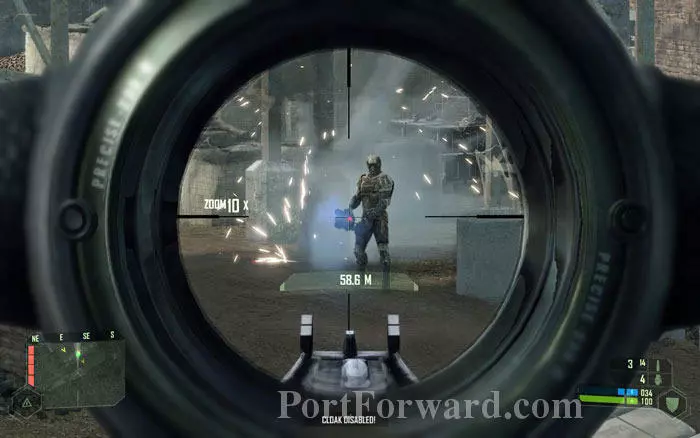
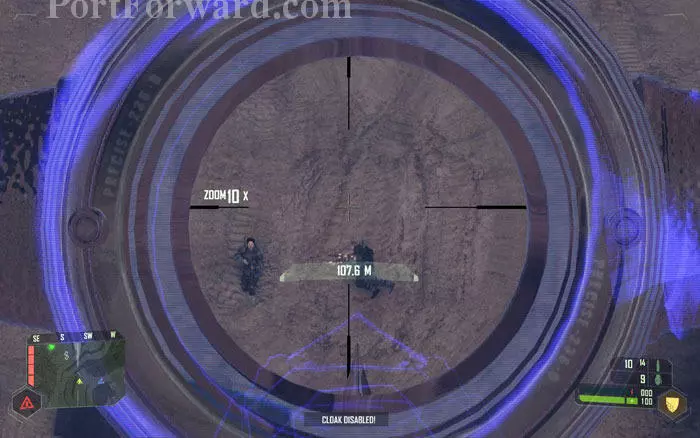
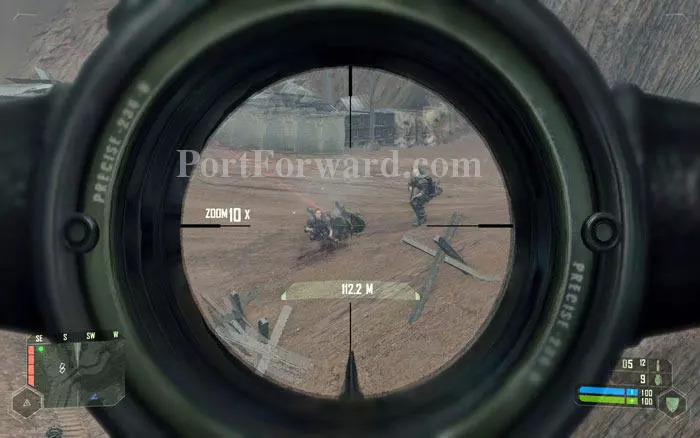
This is one of the Nanosuited guys in cloak mode. It's time to make use of the Gauss rifle. Attach the sniper scope to it and take aim.
One headshot or a couple of body shots with Gauss rifle will eliminate the Nanosuits. Once you start firing, you'll have the KPA's undivided attention so crouch and look for next targets fast.
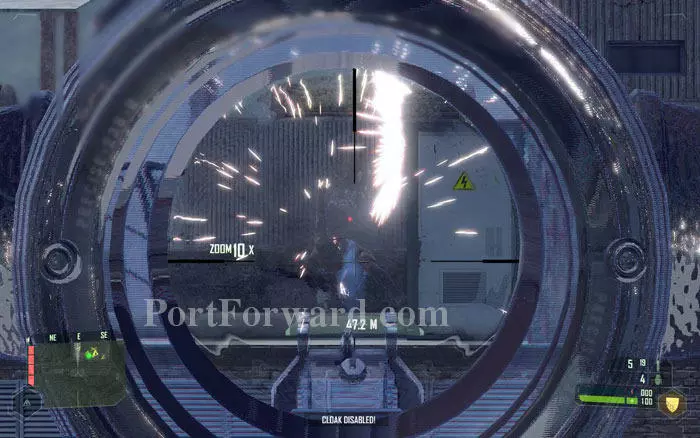
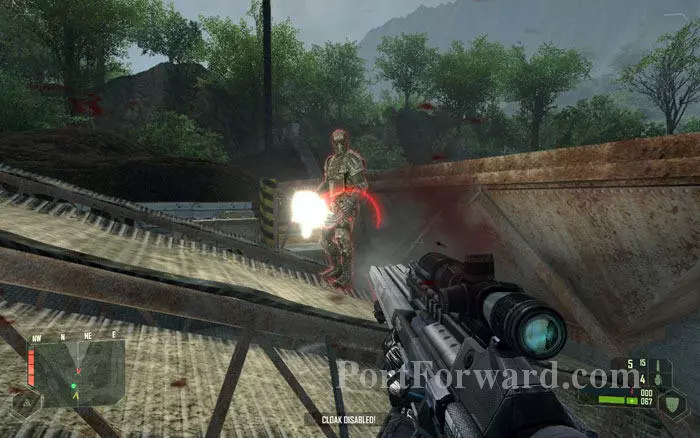
Beside the Nanosuits, the biggest threats are two machine gunners on the catwalk joining the two large buildings. Use the Gauss rifle on them to quickly wipe them out.
Retreat to the back of the roof if you draw too much fire. Once things cool down, come back and take out the next Nanosuit.
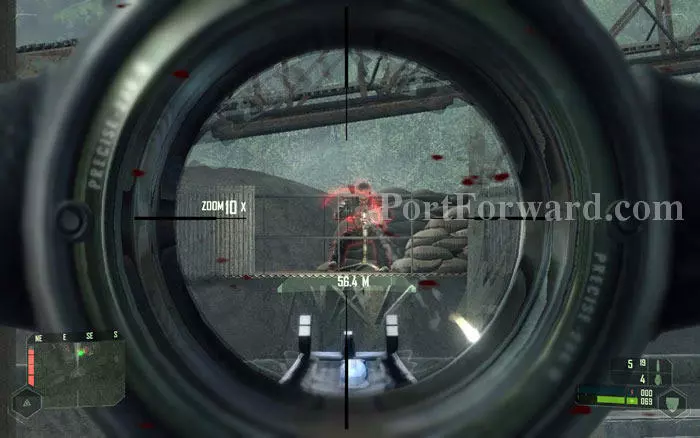
The Gauss rifle sure comes in handy against the 'Suited up' Koreans.
When regular KPA show up, take them out the usual way, with FY71.
By now the Nanosuits with miniguns will come in looking for you. They are slow but dangerous so eliminate them FAST.
They do look scary with those big guns don't they? Well after killing them you can have the miniguns.
Sometimes one of the Nanosuits will choose to stay at the crusher, in which case you'll have to hunt them down.
Once the area seems quiet, move in to the area marked in your map near the crushers. As you approach this spot, VTOL pilots will radio in and you'll be asked to make sure the area is clear.
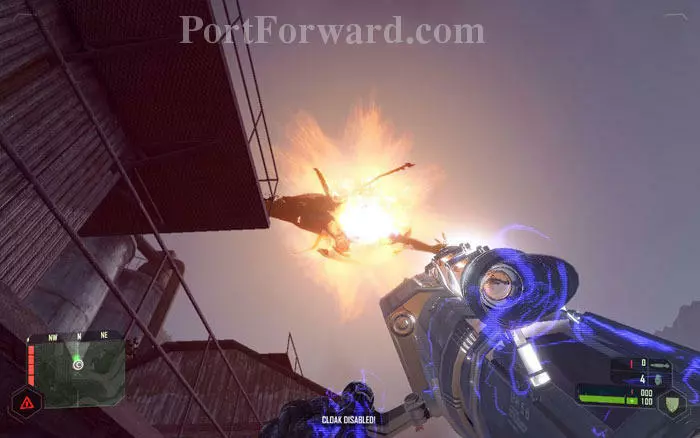
As you roam around the crusher yard looking for any remaining KPA, a chopper will fly in. Bring it down with missiles as usual.
Gather ammo lying around the area. Once you take out the last KPA presence here, this part ends.

A couple of VTOLs will fly in to the landing zone that you just cleared.

Several Marines will come out saying "We'll take it from here". Don't get any ideas; they are just going to 'take' the refinery that you have already secured.
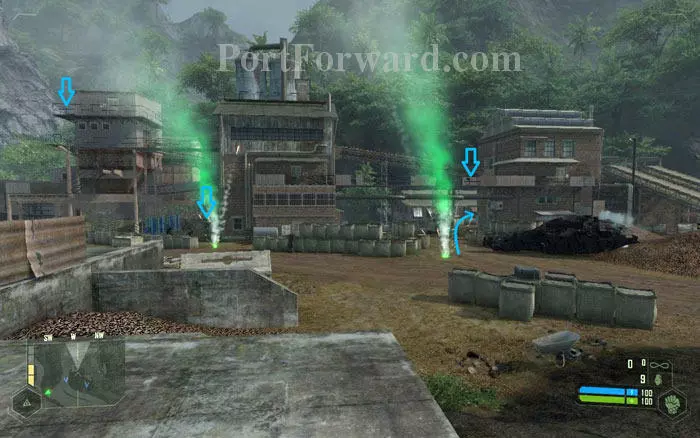
You have to continue being the one man army and proceed alone. Next target is the mine entrance. Before leaving, search the area and restock on weapons and ammo. Blue arrows indicate locations of weapons.
Get yourself a new missile launcher. The Gauss rifle must be out of ammo by now so swap it for the precision rifle.
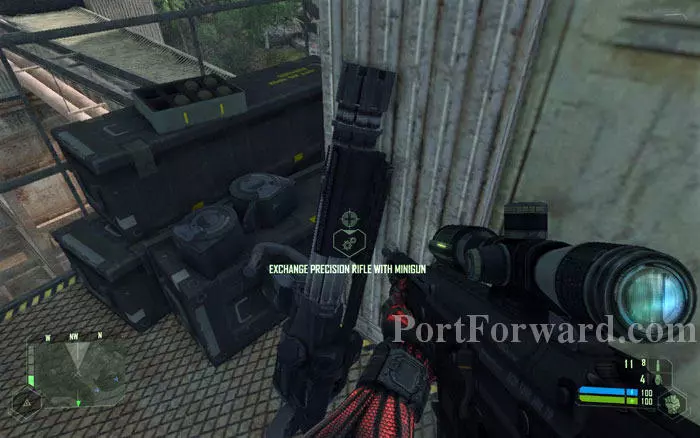
On the upper balcony of the building to the south, there is a minigun. It's a fancy weapon to have but it's not going to be a big asset. The precision rifle is recommended instead.
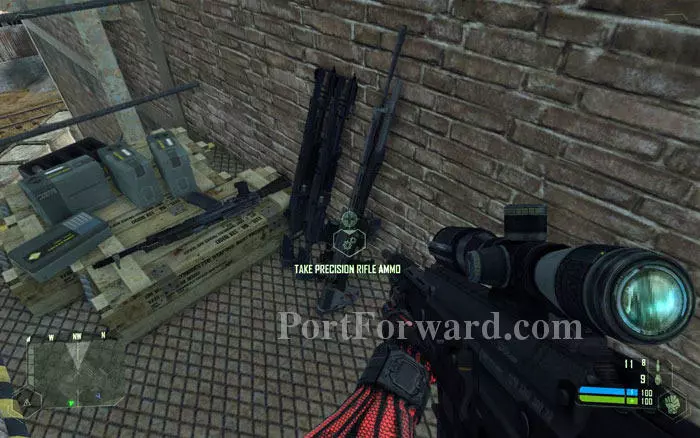
On the lower balcony of the northern building you'll find a precision rifle. Take it along with the other goodies.

Once you are packed up and ready, head out through the path where a VTOL is standing.
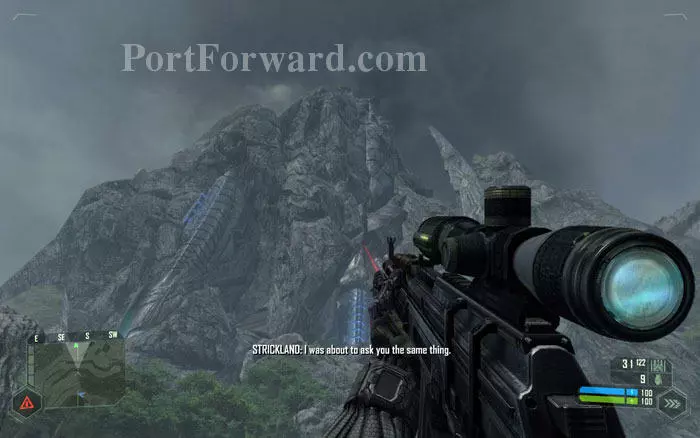
Here you can have a good look at the big strange mountain we have been seeing from the beginning of this chapter. Is that some alien structure hidden inside the rocks? We'll soon find out.
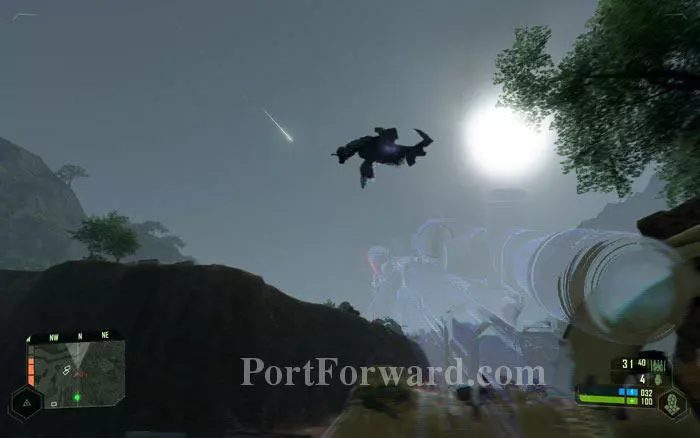
Move close to the edge of the cliff where the sand bags are. Some things are coming out of the mountains!
If you quickly look through the binocs, you can see that the 'things' are flying Aliens, like you'd have guessed. Luckily they are not after you.
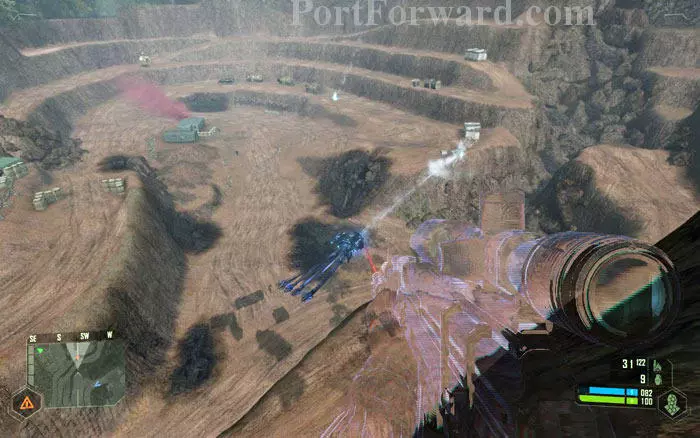
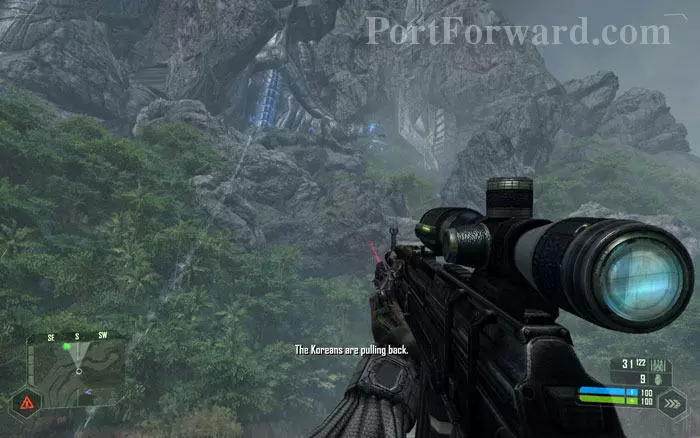
The Aliens will circle around the hollowed out area firing at the KPA forces guarding the mine. Now this is fun to watch!
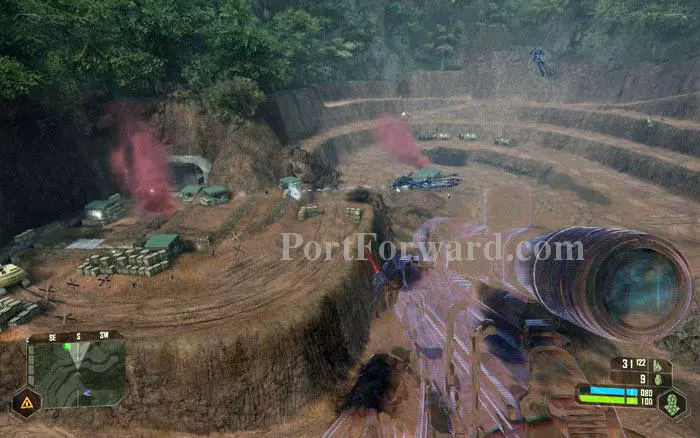
Note the heavily fortified mine entrance. That is where you have to get in eventually.
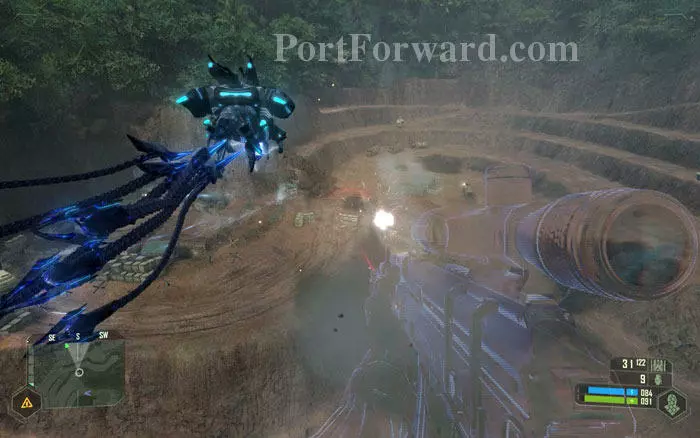
This looks like the same type of Alien that we saw in the earlier chapters. Don't bother shooting at it; it doesn't even care about you.
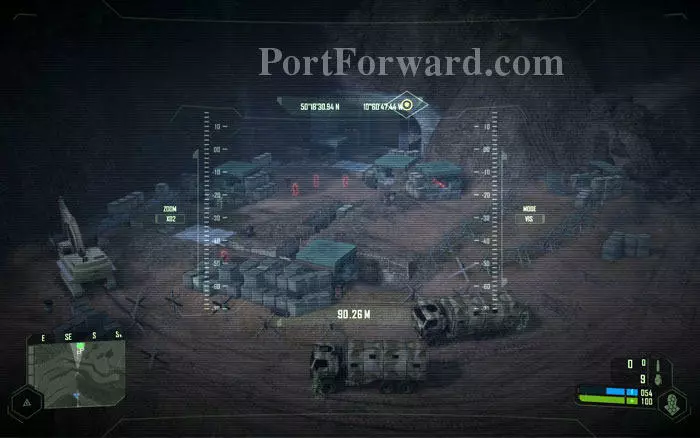
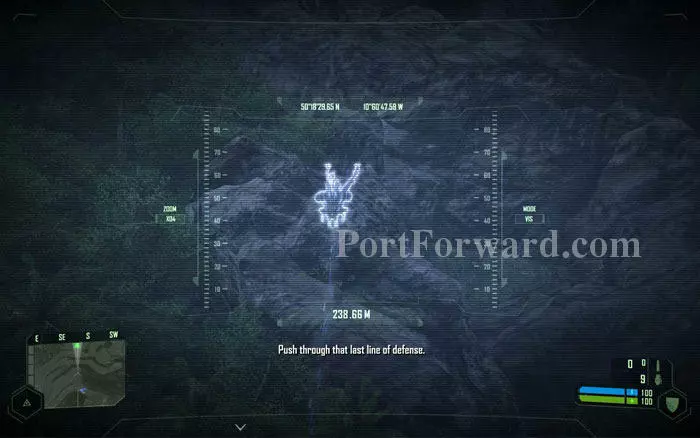
Once the Alien is gone, use your binocs to have a good look at the mine entrance. KPA are well dug in there.
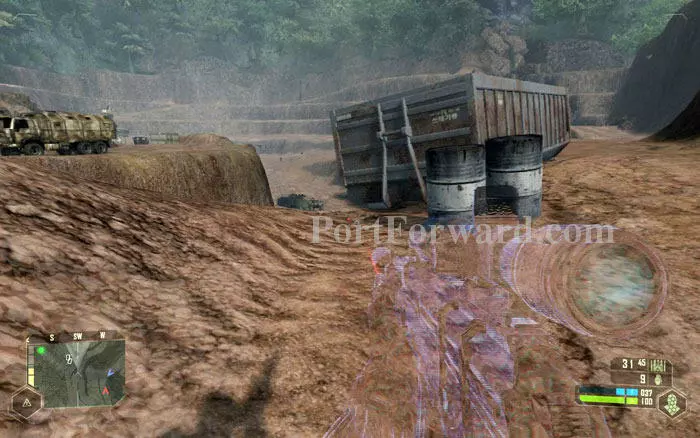
There are more soldiers, a few Jeeps and a couple of APCs in the path leading to the mine entrance. Stay in cloak mode while you watch them to avoid being fired upon by the nasty APCs.
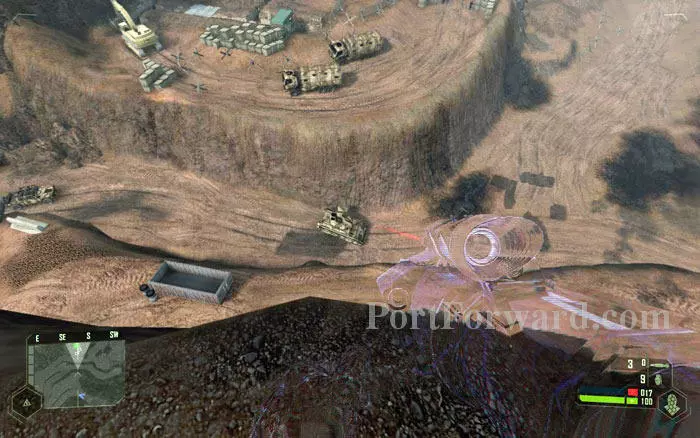
You don't want that APC around when you are making your way to the mine entrance. So use missile launcher and destroy it. Two hits will do it. Use the remaining missile on the Jeep.
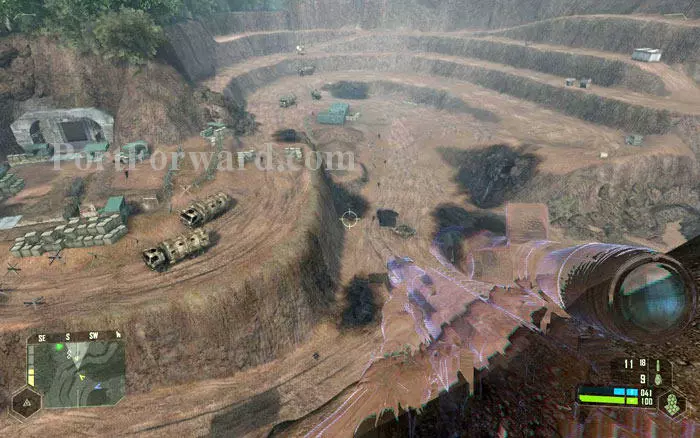
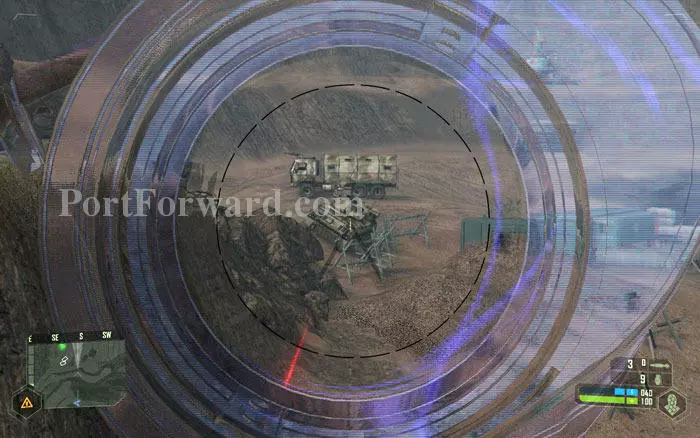
Now you may be tempted to snipe the KPA soldiers crawling like ants in the depth. But if you do so the machine guns and remaining APC are sure to return fire.
If you insist on sniping, pick out the guys roaming around the open path leading to the mine entrance. There are too many guys dug in at the fortified area, so it's not practical to kill them all.

Sooner or later a few soldiers will come up to check who is shooting at them from above the cliff. If they do, take them out. Now take the Jeep and go down the slopes marked by the arrow to get to the lower level.
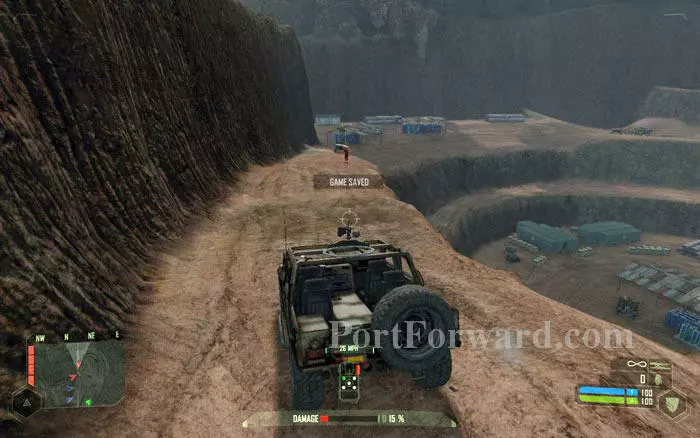
Watch out for scattered KPA guys. You don't have to find a proper path to get to the bottom level. Just flip the Jeep down the levels or slide down on foot.
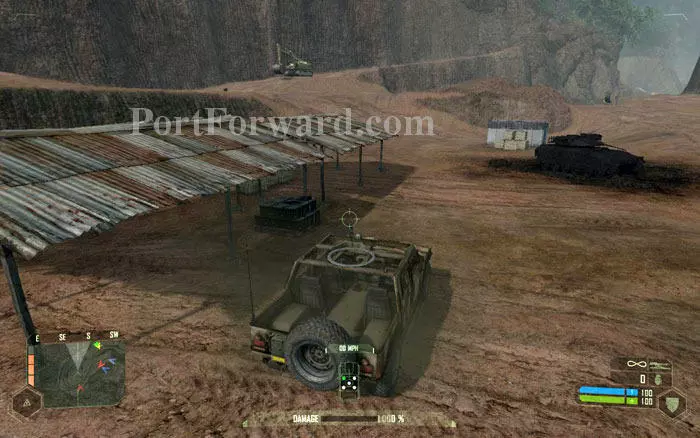
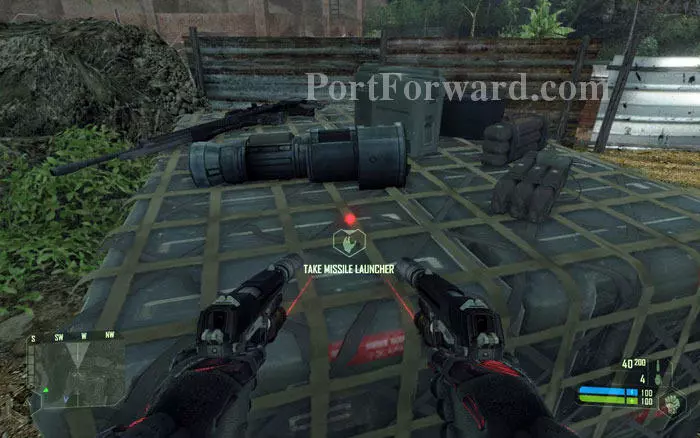
At the bottom you'll find a few sheds. There is a stack of crates under one of the sheds. Approach the crates.
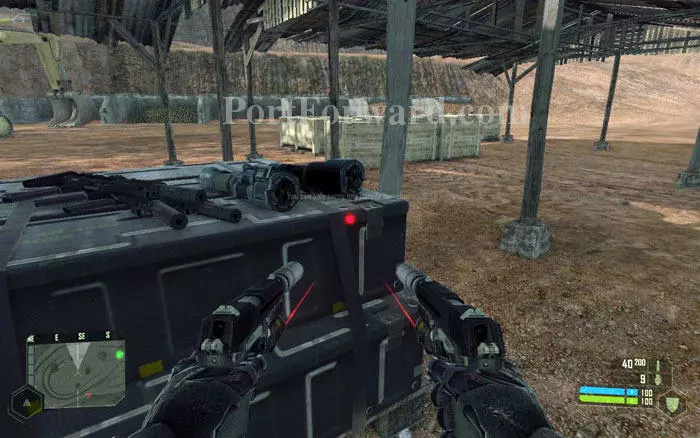
You'll find missile launchers on top of the crates. Take one. It's needed to take care of the APC near the mine entrance.
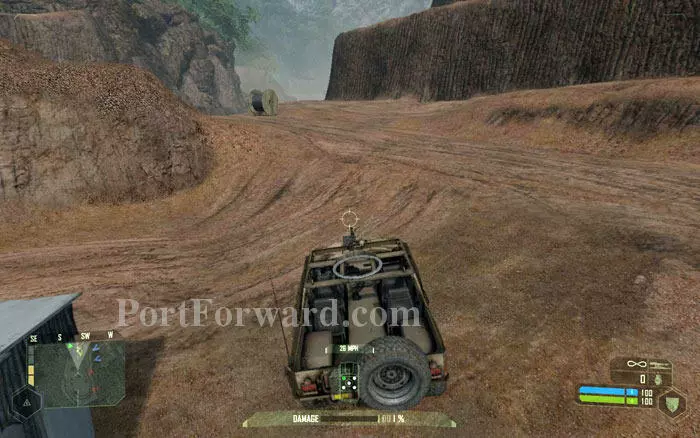
Now proceed to the entrance. If you have not destroyed the first APC, You'll meet it here.
Once you see the fortified mine entrance ahead, abandon the vehicle and proceed on foot. It's too dangerous to drive ahead in a Jeep. Walk and get behind cover as shown by the arrow.
Using the objects around here for cover, move to a position from where you can see the APC.
Once you spot the APC, use the missile launcher to quickly destroy it.
Once the APC threat is eliminated, you can breathe easy. Take out any patrol Jeeps that annoy you with the remaining missile.

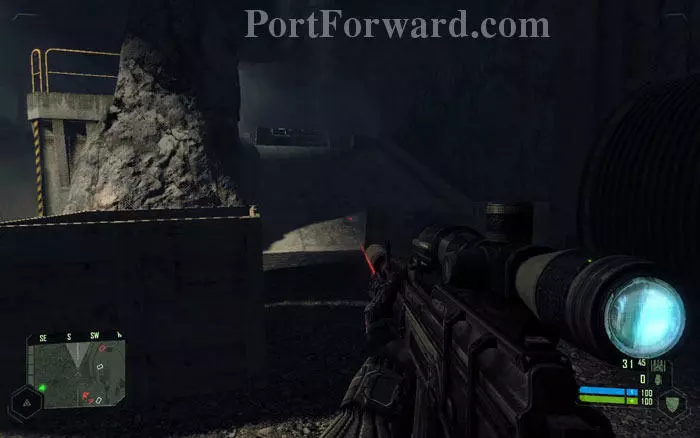
Now it's sniper time. Take the precision rifle and crouch at a good spot where you won't be seen by the machine gunners at the mine entrance.
Take out any enemy soldiers you see and clear that path ahead.
Now move in cautiously towards the trailers.
Clear out anyone in your path and get inside the open trailer.
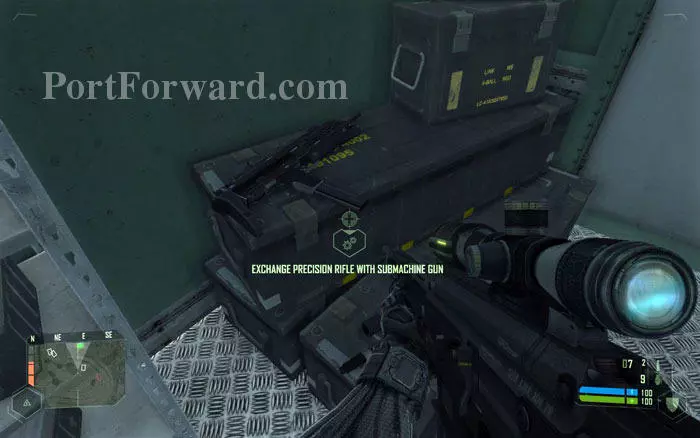
No need of the precision rifle any more. So swap it for the SMG. Also pick up grenades and FY71 ammo.
Move past the trailer on to the path behind it. The fortified mine entrance is right around the corner.
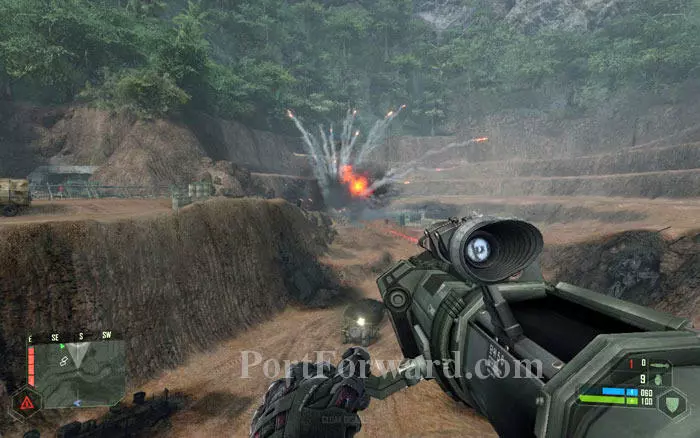
From here, if you look at the cliff where you had been standing when you first saw the mine entrance, you'll find the Marines putting up a long range attack on the KPA at the entrance.

But their support doesn't last long. Soon some dumb KPAs fly in a chopper, only to be brought down by the Marines and crash land right on top of them. The explosion seems to have consumed all the Marines. Ouch! Tragic.
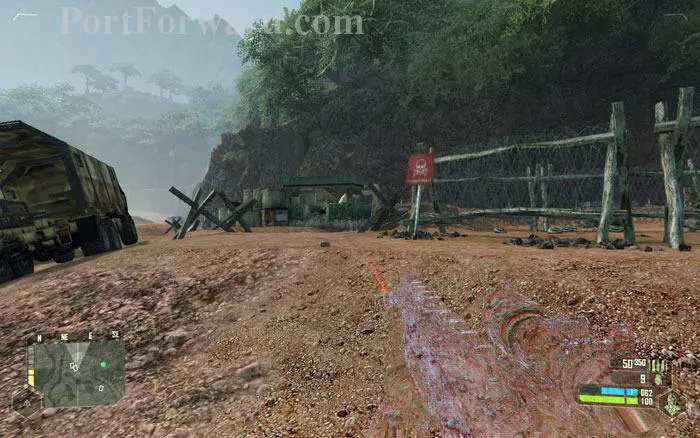
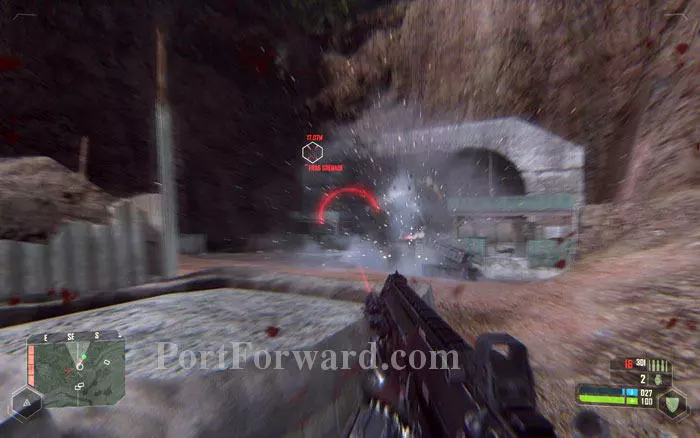
Switch to 'cloak mode' and sneak into the fortification.
Try to get into these trenches before your suit power runs out. The trench gives you some cover.
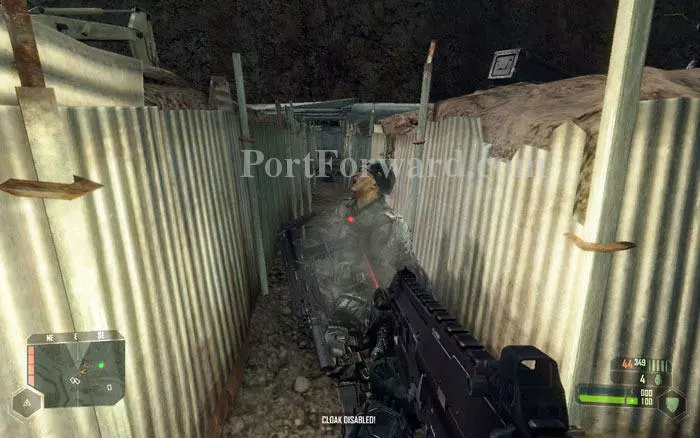
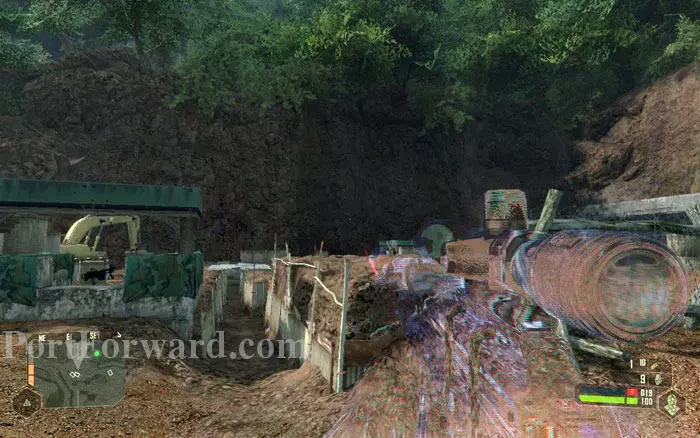
From here, there is no easy way. You can try to be as stealthy as possible, opening fire only when needed.
Or bombard the place with all the explosives you got.
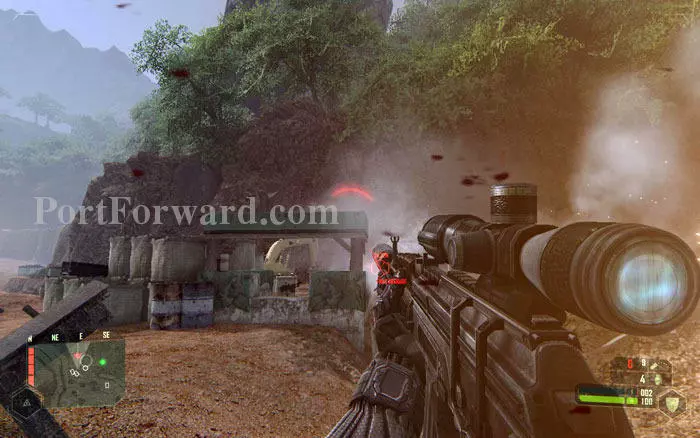
Don't be shy to use missiles if you're pinned down by enemy gunfire from a distance.
You will stumble upon one or two Nanosuited enemies. To take them out, empty your clip at them in a long burst of fire till they drop dead. The SMG is best for this.
An accurate burst of incendiary bullets will also bring them down fast.
If you find it hard to get through here, wait a bit longer before entering the trenches. A VTOL will fly in supporting you and drawing the KPA's attention away from you.
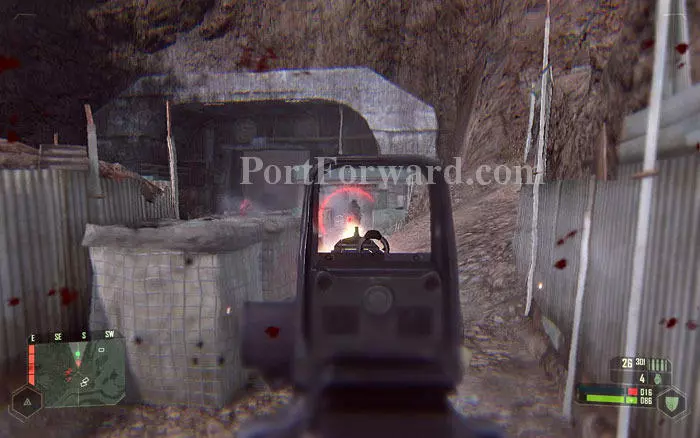
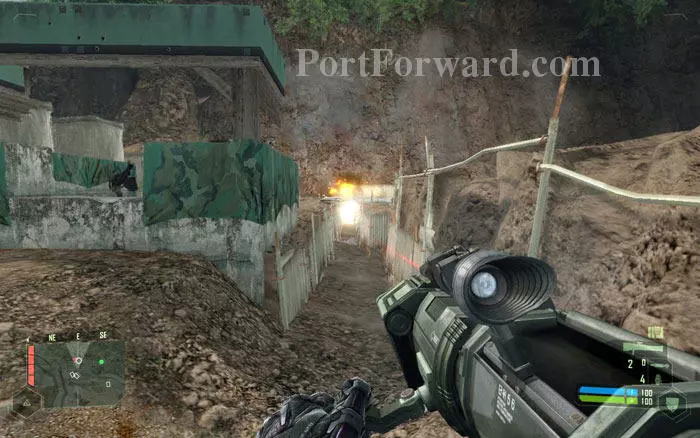
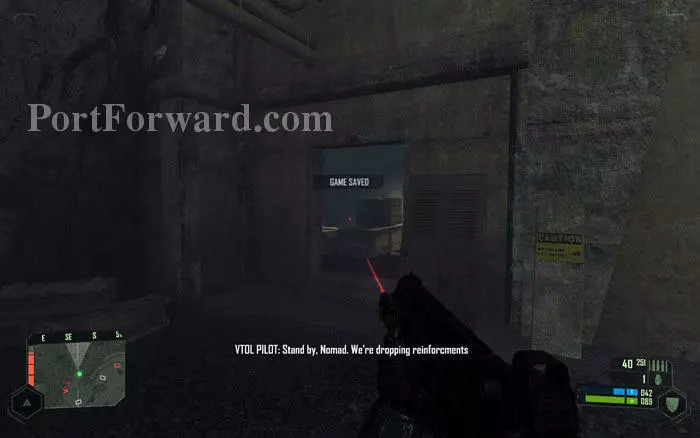
The trench will lead you to a doorway to the inside of the mine. Press forward, blasting the enemy.
Throw a few grenades to trash the machine gun nests and run straight to the door.
The number of KPA here seems endless. Run inside with your gun blazing.
Once inside you are relatively safe. Take the door to the left. Caution! More bad guys on the other side.

Several KPA soldiers will be waiting for you in the darkness. Throw in a few grenades before you enter so that most of them will be done for.
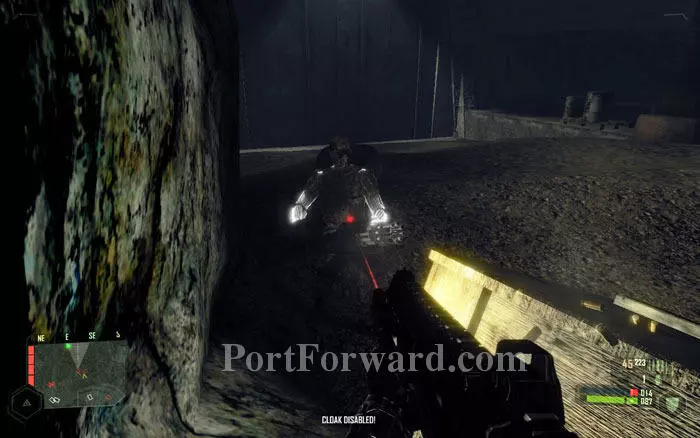
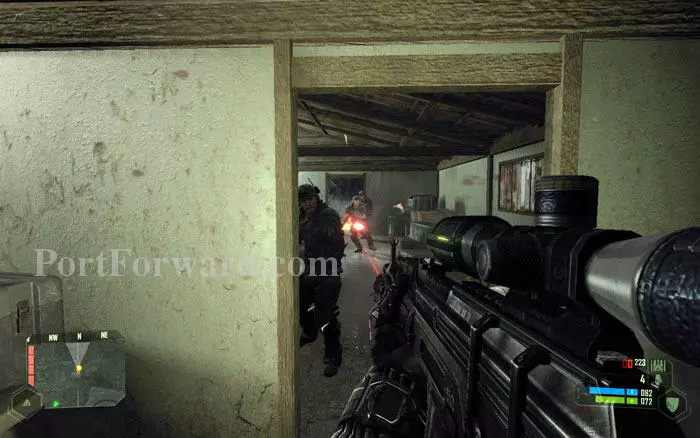
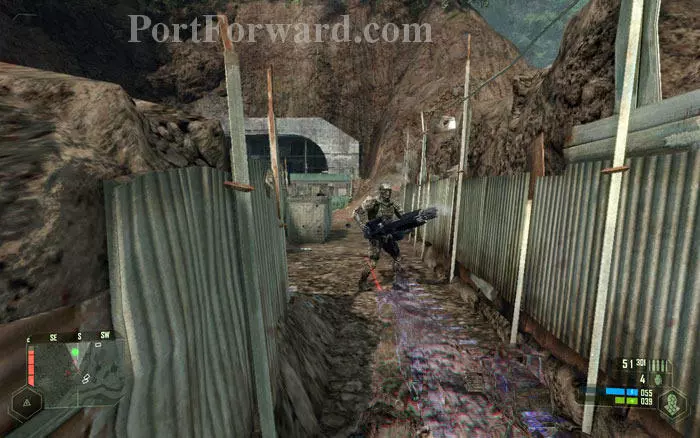
There is also a Nanosuited Korean lurking around. He will be a problem only if he finds you and starts firing his minigun before you find him. Put a clip full of SMG fire or several rounds of shotgun shells through his armor.
Now go up the slope leading to the tunnel with rail tracks. Follow the tracks to go deeper into the mine.
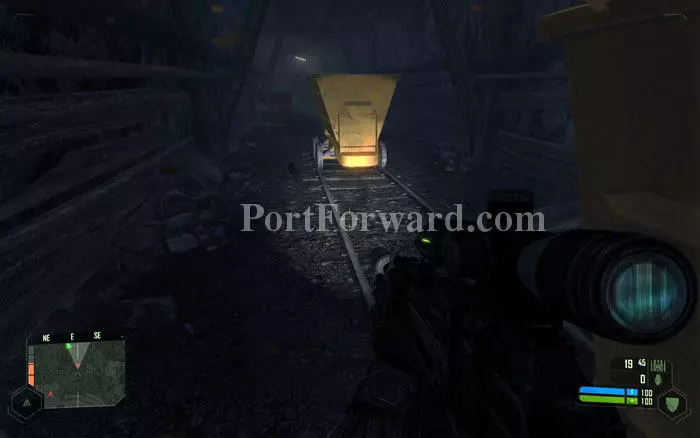
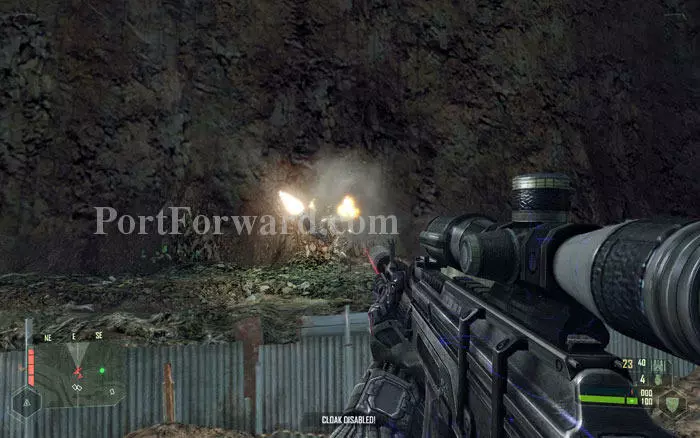
As you proceed past the mine cars, Strickland will radio in, asking you to switch to night vision. But night vision is horrible in almost all games, right? If you think so, Use the flash light attachment on your gun to beat the darkness.
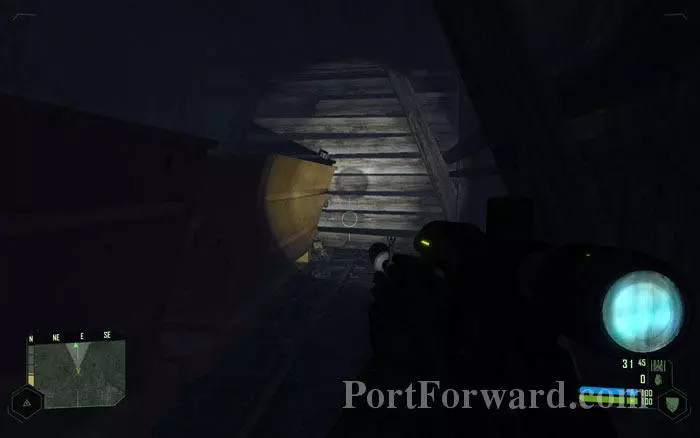
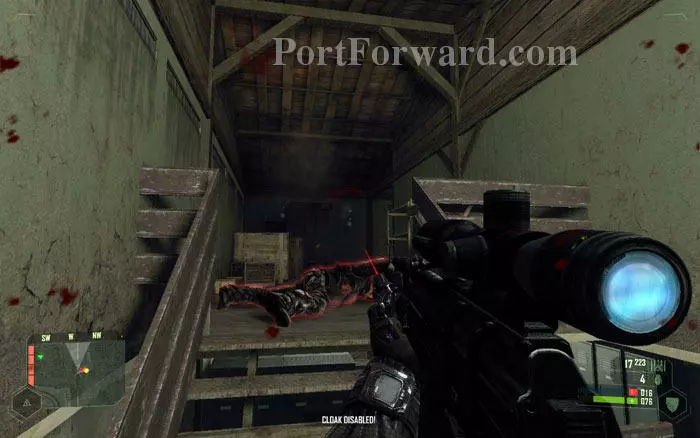
Who's that, hiding behind the mine cars at the end of the tracks? img(212508); Just another Nanosuited Korean. Bring him down. img(212509); Now turn left and proceed to the broken down elevator. img(212510); The elevator doesn't work, but you don't need it anyway. Just drop down to the bottom level in 'armor mode'. img(212511); At the bottom level there is another tunnel. Nothing much to think from here on; just move along the only path you have. img(212512); After a few turns the tunnel will lead you to this rocky area. Climb up. img(212513); Just as you climb up, several rocks will rumble down from the top. Step out of the way or you'll be crushed! img(212514); Move to the middle of the chamber and turn right. There is a gap in your path. Use strength mode to jump across. img(212515); As you make your way through the caves, you'll hear a heated conversation between Helena Rosenthal and General Kyong. That means you are close. img(212516); Run all the way through the cave tunnels and you'll emerge at the target location. Just walk in to the metal platform. A Cutscene ensues. img(212517); In the cutscene, you'll see Kyong, Helena and the other hostage in front of what seems to be the entrance to the alien structure. img(212518); Kyong plans to blow up the entrance and get inside and Helena pleads for him to stop. img(212519); As you watch, two Nanosuited KPA guys sneak up behind you and knock you unconscious. img(212520); When you regain consciousness, you are lying in front of Kyong. img(212521); Your suit has been disabled. Kyong's Nanosuited henchmen are holding you tight by the arms. So nothing to do other than looking around. img(212522); Just watch as Kyong goes on blabbering about the 'temple'. img(212523); More drama as Kyong loses his temper and executes one of the hostages. img(212524); Kyong jumps on the metal platform and orders that the 'temple' door blown up by explosives. What now? img(212525); The Aliens did not like somebody knocking on their door. A discharge of energy from the door shakes up the whole place. img(212526); The blast of energy somehow reactivates your suit. On the other hand, the KPA Nanosuits do not take it so well and all of Kyong's henchmen just vaporize. This is what happens when you buy cheap ripoffs! img(212527); However, Kyong seems to be unaffected and even charged up. And pissed off, of course. He has obtained a minigun and is looking for you. img(212528); The stage is set for what seems like a boss fight. Quickly get out of Kyong's sight and look for weapons. img(212529); You'll be safe under the platform on which Kyong is standing. The blue haze from his suit indicates his position. img(212530); Using 'cloak mode', venture out and find weapons. There are SMGs placed at all sides of Kyong's platform. img(212531); The only available weapons are SMGs and pistols. Get plenty of SMG ammo. Other ammunition is not needed at this point, but pick up all you get anyway. img(212532); You can get to Kyong's level by one of the many stairs. As long as you stay cloaked, Kyong will have a hard time finding you. img(212533); It's not hard to take out Kyong; he has approximately 2-3 times the armor of a normal KPA Nanosuit. The key is to sneak up behind him and empty the clip of your SMG on him. img(212534); Attack Kyong from behind so Kyong can't turn his minigun on you. Try to aim at the head. img(212535); One whole clip of SMG fire will drain his suit armor, if not kill him. Reload and keep firing. No more Kyong! img(212536); Alternately, you can pick up the precision rifle laying on the platform and use it to kill Kyong. To do this, sneak upon the platform and get the rifle, then get down and get behind cover. From cover, take head shots at Kyong. He will die in 2-4 headshots depending upon difficulty setting. img(212537); Once Kyong is dead, Helena will call you from the elevator. Get in the elevator with her. You may want to get the sniper scope from the precision rifle, but no other ammo needs to be looked for. img(212538); The whole place starts shaking as you ride the elevator up. Time for some chit chat. img(212539); As the mine starts collapsing, A VTOL hovers down in an attempt to rescue you. img(212540); The VTOL guys manage to retrieve Helena, but they don't have time for you. Isn't that great? img(212541); The VTOL pilot tells you to find another way out of the mine. img(212542); As Nomad curses his luck, the elevator drops down and the screen blacks out.
More Crysis Walkthroughs
This Crysis walkthrough is divided into 11 total pages.


