
This Crysis walkthrough is divided into 11 total pages.
You can jump to nearby pages of the game using the links above.
Recovery
Proceed with your remaining squad members to the KPA communications centre nearby.
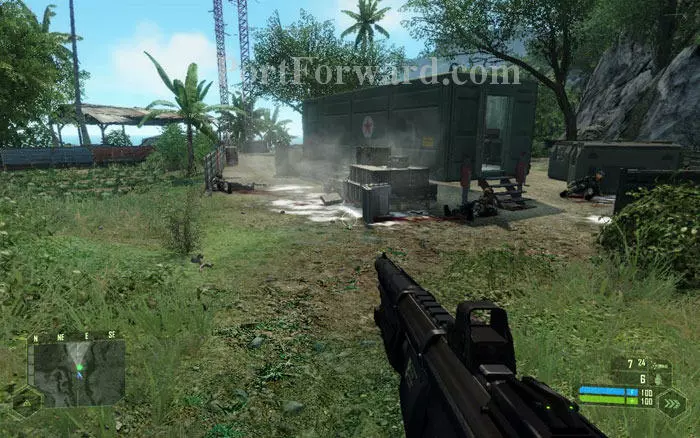
You'll find that the Alien has already taken care of all the KPA guys here. Stock up on ammo here.
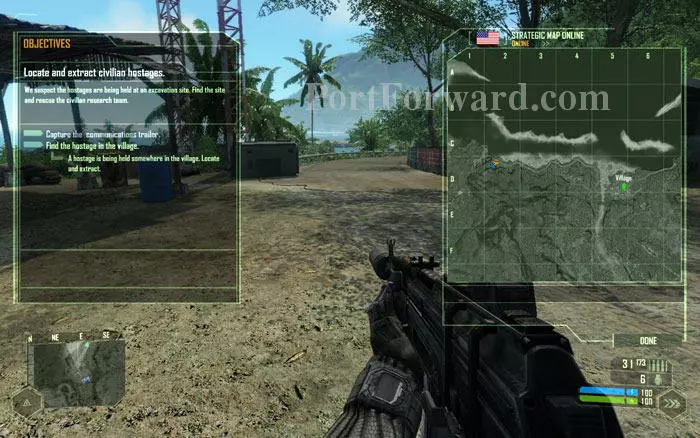
After your team checks out the camp, Prophet will give you new objective -- Rescue hostage from the village to the east. Psycho is going to take a separate path, so you are alone again. Proceed along the road to the east.
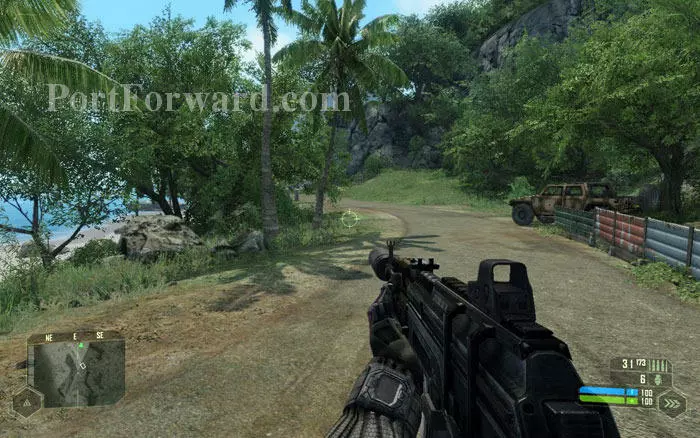
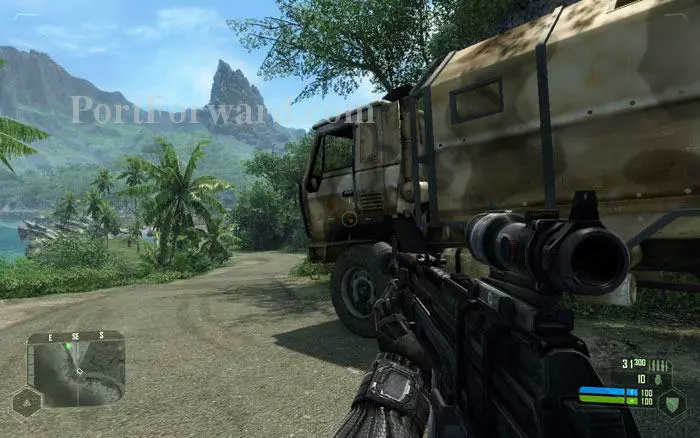
After a short walk down the road, you will get a ride. Take it or continue on foot. This walkthrough assumes that you drive.
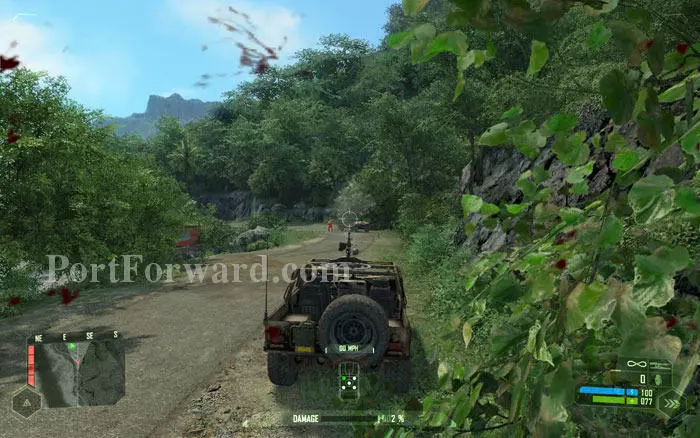
Soon you'll come across an enemy patrol Jeep. Trying to blow up the Jeep itself will take a long time so shoot the soldiers.

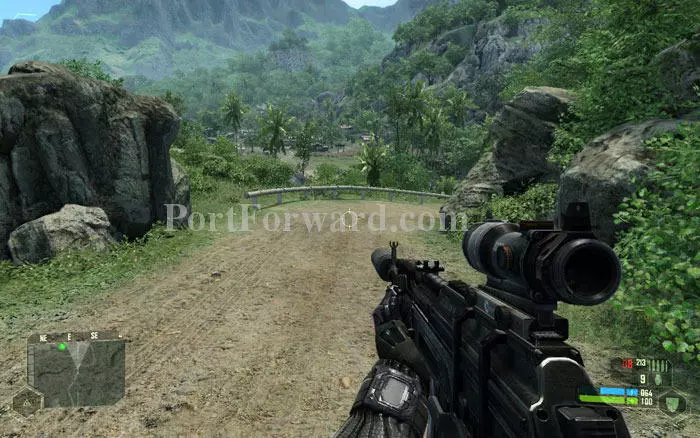
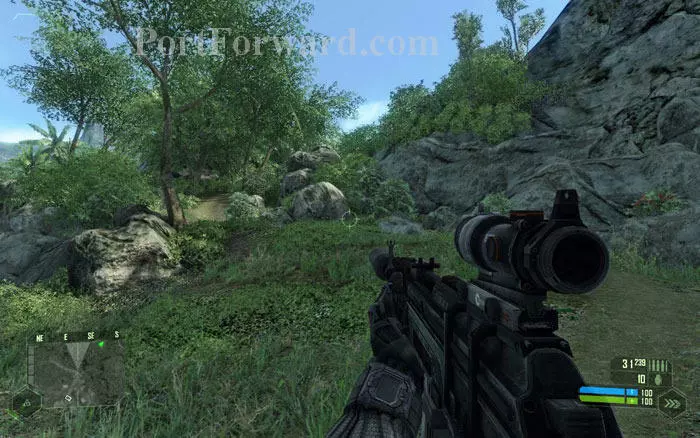
Go ahead and you'll find a small path to your right going up the hill. Take out the enemies coming down this path, as well as those coming from the road ahead. Hold here a bit longer to lure more prey to your trap.
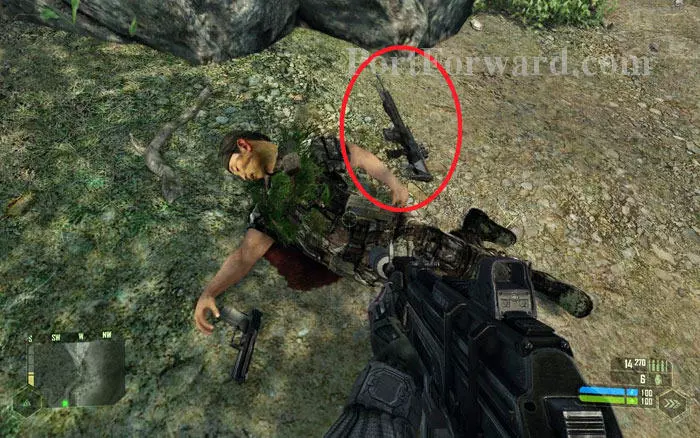
One of the guys you just killed is a sniper. If you can find his 'Precision rifle' swap it for your FY71 rifle, just to obtain the 'Assault scope' attachment and swap again back to FY71. You only need the scope. Precision rifle is a useless weapon.

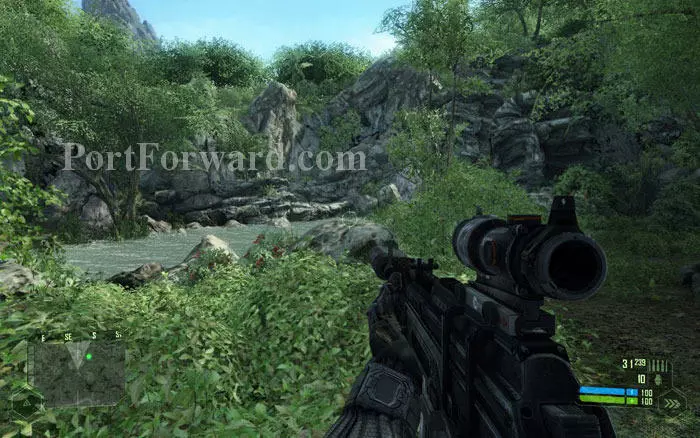
Attach the assault scope to your FY71. Note that this scope is for medium range sniping only. From here you may go up the hill on foot, but be warned, you will have to deal with a lot of KPA guys on foot. An easier way is described below.
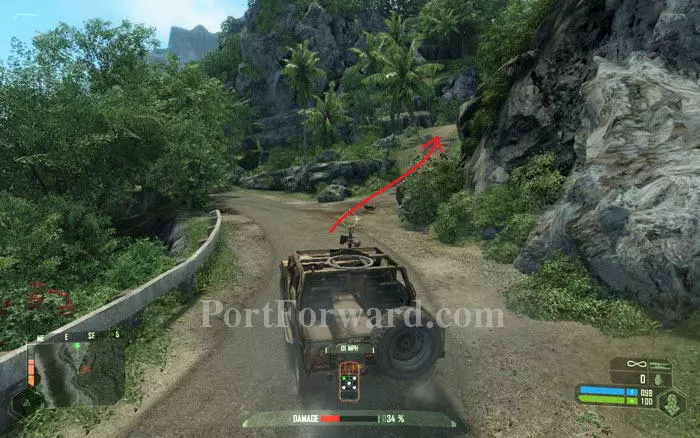
Get back in the Jeep and move forward along the road. You will find another, wider path uphill to your right.
If you continue along the road, you'll end up in front of a checkpoint with two fixed machine guns.
Instead, quickly divert to this path and climb the hill. We'll deal with the checkpoint later.
Note that pressing 'sprint' key (L SHIFT by default), gives the Jeep a temporary turbo boost that helps climb the hill.
Make your way to the top of the hill killing any KPA around. At this time you will receive a secondary objective from Prophet.
The secondary objective is to access the KPA tactical network. You'll find the computer terminal for this in the building marked by the arrow. It's located at the topmost part of the hill.
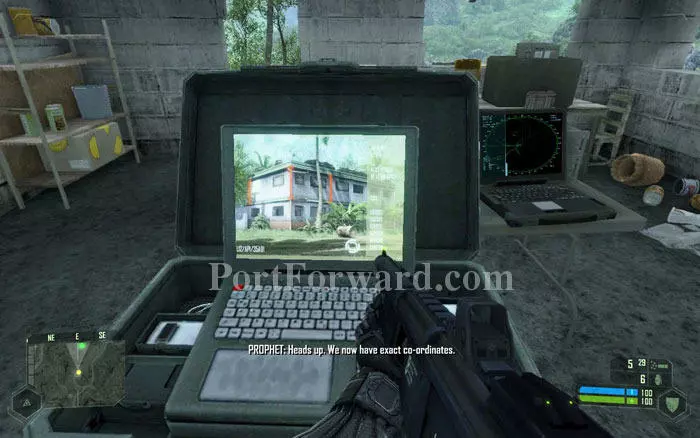
Get inside the building and use the computer terminal to complete the secondary objective. You will know that the hostages are held inside a school building (shown in the display) inside the village.
Step out of the room and you'll see the village - our primary objective - at a distance.
Turn around to find a missile launcher and a precision rifle leaning against the wall. Pick up all the goodies here. Still, we don't want the precision rifle.
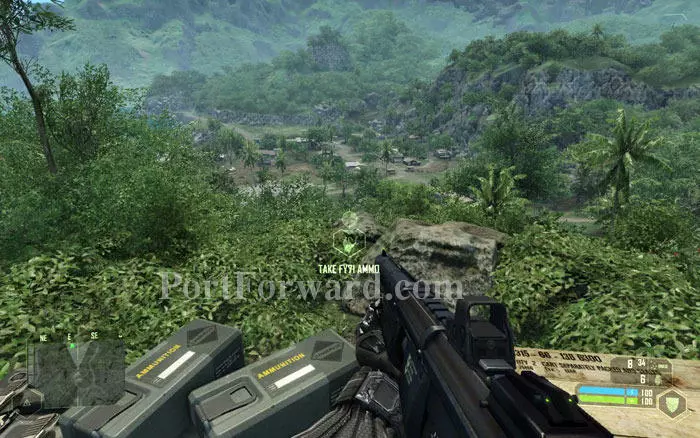
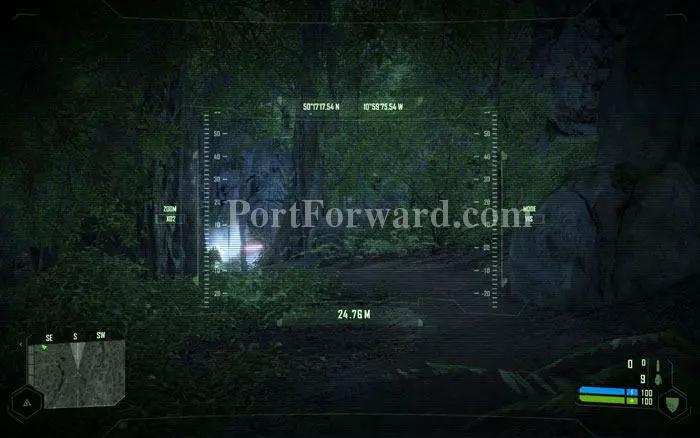
You may be tempted to snipe/ missile the village from here, but that's not going to help. It's still too far from here. Instead, position yourself somewhere with a good view of the village and use your binocs.

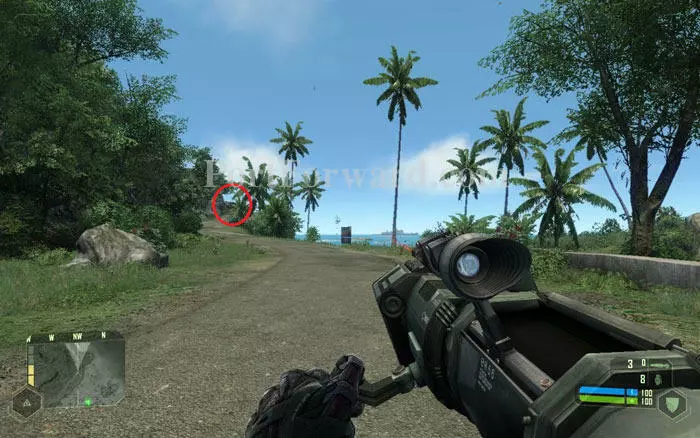
Using the binocs, tag all the enemies you can see. The village is well defended by several fixed machine guns (like the ones circled). Prophet will tell you that there is a gas station in there which you can blow up to cause a distraction. It's marked by the arrow.
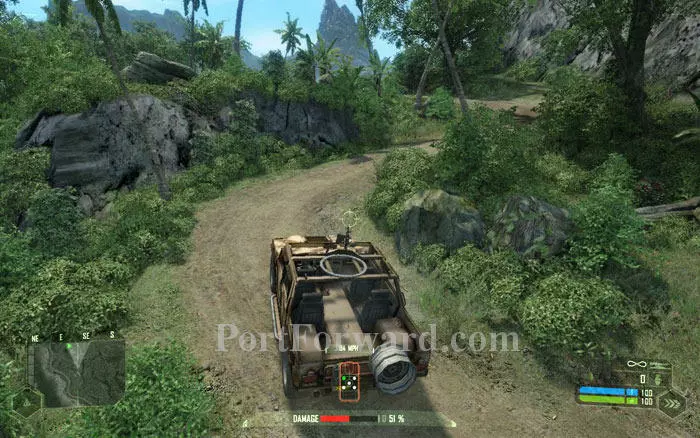
Using this path to the right of your previous location, or by just swooping straight down the hill, get to the tarred road east of you.
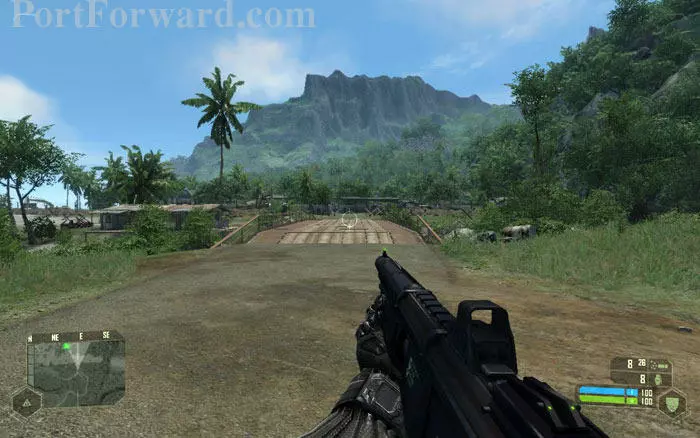
From here you can see the village across a bridge. Don't try to just walk in there, as the guys with fixed machine guns will spray you with lead. Getting past the defenses of the village is tricky, but with the proper tactics you can do it. In fact you can do it in style if you know what you are doing.
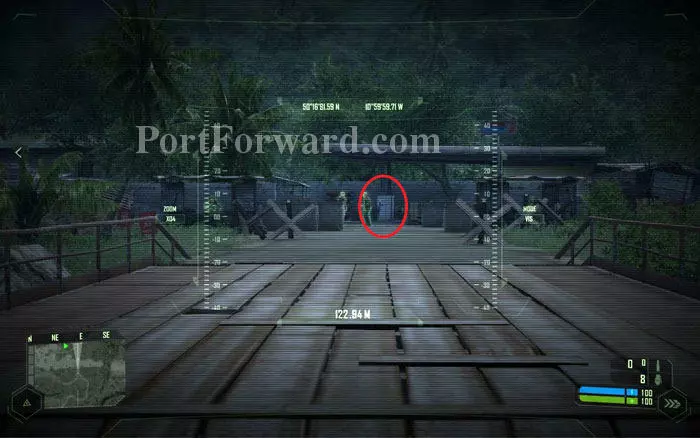
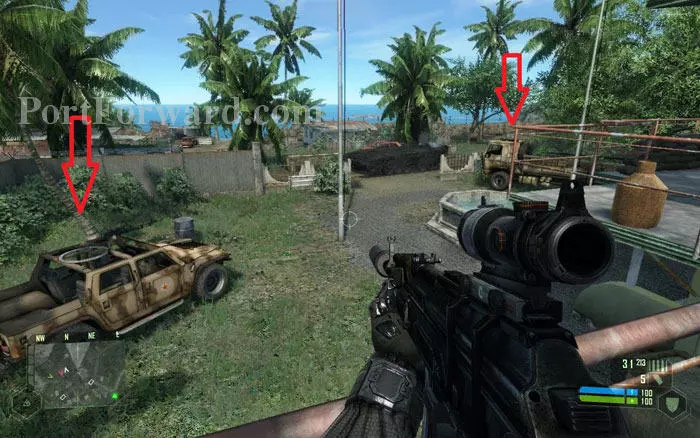
One method is to get as close as you can without getting fired upon, using the missile launcher to blow up fuel dispensers (circled) causing a distraction and sprint in using 'speed mode'. This works just fine. But a safer alternative is described below.
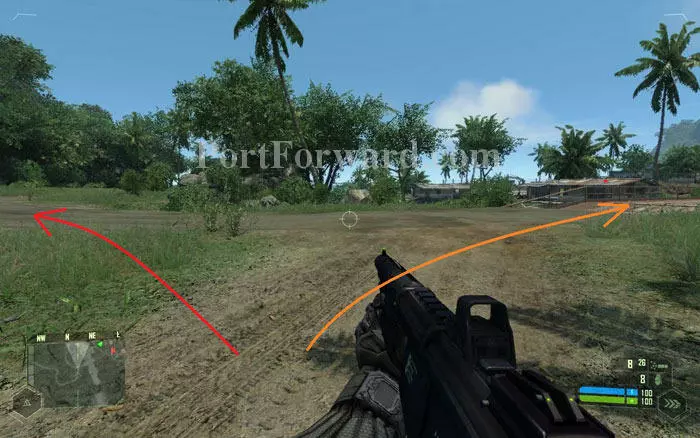
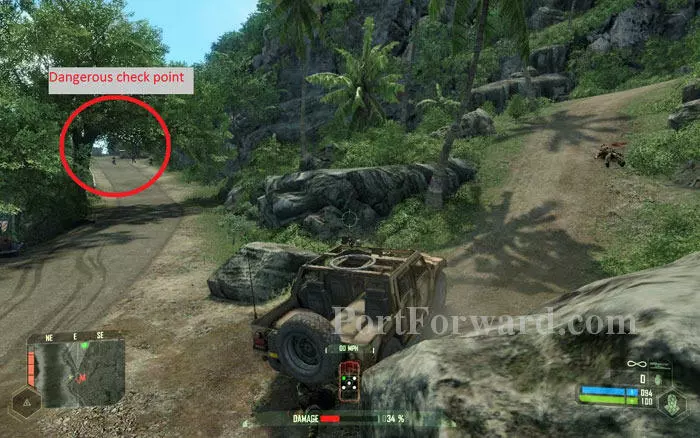
Instead of going towards the village (shown by orange arrow), head north along the asphalt road that we had used earlier (red arrow). Our destination is the 'dangerous' checkpoint we had avoided previously.
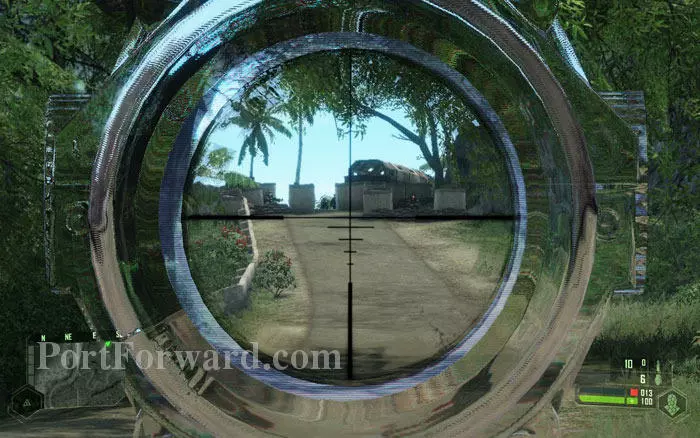
Continue along this road and you'll see a large truck at the far end. It marks the rear end of the check point.
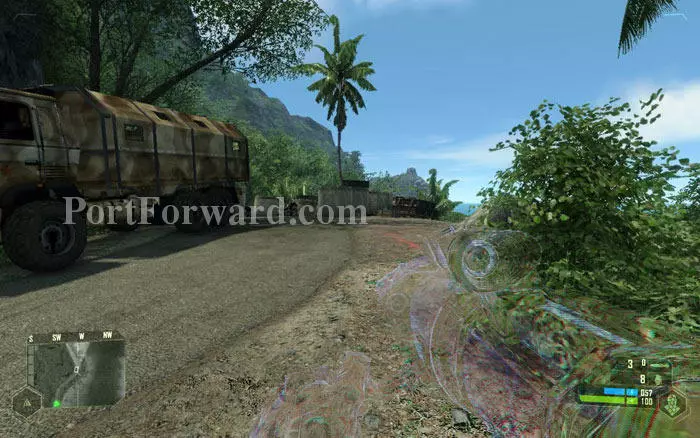
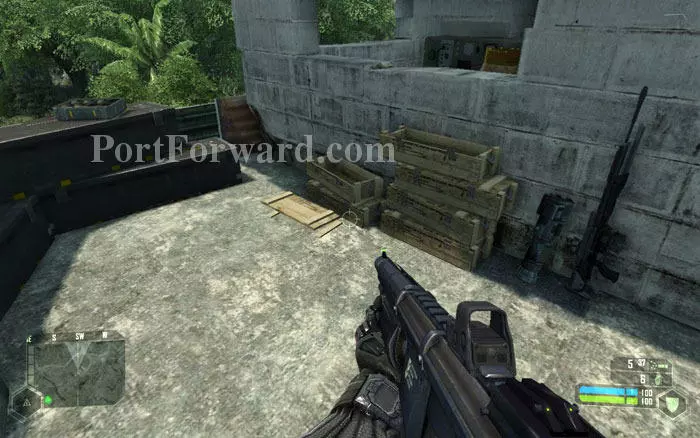
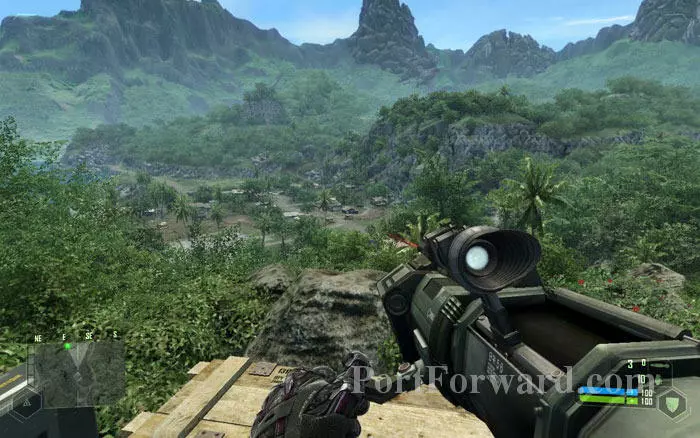
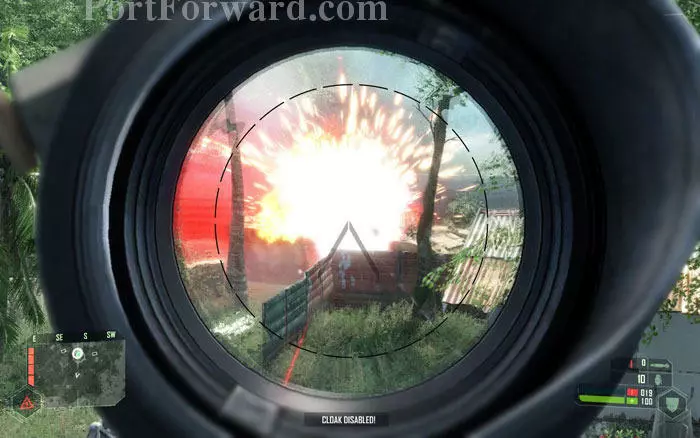
Sneak closer and get behind the clueless Koreans guarding the checkpoint. There are plenty of them dug in there so we can try the newly-acquired missile launcher! Note that the launcher is of the 'use and throw' type -- 3 missiles are preloaded in each launcher. You can't pick up ammo; instead you pick up new launchers. Don't worry there are two more launchers in the checkpoint.
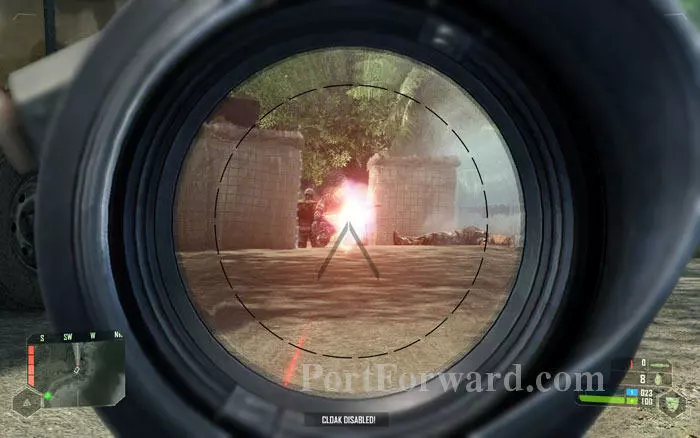
Blast your enemies with missiles. Yes, the launcher has a scope!
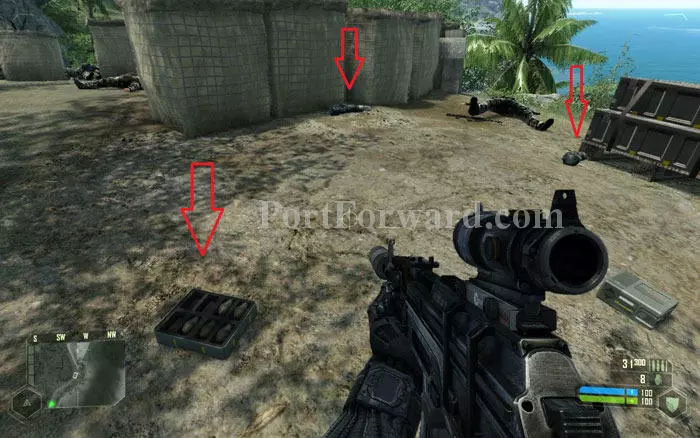
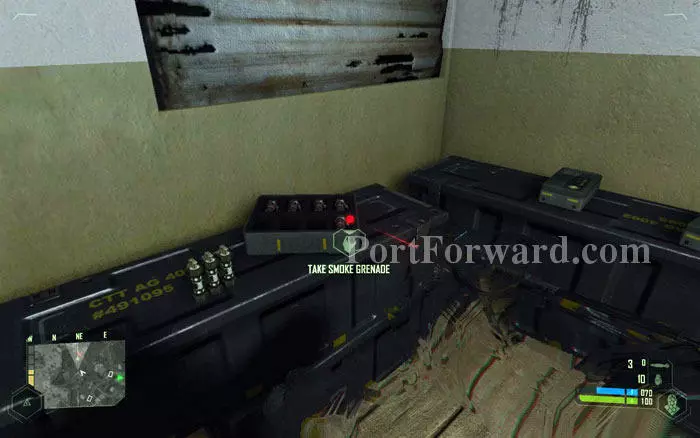
You'll find more launchers and grenades here.
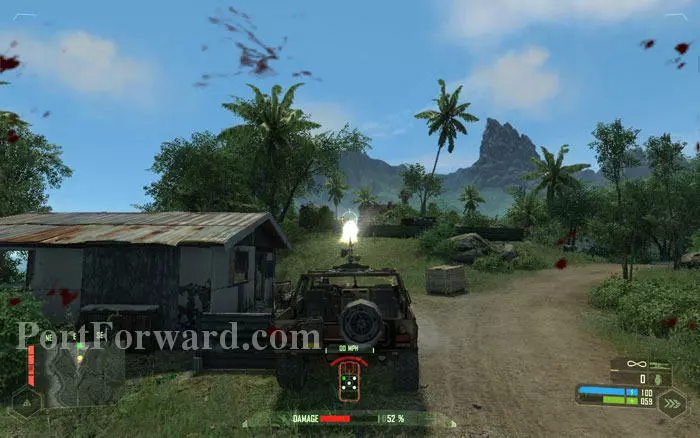
Now enter the large truck and drive east to the village (the primary objective).
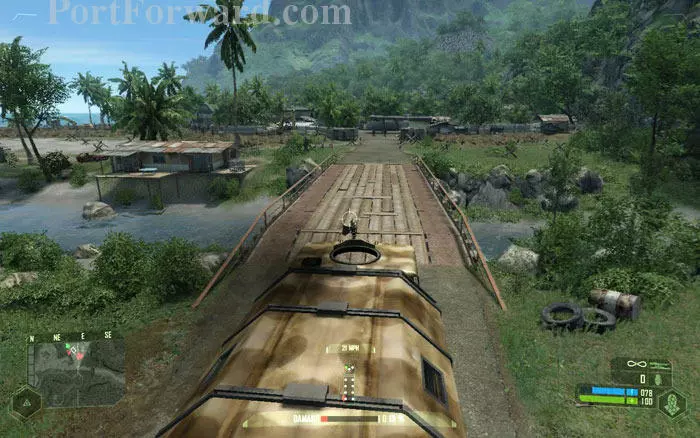
The truck is well armored and can take a lot of damage so feel safe to drive straight in.
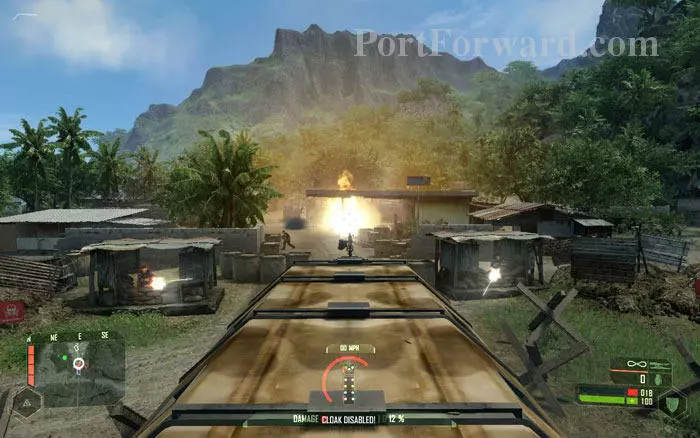
On your way in, fire the mounted gun to blow up fuel dispensers we had spotted earlier to avoid a future accident!

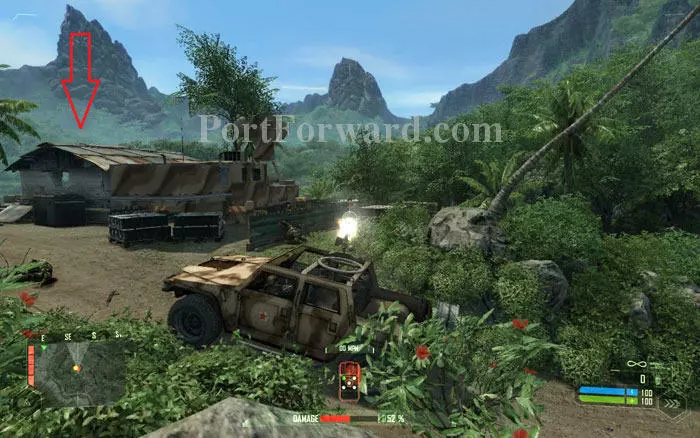
The village is swarming with KPA. You can gun them down with the mounted gun for as long as the truck's damage level allows. The hostage you are looking for is in the marked building.
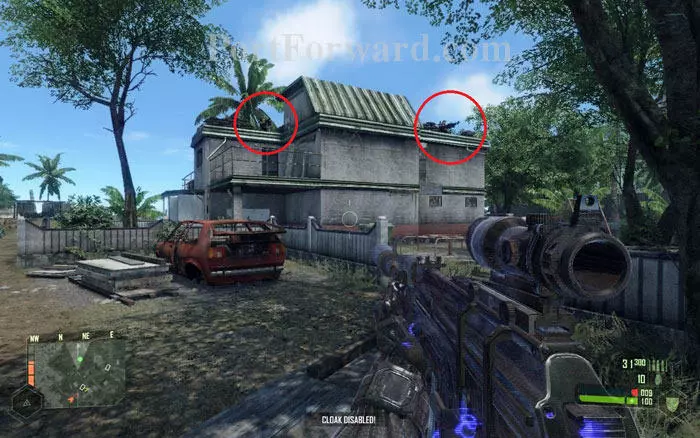
Slip out of the truck in 'cloak mode' and move to the building, while the KPA rage against the truck unwittingly. Keep an eye out for the machine guns on the roof.
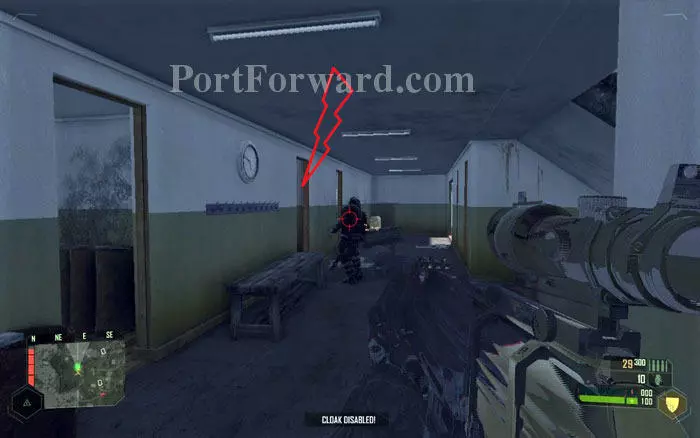
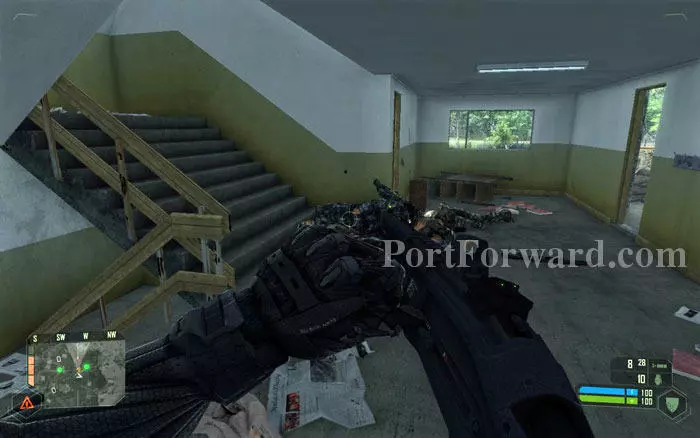
Enter the building and finish off any North Koreans you see. The second room to the left (marked by the lightning sign) is a weapon storage room. To the right are the stairs to upper levels.
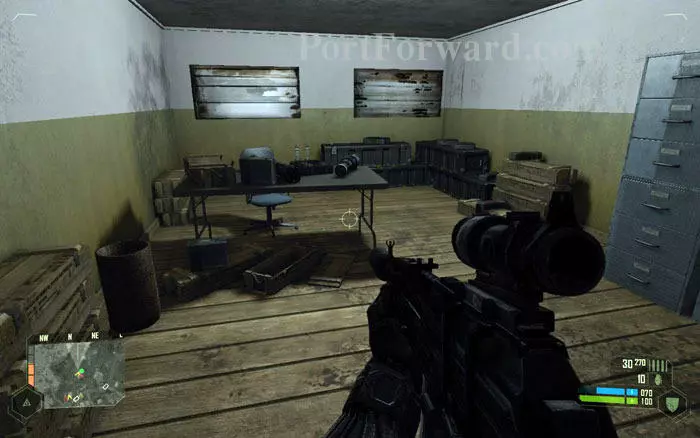
There are missile launchers, grenades and various ammo in the weapon room. Pick up what you want and climb the stairs to the 1st floor.
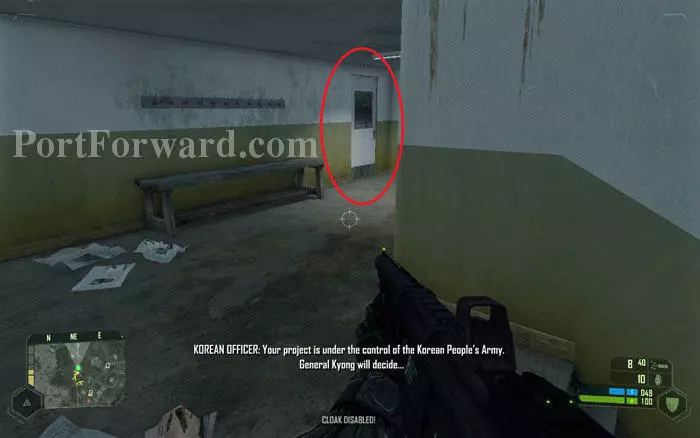
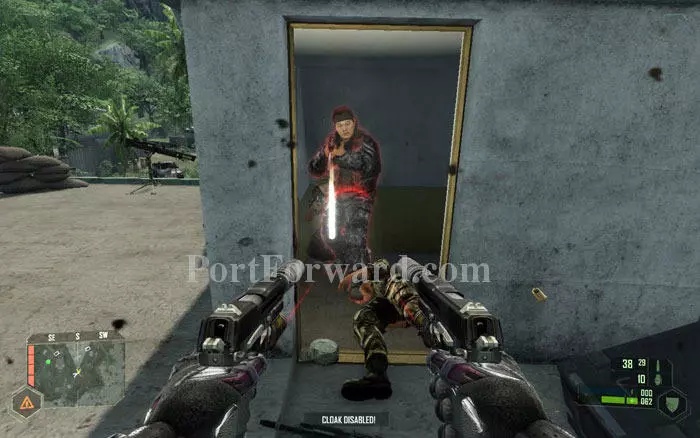
As you reach the 1st floor, you'll hear chatter between a KPA officer and the hostage. It's coming from the door to the right. Move there. A cutscene ensues.

"Right with you mate!" Out of nowhere, Psycho shows up. Where has he been all this time!

Watch as he blasts through the door and executes the KPA officer. You have found the hostage.
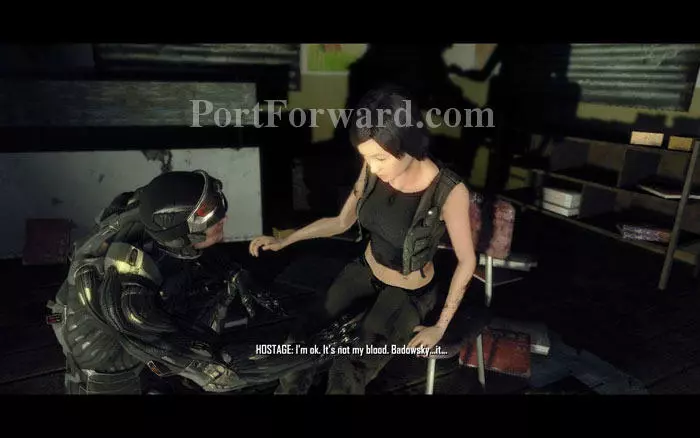
Isn't it nice to see a pretty girl's face for once? But the things she tells you are not very comforting. She hints at the strange things going on in the island and their missing boat (remember Lusca's Call?) It pans out that she is CIA, spying on the archaeologists. Bit of a cliche right?
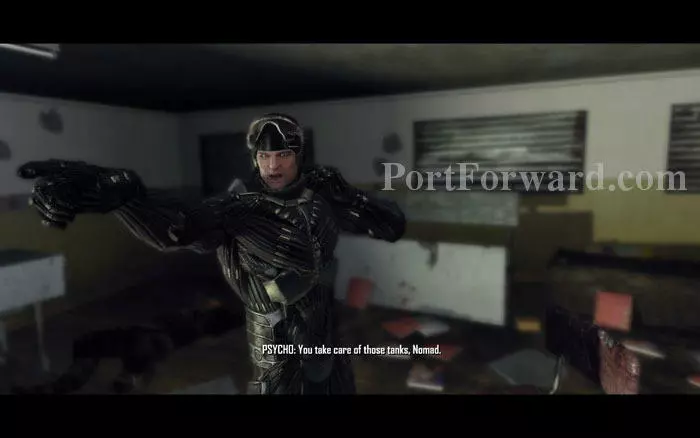
Prophet radios in to tell that some KPA armor is coming your way. Psycho lets you take care of the tanks while he escorts the hostage to a safe extraction point. Didn't we see that coming!
Take the stairs up to the roof. The shotgun is best for combat in closed areas. Note that the shotgun's alt fire mode produces a narrower stream of shots, increasing accuracy.
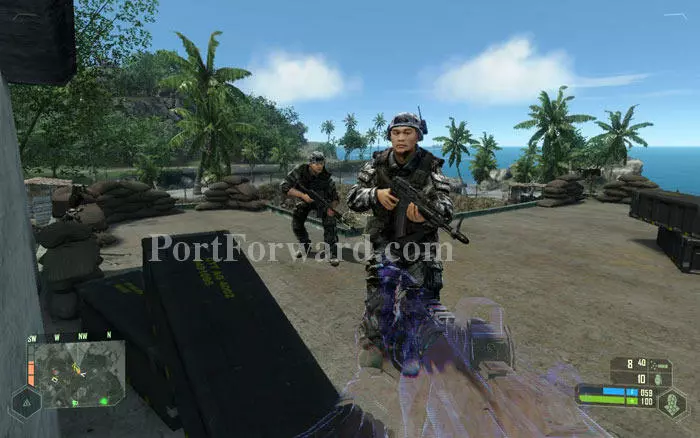
Take out anyone on the roof and look for the tanks. There are two tanks, indicated by green spots in your radar, circling the area.
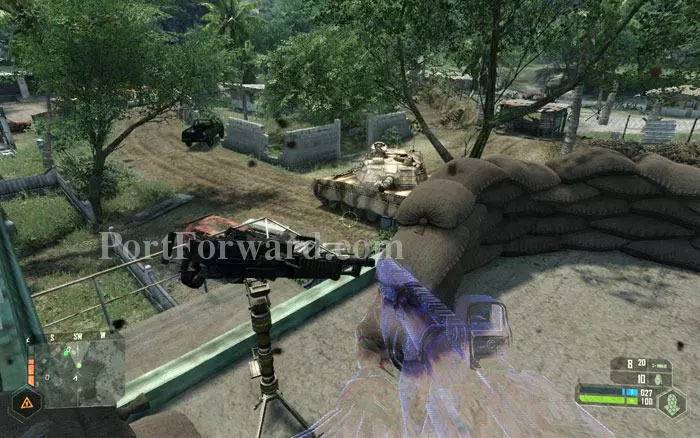
These fixed machine guns are NOT for use against armor! Better use 'cloak mode' while facing the tanks. One direct hit by the main gun can send you to G.I. Joe heaven.
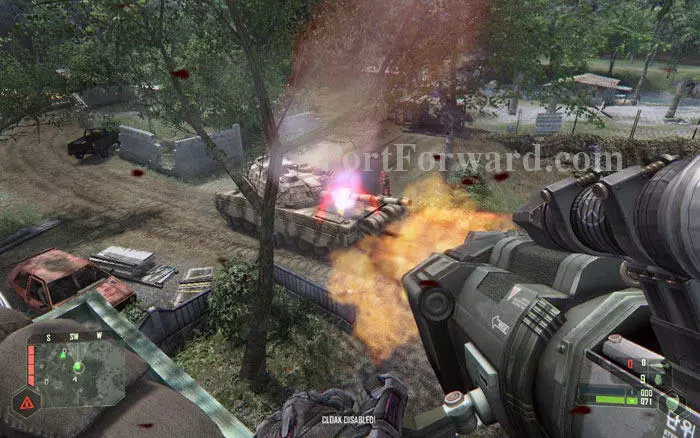
Three direct hits with the missile launcher will finish off a tank. But don't bother wasting your grenades or any other weapon.
Go back to the weapon room on the ground floor to pick up another missile launcher. Beware of the pissed off KPA soldiers who'll come looking for the guy who blew up their tank.
After you get another launcher, head back to the roof, track down the other tank and blow it up, again with three straight hits. If you need more missiles find them at the weapon room.
Once both tanks are gone, Prophet will give you another rendezvous point. Before you leave, pay a visit to the weapon room and pack up on goodies.
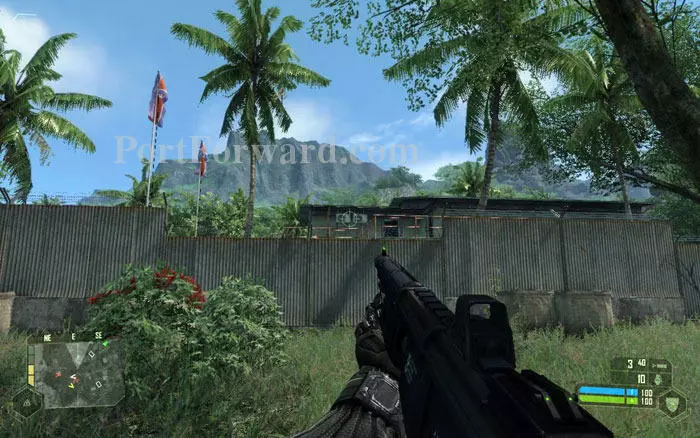
The large complex to the east with flags upfront houses a KPA Headquarters. You can check it out if you wish.
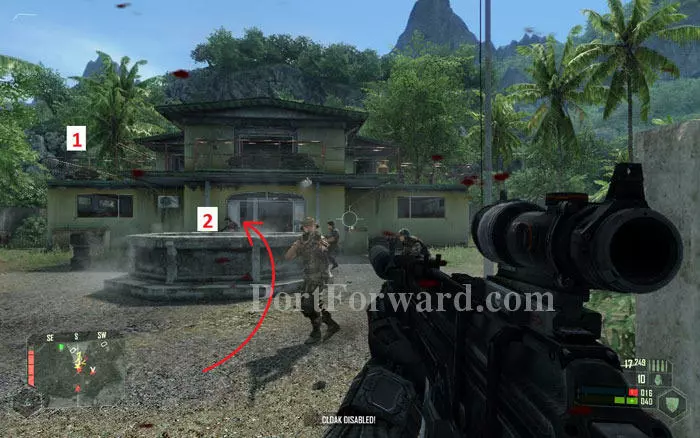
Expect a lot of resistance if you choose to enter the HQ. You'll find a precision rifle and ammo in the balcony marked as 1. There are missile launchers in the room marked as 2. Take the precision rifle, it will be useful in the next area.
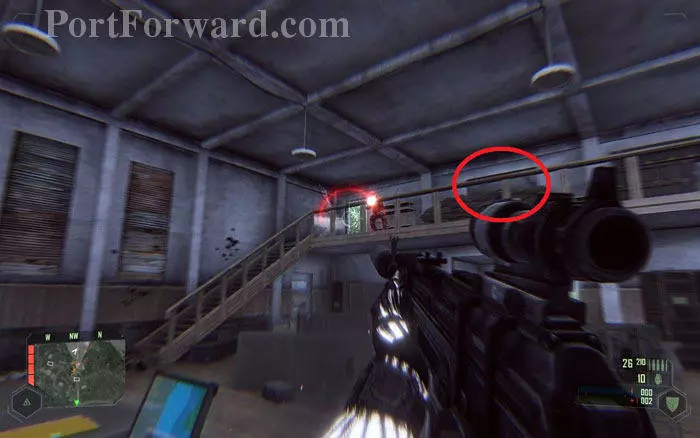
Get inside and enter the room marked by the circle to gather some intel. Again, this is not important.
Once you are done here, take a vehicle of your choice from the front yard and head to the primary objective.
The rendezvous point is on a mountain just south of the village. Once you reach it find a path uphill, proceeding on foot.
This path will take you to a pond and a small waterfall. Move close to the waterfall and Prophet will give you new coordinates to reach.

To the right of the waterfall there is a series of rocks that you can use to climb over. Switch to 'strength mode' and hop up.
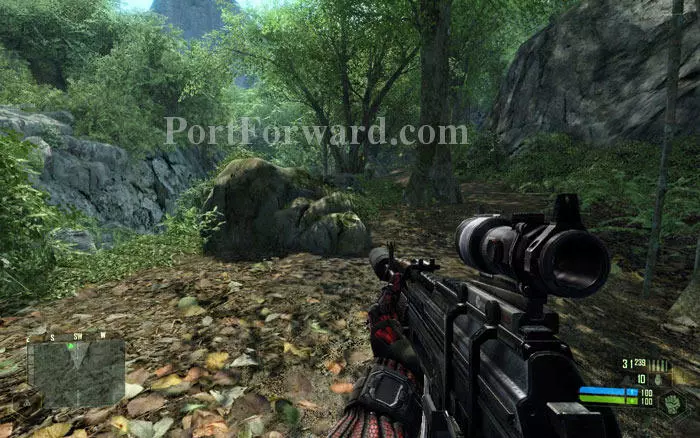
Continue along the riverside. You have to move upriver.
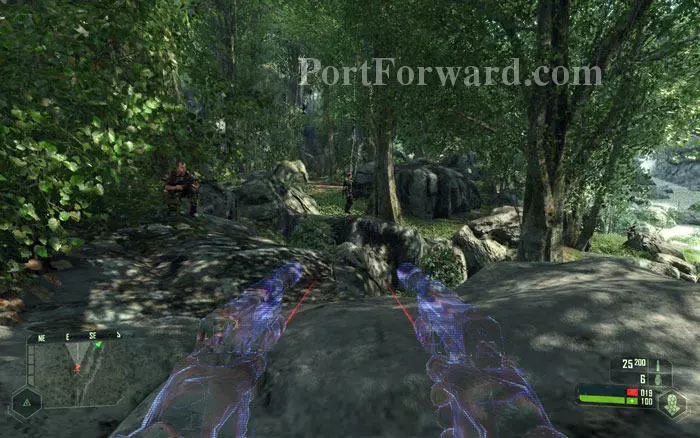
You'll encounter several KPA patrols on your way upriver. Use the assault scope to take them out from a distance. Or, instead of engaging them, let them pass by while you stay hidden in cloak mode.
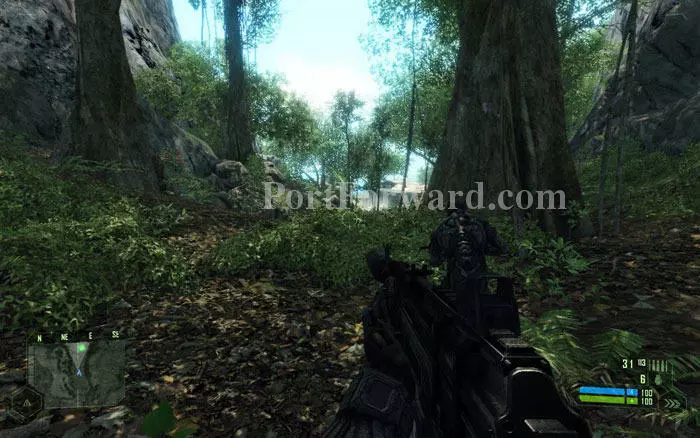
Once you get past the first wave of KPA, you'll hear KPA battling the alien at a distance. Once the alien gets away, move in and finish off the KPA.
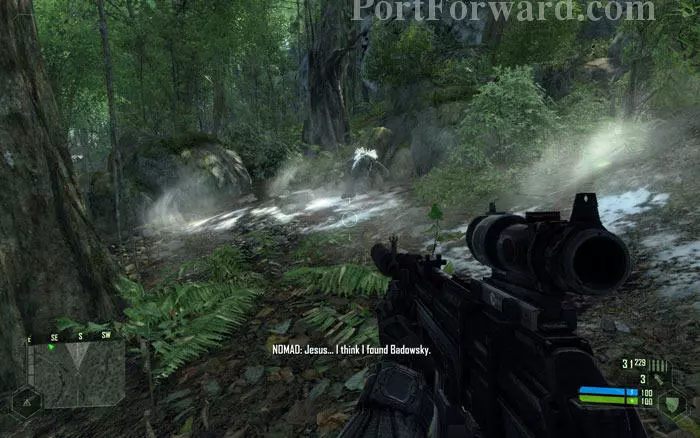
Signs of the Alien's passing can be seen there. Including the torn up body of one of the archeologists. Yikes!
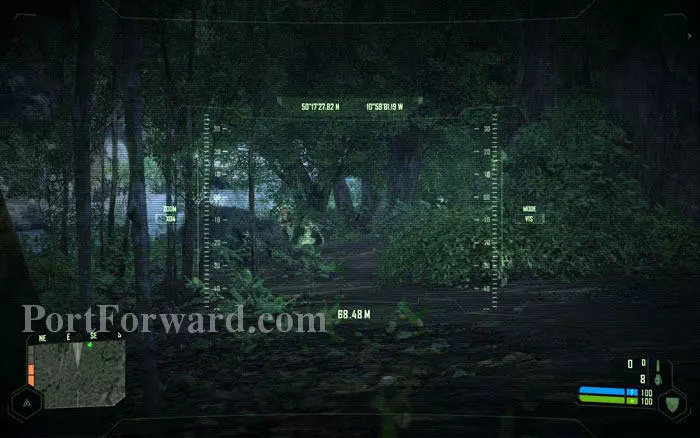
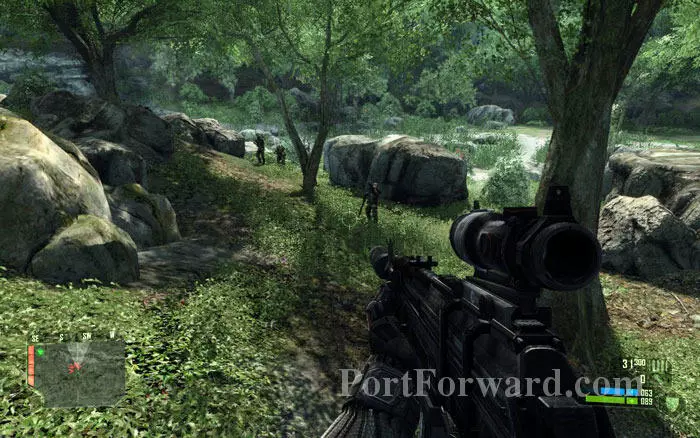
Another group of KPA is coming towards you. Use binocs to find them early.

Use grenades to take out groups of enemies.
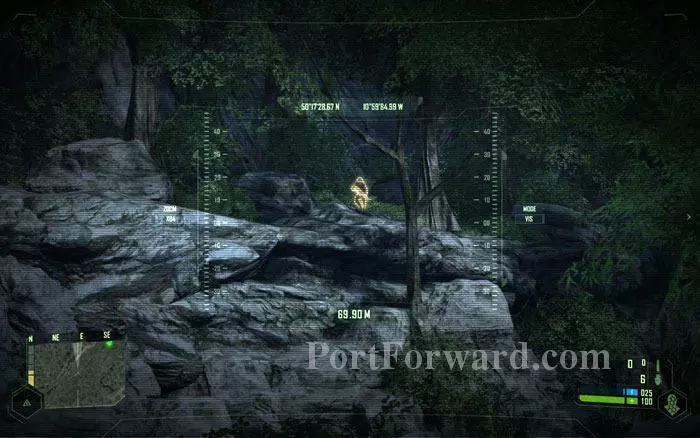
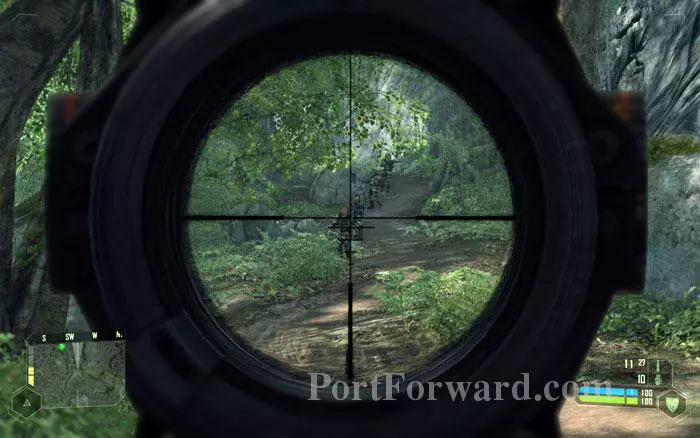
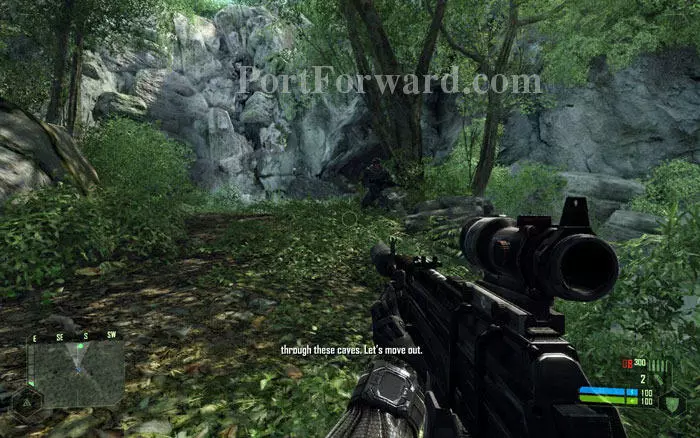
When you reach the spot where your path crosses the river, watch out for this sniper on the other side.
Get to the other side of the river and continue. This area is crawling with KPA. The 'cloak mode' will be very useful here.
The flash bang grenades can be used to temporarily stun the enemy.
You'll find prophet waiting upriver. Approach him.
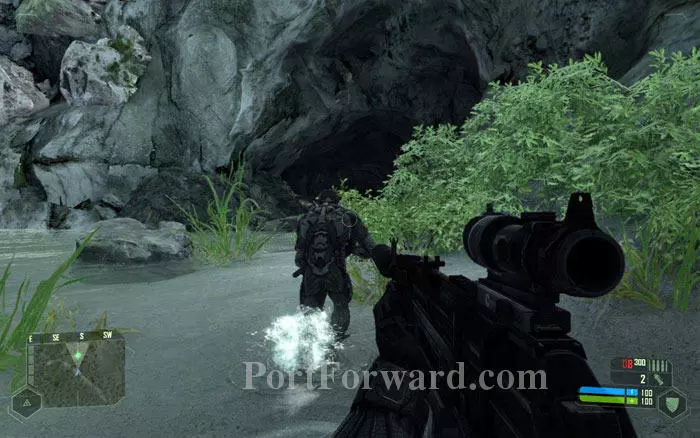
Enter the cave system with Prophet. End of chapter.
More Crysis Walkthroughs
This Crysis walkthrough is divided into 11 total pages.


