
This Crysis walkthrough is divided into 11 total pages.
You can jump to nearby pages of the game using the links above.
Onslaught
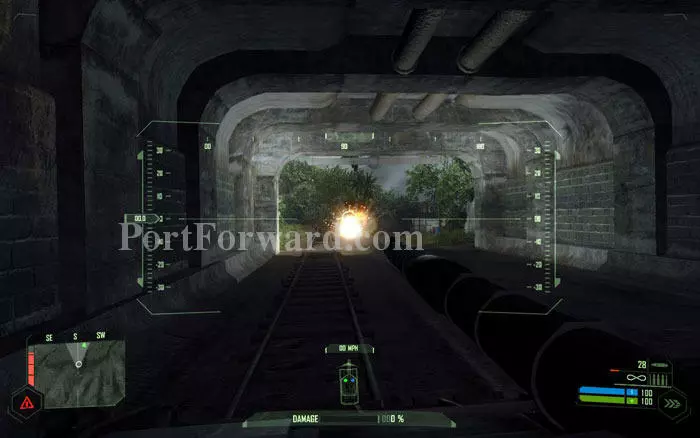
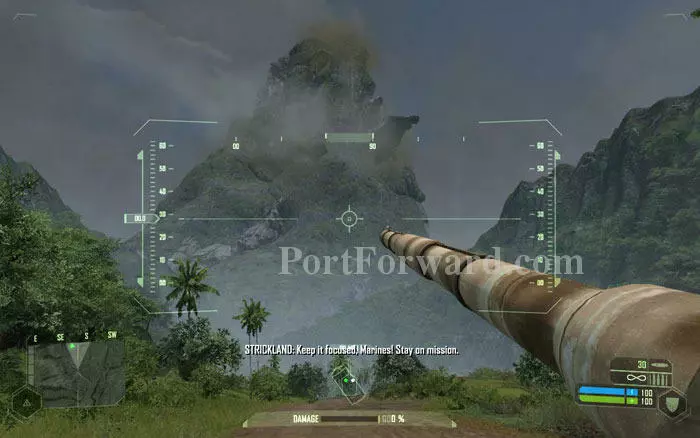
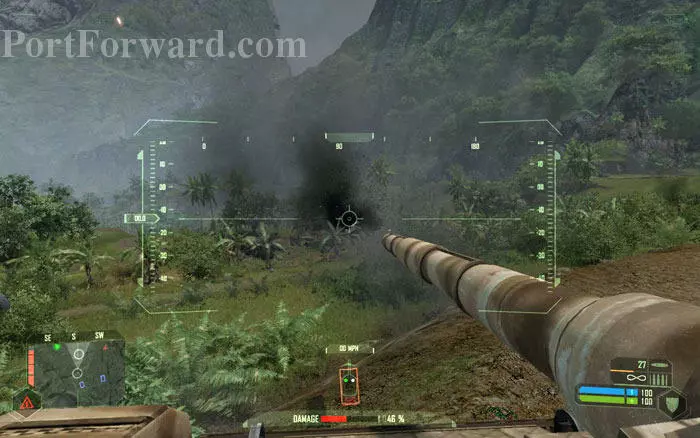
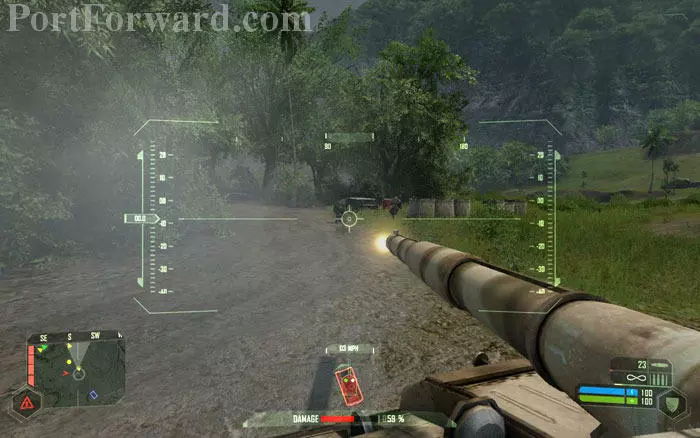
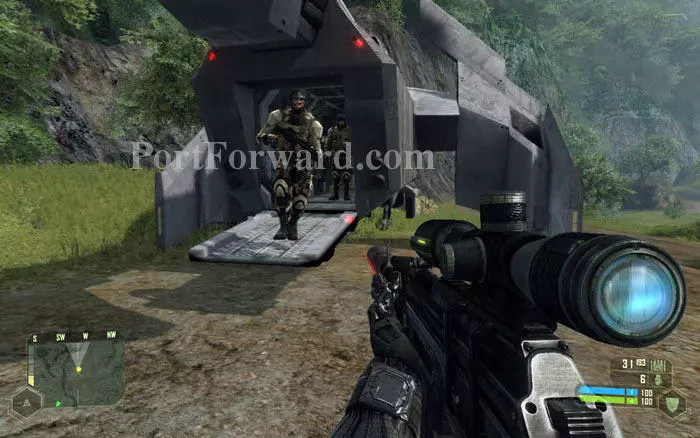
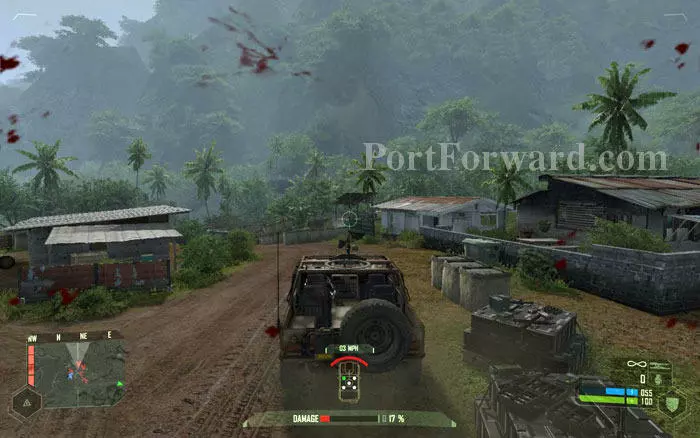
You begin at the other side of the tunnel. Note the map. Your tank is shown in orange. The other tanks in your team, call signs Idaho one and Idaho two etc, are shown in blue. Drive ahead and help them engage the enemy. Controls of the tank are straightforward. Press W to move forward, S to stop/reverse and A or D to turn left or right. LMB fires the main gun and RMB fires the machine gun. Note that the main gun has limited but sufficient ammo and takes a few seconds to reload.
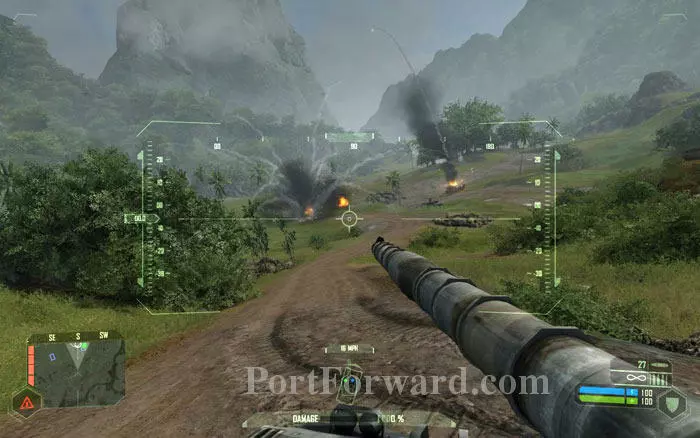
Ahead of you a fierce battle is going on. Press forward to the front line, preferably in the middle of the other tanks.
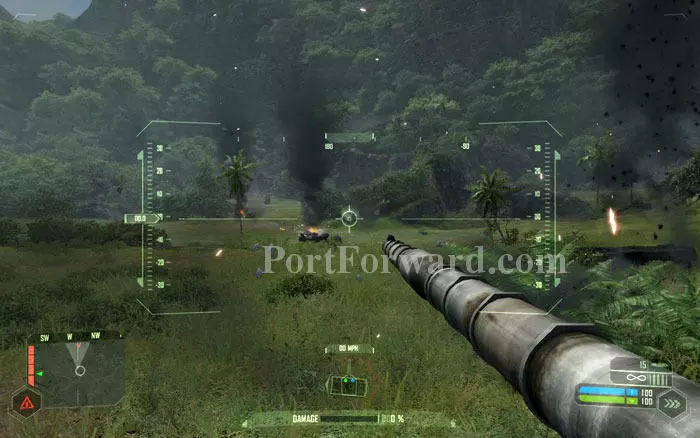
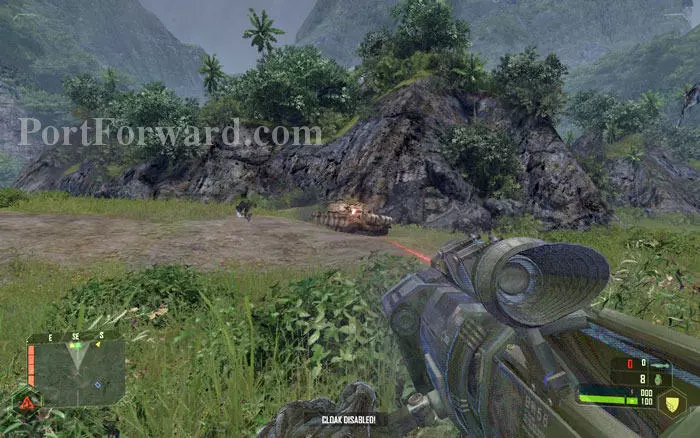
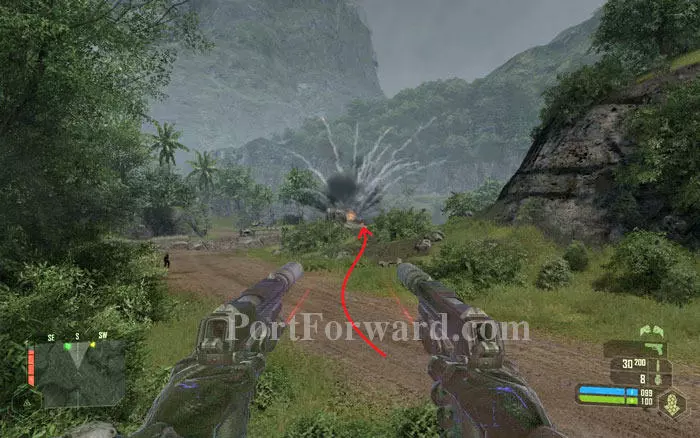
Engage any KPA armor (bandit tanks) as soon as you see them. 2-3 straight shots with your main gun will finish them off. There are several of them ahead. The key in engaging these tanks is to fire accurately and make each hit count.
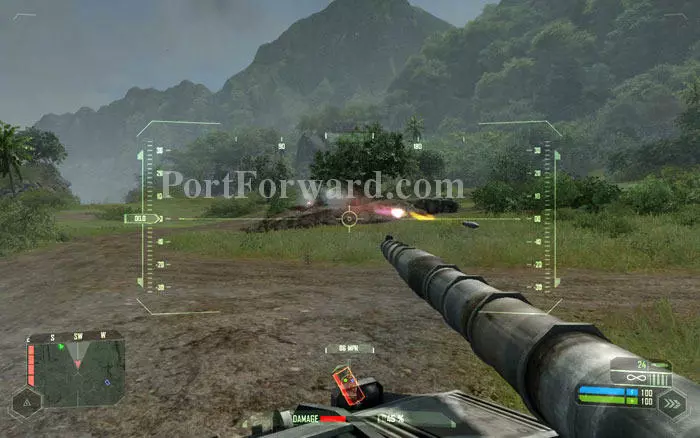
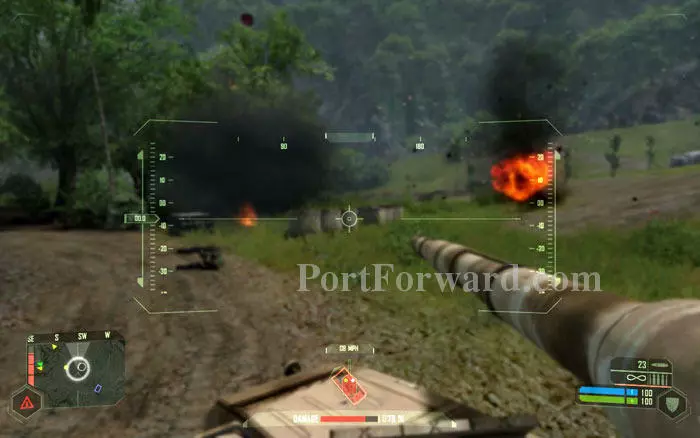
Watch out for RPG guys dug in behind sand bags. Their missiles will tear through your armor.
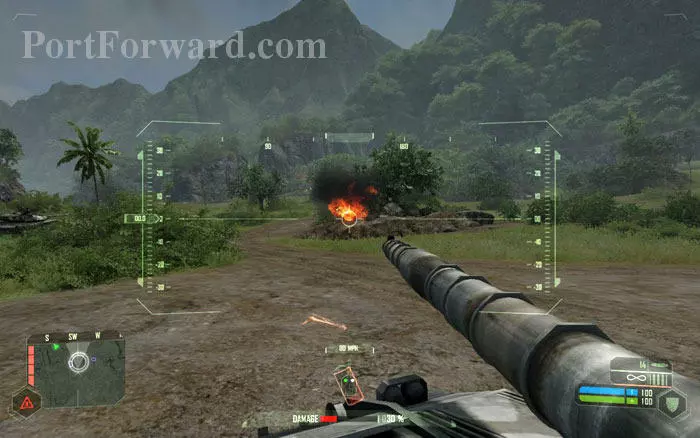
Blow up their barricades to eliminate the threat. There are explosive barrels that you can blow up with your machine gun.
Take out scattered KPA missile launchers with your machine gun.
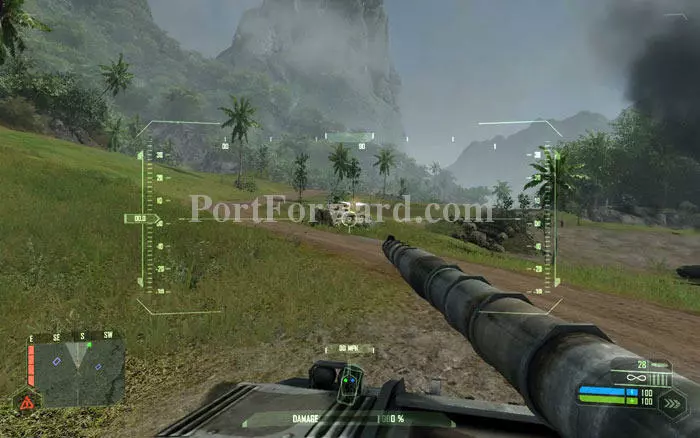
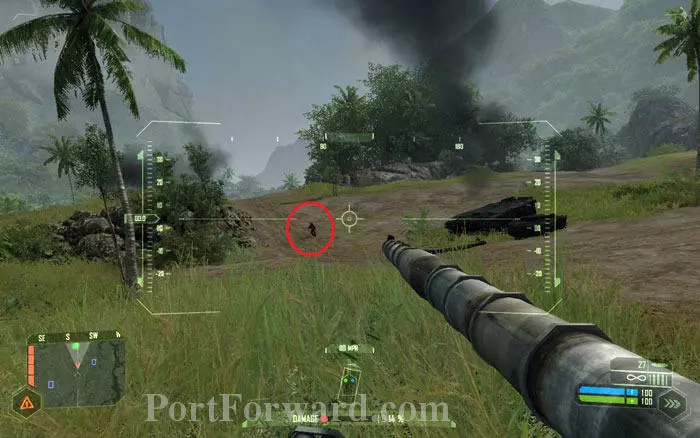
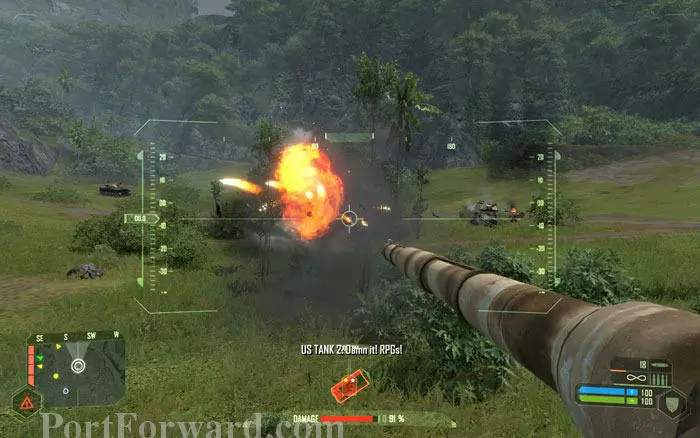
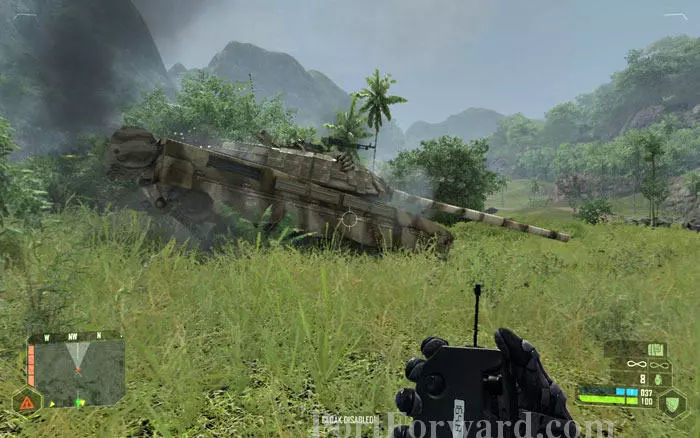
Keep advancing to the target location, blasting any resistance you encounter. If your tank takes too much damage, get out and proceed on foot. There are plenty of missile guys here, hence plenty of missiles. Use them freely.
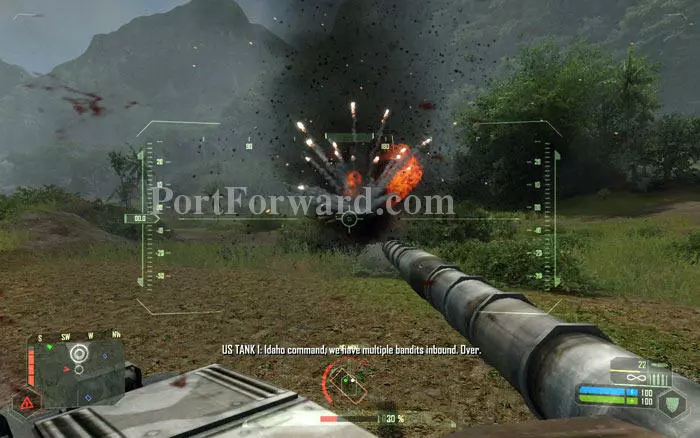
More tanks ahead. The weakest part of the tank is the top (the turret) so try to aim there.
Don't sit somewhere for too long or you will be an easy target for the rocket launchers hiding in the hills.
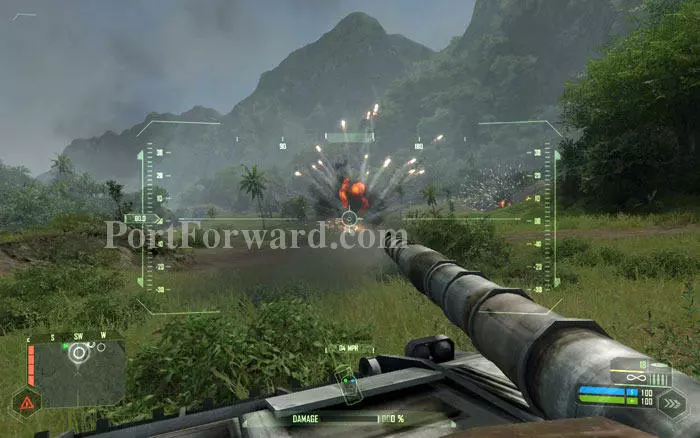
Press forward to the objective. Keep your eyes peeled for rocket guys on the cliffs.
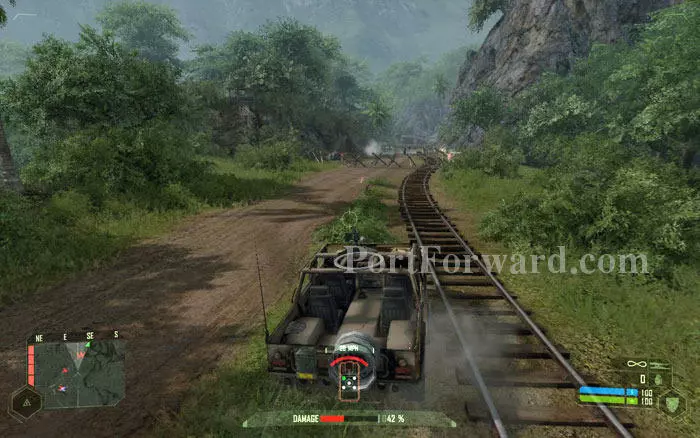
You'll reach a trench dug up to block your advance. Your objective, the train station, is on the other side. Needless to say, blow up the barricades and KPA tanks on the other side. Keep an eye out for foot soldiers on the raisings.

You can get across the trench on foot using 'strength mode' or drive your tank through the path to the left to breach the train station.
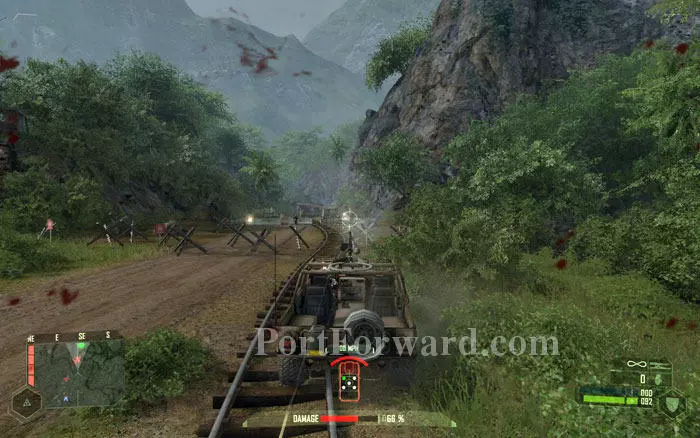
Once you reach the train station, it's time to wreak havoc. It will be much easier if you have the tank.
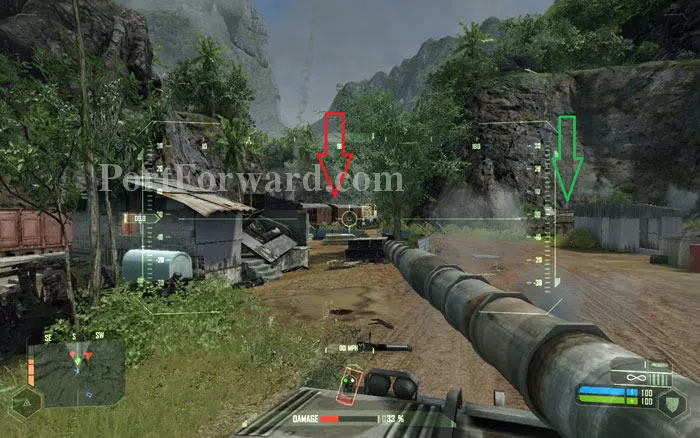
Raze the place and hunt down any KPA soldiers around. You'll be asked to blow up the rail carriage that blocks your path (red arrow). DO NOT fire at the unmanned Bandit tank parked at the far end of the area (Green arrow). You will have to drive it from here on. Even if you still have your tank, you'll have to abandon it as it will be damaged and out of ammo.
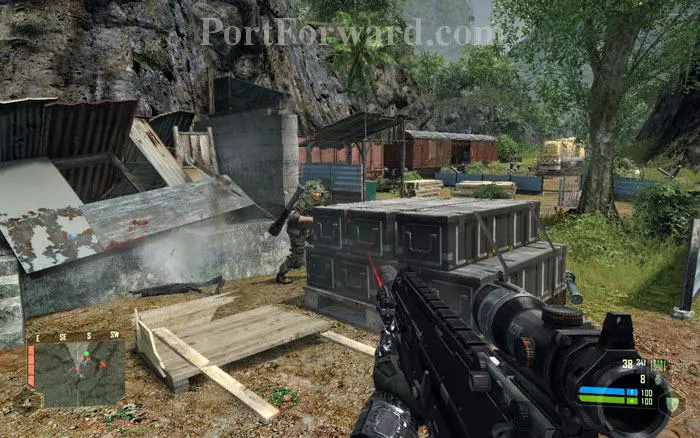
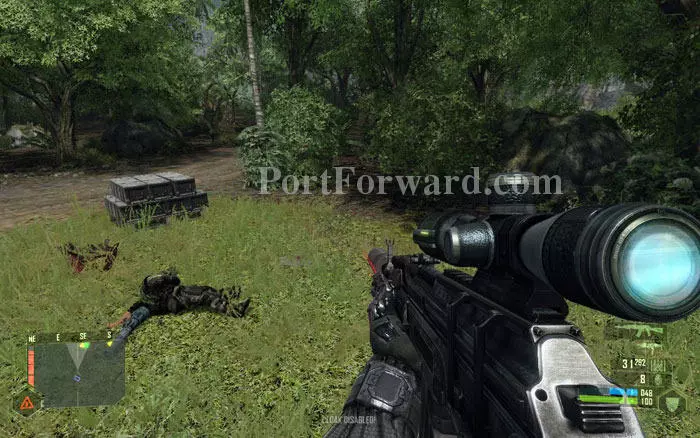
Run around taking out any KPA soldiers still around and pick up ammo. Especially missile launchers.

Meanwhile VTOLs will drop in more friendly units. A few more US tanks will roll in to the area.
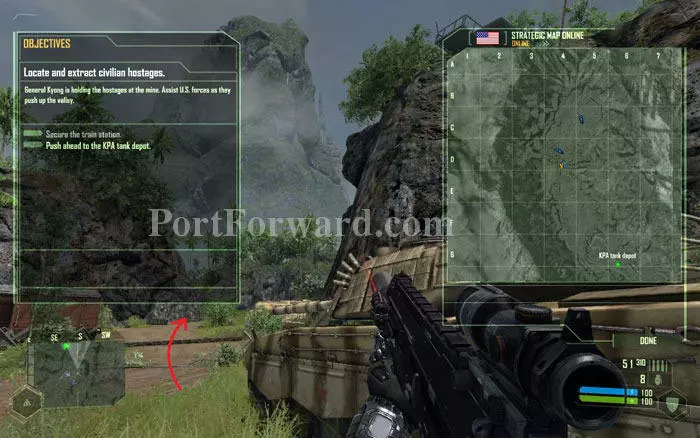
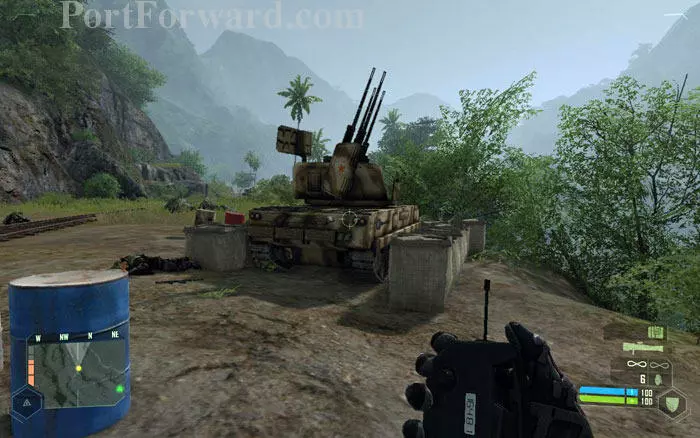
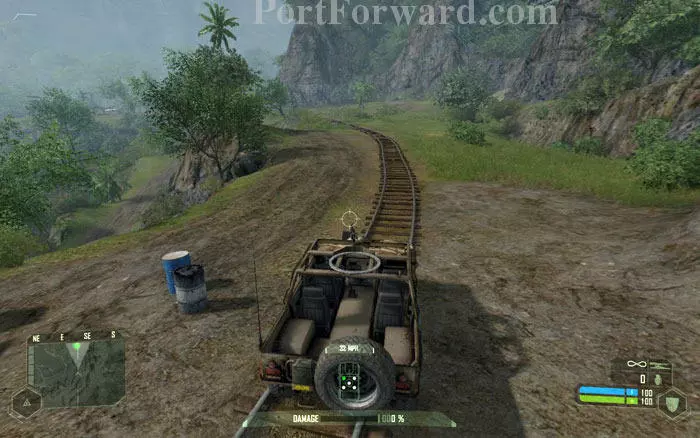
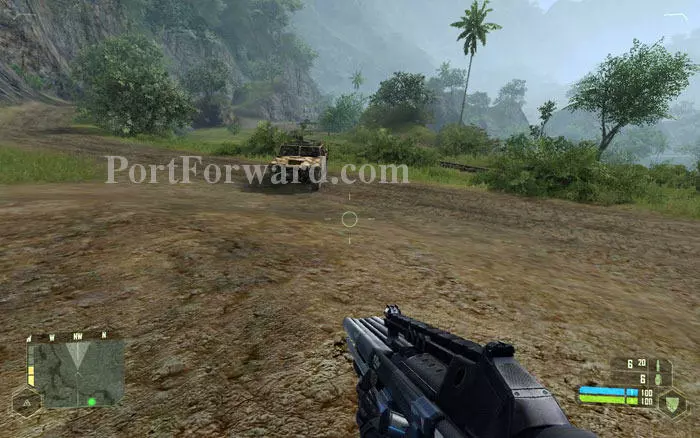
Once the train station is secure, the objectives will be updated. You will be instructed to move deeper into the valley to a KPA tank depot. Get in the bandit tank we had spotted earlier.

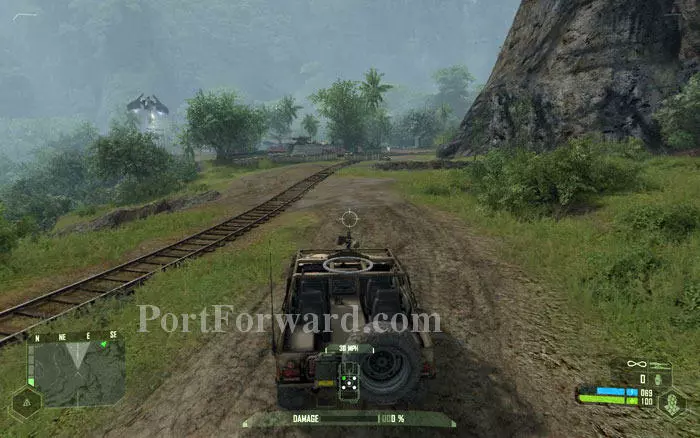
Drive ahead crossing the tracks and proceed through this path. A new part begins.
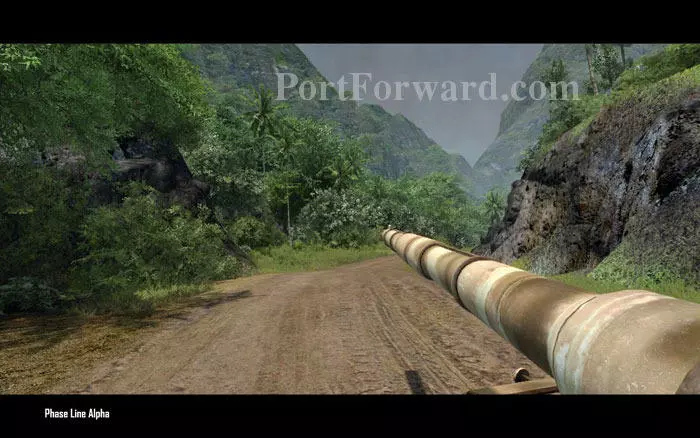
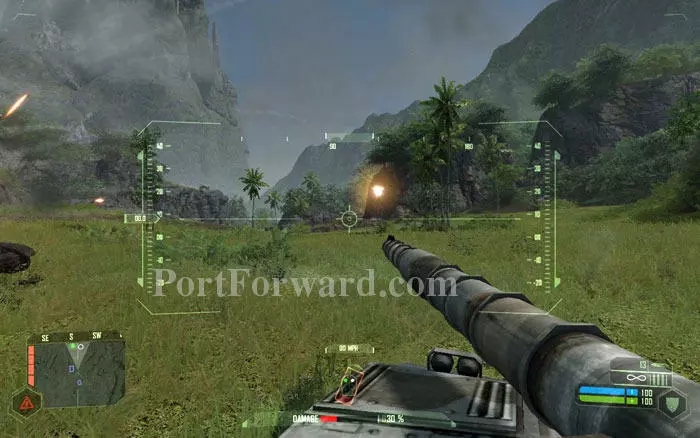
Proceed along the road. Another tank fight is in the cards.
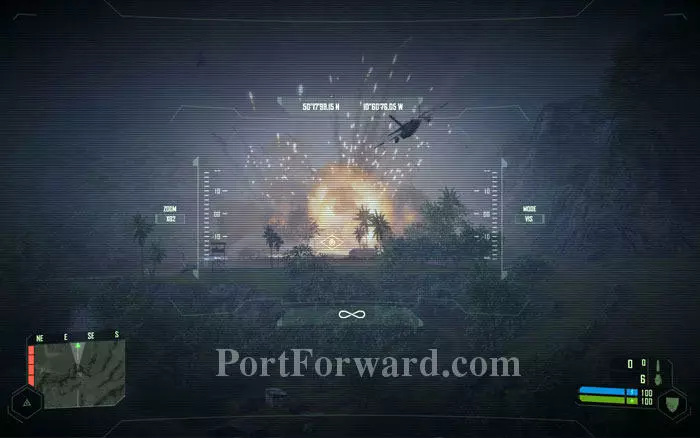
If you look up, you can see the mountain falling apart at a long distance. Not our concern, for now.
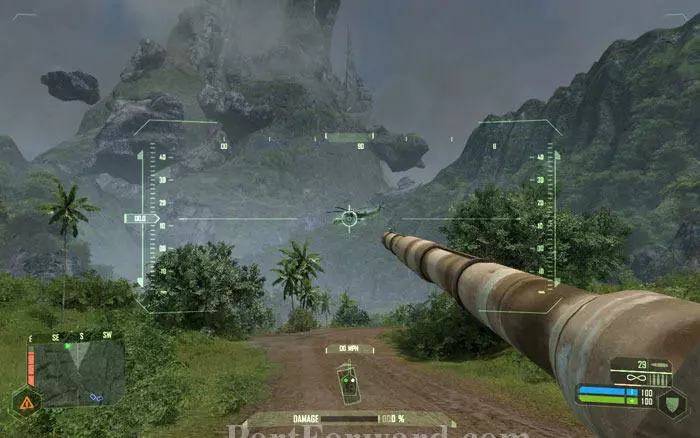
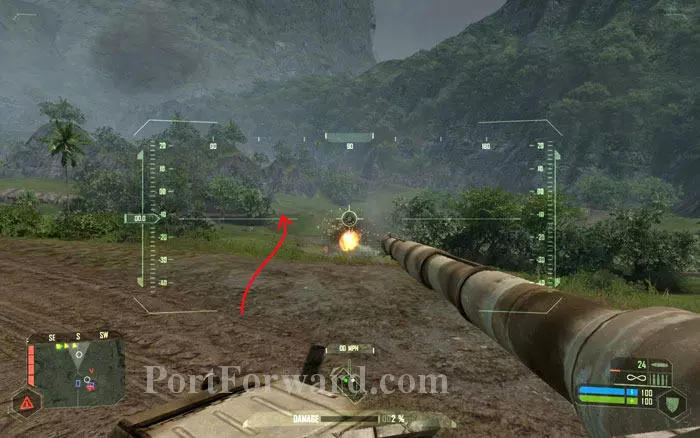
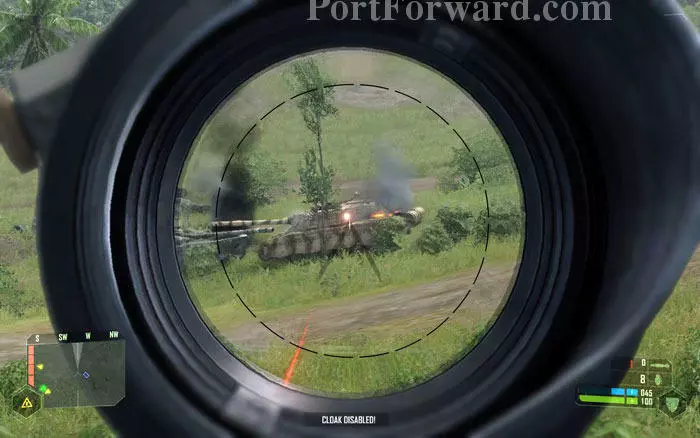
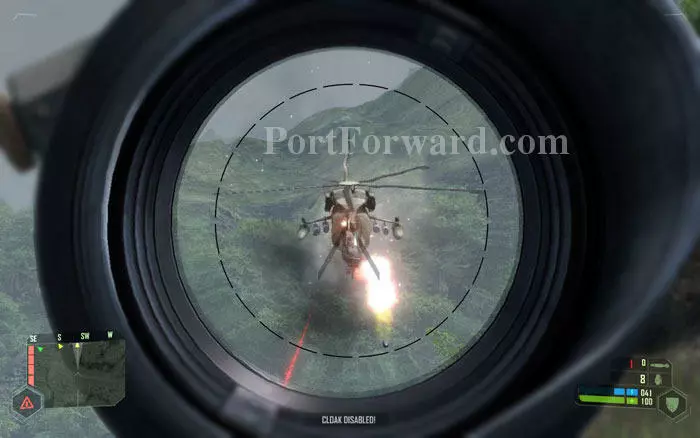
A few paces ahead you'll see a KPA chopper taking off. Let it be our first victim.
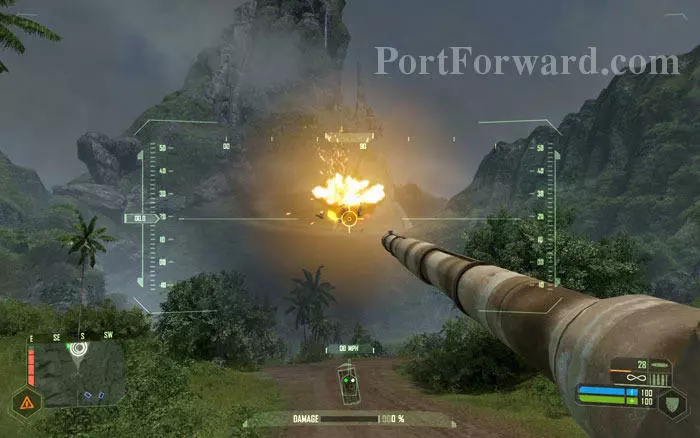
Fire the main gun accurately at the hull of the chopper. Bingo! Now wait a few seconds for your fellow amour units to catch up.
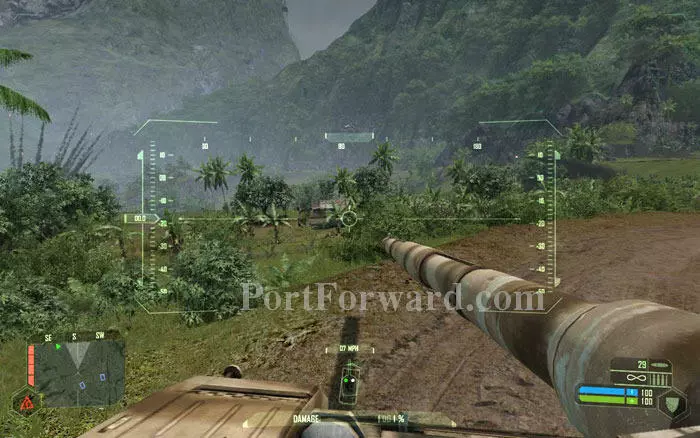
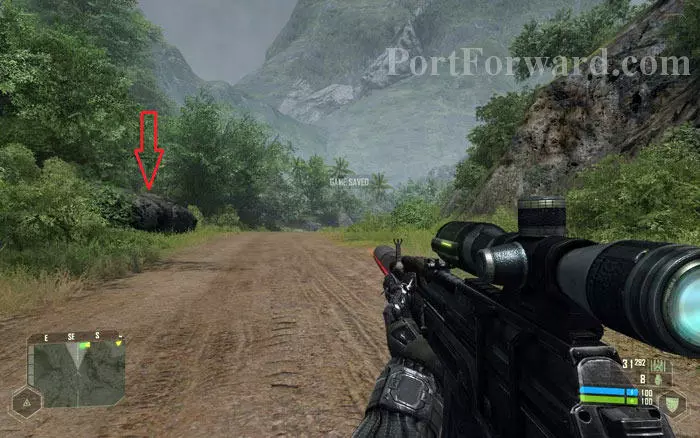
Where the road curves, look down the ridge to see some shacks with a few KPA solders. Roll in on them.
Raze the shacks and press forward. Tanks don't need roads anyway.
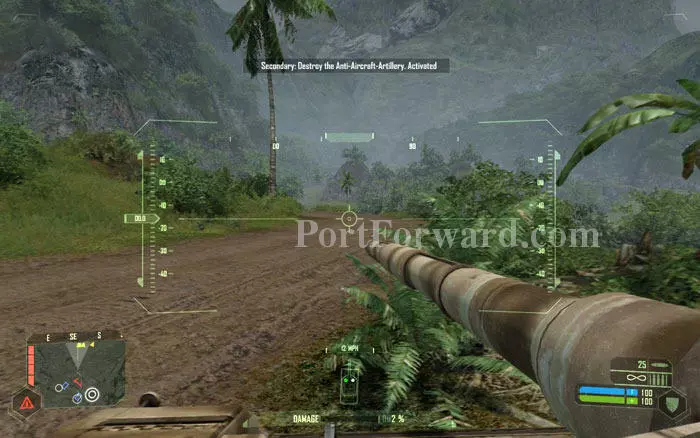
Roll past the shacks and you'll get back on the road. Here you'll receive your secondary objective: Destroy the 3 AA guns spread around the valley. Secondary or not, we are going to do it.

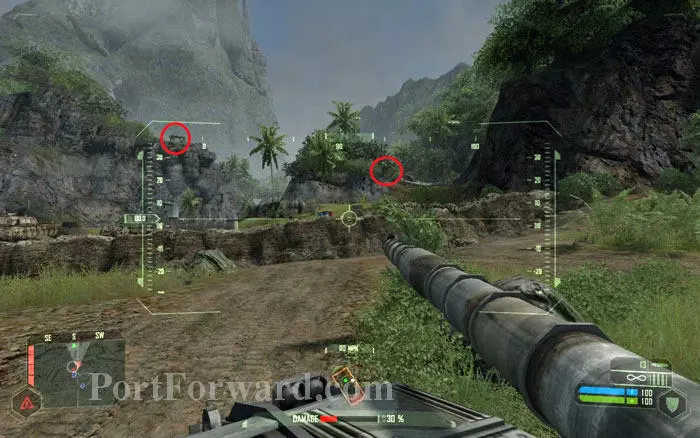
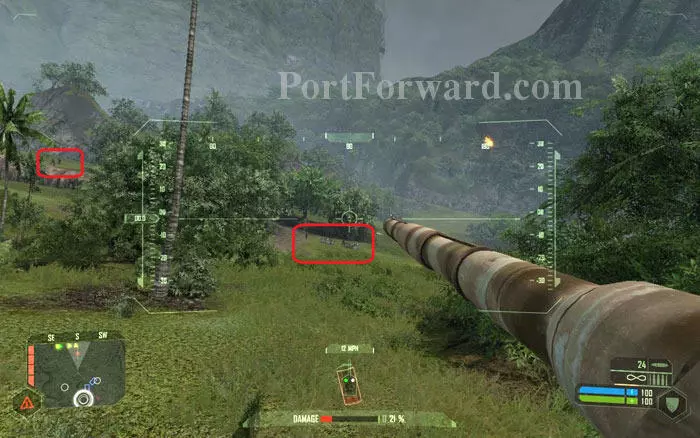
Check the map to see the locations of the triple As. The first one is just ahead at the spot marked by the red star.
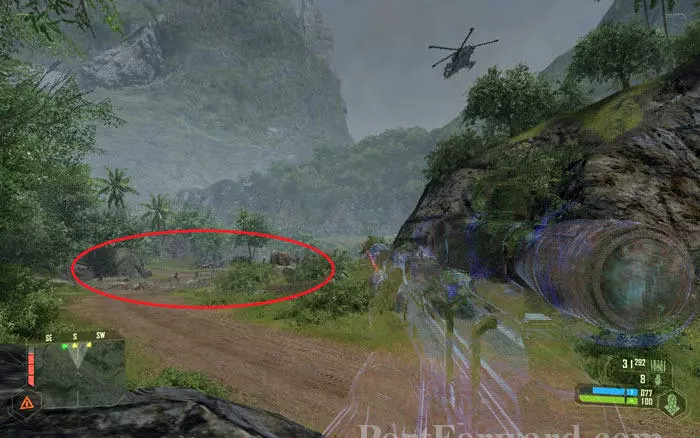
Engage any tanks in your way and proceed to the first AA unit, as shown by the arrow.
Watch out for the enemy missile launchers. Roll in quickly or you'll be an easy target for them.
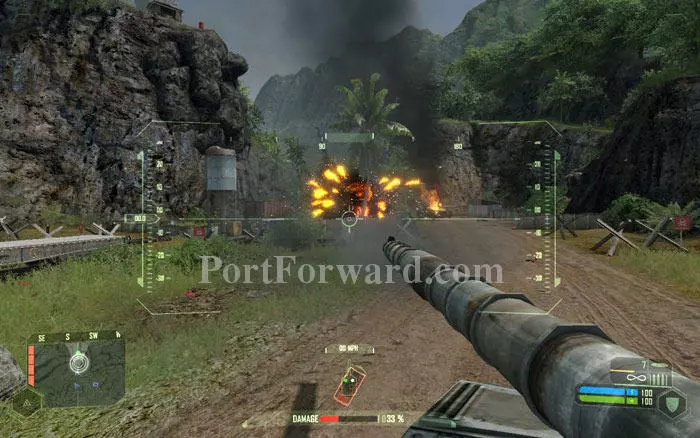
Quickly eliminate the KPA soldiers behind the sandbags. Blow up the fuel drums to make your work easy.
By now your tank will be really banged up. In this area there are simply too many anti-tank units so you'll have to abandon the tank sooner or later. But that's not a disadvantage, since your pretty safe on foot.
Use the tank to destroy KPA armor while you still can, then proceed on foot. While on foot, use the easily available missile launchers to take on the tanks.
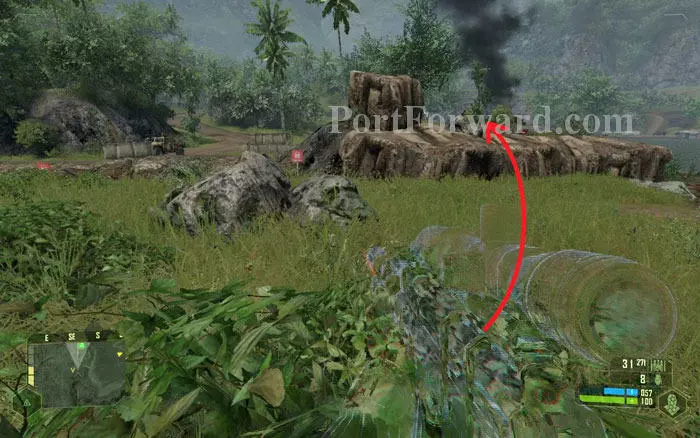
Locate the first Anti Air unit and take it out. One missile will do the job. Or get close and use an explosive charge.
Take out any tanks that annoy you with missiles. Or stay in 'cloak mode' to lose them
Note that you can also destroy tanks with explosive charges. Sneak up to them and drop a charge on or near a tank. Then step back and press RMB to blow it up.
When you are out of missiles, pick up the launchers dropped by KPA guys at the barricades we have seen earlier.
Feel free to provide assistance to our friendly armor units in cleaning up the KPA tanks. After all blowing up tanks and choppers is fun!
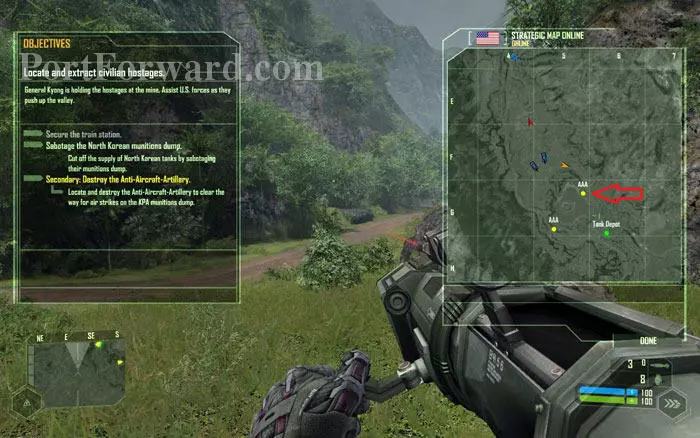
Once you are done here, restock on missile launchers and proceed to the next AAA location. This walkthrough assumes you take on the one to the north-east of the lake, marked by the arrow.
Proceed down the road leading to the AAA site. This site is well defended. Get on the rock to the left to get a good view.
You'll see the AAA site up ahead and a chopper flying around.
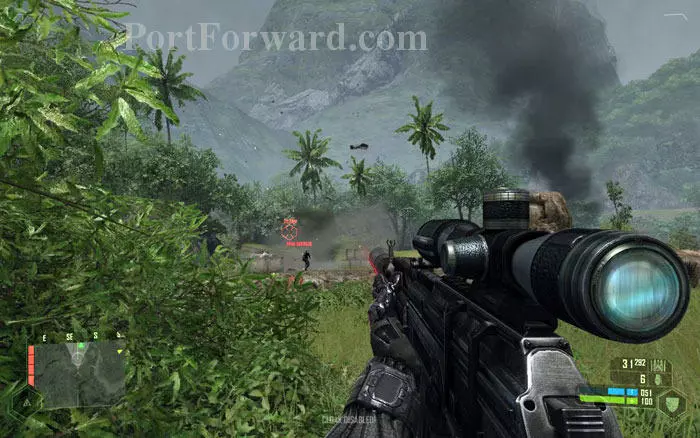
First things first. Take out the chopper with missiles before it starts hunting you.
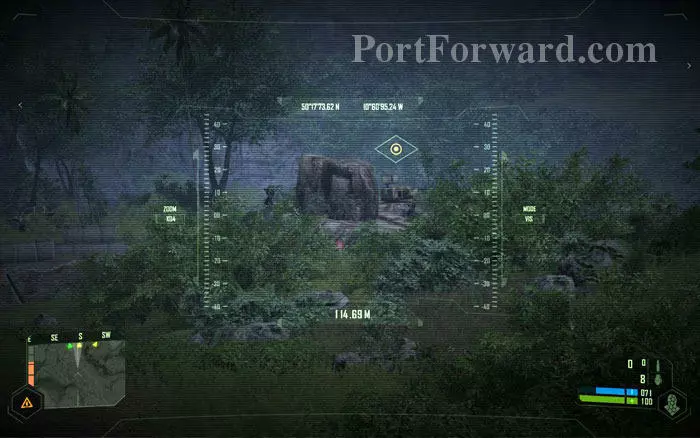
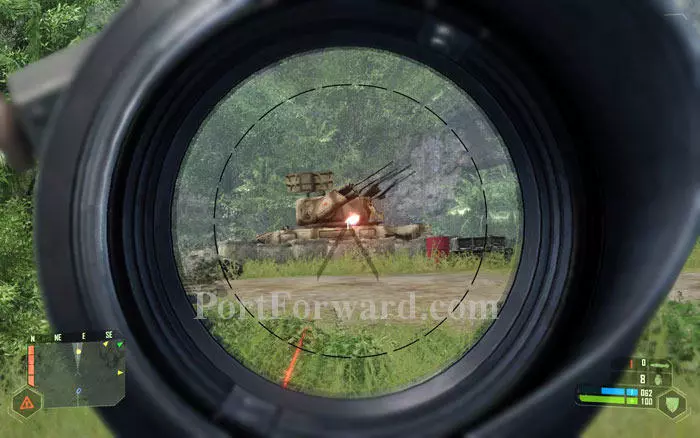
Before moving into the AAA site, use your binoculars to spot the AA unit. The binocs mark it with its diamond eye.
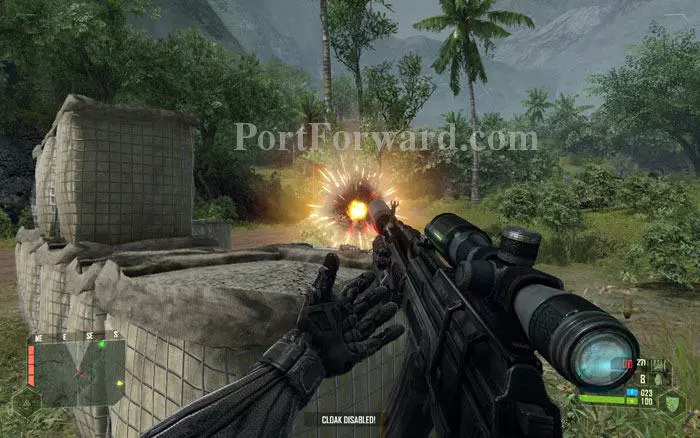
If you have a missile left, aim it carefully at the AAA and launch. One missile will blow it up.
Hurray! Two down, one to go. Now proceed as shown by the arrow, bypassing the trench.
The KPA soldiers who were guarding the AA unit will be pissed off and come at you. Take them out.
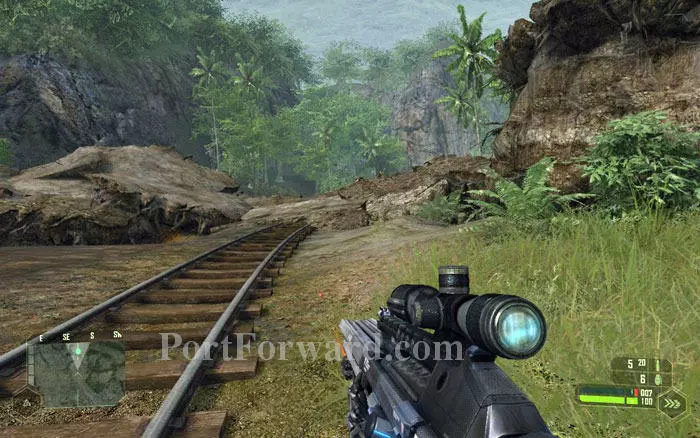
The trenches are riddled with mines, as the sign boards indicate stepping in there will result in instant death. So climb up the rocks to the right to get across.
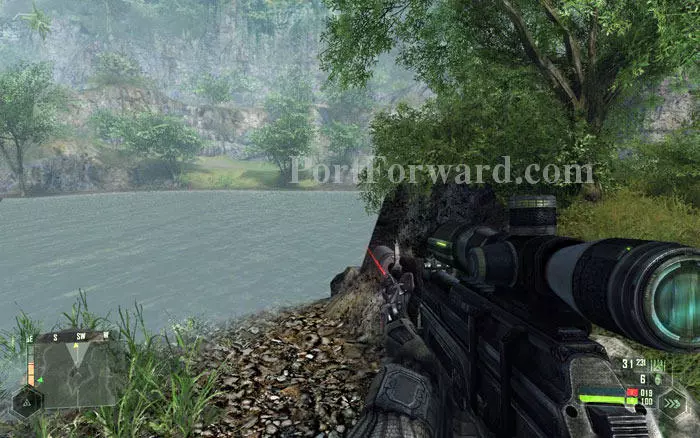
The incendiary ammo of the FY71 rifle will make enemy soldiers drop like flies.
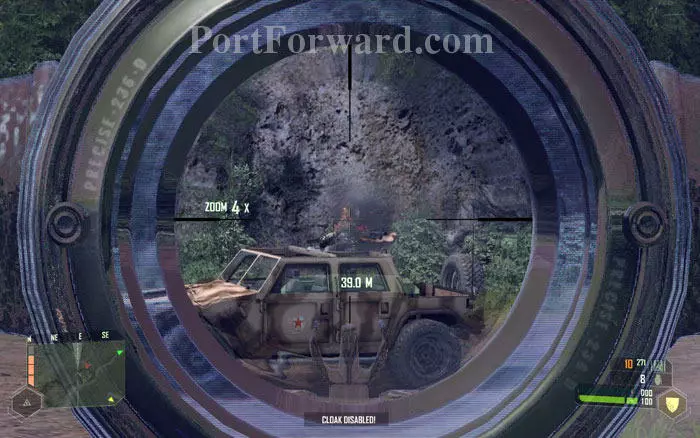
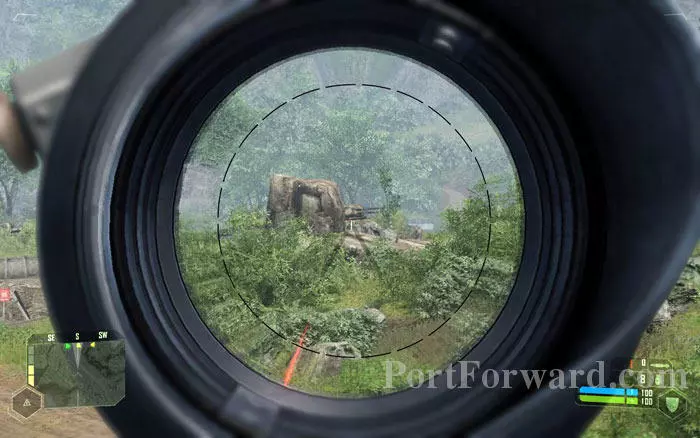
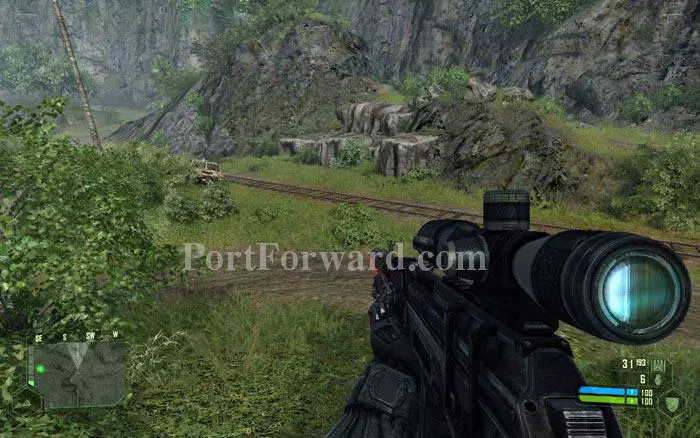
Note that there is a patrol Jeep guarding the area. Take out the gunner with your scope.

Clear out the area and pick up the goodies on the crates. Also get yourself a missile launcher dropped by someone. Then turn around to face the lake.
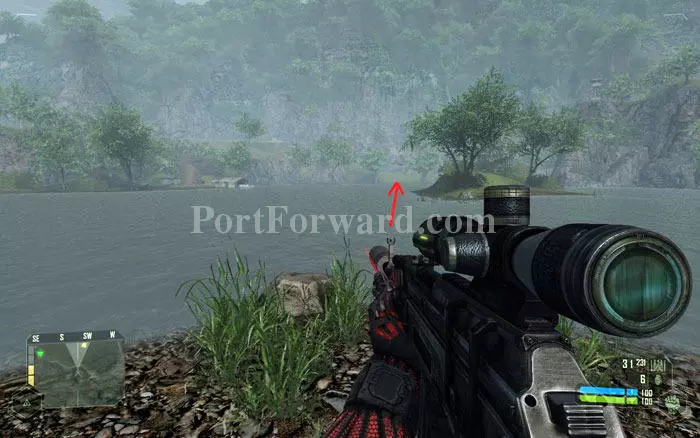
Swim to the other side of the lake. Note that the last AAA is to the south-west so swim towards the slopes shown by the arrow, not towards the docks.
Note that you can swim faster using 'speed mode'. Get on this small island and swim again towards the slope.
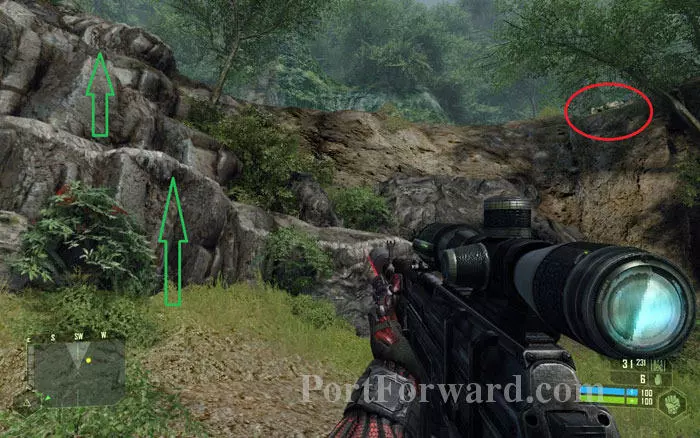
Once you reach land, you'll see the AA gun just ahead, on top of the ridge. Using 'strength mode', climb the steps formed by rocks as shown by the arrows.
A few KPS guys are standing by the AA unit. Take them out and destroy the AA gun. Objective complete!
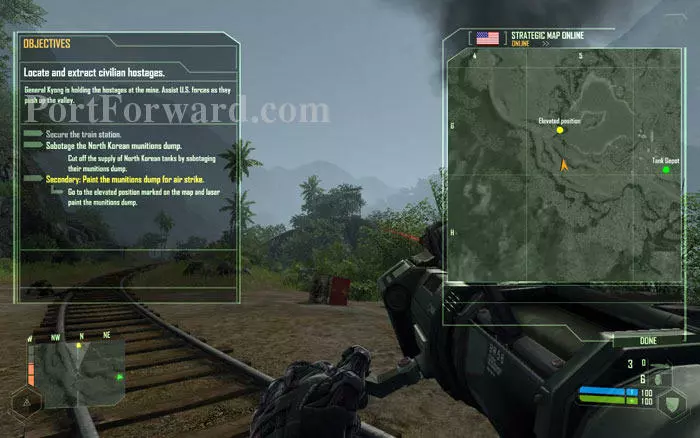
Once all three AAA units are destroyed, you'll receive another secondary objective: Laser paint the ammunition dump from the elevated position marked on the map.
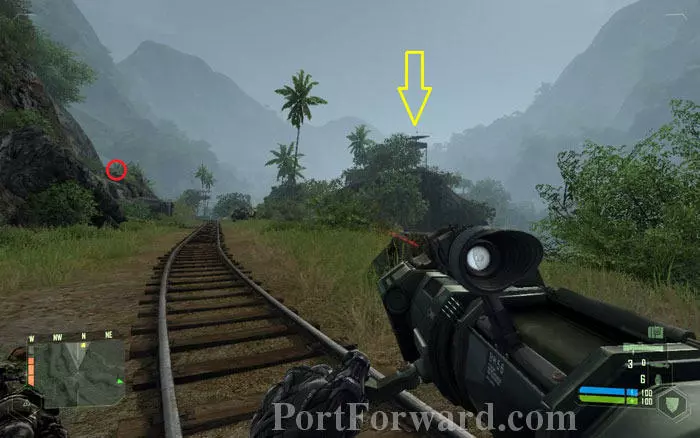
'Laser paint' seems to be a misnomer, since all you have to do is tag the ammunition dump with your binocs so that the US Jets can bomb it. The 'elevated position' is the hill to the north with a sniper tower. Note that there is another sniper perched up the rocks on your left side (circled).
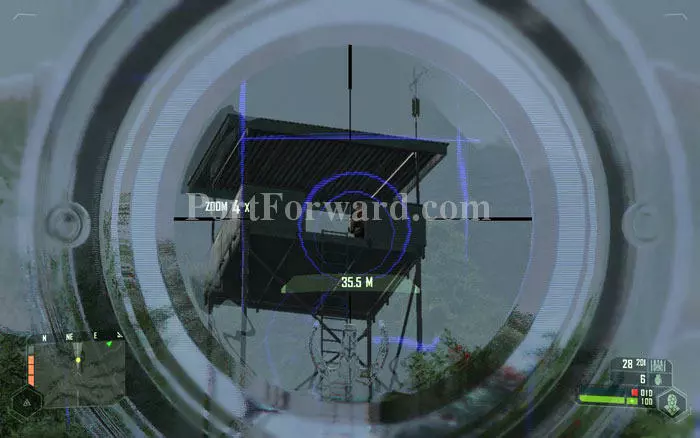
Take out the two guys in the tower and climb up using the ladder.
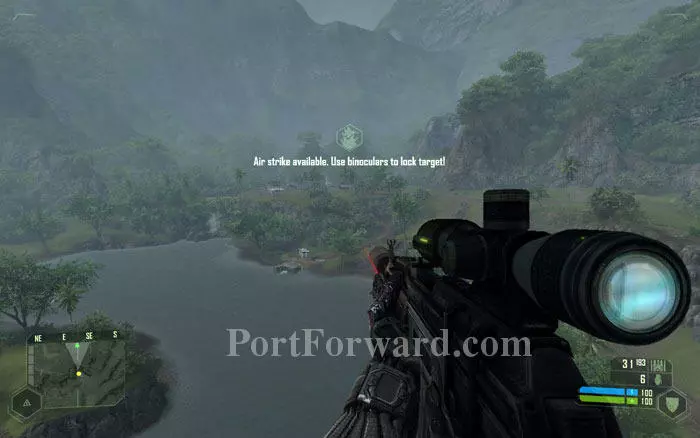
From the tower, look in the direction of the green pointer on your radar. Take out the binocs.
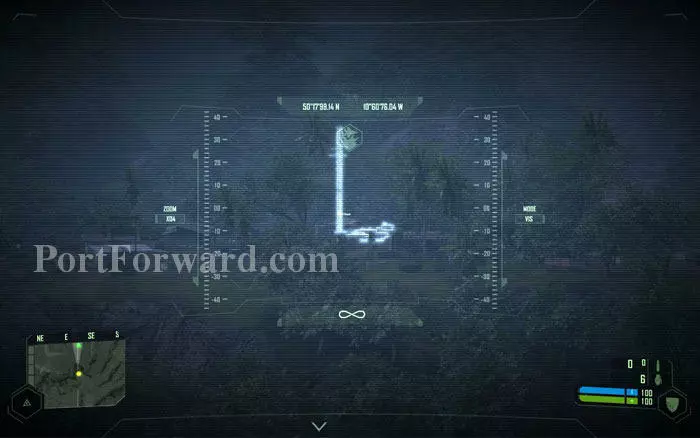
Zoom in and centre on the structure that will show highlighted in glowing white. Click LMB to tag it.
The bombers will do the rest. Enjoy the fireworks.
Now get down and head back towards the AA you just destroyed. Get in one of the KPA Jeeps that you'll find around here.
Follow the tracks towards the primary objective. Now that the AAA threat is gone, VTOLs will be moving into the area.
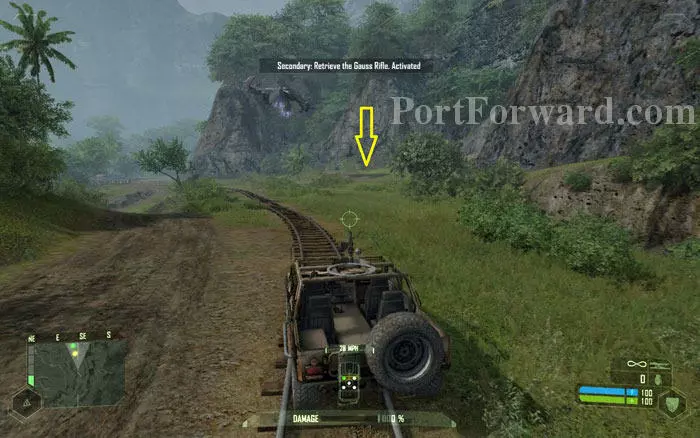
On your way Strickland will tell you to get the Gauss rifle from one of the VTOLs. The VTOL will land in the spot marked by the arrow. Move close to it.
The VTOL will land and open the rear door, releasing a couple of marines. Get inside to find your Gauss rifle.

Grab the Gauss rifle and its ammo. You'll have to exchange one of your guns for it. It's better to keep the FY71 with you.
The Gauss fires heavy projectiles at extremely high velocity. It is highly accurate and packs a huge punch but has low firing rate. It's not practical against regular KPA soldiers but it will be useful against Nanosuited enemies or light vehicles. The real use of this gun comes when you are pitched against aliens later in the game. Attach the sniper scope to use it as a power-sniper.
Get back in the Jeep and continue towards the objective. A VTOL and a few marines will be already engaging the KPA village ahead. Keep going along the tracks. Strickland will instruct you get to the mines quickly.
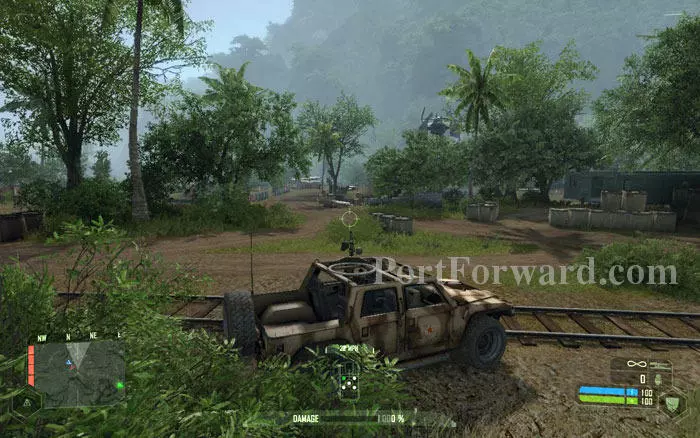
You can check out the village and the trailers, but this is purely optional.
If you go into the village, don't forget the weapons and ammo on the crates.
Once you are done with the village, head back to the tracks and proceed to the objective. You'll encounter this blockade with two machine gun nests.
Use the mounted gun to take out the enemy manning the machine guns. The blockade forces you to abandon the Jeep. Be aware of the mines as indicated by the sign boards. You can only walk on the tracks.

Snipe any remaining KPA soldiers behind the machine gun nests and proceed on foot. Use 'speed mode' as needed.
You'll reach this area where the earth is torn apart causing a fissure in the road. When you tell Strickland about this, he'll order you to move to the mines on your own.
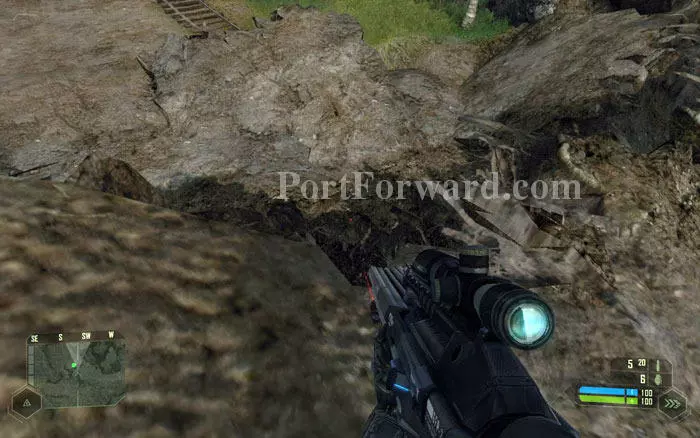
Just run across the fissure in 'speed mode' and you'll land on the other side. If you fall into the gap, jump up using 'strength mode'.
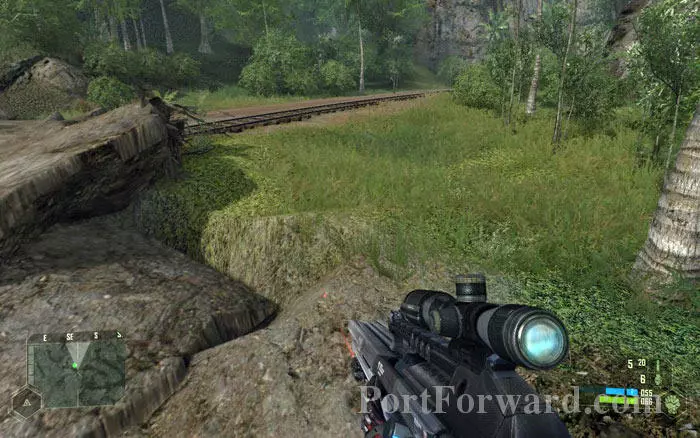
Once you are on the other side, this chapter ends.
More Crysis Walkthroughs
This Crysis walkthrough is divided into 11 total pages.


