
This Crysis walkthrough is divided into 11 total pages.
You can jump to nearby pages of the game using the links above.
Assault
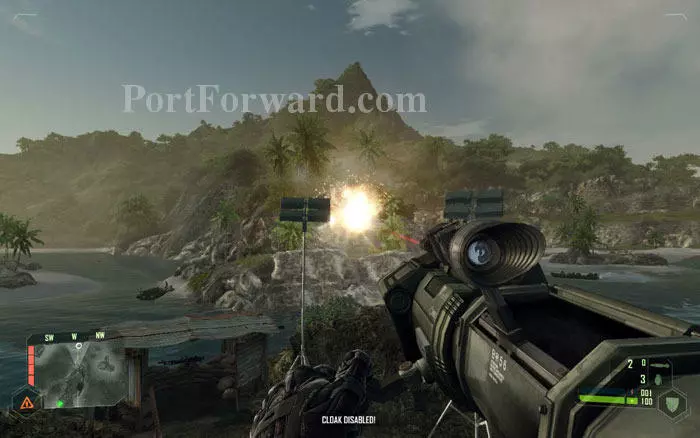
The chapter begins with a VTOL delivering Nomad, Psycho and some marines to the battlefield. US forces are attacking a harbor; But the KPA is holding the place strongly with artillery. As soon as you land, a marine asks you to meet with Lieutenant Bradley. Follow the marine.
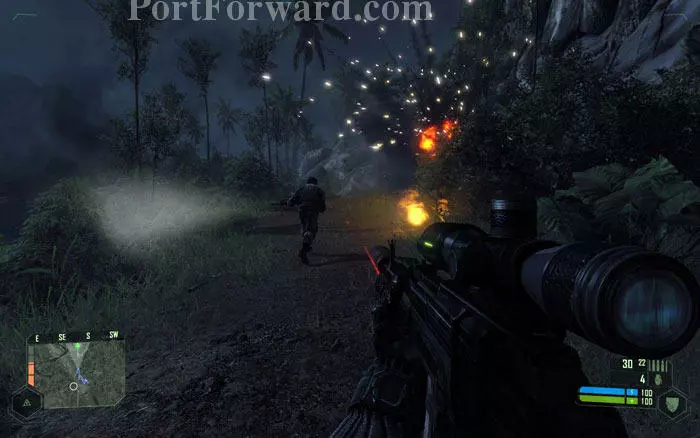
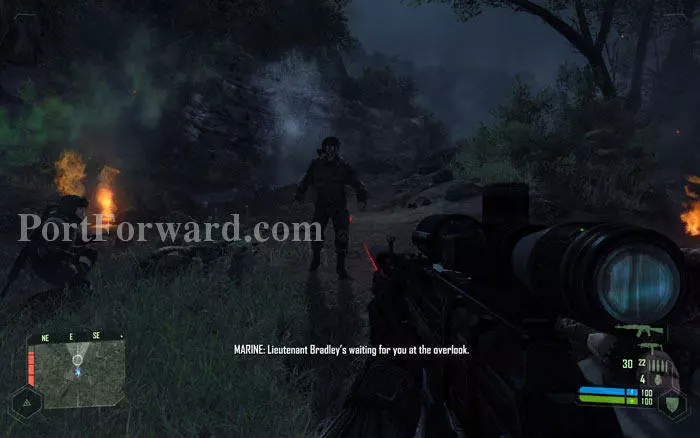
The area is apparently a raging battle zone. Run with the marine to the overlook where Bradley is waiting.
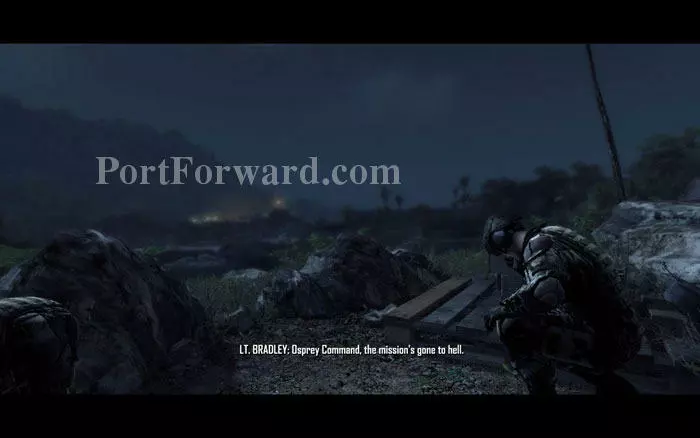
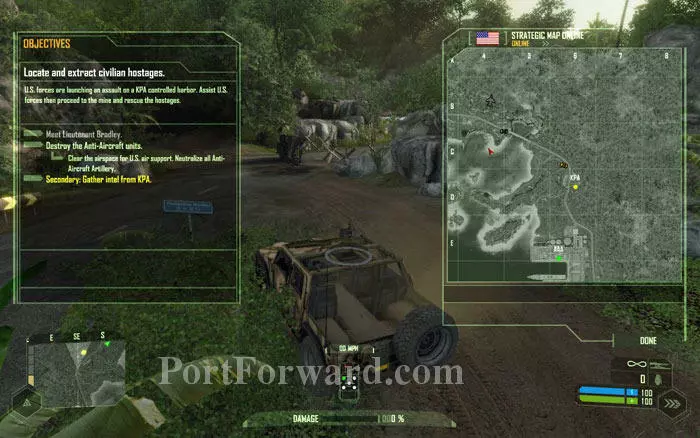
You'll find Bradley in radio contact with Major Strickland. Apparently the KPA is bombarding the ridge around the harbor to smithereens and the marines are having a hard time.
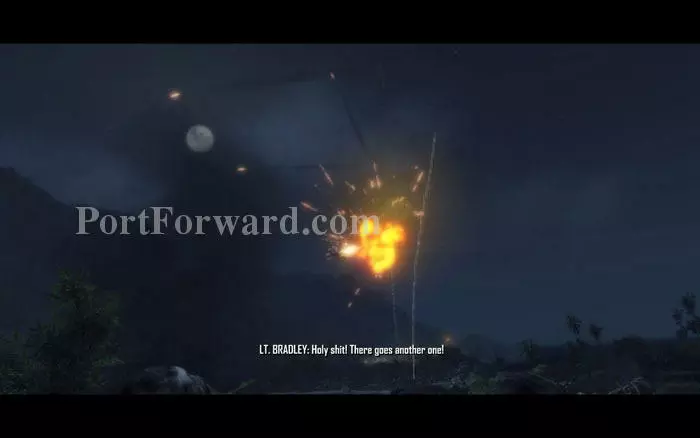
KPA's AA guns are preventing any air support. So it's up to the ground units. You, to be more specific.
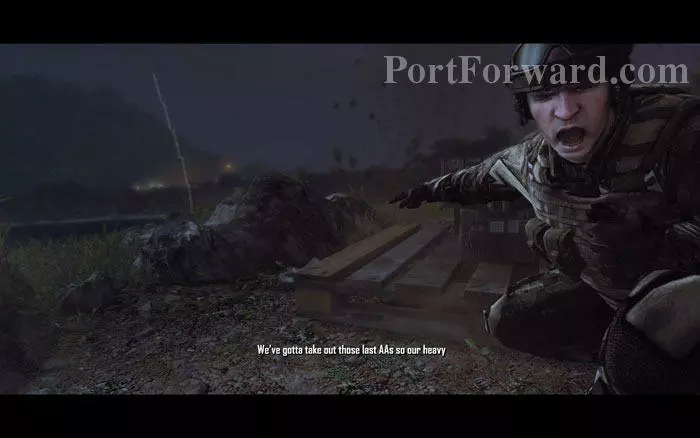
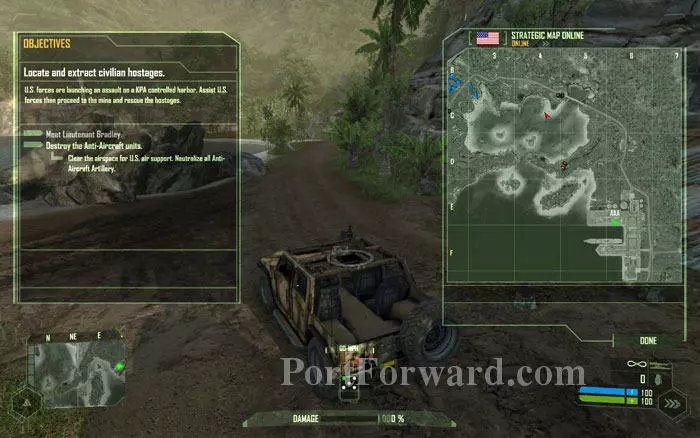
Bradley promptly gives you the job of destroying the AA guns around the harbor. It's go time again.
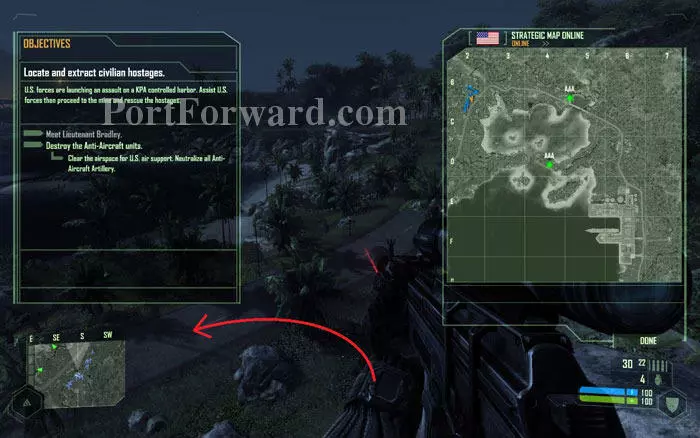
You can take out the two AA units in any order. It's better to take out the northern one first as it will reduce travel time. Climb down the hill and take the left path.
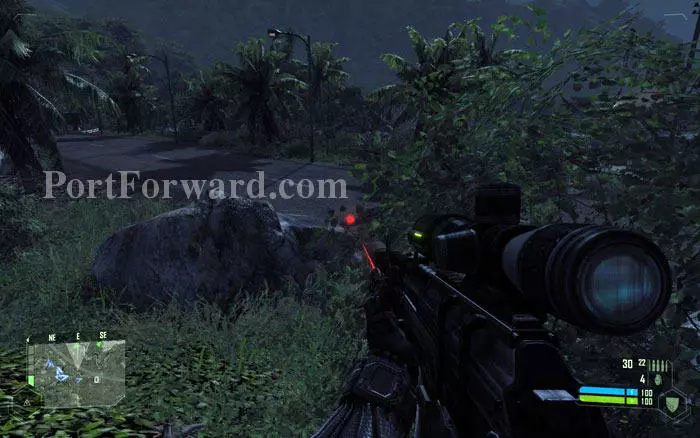
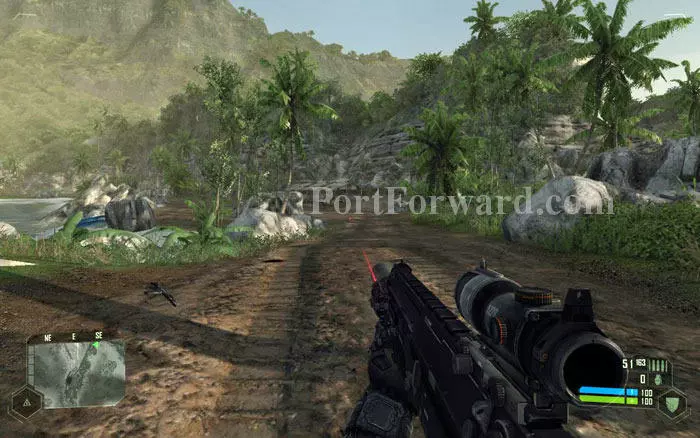
After climbing down and turning left take a few steps ahead.
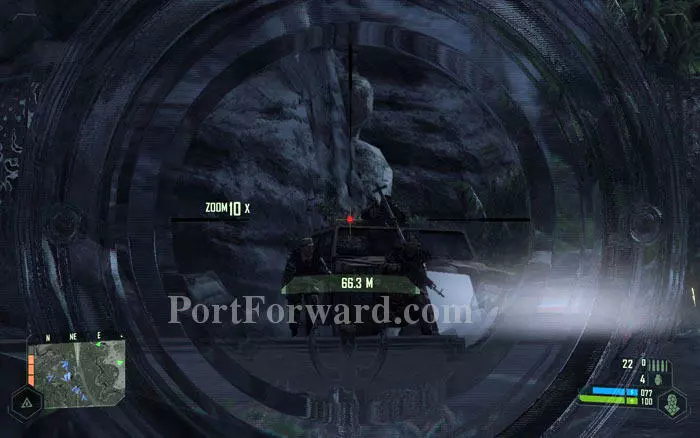
You'll spot a patrol Jeep and a couple of soldiers. Snipe the gunner first and them finish off the rest.

Take the Jeep and proceed down the road till you see a gas station guarded by several KPA.
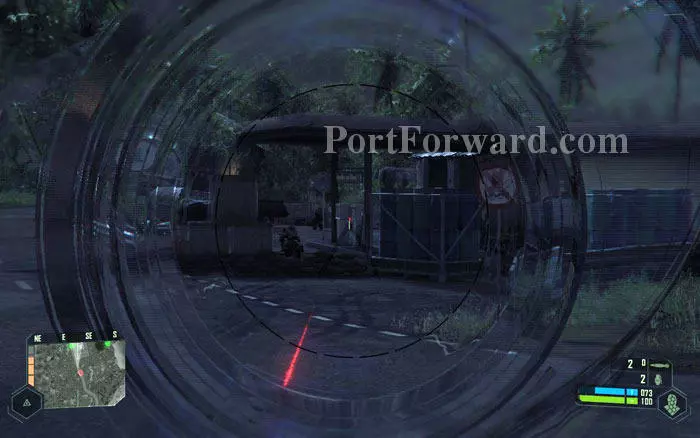
Driving into the gas station is risky. Instead, step out of the Jeep and sneak till you can see the fuel dispenser through the missile launcher scope.
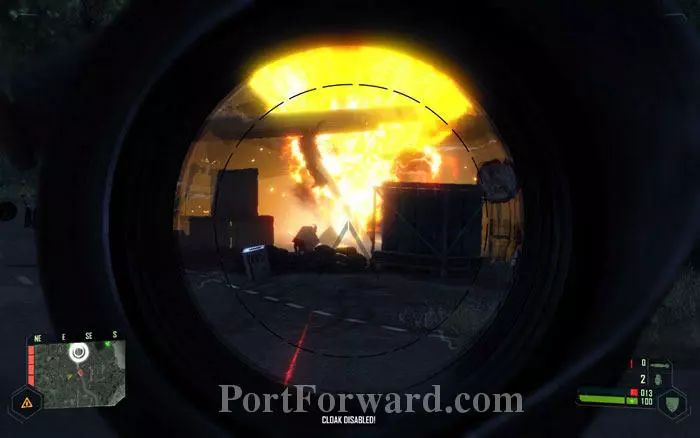
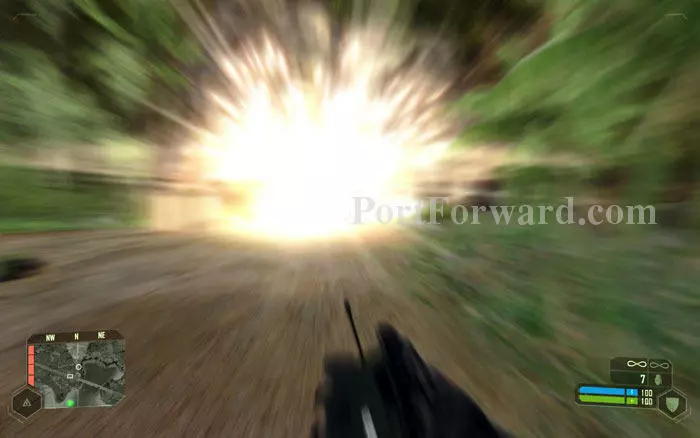
Launch a missile at the fuel dispensers to blow up the whole station. This will kill most of the KPA here.

Search the area for ammo and continue. The first AA unit is just ahead.
Use the binocs to scan the AA site. You'll find that Psycho has already killed the sniper on the guard tower. Good. Finally he did something.
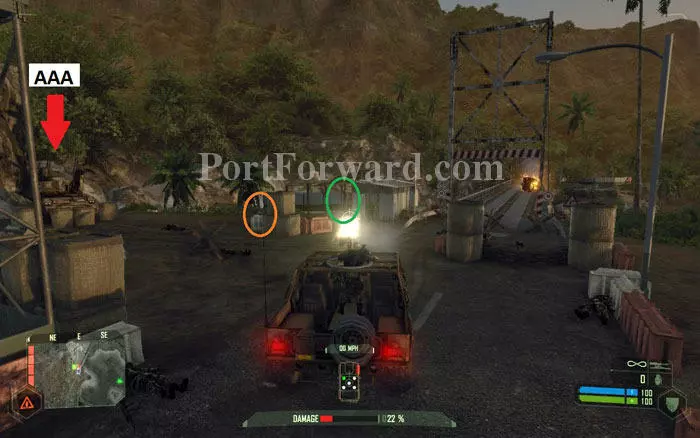
Move in with your Jeep and finish off any enemy. The AA artillery is situated to the left. There are some C4 explosive charges (orange circle) and a missile launcher (green circle) nearby. Either of these can be used to blow up the AA unit, but I recommend saving the missiles for the helicopter that will show up soon.
With the explosive on your hands, move close to the target and press LMB to attach the charge on it.
Then step back and press LMB again to remote-detonate the charge. Kaboom!
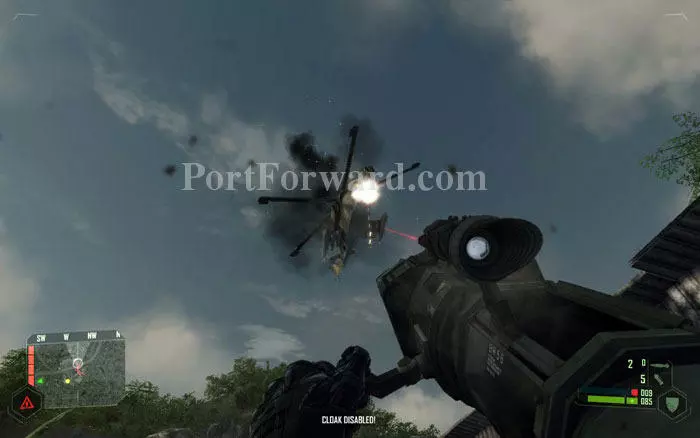
Once you blow up the AA unit, the KPA will send a chopper after you. Evade its attacks and take out your missile launcher.
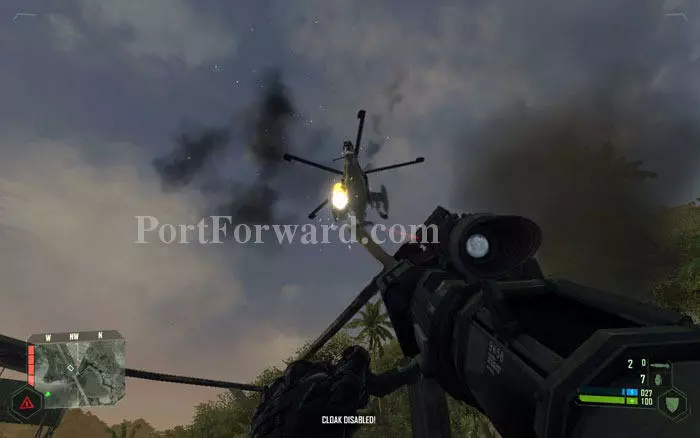
Different parts of the chopper's body have different levels of armor. Two clean hits anywhere will bring it down in Normal difficulty.
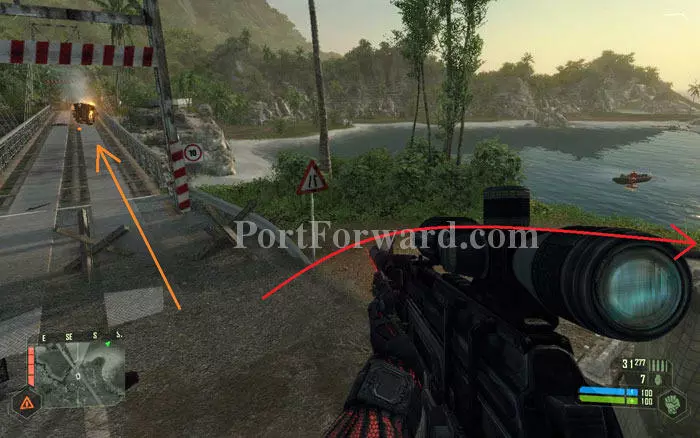
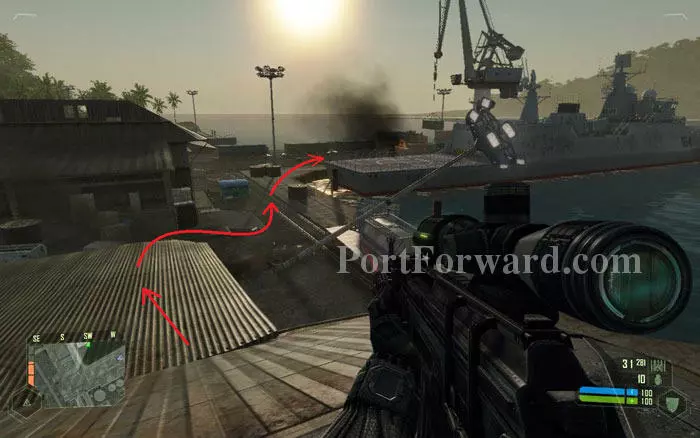
From here you can either take the bridge or go down the slope to the south and get a boat. This walkthrough assumes you take the boat. It's a faster way to reach the second AA unit.
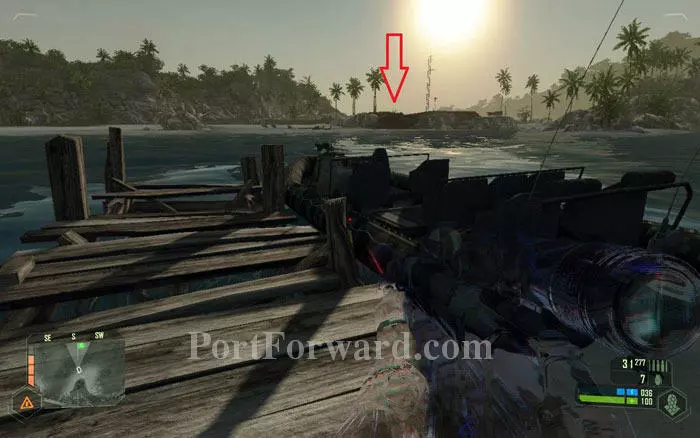
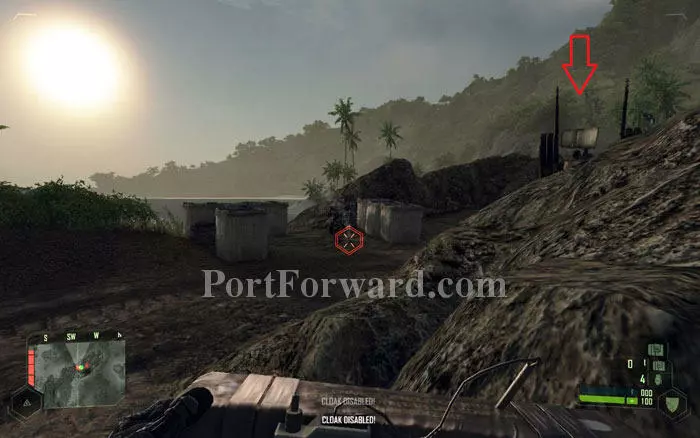
Down the slope you'll find this dock with a boat. The second AA site is just ahead, on the ridge marked by the arrow.
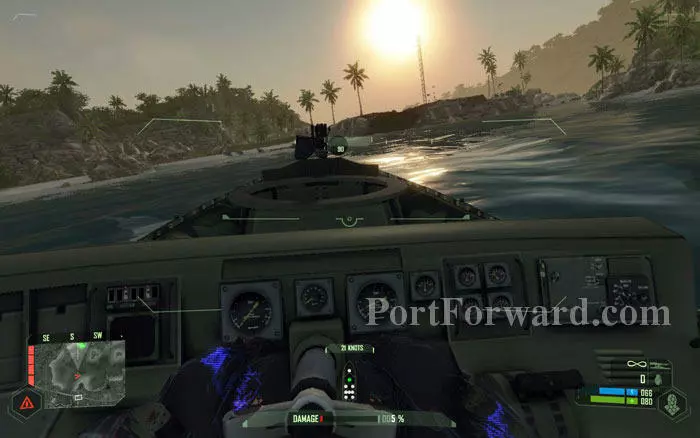
Go straight ahead to the ridge. Take out the gunners in any other boats that bother you.
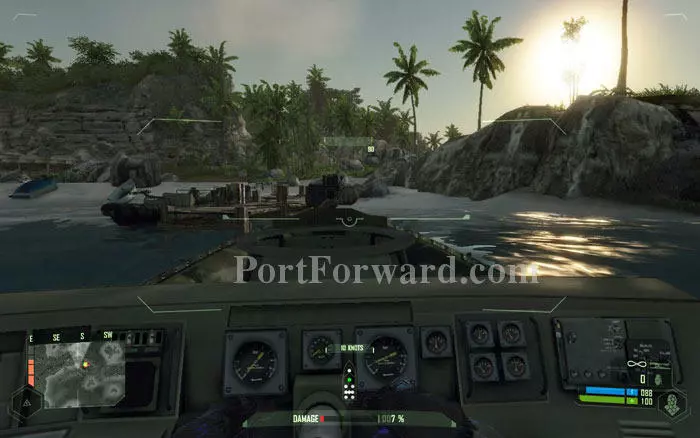
Pull up the boat at the dock straight ahead and sneak out towards the AA unit.
Take out the KPA guys and move to the AA unit (marked by red arrow).
Frag grenades will be useful for taking out groups of enemies around here.
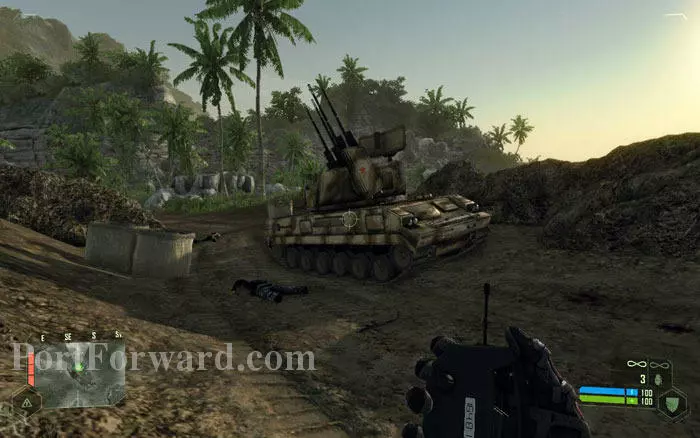
Use an explosive charge (or rockets) to finish off the AA battery.
Don't forget to check out the far end of the ridge, sticking out to the water. There is a supply crate with an unlimited number of rocket launchers.
Use this surplus of rockets to blow up anyone and anything that annoys you including the sniper post straight ahead of you and the several patrol boats on the water. Restock on missiles before leaving.
Now turn back and head east towards the parked Jeep.
By now Prophet will tell you that there is another AA unit inside the harbor that needs to be taken out. Drive to the north-east to get back in the road leading to the harbor. You'll soon get a secondary objective to be done on this road.
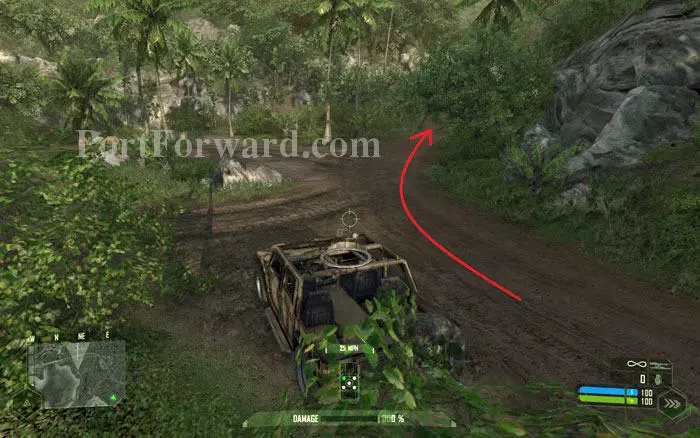
Turn right in the next intersection. You'll reach the main road.
Here it is. The secondary objective is to gather intel from the village ahead.
But the road is blocked so you'll have to walk up the slope as shown by the arrow.
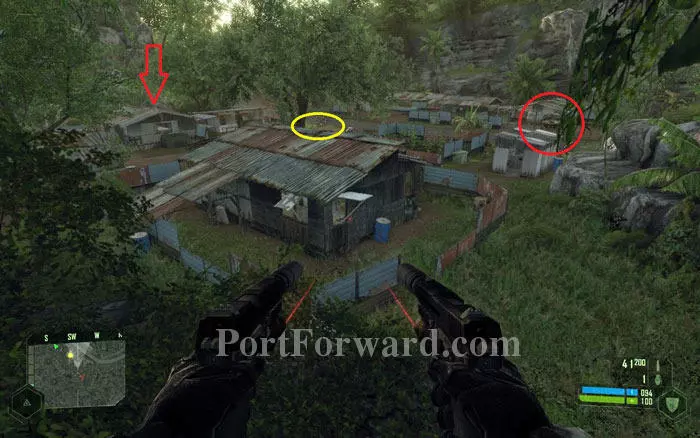
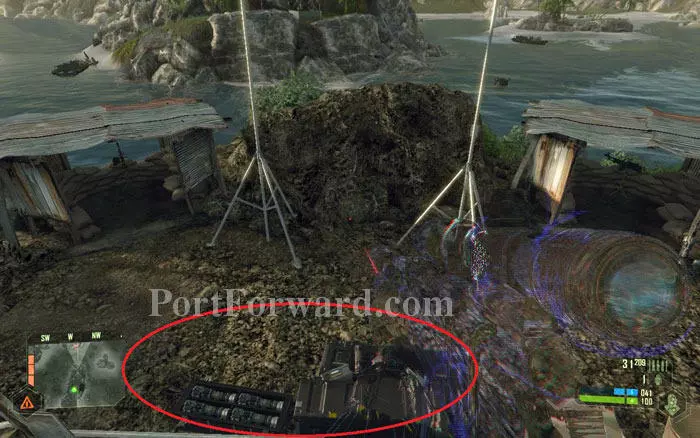
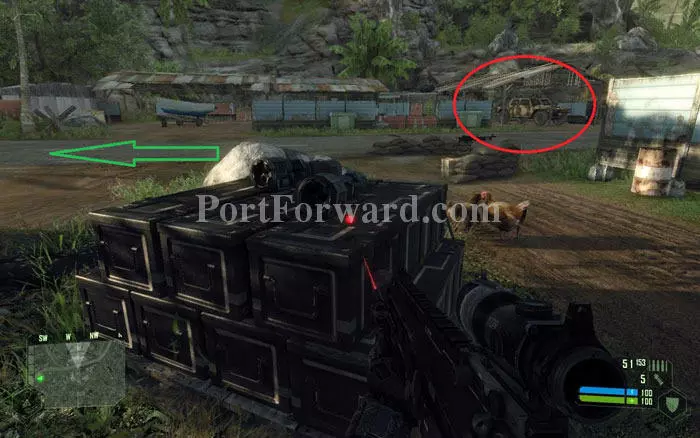
Sneak up the slope and turn right to reach a cliff overlooking the village. The shack that houses the computer terminal containing your intel is marked by the red arrow. The yellow circle marks the location of a couple of missile launchers. Your ride out of here is circled in red.
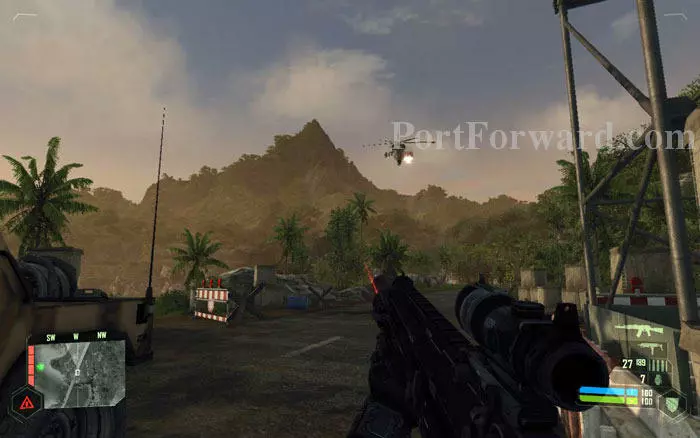
Take out the scattered KPA soldiers here with rifle grenades or whatever you like. Once you alert the KPA here, they'll fire up a flare as a distress signal.
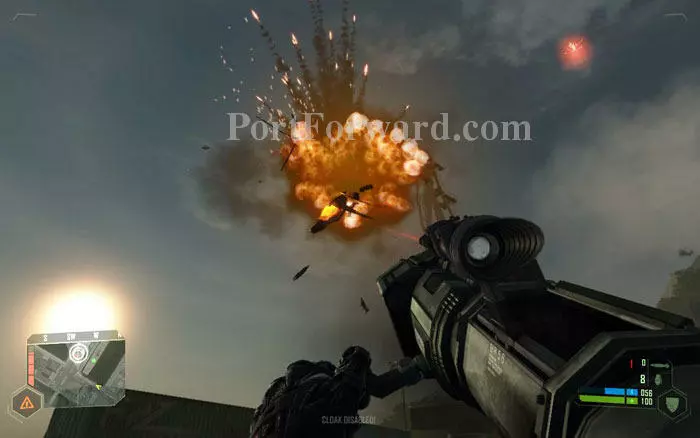
The flare signal will attract our old nemesis the chopper. Take it out as usual with the missile launcher.
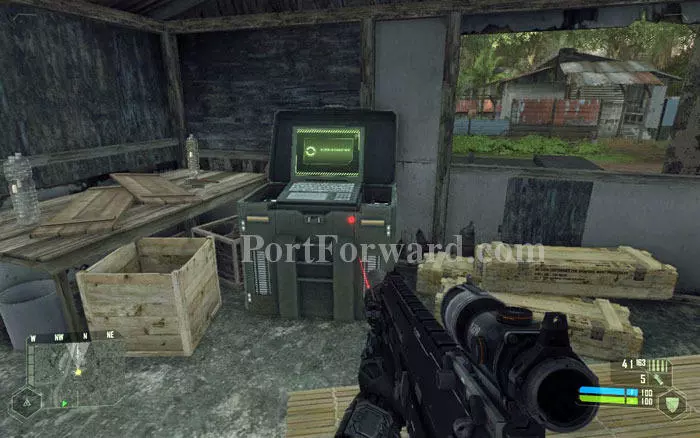
Take out any remaining enemies and download intel from the terminal. The intel suggests a large weapon storage room inside the harbor. We'll visit it once we get to the harbor.
Gather weapons and ammo and drive the patrol Jeep out of here and into the harbor.
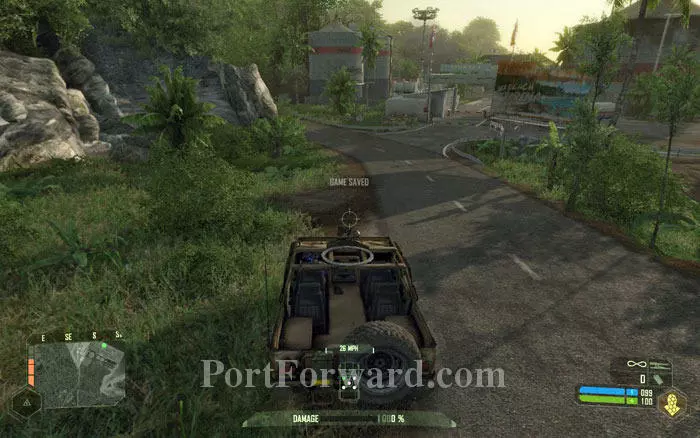
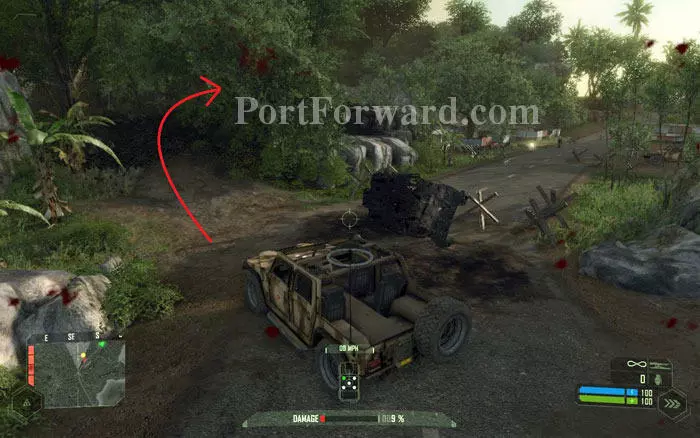
After a short drive you'll see the entrance of the harbor. You'll probably need the Jeep to make your way inside as the number of enemy soldiers inside is just massive.
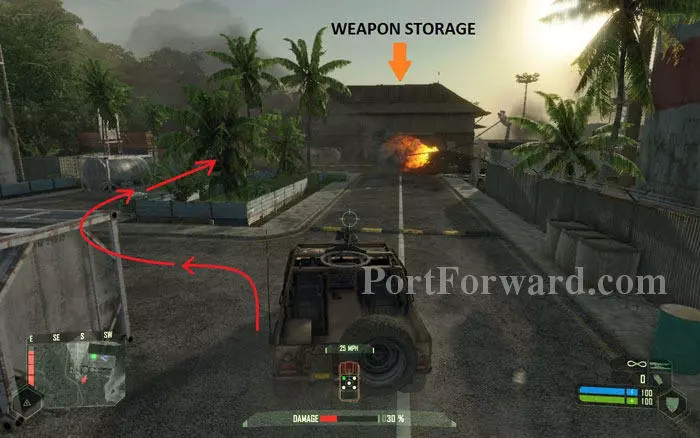
There is a downed helicopter lying ahead. The AA unit is to the right of the burning chopper. But it's better to get inside the weapon storage first because the harbor is crawling with KPA and it's not easy to be out there in the open. Take the path shown by the red arrows.
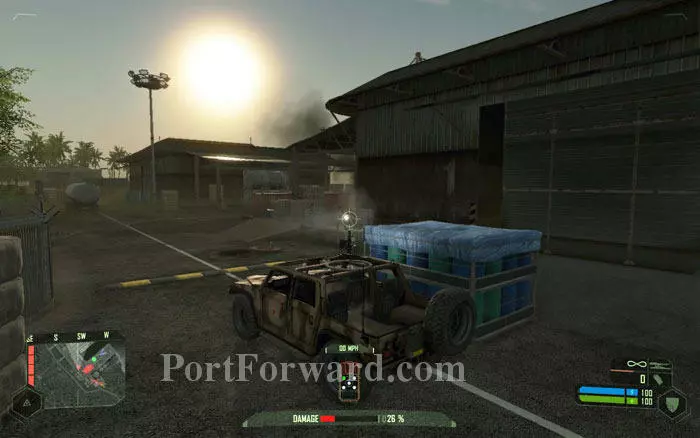
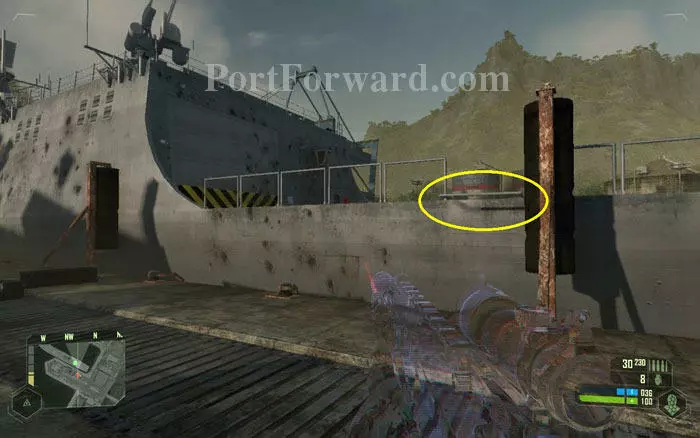
You'll reach the relatively quieter side of the weapon storage. Take out any enemy in the immediate vicinity.
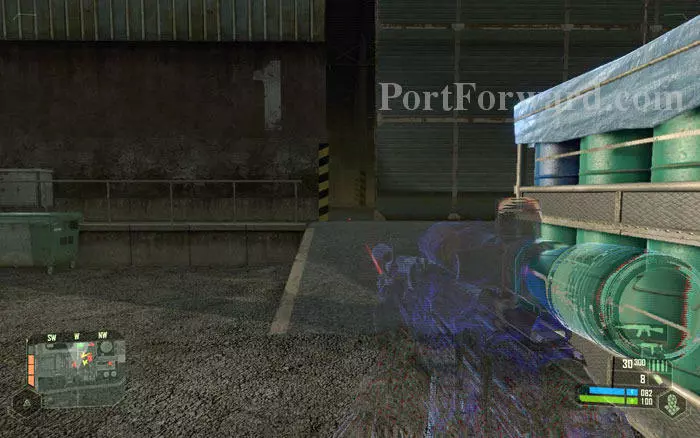
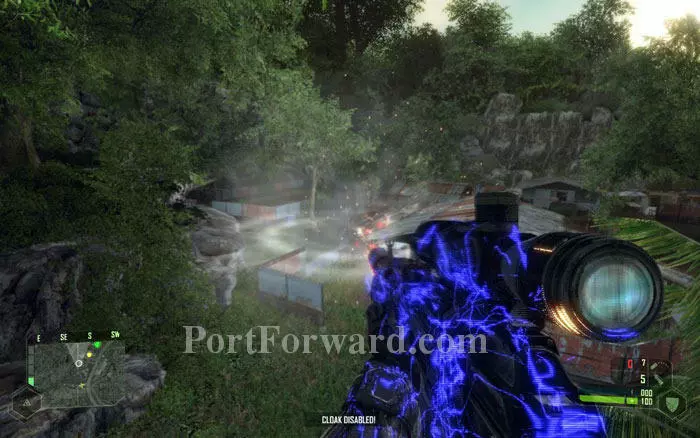
Enter the storage through the small opening of the shutter. Use 'cloak mode' as there is a horde of KPA inside.
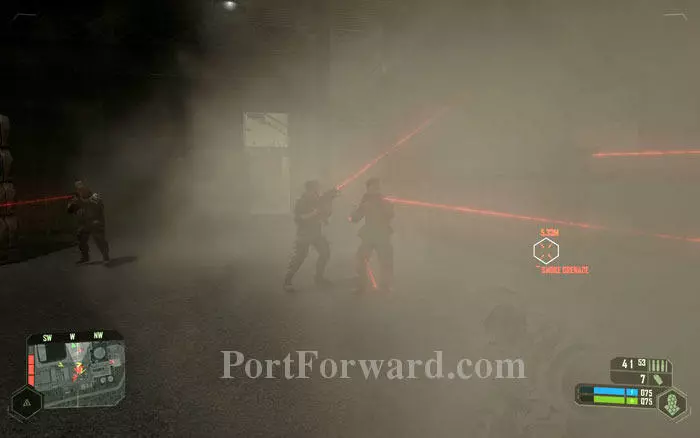
Chuck in a smoke grenade to reduce visibility and sneak inside.
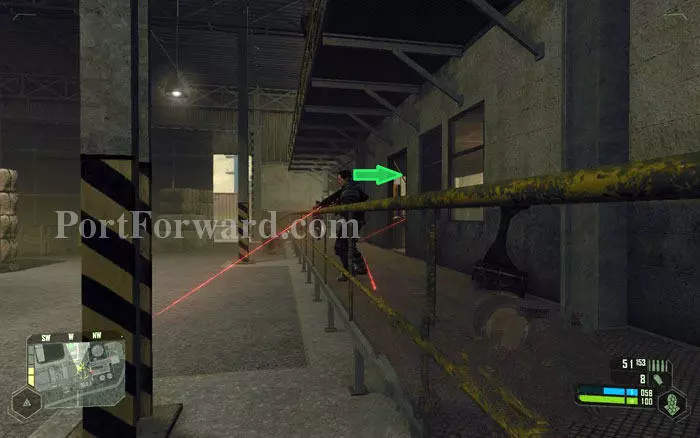
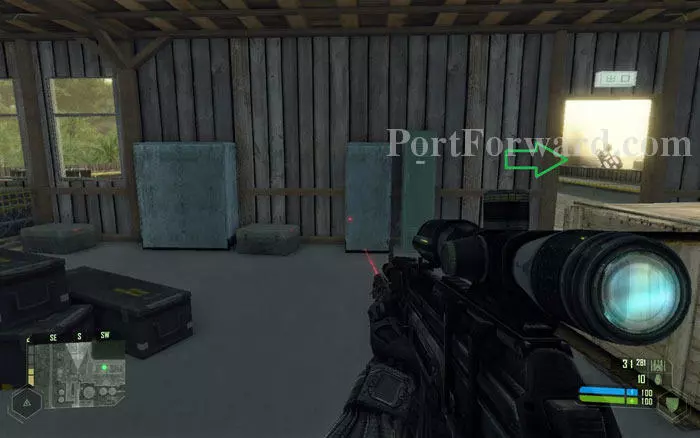
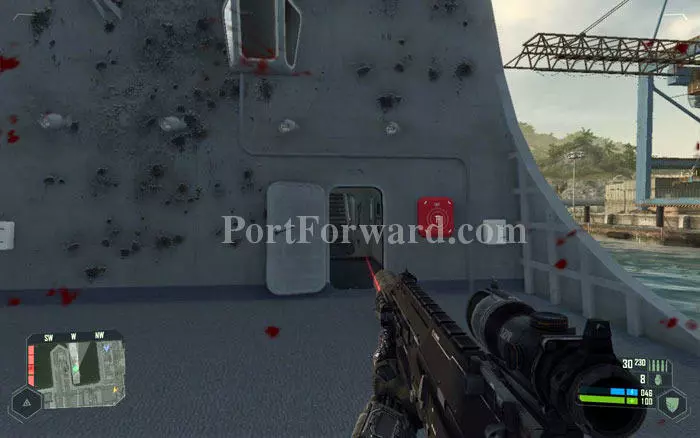
Your target is the door to the right. Get inside avoiding contact as much as possible.
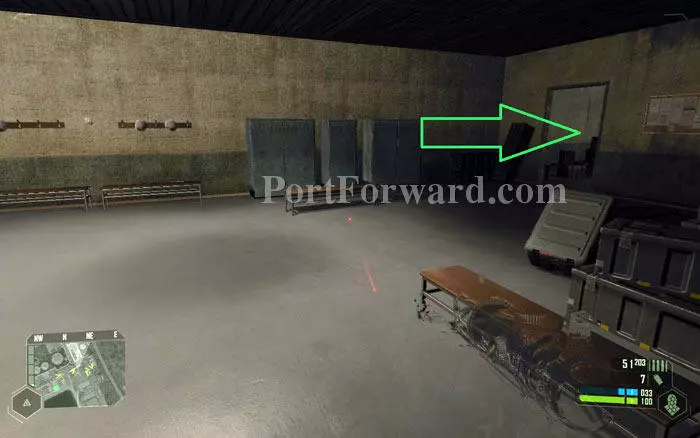
Once you get past the first door, walk in to the weapons room through the door to the right.
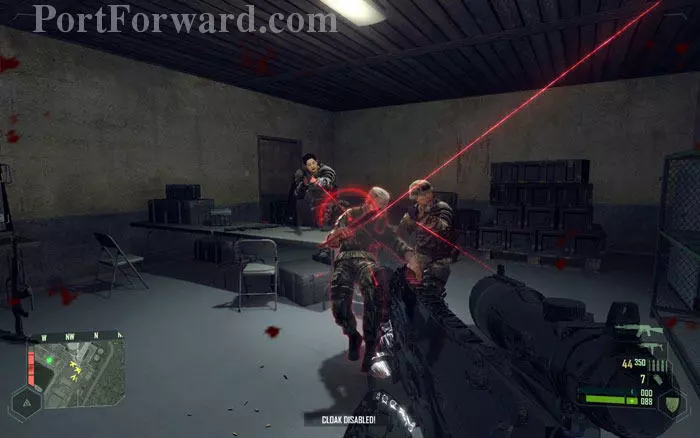
Once inside the safety of the weapons room, feel free to engage.
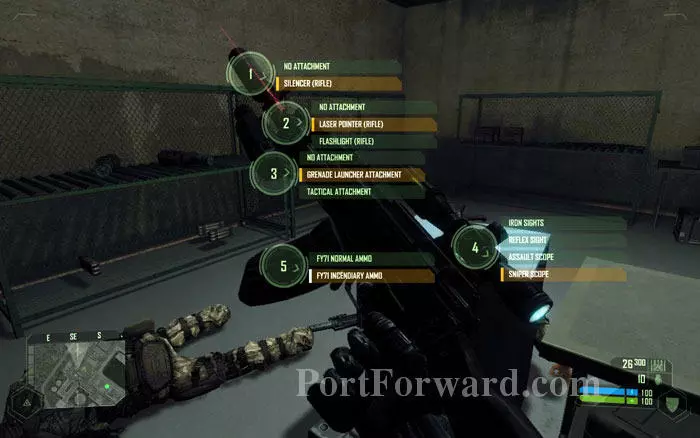
Stock up on the various weapons and ammo here, including 'incendiary ammo' for FY71. As the name indicates, incendiary bullets explode on impact, making your rifle all the more lethal.
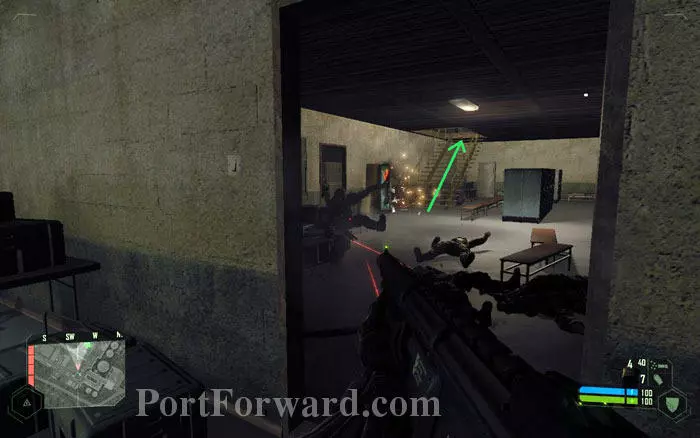
The shooting inside the weapon room will attract more KPA guys to this bottleneck. Take them all out and head up the stairs (green arrow).
Reach the upper floor and turn right to see the door to the terrace. Head out through this door.
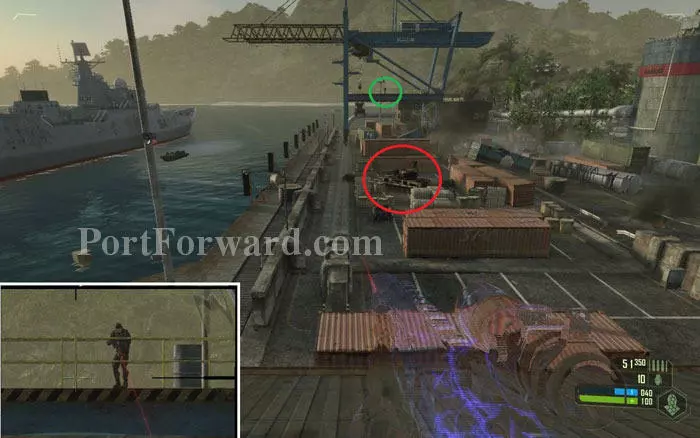
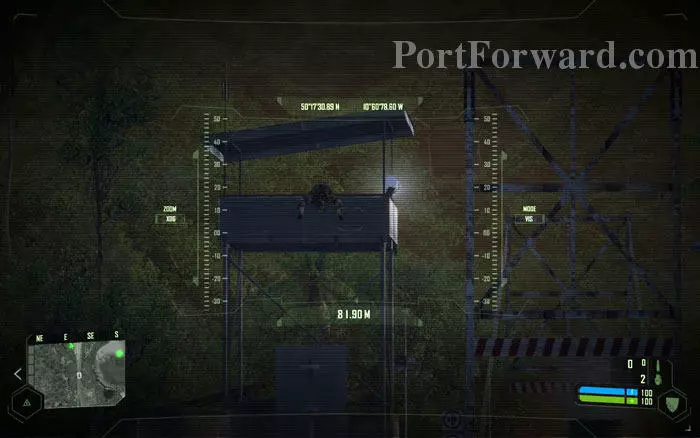
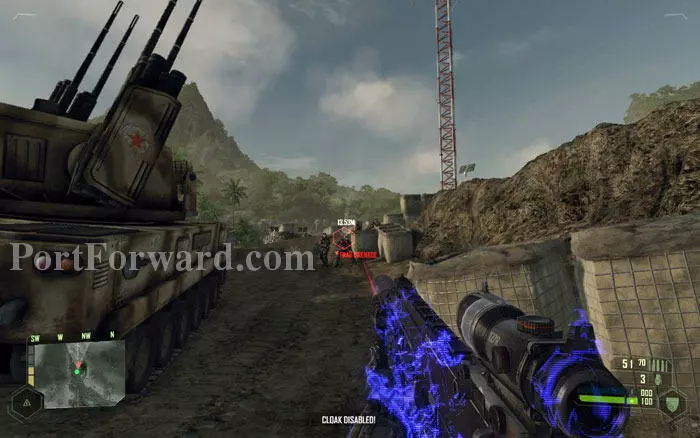
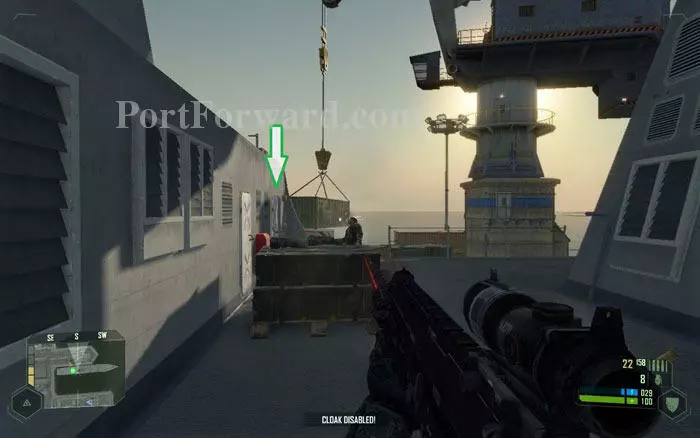
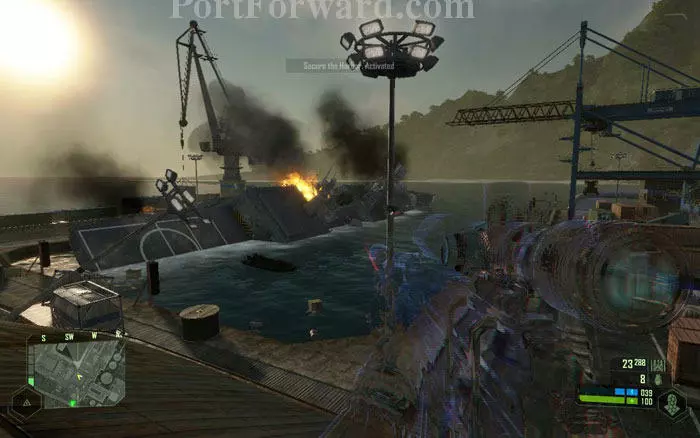
Look west from the roof. You'll see the harbor and a KPA ship anchored there. The AA gun you have to destroy is right in front (red circle). If you look through the binocs, you can see Psycho perched up the cranes. (Green circle and inset).
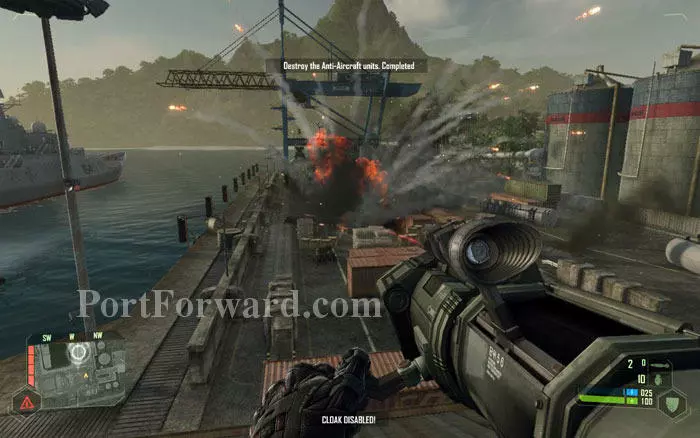
Use the missile launcher to destroy the AA gun and complete the objective.
Once the AA guns are gone, you'll get the next assignment: Disable the GPS jammer located inside the ship. Jump down the roof and get to the other wing of the harbor as shown by the arrows.
Use missiles to destroy any choppers and patrol Jeeps that annoy you.
Once you are ready to get on the cruiser, look for the ledges sticking out. Use 'Strength mode' to jump onboard.
Go through the door to the right and take the stairs up to the upper deck. Watch out for the KPA waiting on the upper deck.
Once on the upper deck, turn left and find the door that lead to the control room. Note the missile launchers on the crates.
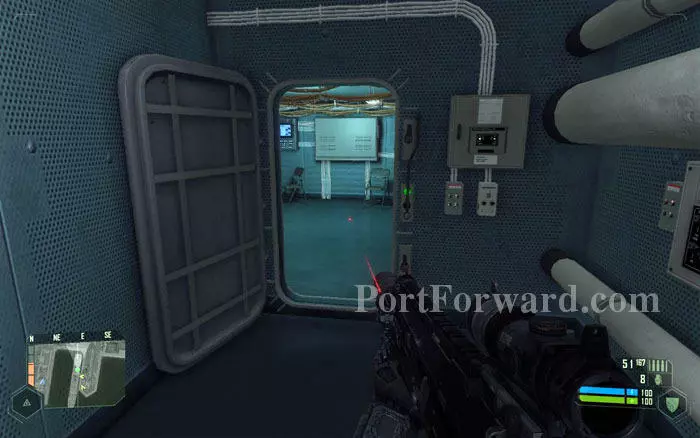
Go down the corridor and enter the control room.
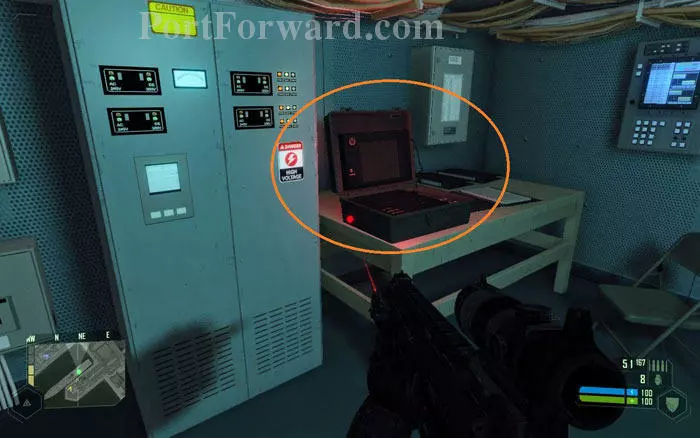
In this control room you'll find the control panel of the GPS jammer. Disable it and head out.

Once the GPS jammer is disabled, you'll be informed that Jets are ready to bomb the ship. You just have to tag the ship with your binocs. Of course, you don't want them bombing the ship while you are on it. So bail out of the ship first.

From a safe distance, tag the cruiser with your binoculars.
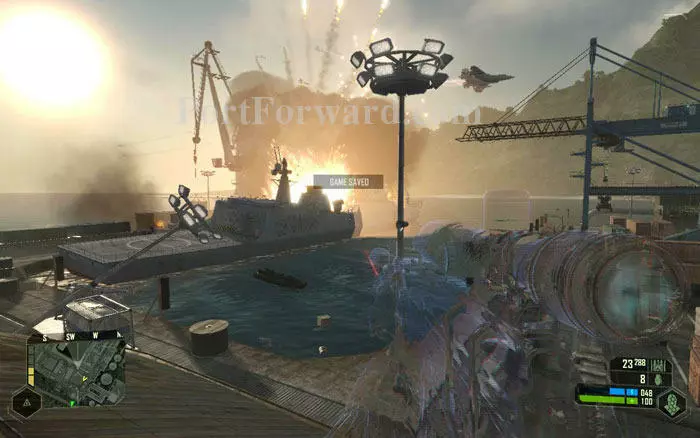
Soon the jets will fly by and bomb the cruiser to a smoking pile of scrap. Objective complete.
Once the cruiser is destroyed, you will be handed your next assignment: secure the harbor. That means you have to take out the KPA helicopter that will show up so that the VTOLs can safely land.
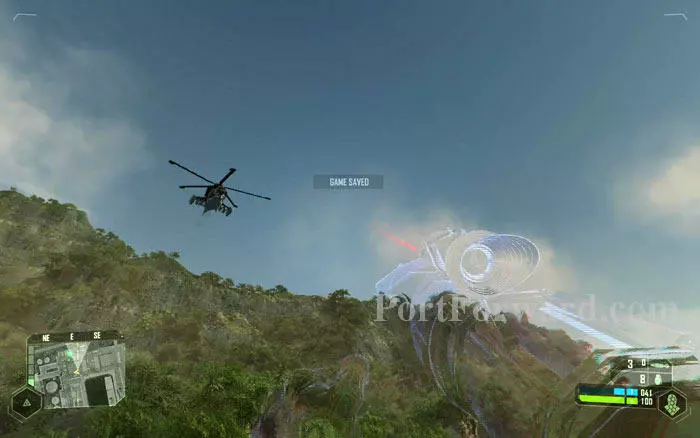
The chopper will promptly fly in from the east. Switch to 'cloak mode' and take it out with your missile launcher. If you don't have one, get one from the weapons storage room or lying around the harbor.
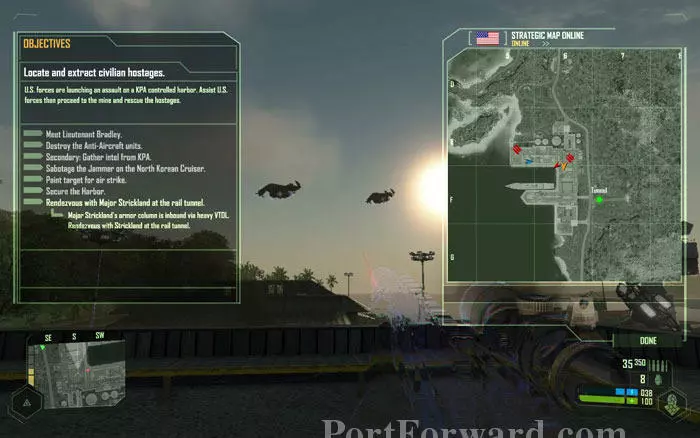
Once the skies are clear, our heavy VTOLs will fly in carrying tanks. And guess who's in charge: Major Strickland. You will be instructed to rendezvous with him at the rail tunnel to the south-east as shown in the map.
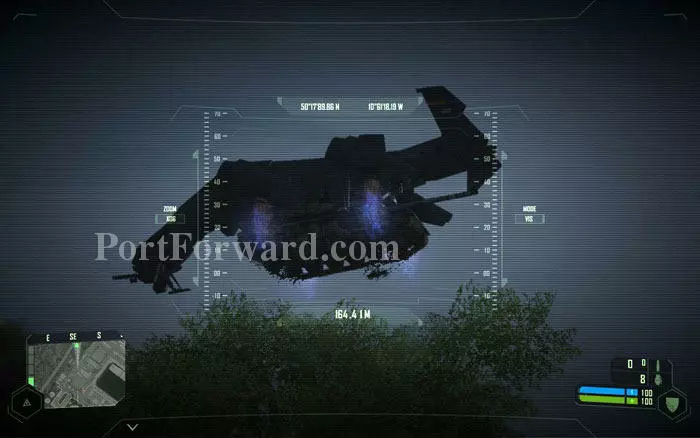
Gee. Look at those VTOLs flying around carrying a tank like it's nothing.
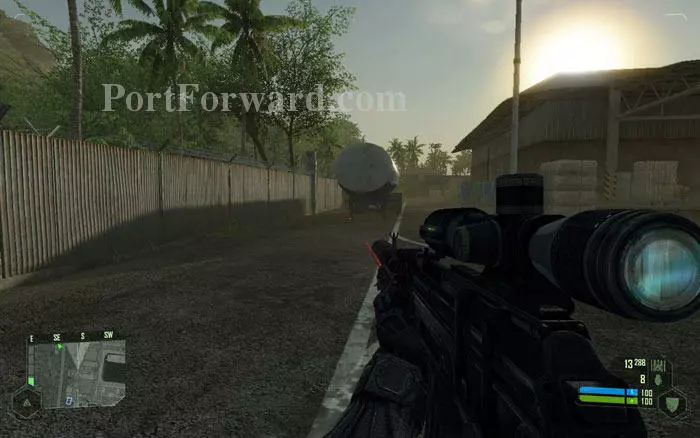
Pay one last visit to the weapon room so stock up on weapons and head to the south-east of the compound.
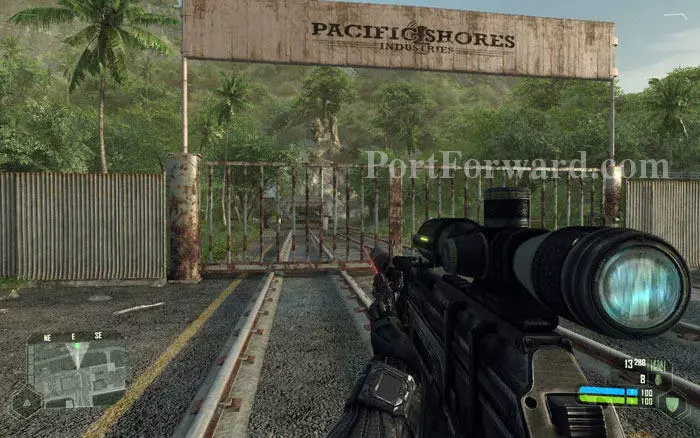
You'll find the rails leading to the tunnel. Major Strickland is waiting there with his heavy armor column. Jump over the fence in 'strength mode' and head there.
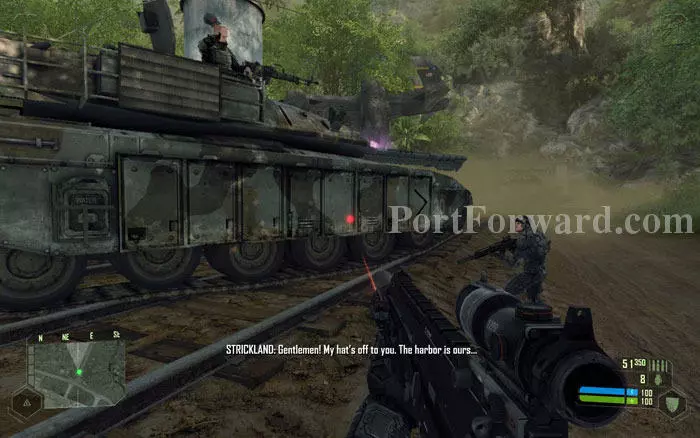
The Major is pleased with your work. Psycho is already there to grab a share of the glory.
Strickland gives Psycho a whole new assignment. He is to join with another unit for a different task. The sequel, "Crysis Warhead" is based on that with Psycho as the protagonist.
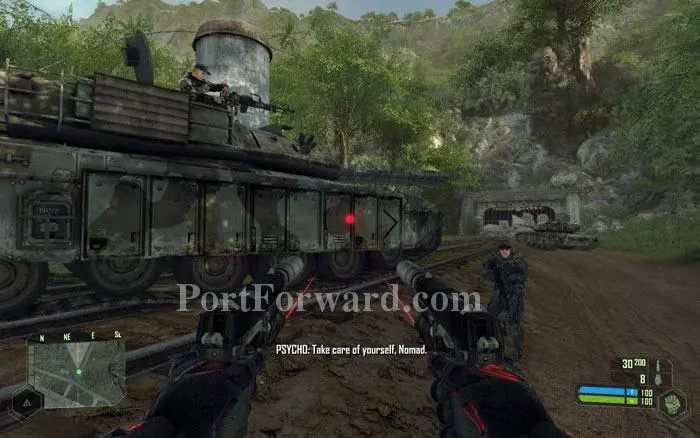
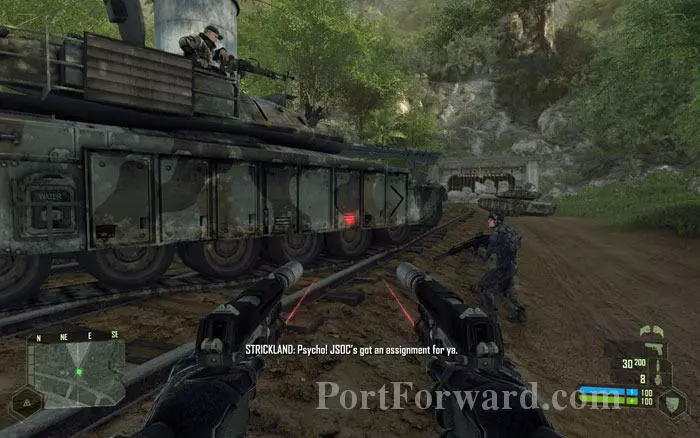
Psycho says his good-bye and takes off. Strickland wants you to man one of the tanks. Never a dull moment in this game.
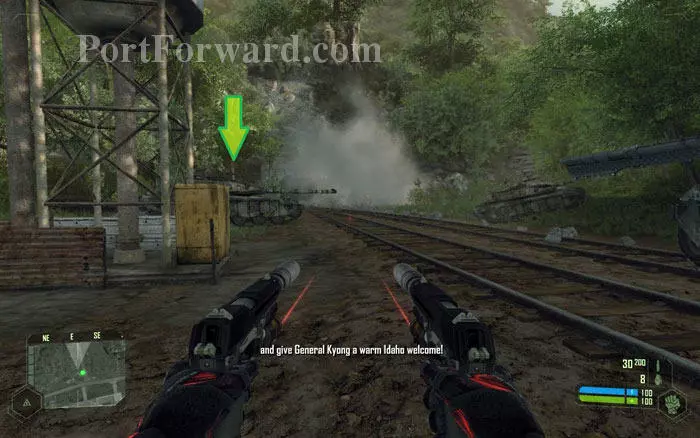
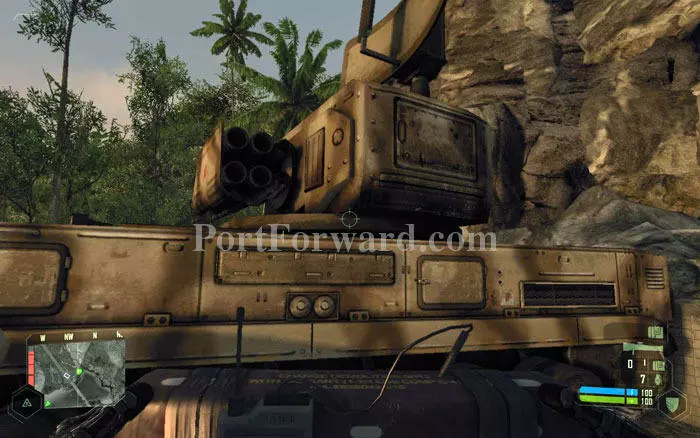
The Major orders his tank to blow up the blockade at the tunnel entrance to clear a path. Enter the unmanned tank to the left.
More Crysis Walkthroughs
This Crysis walkthrough is divided into 11 total pages.


