This Crysis walkthrough is divided into 11 total pages.
You can jump to nearby pages of the game using the links above.
Contact
You and your buddies are hardened US Special Forces soldiers on a mission to investigate a distress call from a group of archaeologists trapped in a tropical island in the Philippines Sea. Incidentally, the North Koreans are there too. Mood is set right from the beginning.
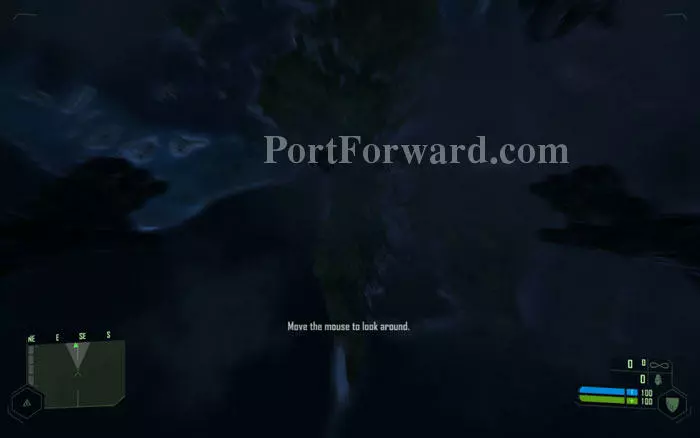
Nice way to begin the adrenaline-soaked adventure. But nothing much to do during this sky dive, so listen to the chit chat.
Things do not start too well for our protagonist, Nomad, as he crash lands to the water. But the NanoSuit can handle that. Just make your way to land, and your squad leader Prophet will patch you up.
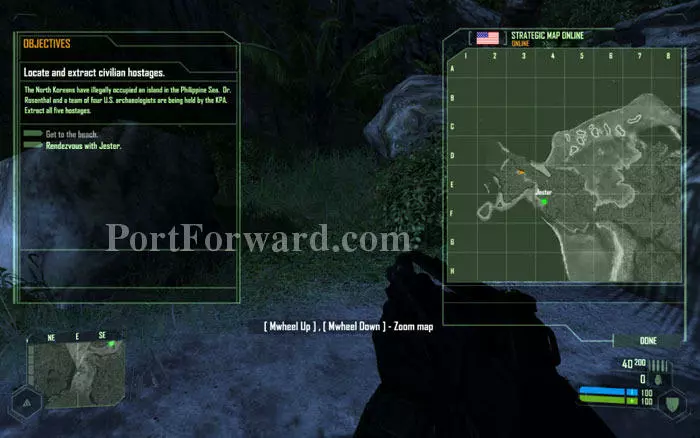
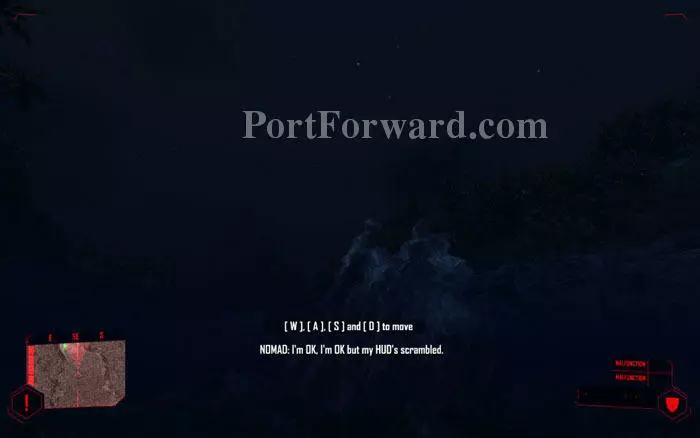
Move to the target location indicated by the green arrow in the radar. Check the objectives screen and the map for details.

You are well-armed straight from the beginning. Customise your weapons as Prophet instructs. Action is right around the corner.
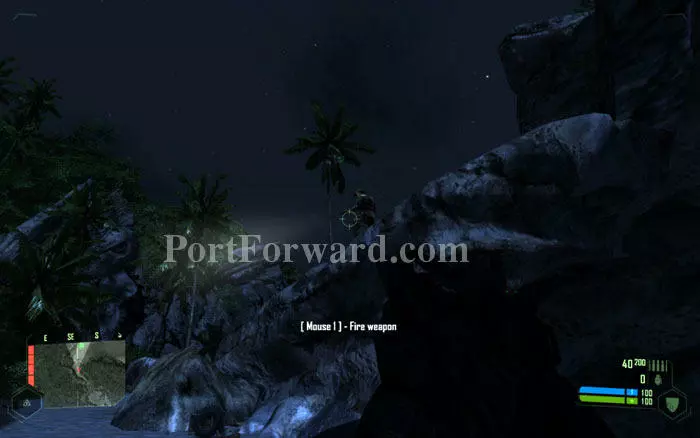
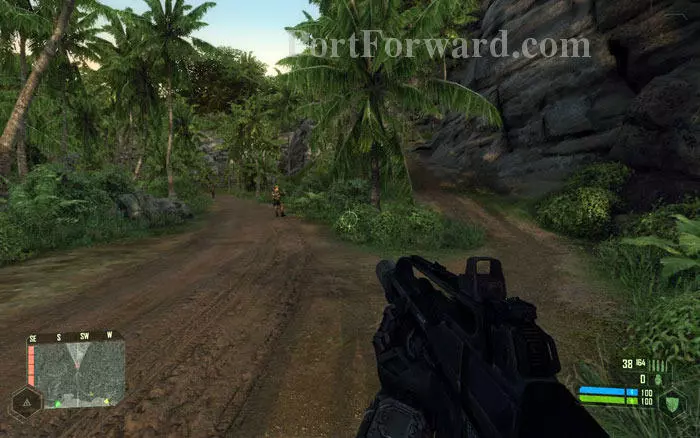
Watch out for the KPA soldier above the ridge to your right. Make sure your weapon is silenced before opening fire.
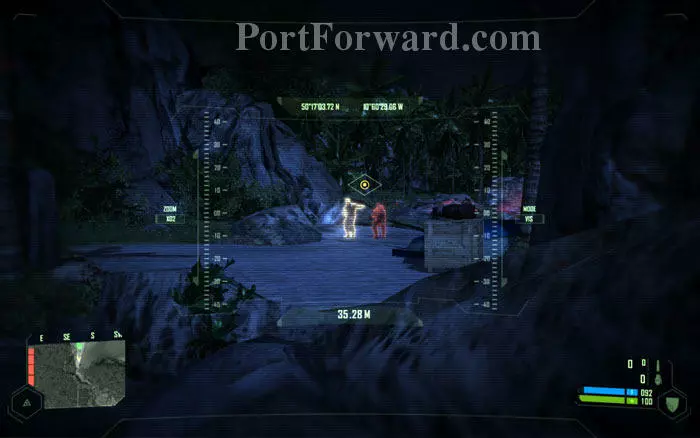
Two more enemy soldiers on the beach ahead. Use the binoculars to tag them to the radar in the bottom left of your screen. The colors indicate their level of alertness. Also note that the diamond shaped 'eye' marks your target location.
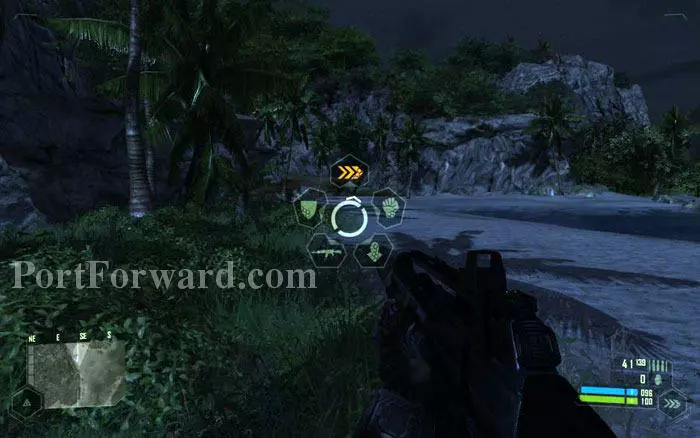
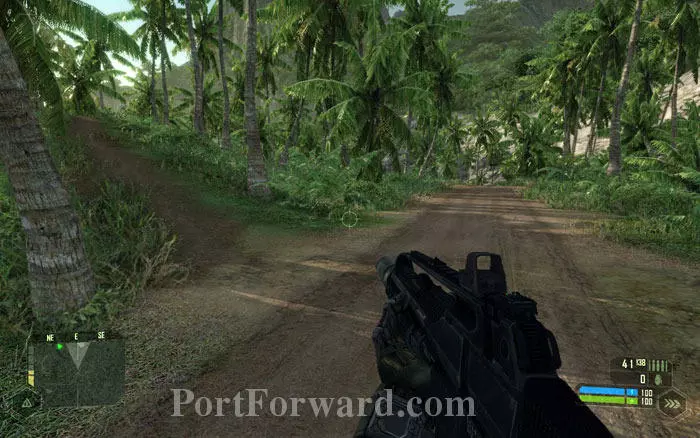
Your buddy Jester is waiting for you on the other end of the beach. Use this time to check out the 4 modes of the NanoSuit -- Maximum armour, Maximum speed, Maximum strength and Cloak. You will be using them a lot.
Meet up with Jester and follow him to the next cutscene. One of the most dramatic moments of the game awaits you.
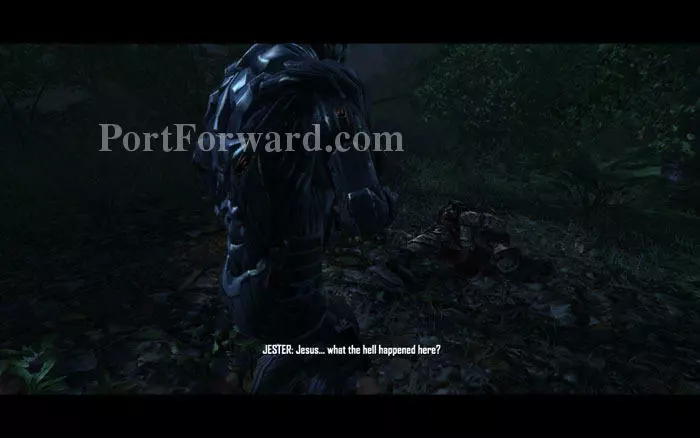
We didn't do this. Apparently your team and the North Koreans are NOT alone on this island.

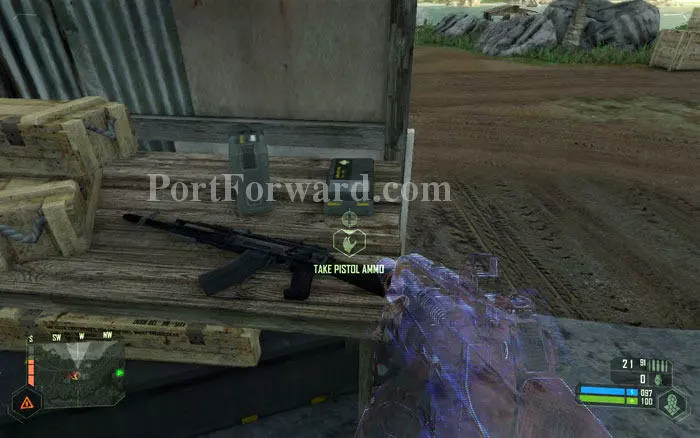
Crysis has its fair share of grim and creepy moments. Come to think of it, there are no funny moments in the game at all. Pay respect to your fallen friend. But pick up the ammo from his rifle anyway.

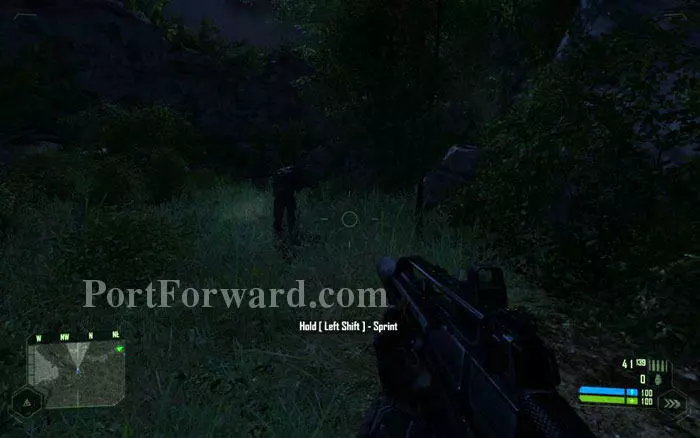
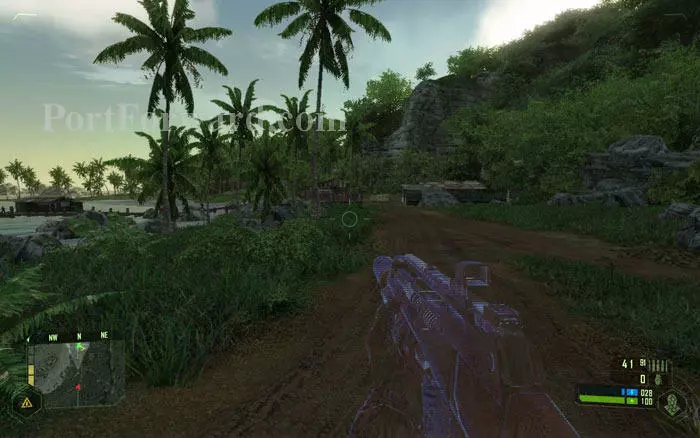
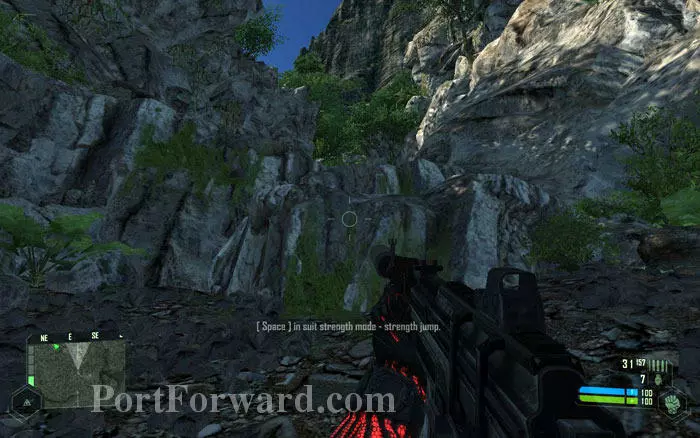
From here on you are alone. Move to the next destination shown in the radar. Press ahead to the rocks and use the 'strength mode' to jump above.
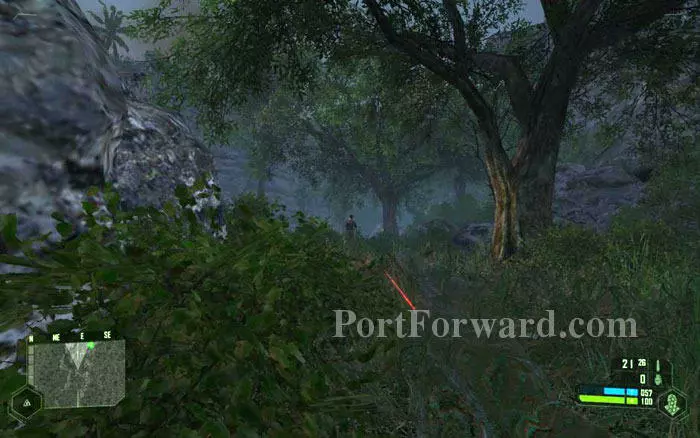
You will meet with a small KPA patrol. Time to switch to the very useful 'cloak mode'. Note that your pistol, with silencer and laser pointer, is most effective to take out enemies with a headshot. Take out both KPA soldiers and move on.
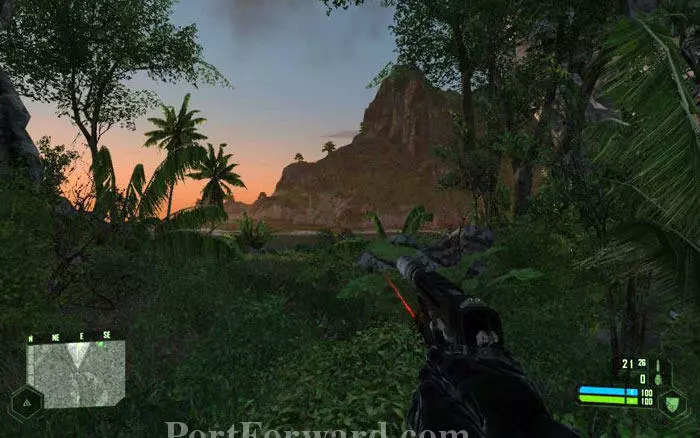
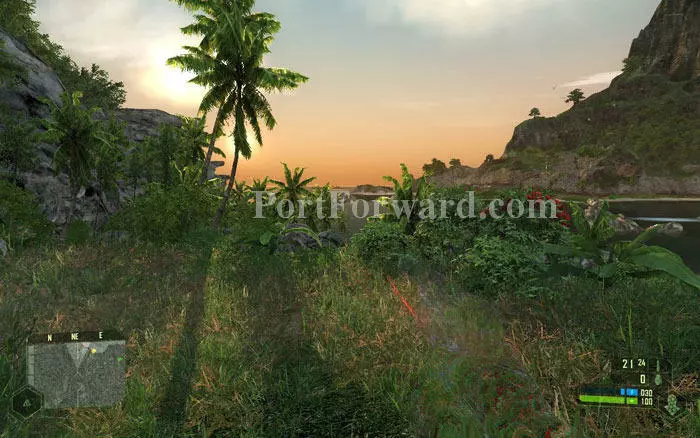
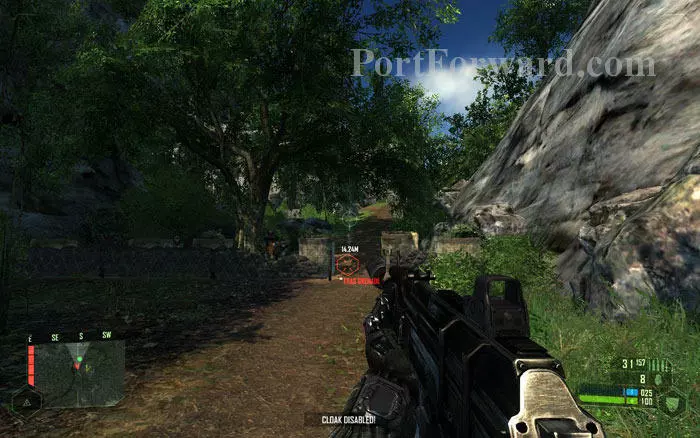
Here you will receive a secondary objective -- take out the radar jamming device. It's located in the beach right ahead of you, and is marked in the radar by a yellow arrow. Walk up there.
Take a good look at the jammer site. Here you can see how your system fares against the graphically demanding Cry engine 2.

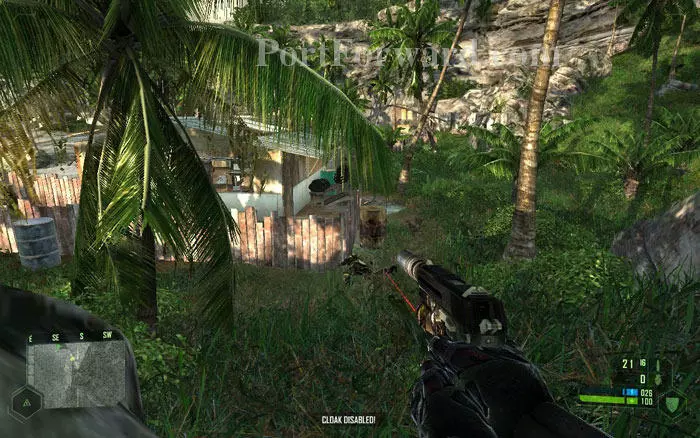
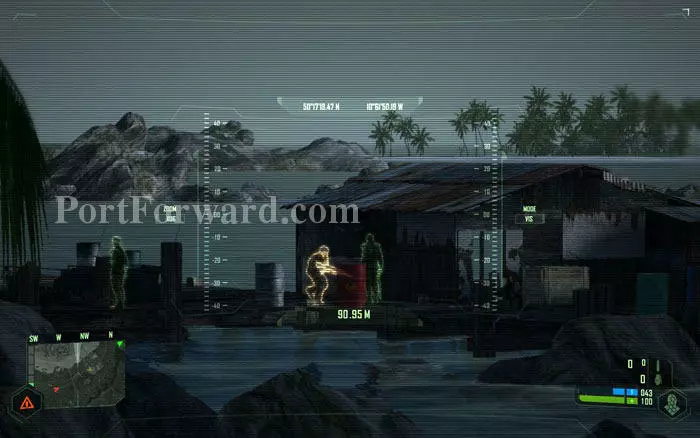
While in cloak mode, press to the edge of the ridge you are standing on and use the binocs to spot the KPA forces guarding the jammer. There is a patrol boat in the sea and 3 soldiers are scattered around the site. The 'diamond eye' marks the jammer.
Turn left and move down along the path there. You don't want to be spotted by the patrol boat, as they will open fire with their mounted MG.
While staying out of sight of the patrol boat, take care of the soldiers any way you want. You can sneak up all the way to the jammer or blast the soldiers -- it's your choice.
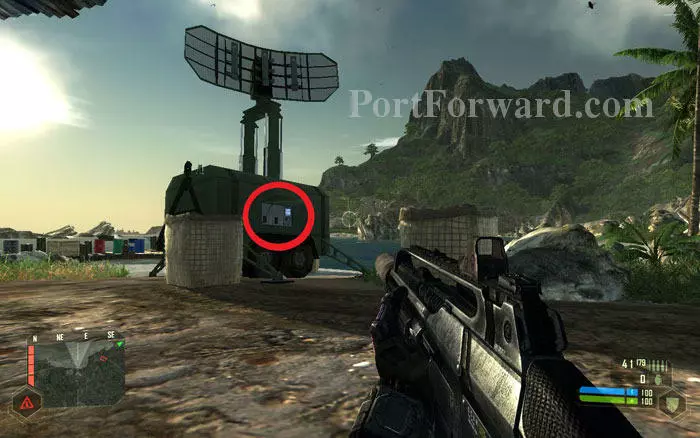
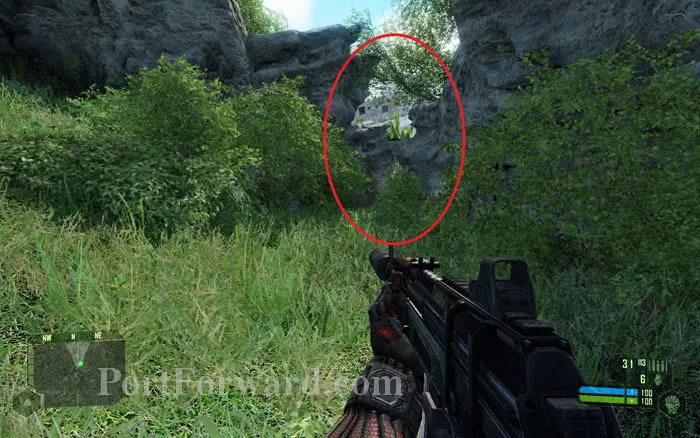
Sneak around the sheds and get to the jammer. Your point of interest is the control panel (circled). No use shooting at it. Move up to the control panel and disable it. Objective complete!

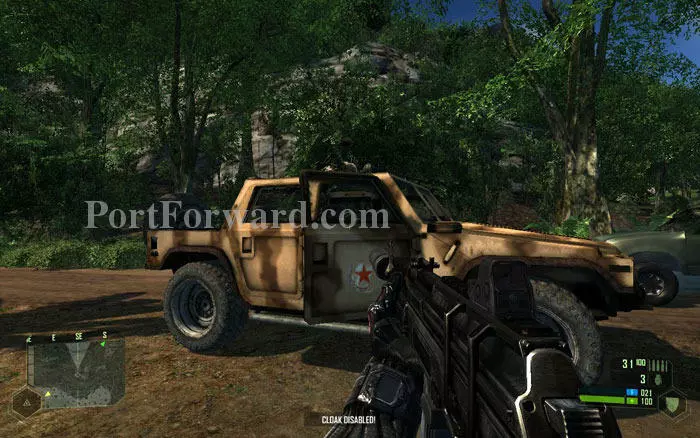
Next, take the road to the right of the jammer site. If you had caused an alarm at the jammer site, a patrol Jeep with mounted MG will pull up in this road. Best not to engage them. Instead get around them using the cover on the right side. Use cloak mode.
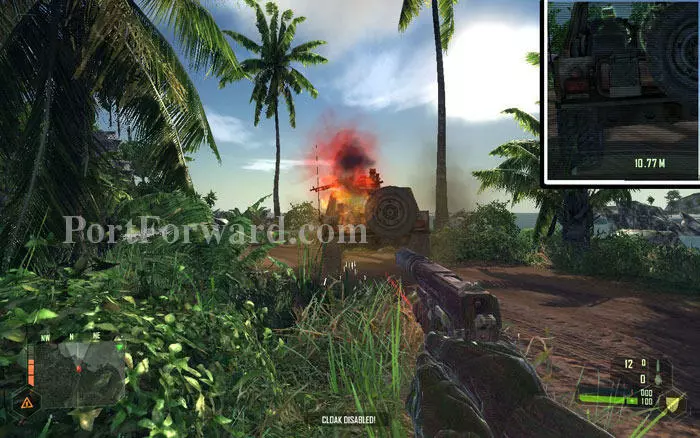
The best way to destroy a patrol Jeep is to shoot the fuel can mounted in back (see inset) and blow it up.
Proceed along the road. Take the side road to the right if you wish to bypass the 3 guys on the main road. Then use 'speed mode' to cover the rest of the distance quickly.
Towards the end of the road, you'll see a diversion to the left. Take it, if you want to get a good look at what is ahead.
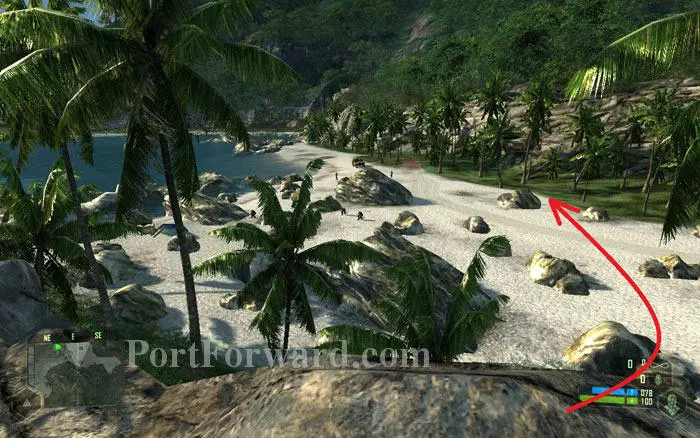
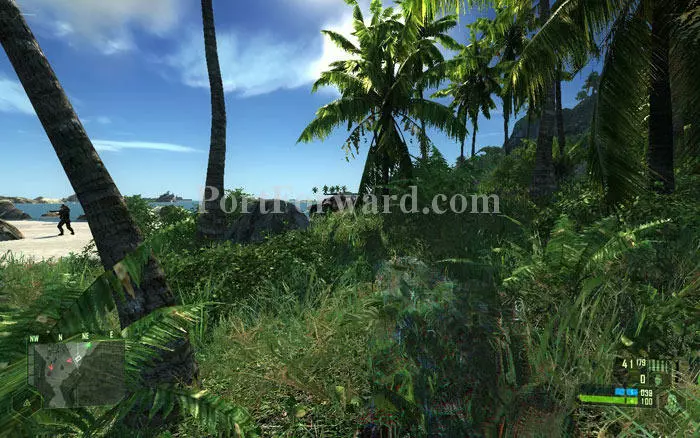
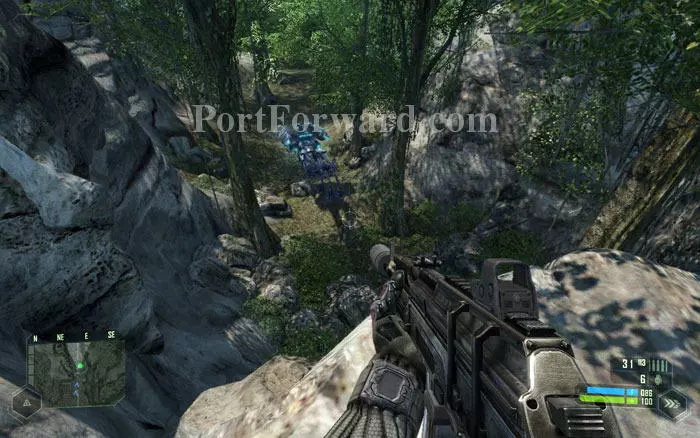
Apparently the way ahead is overrun by KPA. In addition to soldiers, there are multiple patrol boats and Jeeps. So a frontal assault may not be the best idea. Proceed carefully along the right side as shown by the arrow.
The idea is to get across this beach without drawing much attention. Using the rocks and trees, move from cover to cover in 'cloak mode'. Let your suit recharge while you are in cover.
If you get fired upon, quickly get in cover and lose the heat. In any case going too deep into the sea side is not a good idea.
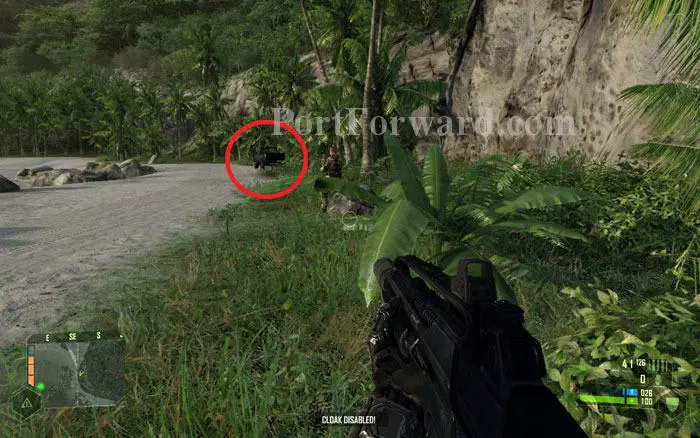
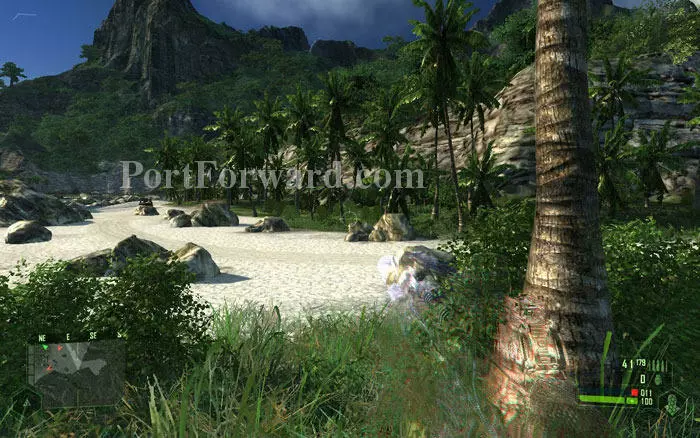
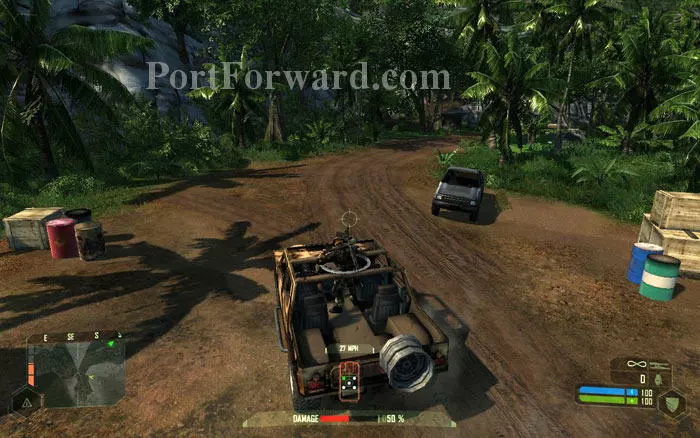
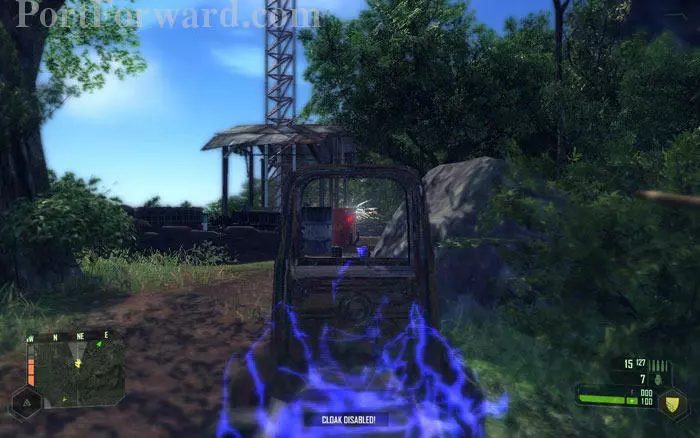
Once you get to a relatively safe area, use 'speed mode' to quickly cover the distance. You can use one of the vehicles (circled) to make a quick get-away.
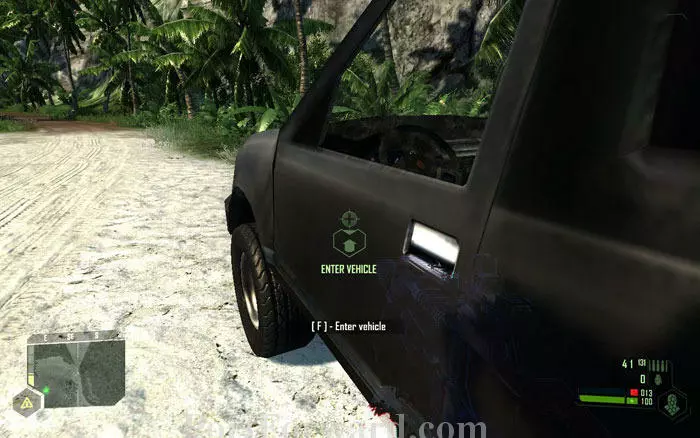
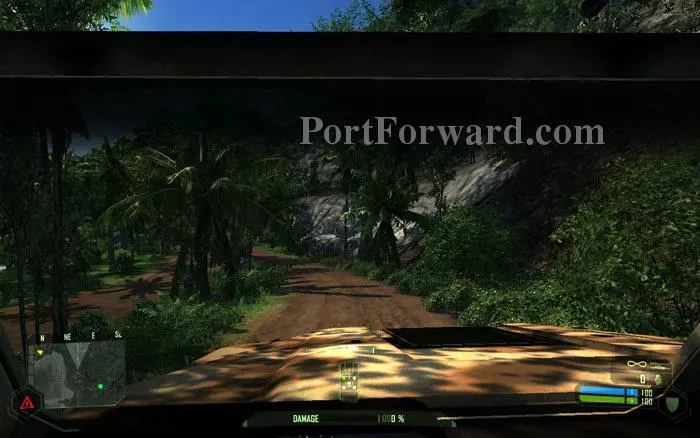
Approach a vehicle from the side to get in. Once inside, you can change your seat by pressing numerical keys. Press 1 for the driver's seat. Speed away onto the road ahead.
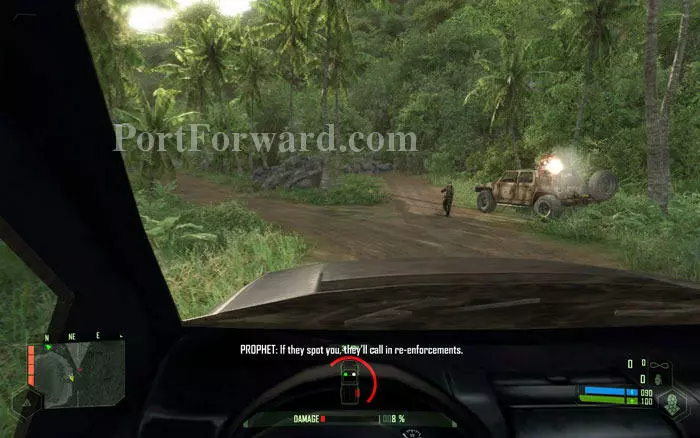
Driving a car into the enemy lines has its advantages and disadvantages. If you believe in your driving skill, drive past (or over) the small groups of enemies. If you want to keep a low profile, continue on foot.
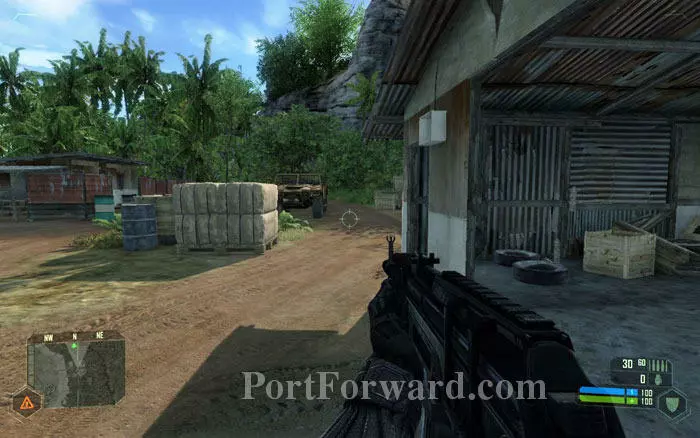
You will reach an enemy camp extending to the sea. Push forward.
You will see several Fuel drums which tempt you to fire at them. But doing so will call in KPA reinforcements in the form of Patrol Jeeps, which are bad for your health.
Instead, sneak into the camp, taking out enemies nice and quiet. In the shed to the right, you will find goodies including the KPA's FY71 rifle. Pick them up.
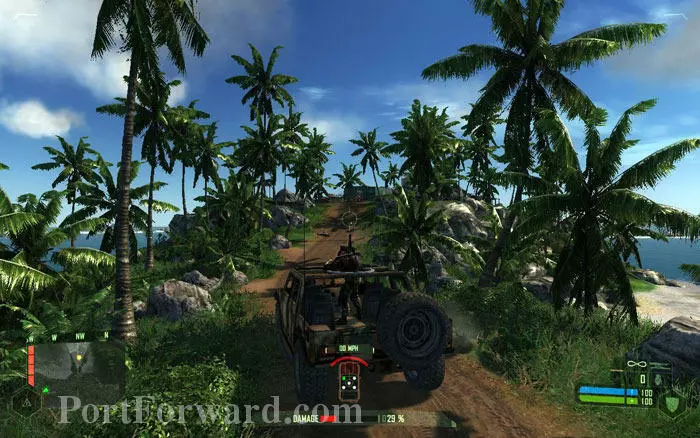
A car and a patrol Jeep can be found parked in this camp. Time to try out the patrol Jeep (also called LTV).
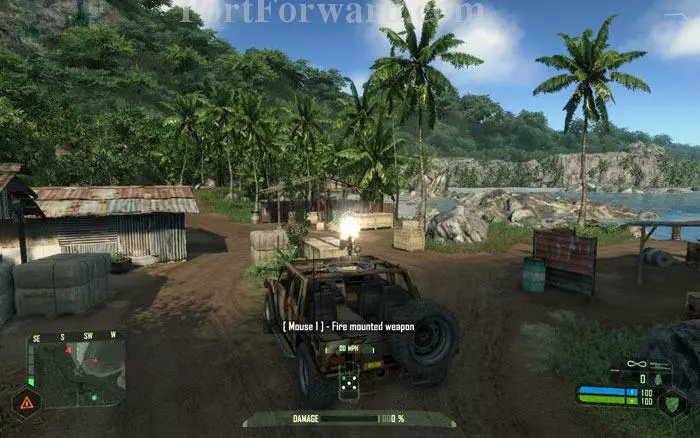
In normal difficulty you can aim and fire the mounted MG while driving.
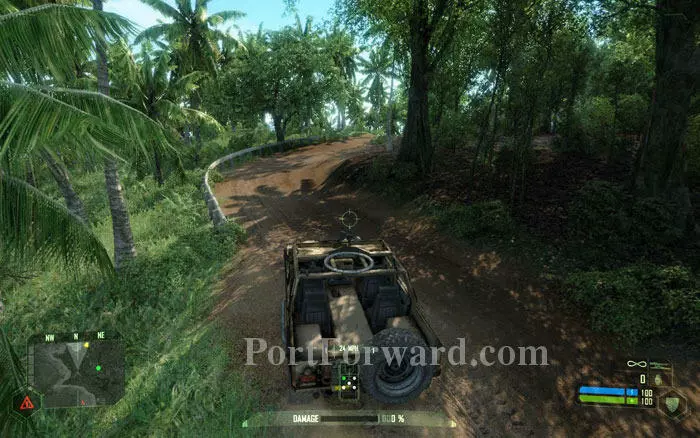
Keep driving in the target location. Soon Prophet will spill out a secondary objective.
But before moving towards either objective, you better pack up on some grenades. Grenades can be found in the camp above the ridge up ahead.
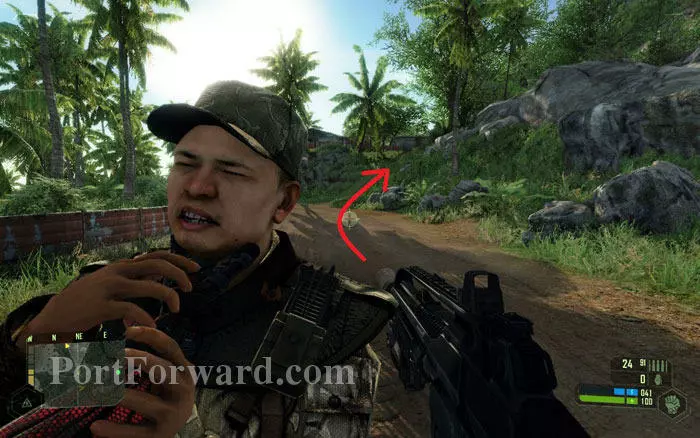
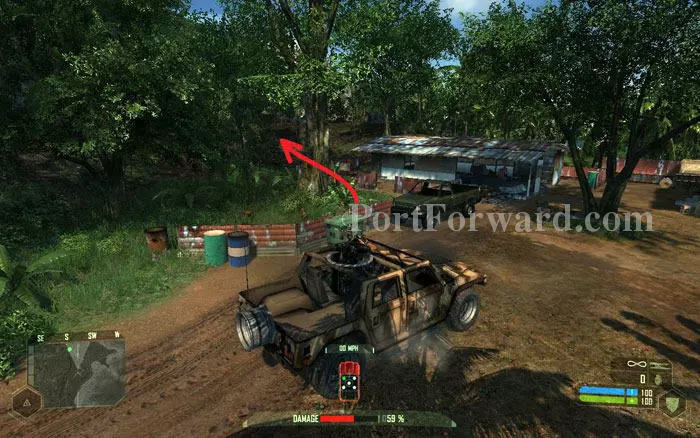
How cool is this! Get within touching distance of an enemy and press the 'use' key to grab him by the neck for a silent take-down. Get out of your vehicle and make your way up to the camp as shown by the arrow.
This camp offers an opportunity to try out your combat power. Feel free to wreack havoc.
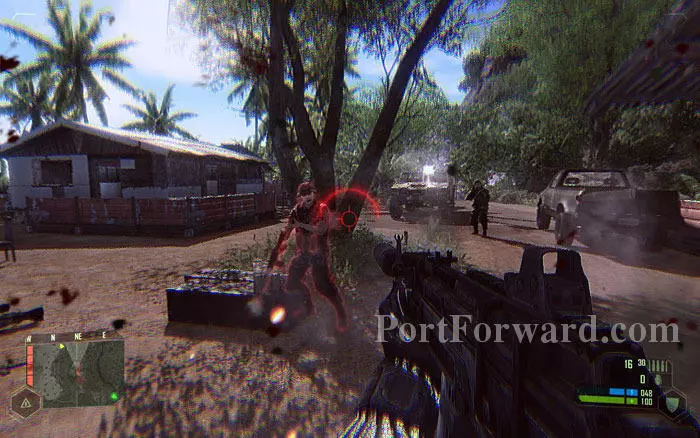
Deal with them anyway you want but watch out for the manned patrol Jeep. Shoot the guy firing the mounted gun to eliminate the threat.
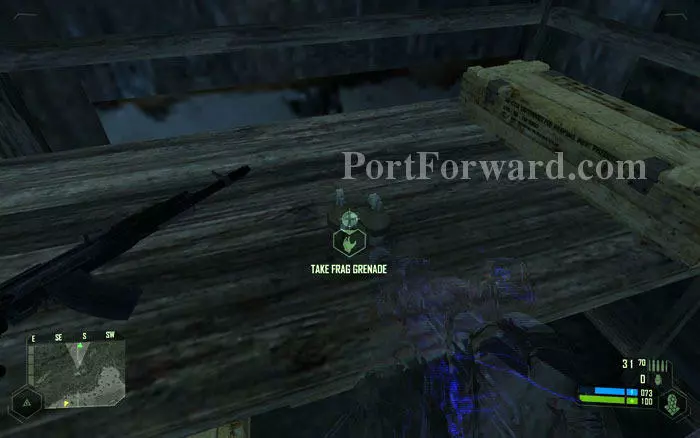
By now your original SCAR rifle will be out of ammo so swap it for a shotgun dropped by KPA. Gather ammo and pick up the Frag grenades from the North West shack.
Hop in the patrol Jeep and head to your secondary objective.
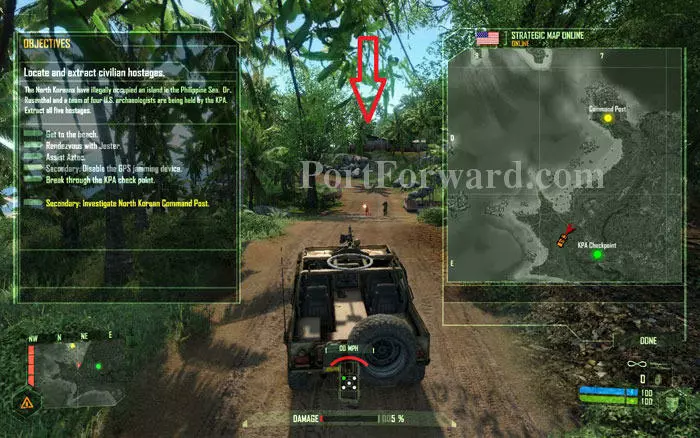
The path to the North East of your current location takes you straight to the secondary objective, the KPA command post.
Prophet suggests that you sneak into the command post. But since we have the patrol Jeep, that's not necessary. Use your mounted weapon to engage the KPA guys in the command post. Watch out for the few KPA guys who'll show up from the slops to your left and right.
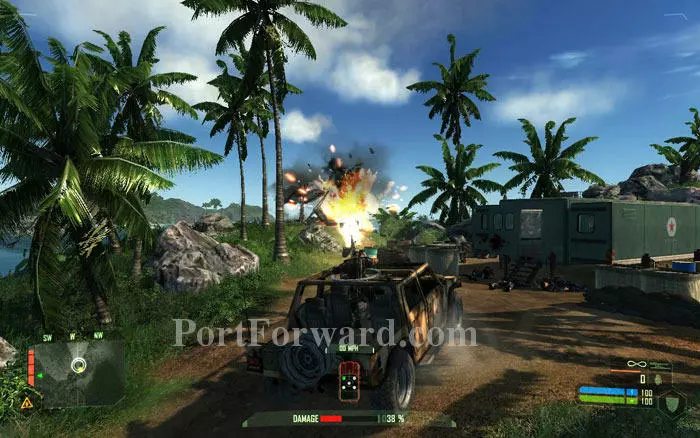
Shoot the red fuel barrel to blow up the guard post to your left.
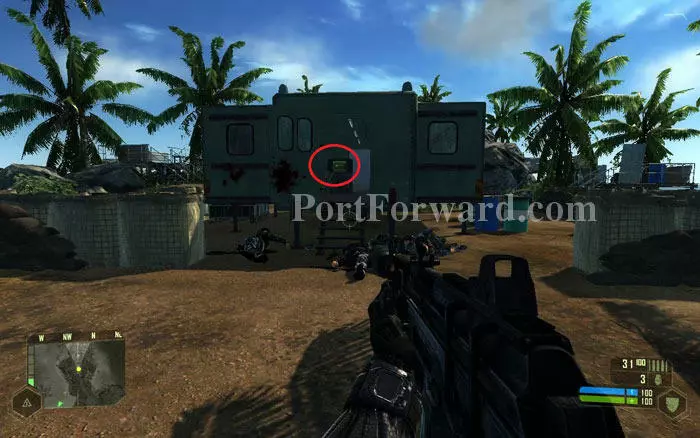
Your point of interest is the computer terminal (circled) inside the trailer.
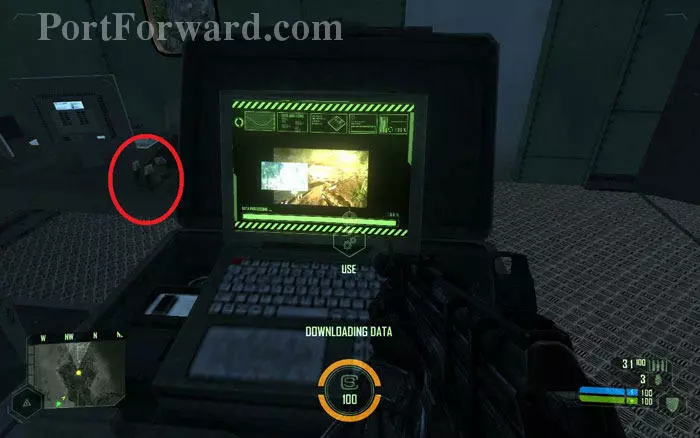
Get to the terminal and gather intel from it. Secondary objective complete! There are some grenades (circled) for you nearby.
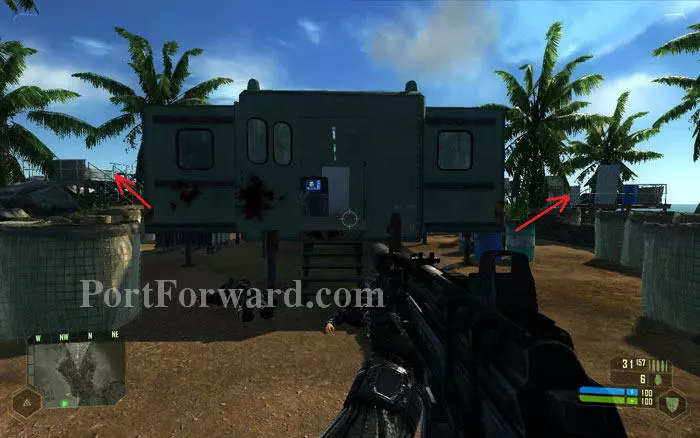
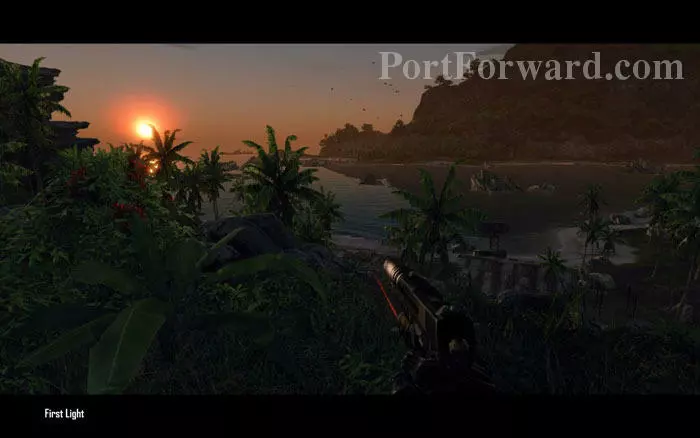
There is a ramp behind the trailer. Take a walk there for some goodies and a good view of the sea.
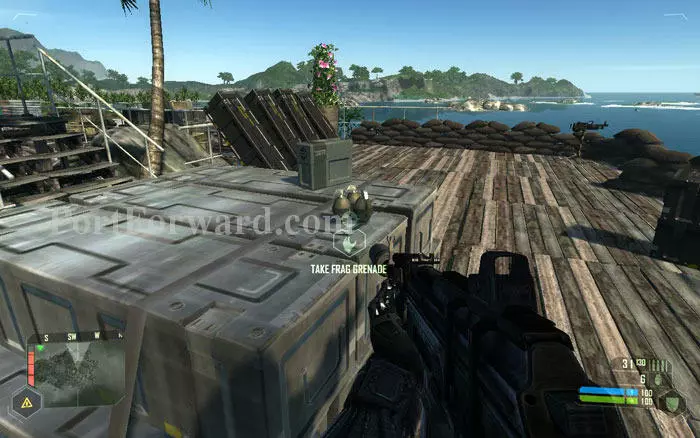
Pick up the grenades and ammo from here, but be aware of the patrol boats in the sea.
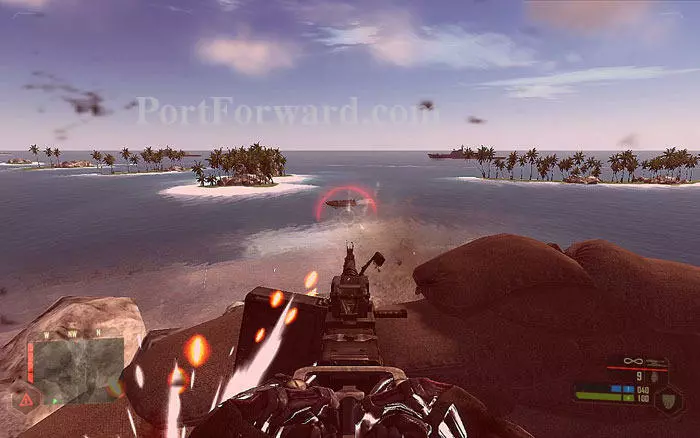
If you have any grudge against those patrol boats, use the fixed machine guns against them. You can eventually destroy them, but this is not going to achieve anything in the game.
Once you are done there, head back along the exact same road you came from and move in to the base you previously visited.
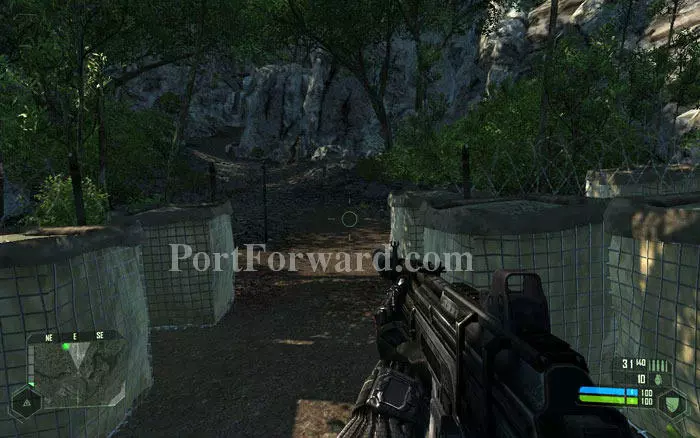
Once you get here you will see a small path leading to your primary objective. Take that path. No need of a vehicle from here.
You'll reach a line of KPA defences including a fixed machine gun. Throw some grenades to break through.
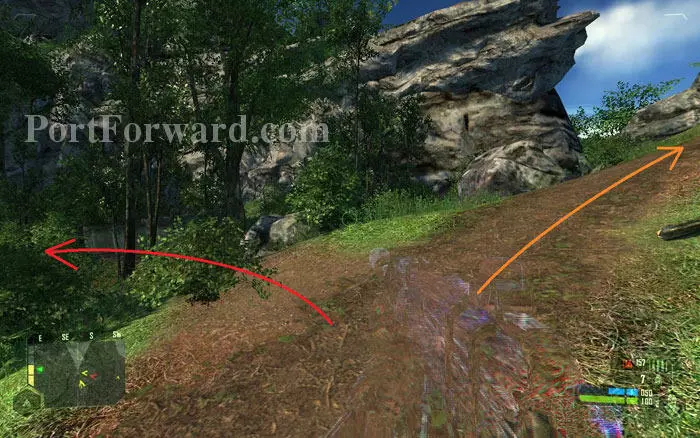
A few paces ahead, the road splits in two. The path to the left takes you to your primary objective. If you want to see what's above the hill, take the upward path to the right. This is purely optional.
If you move uphill, you'll face some resistance. Finish them.
On top of the hill, there is a small camp and a tower. Blow up the camp by shooting the barrel. Gather goodies and head back to the primary objective.
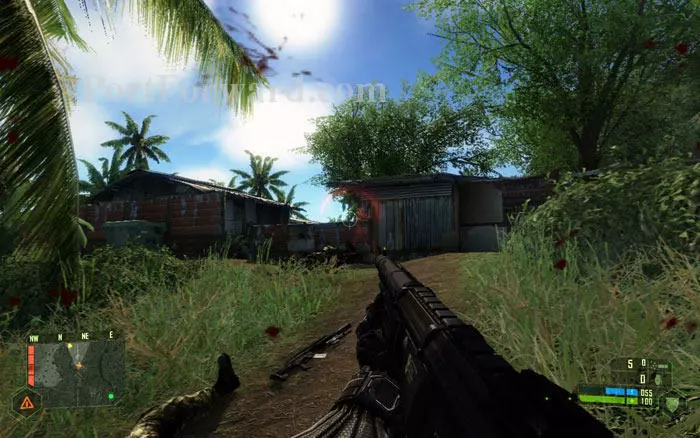
Move forward in the direction of your target as indicated by the radar. No enemies here.
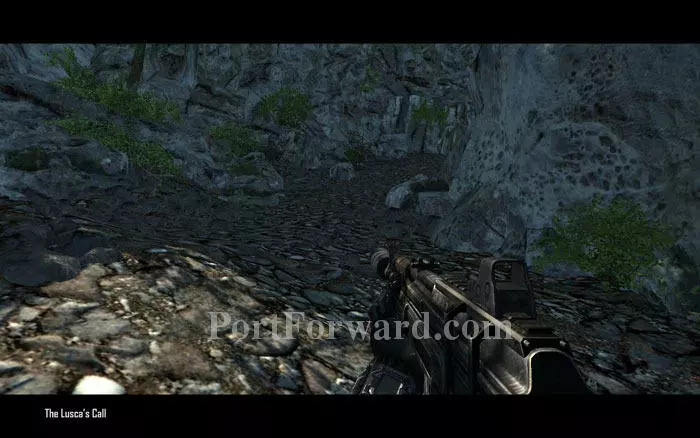
Move along the path between the rocks. In case you are wondering, 'Lusca' is a mythical sea monster shaped like a giant squid. We'll soon find out why this part of the game is named "The Lusca's call".
Use strength mode to hop up over the series of rocks. Prophet's waiting to show you something so unbelievable that he can't explain.
Walk in through the narrow gap ahead of you to initiate another cut scene. Let's see what all the build-up is about.

Prophet wasn't kidding. How did this get here! And the whole place is frozen up like it was hit by some kind of freeze ray cannon. If you look closer, you'll see that the ship is named "Lusca's call".
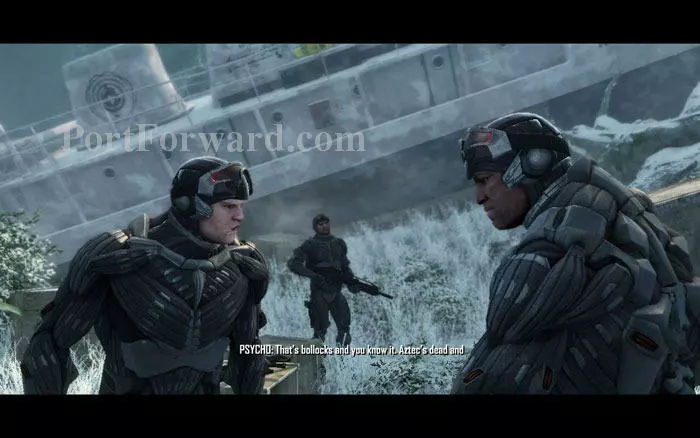
Everyone's edgy about the mishaps. We didn't sign up for this!
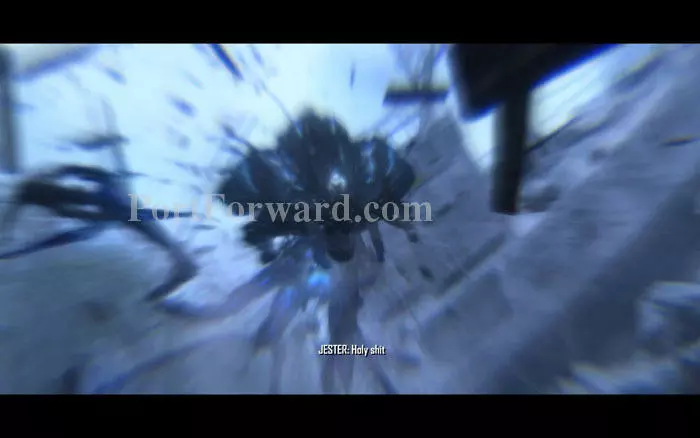
Bang! Breaking the argument (and the ship), the Alien makes its appearance. It does look like a giant squid. One that flies.
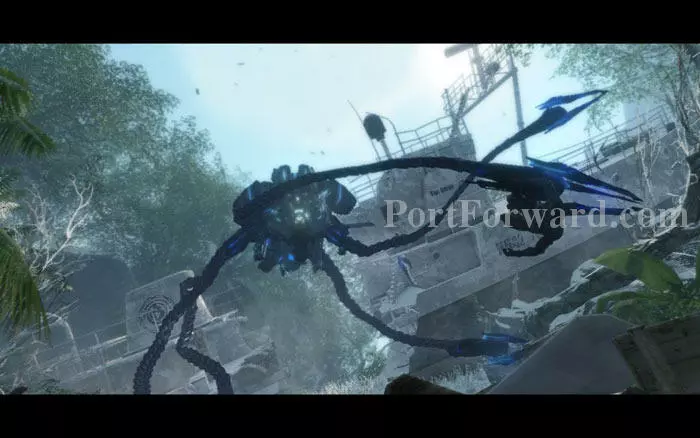
You can only watch as it swiftly grabs your friend Jester and flies away.
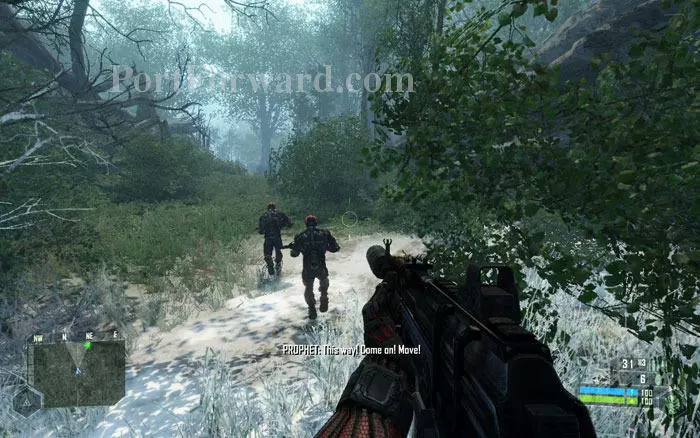
As soon as the cut scene ends, follow your friends to the direction in which the Alien 'Lusca' went.
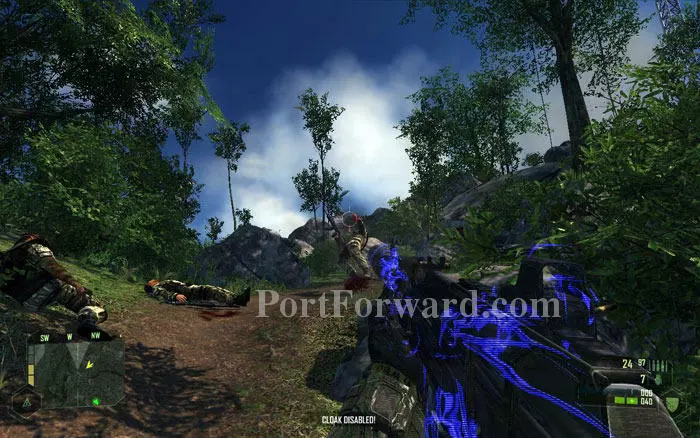
If you run quickly in 'speed mode', at a distance you can see some KPA guys engaging the Alien. And getting thrashed to death.
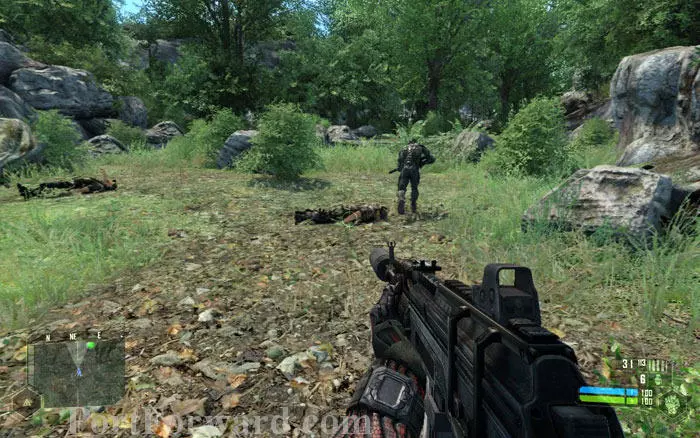
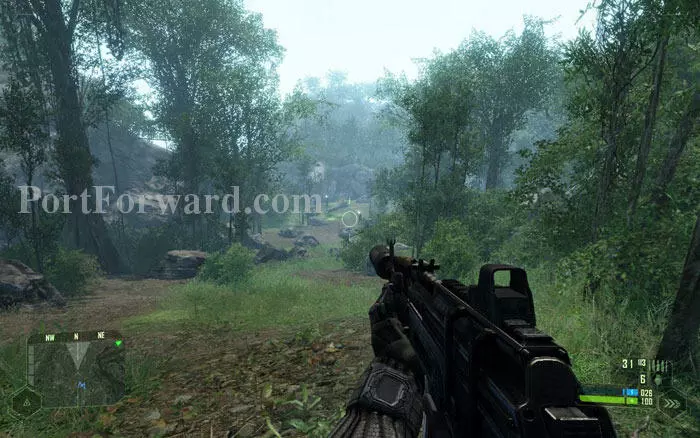
Turn right from where the Koreans are lying dead and keep running. If you listen carefully you can hear Jester cry in pain.
Move to the end of the ledge and look down to see the Alien hovering away. You won't be seeing him again for a while. Switch to 'strength mode' and carefully jump down the cliff.
More Crysis Walkthroughs
This Crysis walkthrough is divided into 11 total pages.