
This Crysis walkthrough is divided into 11 total pages.
You can jump to nearby pages of the game using the links above.
Exodus
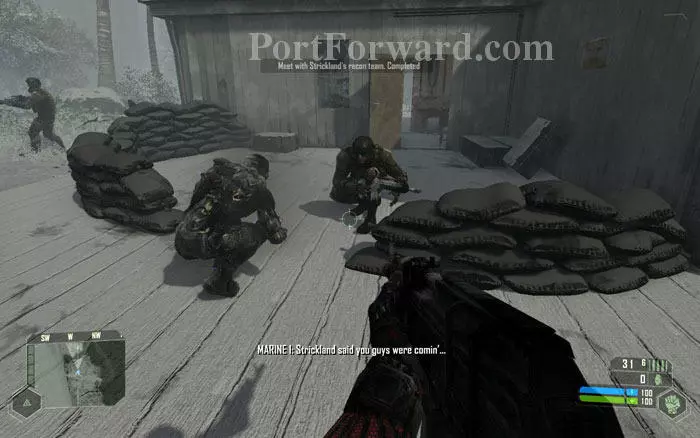
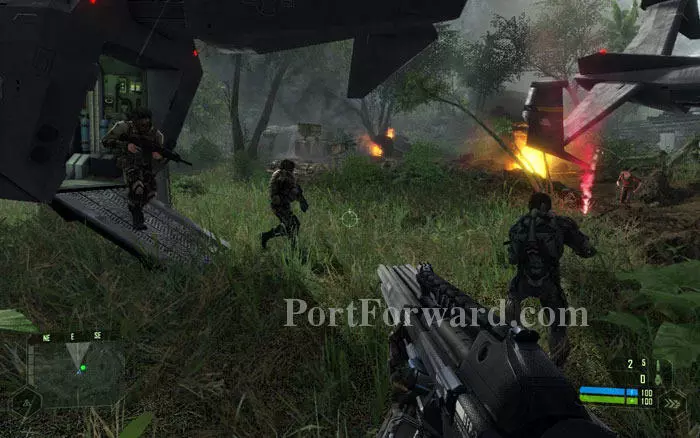
Strickland's marines are camping outside the energy sphere waiting for you. Follow Prophet and meet up with them. Prophet will chat with one of the marines and ask for their CO. Follow him inside the building and meet the CO, Sergeant Keegan.
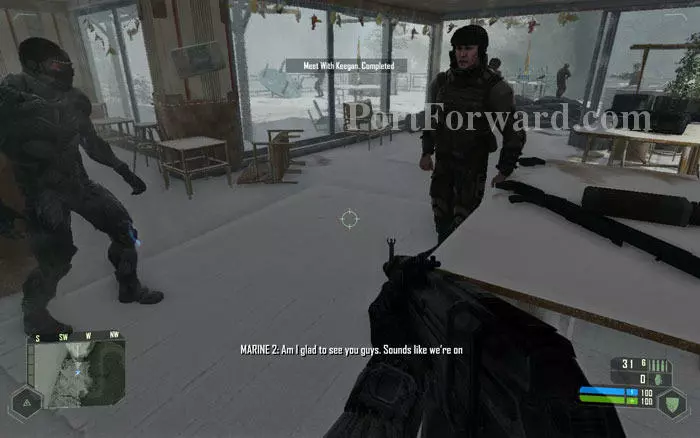
The Sergeant will inform you that the military is evacuating the island. But of course, The Aliens are not going to make things that simple.
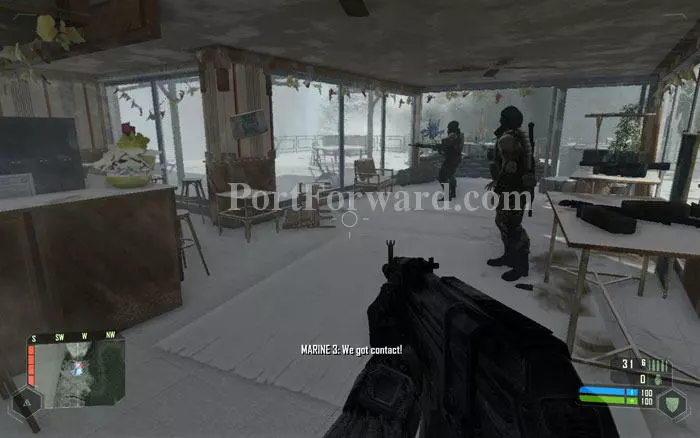
Breaking the conversation, an Alien attack begins. Your new objective is to defend the camp.
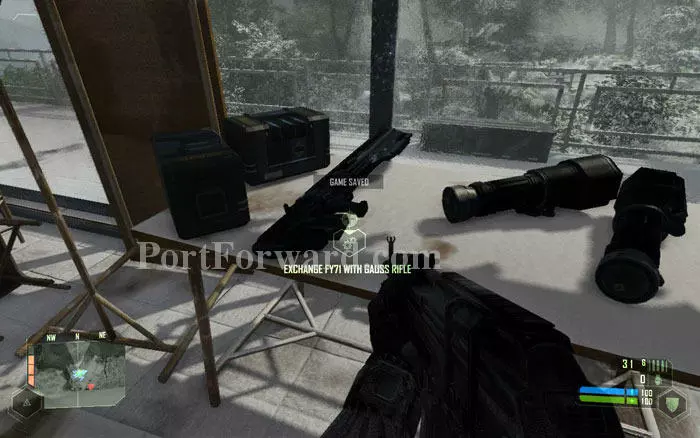
Pick up the Gauss Rifle from the table to your right. Now here's a weapon made for fighting the Aliens. With the Gauss Rifle available, you don't really need any other guns.
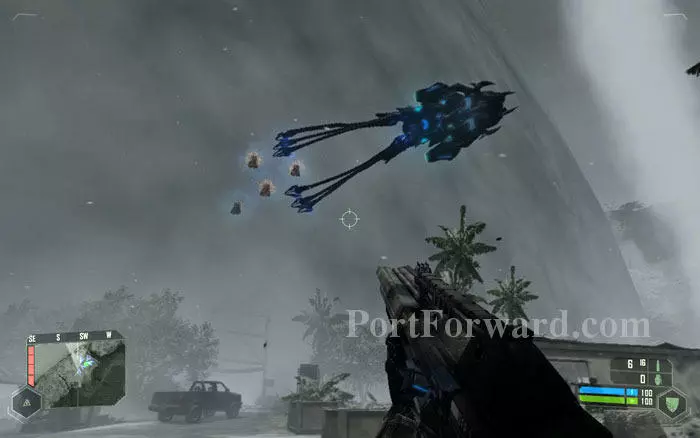
Outside, you'll find the large Alien Scouts as well as the smaller Alien Troopers. Just like the last chapter, Each Scout carries in four Troopers, all of which then attack you.
Accuracy is the key factor with the Gauss gun. Two good hits will bring down the bigger Aliens while the smaller guys won't even survive a single shot. But the clip size is a mere 18 so make your shots count.

None of your friends have weapons as good as the Gauss gun so it's up to you to kill the large Alien Scout. Take out the Scout first and then help your friends finish off the smaller Aliens.

Avoid the bodies of dead Aliens as they will explode soon after death. A total of three waves of Aliens will attack you.
Once all the Aliens are neutralized, the team will prepare to leave. Before you go, grab all the ammo for your Gauss Rifle from inside the building.
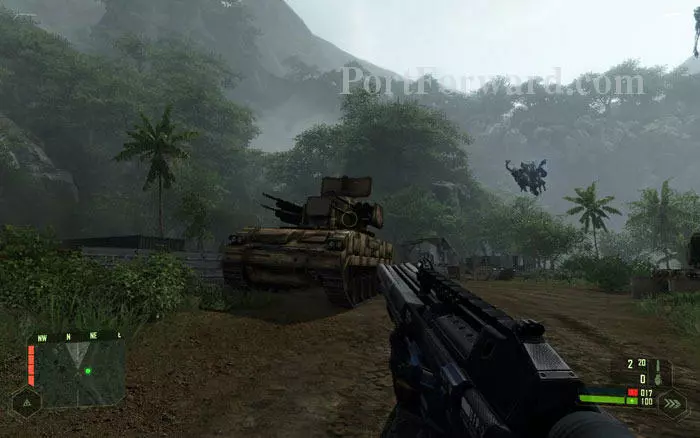
Enter the Jeep that Prophet drives. You'll be handling the mounted Machine Gun.
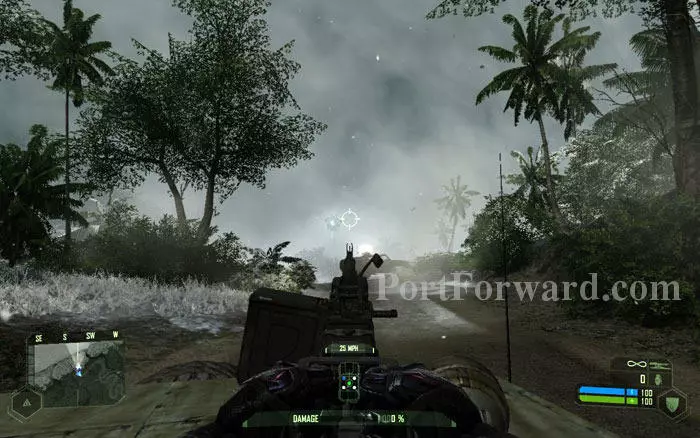
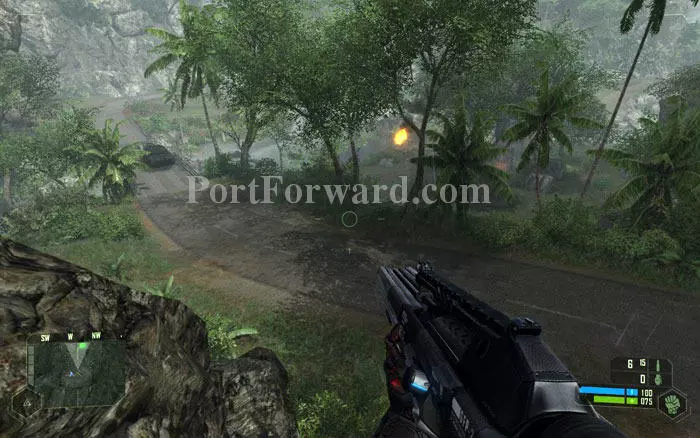
As you move down the road, Alien Scouts will start chasing you. Look right behind yourself to see the first one.
Prophet will yell out positions of the Aliens. Engage them with the MG. It takes a bit of firing to bring them down.
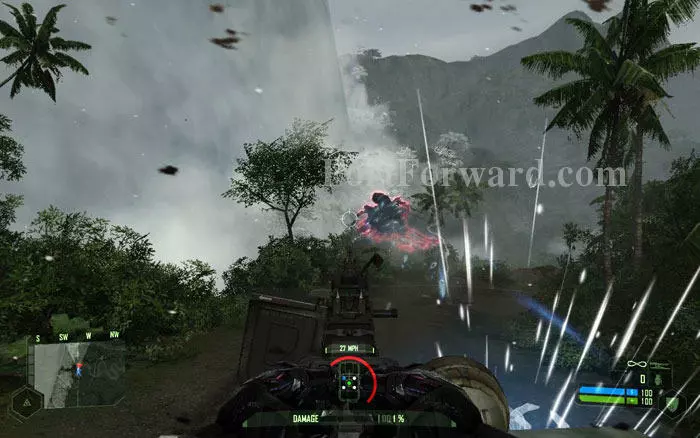
The road takes several sharp curves. Look at the map on your HUD to locate the Aliens. Keep in mind the mounted gun's overheating. You don't want to be sitting ducks when the Aliens fly over you.
Neither of the other two Jeeps will make it all the way down. Make no mistake; you'll have the same fate if you don't shake the Aliens off your back.
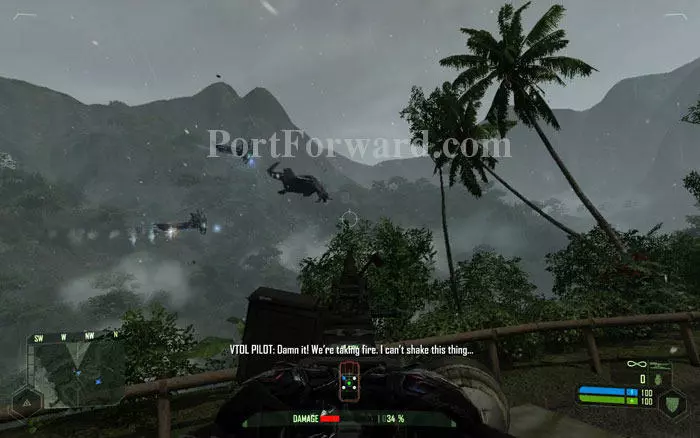
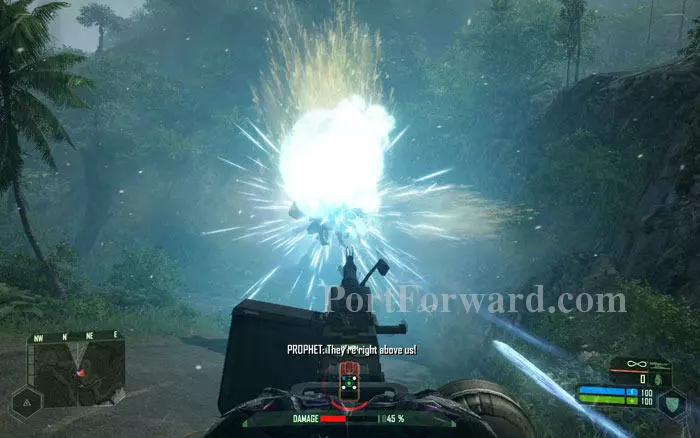
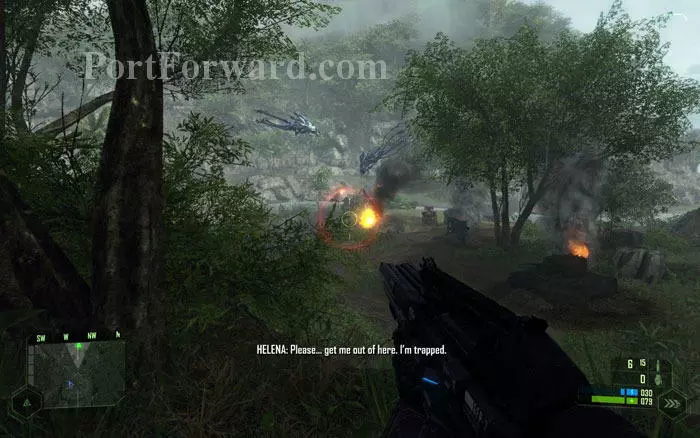
Halfway down the road, you can see a VTOL getting hit by the Aliens. Helena Rosenthal will radio in from the downed VTOL for help. You'll get an order from Major Strickland to proceed to the VTOL crash site.
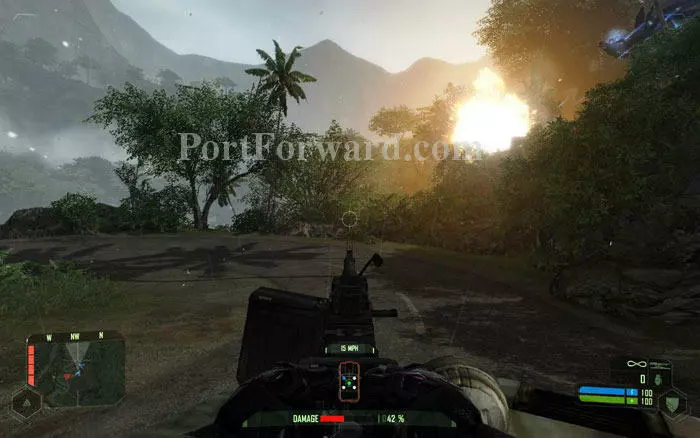
Prophet will stop the Jeep when you reach this area where the road is ripped apart. You can see the crash site ahead of you.
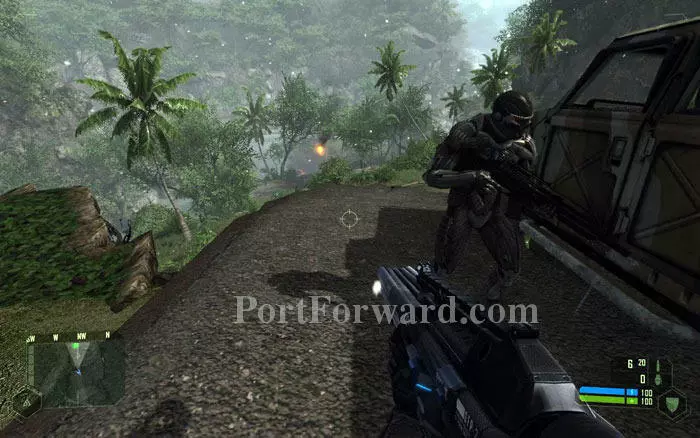
Jump across the gap in the road in 'armor mode'. Your suit will absorb the damage. Make your way to the crash site.
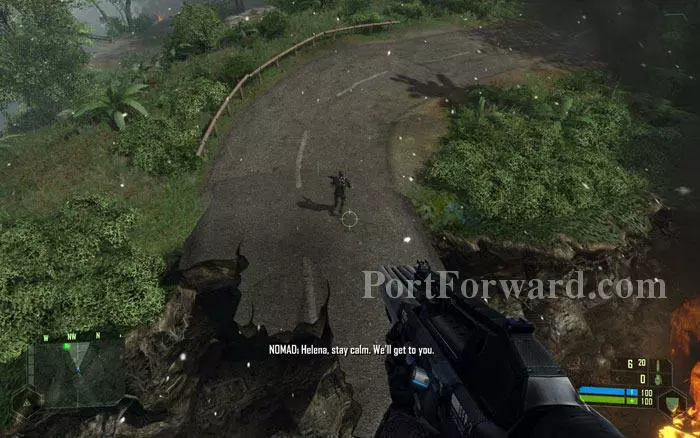
Run to the valley where Helena's VTOL has crashed. Prophet will stick around you.
The burning rubble marks the crash site. Move down there.
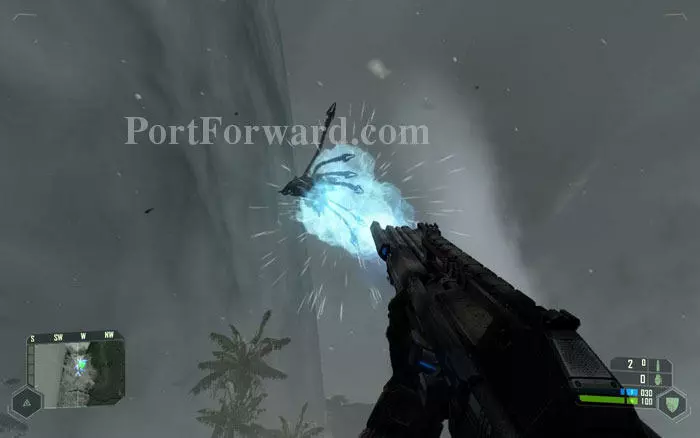
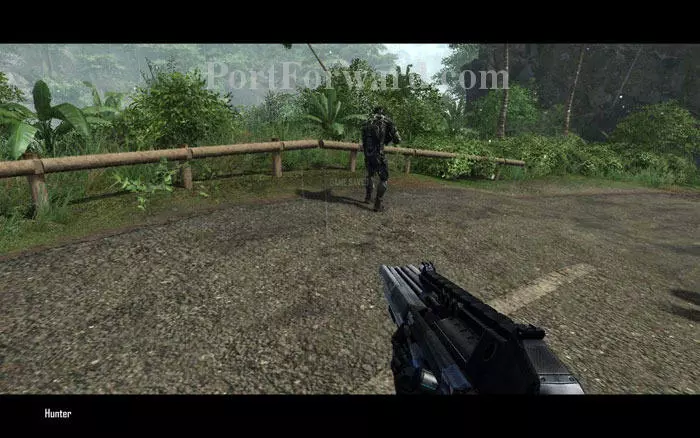
A couple of Aliens will be circling above the crashed VTOL, so prep your Gauss Rifle.
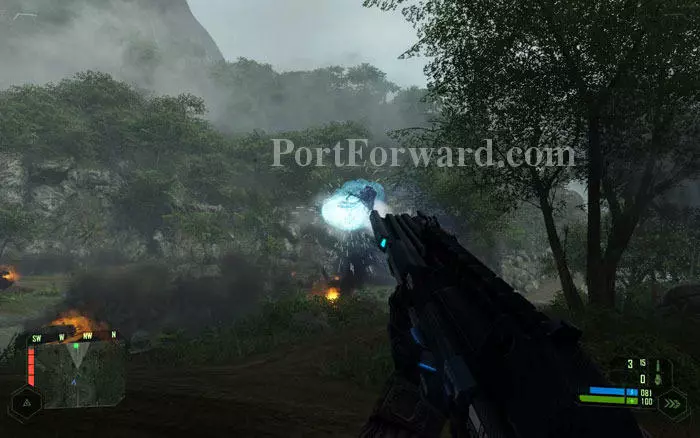
Take out both the Aliens. You can take them by surprise by moving in cloaked.
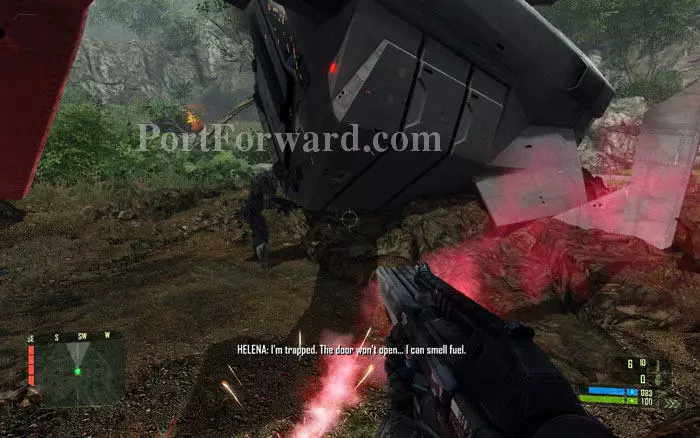
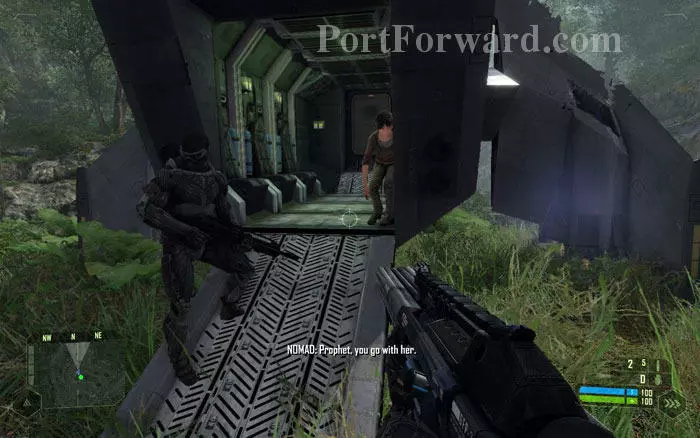
After taking out the Aliens, move close to the VTOL. Prophet will chat with Helena, who is trapped inside the VTOL.

Your new objective is to defend the crash site against incoming Alien attackers while Prophet tries to get Helena out of the VTOL. Get on the AAA unit nearby.

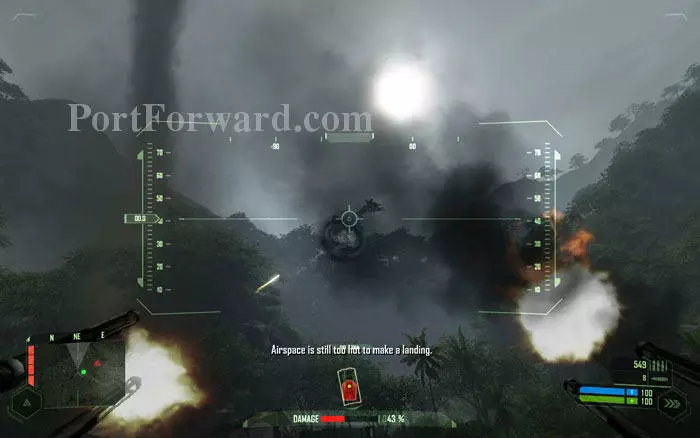
The AAA unit is a cool toy with rapid fire, practically unlimited ammo and no overheating problem. Search the horizon for incoming aliens and blast them.
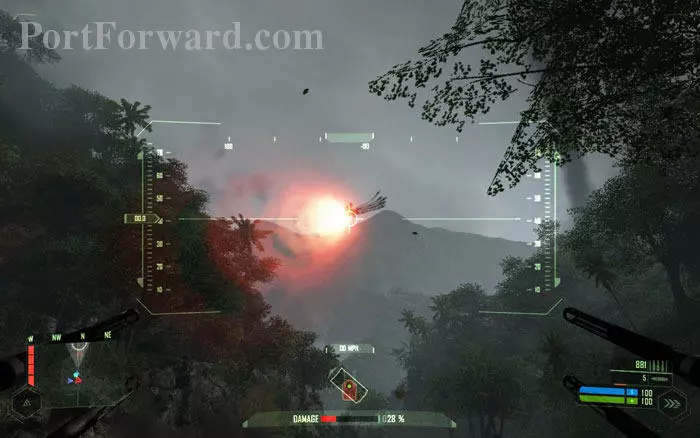
In addition to the main guns, the AAA unit carries a limited number of missiles. Launch them by pressing RMB.
Keep firing as more and more Aliens fly in. Check your on-screen map to locate the Aliens. Note that the AAA unit takes damage from the Aliens' fire.
Before long, the AAA unit will be critically damaged. It will explode when its damage reaches 100% so get out of it before that.
Once the AAA unit is out of action, continue the assault with the Gauss Rifle.
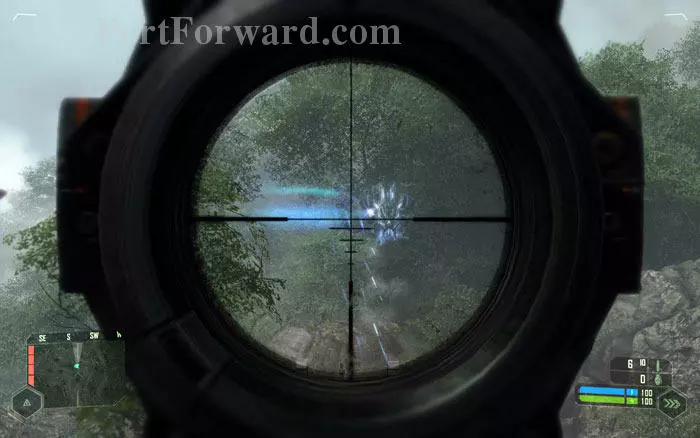
You can attach a scope to the Gauss Rifle to target Aliens at a distance.
After all the Alien attackers are eliminated, another VTOL will land near you.
Helena and Prophet will leave on board the VTOL. Prophet tells you that he will see you again at 'the carrier'. You will see the carrier in another level.
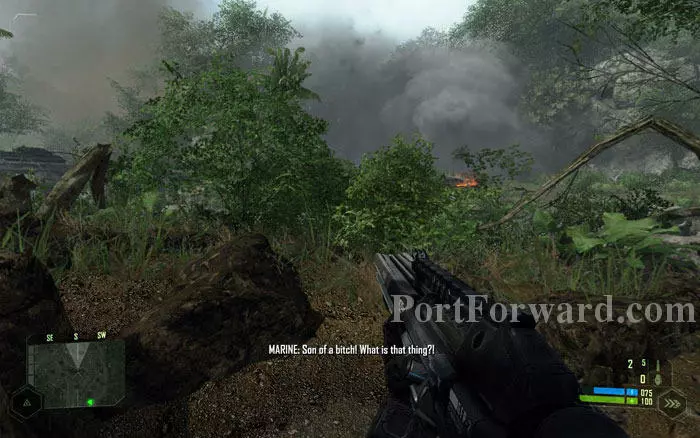
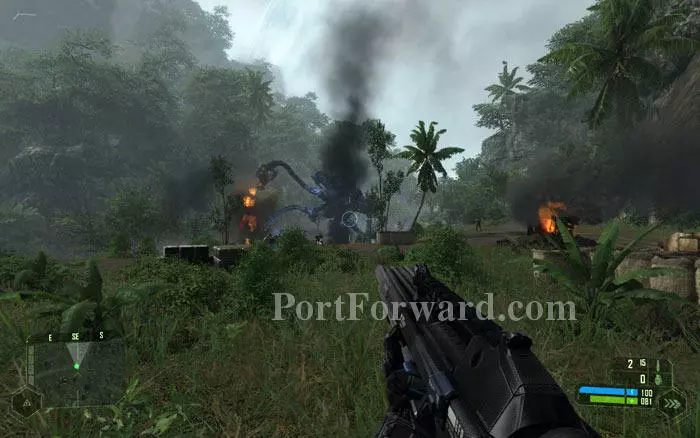
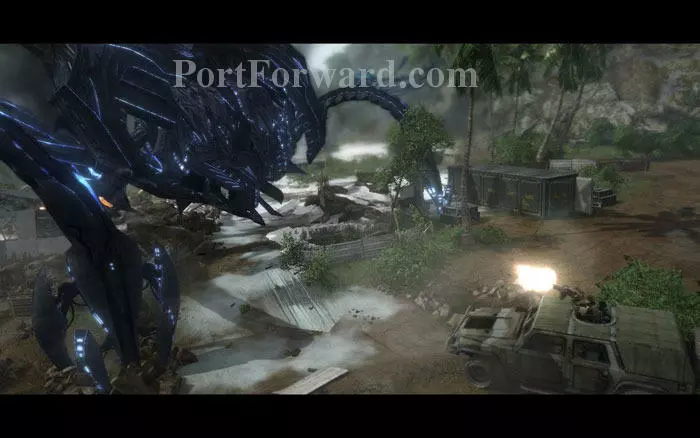
As soon as they pull away, look south. Something huge is coming at you, smashing the hills to dust.
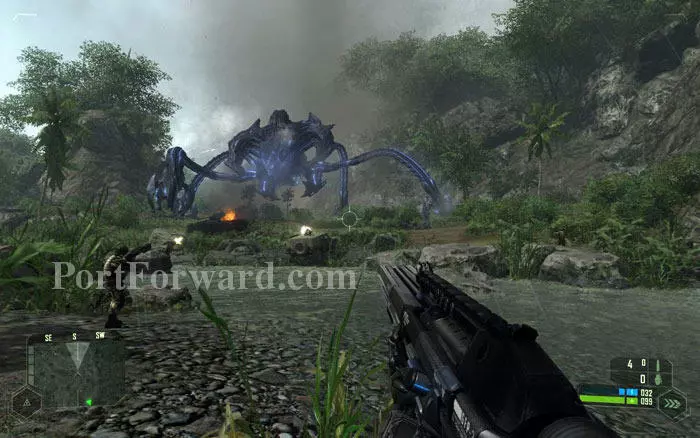
A gigantic Alien walker will appear, unleashing fury on the poor Marines. Don't bother to attack it; you can't hurt it no matter what you do.
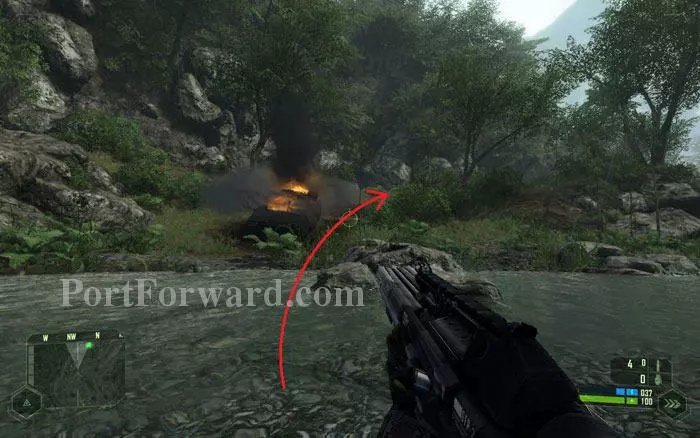
Major Strickland will order you to meet up with him at the evac center a few clicks away. It's marked in your map. Take the road in that direction on the other side of the river.
Press forward along the road in 'speed mode'. Strickland will keep yelling at you till you get there.

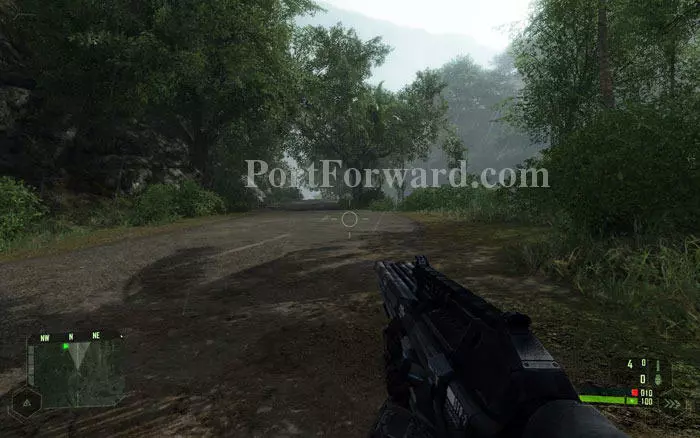
You'll encounter a couple of smaller Aliens at the middle of the road. But they are no match for your Gauss gun. Whack them and continue.
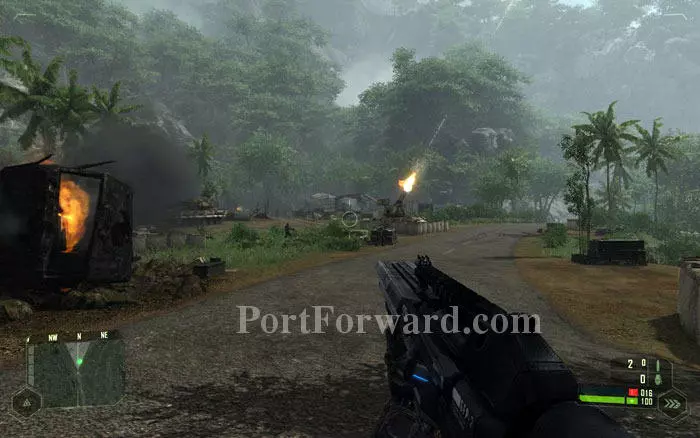
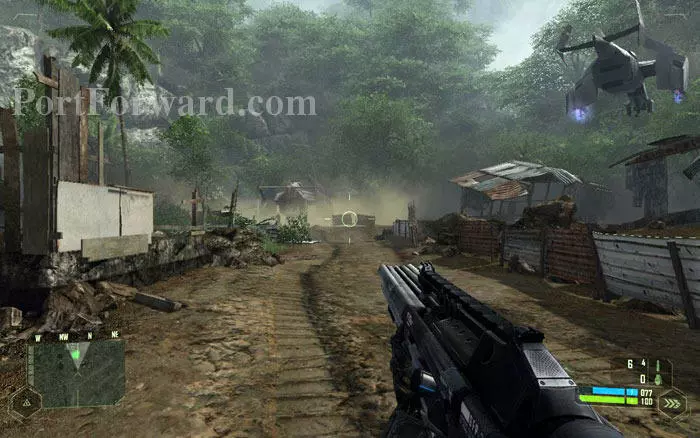
The road will lead you straight to the evac center. It's obviously under attack by flying Alien Scouts so prepare to help them out.

Go to the crates and pick up ammo for the Gauss Rifle.
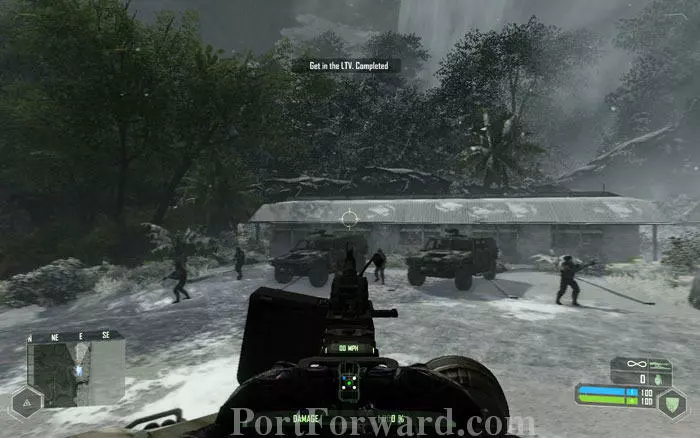
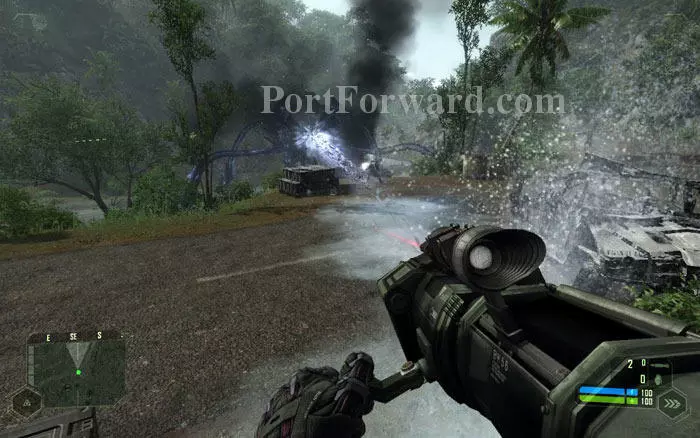
Your objective will be to defend the evac center. There is an unmanned AAA unit that you can use. Get on it.

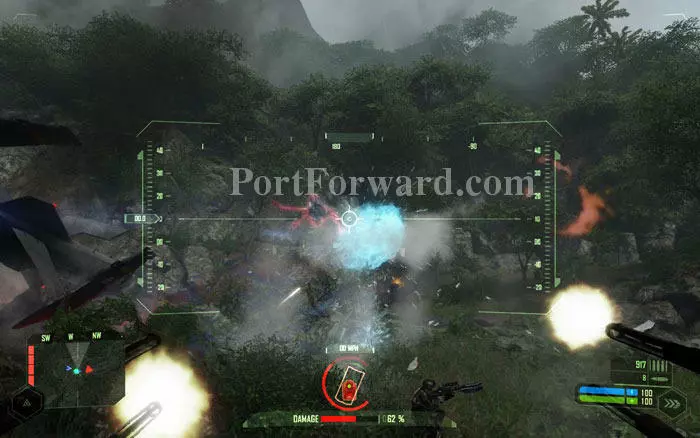
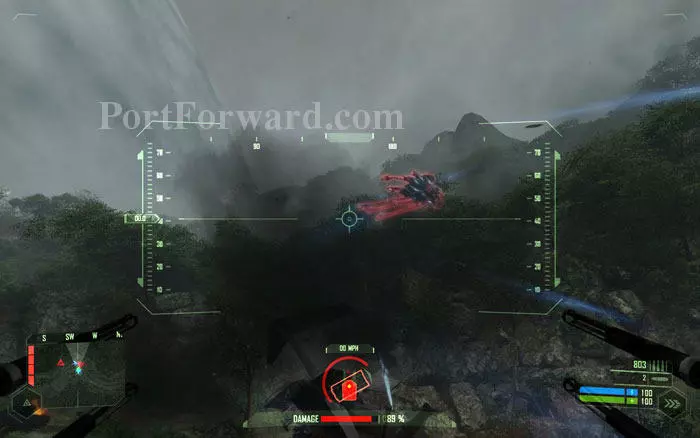
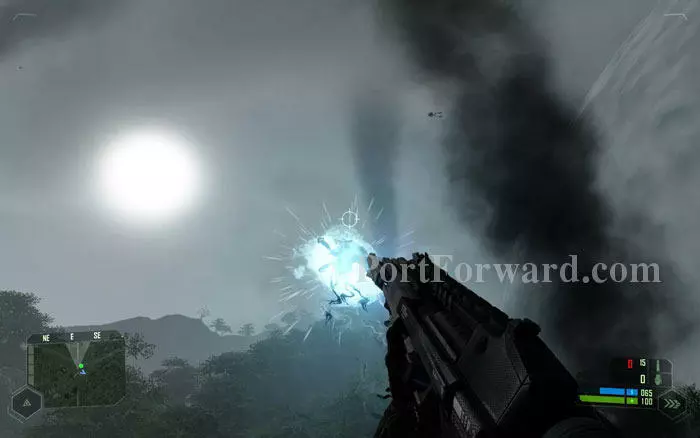
The sky is crawling with Alien scouts. Blast any of them that come within range.
Some of the Aliens may launch a swirling projectile at you which will instantly blow up your AAA unit. If you see this, quickly get out and step away.

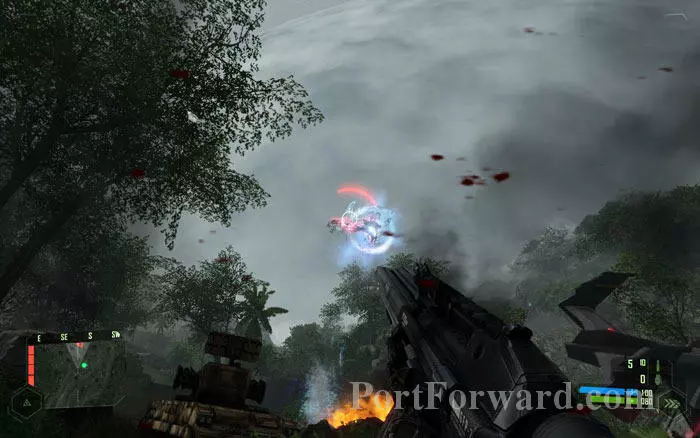
If you lose the AAA unit, continue attacking the Aliens using the Gauss Rifle. Use 'cloak mode' to avoid getting fired upon.
Sooner or later the huge Alien walker will reach the evac centre ripping apart the defenses. But it's not a direct threat to you. Concentrate on eliminating the Flying Aliens as the VTOLs can land only after the skies are clear.
Be careful if you decide to have some fun messing with the big guy; its freeze ray attack can be lethal.
Once you clear out all the Alien Scouts, VTOLs will come in to extract you.
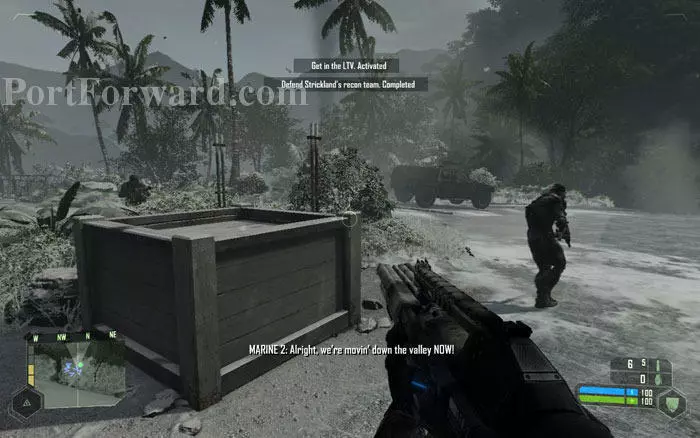
As soon as the VTOL for you lands, Strickland will order you to get in. Move to the VTOL marked by the green dot on you map.

Say Hi to the good Major and enter the VTOL. A Cutscene ensues.
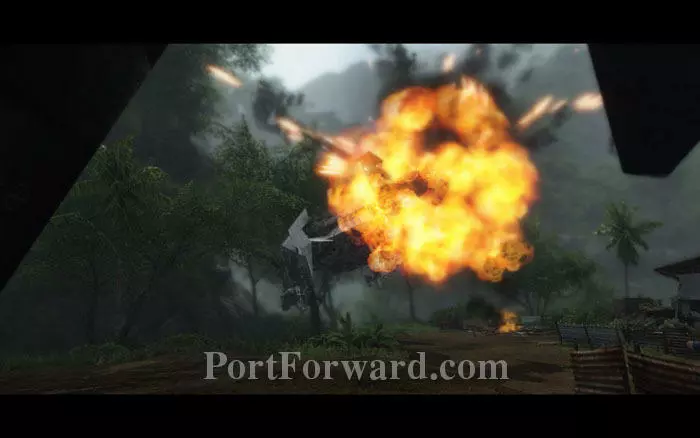
You'll see the other VTOL getting blown up, but that's a minor tragedy compared to what follows in the cutscene.
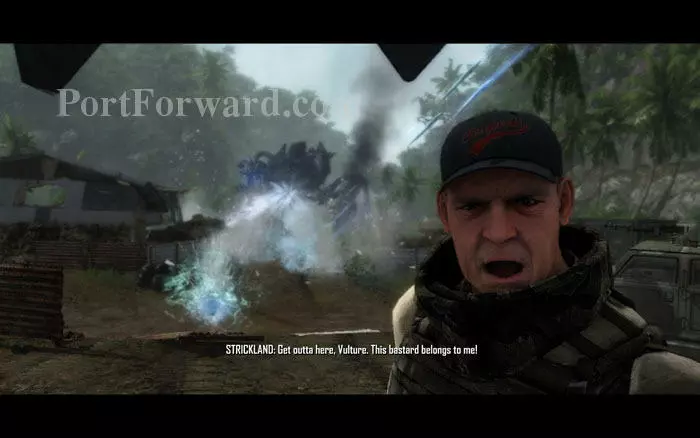
Strickland orders you to leave while he draws the Alien's fire. The most dramatic scene of the game follows.
Looks like the Alien can't believe Strickland's guts! Explaining the good parts of the cutscene will be an unnecessary spoiler so let's skip to the end.
The chapter ends as you fly away.
More Crysis Walkthroughs
This Crysis walkthrough is divided into 11 total pages.


