
This Crysis walkthrough is divided into 11 total pages.
You can jump to nearby pages of the game using the links above.
Reckoning
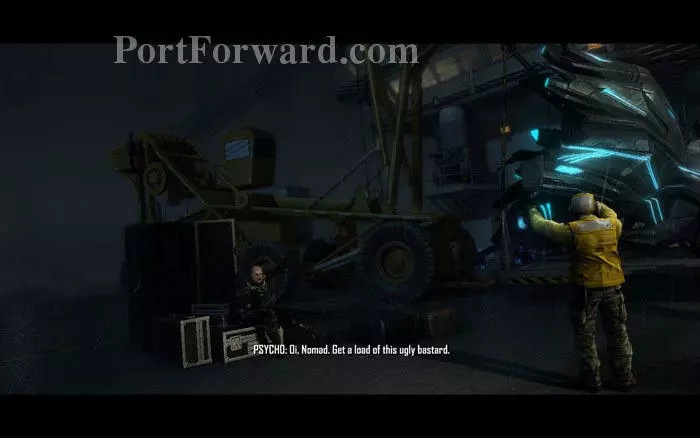
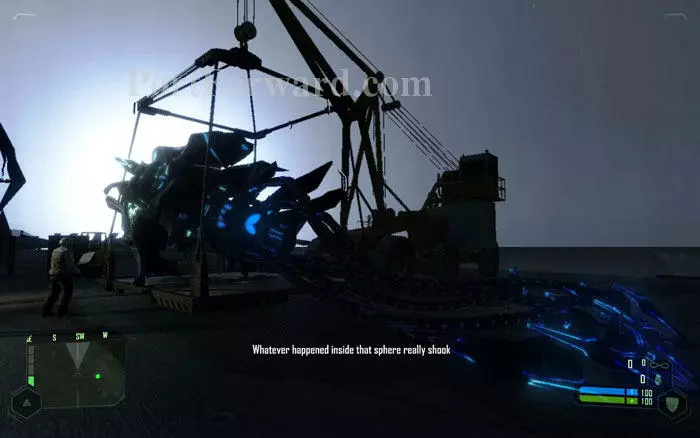
Psycho will show you the 'souvenir' he had mentioned in the last level. It's a downed Alien Scout that a pilot brought in from the island.
To everyone's surprise, The Alien tries to come alive by drawing power from the ship's electrical supply. But Psycho and the other marines subdue it quickly.
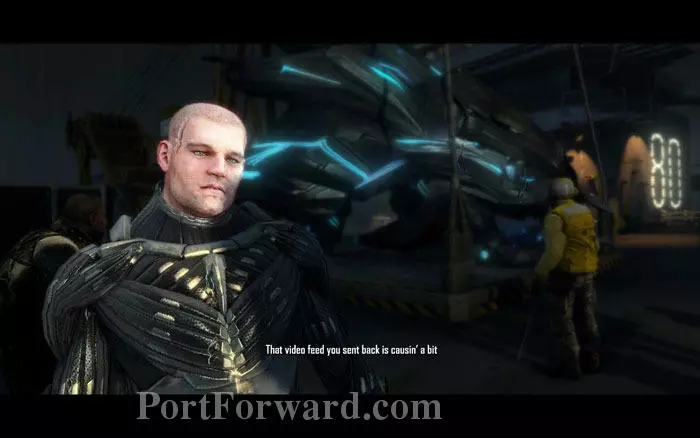
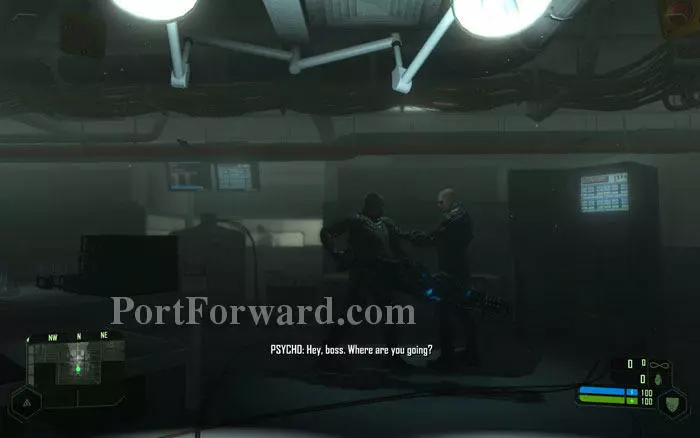
Psycho will tell you that you have to meet Admiral Morrison at the CDC. The video feed from your suit when you were inside the alien structure is really shaking things up.
Just walk with Psycho and you will reach the CDC. On your walk, Psycho expresses doubt that Prophet is losing his mind after what happened inside the ice sphere.
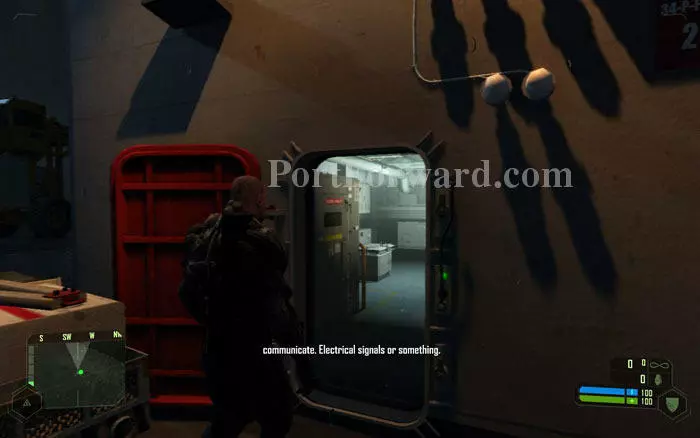
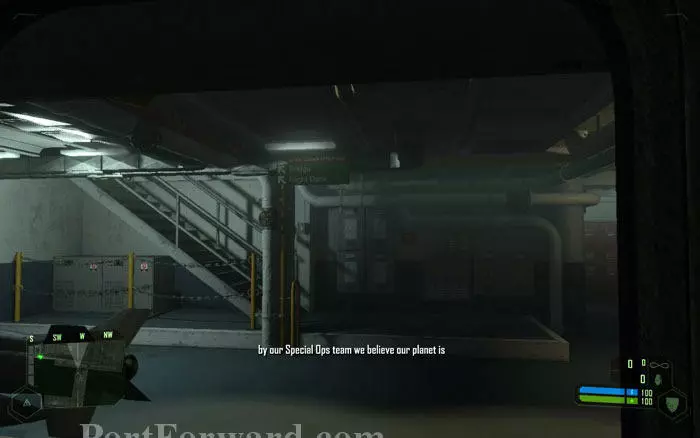
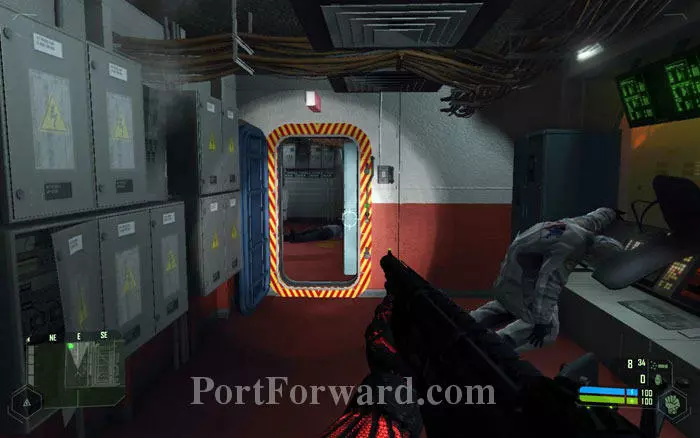
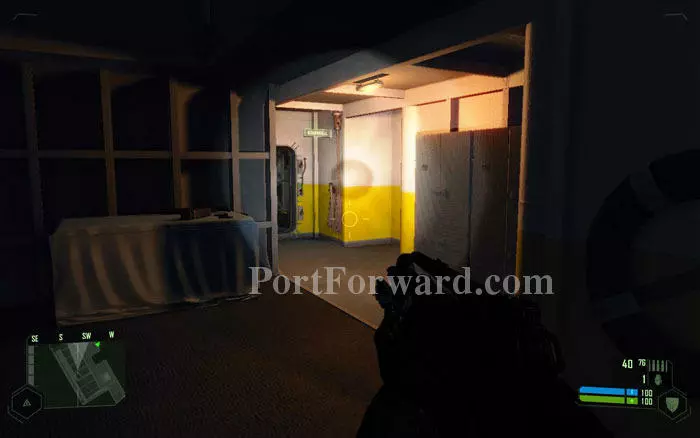
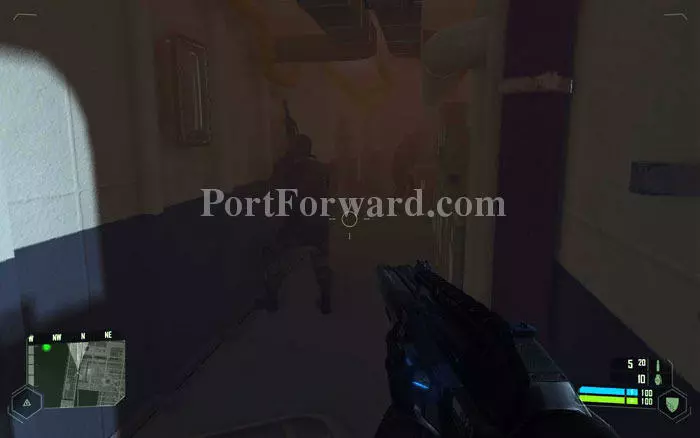
Follow Psycho inside the sip through the door. Alternately you can run ahead, and find your way through the ship yourself.
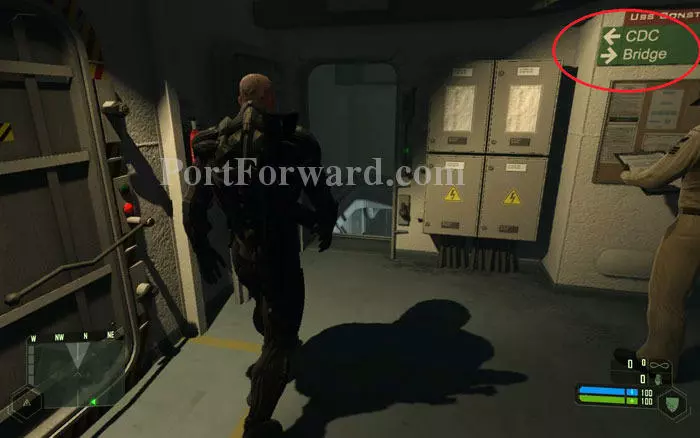
Follow Psycho through several doors and stairs. There are sign boards everywhere so finding your way inside the ship won't be much of a problem.
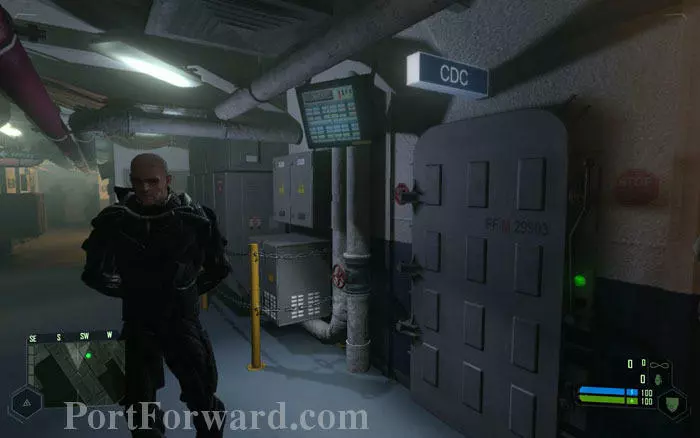
When you reach the CDC, move up to the door and press the 'use' key. A cutscene follows.

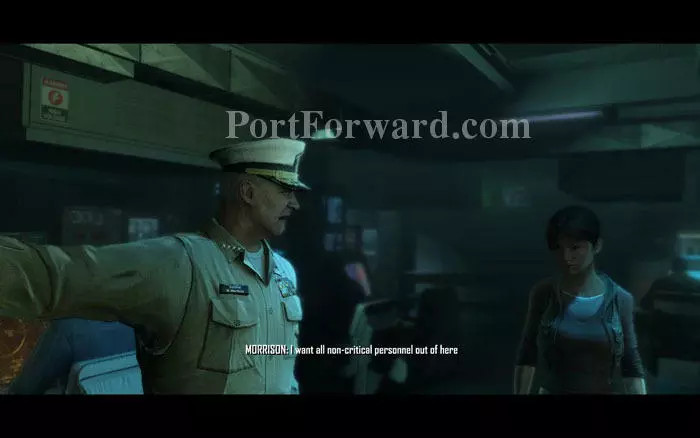
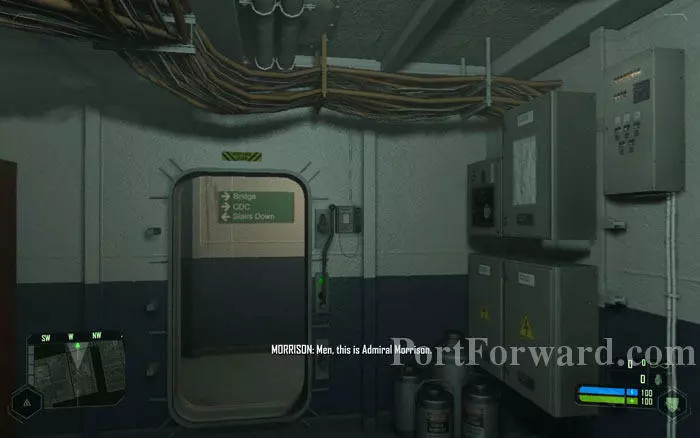
You'll meet the admiral inside. He goes on to tell you that after analyzing your video feed, Washington has shown the green light for nuking the island.

Helena objects to the plans for nuclear assault, saying it may be counterproductive. But the Admiral disagrees.

More story to chew on. Just watch as the Admiral goes on about the abnormalities detected in the island. Helena throws in her theories.
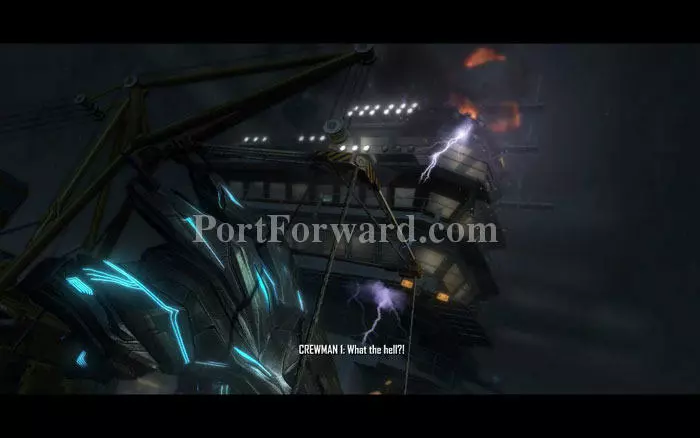
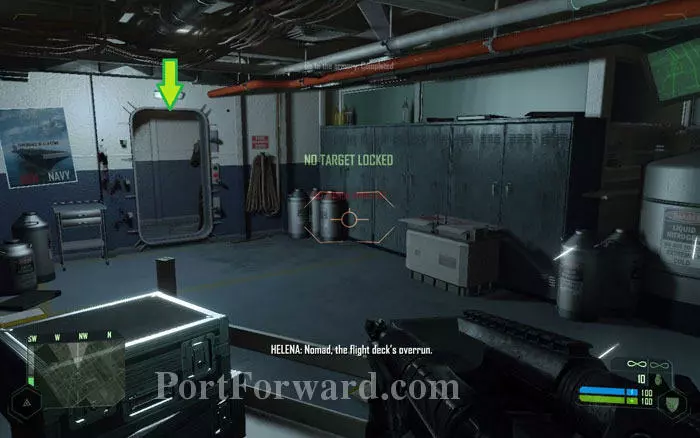
Putting an end to the argument, one of the crew reports that they lost contact with another friendly carrier, USS Lexington. The Admiral orders you and Helena out.
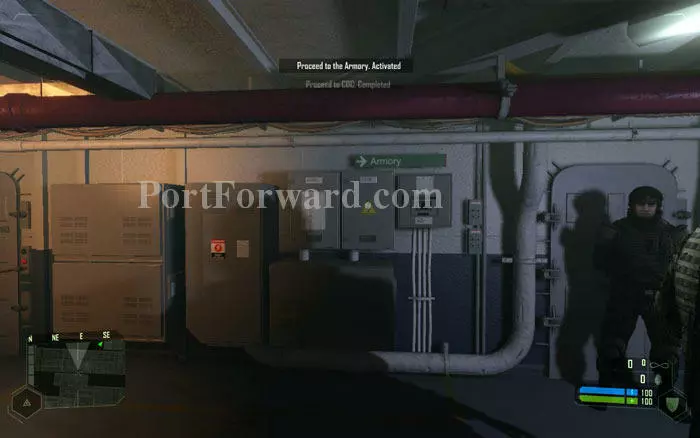
Helena storms out, telling you to meet her at the Armory. You can see a sign board showing the direction to the Armory as soon as you step out.
Following the signs, make your way to the Armory. Chatting with the soldiers standing by may also be helpful in finding the way.

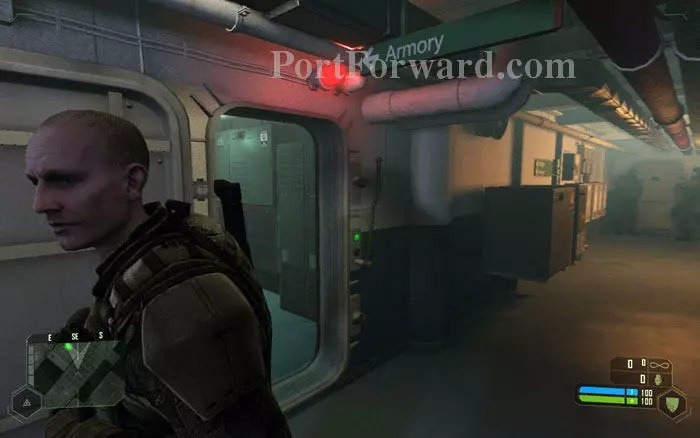
Inside the Armory you'll find Helena and Psycho, as well as Prophet who is sitting majestically on an inspection pad to have his suit checked.
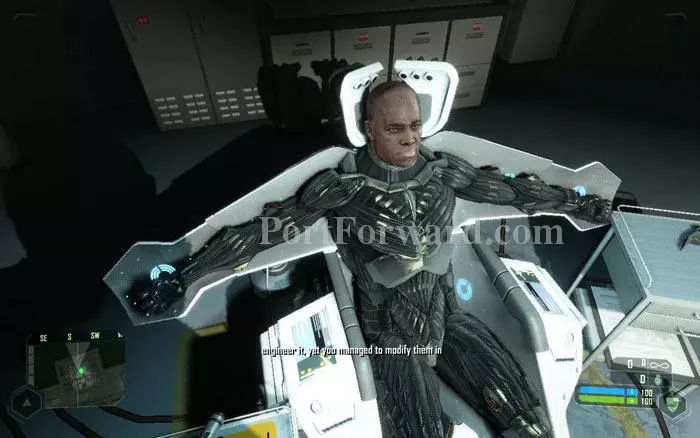
The scientists marvel how Prophet managed to rig the alien gun all by himself on the battlefield. Prophet looks like he's up to something.
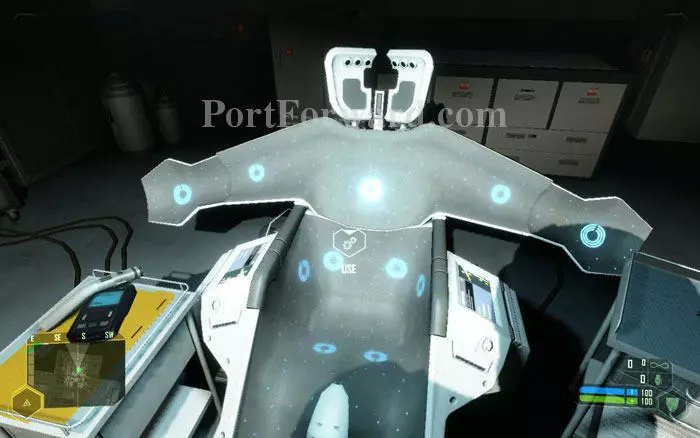
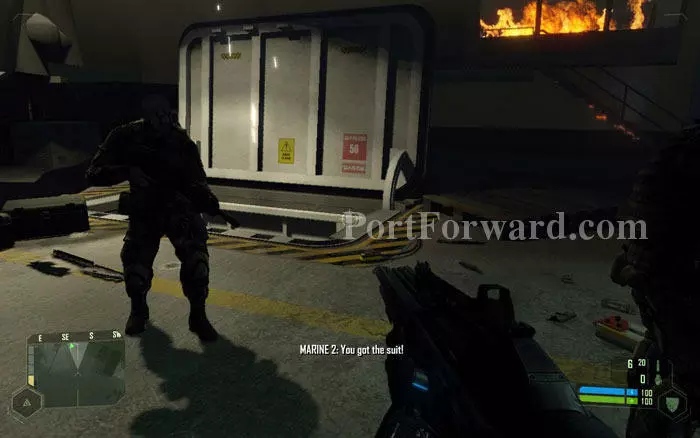
After Prophet gets off, the scientists urge you to take a seat so that they can gather environmental data from your suit. Walk up to the pad and press the 'use' key to sit down.
While you are seated, Prophet will pick up the alien gun and head out, rebuking Admiral Morrison's plans for a nuclear attack. He seems to be taking things into his own hands.
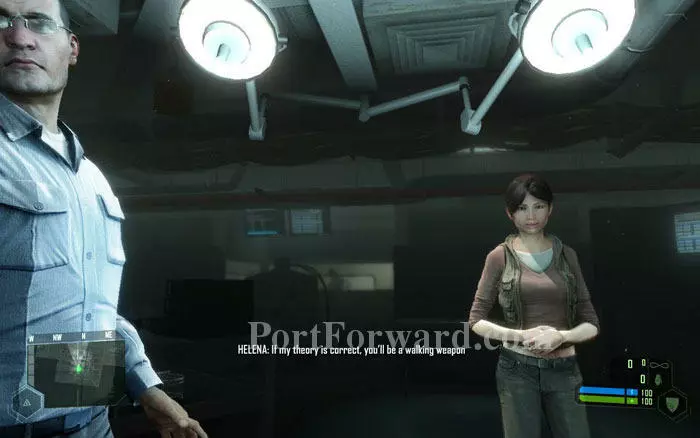
Helena has isolated the signal patterns that the Aliens use when they recharge. She thinks she can use those signals to cause an energy overload and disable them. Her plan is to transmit this signal through your Nanosuit, making you a walking weapon.

Soon Helena will be called to the Bridge, so she leaves.
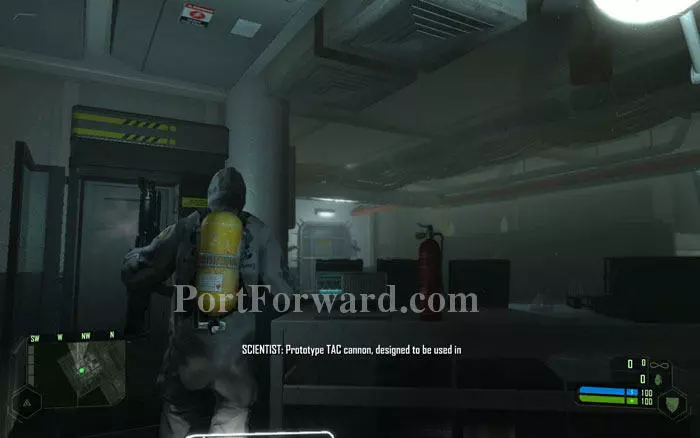
Another guy will walk in with a big gun and place it on the rack to your left. The scientist explains that it's a prototype TAC cannon that fires tiny nukes. You can't use it now, but the time will come.

The scientist seems to have a crush on Helena. Once he relieves you, you will be given a new objective: Proceed to the Bridge.
Get out of the armory and proceed to the bridge, following the signs. On your way, you can hear the Admiral's address to the crew via the PA.
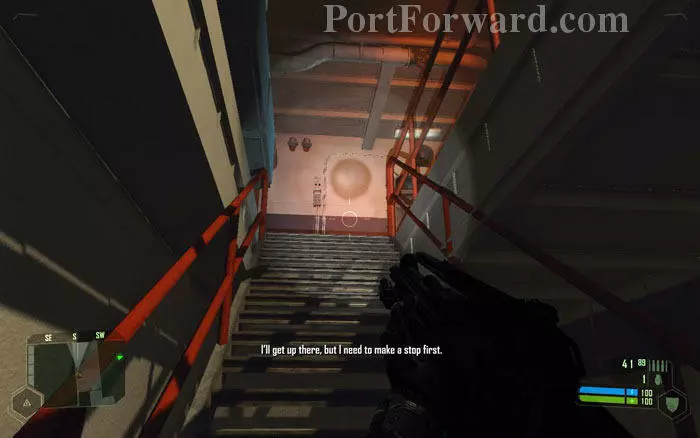
You will reach a set of stairs. Go all the way up.

At the top of the stairs, there is door labeled Bridge with a soldier standing nearby. Go in through the door.
Another cutscene rolls in. Apparently Prophet has stolen a VTOL and is headed off to the island.

The Admiral seems comfortable when he says that the launch is ready, but we know something is going to go wrong.
Helena's last-ditch attempt to change the Admiral's mind falls on deaf ears as he gives the order to deliver the nuke.
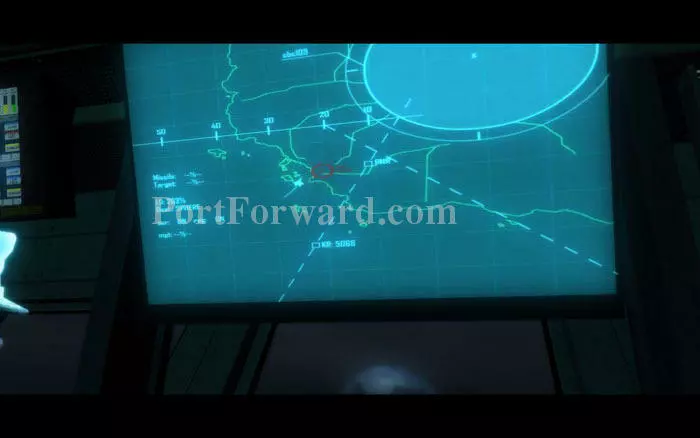
In the schematic, you can see the jet flying in and launching the nuke at the alien energy sphere.
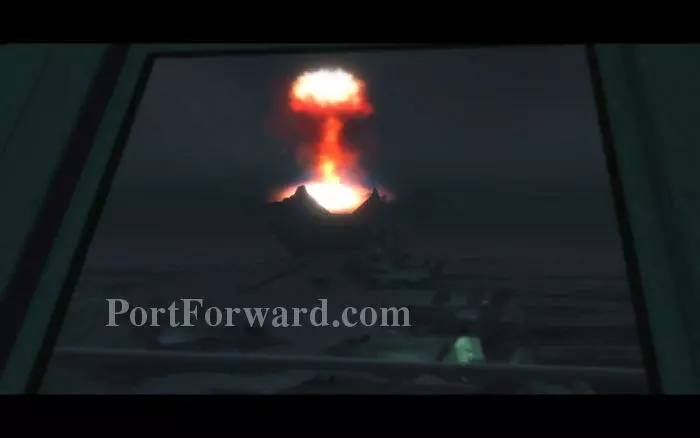
Thanks to a conveniently-placed window, you can see the mushroom cloud booming over the island.
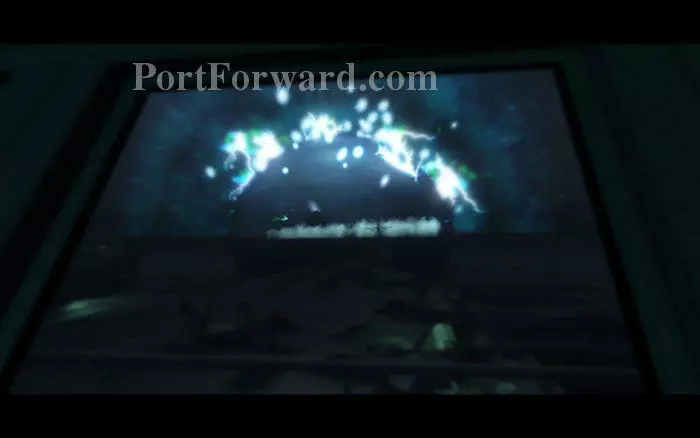
However, the Nuke only strengthens the energy sphere, which expands and covers the whole island. You can feel energy waves coming all the way to the carrier.
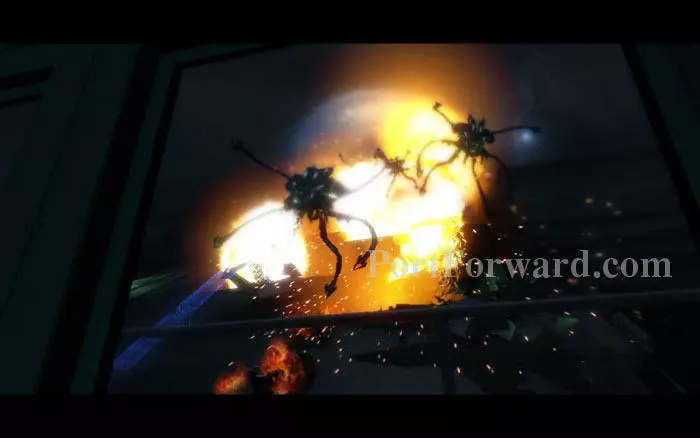
Within seconds, a wave of Aliens charges in and starts a frenzied attack on the carrier. In the mayhem, Nomad takes a hit and falls down unconscious.
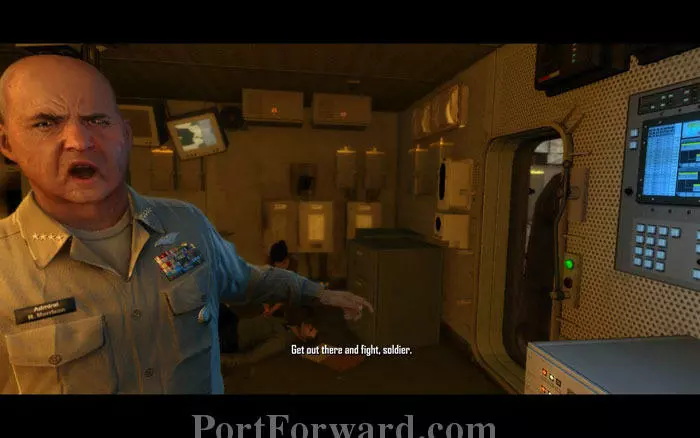
When you regain consciousness, Morrison will yell at you to go out to the deck and fight. You can see Helena trying to revive an injured crew member.
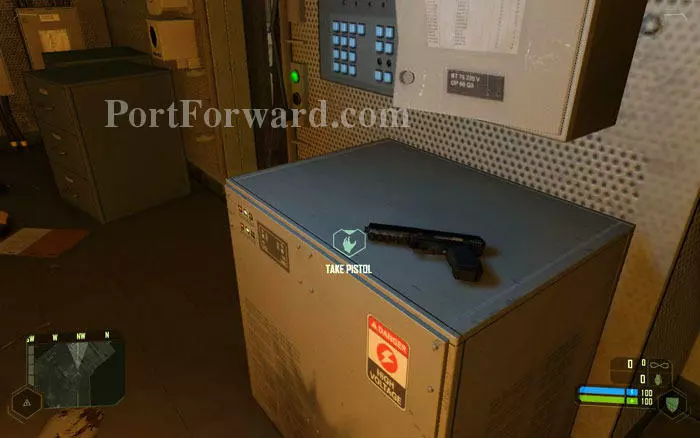
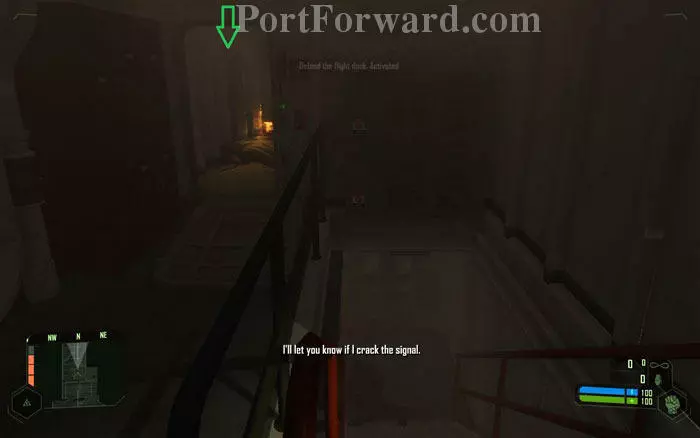
You are ordered to go down to the flight deck and defend the ship. There is a pistol laid in front but at this stage, pistols are no use. Walk up to the door.
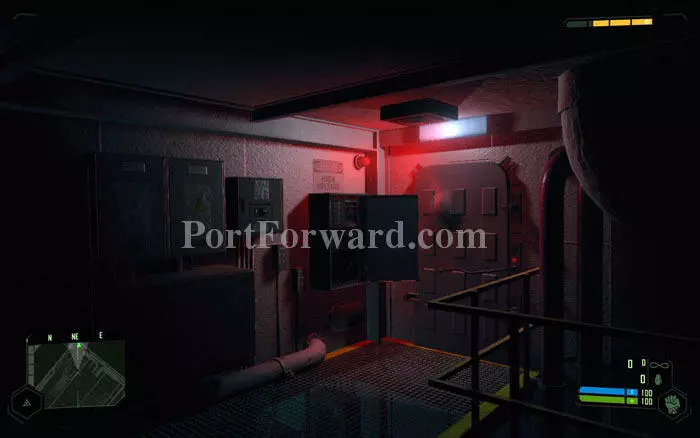
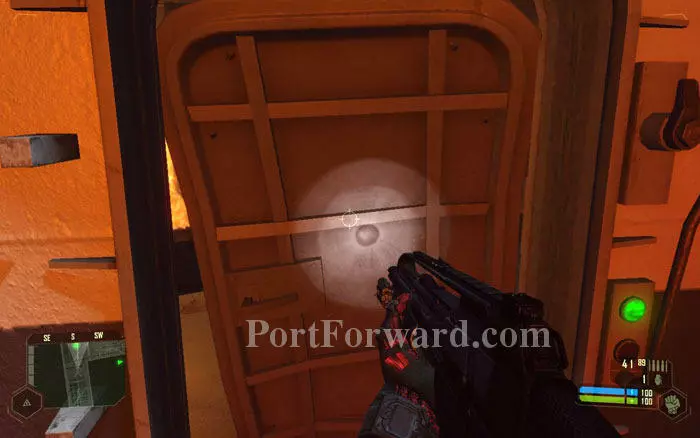
The door is jammed so you'll have to punch it open using 'strength mode' as the Admiral suggests.
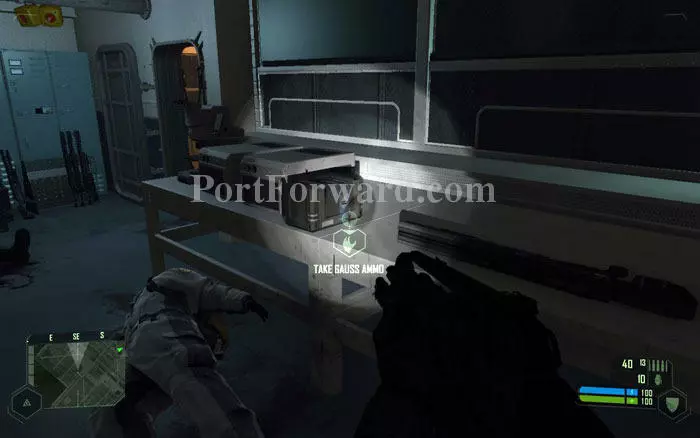
Before going down the stairs, pay a visit to the room to the left of the stairs with a dead officer. You'll find a Gauss Rifle there.
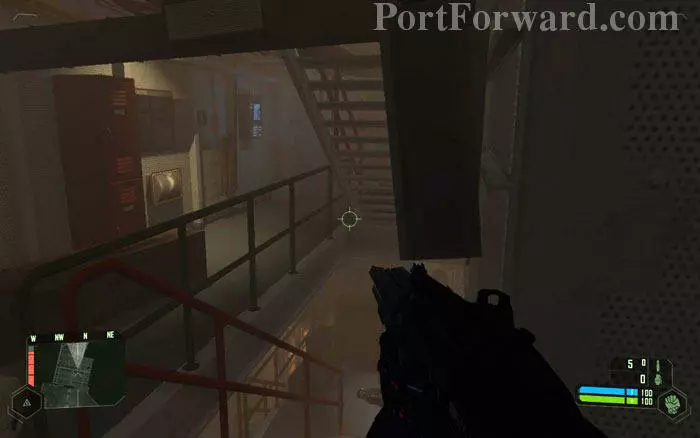
Pick up the Gauss Rifle and climb down the stairs. There are several levels of stairs.

Below two levels of stairs, you'll find a Minigun beside a dead soldier. Pick up the Minigun and its ammo on the crates.
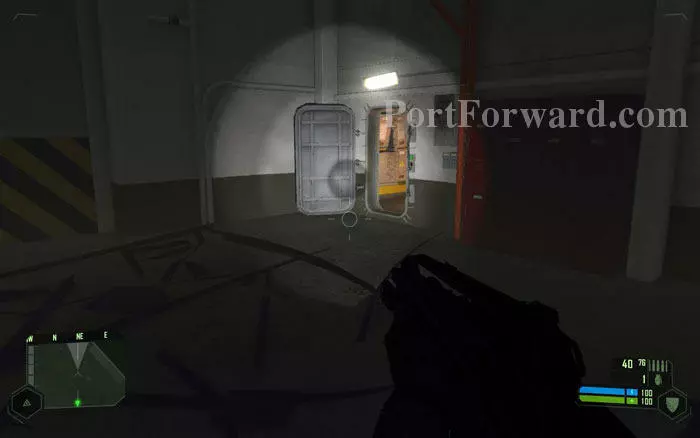
Continue down the stairs till you reach the bottom. There you'll find a jammed door just like the one you punched open earlier. Punch it open and proceed.
Two more small rooms ahead. Just pass through them.
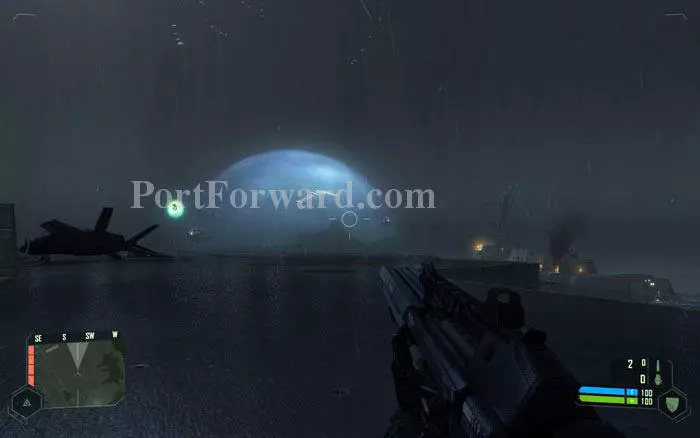
You will find yourself at the doorway to the flight deck. Apparently it's gone to hell in a hand basket. Before moving out, switch to 'Armor mode' for your own protection.

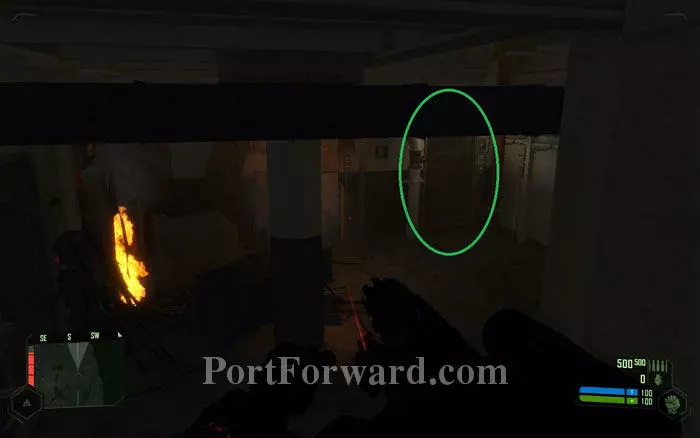
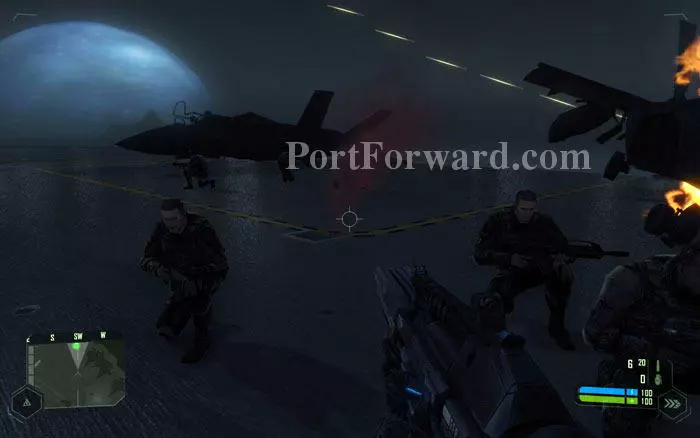
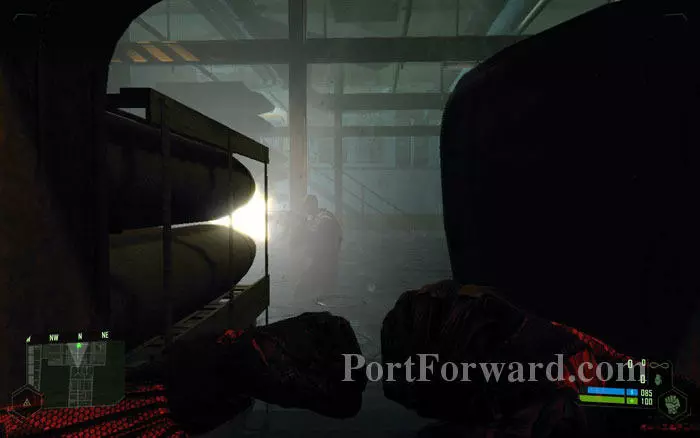
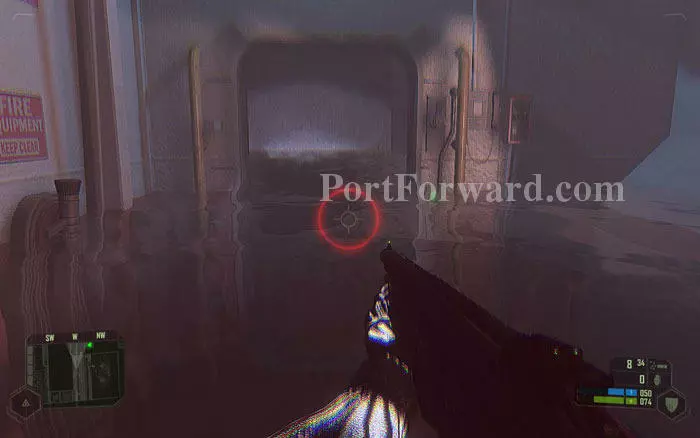
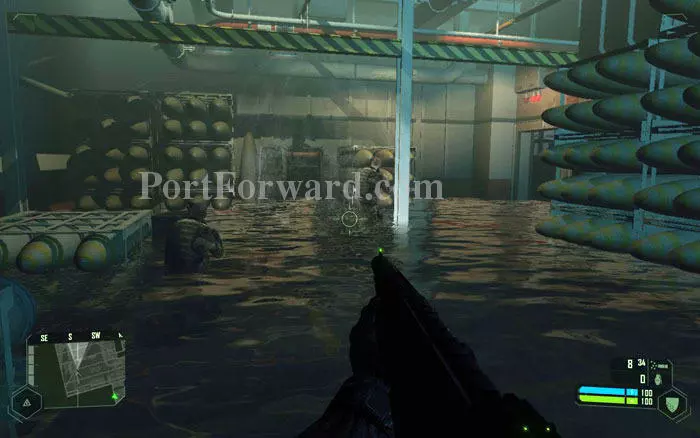
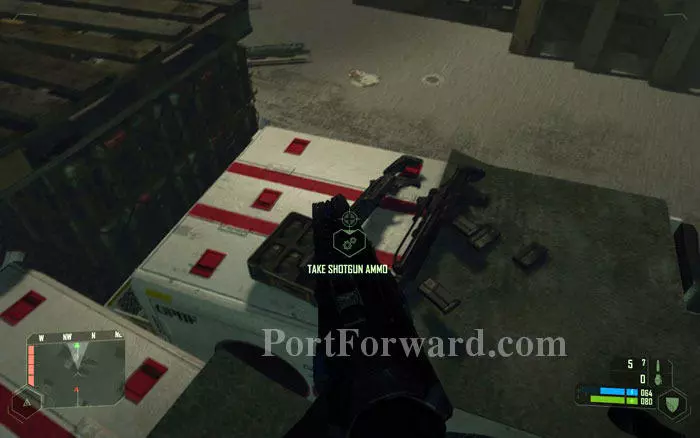
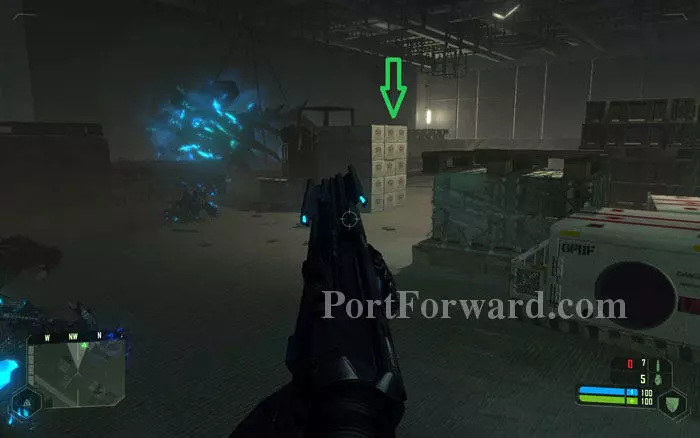
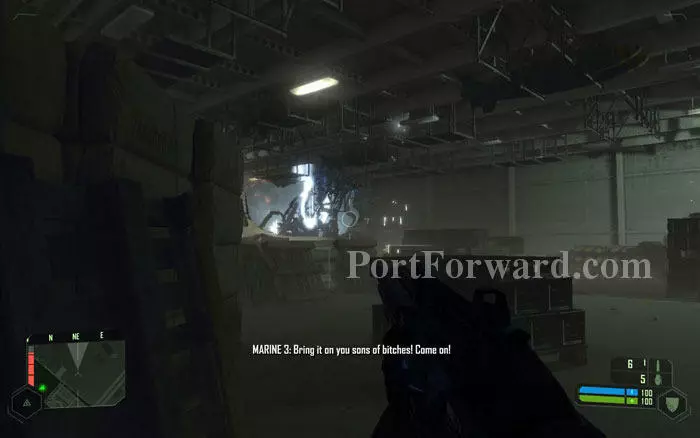
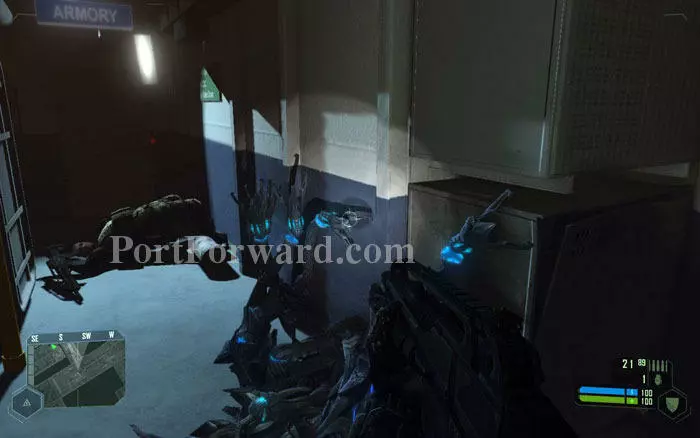
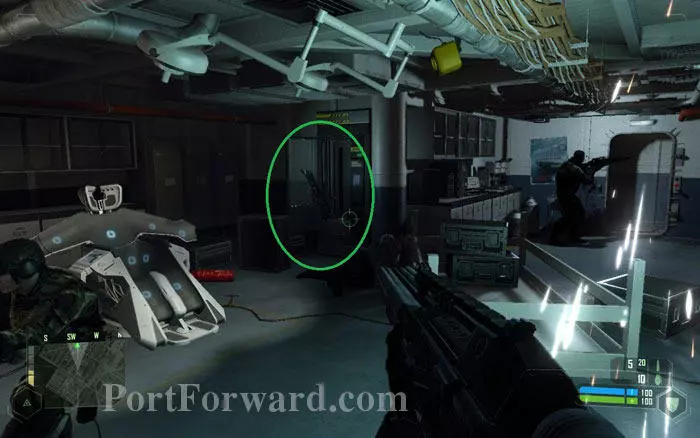
The Aliens are hammering the carrier. Step in and help out the marines. You can find plenty of ammo for the Gauss rifle and Minigun near the doorway or at the crates, as circled.

You will be faced with wave after wave of raging Aliens. As always, the Gauss gun is your best weapon against them. Two good shots will bring down an Alien.

Use 'Cloak mode' to catch the Aliens off guard as they fly in. Aim down the sight to take them down before they even see you.

Be sure to stay away from downed Aliens. Standing close to these ticking time bombs will result in sudden death.
When you are out of ammo, run back to the crates or the doorway and restock. There is virtually unlimited ammo on the flight deck.
These Aliens have some new tricks up their sleeves, such as distinctive cannonballs of energy, as seen in the picture. If you see one of these being lined up against you, quickly side step and get out of the way.
If you are tired of using the Gauss rifle, the Minigun can be used as an alternative. But the minigun tends to swing out of control and slows you down.
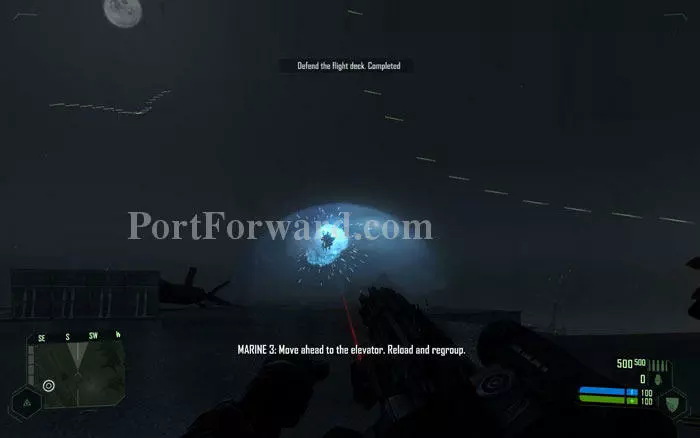
Once most of the Aliens are killed, Admiral Morrison will inform you that there is a breach in the carrier's reactor and the engineers on the lower decks need your help. There is a deck elevator near a bunch of marines that will take you straight down to the lower decks.

It is recommended that you restock on Gauss ammo before proceeding to the lower deck.

Once the elevator stops, Follow the Marines through the opening to get to the lower deck.
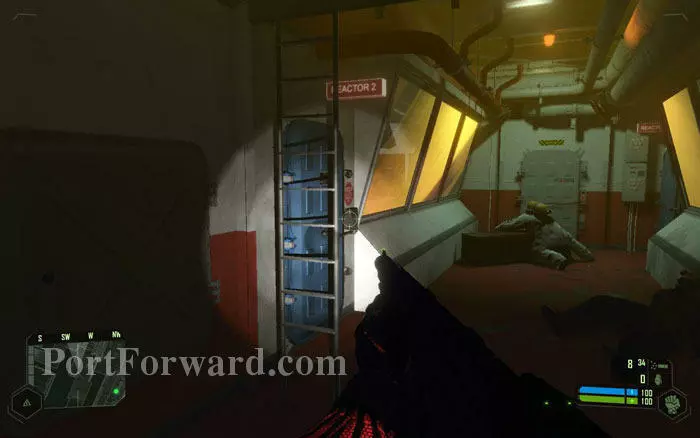
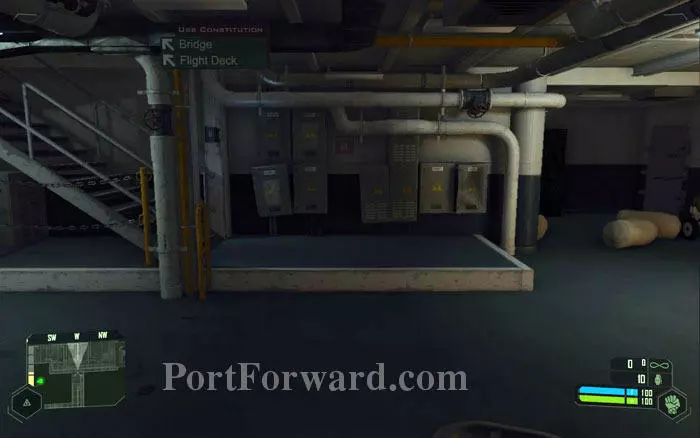
You will find yourself at a hangar room. To reach the reactor room, you need to go further down. Move to the small cargo lift with a sideways opened door.
With a great Nanosuit come great responsibilities. As the Marines suggest, jump into the cargo lift.
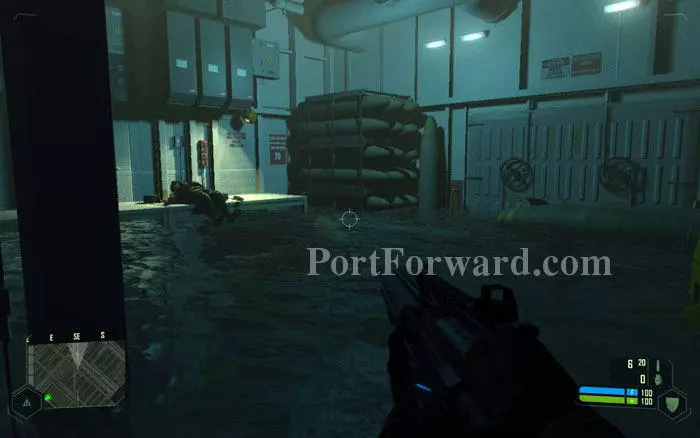
Turn left after the cargo lift crumbles down to the flooded lower deck. You can see a dead soldier lying beside some goodies.

The shotgun has a flashlight attached to it which can be useful in the dark corridors ahead. You may consider swapping the minigun for it, but better keep the Gauss gun with you.
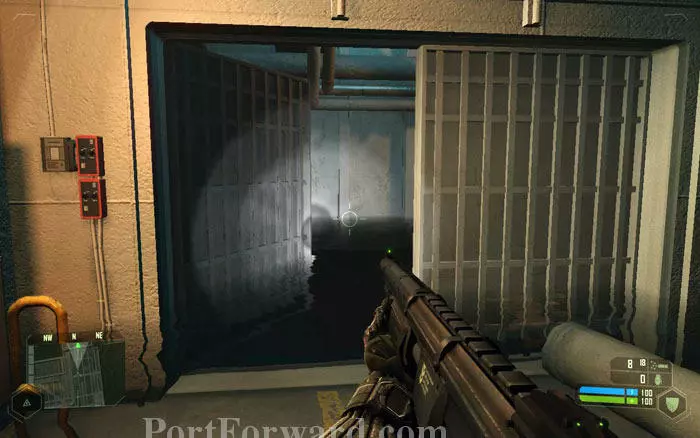
Turn left again and proceed through the white door. This area may seem confusing but actually your path is linear. Just keep going in the direction of the green marker in the radar and you will do just fine.
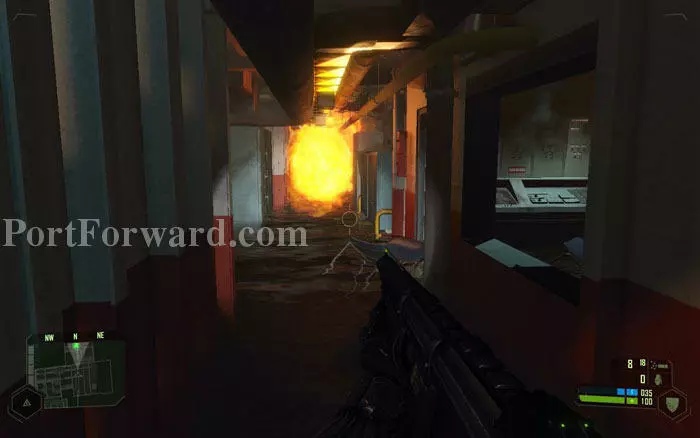
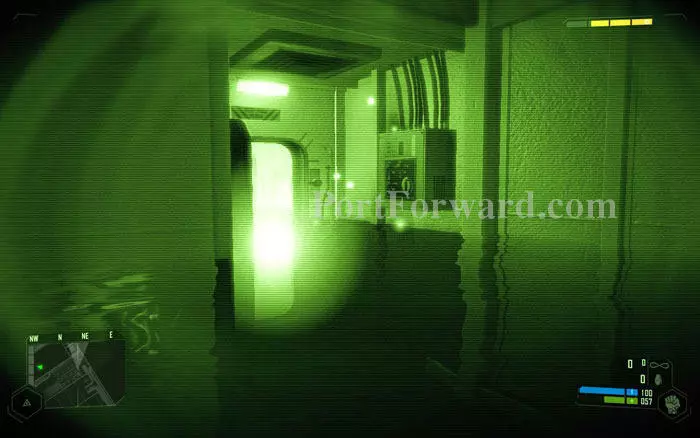
When you reach this corridor, a fire will burst out, blocking your path. Just wait till the fire settles down and then proceed.
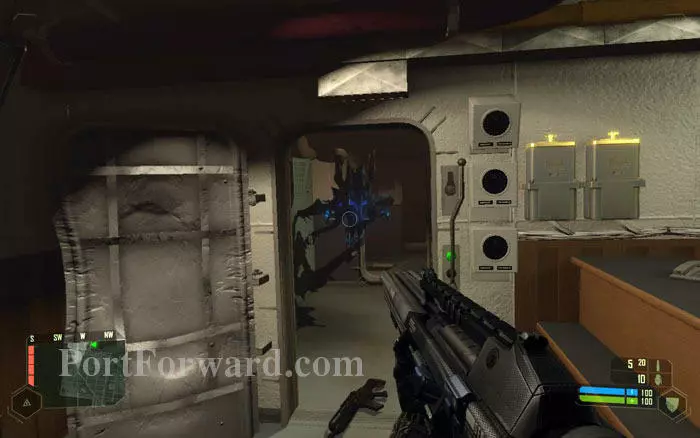
Advance through a couple more rooms, punching open the jammed doors. You will reach a hall with a group of Marines.
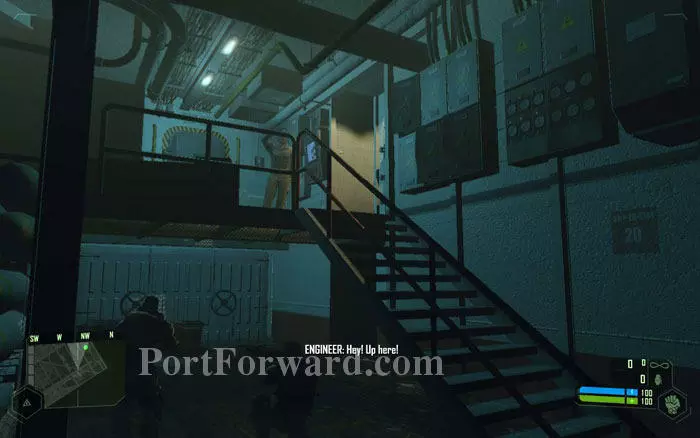
The engineer you are looking for will greet you from the platform to the left. Go up the stairs and meet him.
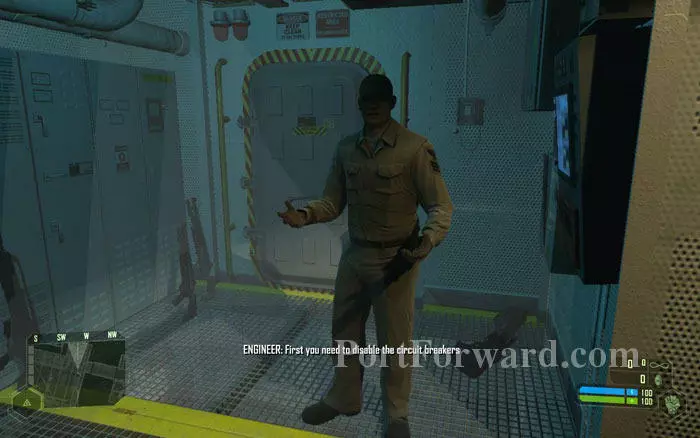
The engineer will explain that the reactor needs to be shutdown to avoid a meltdown. Your next objective is to move to the exchange room and disable the circuit breaker.
The engineer will give further instructions as you proceed. Go through the door that he opens up for you.
This area is very dark so use night vision if needed. Take the stairs going down. You'll reach another flooded hall.
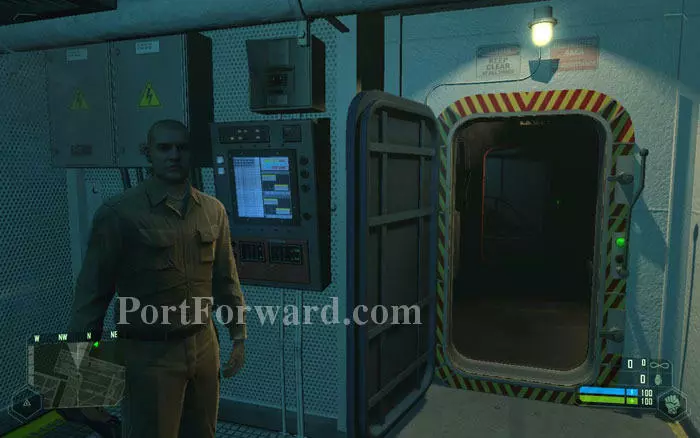
The circuit breaker is on the platform right in front of you. Move up the stairs and approach the switchboard.
A red light will be flashing above the circuit breaker. Step close to it and disable it. Once that's done, the engineer will instruct you to move to the reactor room.
Once the circuit breaker is disabled, the door right below it will open up. Jump down from the platform and walk in through this door.
Keep moving in the direction of the green marker in your radar. You may get a small electric shock from the water presumably due to broken wires but the Nanosuit will absorb the damage. Just run to the next room.
You'll come against a wall with a hole just above eye level. Switch to 'Strength mode' and hop into the hole.
You will be in the lobby leading to the reactor room but the doors are closed so you need another way in. Climb the ladder just ahead of you.
The ladder will get you into a crawlspace. Move through the crawl space till you reach the opening at the other end.
When you reach the other end, drop down to the room below. The door to the next room is wide open so just march in.
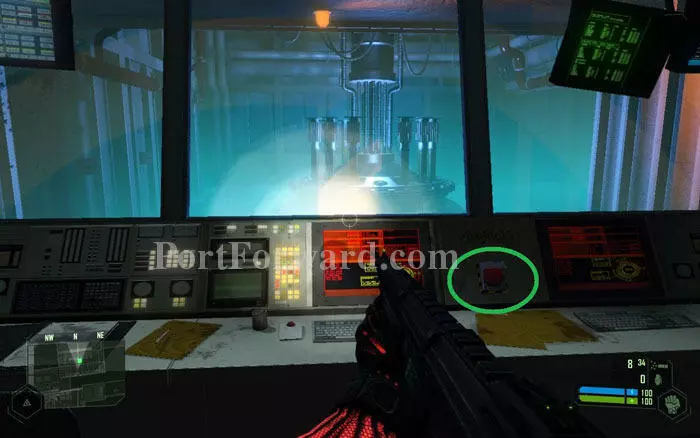
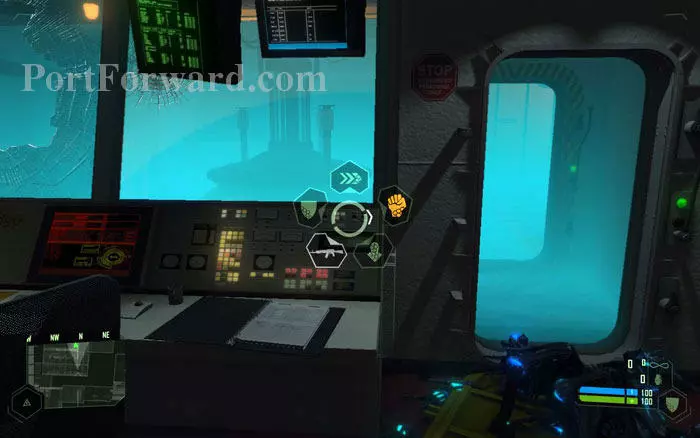
Voila! You are at the reactor room. Now all you have to do is to press the big red button. Shutdown sequence will initiate and the control rods will start lowering.
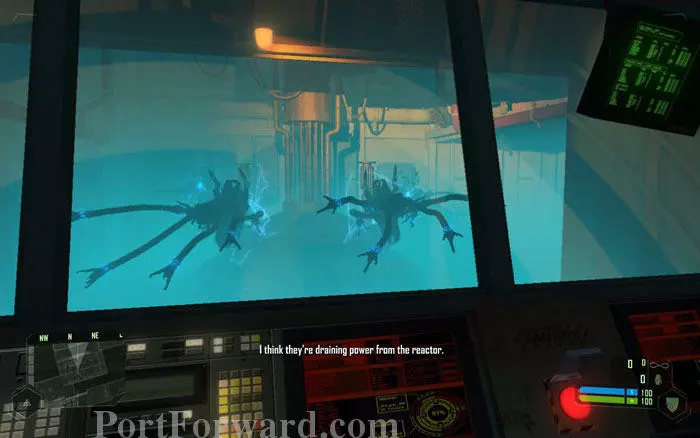
However, three of the rods get stuck preventing shutdown. And a bunch of Alien Troopers burst in to add to the trouble.
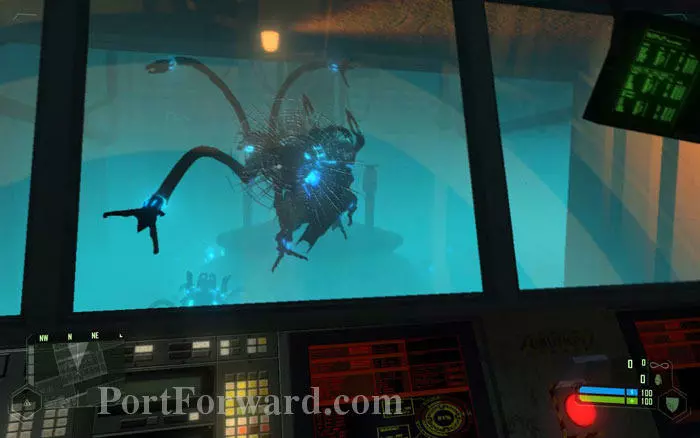
Fortunately you won't have to fight these guys. Remember what Helena said about making you a walking weapon by transferring a signal through your suit? She will do her trick, bringing the Aliens down.
The control rods are still stuck so you'll have to push them down manually. Step close to the newly opened door that leads to the reactor. Note that you have to be in 'Strength mode' to push the rods down.
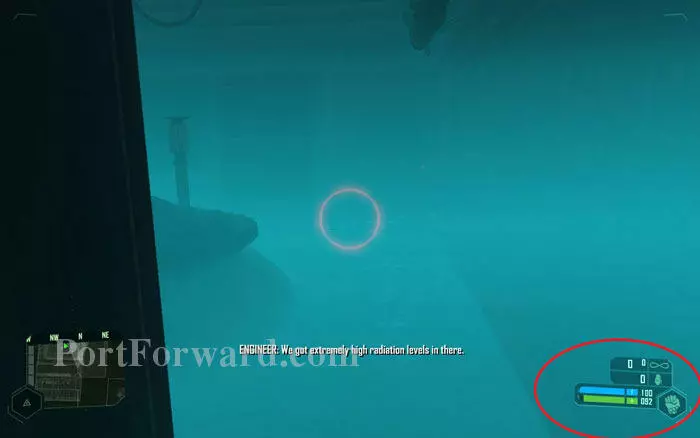
While you are inside the reactor chamber, your health will continuously drop at a high rate, which means you have to be in and out quickly. Using 'Armor mode' does not prevent radiation damage so it's better to be in 'Strength mode'.
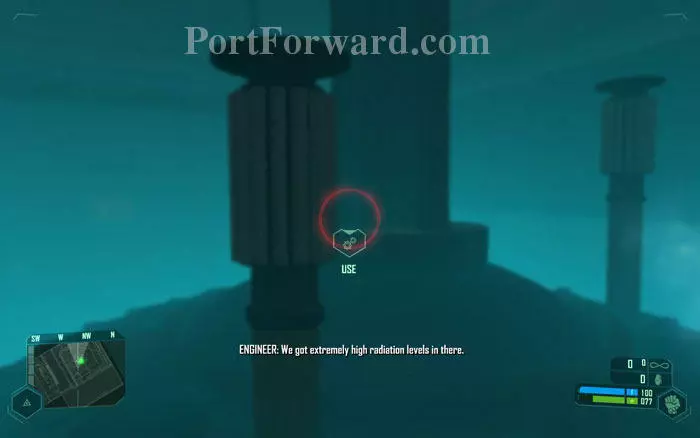
So make sure your health is full and rush in. Face the first control rod and press the 'Use' key. No need to hold it down; just one push is enough. Then rush back to the other room and wait till your health fills up to 100. Repeat the same process for the remaining two control rods.
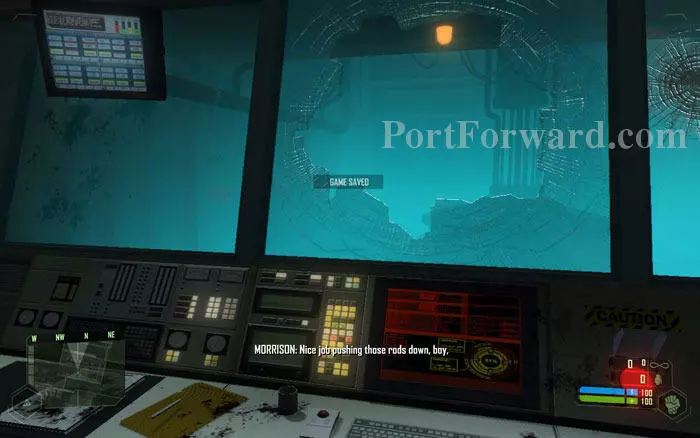
Once all three rods are lowered, your work here is over. Admiral Morrison will promptly order you to get back to the bridge.

The engineer will have opened the doors for you, creating a linear path. Just keep walking through the open doors.

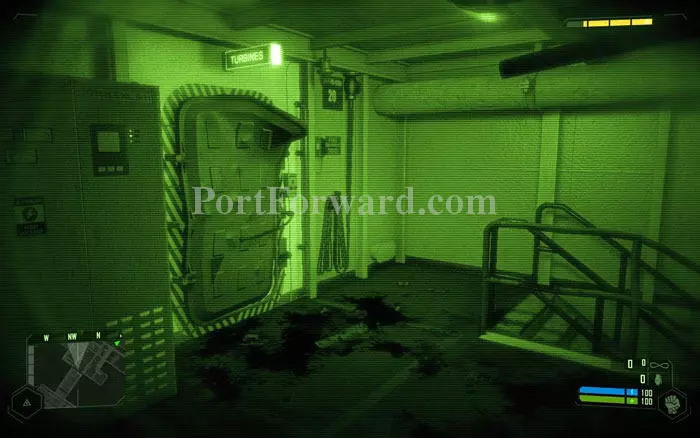
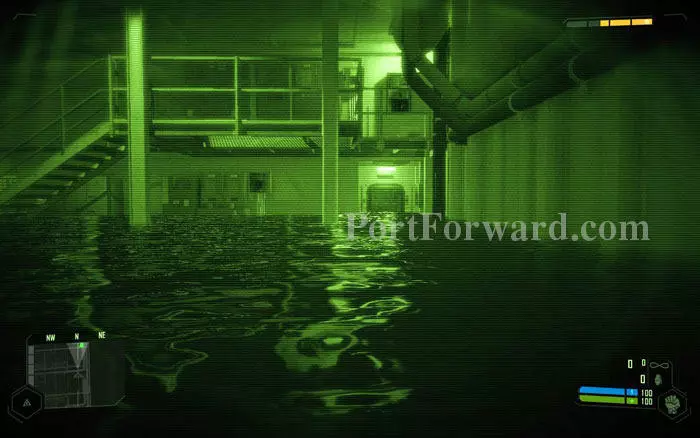
You'll soon reach a flooded turbine room. The water here is hazardous so jump on top of the yellow turbine and then to the platform on the other side. Then go through the door on the left.

After a couple more empty rooms, you'll be back where the engineer is standing. Listen to his adulations and go down the stairs.
You will be back at the ammo room. These poor Marines will be knocked out in a few seconds by a large breach in the hull. Continue to the next room through the door ahead.
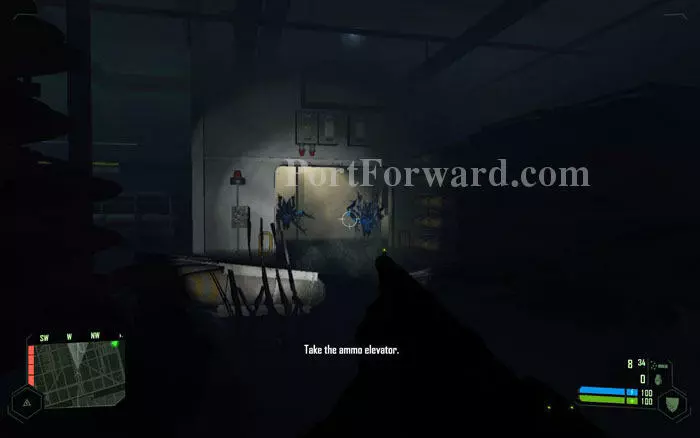
The Admiral will instruct you to take the ammo elevator right in front of you. Two Alien troopers will hover down through the ammo elevator. Finish them off and step into the elevator.
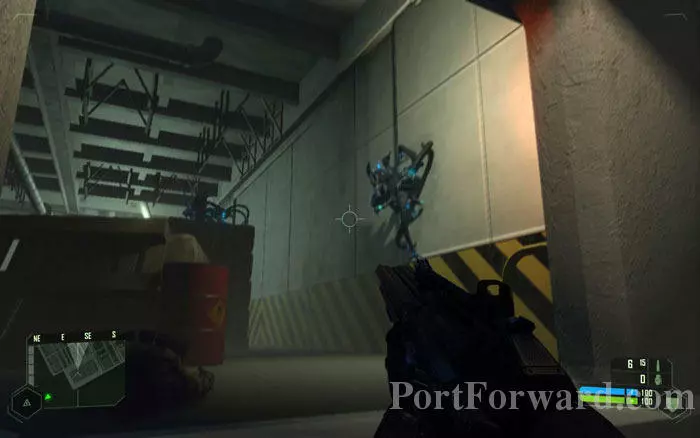
The elevator will take you to the upper deck, where more Alien Troopers are waiting for you. As always, the Gauss gun is the weapon of choice for fighting the Aliens.
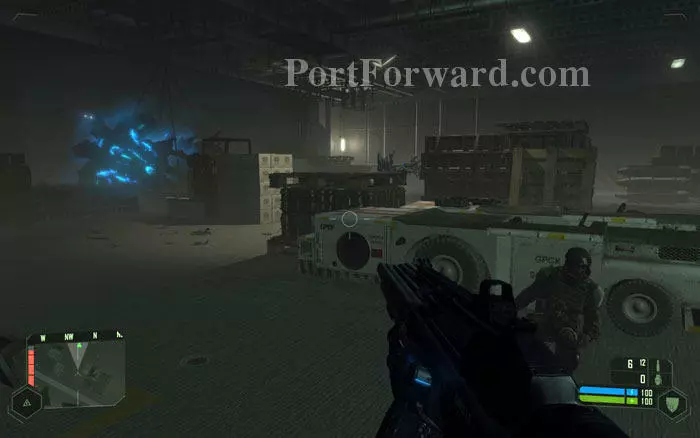
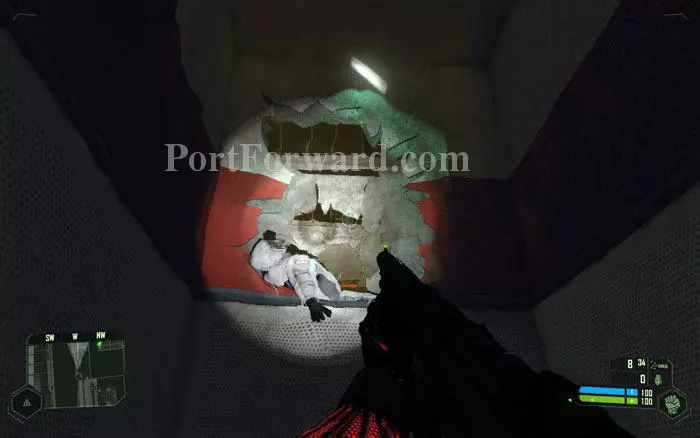
The door ahead will take you to a hangar with a big Alien Scout crashed into the wall. A few small Aliens are harassing the Marines here. Lay waste to them.
Plenty of guns and grenades can be found scattered around here. The SCAR Rifle is a decent weapon against the small Aliens so use it if you run out of ammo for the Gauss Rifle.
Finish off the Aliens and exit through the door on the opposite corner from the direction of your entry.
Pass through the corridor and enter another hangar where the Marines are waging an all out war against Aliens. Lock and load and join the fight.

Use your grenades liberally when you see clusters of incoming enemies. Throw grenades in front of their path so that they blow up when the Aliens hover over them. Two more groups of Aliens will fly in through the hole on the ceiling.
After the influx of Aliens is over, pick up SCAR ammo from downed Marines and proceed through the door on the opposite corner.

When you pass through this passage with the left side open, look out to the sea. A friendly ship will be flaring up like a pile of fire crackers and sinking down.
Turn left and continue through the door ahead, with a green sign that says stairwell. There will be a lone Alien trooper at the bottom of the stairwell. Take it out and climb up.
While going up the stairs, Nomad will report that he is going to make a visit to the Armory before getting to the bridge.
Punch open the door at the top of the stairs and move in.
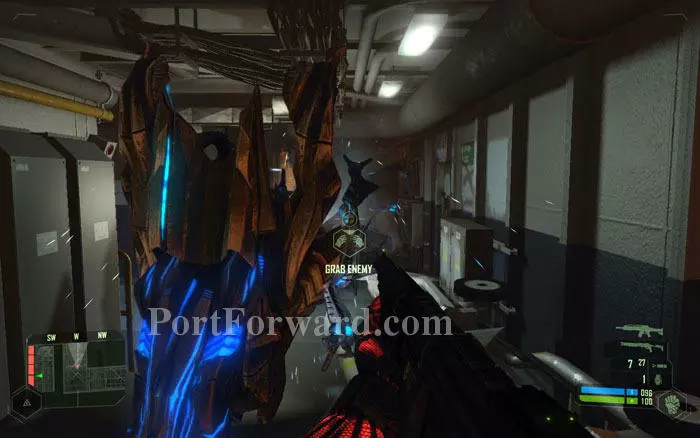
You will receive an unfriendly welcome by a bunch of Aliens. The grab-and-throw technique is quite useful against them in these narrow corridors.
Your objective is the Armory so take a left at the next intersection. Watch the signboards if you need directions.
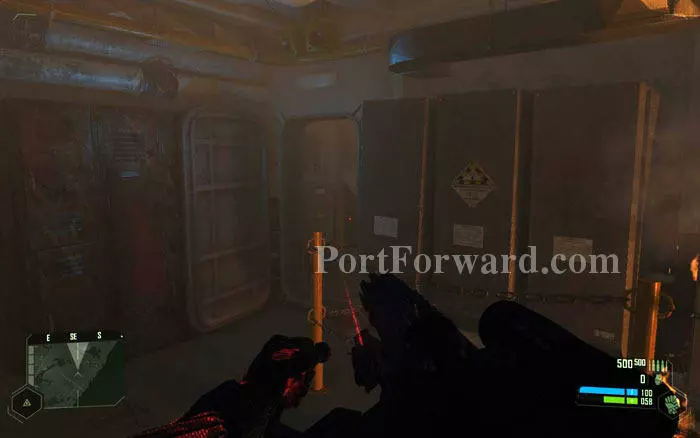
There is a good stock of weapons in the first room of the Armory. But the Gauss Rifle is the only one that you need to look for. Pick it up and proceed to the next room.
In the next room, you can see the inspection pad that you and Prophet had used earlier. Remember the mysterious TAC cannon you saw back then? That's what you are here for. Go ahead and pick it up from the cabinet.
The TAC cannon, however, is not for use here so switch back to the Gauss gun. Helena will call you to the flight deck, where a raging battle is ongoing. Exit the Armory through the door on the west side.
Turn left after the door and proceed through the corridor.
To get to the flight deck, you have to go through the Bridge so if you need directions, look for signboards that lead to the bridge. But you won't have to, since the green marker on the radar is enough to find your way without trouble. Take out any scattered Aliens in your way with Gauss fire.
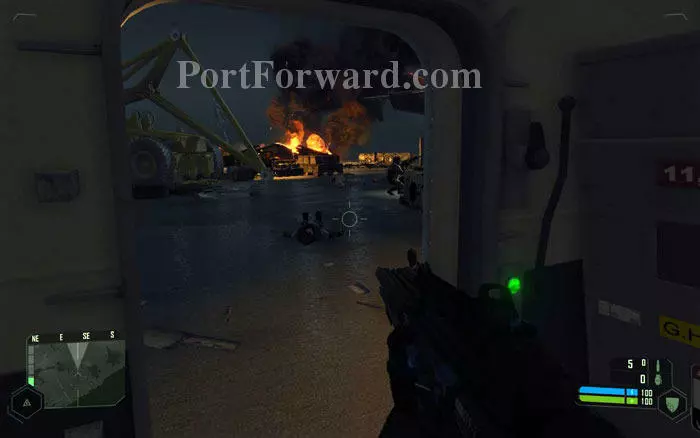
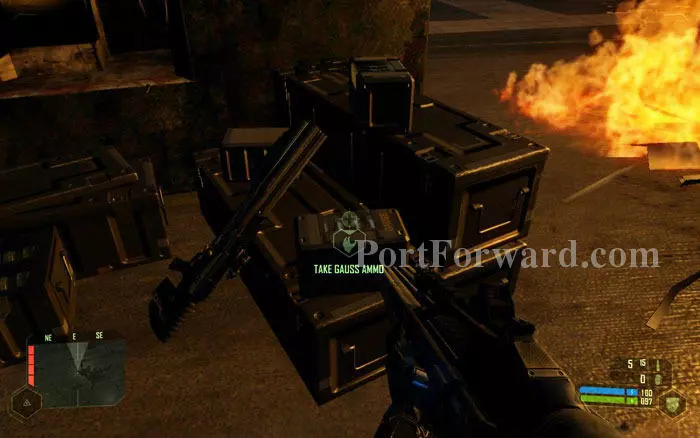
After a short walk, you will reach the stairs leading to the Bridge as well as the Flight deck. Climb up and punch open the jammed door on top of the stairs. img(212865); As you open the door, you'll witness the Admiral getting stabbed by an evil Alien. You can't save the Admiral but send the Alien to hell with your fists anyway. img(212866); The good Admiral's last words are that you should save the crew so let's do it. Turn left and proceed through the door on the south of the room. img(212867); As you go, Psycho will inform that He is on a VTOL with Helena. img(212868); Go through a couple more doors and you'll reach the Flight deck. img(212869); The big badass Alien that slaughtered Major Strickland and his team before you left the island has somehow crawled up on the flight deck. As the soundtrack suggests, it's time for the big fight. img(212870); The game refers to it as the Alien Exosuit. Helena will transmit a signal through your suit to weaken it so this time, you can kill it. Missiles, Minigun or Gauss rifle can be used to damage it. But of course, it's going to take a lot of firing to bring down. img(212871); There will be an abundant supply of all the aforementioned weapons and ammo on the flight deck. img(212872); Missiles are the best choice when available since they allow you to deal maximum damage in the shortest time. Fire away all three missiles from a launcher and take cover. But since each launcher only carries three missiles, you can't rely fully on them. img(212873); A good place to hole up is near the door which you came in through, as this area provides much needed cover and a big stock of ammo. img(212874); The Alien will retaliate with a variety of attacks. The most common of them is the freeze ray. Strife away or take cover to avoid it. img(212875); If hit by the freeze ray, you will freeze like a statue of ice. Repeatedly press the movement keys to shake yourself free. img(212876); From time to time, Alien Scouts will fly in to join the fight. Take them out with the Gauss rifle. img(212877); The alien will slowly advance at you throwing around anyone or anything in its way. Keep the pressure on and keep firing with all you've got. img(212878); The Marines seems to be stupid enough to wander away from cover and run into the Alien. Learn from their mistake and try to stay in cover. img(212879); If you get close to the Alien, it may snatch you with its tentacle and throw you around, causing severe damage upon impact. Switch to 'Armor mode' as soon you get roped in. img(212880); After a while the Exosuit will get really enraged and start using these deadly energy cannonballs against you in addition to its other attacks. If you see one of these being powered up, run like hell to one side or take cover behind something big, because the cannonballs have a large blast radius. img(212881); It is recommended that you quick save from time to time, as you may die several times during this tough battle. img(212882); Note this spot with overturned vehicles and weapon crates, next to a big rupture on the deck floor. It's on the opposite side from the door, a little closer to the Alien Exosuit. img(212883); You will get an infinite supply of missile launchers from this crate. Not a very comfortable place to hang around now, but this spot will be very useful later in the game. img(212884); It's a good idea to use 'Cloak mode' when wandering out of cover looking for ammo. img(212885); If you want a Minigun, go to the north of the deck, away from the Alien. Staying away from the Alien has advantages, obviously. This is a great place to hole up, since the big piles of wreckage offers good protection and Minigun ammo is right in front of you. img(212886); This is perhaps the only situation in the campaign where you'll find a target suitable for the Minigun so make good use of it. In normal difficulty, you can actually kill the Alien with two cartridges of Minigun fire. img(212887); Once it has taken enough beating, The Alien will collapse and blow itself to smithereens. Cheers all around. img(212888); Psycho will congratulate you and bring the VTOL close to pick you up. The green marker on the radar will point to the approaching VTOL. img(212889); Ah, There's our VTOL. But wait! What is that monstrous thing rising from below? img(212890); It's a colossal Alien warship. Our troubles are not over yet. We have actually got a glimpse of this leviathan in the end of the 8th chapter where Nomad escorted Prophet out of the ice sphere. img(212891); The warship carries some serious fire power, such as this Singularity cannon on its wings. Luckily it doesn't target you with that. img(212892); What will hurt you are the four turrets which fire menacing ice shards. They can kill you in seconds so stay in cover when the turrets are active. img(212893); And the silly freeze ray again? Come on; it's supposed to be a warship. That being said, its best to avoid the Freeze ray as much as possible, because what follows it could be the turrets. img(212894); Now let's get to business. You don't stand a chance against the warship out in the open so you need to find cover fast. The best place to station yourself is behind the overturned vehicles, next to the crate with an infinite supply of Missile launchers. As mentioned earlier, it's next to the big rupture in the deck floor. img(212895); You'll be asked to take out the four turrets so that Psycho can bring the VTOL close to the warship, enabling Helena to hack down the shields protecting the Singularity cannons on the wings of the warship. You can identify the turrets by the glow on them when they charge up to fire. img(212896); Once you have located the turrets, get yourself a Missile launcher. Be sure to always keep your head down. img(212897); Use the scope to accurately target the turrets and fire away. Two missiles will take out each turret in Normal difficulty. img(212898); Destroy all four turrets, picking up new launchers from the crate as needed. It's a good idea to switch to 'Cloak mode' before poking your head out from cover. img(212899); Once all four turrets are down, the VTOL will hover near the left wing and Helena will start her work on the shield. At the same time four Alien Scouts will fly in harassing the VTOL. Engage them with the Gauss rifle. img(212900); By the time you are done with the Scouts, Helena would have brought down the shield. img(212901); After the shield is down, you get to use the TAC cannon that you painstakingly picked up from the Armory. Just select the TAC cannon and point it at the wing to lock on. Once it's locked on, you can pull the trigger and launch a nuke missile. img(212902); The nuke will knock out the wing, eliminating the Singularity cannon with it. That's one down. img(212903); Now Psycho and Helena move on to the other wing, and four more Alien scouts promptly appear. Same drill as before; take out the Scouts while Helena deactivates the shield. img(212904); After the shield on the second wing is down, destroy it with TAC cannon. img(212905); Now that its cannons are gone, the Warship will advance towards the Carrier and position itself above your head. img(212906); A small turret at the underside of the warship will start firing at you so be prepared with a Missile launcher when you see the warship advancing. Two missiles will take out this turret. img(212907); Meanwhile four very aggressive Alien Troopers will drop off from the Warship and start attacking you. Use the Gauss rifle to engage them. However, there is no point in trying to eliminate all four of them, as the Warship will pump out more if a majority of the Troopers gets killed. img(212908); Instead, focus on the blue-glowing hatch at the belly of the Warship. Keep firing missiles at the hatch while avoiding the attacks by the Troopers. You may have to keep switching between the Gauss rifle and the Missile launcher to do this. img(212909); Four Missiles will blow open the hatch. Then lock on with the TAC cannon and send in a nuke through the hole. img(212910); The nuke will blaze the inside of the Warship like a furnace, starting its death sequence. img(212911); Now the whacked-up Warship starts crashing down on the Carrier, threatening to sink it. Switch to 'Speed mode' and run like hell to the far end of the Carrier, to the south. The VTOL, now indicated by the green marker on your radar, will be waiting for you. img(212912); As you approach the VTOL, a cutscene begins and Nomad jumps onboard the VTOL. Now sit back and enjoy the final cinematic sequence of the game. img(212913); As the VTOL pulls away, you can see the Warship crashing down on the Carrier, then both sinking. img(212914); Halfway through its descend, the Warship explodes in blinding white light, at the same time pulling everything into it like a black hole. A bit of drama, as the VTOL struggles to press forward and Helena almost falls out. img(212915); As Nomad pulls Helena back in to the VTOL, the debris of the Warship and the Carrier plunge down into the ocean in a stunningly beautiful whirlpool. img(212916); Psycho cheerfully informs that he is picking up a signal from Prophet, indicating that he is alive and kicking. Now that they know how to defeat the Aliens, the team decides to head back to the island and take the fight to them. img(212917); The game ends as the VTOL disappears into the horizon, where the island and the Alien ice sphere is outlined by the breaking dawn. You are now done with Crysis! I hope you enjoyed this game and I hope this walkthrough helped. Game on!
More Crysis Walkthroughs
This Crysis walkthrough is divided into 11 total pages.


