
This Deus Ex walkthrough is divided into 20 total pages.
You can jump to nearby pages of the game using the links above.
Vandenberg
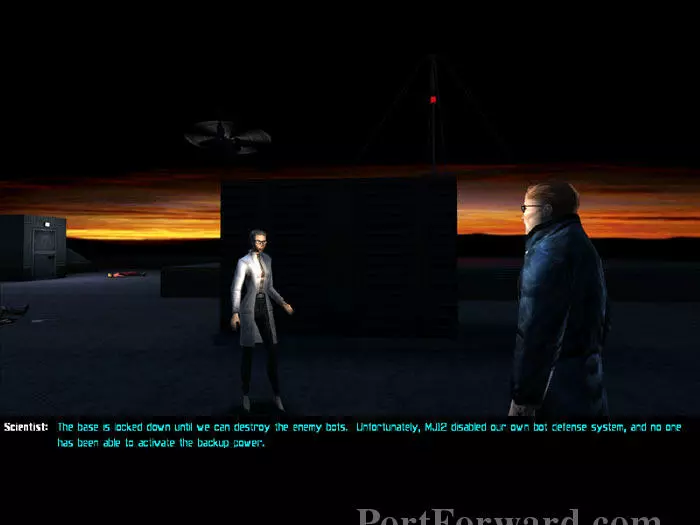
Jock sets you down atop this building at Vandenberg. Talk to scientist Carla Brown and learn that the base is locked down until two security bots and two military bots are destroyed.

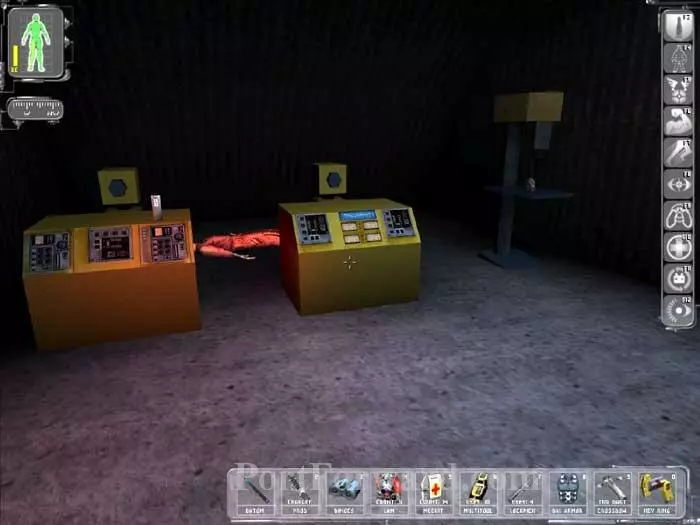
Carla explains that if you restore backup power to their own bot defense system, then MJ12's bots will be destroyed. She tells you there are two separate control units (1) (2) and that the activation code is 5868.

Problem is, when bots start shooting, people get hurt. A cleaner way to disable MJ12's bots is via your Tech Three Spy Drone, controlled remotely (and safely) from the roof.

Remotely piloting your Spy Drone over these longer distances is a very fun way to resolve the objective. All four bots are on the same side of the roof, although one can be tough to spot behind the Comm-01 building. Jock radios your success as you disable each bot.

Proceed through that door directly ahead.

Drop behind this railing.
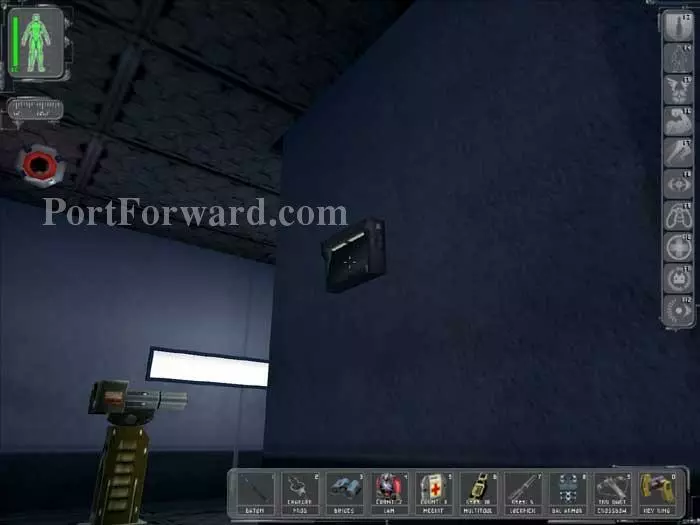
You are immediately spotted by this security camera, so quickly hack the Security Terminal directly ahead. Turn off two cameras.
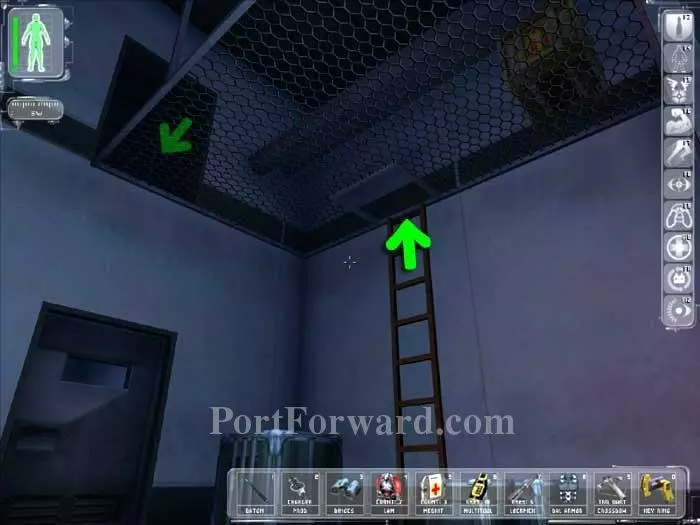
Pass through the door to this adjoining room. Two MJ12 Troops are on the other side of this door. Climb the ladder (the crate holds 12 Gauge Buckshot Shells) then pass through the indicated vent.

Note the MJ12 below. You can safely bust open the crate on the right for a Medkit. Quietly walk across the catwalk to the vent on the other side.
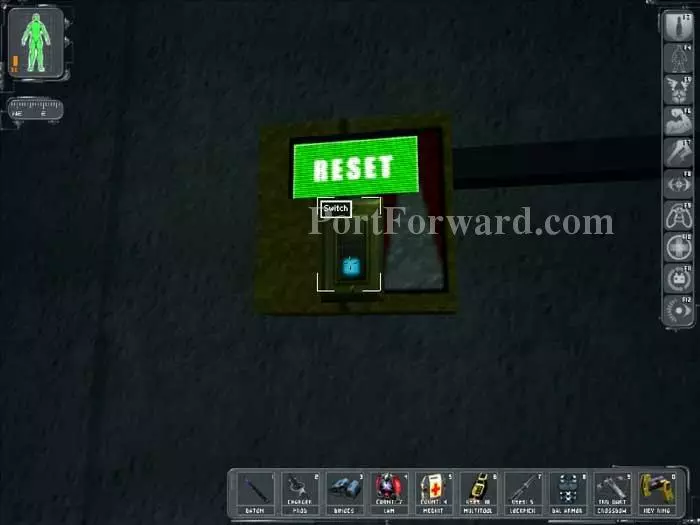
Drop through to an elevator roof. Press this RESET switch and you'll ride the elevator down.
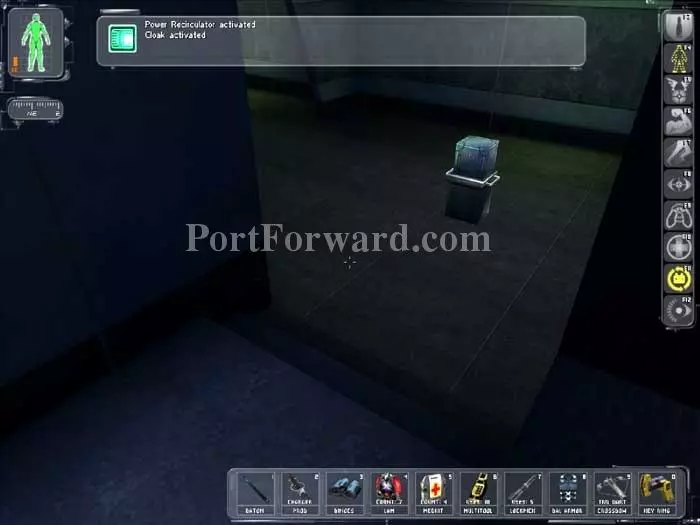
This next bit is tricky. Activate your cloak and drop down to the floor below.
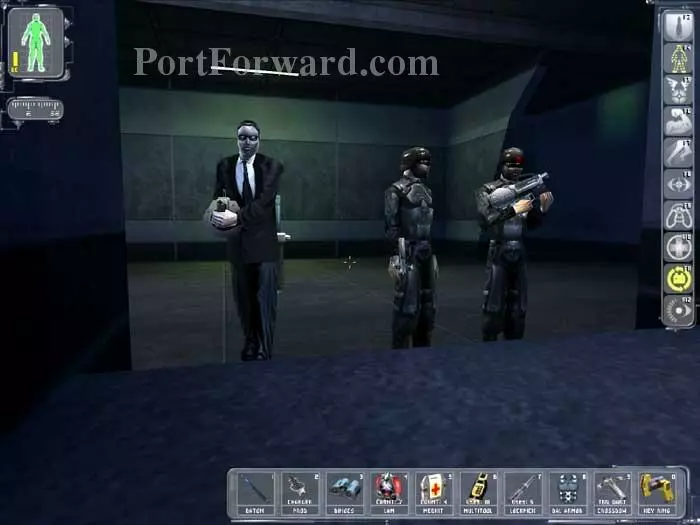
This is why you need your Cloak -- two MJ12 Troops and an MIB hear you. Walk past them to the right.
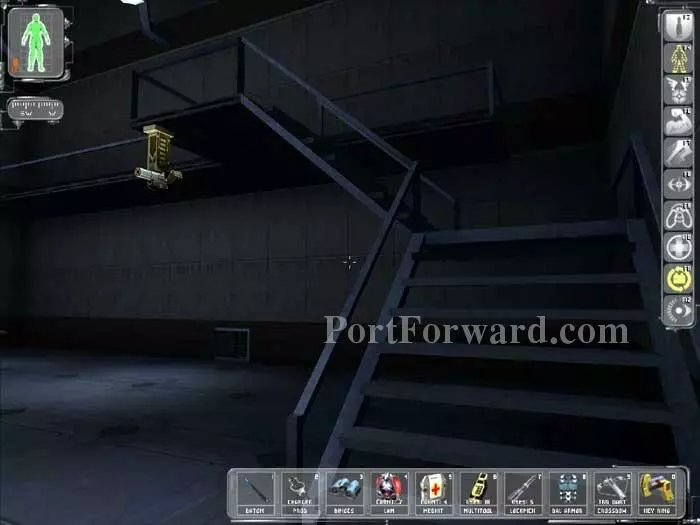
Pass through the door then quickly ascend these stairs before the security cameras can get a fix on you.

Once inside this office you are safe. Toss a Gas Grenade over the railing then jump down.
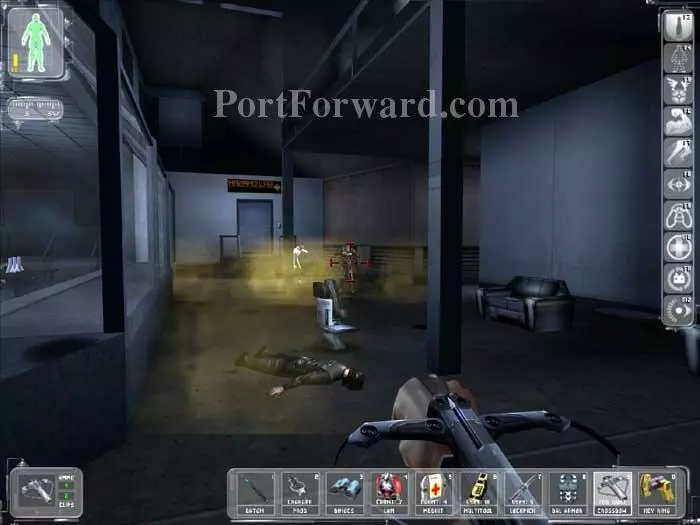
Disable the two MJ12 Troops with Tranquilizer Darts. Be careful - these Troops will throw LAMs at you so keep moving. Heal at the MedBot.
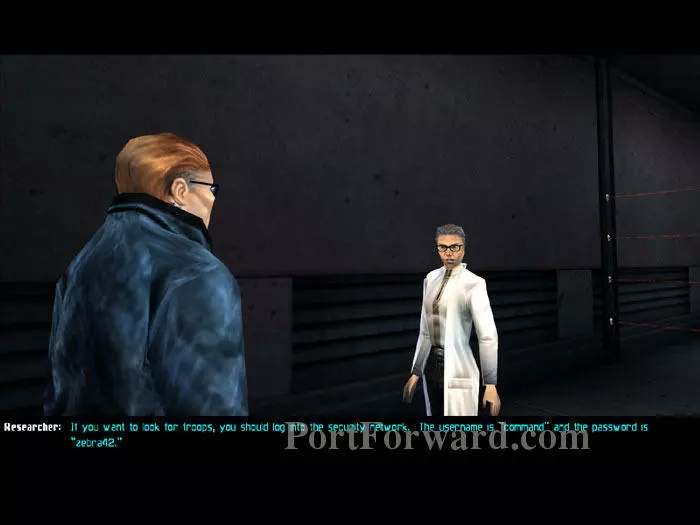
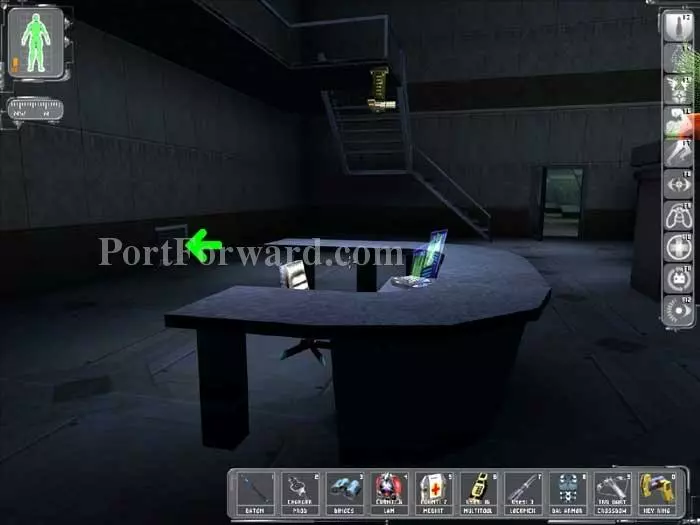
Talk to this researcher and she gives you the security account COMMAND/ZEBRA42.
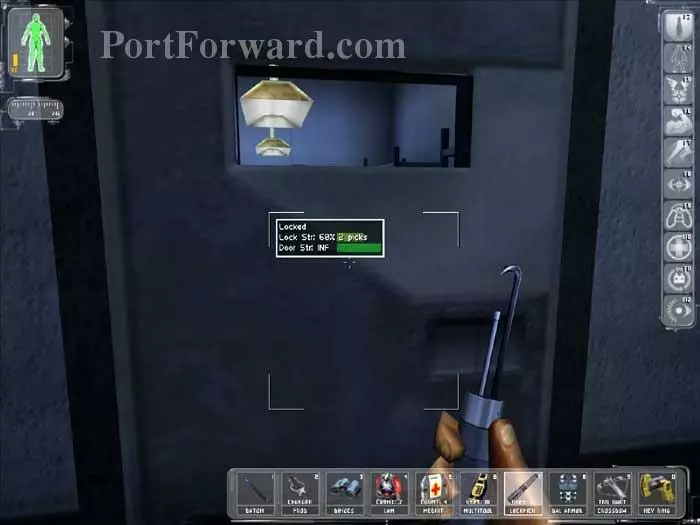
Pick the lock on this door or wait until you can grab the key.
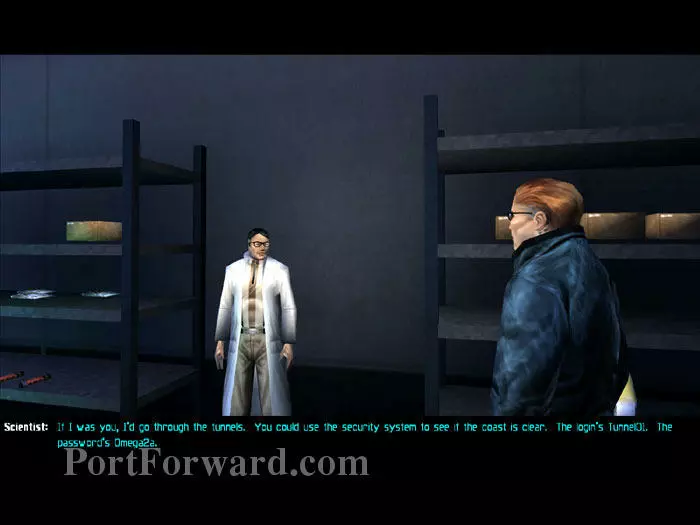
You earn an Exploration Bonus of 50 skill points. Talk to this scientist and he'll divulge the tunnel's security system account TUNNEL01/OMEGA2A. He also gives you an EMP Grenade. Search the shelves for supplies, including a Hazmat Suit, Medkit, a Bioelectric Cell and a Multitool.
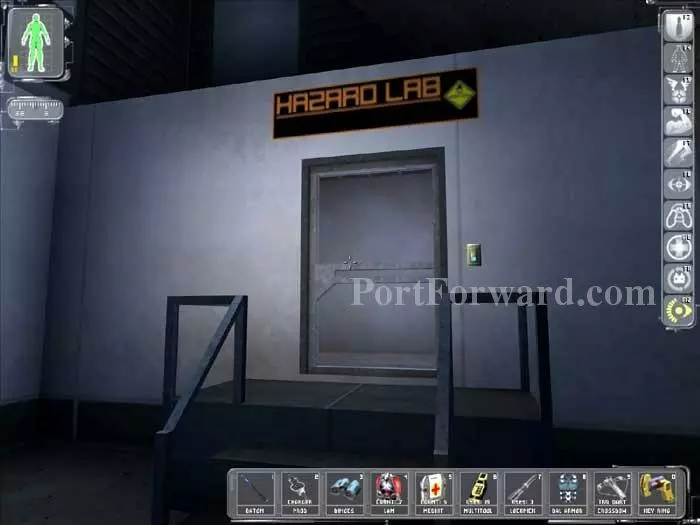
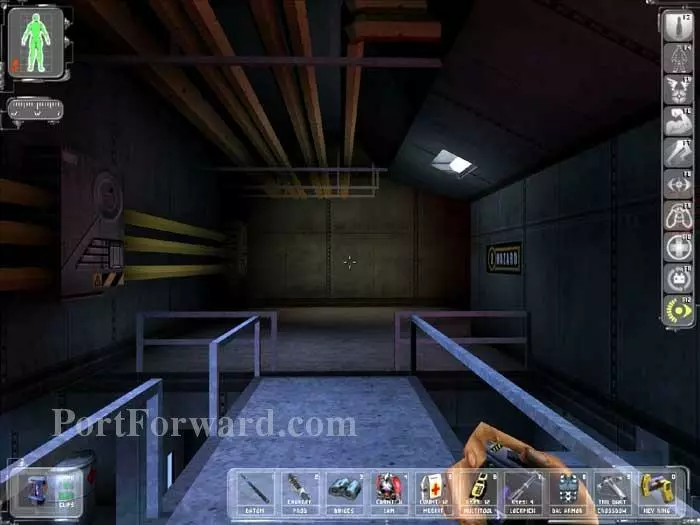
Proceed to the Hazard Lab.
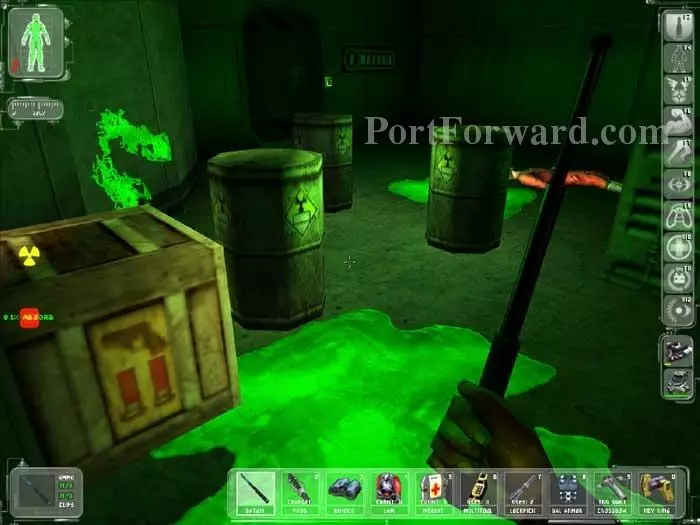
The lab is flooded, and the water is electrified by that shorted-out panel. You can either don a Hazard Suit and take some damage, or jump across the barrels and hope you don't fall in.

Alternately, you can stay safe and spend more Multitools on the panel next to this cabinet. The cabinet holds three Bioelectric Cells, a Medkit, a Multitool, c100 and a Hazmat Suit.
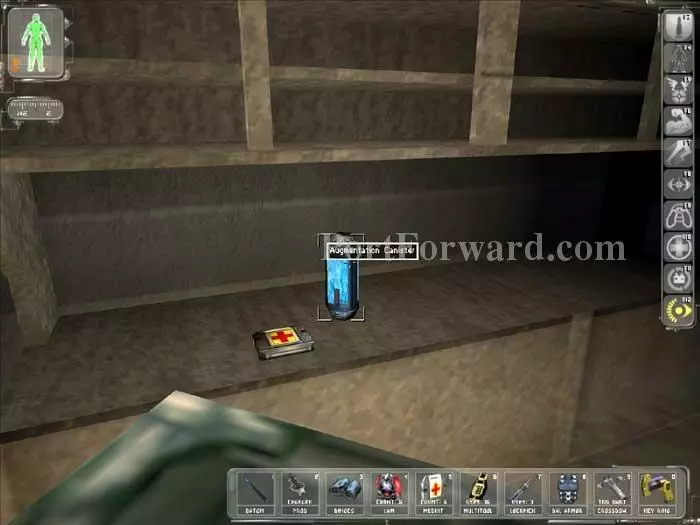
Once it's safe to go back in the water, you'll find this Cloak/Radar Transparency Augmentation Canister and a Medkit on this counter. Thermoptic Cammo is nearby and one of the floating bodies has a Range Weapon Mod.
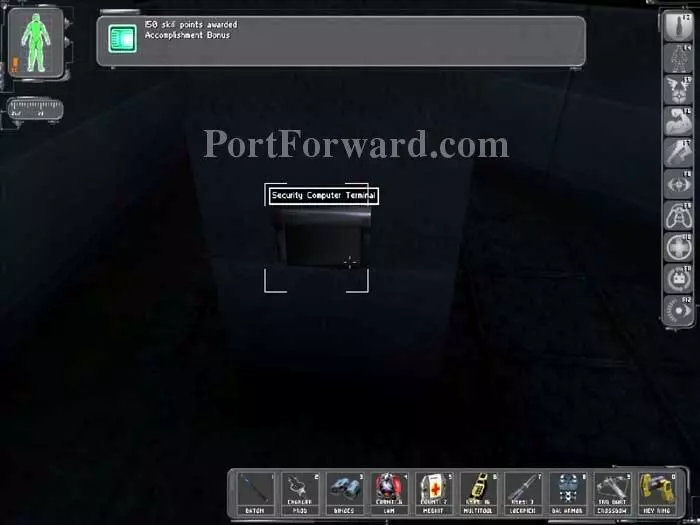
Make your way to this Security Terminal and earn an Accomplishment Bonus of 150 skill points. Use the account COMMAND/ZEBRA42 and ensure that three cameras are shut down.
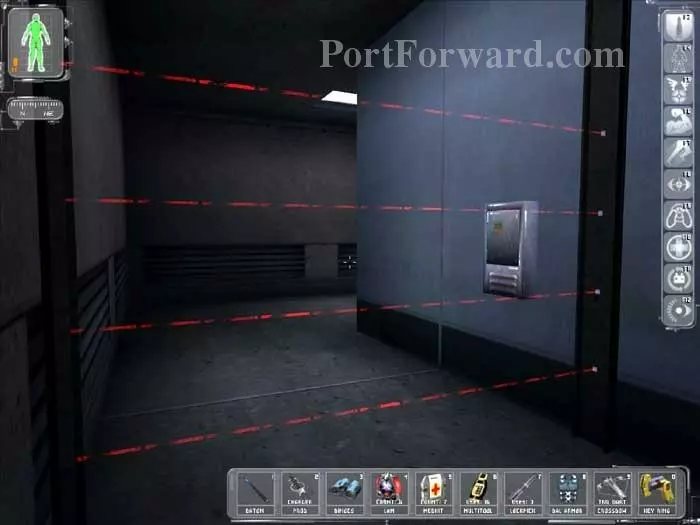
Passing through these lasers will sound an alarm, but you can safely wait it out in the corner.
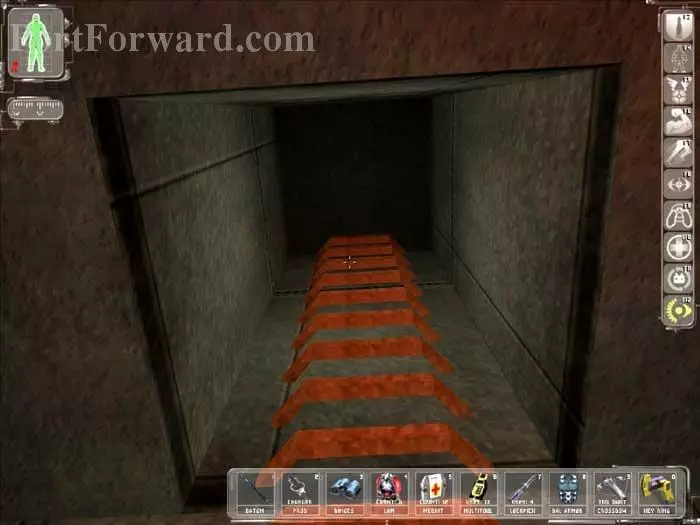
Once the alarm dies down, head through this vent.
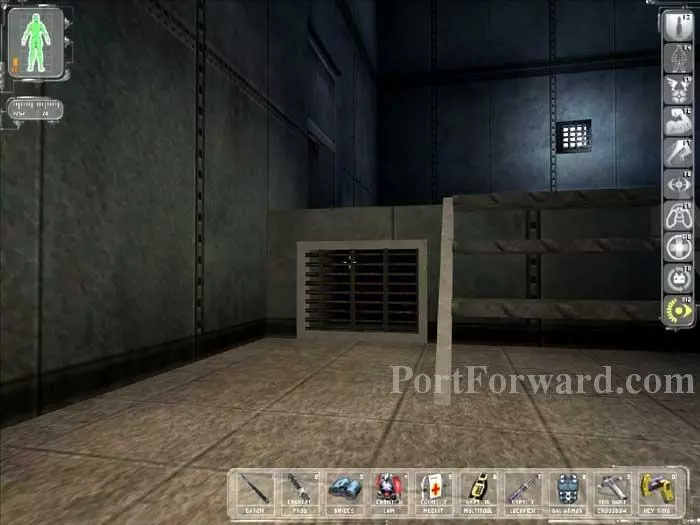
You earn an Exploration Bonus of 75 skill points. Proceed through this vent.
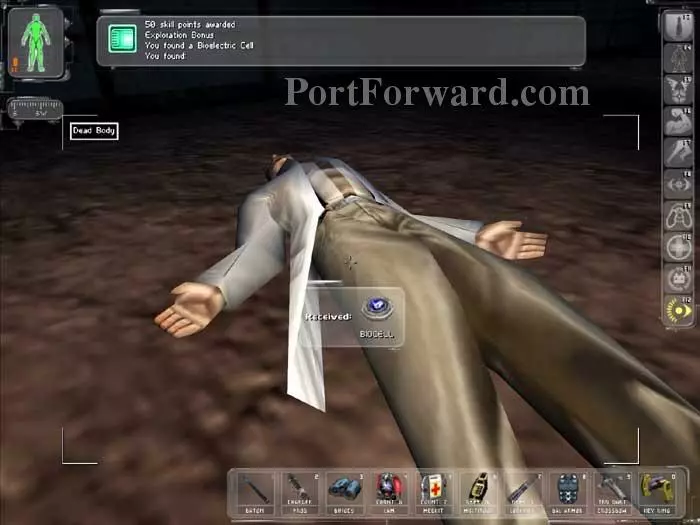
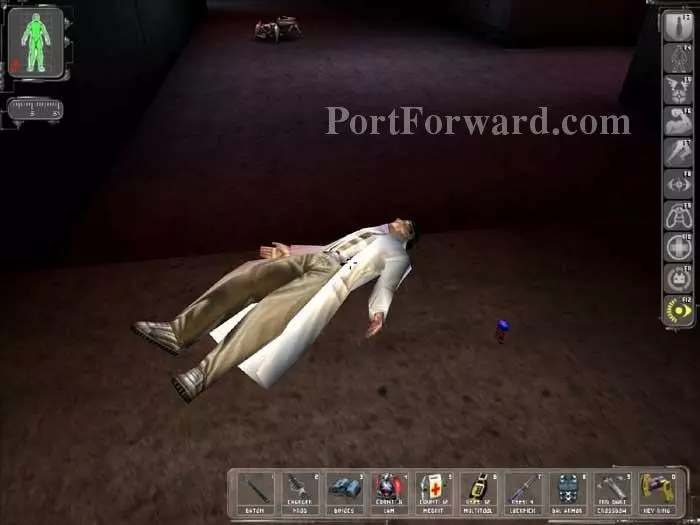
You'll emerge outside. Approach this body for another Exploration Bonus worth 50 skill points. Grab the Bioelectric Cell from the body.
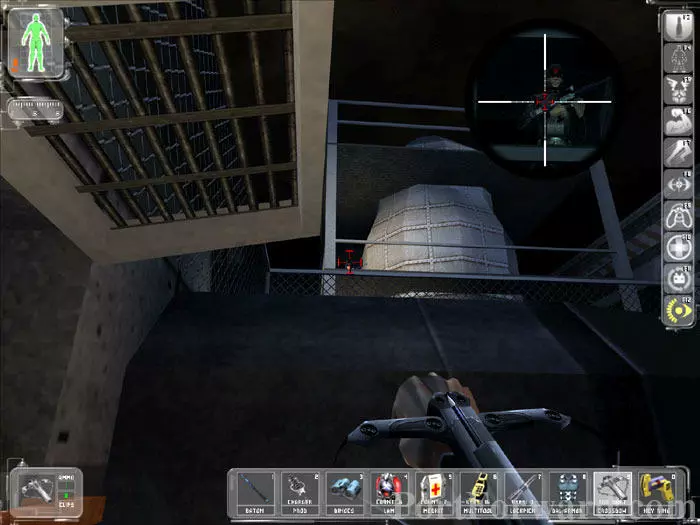
Two MJ12 Troops patrol the catwalks nearby. Use your Minicrossbow's scope to bring them down with Tranq Darts. Hide under the large pipe while you wait for the toxin to take effect.
Use your Speed Enhancement to jump over the fence then climb the catwalk to this pipe. These crates are prized by big gun lovers -- inside each is a LAW. You earn an Exploration Bonus of 75 skill points for crossing to the ledge.
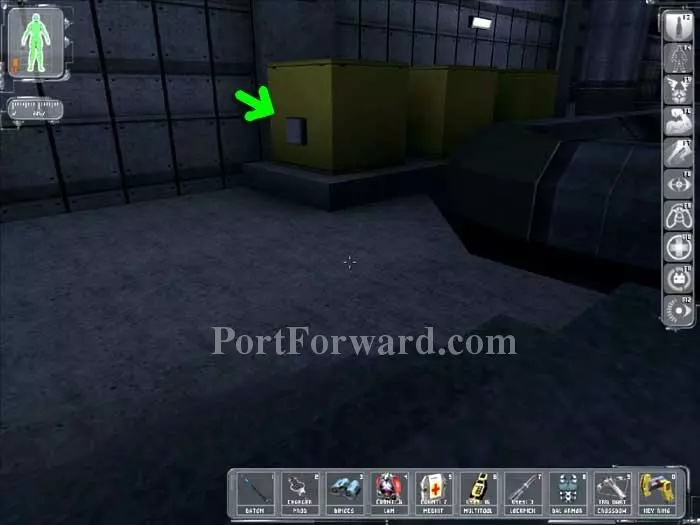
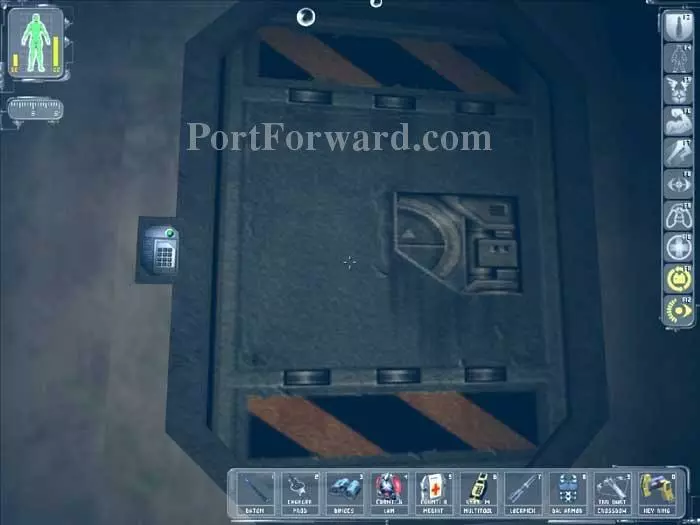
Descend these stairs and approach the indicated panel.
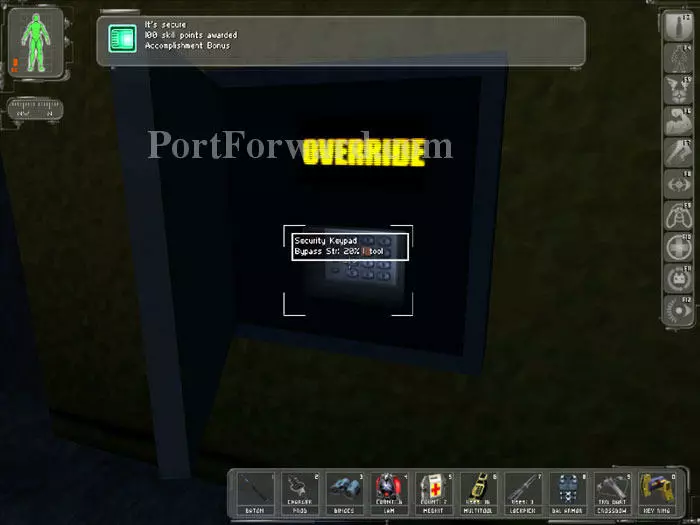
Open the panel and enter the code 5868. It's one of the panel's that Carla Brown told you would power up Vandenberg's bot defense system. Even if you've already disabled all four MJ12 bots, you'll still earn an Accomplishment Bonus of 100 skill points.
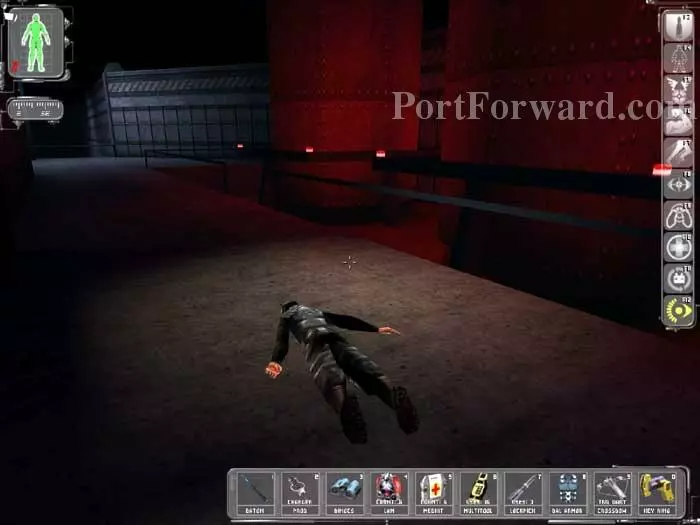
Another MJ12 Troop patrols by these red lights. Bring him down with your Prod or Tranq Darts. Crates in the water contain a Medkit and Rockets.
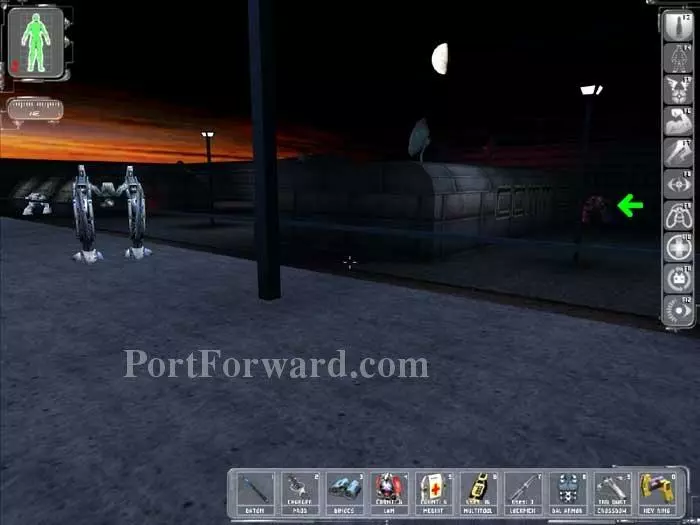
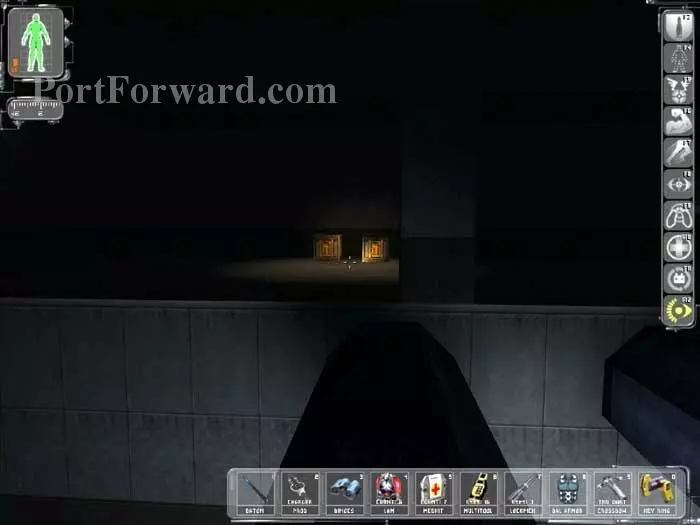
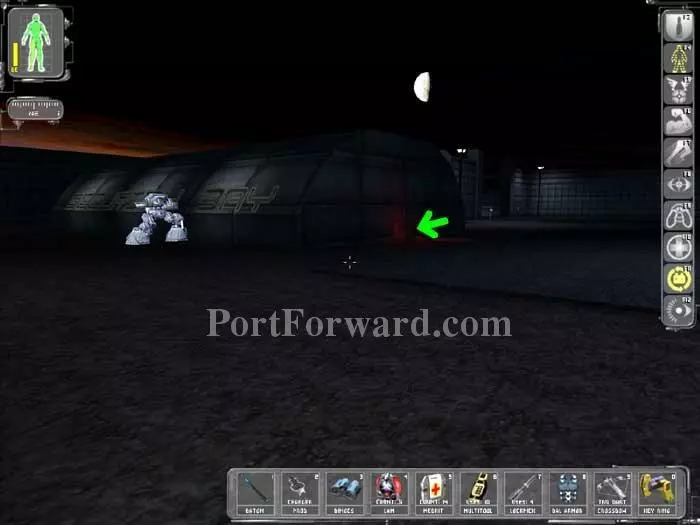
Fortunately we've already disabled these bots. Otherwise, don some Thermoptic Cammo. Proceed behind Comm-01 as indicated.
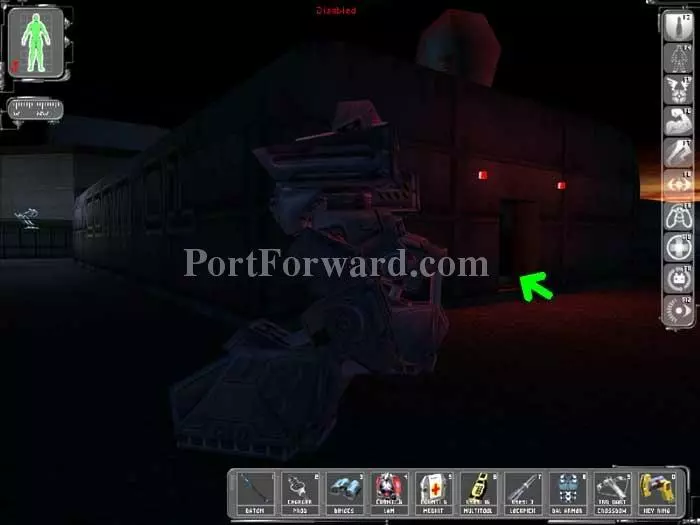
Here's a good view of where the bot is located behind Comm-01. Enter the building as indicated.

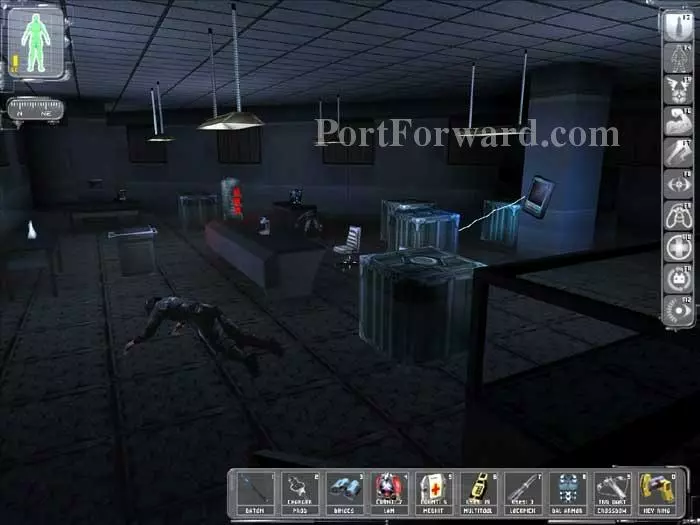
Dr. Tony Mares approaches and explains that a trap door in the back room leads to Gary Savage.
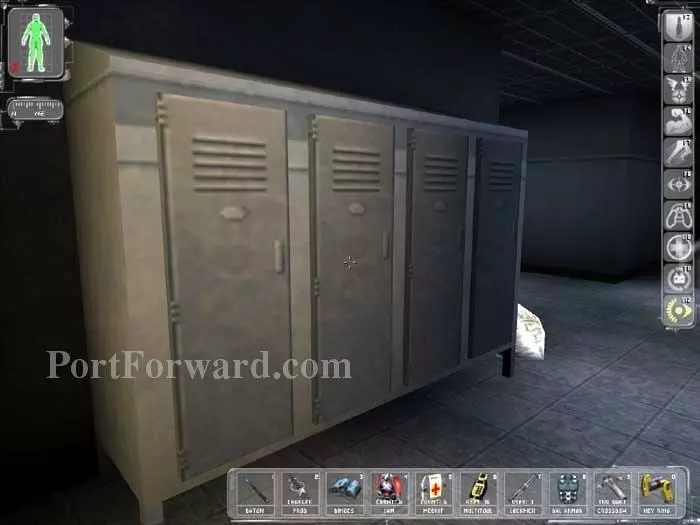
You'll find these lockers in the back-left room. The second locker from the left holds an Augmentation Upgrade Canister and a Multitool. The third locker holds Darts and Flare Darts (not worth the Lockpicks IMHO) and the fourth locker holds a DataCube with the account TUNNEL01/OMEGA2A.

Here I upgrade Vision Enhancement to Tech Two.
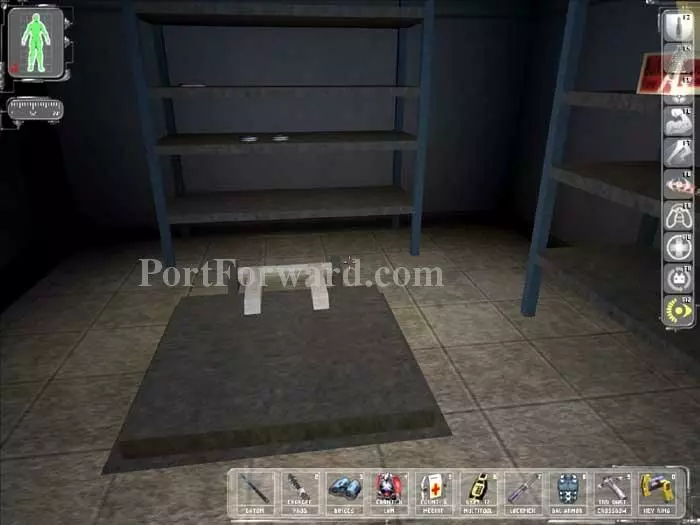
This trap door is in the neighboring room. Grab the Bioelectric Cells and the Medkit from the shelves before dropping through.
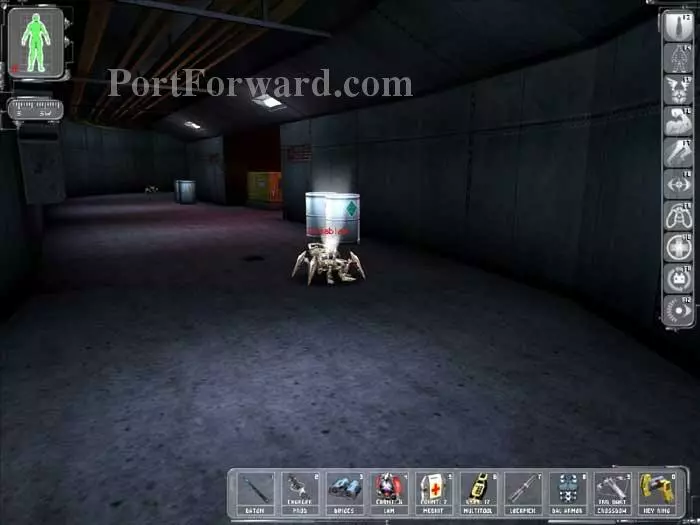
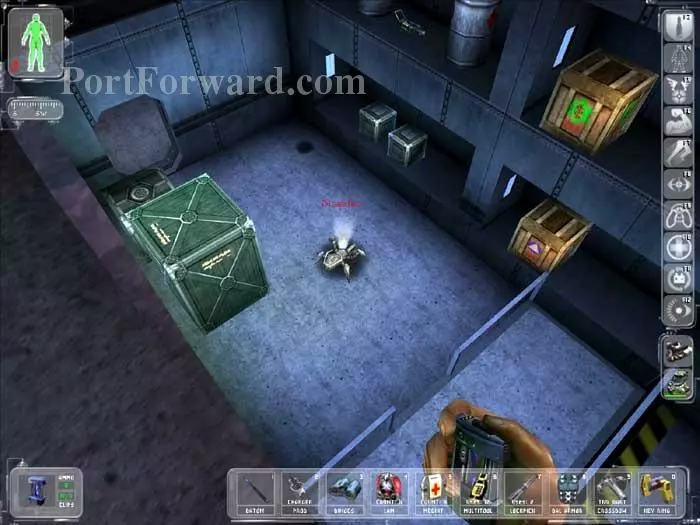
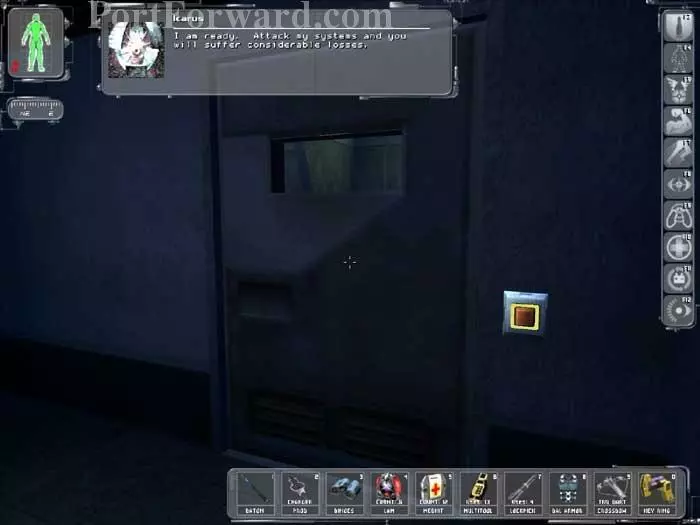
Morgan Everett instructs you to uplink to Daedalus once you find Gary Savage. Use your Spy Drone or EMP Grenades to disable these two spiders.
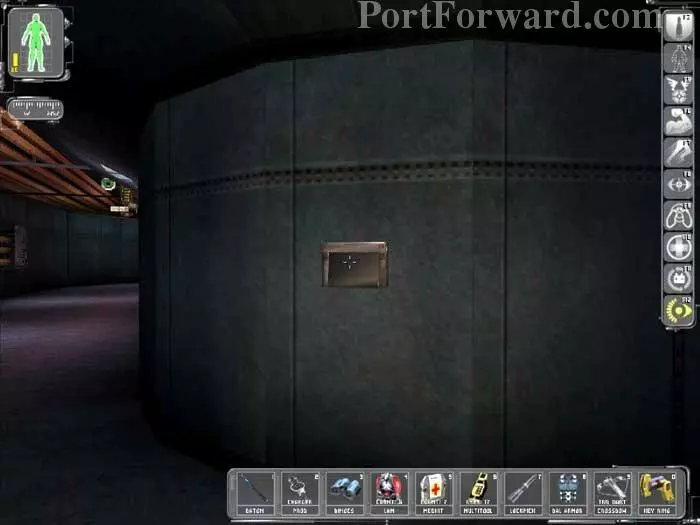
Login to this terminal and disable the security camera using the account TUNNEL01/OMEGA2A. (1) (2)
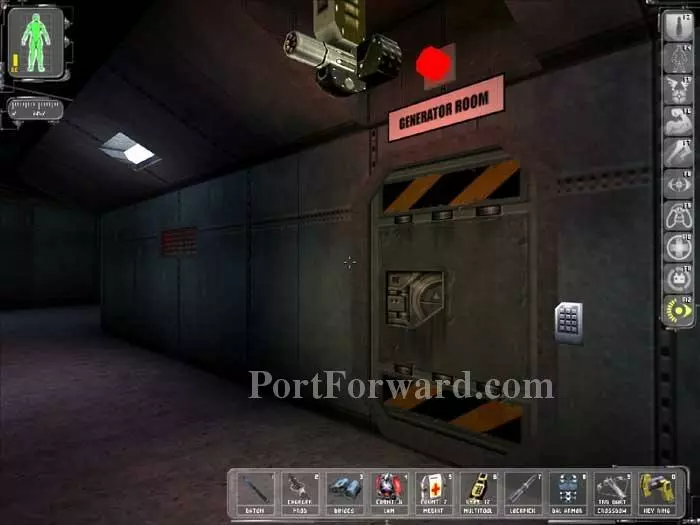
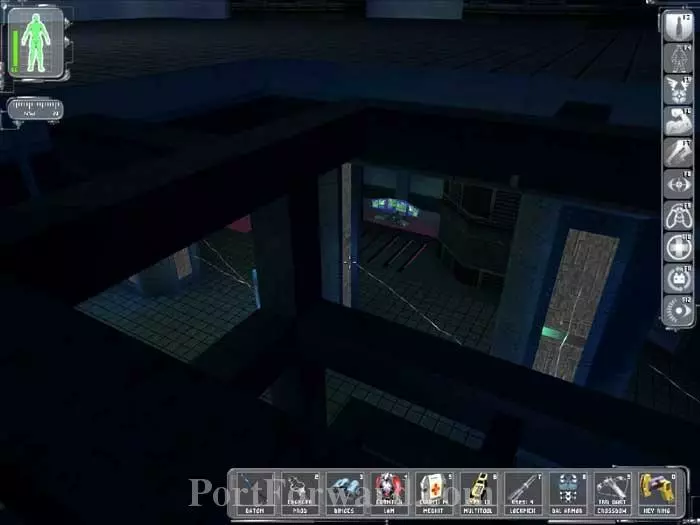
Pass the Generator Room door -- we'll be exiting through there later.
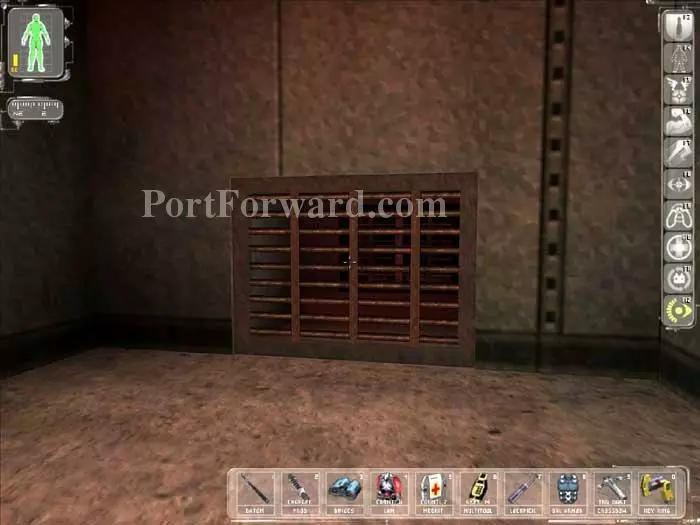
Drop the laser grid or else two more spiders will rise from the floor. Pass through the door ahead.
Crawl through this vent on the right, then drop through the floor vent to the left.
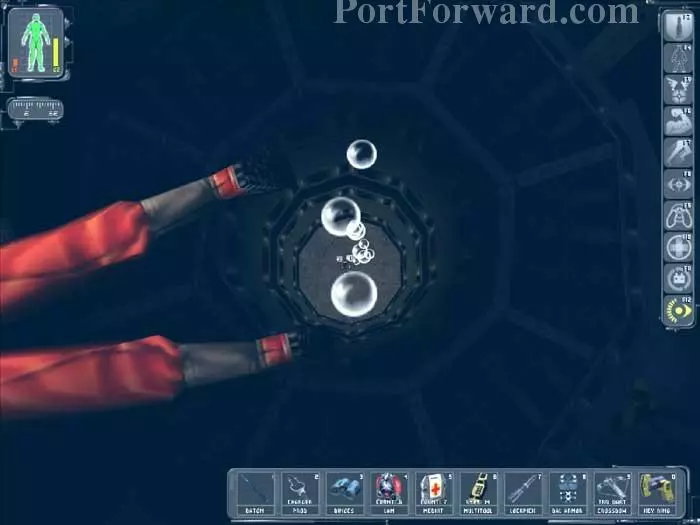
You'll drop into the submerged generator room. Tech Goggles are at the bottom of this generator. Two Bioelectric Cells are on the floating body.
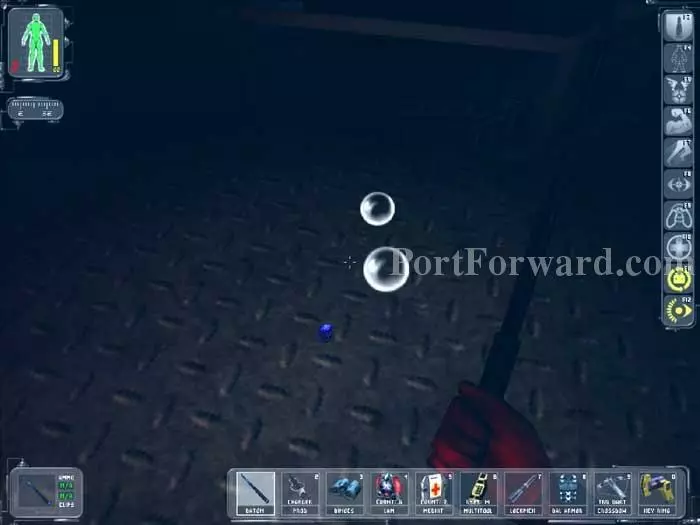
Floating crates hold a Medkit and a LAW. Grab this Maintenance key from the floor.
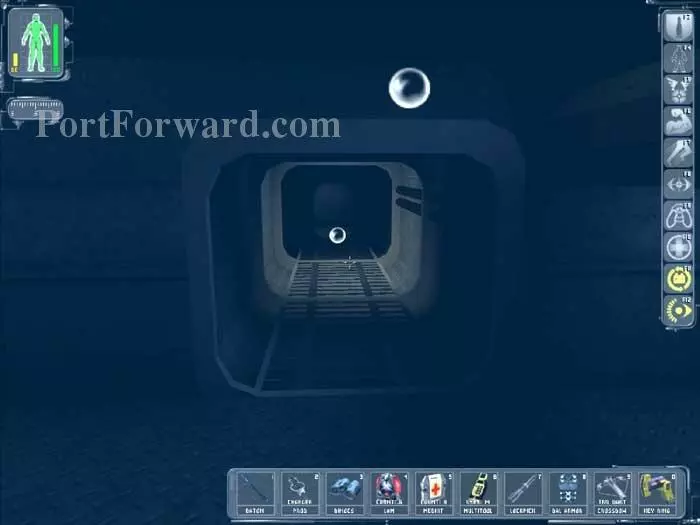
Swim through this tunnel and head down the stairs.
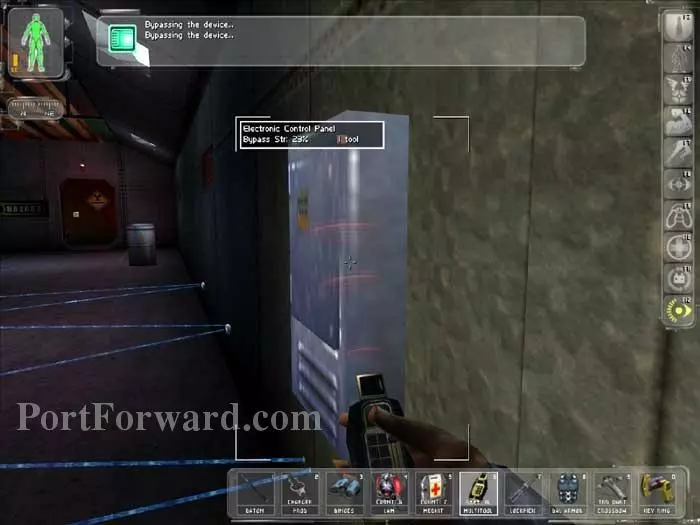
Use Multitools on this door. You may wish to equip a Rebreather or activate your Aqualung at this point.
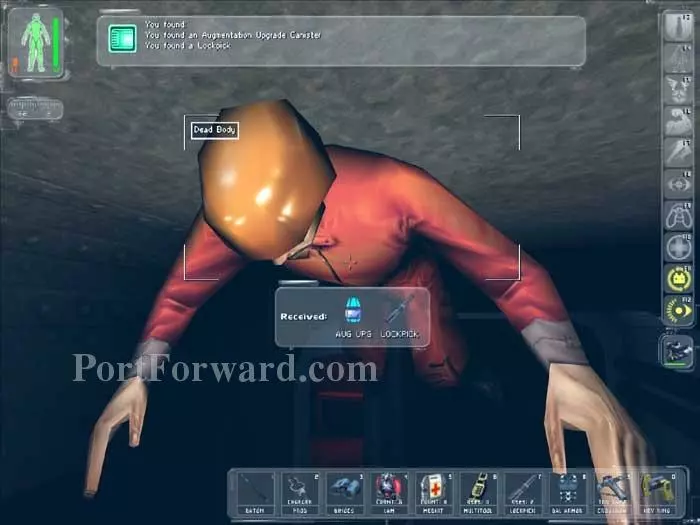
Floating just inside the door is this body. Search it for an Augmentation Upgrade Canister and a Lockpick. A nearby crate holds Ballistic Armor and there is a pistol on a dead MJ12 Troop.
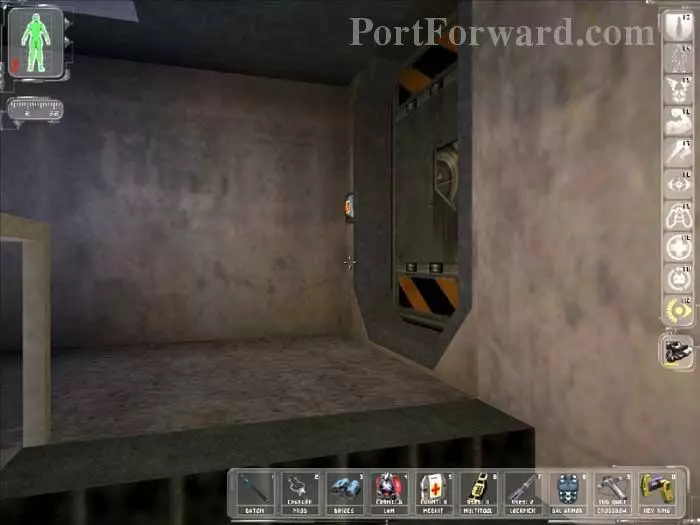
Ascend the stairs to the top and press the orange button to exit through this door -- the Generator Room door we bypassed earlier.
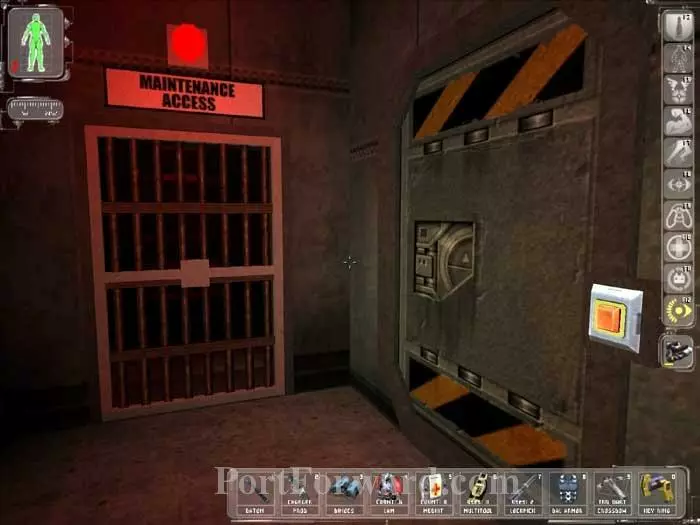
Continue down the hallway to these doors. The Maintenance Access door requires lockpicks, but a ladder will take you to an Exploration Bonus of 150 skill points and pipes that you can crawl across to avoid the radiation through the "free" door on the right.
I am shy a Lockpick so I've donned a Hazmat Suit and am schlepping through the radioactive muck. (I use cheats to explore but I advance without them.) The crate holds an EMP grenade. The body has a Multitool. Exit through the door visible in the back.
Drop an EMP Grenade to disable the spider below. Jump down, with your Speed Enhancement active to break your fall. (Alternately, you can take the stairs and use Multitools to bypass the lasers.)
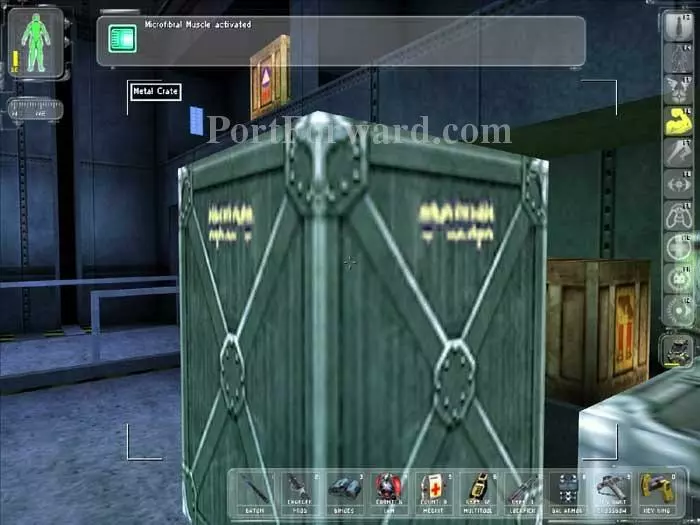
There are two crates on this lower level. You'll have to activate your Microfibral Muscle to move the crate blocking this one, which holds Rockets. (Be careful of the radiation coming from the barrels.) The other crate down here holds a Lockpick.

Climb the stairs to this panel, which controls the lift. Press "2" to raise the lift to level 2, then use a combination of your Speed Enhancement and crate stacking to get the Lockpick and Medkit from the crates. Finally, raise the lift to level 3 -- and don't miss the Medkit beneath the panel itself.
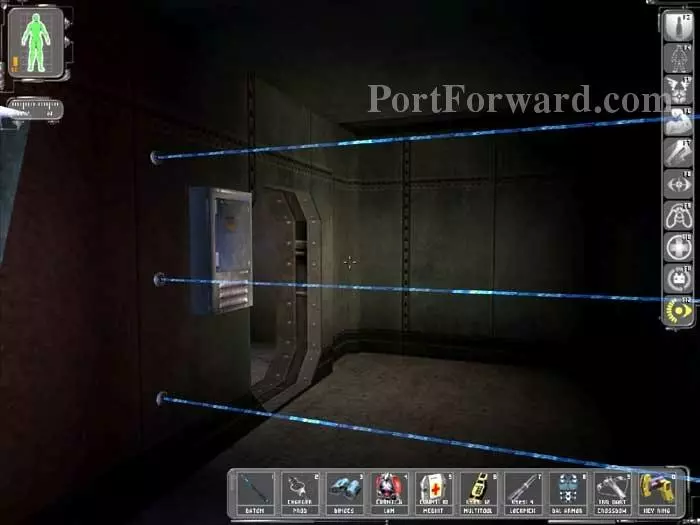
If you hadn't disabled these lasers before, you can just pass right through them now, as you will easily be out of range of the turrets after you slip through this door.
Descend to the bottom of the stairs to retrieve two Medkits. Ascend to the top of the stairs, ready an EMP Grenade, then cross the newly-position bridge/lift.
Disable the spider then find the fallen scientist. Grab the Multitool off his body and pick up the Control Room key from the floor.
Climb this ladder to earn an Advancement Bonus of 400 skill points and load the next area.
You emerge back in the command building. Inside two crates are 10mm Ammo and a Lockpick. Before exiting through this door activate your Cloak.
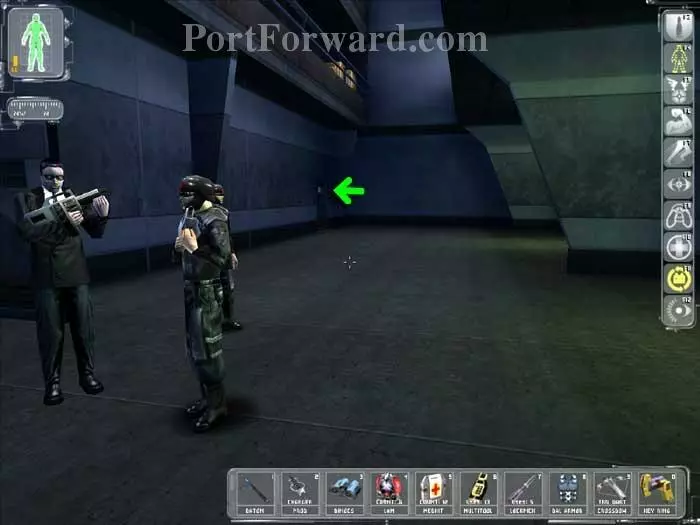
Outside the door are the MJ12 Troops and MIB we encountered before. Proceed through the indicated door.
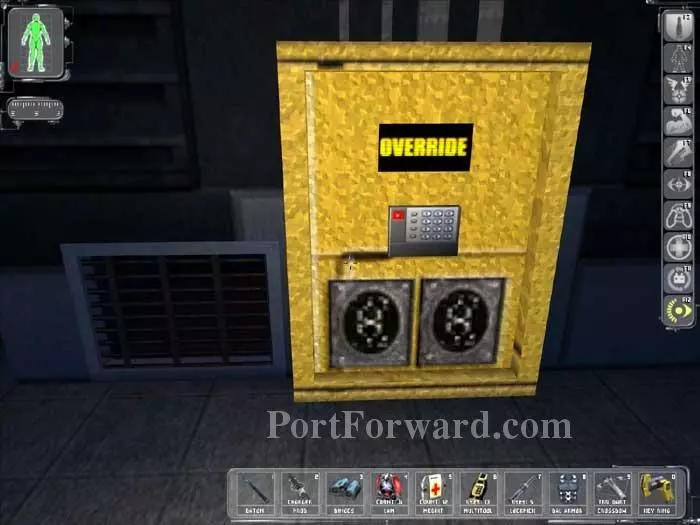
To the left is the second control unit that Carla Brown told you about. Enter the code 5868 and earn another 100 skill points. The bot defense system is now powered. Pass through the grate.
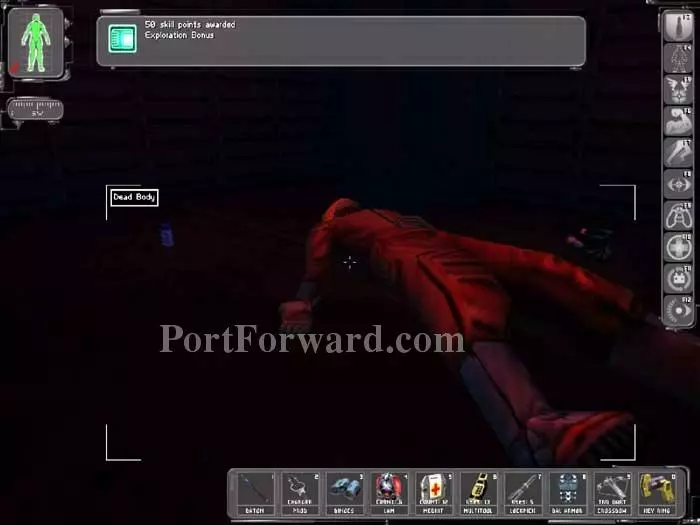
You earn an Exploration Bonus of 50 skill points. Inside is a dead body, a Rebreather and the Haz Lab Storage key.

Inside this cabinet is a Bioelectric Cell, a Rebreather, a Medkit, 10mm and 7.62x51mm Ammo.
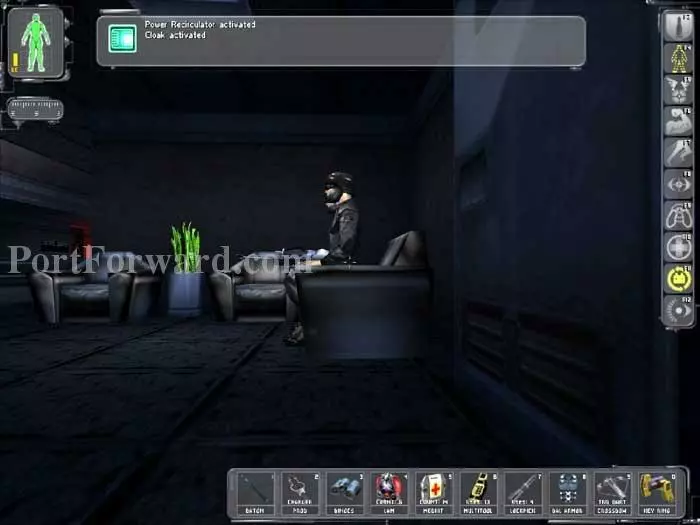
Ascend the stairs, then activate your Cloak before passing through this door. Around the left corner are two crates holding Ballistic Armor and 7.62x51mm Ammo.
Cross the bridge to the Command Center and knock out the MJ12 Troop.

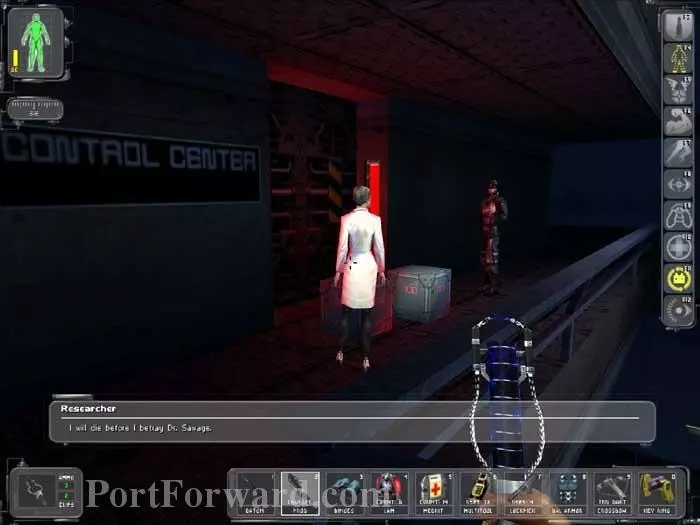
Talk to Stephanie Maxwell before opening the Control Center door with your Nanokey. She gives you the account COMMAND/ZEBRA42.
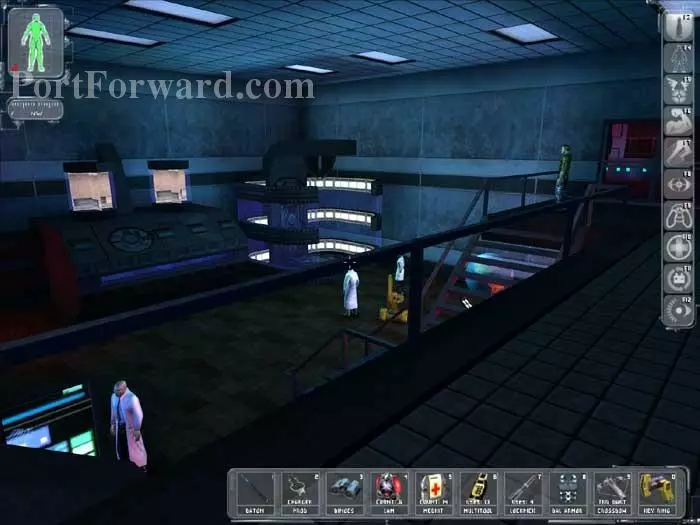
Descend the stairs to the lab below. Talk to the man on the far right - it's Sam Carter!

Here is Gary Savage. He agrees to use his UC to build the Gray Death antidote and to grant access to Milnet -- but you'll have to get the computers running first. He gives you the account GSAVAGE/TIFFANY. Recharge at the nearby Repair Bot.

Ascend these stairs and pass through the doorway directly behind Sam Carter.
The room is electrified, but you only need to access this Nanokey just inside to the right.
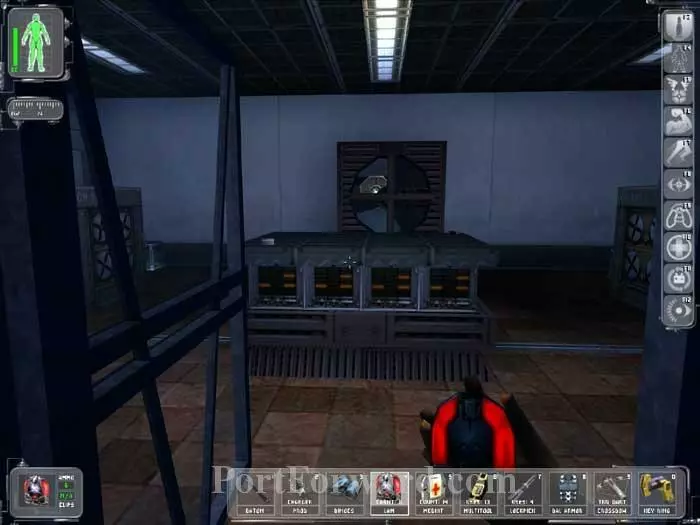
Ascend the stairs and use the Nanokey on this door. Toss a LAM at the large fan ahead. Jump into the neighboring room.
Crawl through the floor and drop to the middle level directly below. Be careful not to drop all the way through to the lowest level.
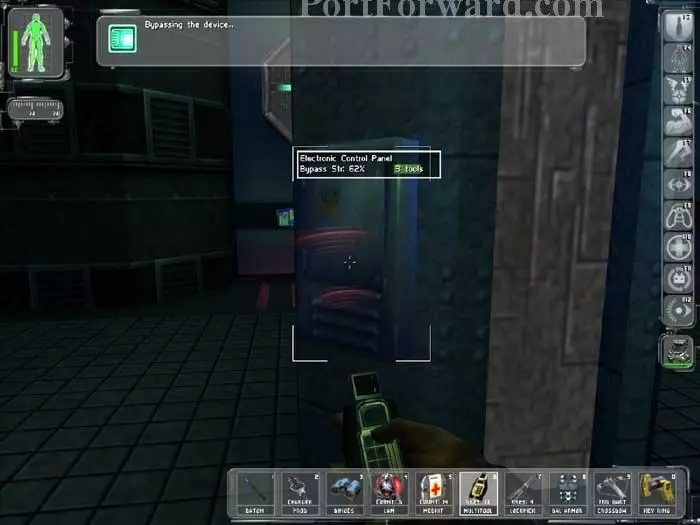
Don a Hazmat Suit and quickly bypass this panel with Multitools.
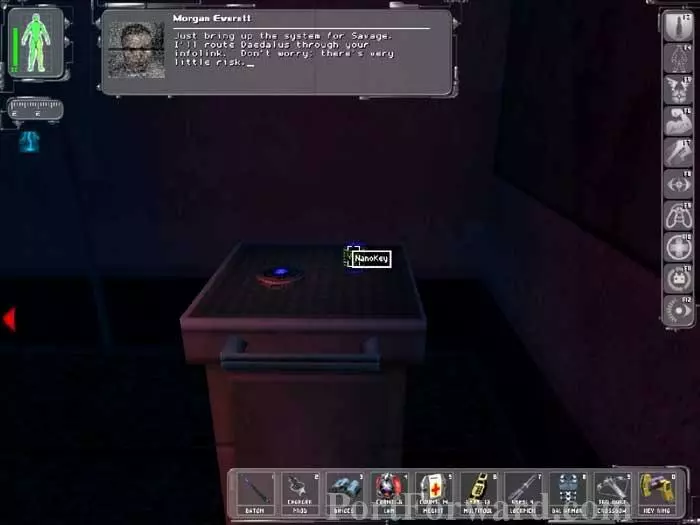
Login to this computer with the account GSAVAGE/TIFFANY. Select "Upload Milnet." You are awarded a Progress Bonus of 500 skill points.
Something goes wrong - Icarus merges with Daedalus. Go to this lift and descend to the level below, no longer electrified.
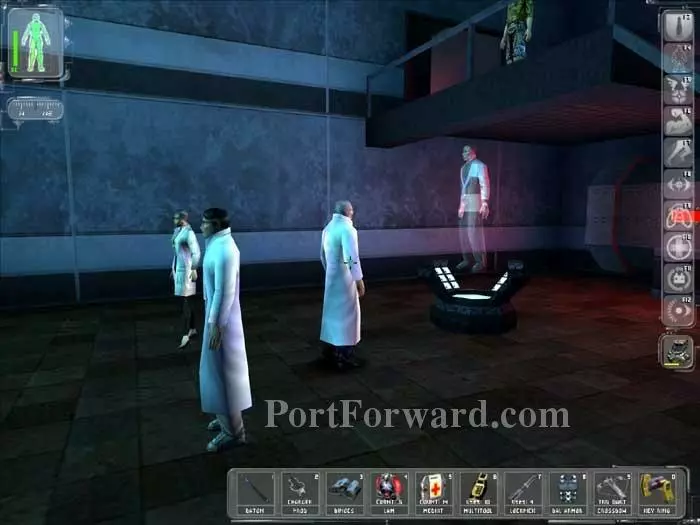
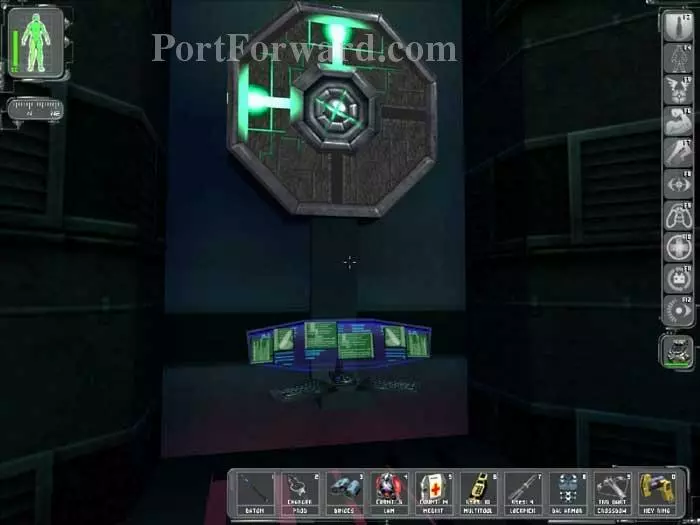
Approach the hologram to view a cutscene. Bob Page has taken Gary Savage's daughter, Tiffany, hostage. Talk to Gary and he gives you a photograph so you can recognize Tiffany.
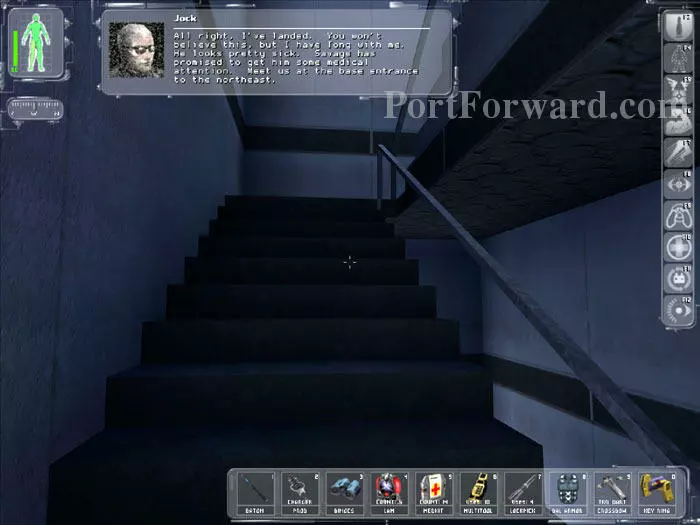
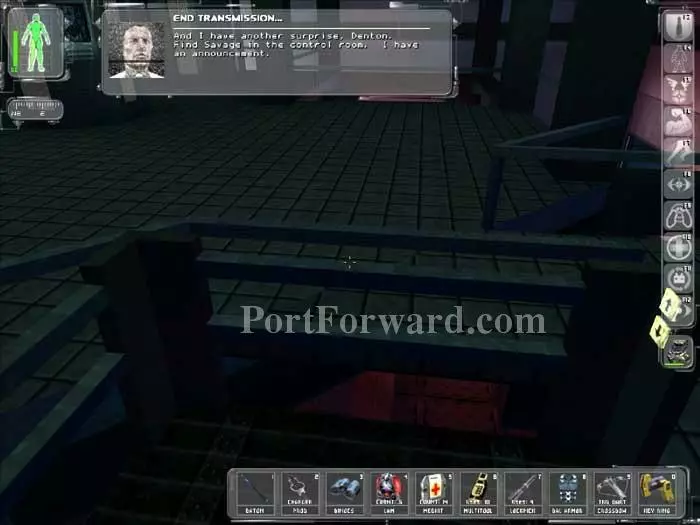
Ascend the stairs, and Jock radios that he's landed. You are to meet him at the base entrance to the northeast.
Exit back through the Control Center door. Take the elevator down to level 1.
Activate your Cloak and walk out the front door, right past the MJ12 Commandos.
With the defense bot power now online, you can pass through the indicated doorway.
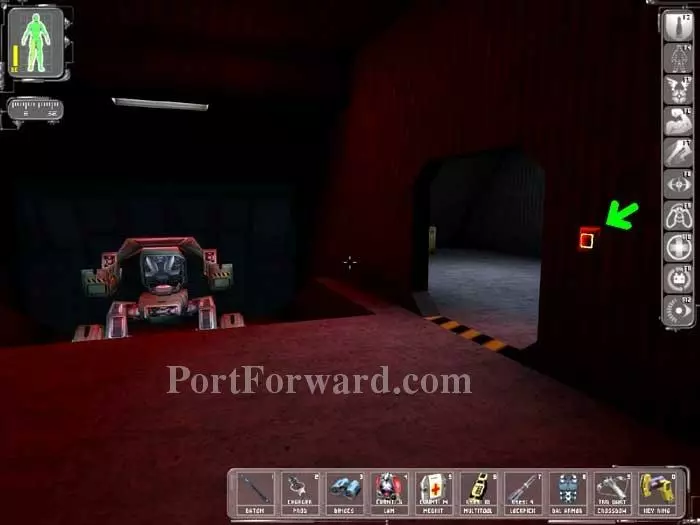
Two bots are inside, activated by pressing these switches. Do not press these switches if you are playing as a pacifist (at least not unless you save your game first).
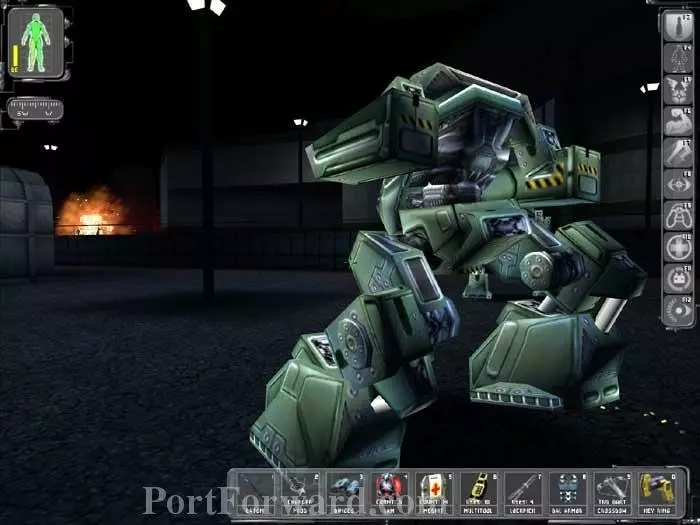
Watching these bots walk around the base, blowing stuff up is really cool. The bots will kill all MJ12, including bots, Troops and Commandos.
Reload your game back to the hangar. Grab the Prod Charger and LAM, plus the Lockpick and Bioelectric Cell from the body. A Napalm Canister is in the nearby crate.
Head back outside then activate your Cloak and walk past the guards at the northeast gate.
Jock - and Tracer Tong - are waiting at the bottom of the road. Tong is here because he has the Gray Death and is hoping to get the cure from Gary Savage.

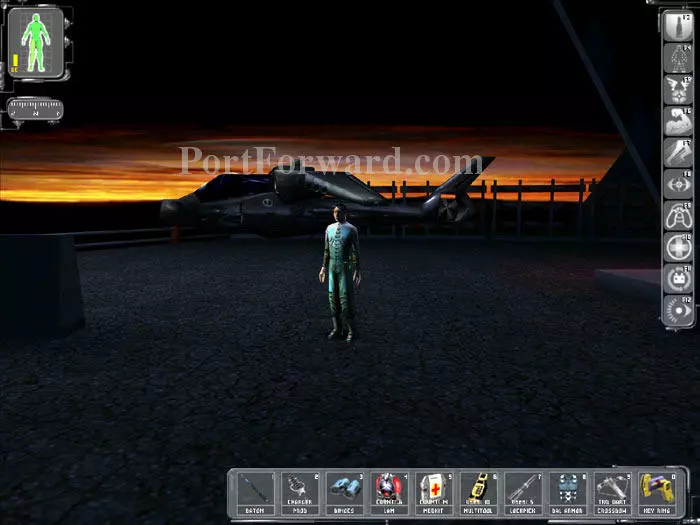
Hop aboard and Jock lifts off.

You touch down at this nearby gas station where Tiffany Savage is being held hostage.
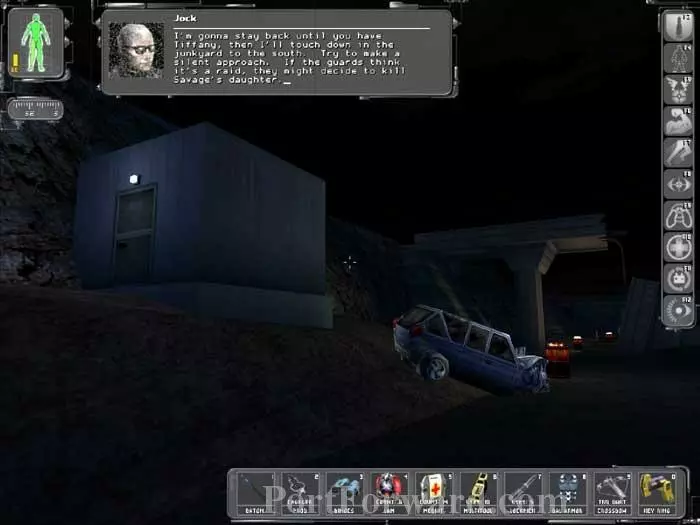
This locked door on the left is where we want to go -- but first lets walk down the road a bit.

Talk to these bums and they'll give you the key. You can also buy a Rebreather or Accuracy and Recoil Weapon Mods.
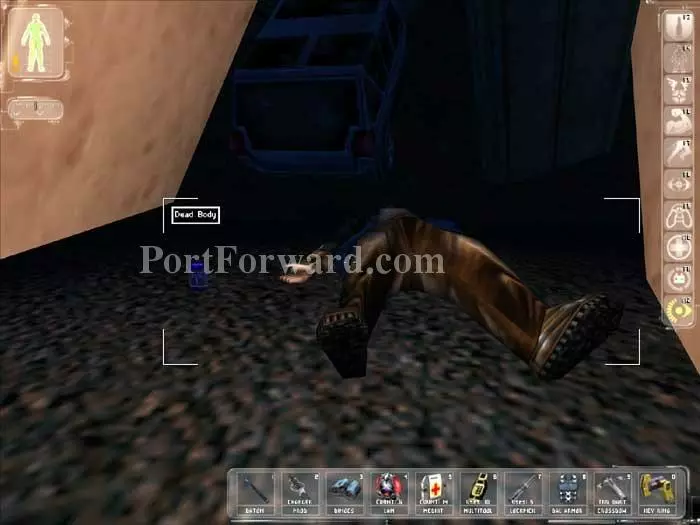
The key is also available here by this dead body.

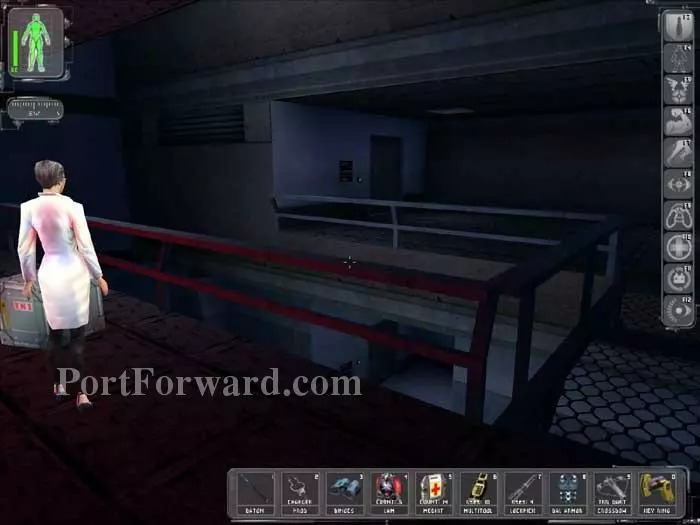
Unlock the door and ascend the ladder. Activate your Cloak before emerging from the shed.
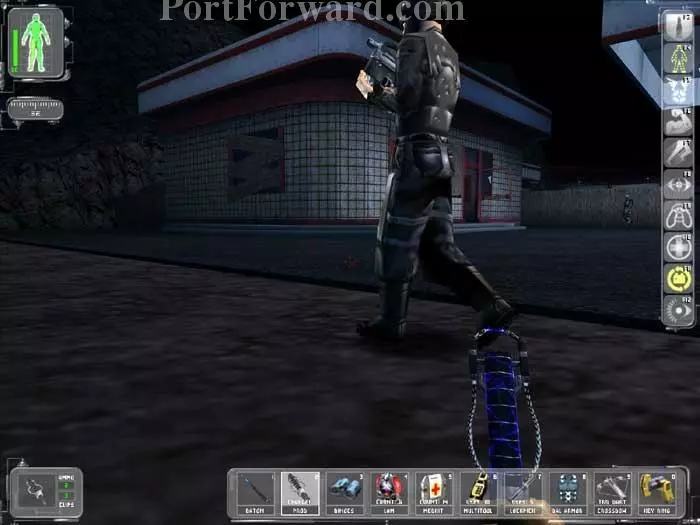
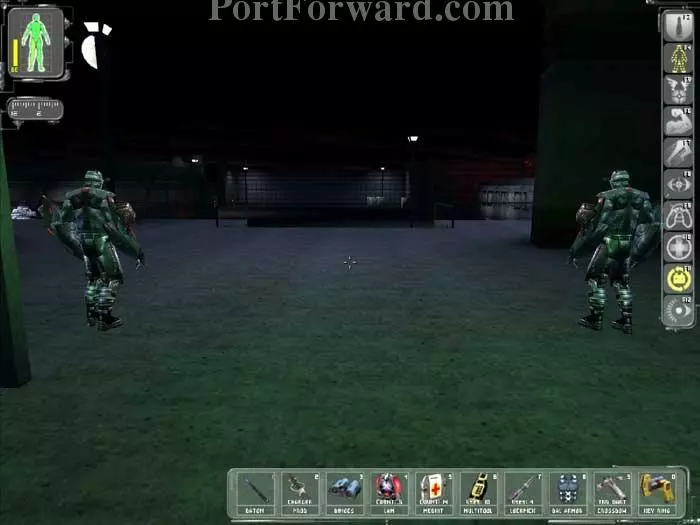
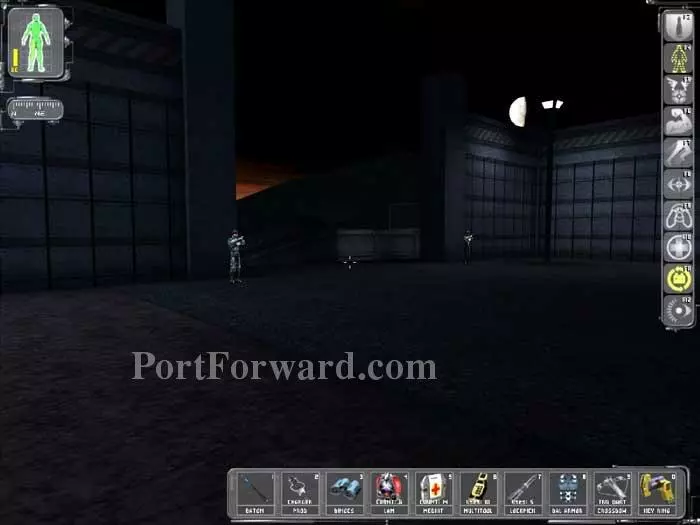
This is similar to the hostage situation in the Catacombs in that you must eliminate all patrols so the hostage doesn't get hurt during the escape. Two MJ12 Troops and three Commandos patrol outside.
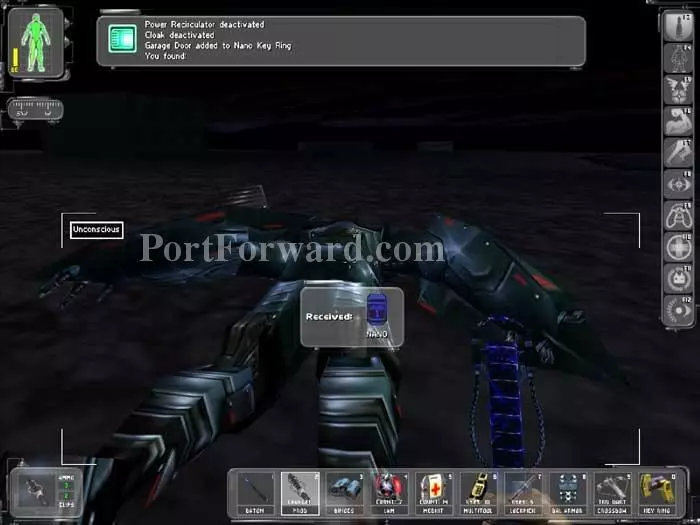
Use the Prod technique on the Commandos that was revealed earlier. This Commando holds the Garage Door key.
Don't miss the MJ12 Troop behind here. Tranquilizer Darts work quickly on the dogs.

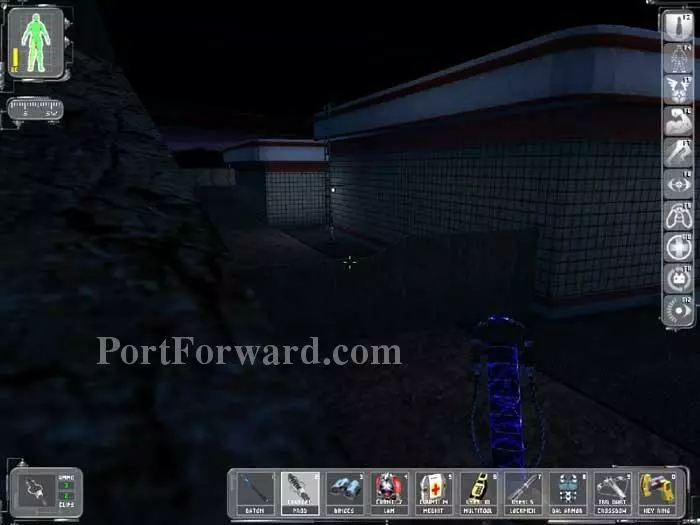
Ascend the ladder to the roof and pass through this opening.
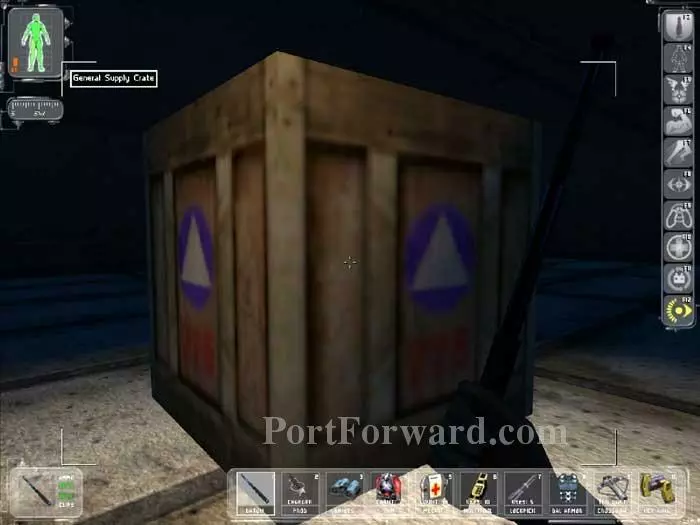
Binoculars are in this crate and a shotgun is nearby. Drop through the ceiling to the room below.
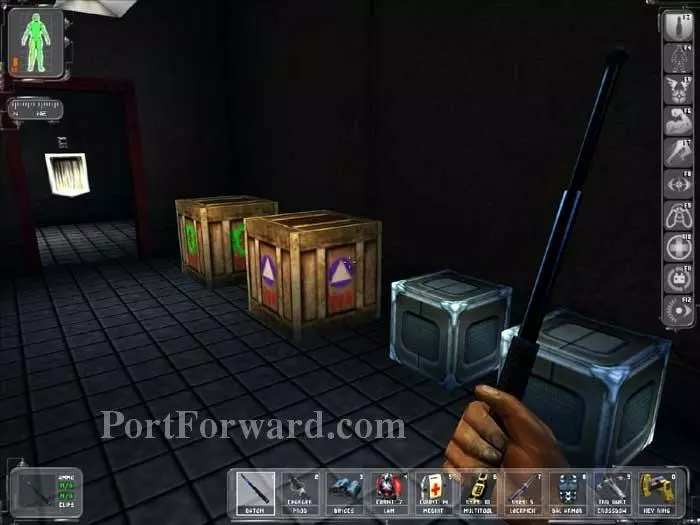
Inside these crates you'll find a Medkit and a Lockpick.
Climb inside this truck for c100, Rockets, a Sniper Rifle, and ammo. Use your Garage Door key to open the door visible on the right.
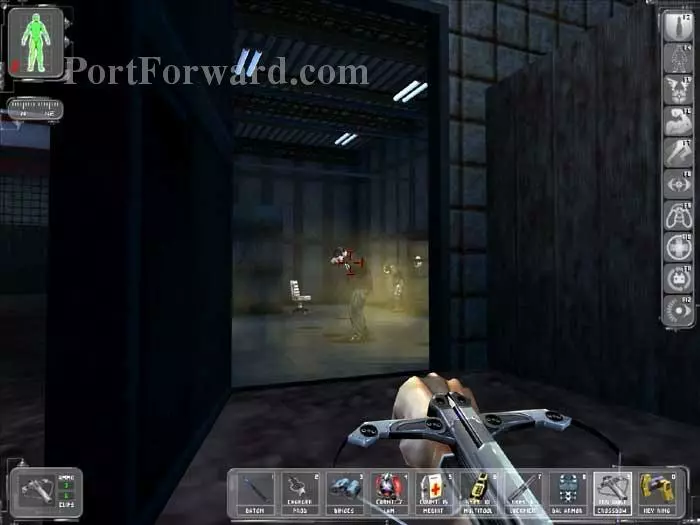
Toss in a Gas Grenade then bring down the MIB and MJ12 Troop with Tranquilizer Darts. Be sure to take cover behind the door while the toxin takes effect as both will fire back.
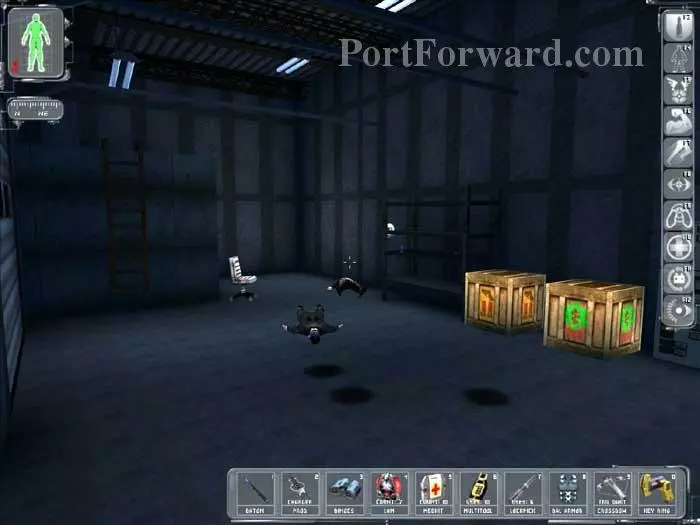
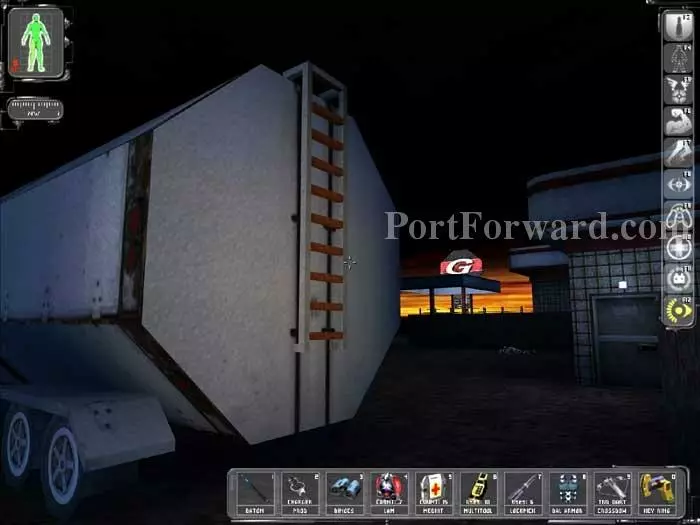
The area is now secure. The crates hold a Medkit and 10mm Ammo. Another Garage Door key is on the shelf. img(216960); Tiffany is in the corner room. Tell her to make a break for the helicopter as there is no resistance. img(216961); Follow Tiffany through these now-open doors. img(216962); The trailer seen here on the left holds a Plasma Clip, a Medkit and a Silencer Weapon Mod. Not worth the Lockpick, IMHO. img(216963); Inside this shed is c250 and Binoculars. img(216964); Head back outside the shed and position a small crate here. Smash the window then climb inside. img(216965); Recharge at the Repair Bot. Don't miss the crate in the corner holding a Bioelectric Cell. img(216966); Lastly, board the chopper to end the level.
More Deus Ex Walkthroughs
This Deus Ex walkthrough is divided into 20 total pages.


