
This Deus Ex walkthrough is divided into 20 total pages.
You can jump to nearby pages of the game using the links above.
MJ12 Sub Base
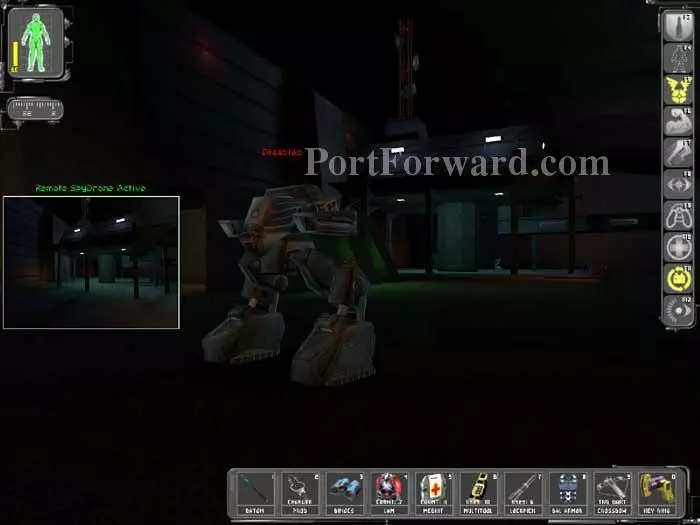
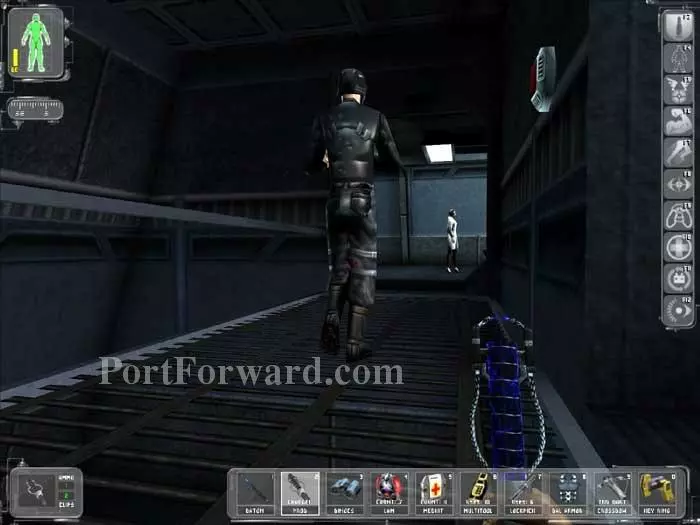
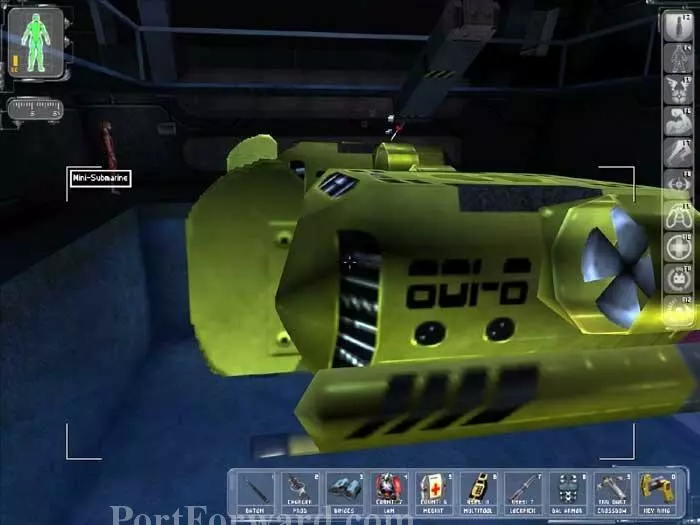
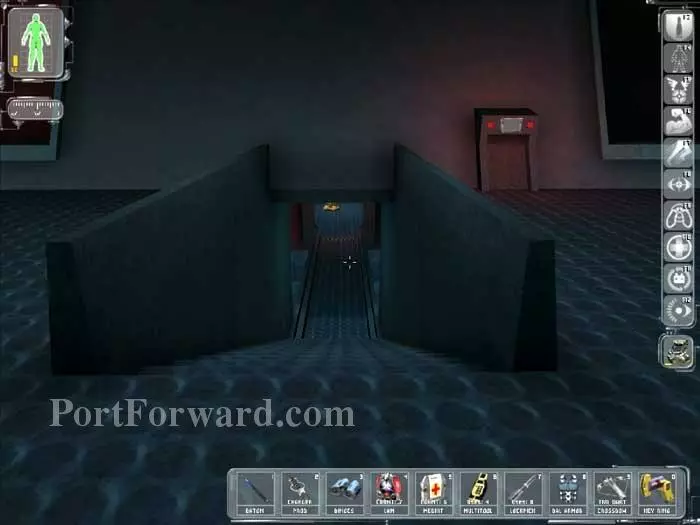
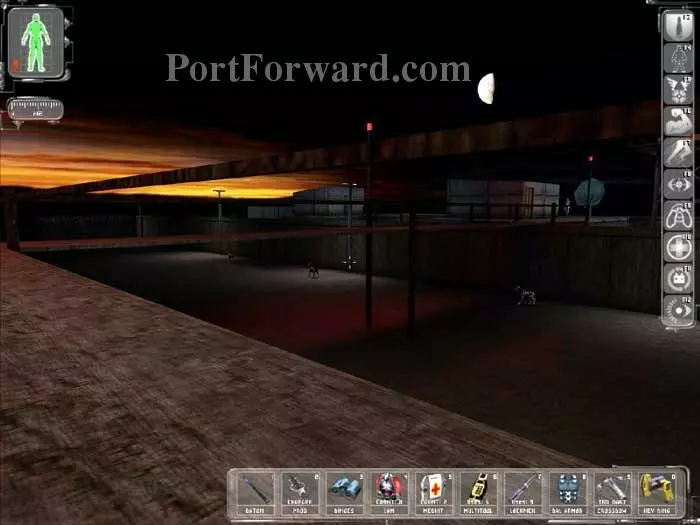
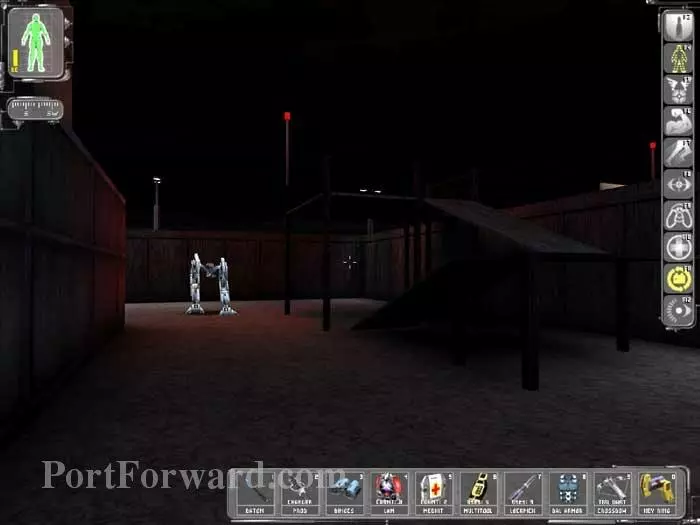
Jock drops you off at this Southern California Submarine Base. Your objective is to steal a mini-sub to get to the ocean lab. Use your Spy Drone to disable the two bots on patrol. You can take out the MJ12 Troops with Tranq Darts but I find it pretty easy to avoid them here.
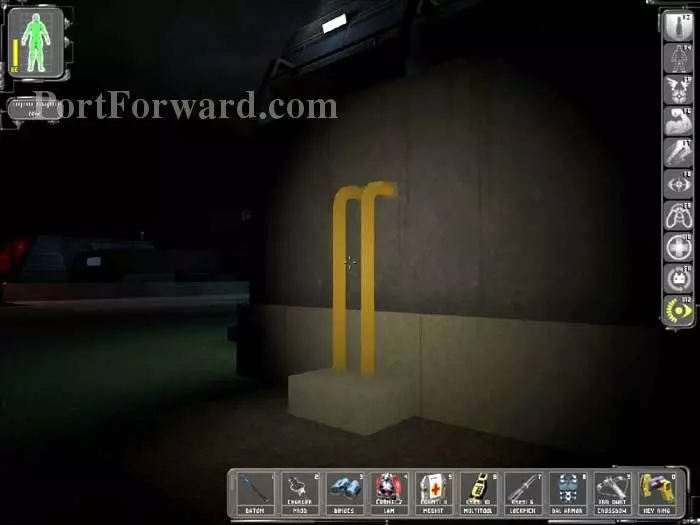
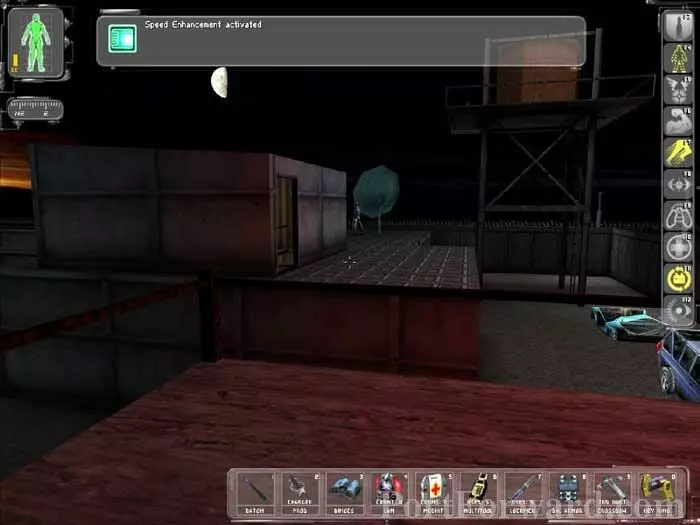
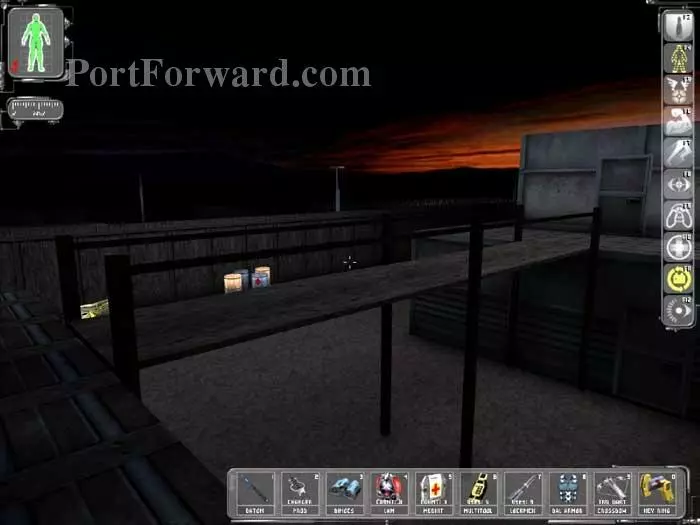
Make your way to this supply shed. Use your Speed Enhancement and these pipes to hoist yourself onto the roof. Gain access via a hatch in the ceiling.
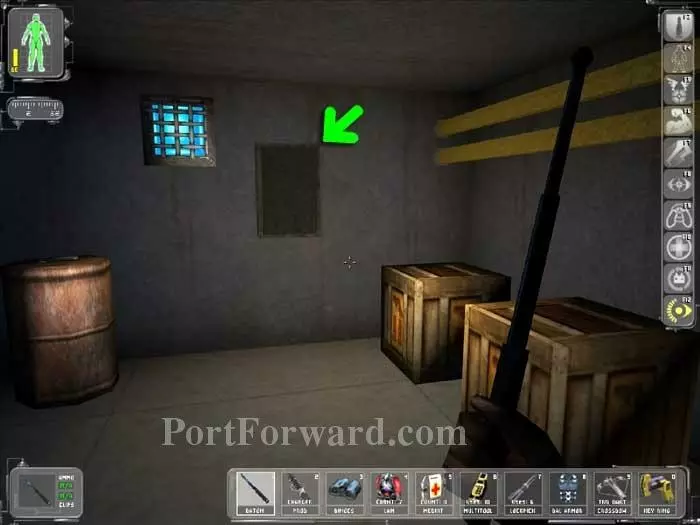
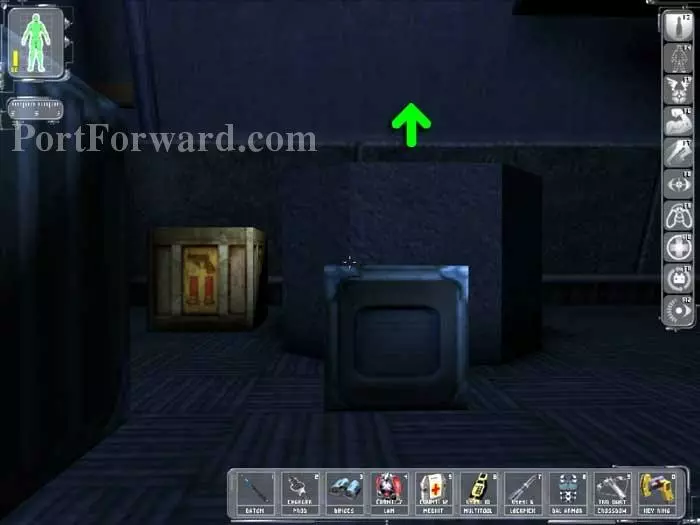
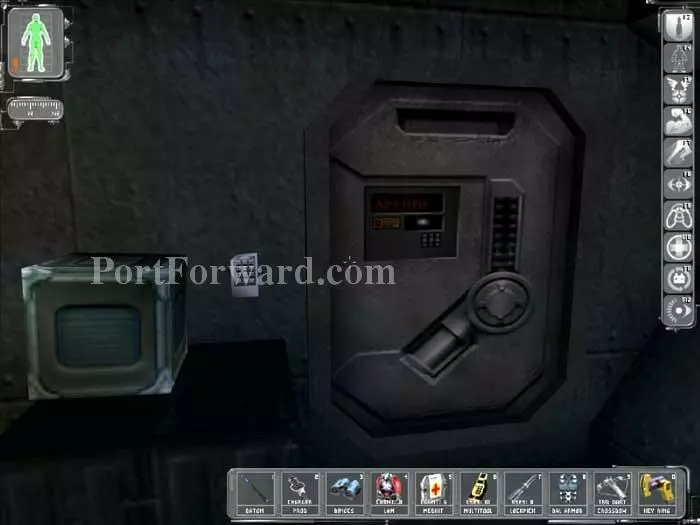
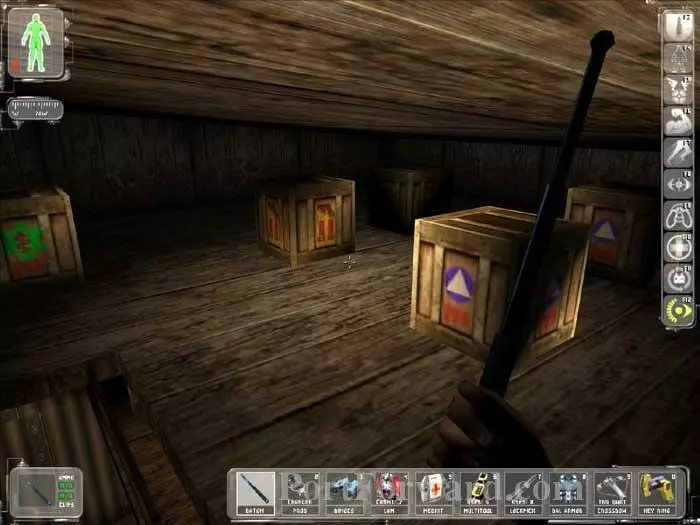
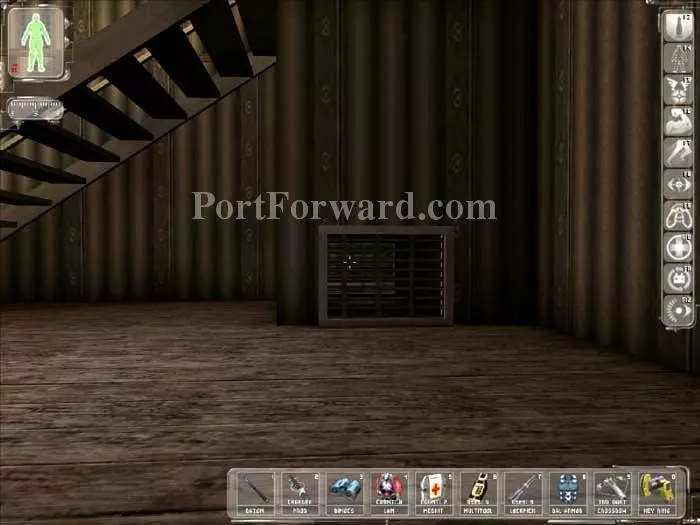
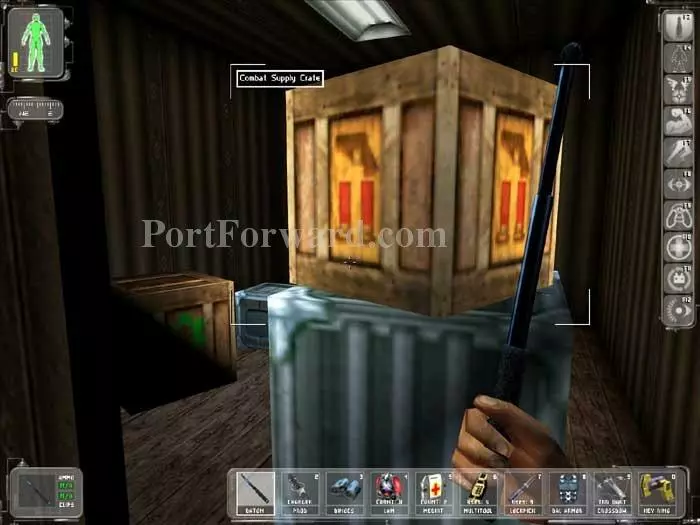
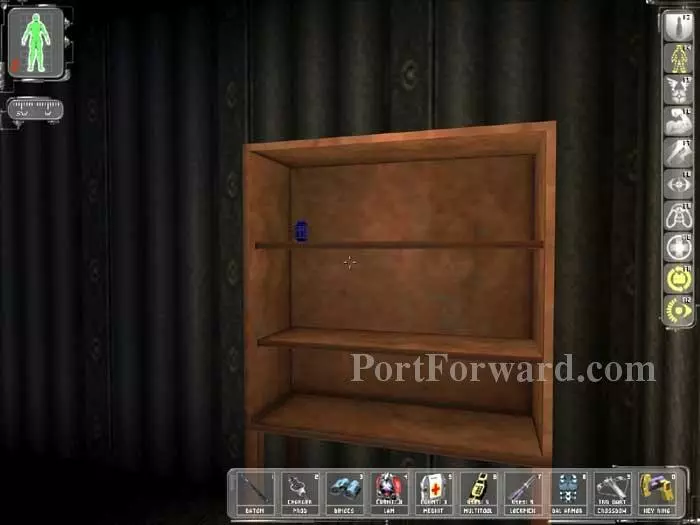
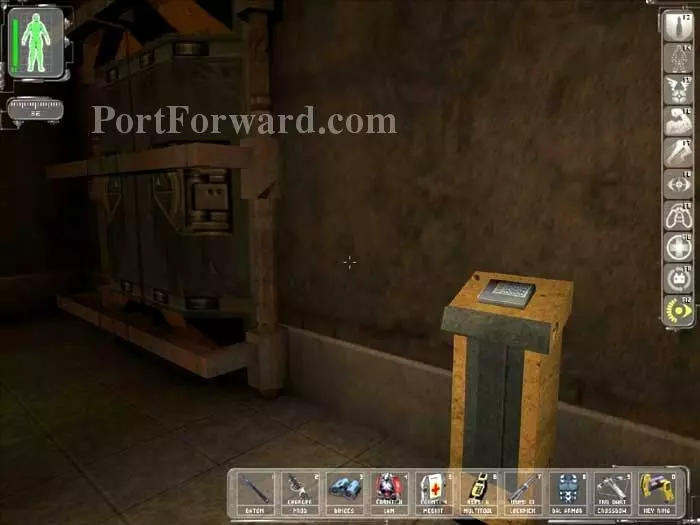
Once inside, you'll find Tranquilizer Darts, 7.62x51mm Ammo and 10mm Ammo in the crates. Inside the indicated cabinet are Nano Keys for the supply shed and the Command Module.
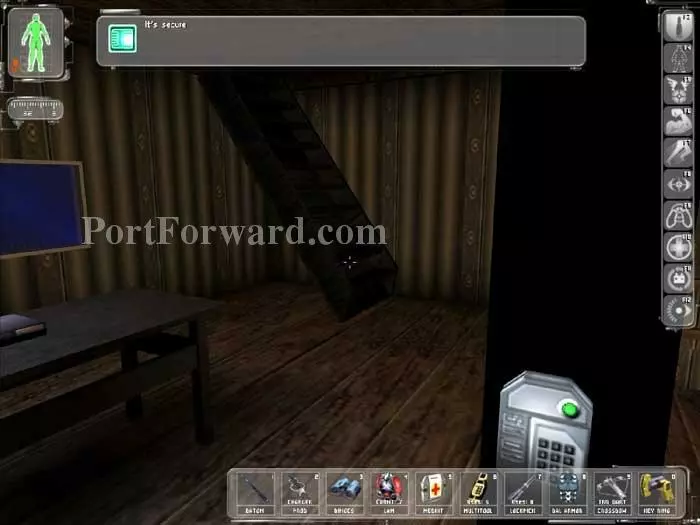
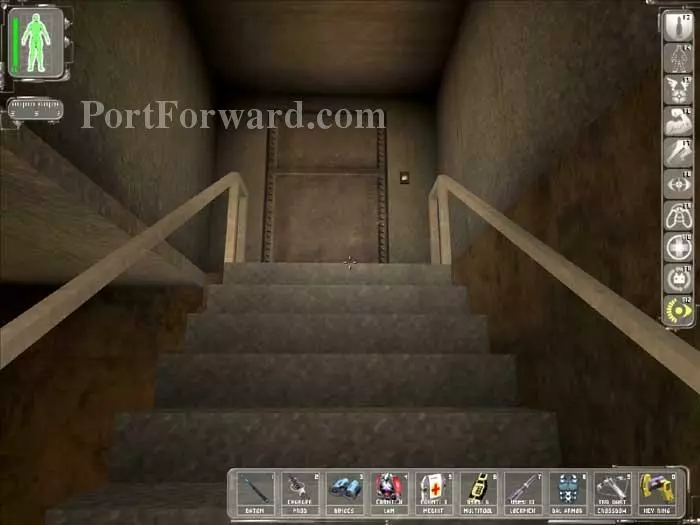
Use your key ring to exit the shed and to gain entry through this door.
Take the stairs all the way to the top. Turn right and take out this Troop. Talk to the female scientist and she'll give you the Karkian tank code 1223.
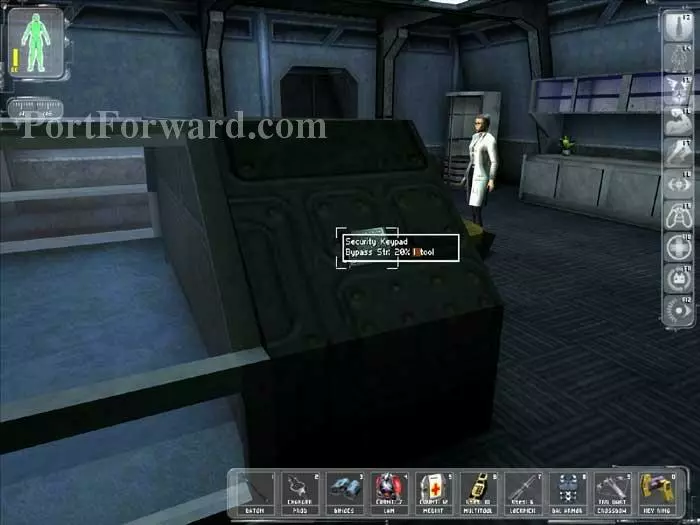
Here's the Karkian tank keypad. Grab the Medkit from the corner cabinet then enter the code 1223.
Pump the karkian with Tranquilizer Darts before entering. On "Realistic" Combat Difficulty, one byte from the Karkian, even at the edge of the tank, will kill you.

You earn an Exploration Bonus of 50 skill points. Proceed as indicated.
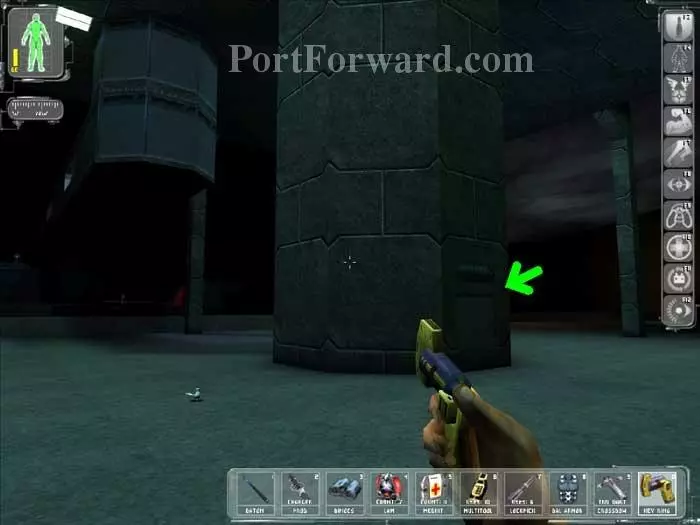
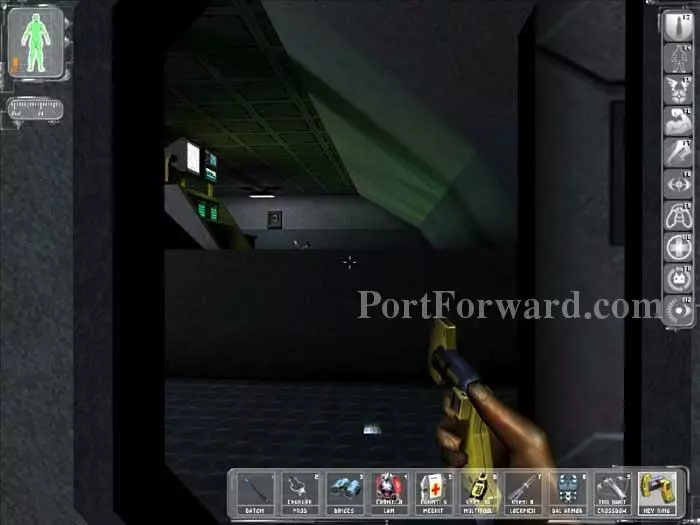
You'll emerge here. Remain very quiet, as an MJ12 Troop patrols nearby with a GEP gun. The crate holds 7.62x51mm Ammo.

Take out the Troop on the catwalk above the neighboring room with a Tranquilizer Dart. Remain in the shadows until the alarm dies down.
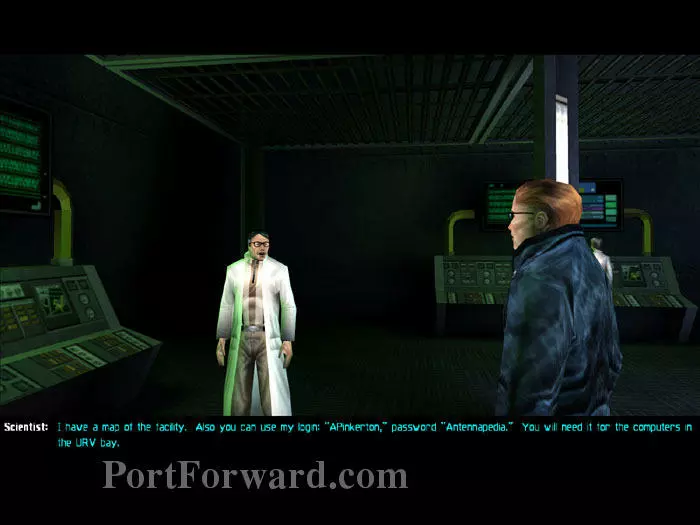
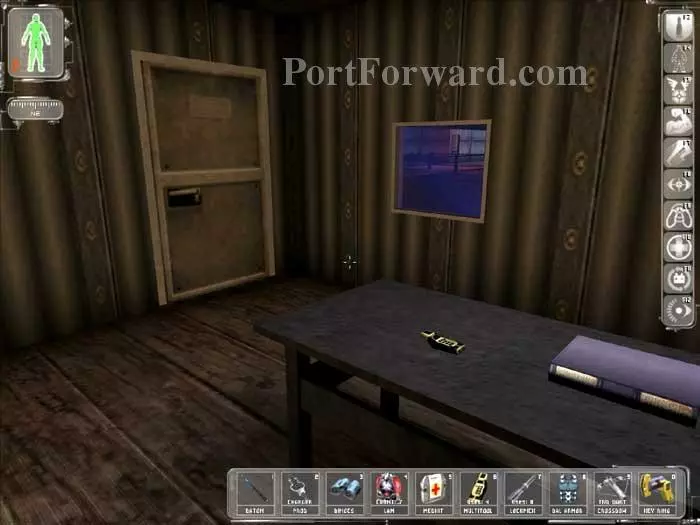
Talk to this scientist for a map of the facility and the account APINKERTON/ANTENNAPEDIA.
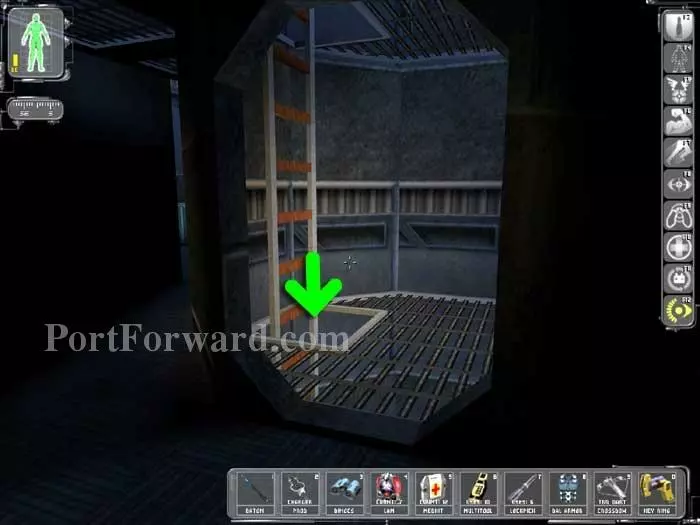
Return to the previous room, then descend this ladder.
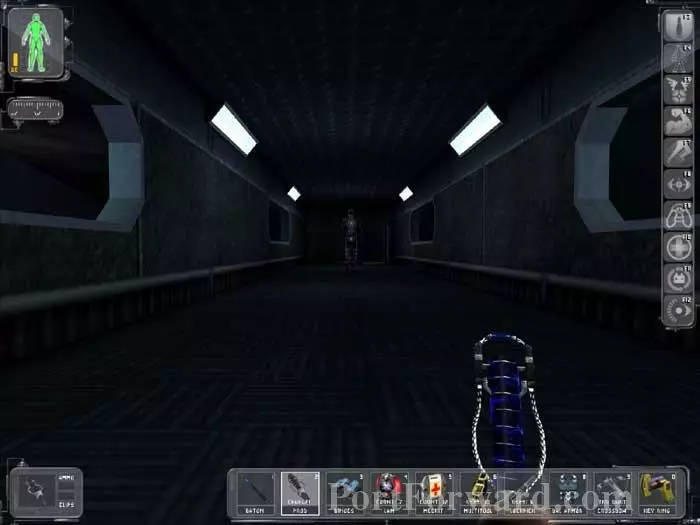
Your Prod works well against this patrol.
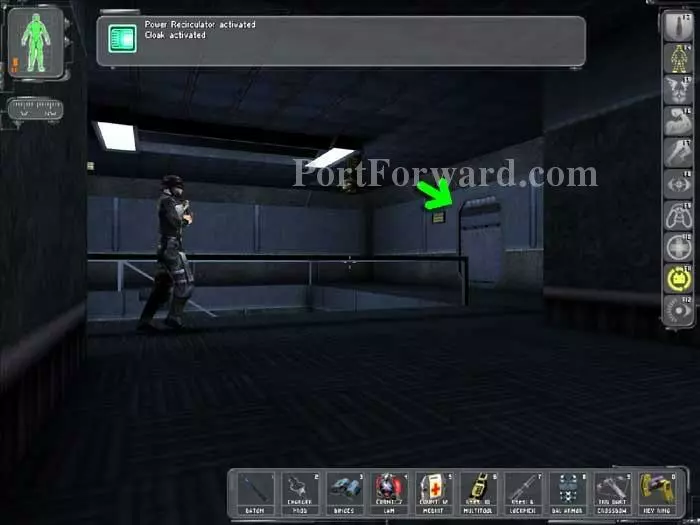
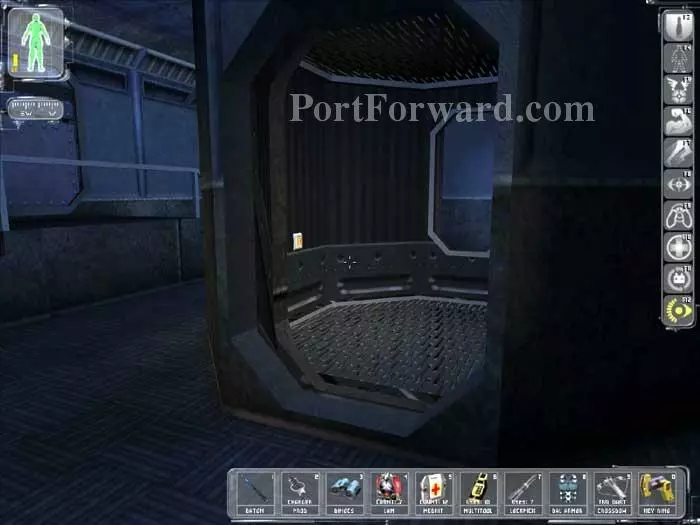
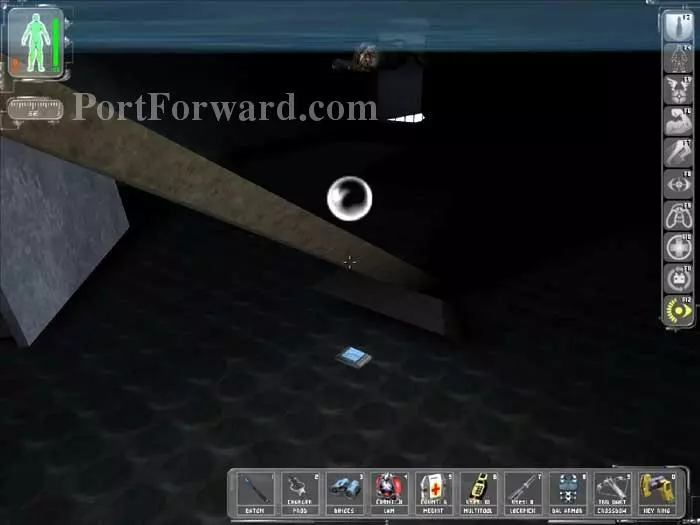
Descend another ladder, then exit through this door, cloaked.
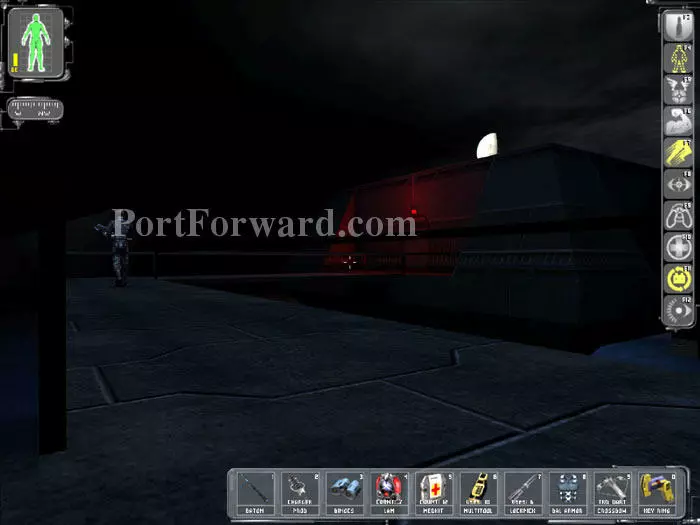
Remain cloaked. Crouch and activate your Speed Enhancement. This allows you to move quietly and quickly to the door beneath the red light.
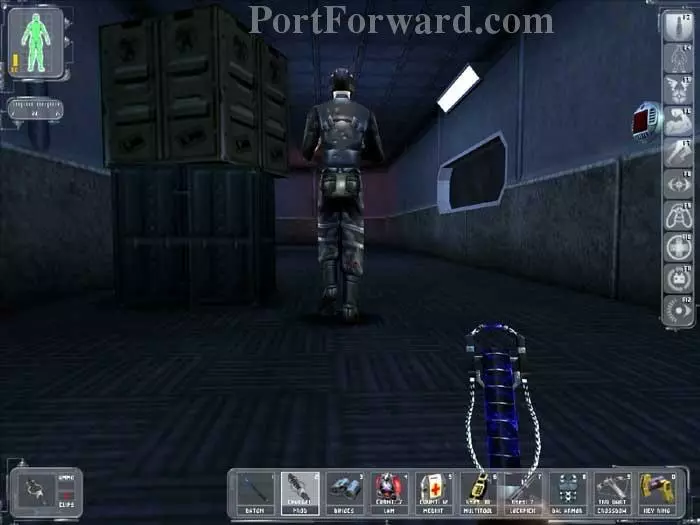
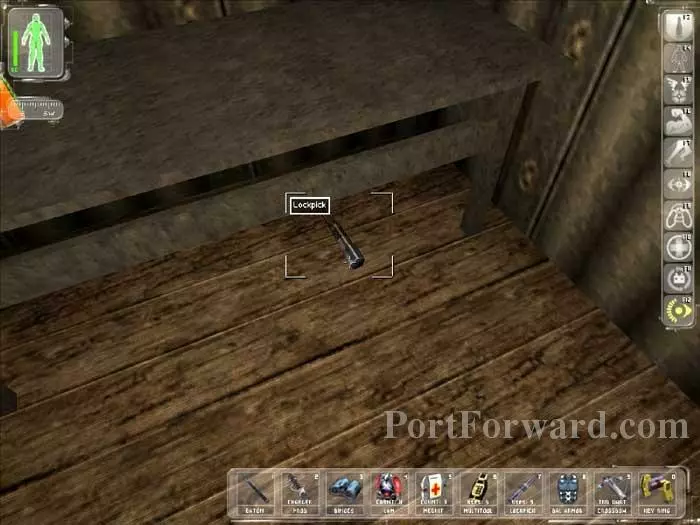
Bring down the Troop inside with your Prod. Smash the crates for a Lockpick and a Bioelectric Cell before taking this lift down.
You'll exit through the doorway visible on the left. Immediately duck behind this crate and hack the indicated terminal to disable the camera above the doorway, plus two others.
Bring down this Troop for a Gas Grenade.
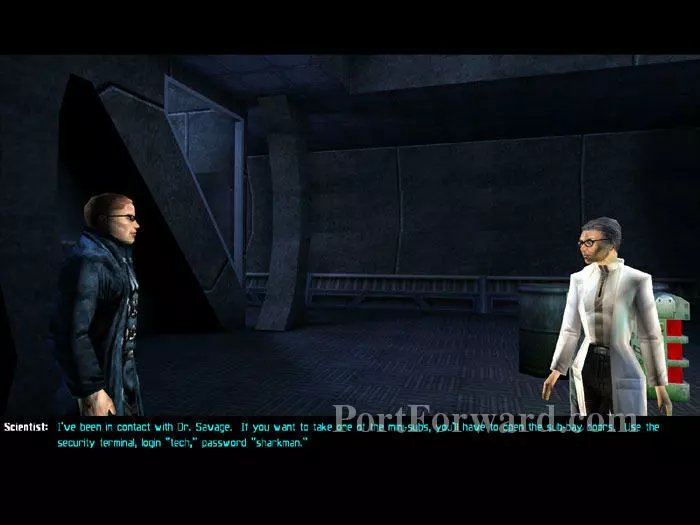
Use the Gas Grenade and Tranquilizer darts to bring down the three MJ12 Troops in the neighboring room. (Lure the two from upstairs with some noise first.) Talk to this scientist for the account TECH/SHARKMAN. The account is also available in a DataCube on a nearby cart.
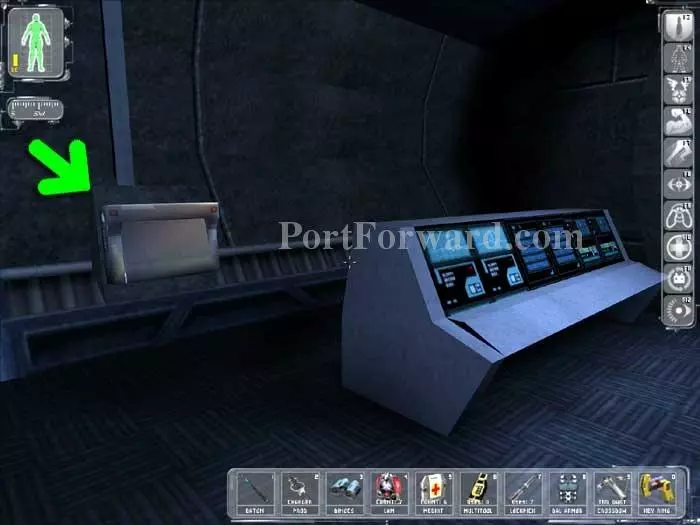
Use the account TECH/SHARKMAN on the indicated terminal. Disable three cameras and open the UAV Pool Doors.
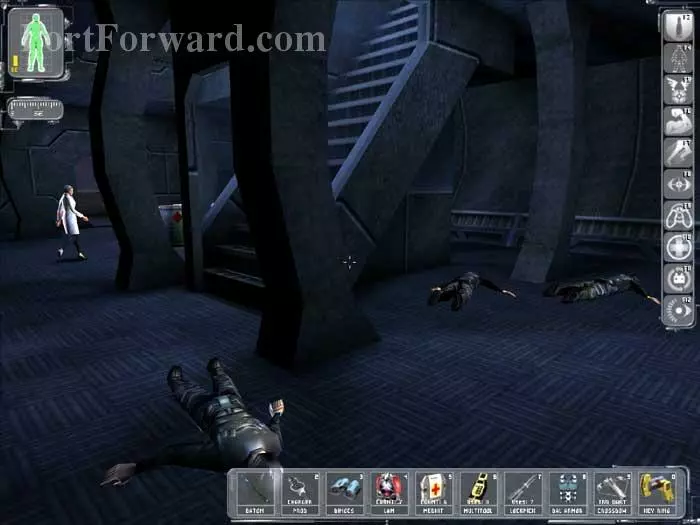
Here's a shot of the three disabled MJ12 Troops. Ascend the stairs.
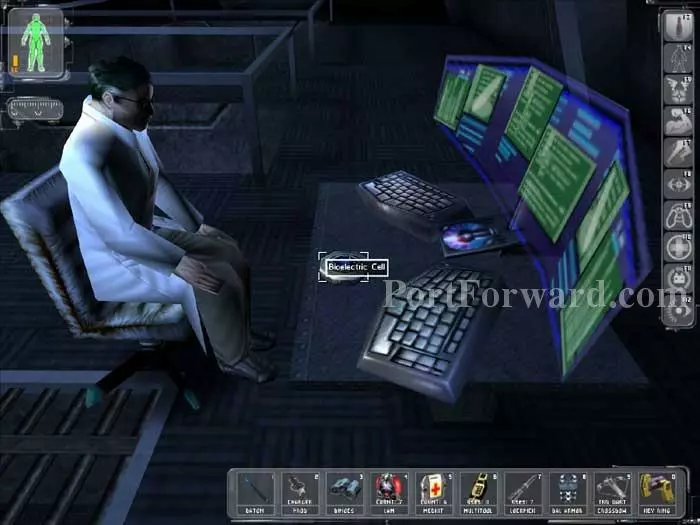
Swipe this Bioelectric Cell.
You earn a Progress Bonus of 300 skill points for reaching the UAV Pool. If you talk to the mechanic he'll tell you you need to open the UAV Doors, but we've already done that. "Use" this UAV to load the next area.
You arrive at the Ocean Lab on the sea floor. The crates in the corner contain a LAM and a Bioelectric Cell.

Hack this Security Terminal to deactivate three cameras and open one door.
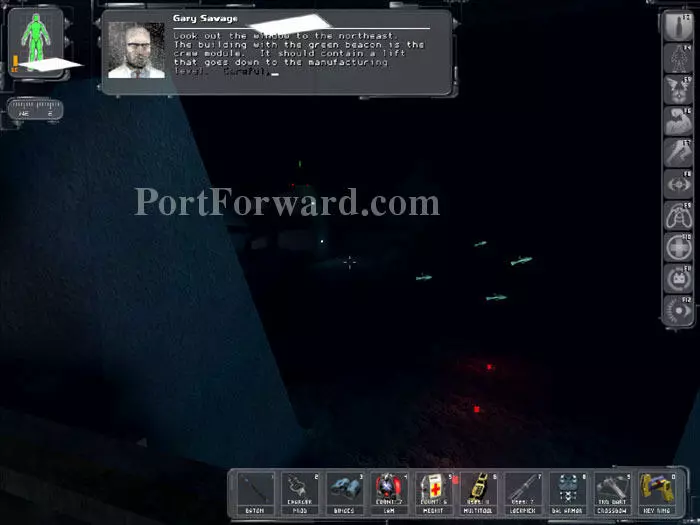
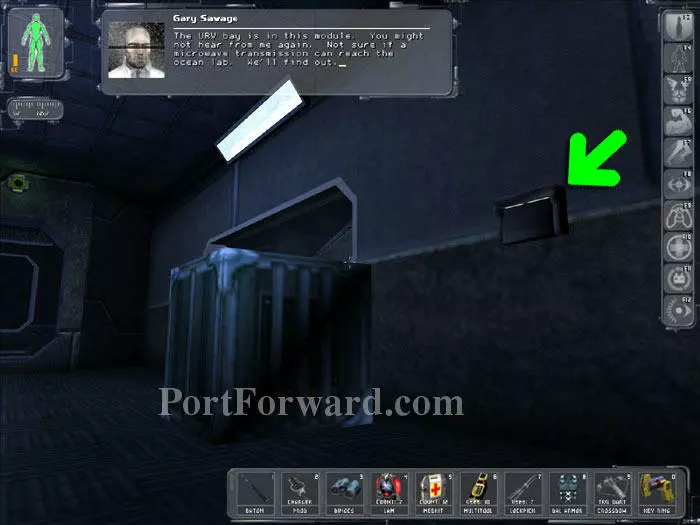
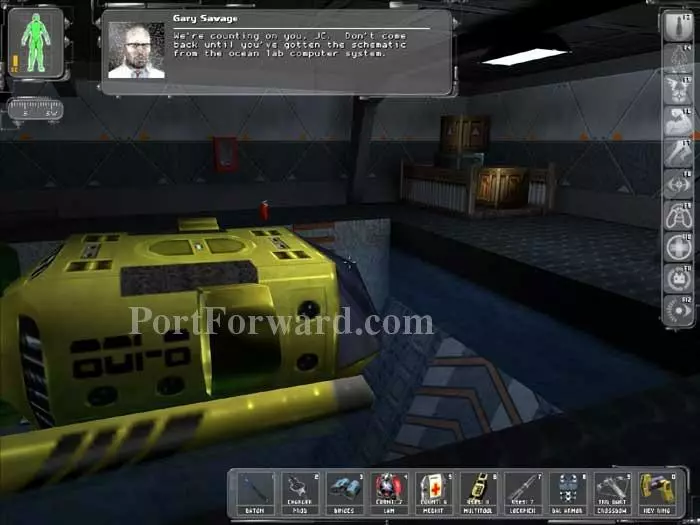
Gary Savage instructs you to look out the window to see the crew module, where a lift will take you down to the manufacturing level. Gary warns you that the lab's turrets are malfunctioning and the transgenics are on the loose.
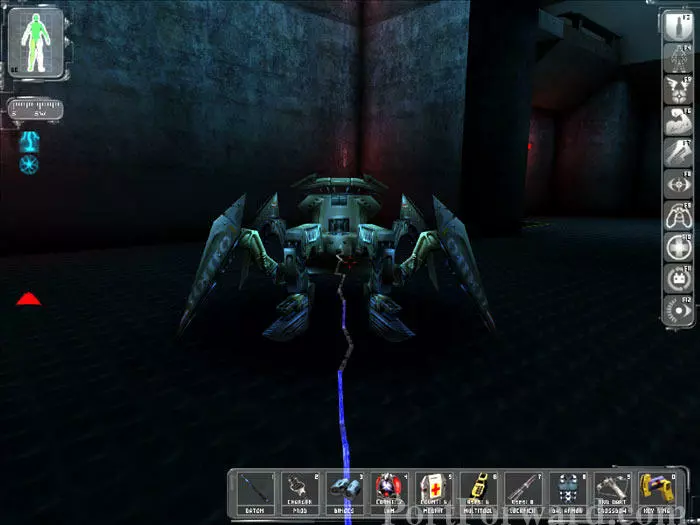
Ascend the stairs two flights to this Karkian tank. At the bottom of the tank is a Plasma Rifle. Tranquilizer Darts work well against the Karkians. Helios (the merged Daedalus/Icarus) and Bob Page radio that they are anxious to watch you lead the way.
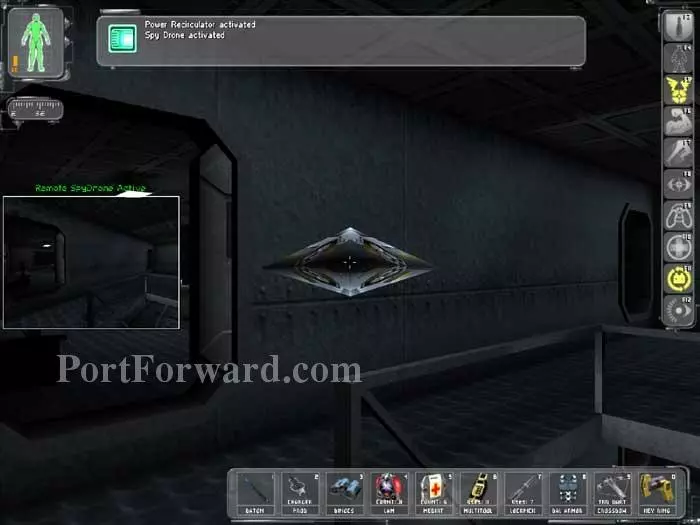
Ascend the stairs to the top then send in your Spy Drone to temporarily disable the malfunctioning turret. You can then enter the room safely and permanently disable the turret with Multitools.
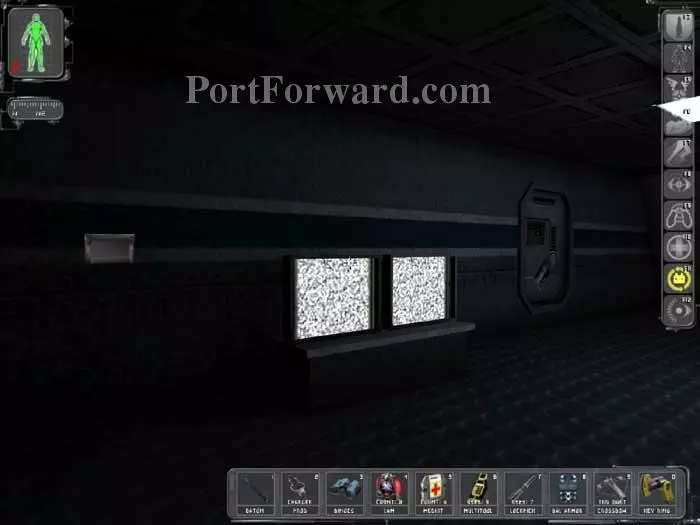
Hack this terminal on the left to disable three cameras. Proceed through this door - the one not marked "Sealed".
Repeat the Spy Drone/Multitool tactic on the malfunctioning turret on the left. Alternately, you can hide behind the metal crate while pushing it up against the turret to block its fire.
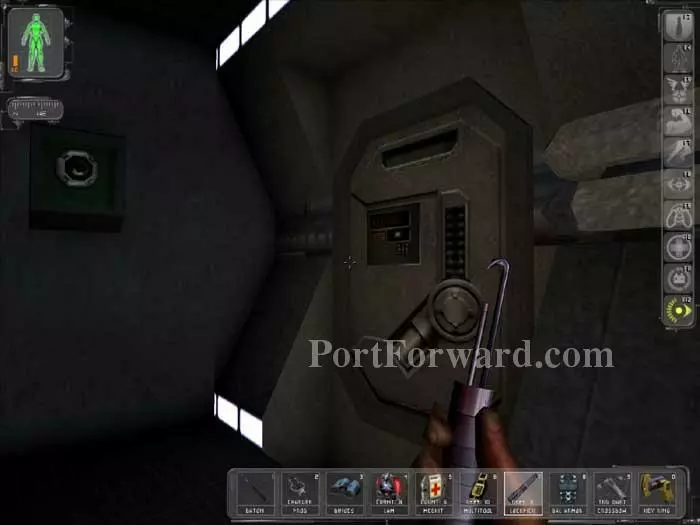
Grab the Greasel Laboratory key seen here. Pick the lock on the left door and grab the supplies, including two Lockpicks and two Multitools. The unlocked room on the right holds more supplies, including a Lockpick, a Multitool, and two Bioelectric Cells.
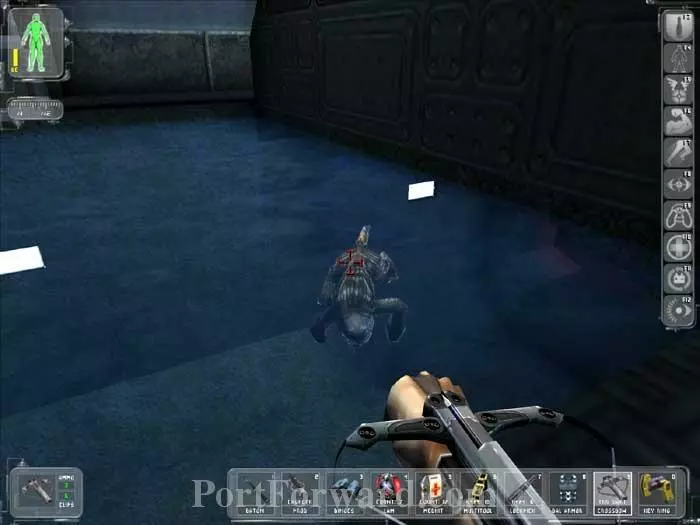
Use the Greasel Lab key on this door in the adjacent corridor. Fire Tranquilizer Darts at the two Greasels in this room then retreat into the preceding area while the toxin takes effect.
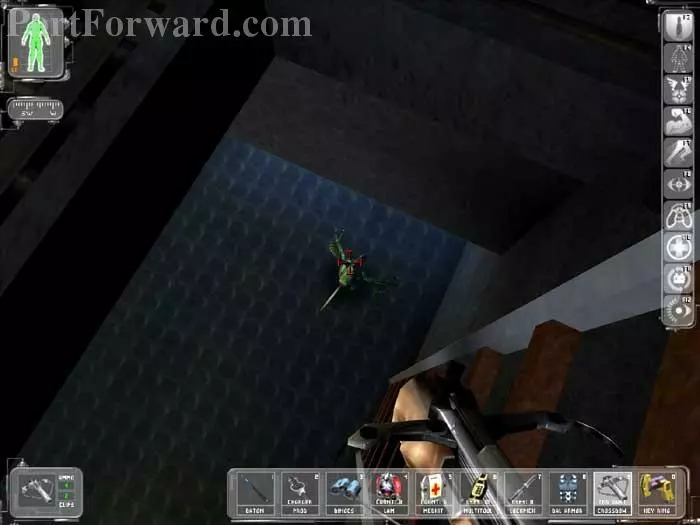
Another Greasel is at the bottom of this ladder. Fire a few darts then hold back until he goes belly-up.
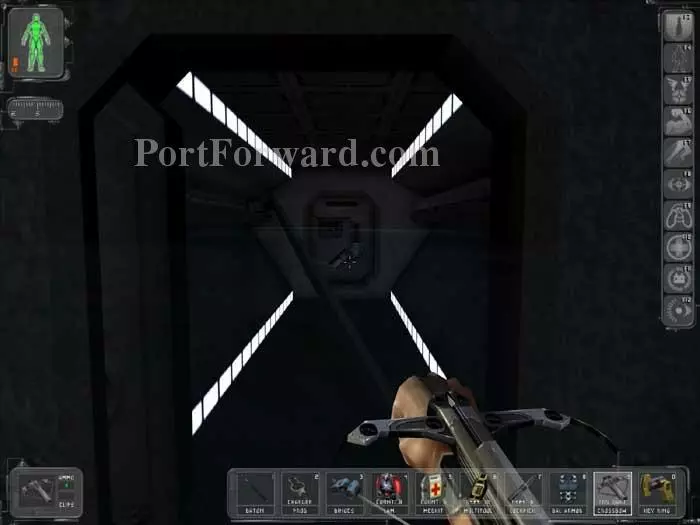
Ignore the door with the keypad for now. Instead, ready your Mini-Crossbow and head though these doors.
Two more Greasels are in here. Yuck. Fire several darts into each, then retreat up the ladder until it's safe. The locked door on the left yields a single Medkit -- save your Lockpicks.
Read this DataCube with the tunnel code 5690.
Return to the keypad we bypassed earlier. Enter the code 5690 to unlock the door. You earn an Advancement Bonus of 400 skill points. Gary Savage radios that an excavation area is up ahead, followed by the crew module.
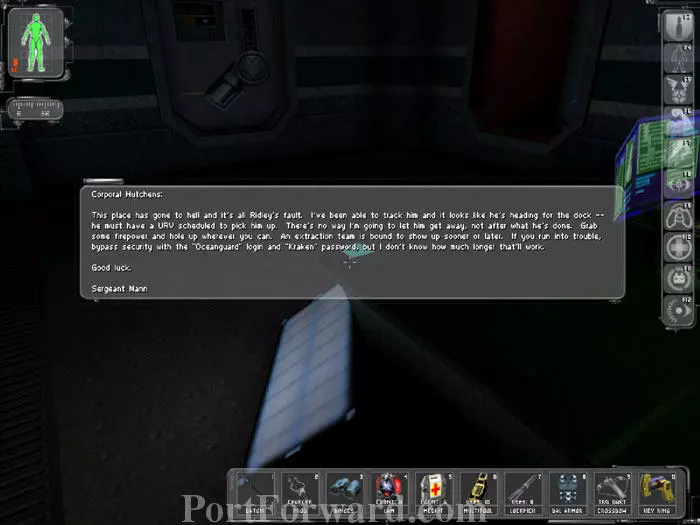
Read this DataCube for the account OCEANGUARD/KRAKEN. Proceed through the door ahead.
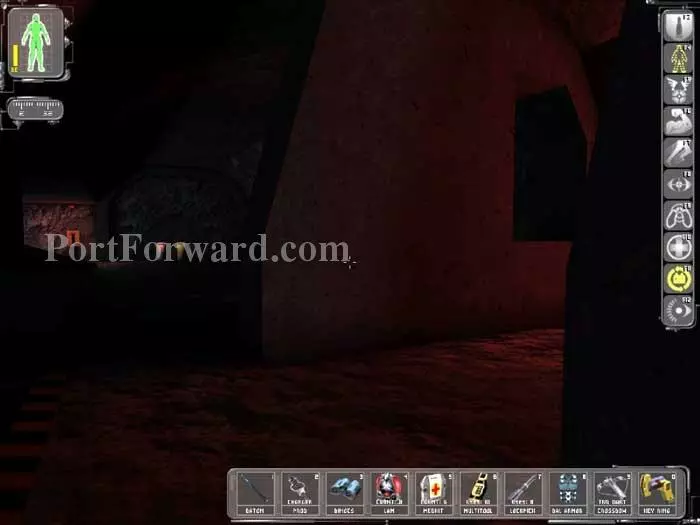
Your Cloak makes this excavation area much easier. Head into this corridor on the right.
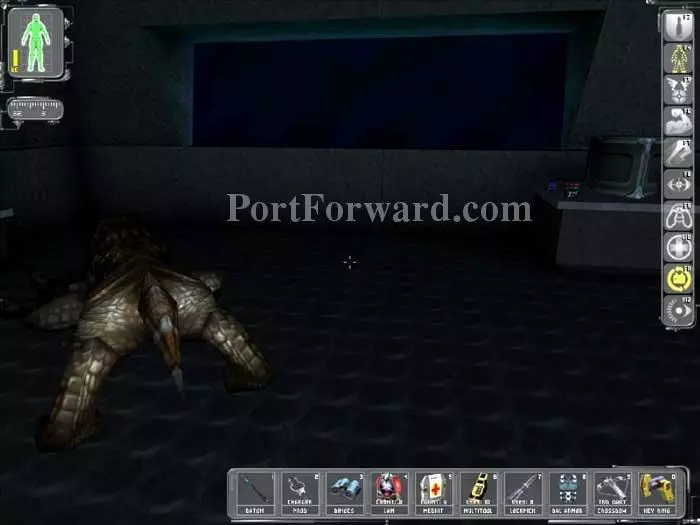
Inside you'll find this Karkian munching on an MJ12 Troop. On the table is a Recoil Weapon Mod and the Crew Module Access key.
Slip past these Greasels and smash the crates beyond for two Lockpicks. Alternately, you can use the switch visible rear-left to electrify the rails and kill the Greasels. Beware, though, as the electricity can easily damage you as well.
Two Baby Karkians are behind this drilling machine. Use your Crew Module Access key on this door.
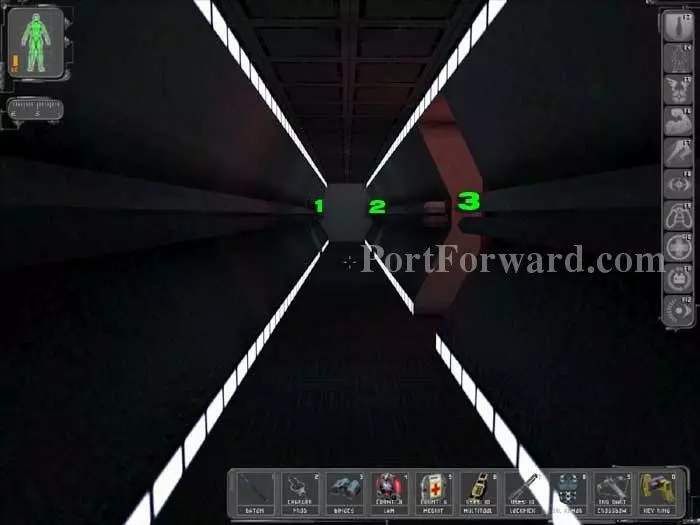
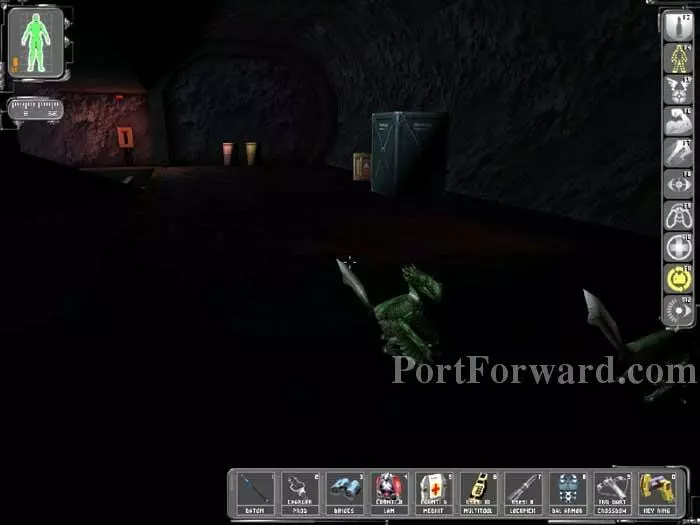
Items of note in the crew quarters (1) include a Bioelectric Cell and Tranquilizer Darts. At (2) you'll find a Greasel protecting a Reload Weapon Mod and a Medkit. (I'd avoid that room altogether.) Descend the ladder at (3).
It's a tough call on whether to use your Lockpicks to get the Thermoptic Cammo behind this door on the left.
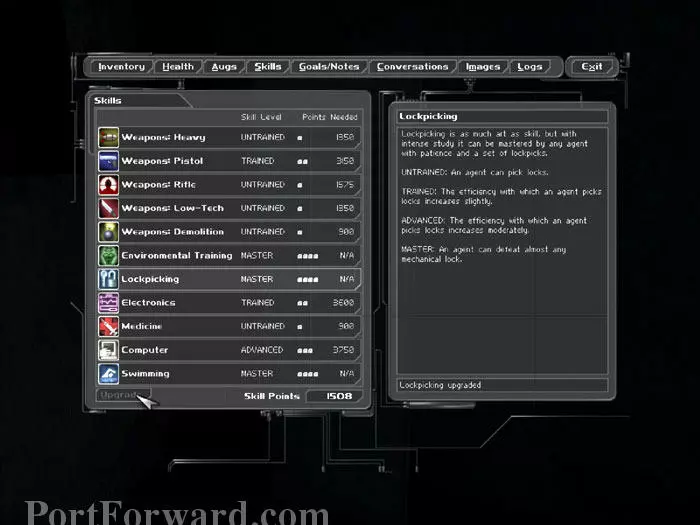
One thing is for sure: Lockpicks are scarce. I spend my skill points and upgrade Lockpicking to Master now.
An EMP Grenade or your Spy Drone will temporarily disable that malfunctioning turret ahead. A LAM will take it out permanently. The room on the left holds Tech Goggles and a Multitool. The room on the right holds a Laser Weapon Mod, a Stealth Pistol, and 10mm Ammo. The lift at the end of the hall will take you down to the manufacturing level.
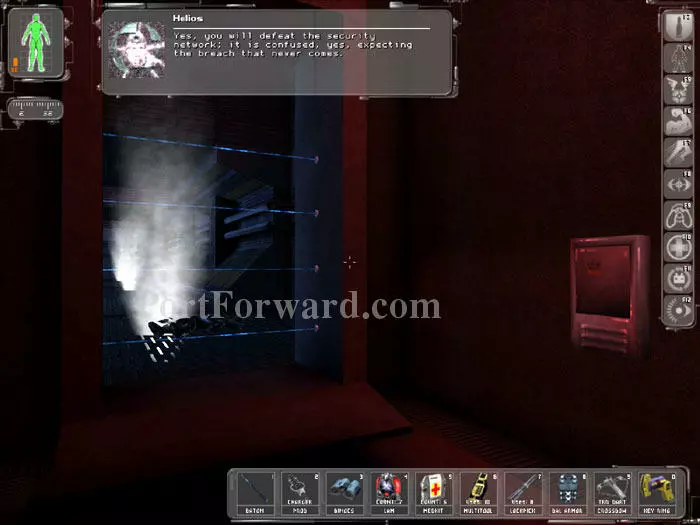
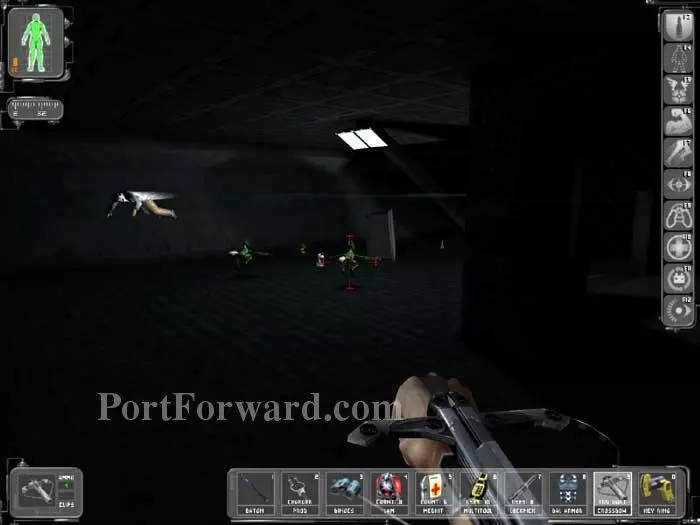
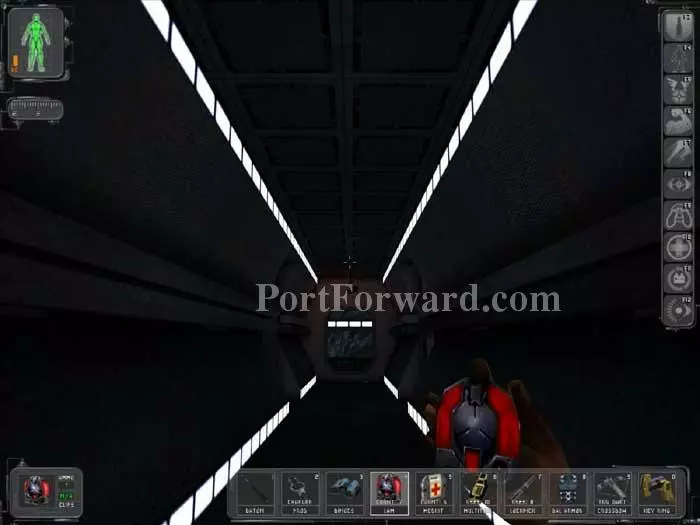
Helios and Bob Page urge you on. Multitools on this panel will disable the spider-triggering lasers seen here. Alternately, you can pick the lock on the grate to the right, but then you still have a Greasel and rotating fans to contend with. I prefer going through here and spending the Multitools.
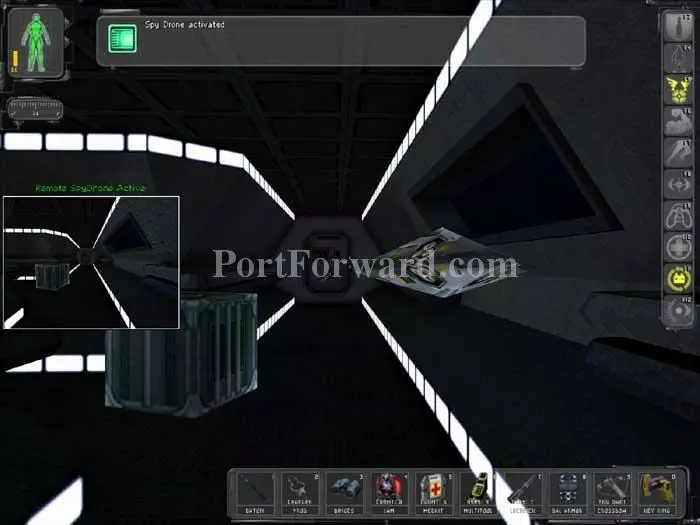
Don't charge through the door in the northeast corner of the room or you'll have this giant spider to deal with. Use your Spy Drone to disable him from a safe distance. Ascend the small lift just visible to the right of the spider.
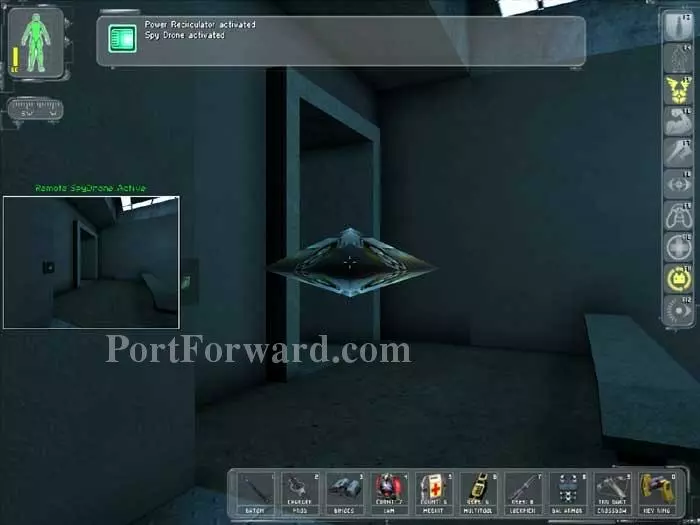
Send in your Spy Drone again to disable three small spiders. Grab the supplies including two Bioelectric Cells, an EMP Grenade, and a Gas Grenade. Take the lift back down.
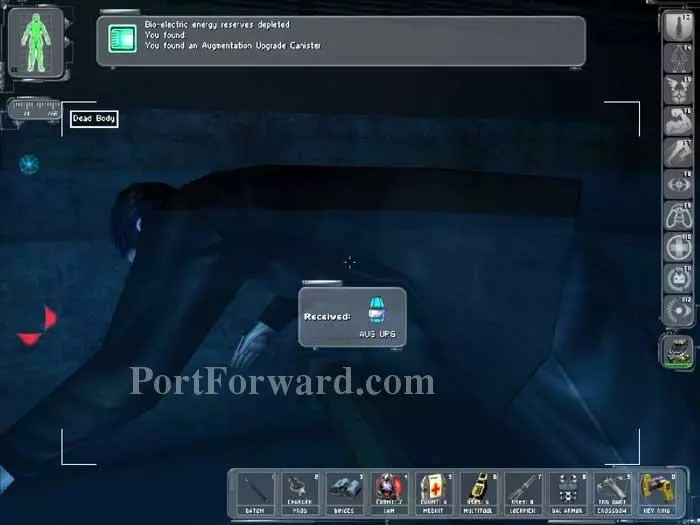
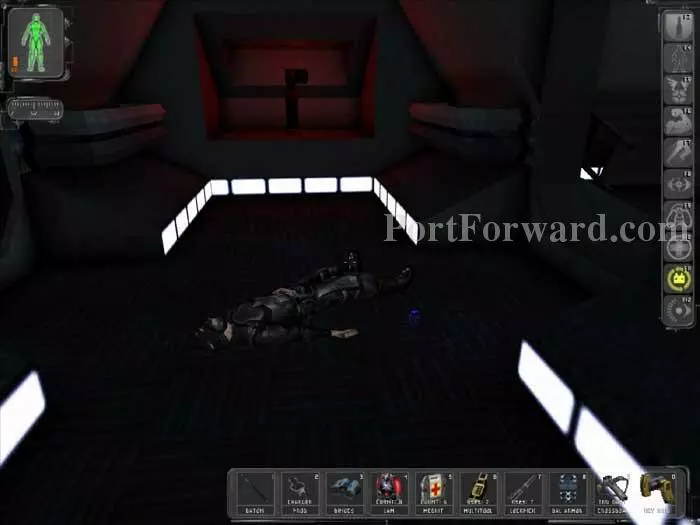
Don a Hazmat Suit and dive into the water. Grab the Augmentation Upgrade Canister from the body of this MIB.
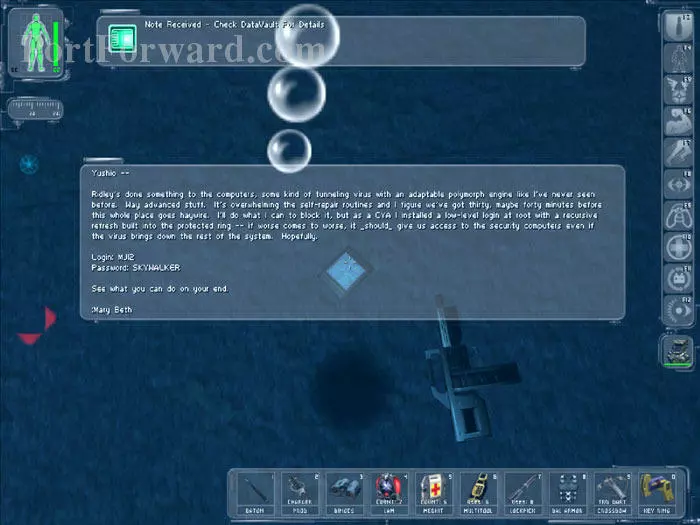
Read this DataCube for the account MJ12/SKYWALKER.
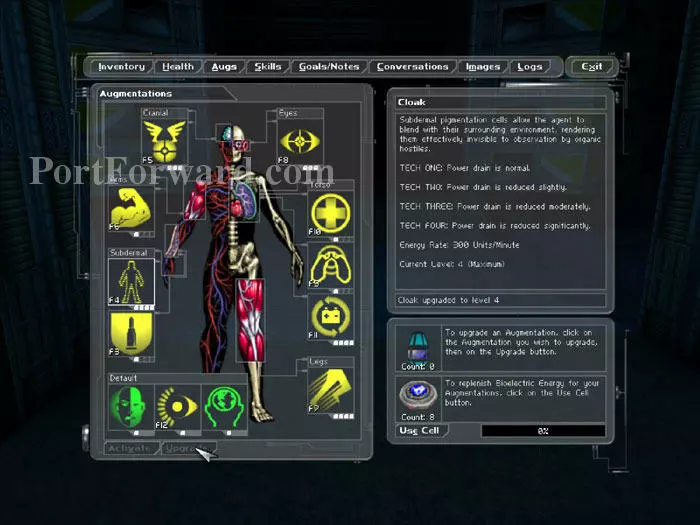
Here, I use the canister to upgrade Cloak to Tech Four.
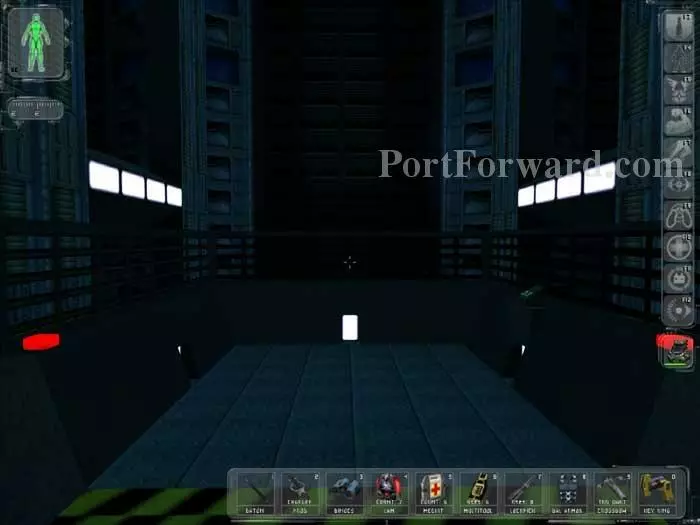
Call this lift and ride it on up.
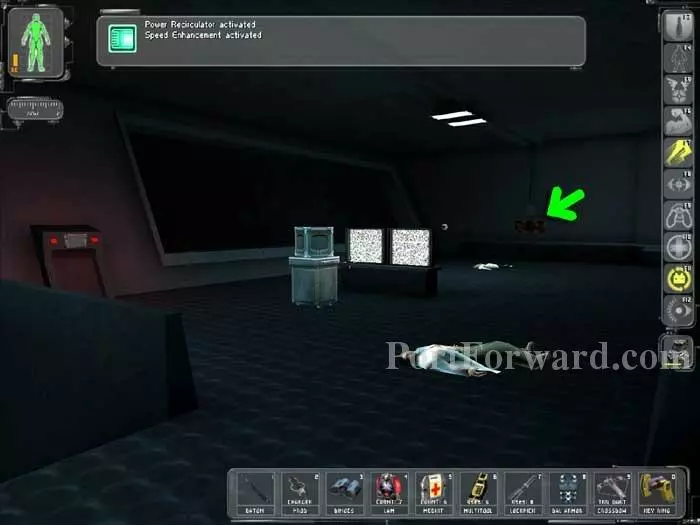
Activate your Speed Enhancement and run over to this malfunctioning turret before it has a chance to swing around and target you. Jump onto the counter and disable the turret with Multitools.
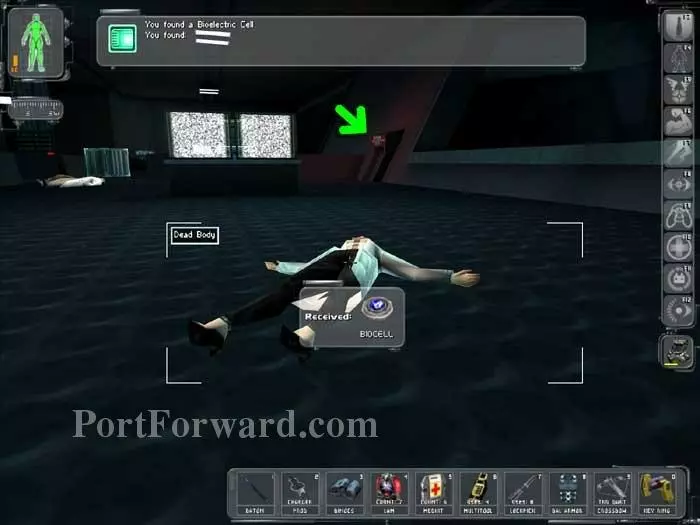
Grab the Bioelectric Cell from the body. (A similar turret malfunctions on the other side of the room, with another nearby body holding a Medkit.) Use the account MJ12/SKYWALKER on the indicated security panel to activate the bridge and disable one security camera.
Descend this ramp and cross the bridge.
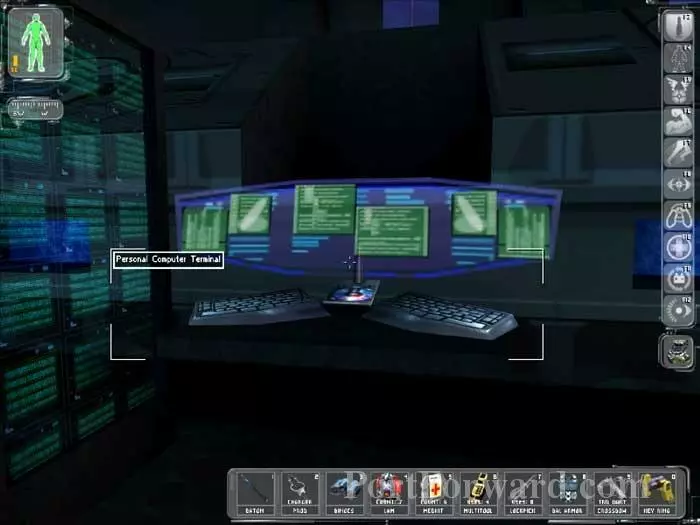
Use the account MJ12/SKYWALKER on this computer to access the UC schematics.
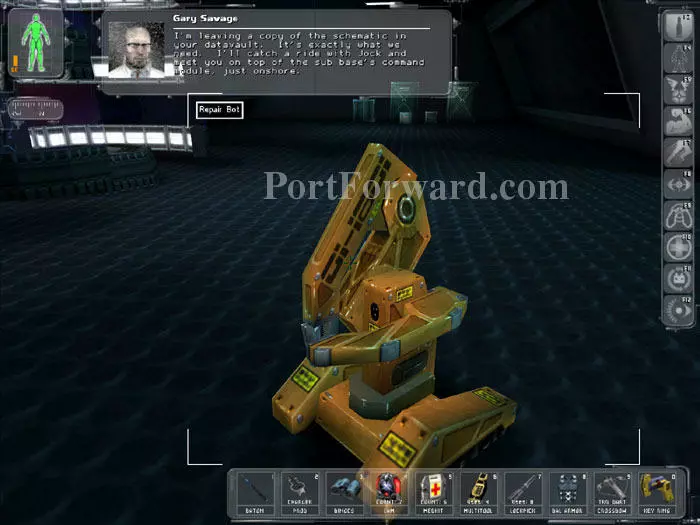
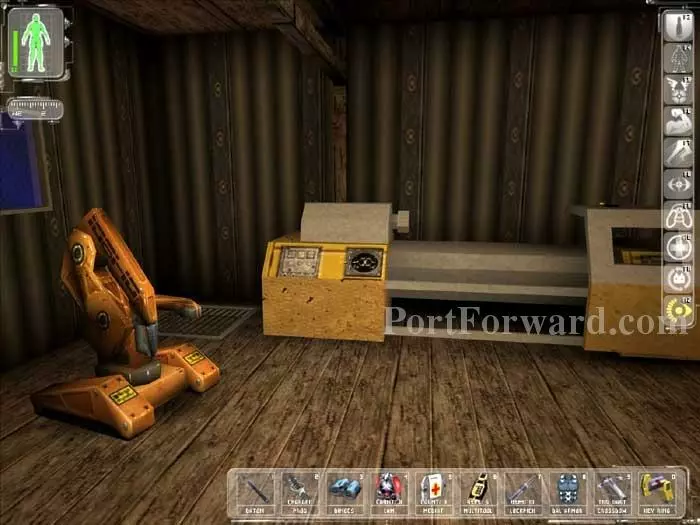
Gary Savage gives you a copy of the UC schematics. He tells you to meet him on top of the command module. Recharge at the Repair Bot before retracing your steps and taking the lift back down.

Bob Page calls you over to this hologram message. Helios intercepted the schematic and Page will have a UC operating soon as well - manufacturing a mutated gray death virus.
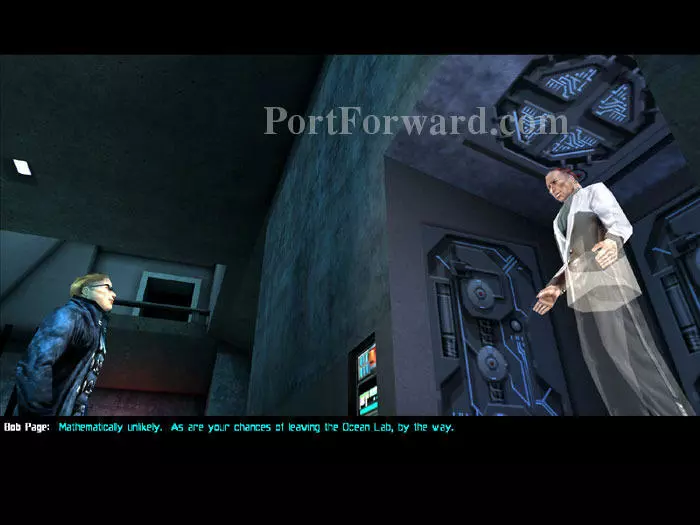
Page is confident that a cure for his modified virus is unlikely, as is your escape from the Ocean Lab.
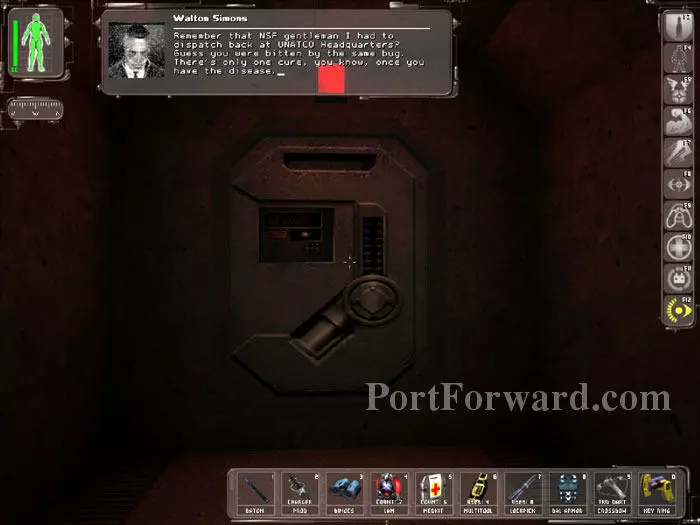
Continue retracing your steps out of the facility. Walton Simons radios that he is about to deliver the same fate to you as he did the NSF you witnessed him murder back at UNATCO. Activate your Cloak before opening this door.
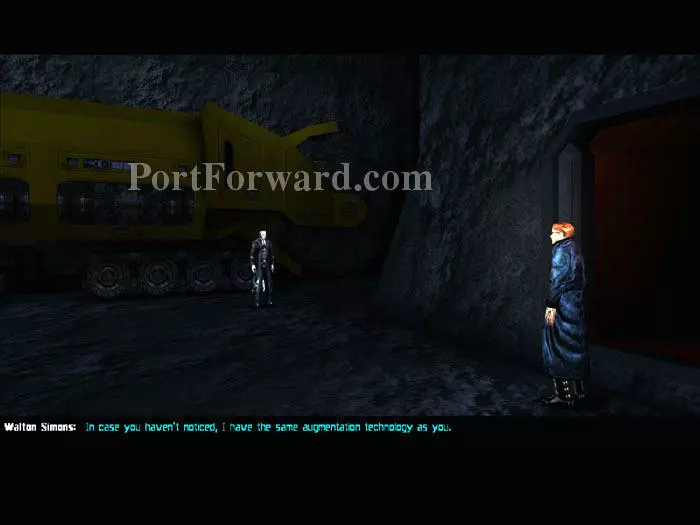
Simons is waiting for you on the other side. He'll open fire immediately after the cutscene ends, so if you plan to run, do it immediately. There will be another opportunity to confront Simons at Area 51.
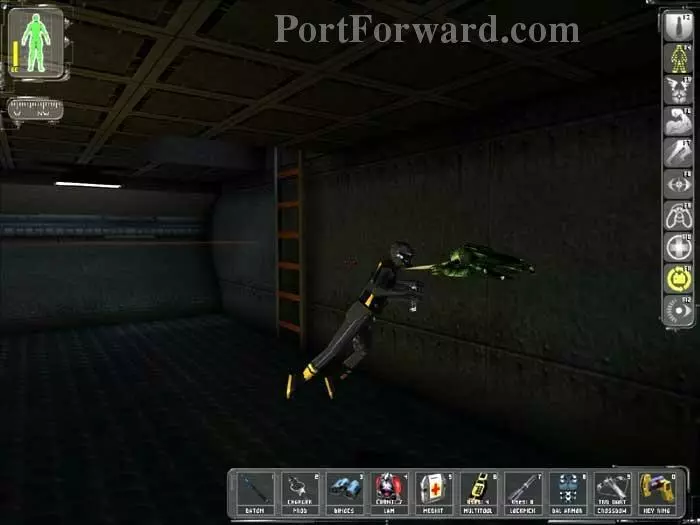
Continue retracing your steps. Reactivate your Cloak when you get here to slip past the diver and climb the ladder.

When you get back to the mini-subs you can slip into the water for a brief diversion. Swim around and take a look at the Ocean Lab from the outside.

Slip through this opening.
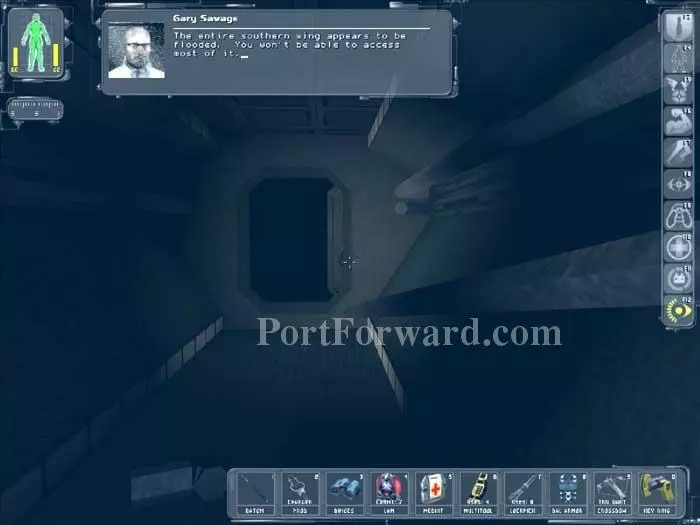
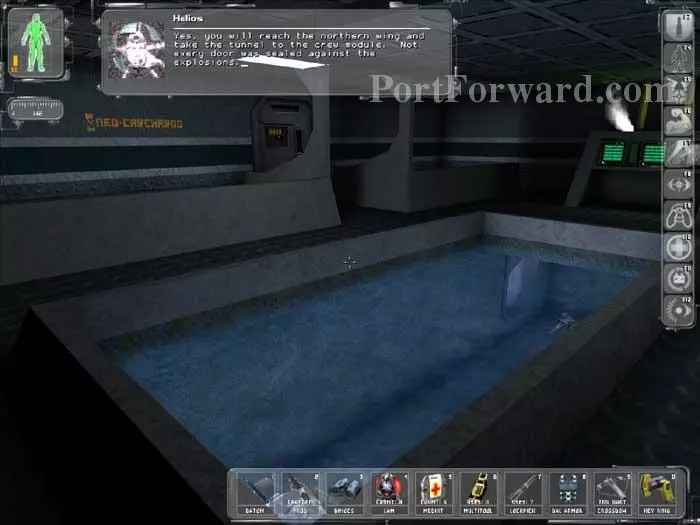
Gary Savage radios that this entire wing is flooded.
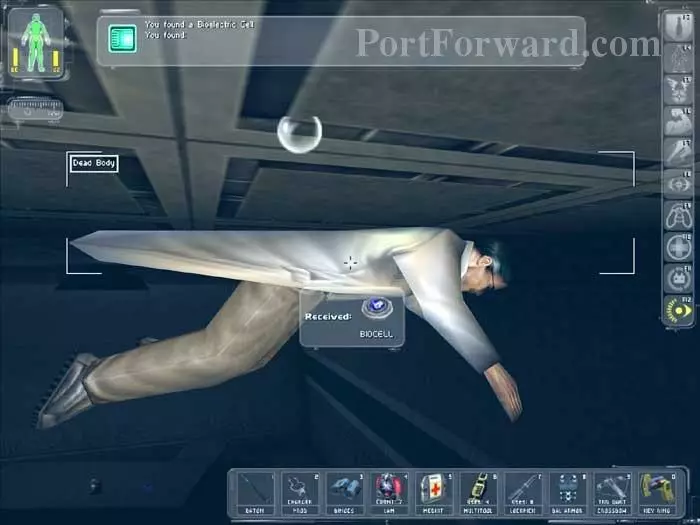
Grab the Bioelectric Cell from this body. Note the Storage Access key and the Clip Weapon Mod on the desk below, behind which is a GEP gun. You earn an Exploration Bonus of 200 skill points as you approach the desk.
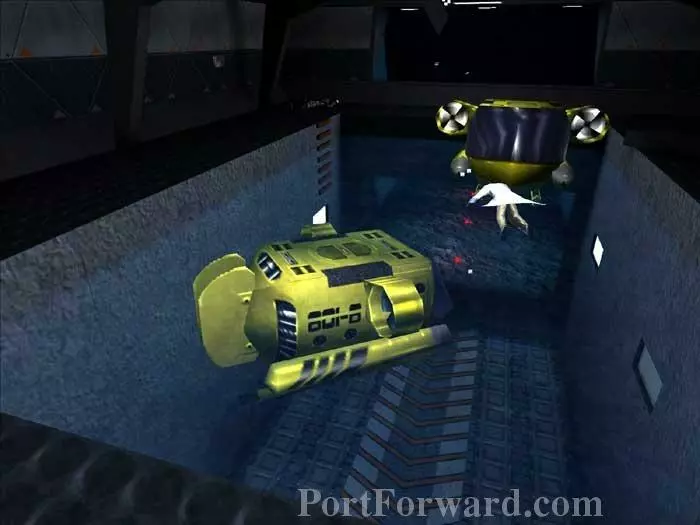
Return to the mini subs. "Use" this one to leave the Ocean Lab and return to the sub base.
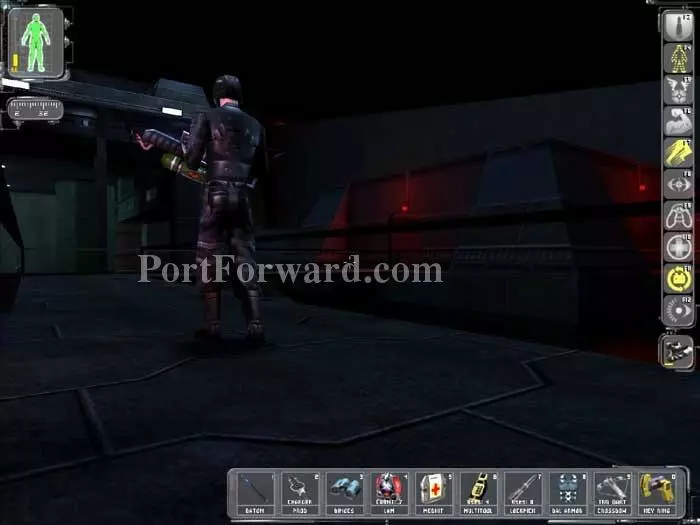
Continue to retrace your steps. Use the same technique as before here. Crouch while cloaked, and activate your Speed Enhancement to move quickly and stealthily.
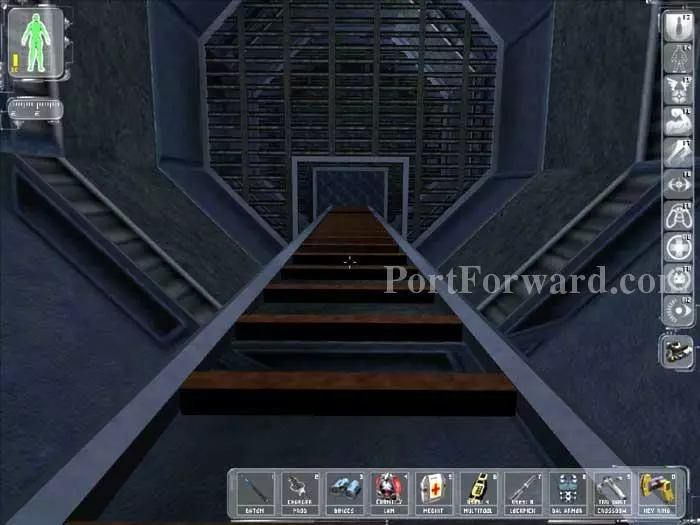
Jock and Gary are on the roof, so keep ascending the ladders as you find them.
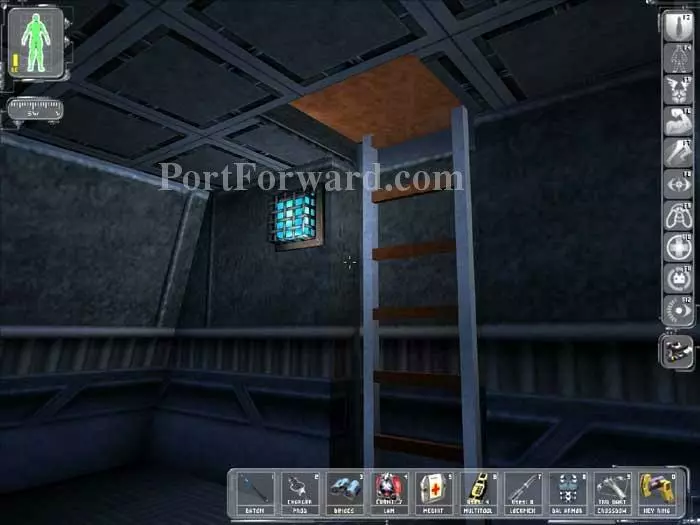
Finally, ascend this last ladder. Pass through the trap in the ceiling above.
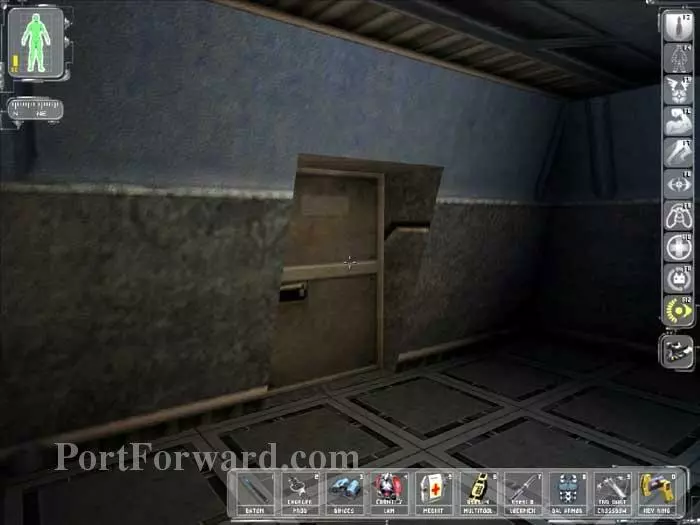
Exit through this door.

Gary approaches you and a cutscene ensues. Gary gives you an Augmentation Upgrade Canister for saving Tiffany. You earn 500 skill points for completing the objective. Board the chopper for the nearby missile silo.
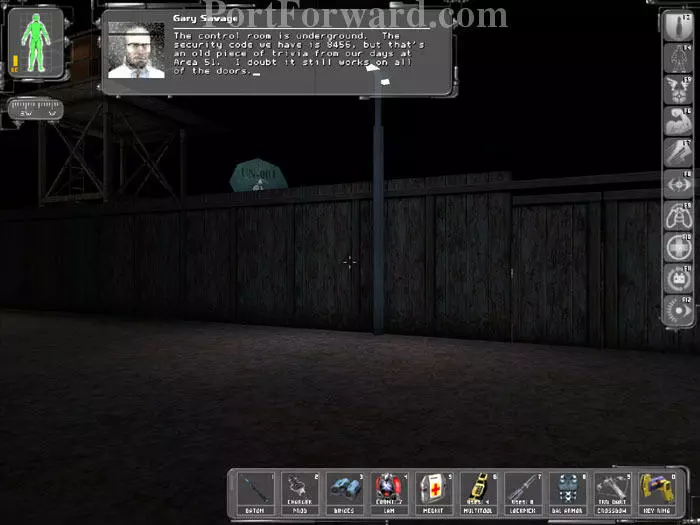
Upon your arrival, Gary Savage gives you the security code 8456. Immediately crouch behind the fence to avoid being seen from the guard tower.
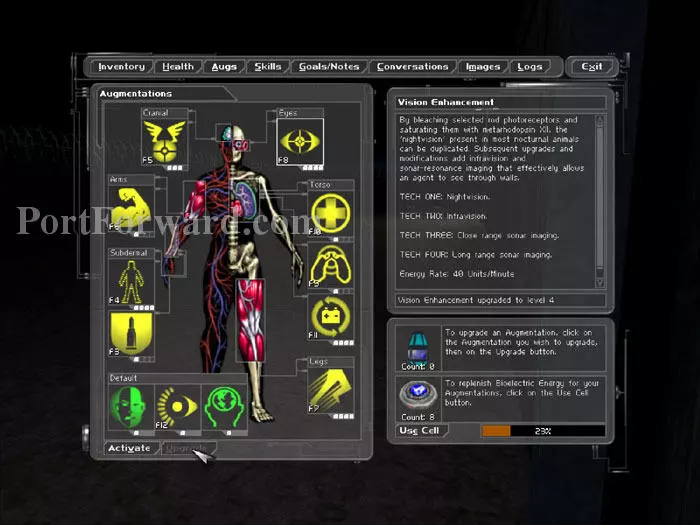
Here I use the upgrade from Gary Savage to bring Vision Enhancement to Tech Four.
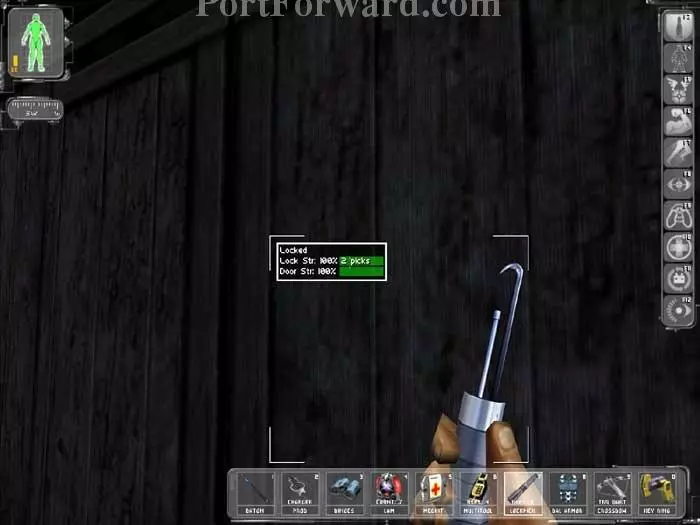
If you don't feel adventurous you can just pick the lock on this gate to enter the compound. Skip ahead if this is your choice.
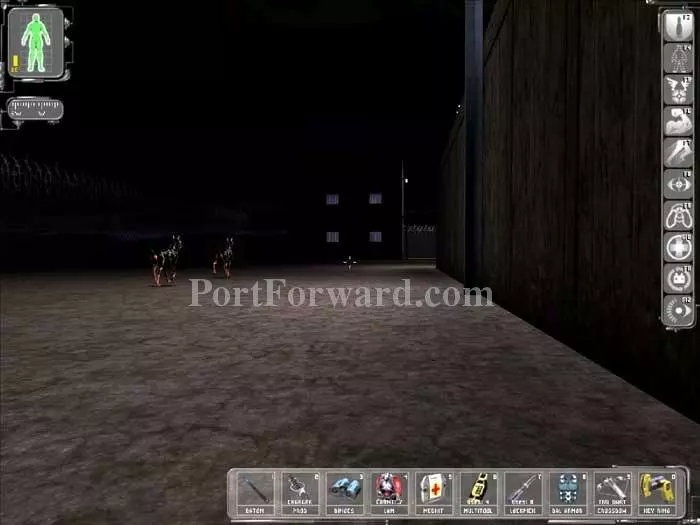
Everyone else, head around the left corner. Keep a safe distance as you shadow the Dobermans and approach the building in the southwest corner.
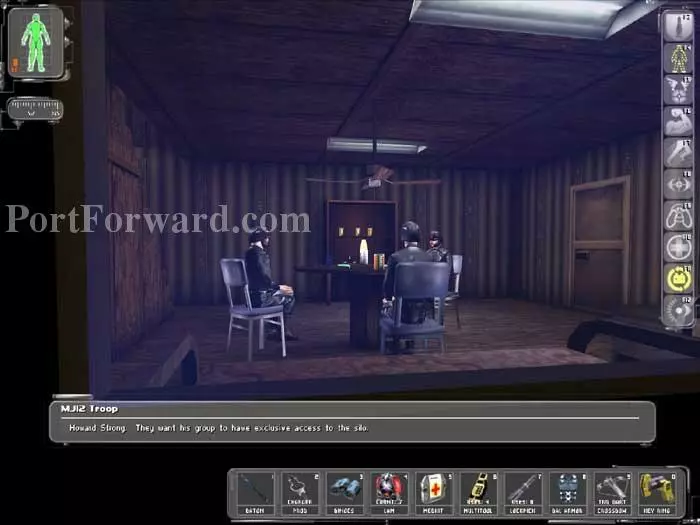
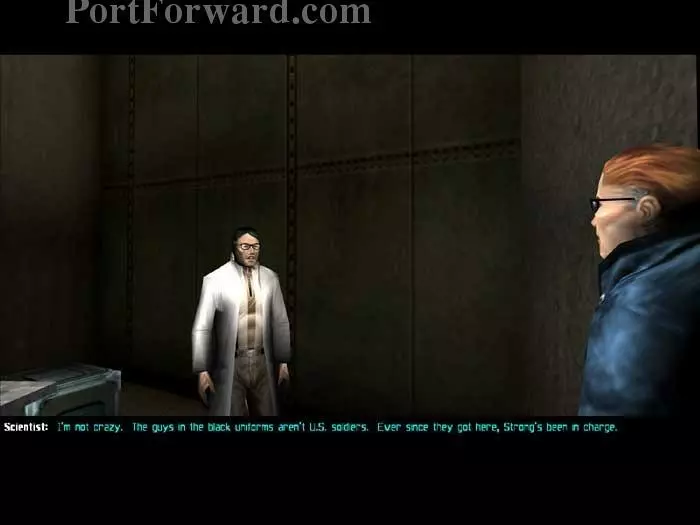
Activate your cloak and peer through the window to hear three MJ12 Troops talking about Bob Page and Howard Strong.
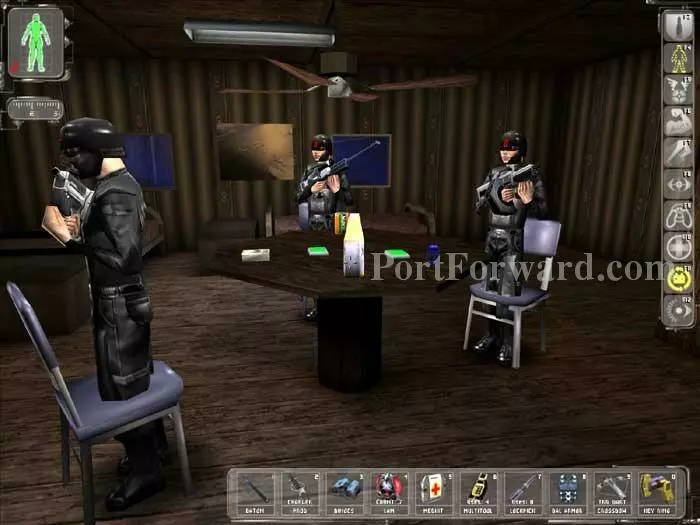
Gas and Tranq Darts will bring them down non-lethally, but I'm low on Tranq Darts, so I'm choosing to stay cloaked. Grab c200 and the Front Gate key from the table.
Upstairs is this keypad with a 2-digit code. A little experimentation reveals the code to be 12. Ascend the stairs that drop from above.
Jackpot! Inside the crates are a Lockpick, a Bioelectric Cell, a LAW, a LAM, and a Medkit.
Back downstairs you'll find this Multitool. You can head through the door visible here.
This catwalk will take you inside the fence.

Alternately, you can return to the starting location and use your Front Gate key to get inside the fence.

The security bots can see you while cloaked, so I choose to take them out. This dilapidated shack provides good cover while you pilot your Spy Drone.
Once the bots are disabled, activate your Cloak and ascend this ramp, the same one that leads to the catwalk.
Your Speed Enhancement makes this leap a piece of cake. The guard's will hear you, so Immediately head inside before the guard blocks the doorway.
Descend the stairs and pass through this grate.
In the next room are crates holding Sabot rounds and a Medkit.
Two MJ12 Troops are in the next room so activate your Cloak before entering. Grab this Truck Doors key.
Head back to the roof. Follow this ledge to the catwalk and enter the neighboring building. Descend the ladder.
Grab this Lockpick from the floor.
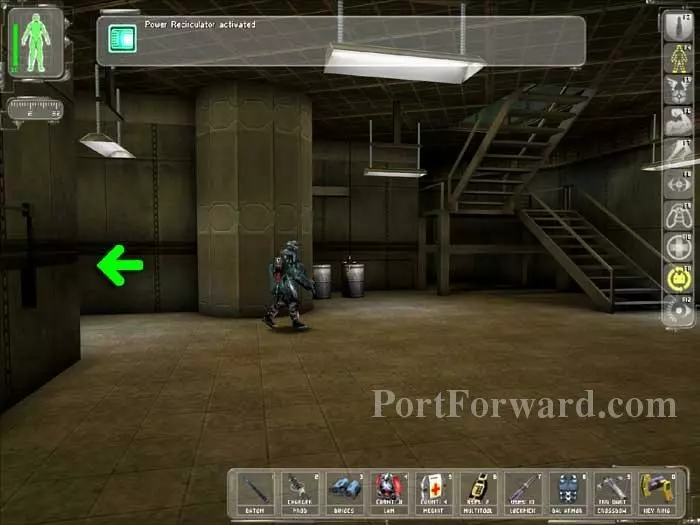
Swipe the Multitool just visible on the machinery to the right. Recharge at the Repair Bot, then proceed through the floor grate on the left.
Ascend the stairs and pass through this door.
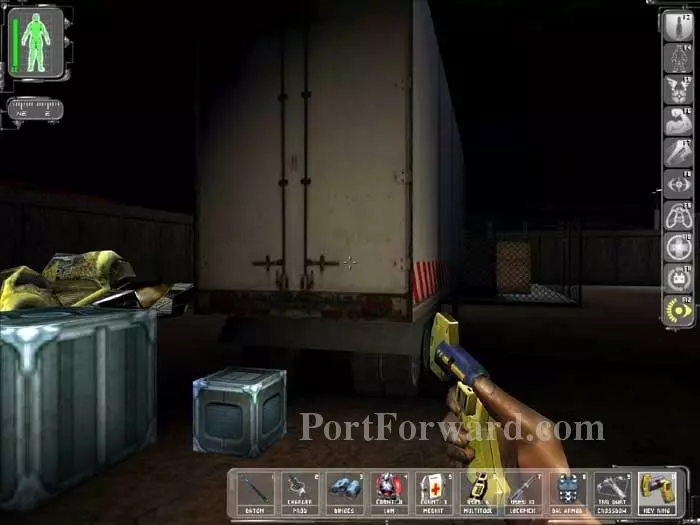
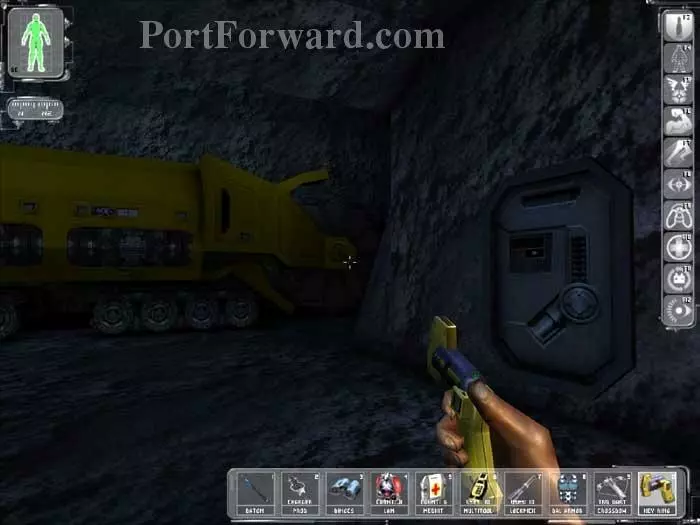
Carefully sneak to this trailer and use your Truck Doors key. Inside you'll find a Gas Grenade, a Plasma Clip, and a Medkit. In the far-left corner is a Silencer Mod, accessible by stacking the small crates and using your Speed Enhancement to hop over the tall metal crates.
Return to the stairs. (You can use your Speed Enhancement to retrace your steps through the vents for a final recharge at the Repair Bot.) Descend the stairs and enter the code 8456 into this keypad.

You earn an Advancement Bonus of 300 skill points. Enter the code 8456 into the next keypad and also into this third keypad next to the Launch Command doors. Use Multitools on the Control Panel to disable the lasers beyond.
Activate your Cloak to avoid the MJ12 Commando. Head left.
Pick the lock on the bathroom door and talk to Dr. Bernard.
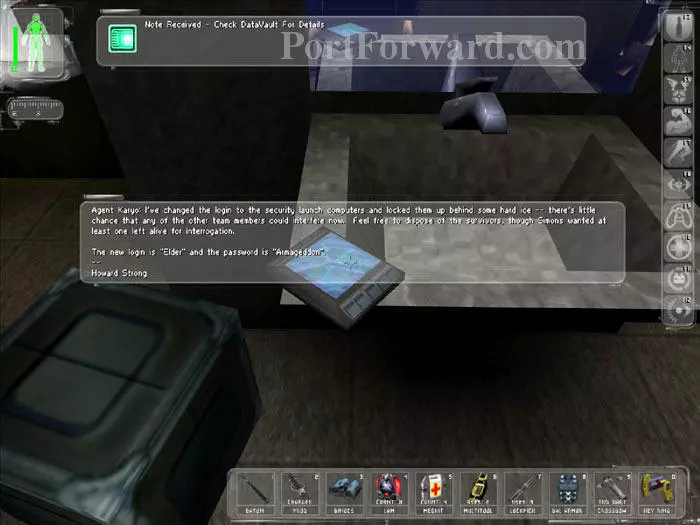
Read this DataCube for the account ELDER/ARMAGEDDON. Climb the crates to the left. img(217067); Send in your Spy Drone to disable this Spider protecting these crates. The crates hold a Lockpick and Rockets. Descend the ladder to another crate holding 30.06 Ammo. img(217068); Ascend the stairs, cloaked. Gary Savage tells you to activate the abort switch (1). This opens the launch terminal (2) where you can login with the account ELDER/ARMAGEDDON. Select "Initiate New Launch" to change the missile's target from Vandenberg to Area 51. Disable two security cameras. img(217069); Gary Savage tells you to get to the missile silo and prevent anyone from interfering with the launch. img(217070); If you charge straight through the tunnel you'll have a big fight on your hands. Instead, drop through this floor grate. img(217071); You are pulled down a ramp and into the cooling water beneath the missile. Press this elevator call button. img(217072); Ready your Mini-Crossbow and take the lift to level 2. Fire a single Tranq Dart at Howard Strong, who is trying to abort the launch. img(217073); Immediately retreat to the elevator and press the button for level 4, which is safe. (Level 3 is patrolled by two spiders.) img(217074); Once the toxin brings Howard Strong down, Jock radios that he is waiting for you topside. Recharge at the Repair Bot. img(217075); You can then return to Howard Strong's unconscious body on level 2 and retrieve supplies. img(217076); Return to the elevator, cloak, and ride it up to level 6. (Level 5 has two MJ12 Commandos and an MIB. It's the level you would have arrived at had you charged through the tunnel.) img(217077); Climb the ladder and press the yellow button on the right to open the ceiling hatch. img(217078); Board the chopper and take off for Area 51. You can see the missile just emerging from its silo.
More Deus Ex Walkthroughs
This Deus Ex walkthrough is divided into 20 total pages.


