
This Devil May Cry walkthrough is divided into 30 total pages.
You can jump to nearby pages of the game using the links above.
Mission 08: Eyeless
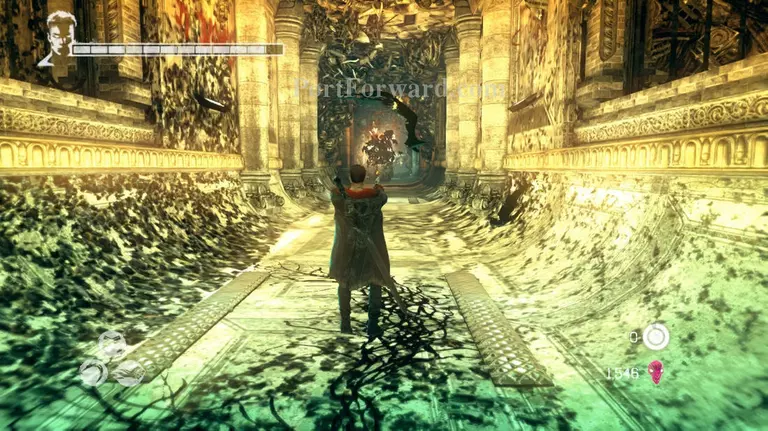
After the cut scene you'll need to follow the Harpies into their nst. So jump back to the platform that the old man is on and use Angel lift to enter the door above the ground.
Keep following the Harpies, then pull out a section of the wall to create a path for Dante. Unfortunately the Harpies won't let you catch up so easily, they'll deform the land.
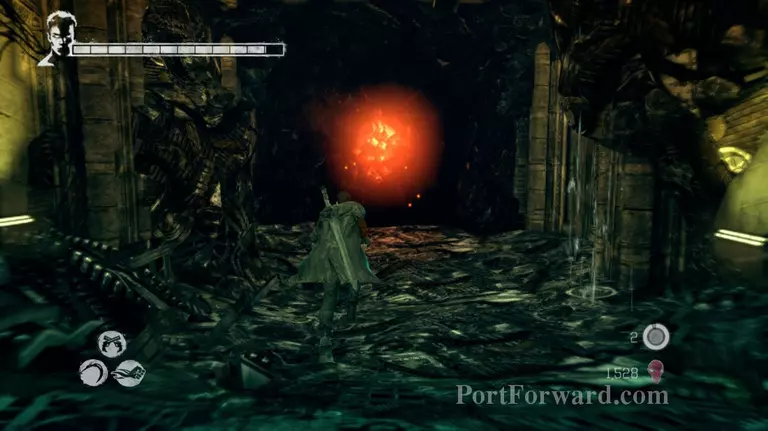
Climb up to a section of the wall with an opening on it and use Eryx to smash the red crystal and open a new path. There's another crystal at the end of the corridor, smash that too and grab the Vital Star inside.
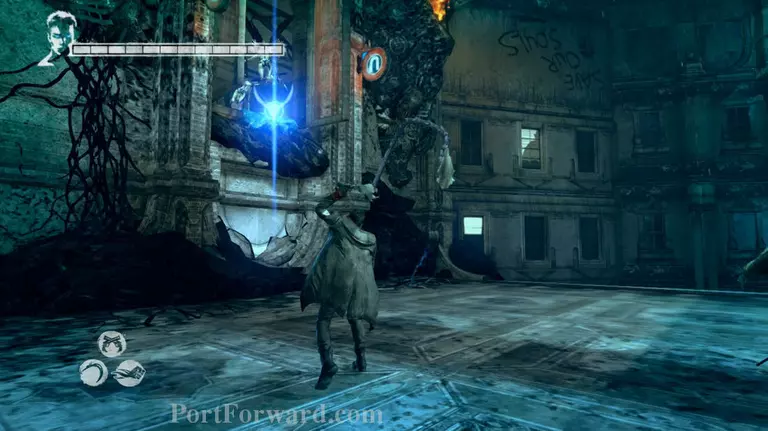
Now use Demon pull on the stone that's floating just outside the last arc on the far left end of the area (near where you got the Vital star). A boost ring will appear.
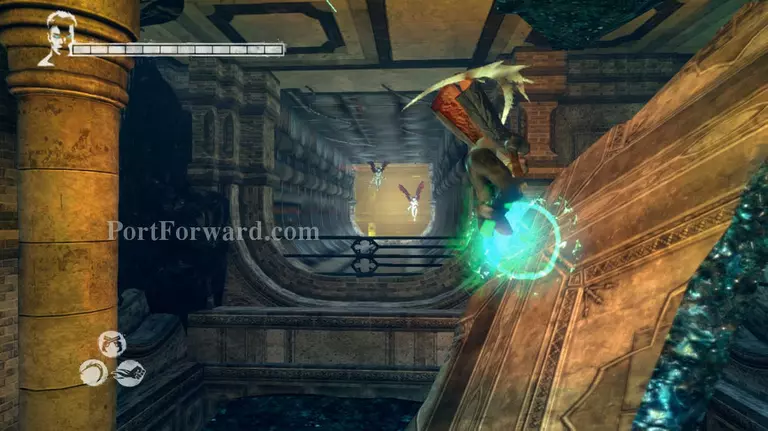
Use the boost ring to get back on the Harpies trail and continue following them.
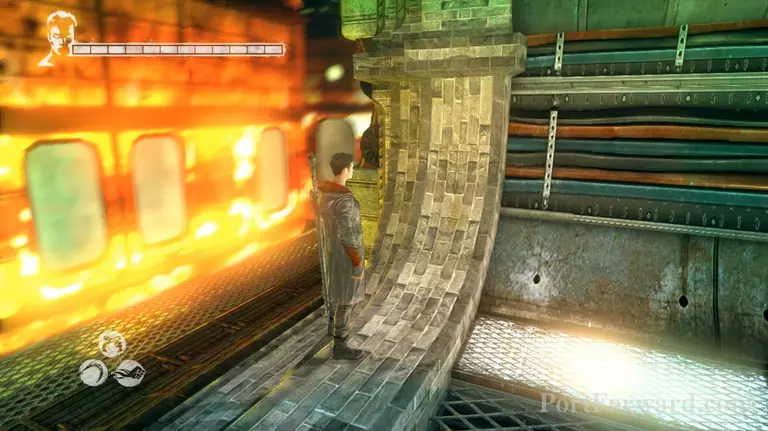
But before you can do that a train will get in your way. Be mindful of the train as it can damage and kill you if you get hit by it.
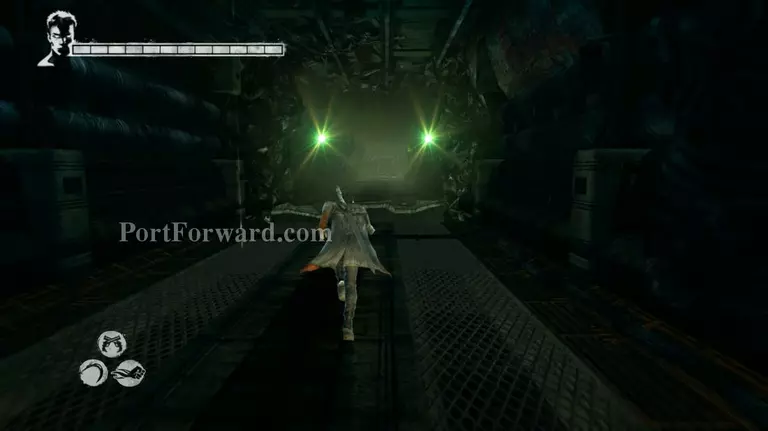
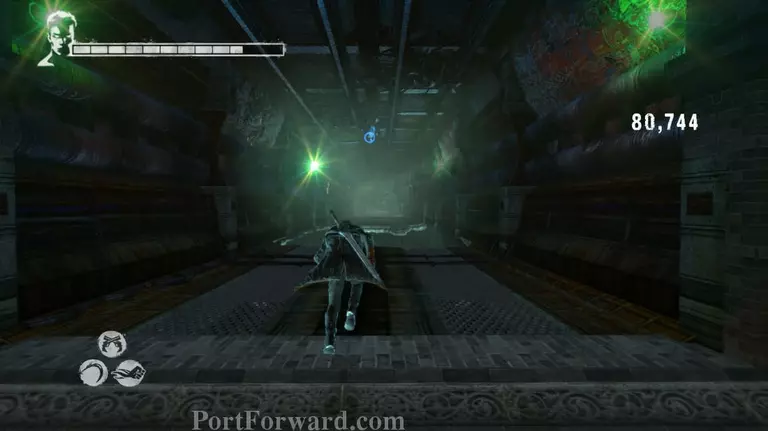
So make your way towards the Harpies, jump across the gaps when they appear.
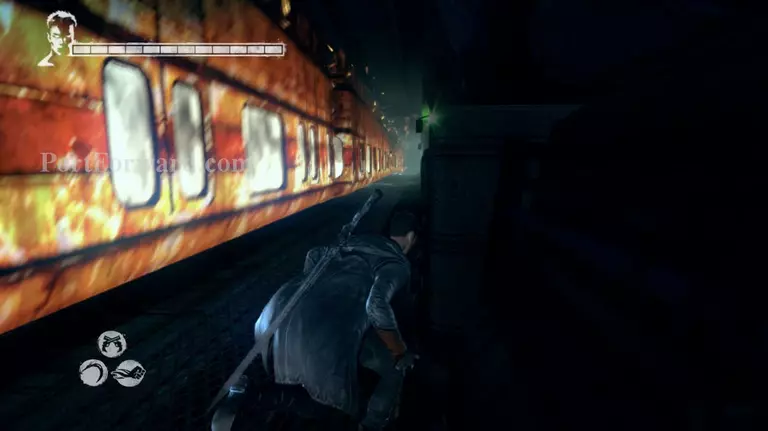
Occasionally a train will pass, just stick to the wall that won't get hit by it and you'll be fine. It's pretty easy to predict whether it's going to be on the left or the right side depending on the stop lights.
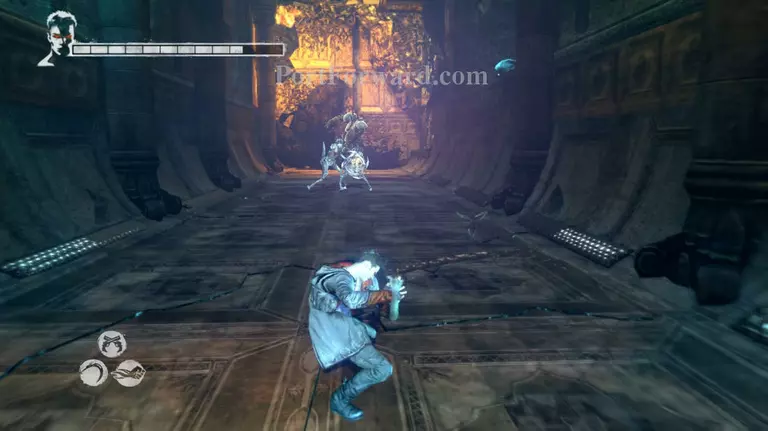
Once you manage to follow the Harpies towards the platform area of the subway, demons will start attacking you. The first wave will be some Stygians and a Hell Knight. As usual eliminate the Stygians first before going after the Hell Knight.
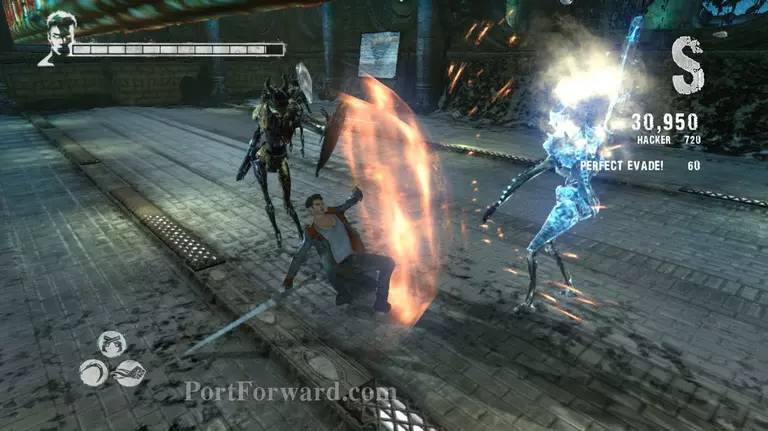
After you kill off all the demons in the first wave a Frost Knight and 2 Death Knights will attack you. Don't worry about the train as it can't hit you unless you're up in the air. Kill the Frost Knight first but be careful of the Death Knights while you're doing it.
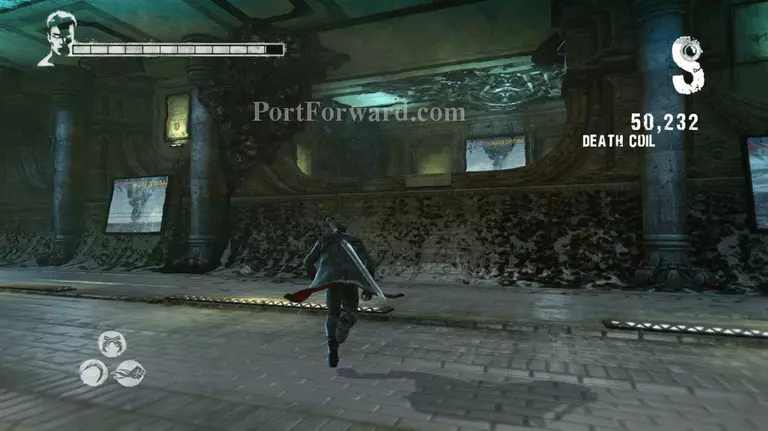
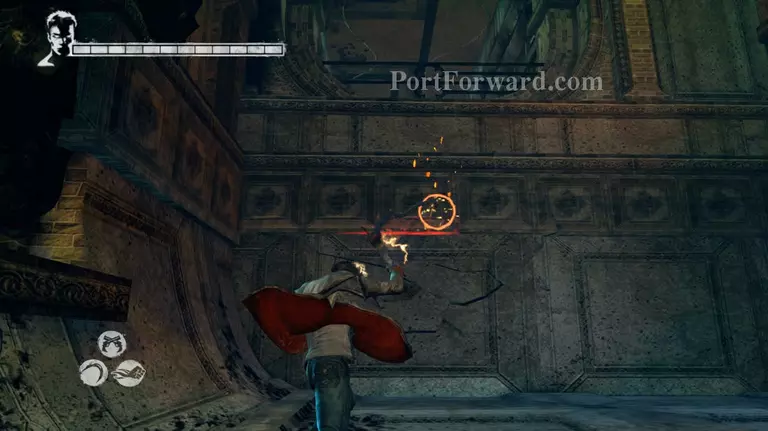
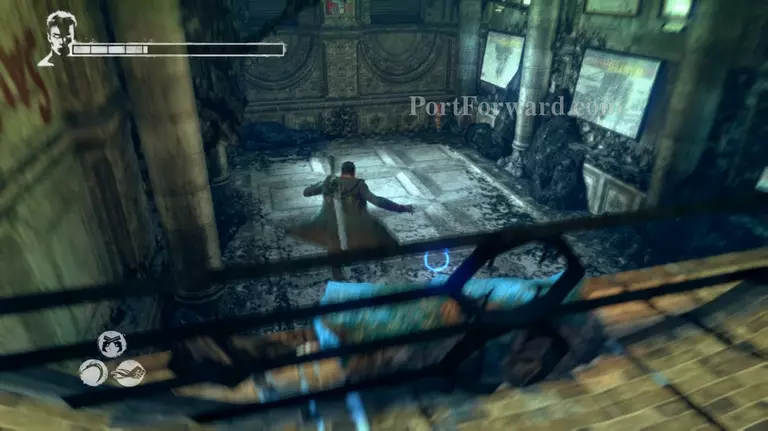
After you've killed all of the demons the path will open and you'll be able to proceed further inside the station. So climb up the opening and turn right. A demonic shard will appear at the landing. Shoot it with Ebony and Ivory to eliminate it and proceed further down the stairs.
Another demonic shard will spawn on the second landing. Kill it and destroy the red crystal with Eryx.

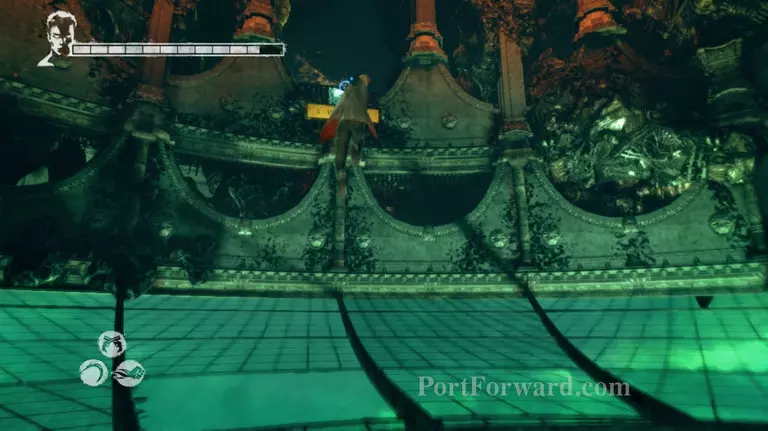
Jump down and use the Divinity Statue if you ned it. Then proceed further down the corridor and follow the Harpies.
A few demonic shards will appear so go trigger happy on them. Once they're dead follow the Harpies again.
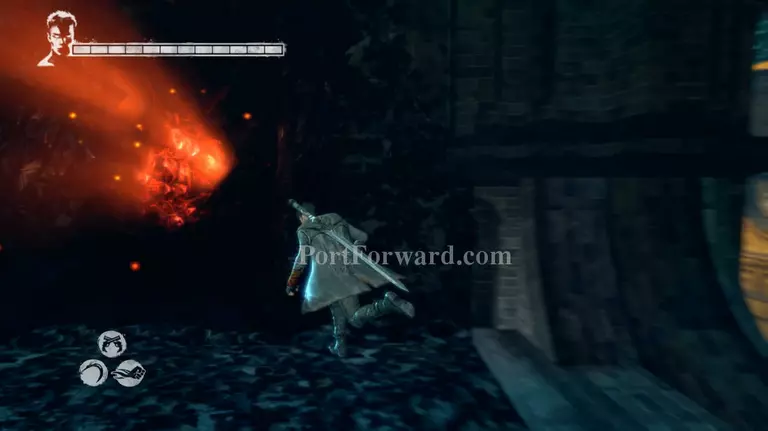
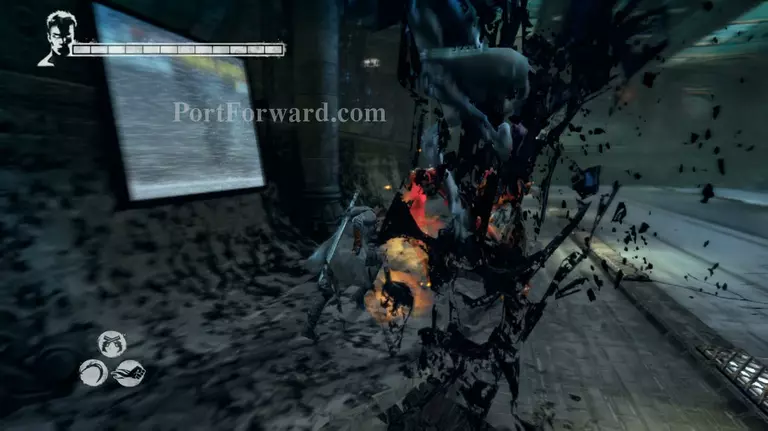
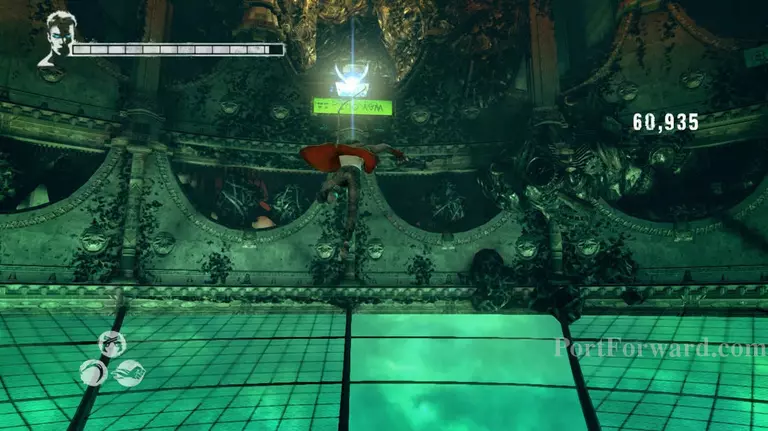
Once you arrive at the nest you'll find the old man's eye and also get ambushed by Harpies. Another thing is you already know that the glass will shatter if you step on it too much.
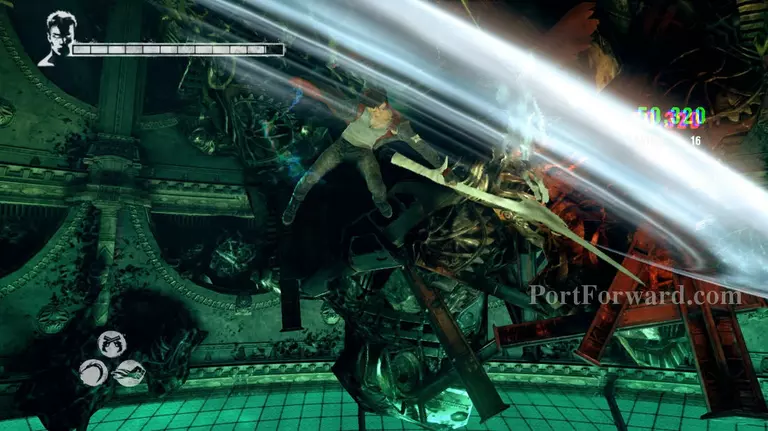
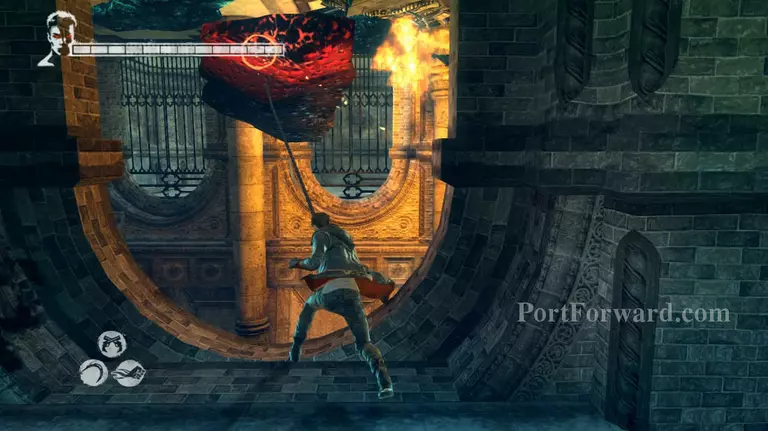
As soon as the battle begins use Angel lift to get yourself airborne. I recommend using a mixtrure of Osiris and Rebellion attacks on the harpies to keep yourself in the air longer.
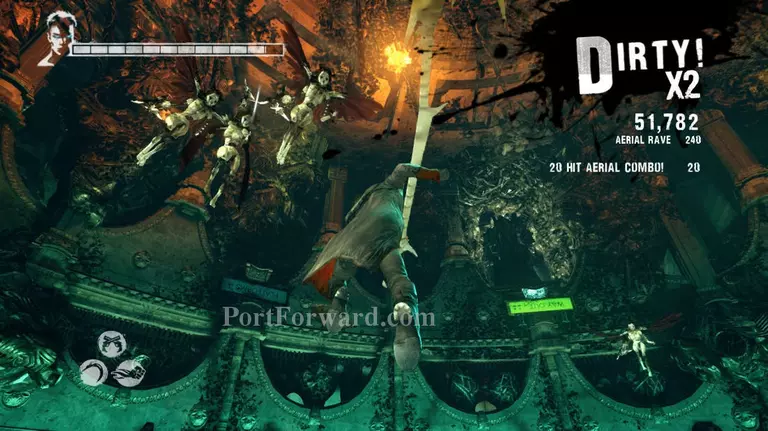
Whenever you start falling use the Angel lift again to gain more height. Keep on killing all of the harpies this way and also some occasional pathos.
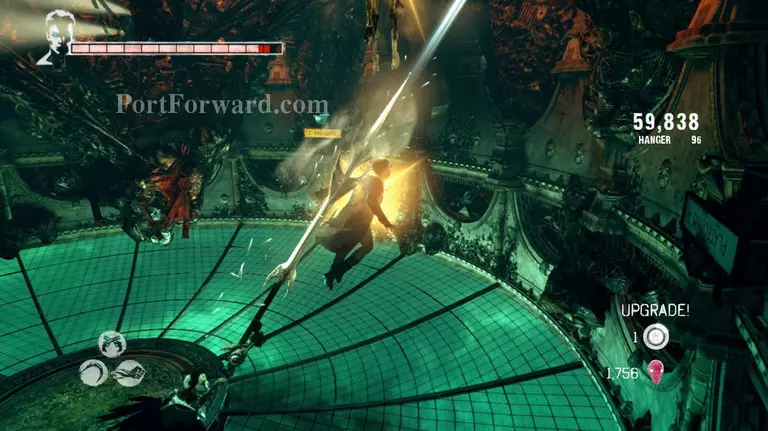
The downside to this is that it's very hard to dodge the enemy's attacks since you're in the air. But it's safer than being on the ground and risking breaking the glass and falling. Eventually you'll be able to thin out the enemies.
Once all of the demons are gone look for the Angel lift mark on platform 1. Some demonic shards will spawn. Kill them as quickly as possible and kill the lost soul at the end of the corridor.
Now head back out through the door marked with "Way out" and back track to the beginning of the tunnels.
Once you get to the platform area a pair of rage will appear. Kill them off quickly it's gonna be easier to take care of them in this area cause it's a lot larger and you can dodge without worrying about falling.
Once you kill them head back up the train tracks into the previous room where you came through before.
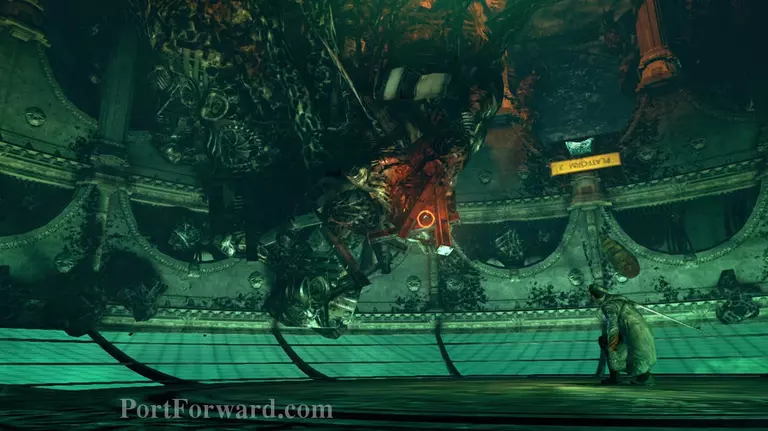
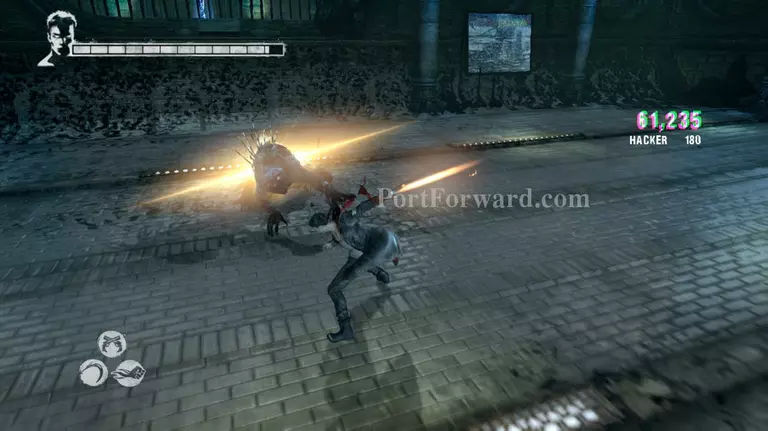
You'll be attacked by a pair of Death Knights and a Tyrant. Take care of the Tyrant first before dealing with the Death knights. The linear area will make it hard for you to dodge the Tyrant if you don't take care of it first.
After you kill the demons make your way back to the old man and return his eye.
More Devil May Cry Walkthroughs
This Devil May Cry walkthrough is divided into 30 total pages.


