
This Devil May Cry walkthrough is divided into 30 total pages.
You can jump to nearby pages of the game using the links above.
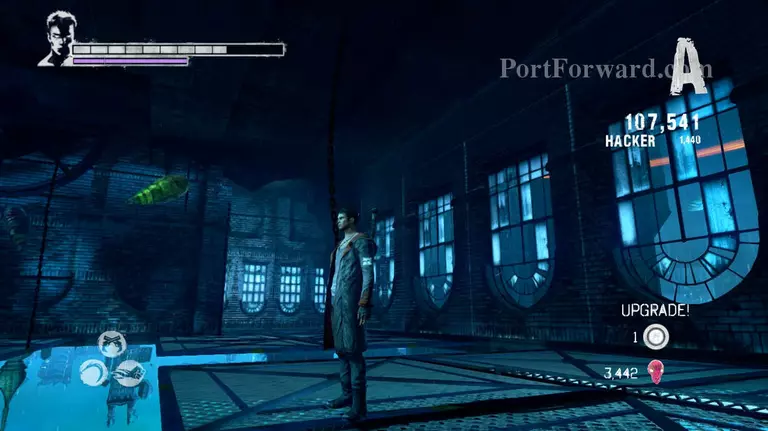
Mission 09: Devil Inside
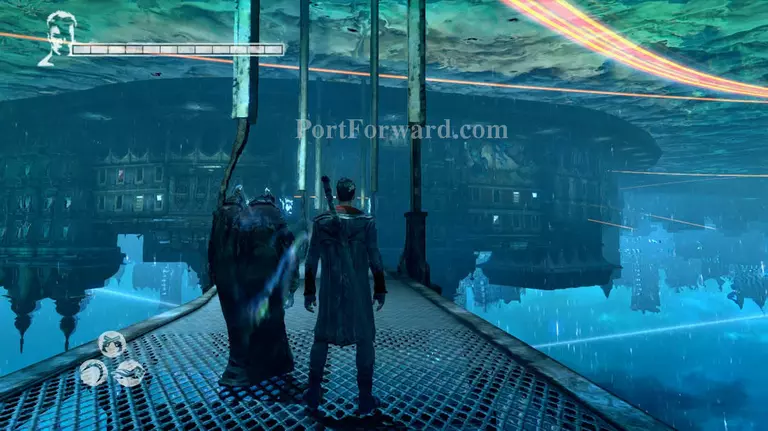
As you gain control of Dante go through the bridge and follow Phineas through the area.
Smash the wall that's marked with the Arbiter symbol and make your way through the building.
You'll find a vine wrapped area inside the building. Use Osiris to remove the vines and you'll find a lost soul inside. Kill it and proceed further to the corridor on the right.
After the cut scene make your way down to the large statue by using the floating walls until you get to the wings.

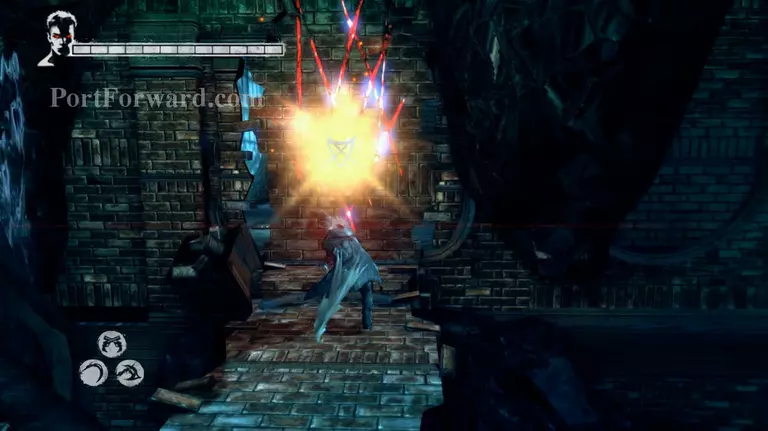
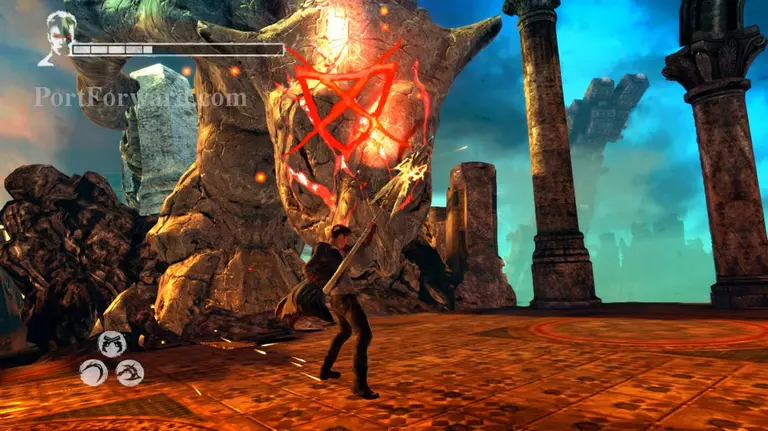
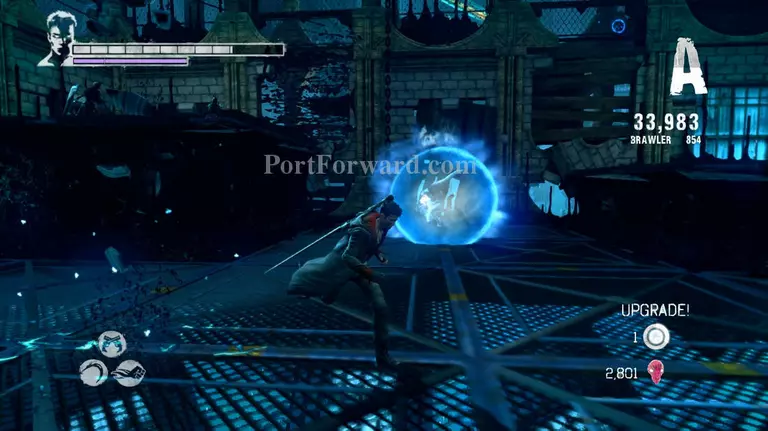
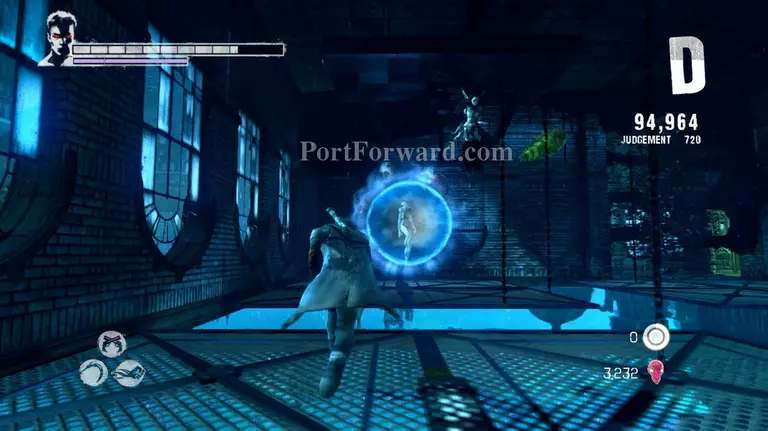
A witch will spawn. This is one of the most annoying demons in the game. Not only can you not damage it while it's inside that force field, it also has strong attacks, the first is a ground attack in which spikes come out of the floor, that one's easily dodged.
Second is her shield explosion which will be triggered when you get too close to the Witch for a long time.
And third is a sword attack where she summons a fiery sword which she will throw at you. This attack is the one you want.
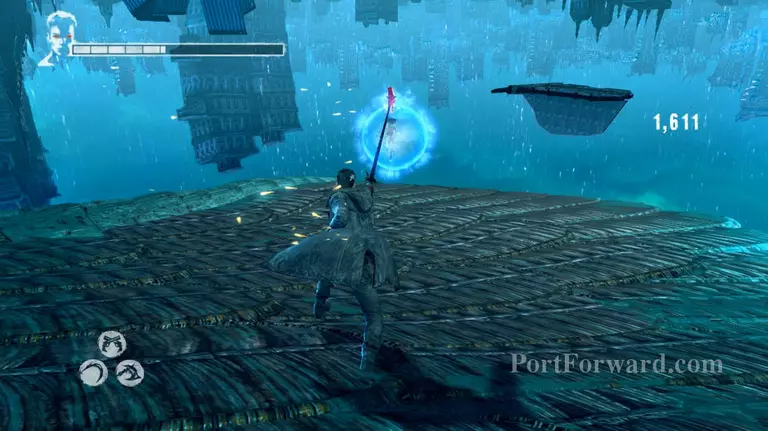
When a sword appears above her head use Demon pull to pull the sword closer, then use Rebellion to hit the sword and send it flying back to the Witch.
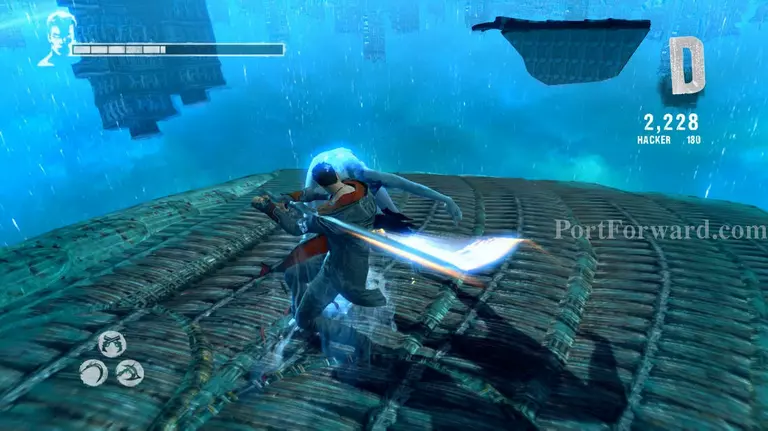
This will break her shield and open her for attacks. Use Demon pull to get her closer while she's dazed and land a couple of blows. Eventually she'll pick herself up and start attacking you but it will take a while before she can regenerate her shield and when she does break it down again and attack her until she dies.
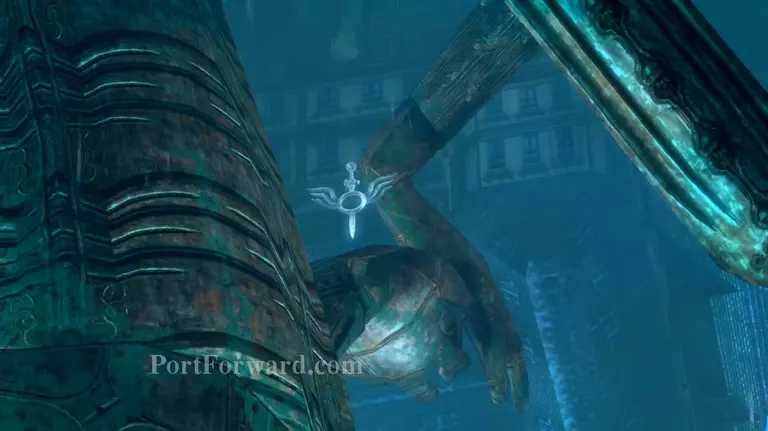
A short cut scene will appear showing you the item you need to get from the statue.
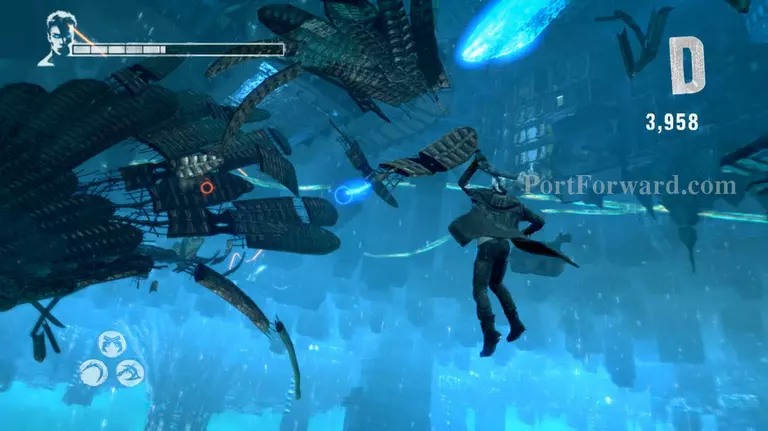
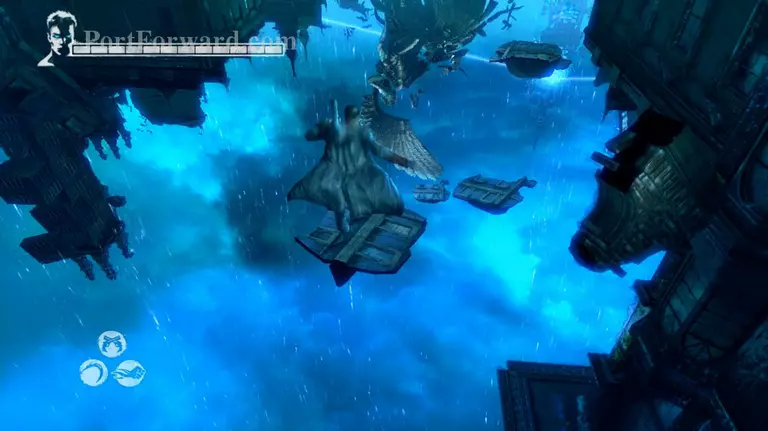
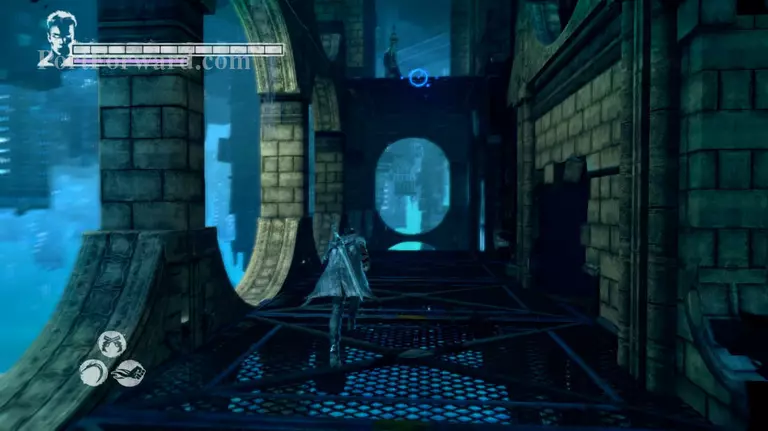
Jump and use the Angel lift icons to get up above the ground or rather to get higher in mid air.
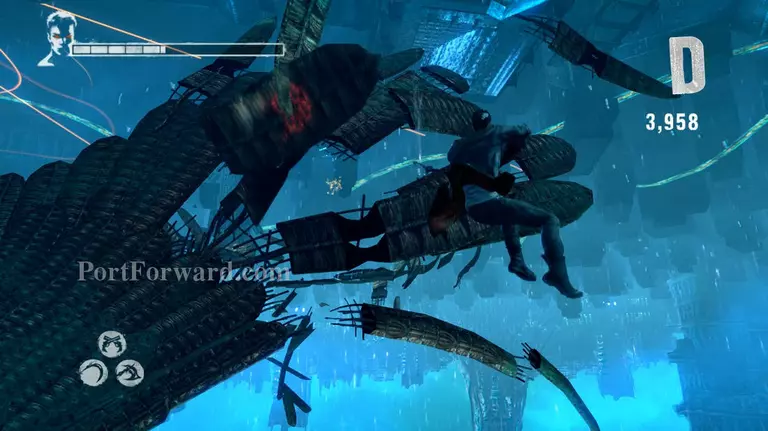
Use Demon pull on a part of the wings and quickly follow up with Angel lift to get Dante to the other side without falling.
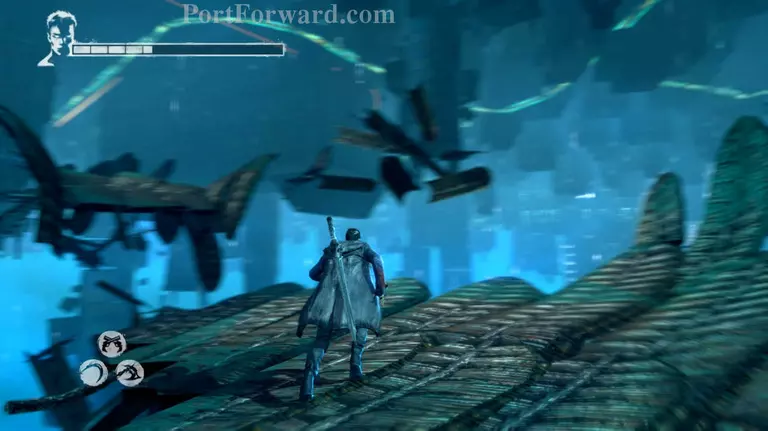
Now turn left and make your way through the platforms.
And finally use the boost ring to propel Dante towards the item that you need to take.
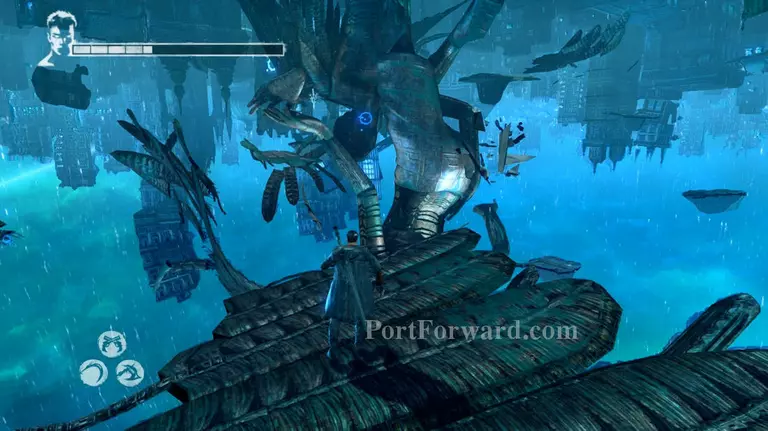
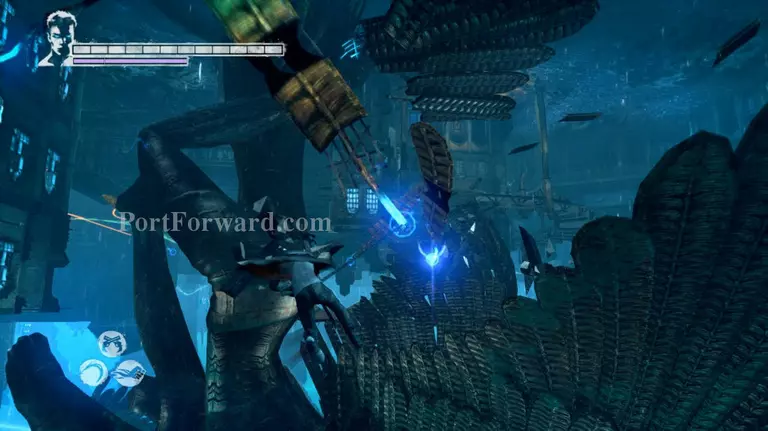
In the unknown world make your way to the statue holding the final chain. It won't be as long as the previous ones.
Destroy the last statue with Arbiter and you'll gain Dante's devil trigger ability.
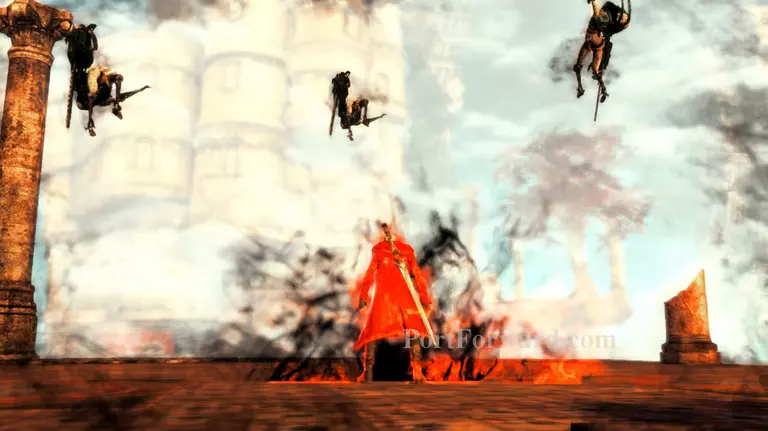
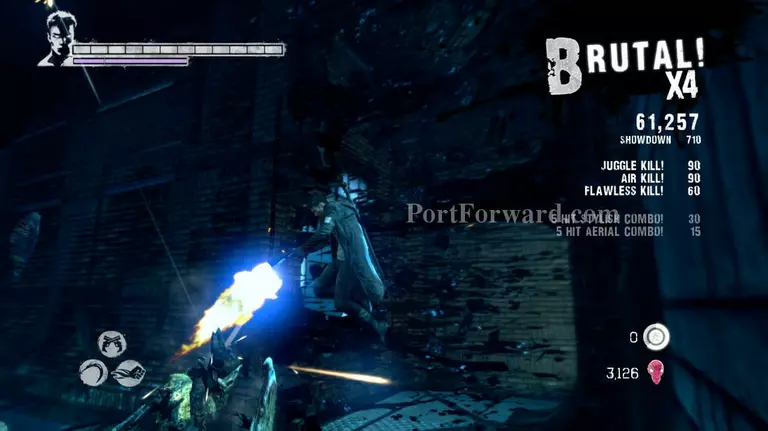
In devil trigger mode Dante will cause more damage as well as send enemies flying in slow motion. Unfortunately it doesn't last very long. Eliminate the Ravagers in devil trigger mode and you'll be sent back to Limbo with your newly acquired power.
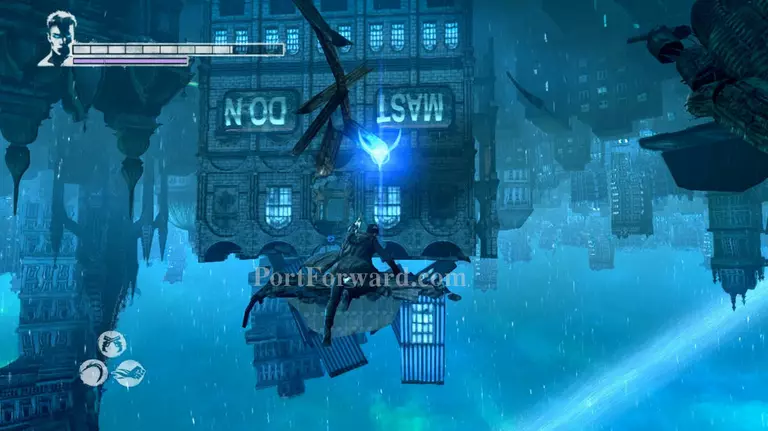
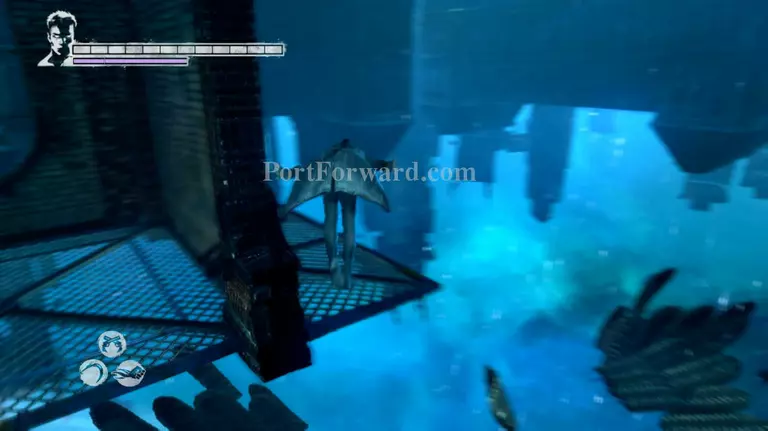
Make your way to the building right in front of you by using Angel lift to get there.
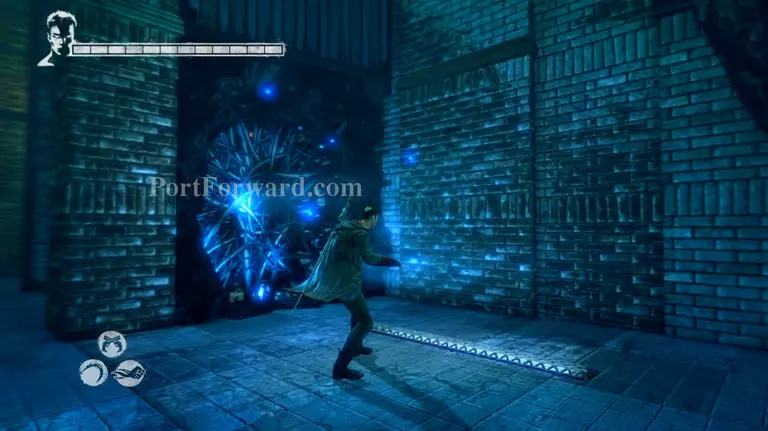
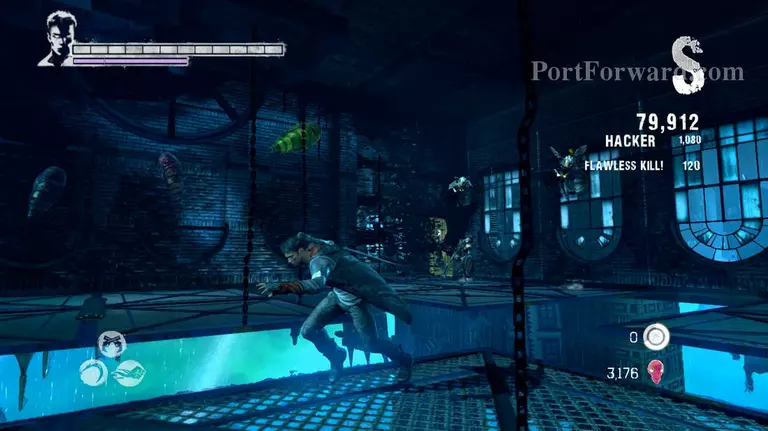
Inside the building you'll be attacked by a pair of Rages. Use Osiris to kill them faster but be careful of when they go into rage mode as attacks won't stop them anymore. However attacking them at the right moment will parry their attacks and leave them vulnerable.
The second wave will consist of a Witch and 3 Stygians. Take care of the Stygians first but be careful of the Witch. Witches have this annoying ability of placing their shields on a different demon. If the Witch does place her shield on a Stygian, then ta
Make your way up the upper ledge and use the Divinity Statue if you need it. Now turn to the right side and make your way to the other side via the Angel lift marks.
Keep going until you reach the inside of the next building but don't enter it yet.
Instead perform a double jump to get to the other side of the floor grate and make your way to the other side and destroy the lost soul on the back of the wall. Then make your way back the same way.
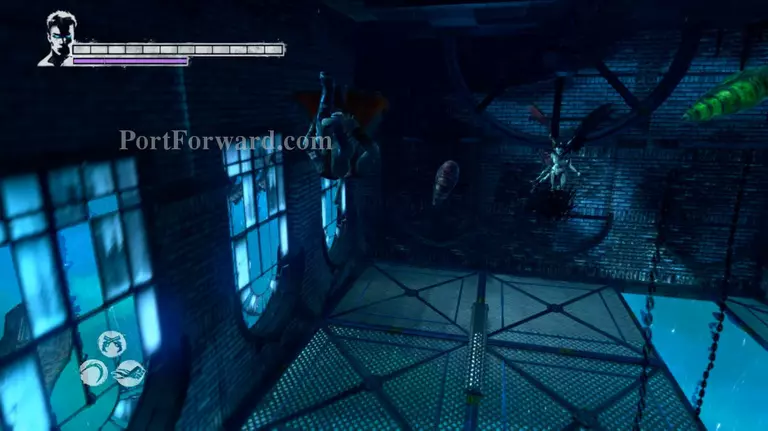
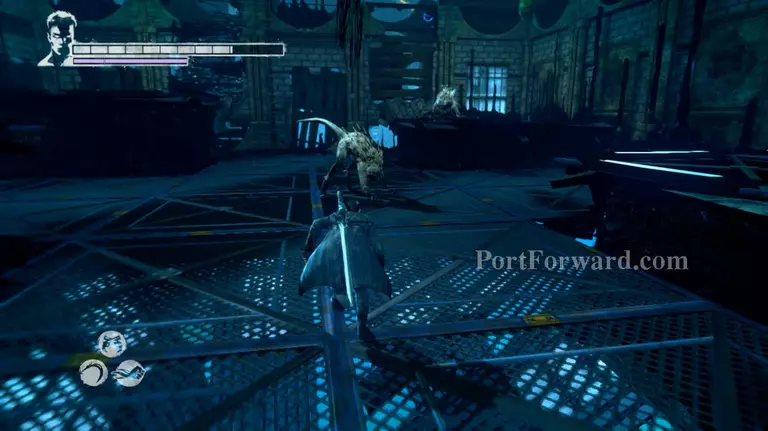
Inside the building you'll be attacked by some Harpies, start shooting at them to destroy their wings, this will make it possible for you to use Demon pull on them. Kill them off quickly and safely. You'll be attacked by a lot of Demons here.
After the Harpies you'll be attacked by a pair of Death Knights, keep away from the edges as they can push you off of it and deal more damage. Break down their shields with either Eryx or Arbiter. Personally I think Arbiter breaks them down faster. Then kill them once they lose their shields.
After those two another pair of Death knights will appear as well as 2 shielded Bathos. Take care of the Bathos first since the small area would not be very helpful if those flying menace throw a bomb at you. Take care of the Death Knights after you eliminate the Bathos.
Lastly a Witch will appear as well as 2 Harpies. I recommend going airborne first and attacking the Harpies. The Witch will surely retaliate by placing its shield on the Harpy that you're attacking, leaving itself vulnerable. Attack the Witch when she does this and you'll have an easier time killing her. Then take care of the Harpies they aren't much of a challenge without someone to distract you.
After you kill them head on over to the exit and make your way back to Phineas via the Angel lift marks. Don't forget to break some green cocoons when you need some HP. This is better than using an item since it doesn't affect your completion score.
More Devil May Cry Walkthroughs
This Devil May Cry walkthrough is divided into 30 total pages.


