This Devil May Cry walkthrough is divided into 30 total pages.
You can jump to nearby pages of the game using the links above.
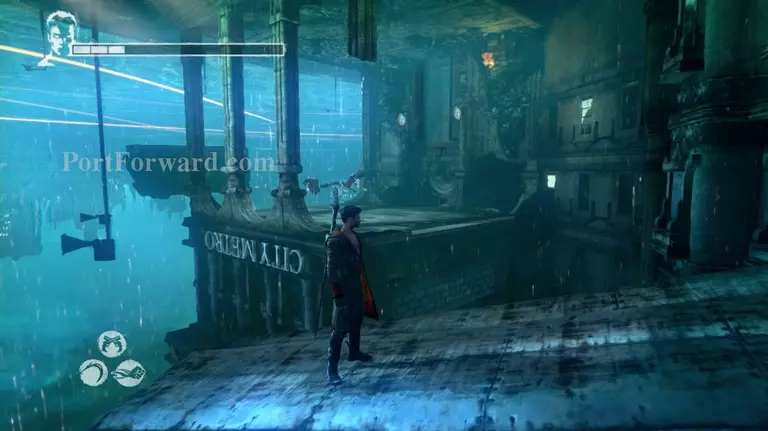
Mission 07: Overturn
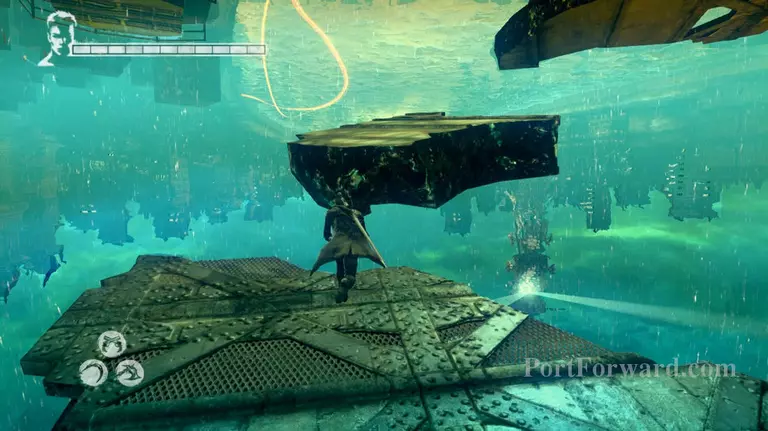
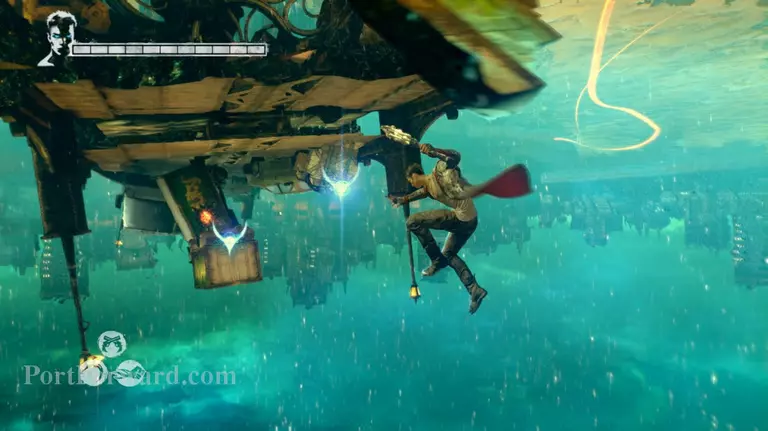
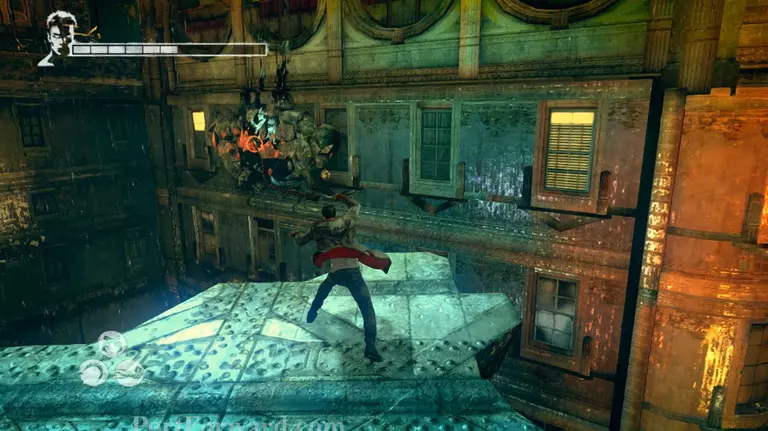
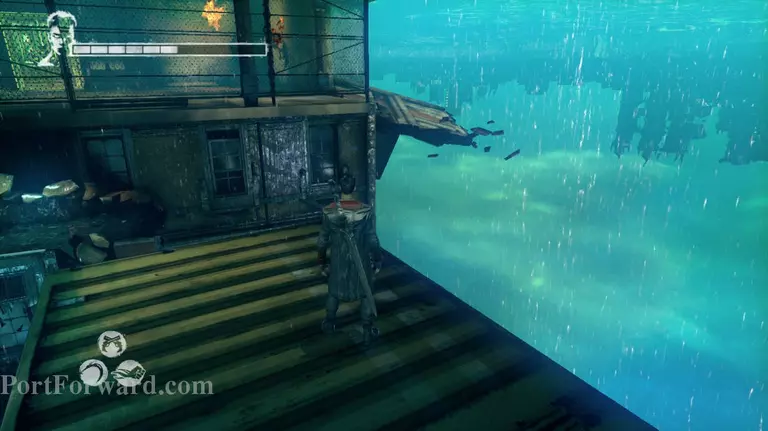
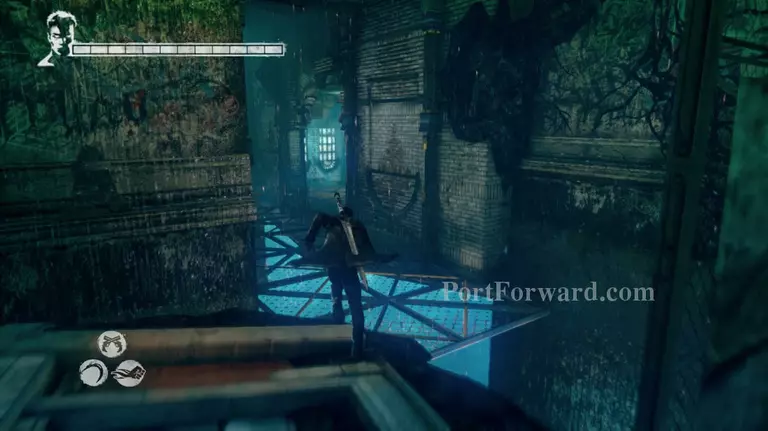
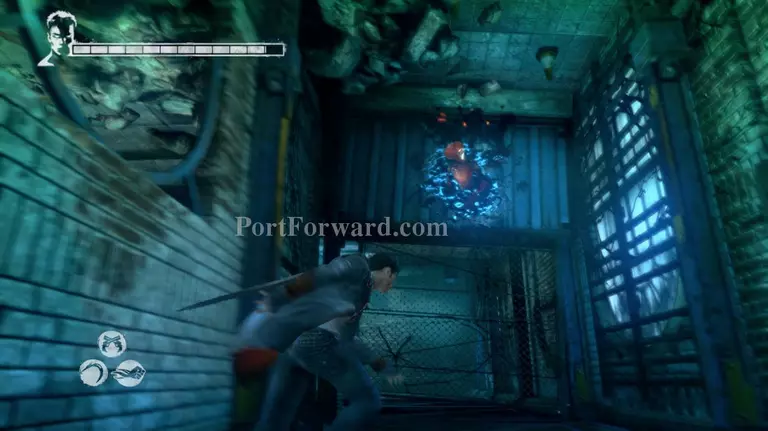
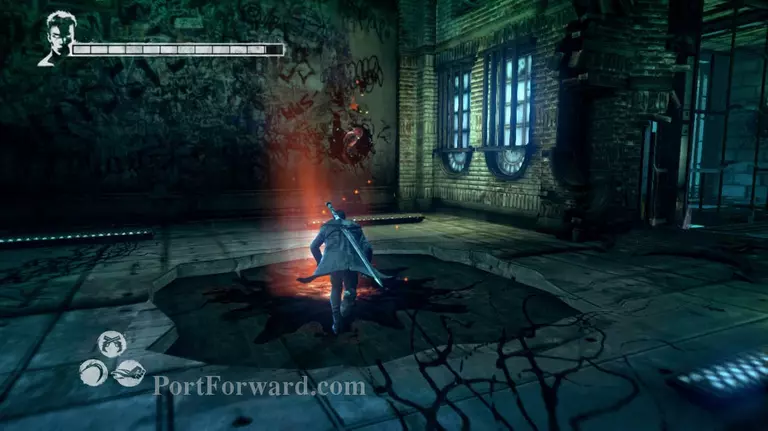
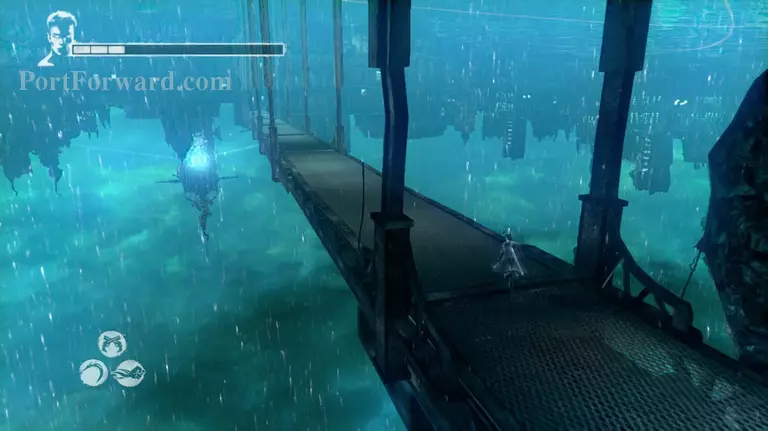
After the cut scene head up the floating platforms to get to higher ground.
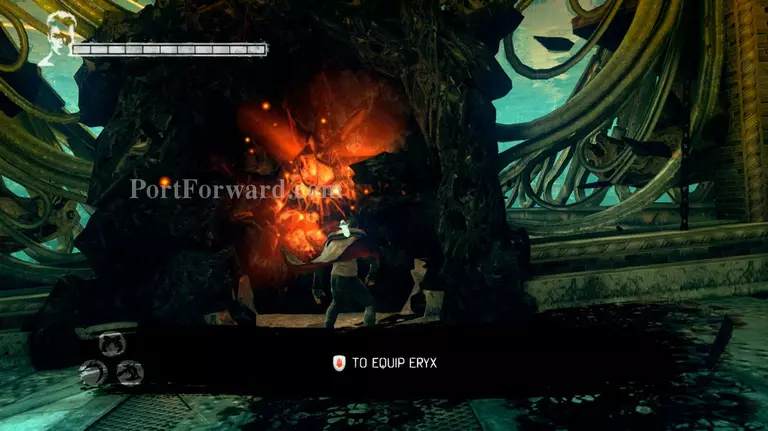
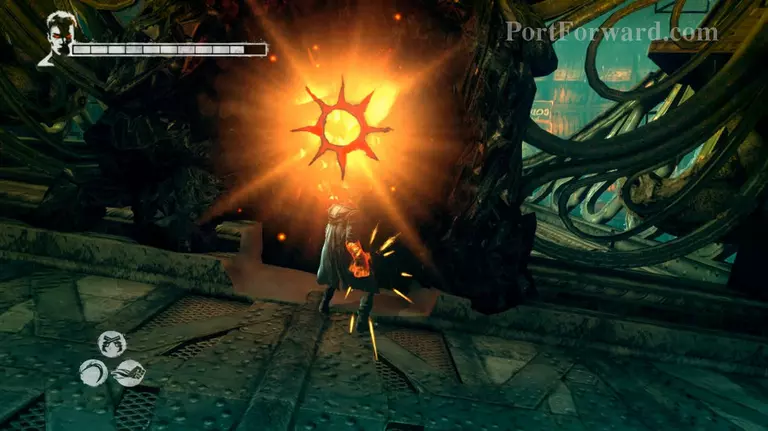
Equip Eryx and use it to smash the red crystal that's blocking your way. If you noticed the red crystals at earlier levels you can use Eryx on those too, you just need to replay that level.
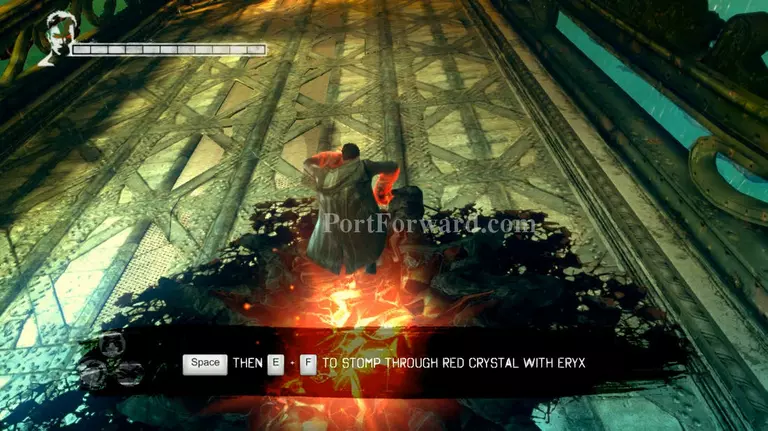
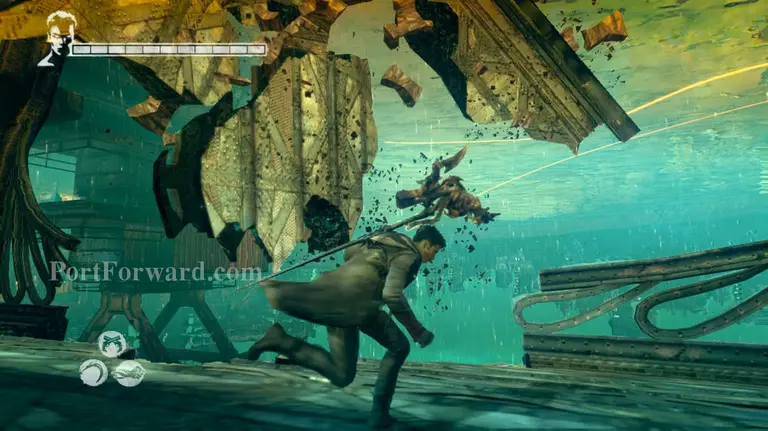
You'll also be given a crash course on smashing crystals that are on the ground. Smash the training crystal to destroy the bridge and create a new path.
Now use Angel lift and make your way to the other side. Use Eryx to smash the Virility truck and use Angel lift on the ledge that will appear after removing the truck.
Once again smash the crystal with Eryx and you'll be attacked by Death Knights. You'll also be given a basic tutorial on how to use Eryx in battle. Although personally I prefer using Arbiter when it comes to smashing shields.
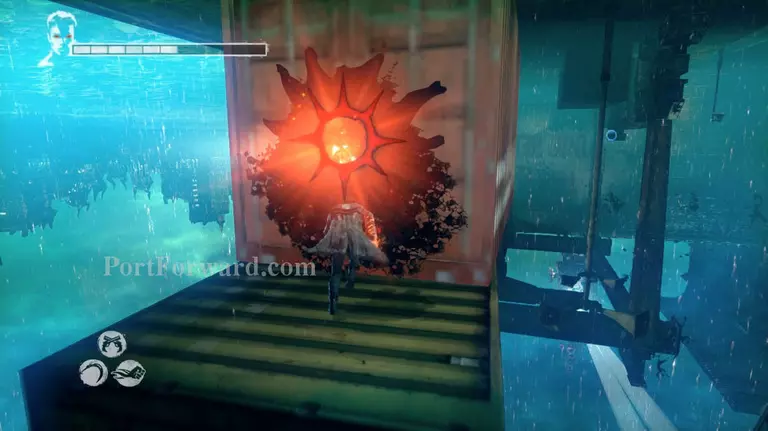
After you kill all the demons head on over to the exit and destroy the crystal.
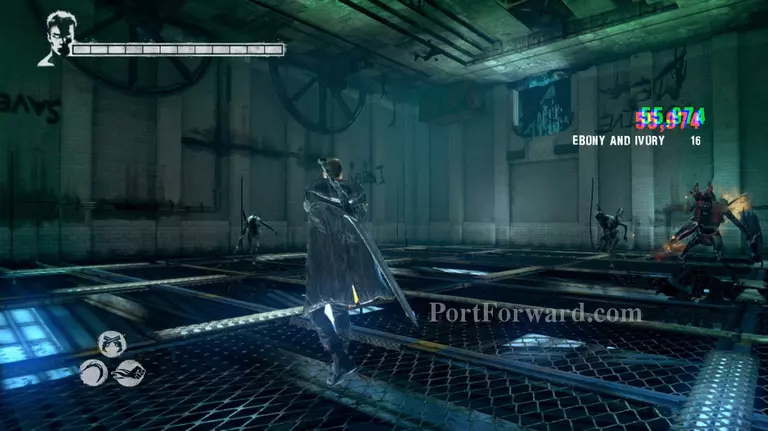
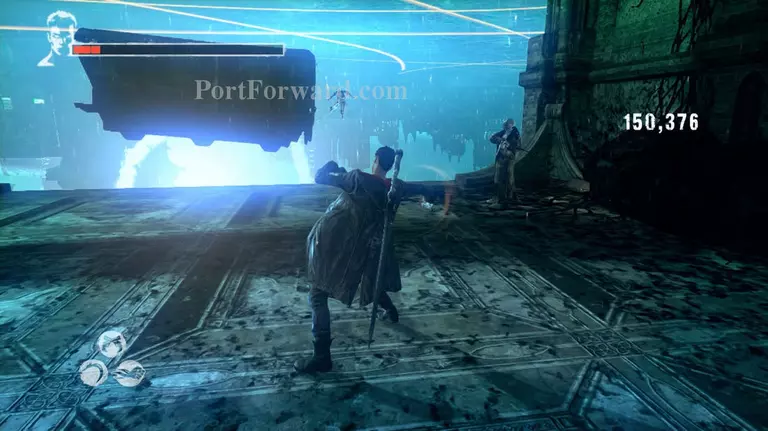
You'll once again be attacked by some demons. The first wave is just a pair of Death Knights nothing too hard to deal with. Eliminate them by using Demon pull or Arbiter.
After you kill the first Death Knight a Hell Knight will appear. Take care of the Hell Knight first before you deal with the remaining Death knight. Remember to equip a demon weapon when the Hell Knight uses its lava attack.
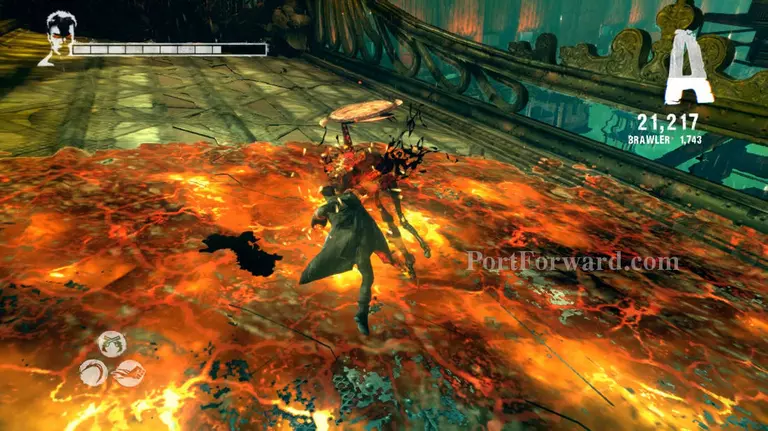
After you kill the Knights a Tyrant will appear. You'll be given a short tip on how to use Eryx to launch a Tyrant into the air, but personally I found that way too hard to do so I stuck with my dodge and shoot method.
Once you kill the Tyrant the dark matter will disappear and you'll be able to smash the red crystal blocking your path.
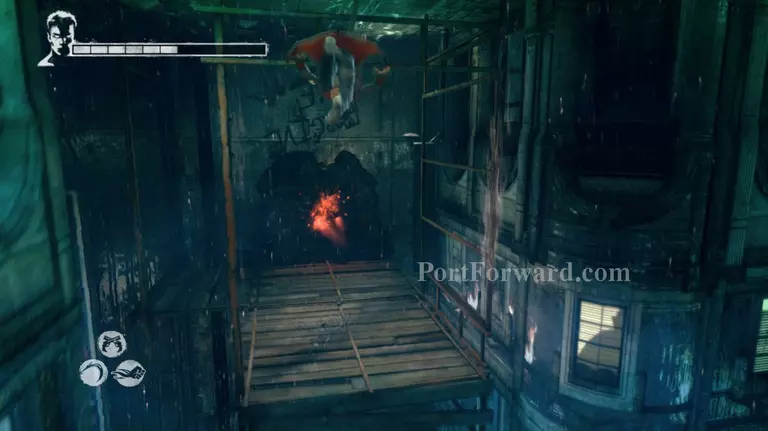
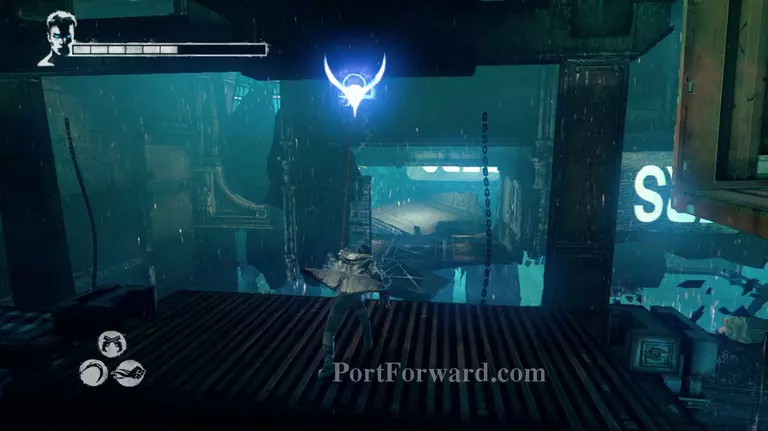
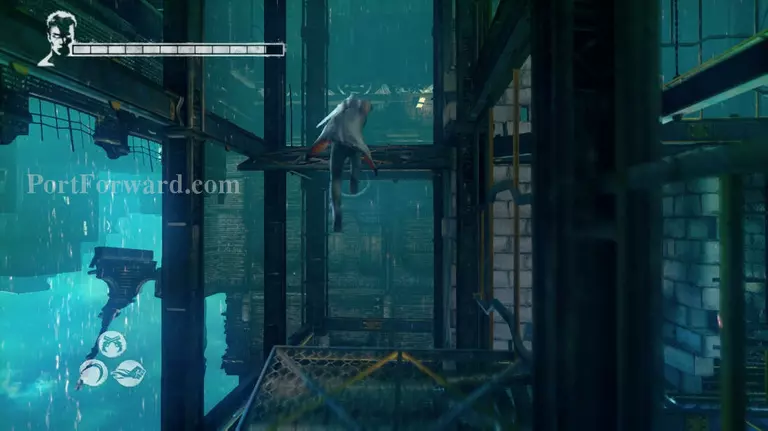
After the short cut scene head on over to the left side and use Angel lift on the ledge, then use Demon pull to create a platform that you can stand on. Next chain a double jump with an Angel boost to get to the next platform.
Use the Demon pull on the wall to create another platform and jump on it.

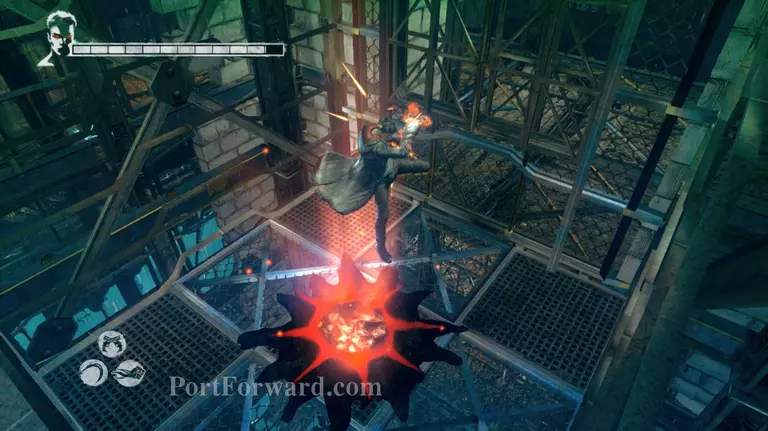
Now use Angel lift to gain some height and use Demon pull to make Dante pull out a section of the building, he'll automatically jump on it.
Jump on to the next platform and smash the crystal on the wall. A short cut scene will play afterwards.
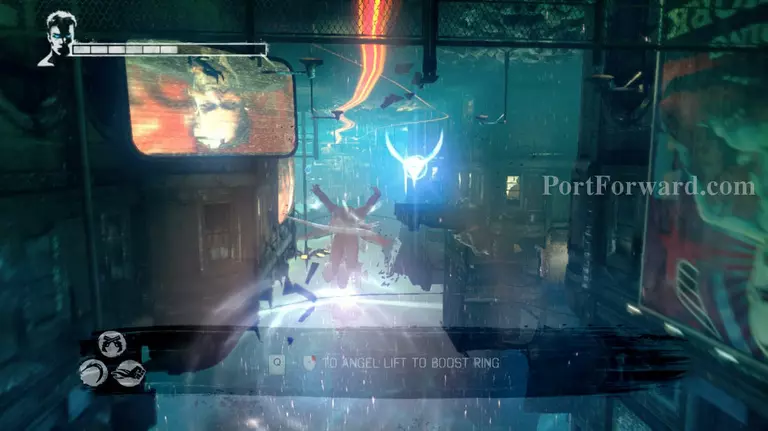
You'll gain a new ability, This one isn't as readily available as the others but it basically let's you travel a longer distance with Angel boost. They're environmental elements called boost rings. Use angel lift to get to the boost ring and use to get to the next platform.
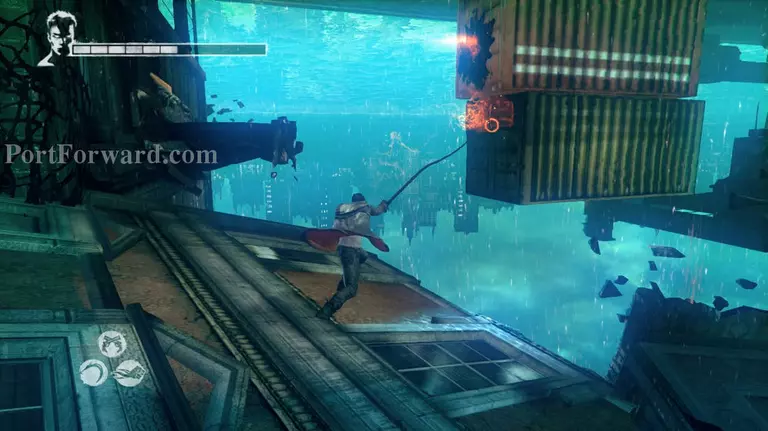
After the T.V. blocks your way jump to the left and use the boost ring. Keep walking forward until you find the cargo storage. Use Eryx to pull the green one from under the other one.
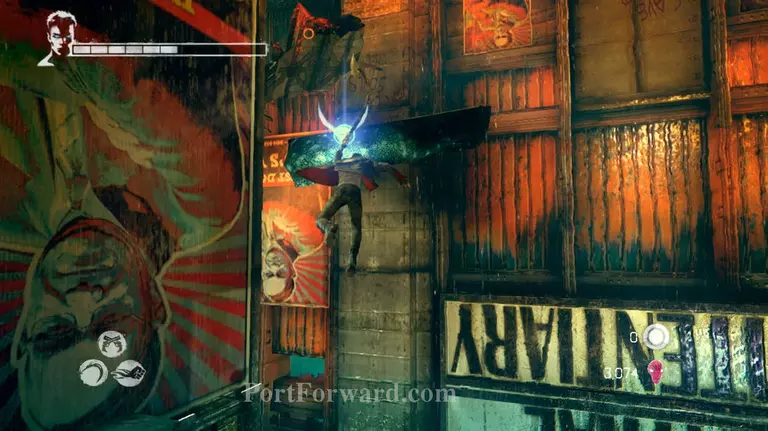
Jump on the green cargo and chain a double jump and an Angel boost to get to the area behind the cargos. There's a lost soul hanging on the wall here, destroy it then get back to the green cargo.
Now smash open the red cargo and grab the Vital Star inside.
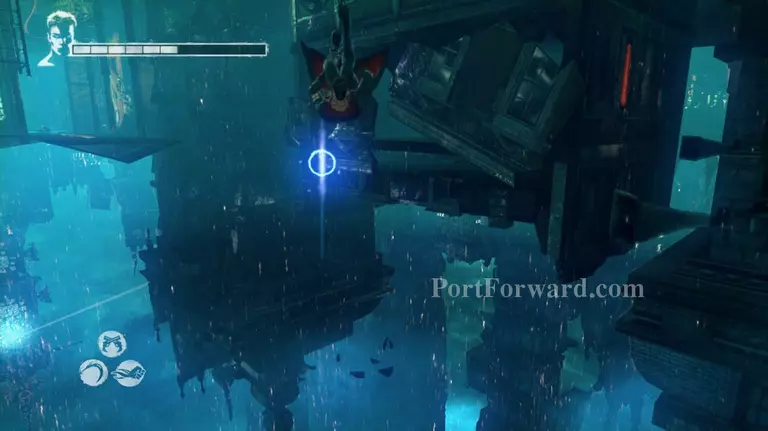
Use Angel lift on the blue marker and do an Angel boost to reach the other side.
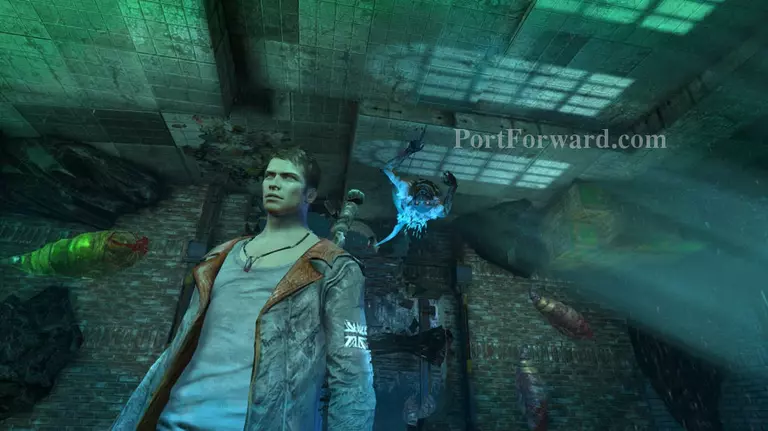
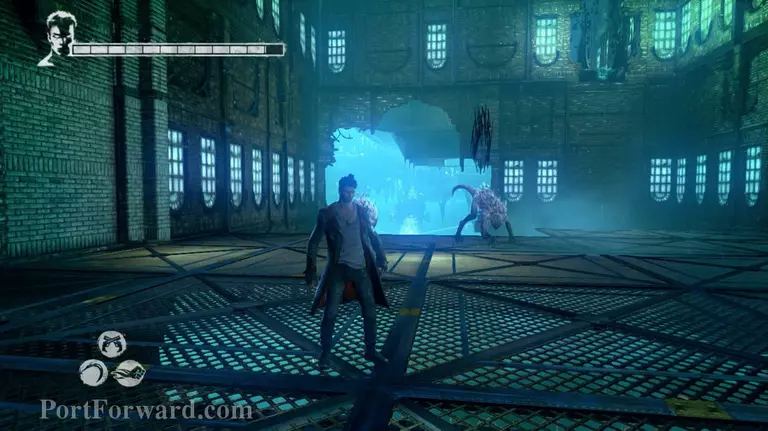
Now keep going forward until you reach another boost ring. Use it to get to that platform that's too far away and you'll meet a weird looking creature.
Follow the creature inside the room and you'll be attacked by a Hell Knight a couple of Stygians. Take care of the Stygians first, then focus on killing the Hell Knight.
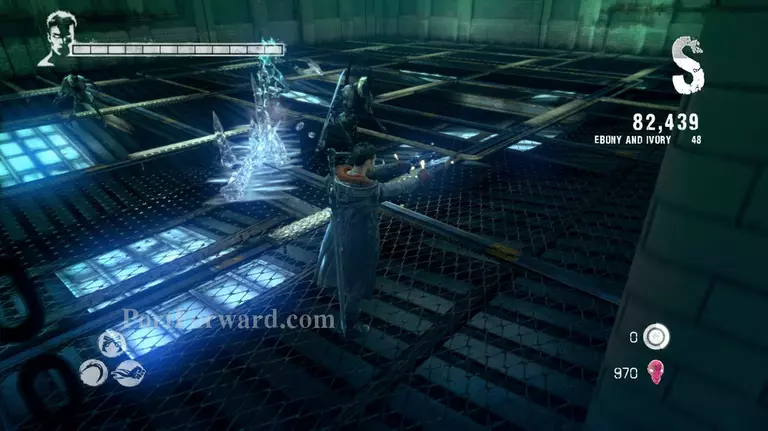
After the first wave a Frost Knight will spawn along with a few Stygians. Use Osiris to attack the Frost Knight luckily Osiris always hits multiple opponents so you don't have to worry so much about dodging.
Once you eliminate the Stygians focus your attention on the Frost Knight. It's easy to kill it once it's on its own.
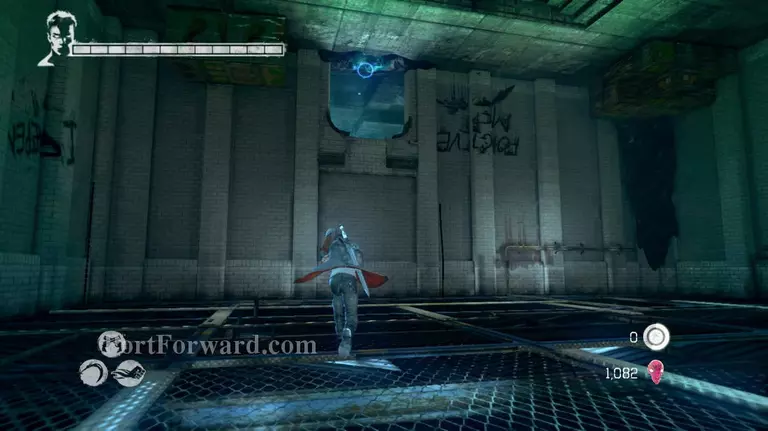
An Angel lift mark will appear on the door on top of the wall after you eliminate the demons. Use it to get to the other side of the wall.
Now follow the path towards the next room.
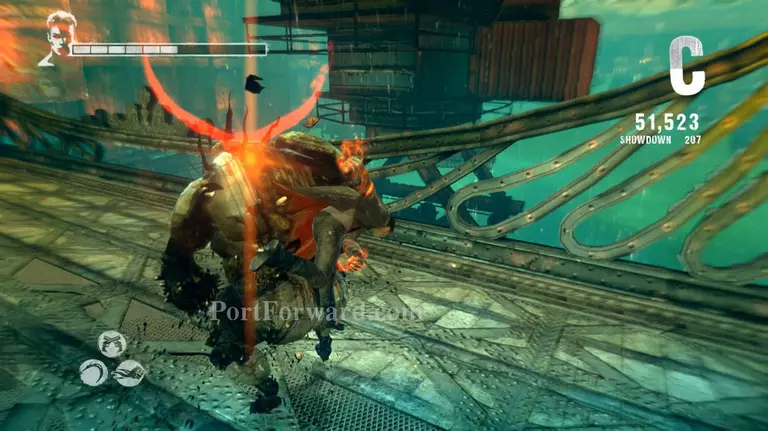
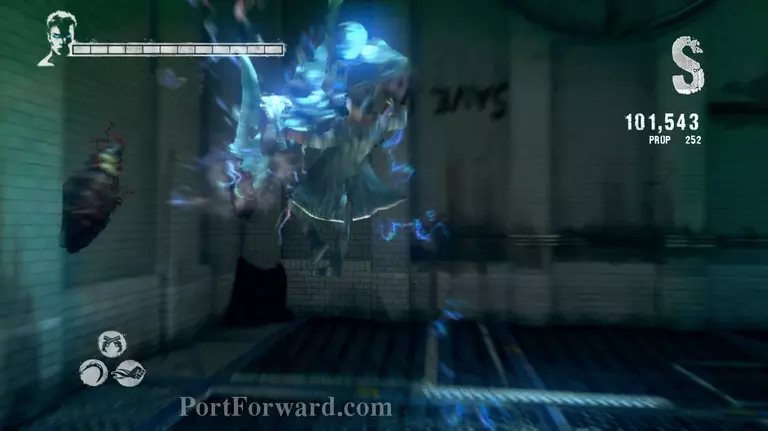
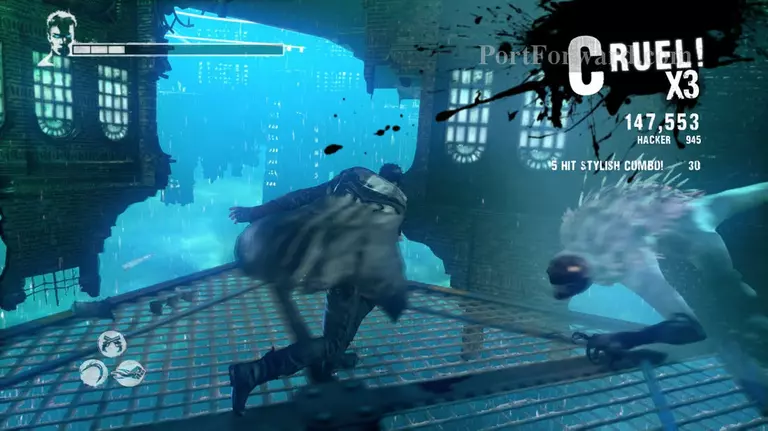
A rage will then come and attack you. The rage is basically like a wild animal. Its attack patterns are like a mixture of Stygians, Ravagers and Demonic shards. You also cannot use Demon pull or Angel lift on these guys as they're too fast for that.
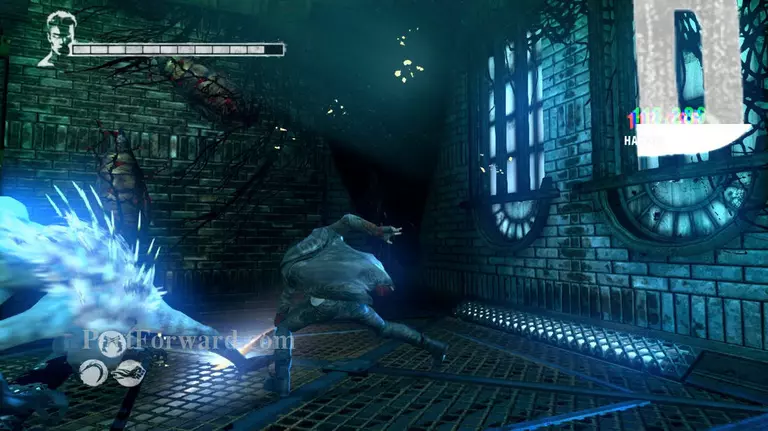
Keep your distance as much as possible. Rico shot and Rebellion's Drive work well on these guys as well as Eryx's smash ability (E+jump+F).
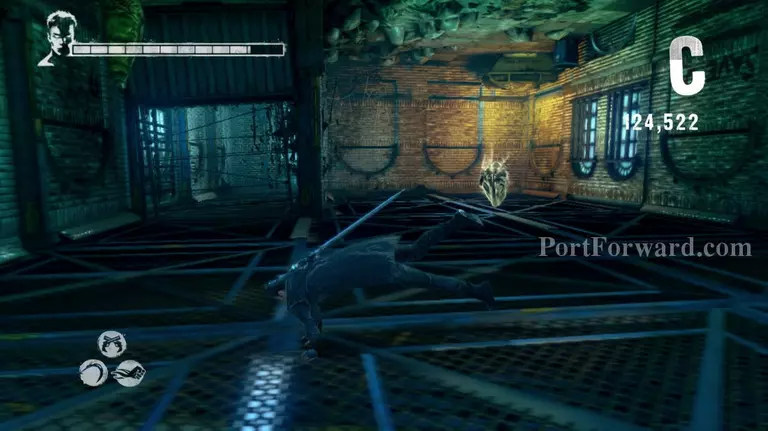
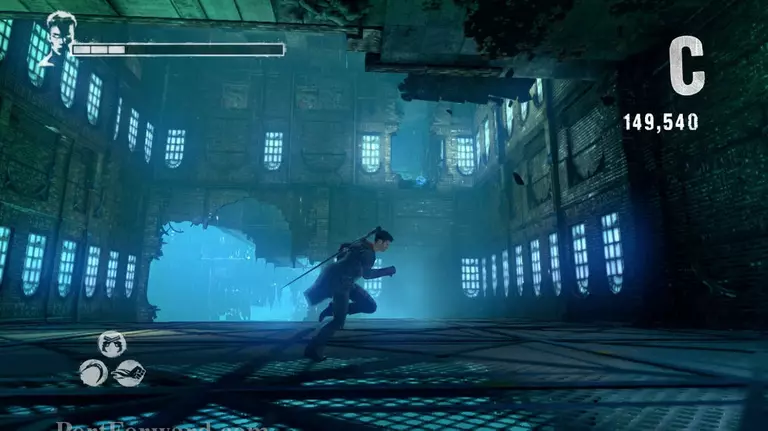
Once you get rid of the first one the second one will go into rage mode. Much like the Ravager, you can't block nor parry this attack so just roll away to safety and attack it when you can.
Jump through the door once you kill the rage, turn to the right and you'll find a lost soul. Kill it before you proceed to the other side.
As you get to the next area you'll be shown a couple of baby rages prowling about. Take the path on the right first and kill the lost soul that's hanging behind the wall there.
Now go back take the path on the left and make your way up the floors.

You'll be attacked by a Hell Knight and 2 shielded Pathos on your way up. Take care of the Pathos first to make the battle a lot easier. You can use Demon pull and Eryx to finish them off quickly. Then focus your attention on the Hell Knight.

Continue to make your way up until you find the entrance to the elevator.
Get inside the elevator and use Eryx to smash it down to the 1st floor.
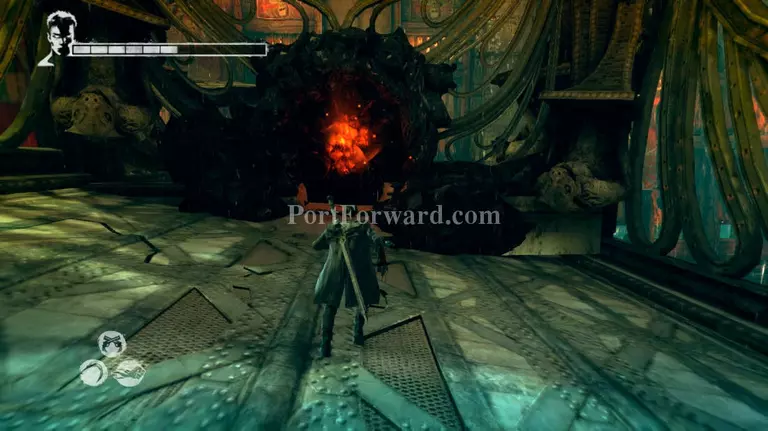
Exit the elevator and you'll see another red crystal. To the wall on the right side there's a lost soul hanging, eliminate the lost soul first before smashing the crystal and making your way down.
2 rages will come to attack you in the next area. I suggest taking them out one by one. But be careful they can be pretty fast so make sure that you watch the other one while you're beating the other.
After you get rid of one the other will go into rage mode. Keep dodging its attacks until you find an opening and just keep on attacking it until it dies.
After you kill the rages an Angel lift mark will appear on the ledge of a high door. Use it to climb the ledge.

At the end of the corridor there's a Divinity Statue, use that if you need any items. There's also a lost soul hanging on the wall at the right side of the room. Kill it then proceed to the left side.
Make your way through the bridge and it will be destroyed by the tower. Meaning we'll have to take an alternate route again.
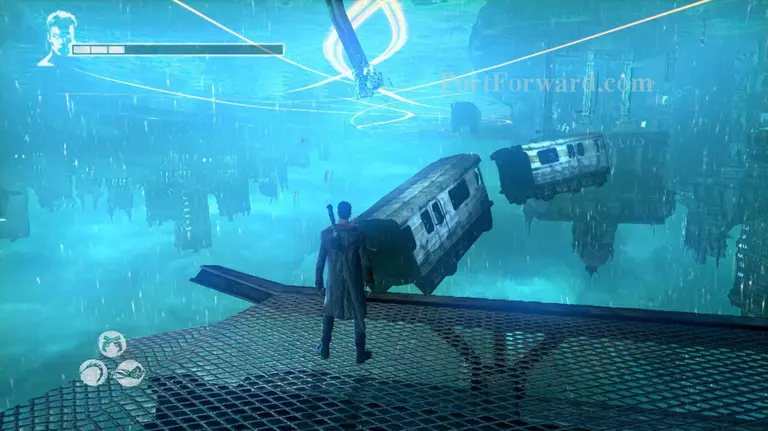
Use the train carts to get to the other side of the area. You'll need to use a boost ring after the second one.
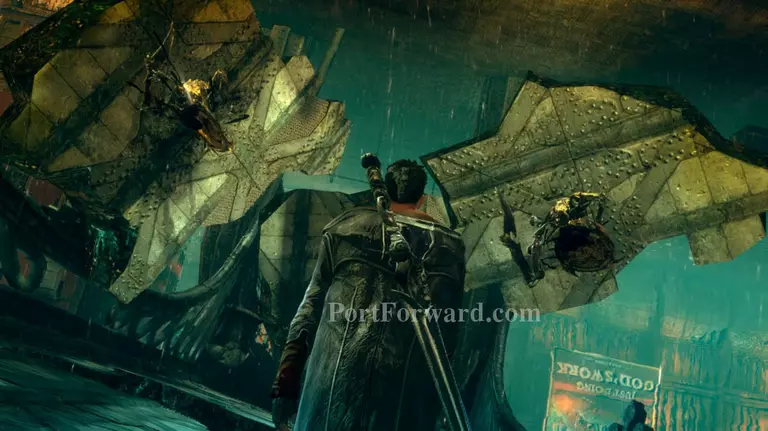
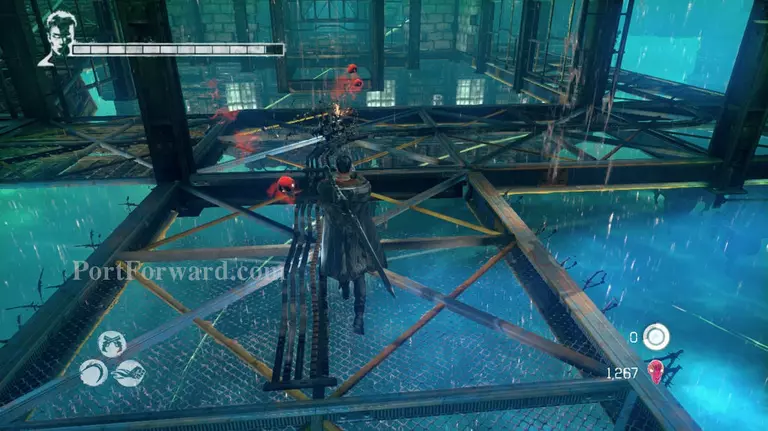
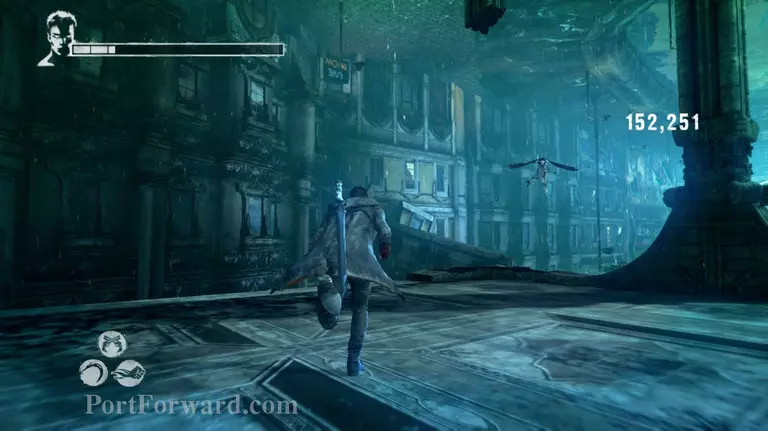
Now jump towards the next platform and you'll be put up against some Harpies.
A few notes about the Harpies. You can't catch them with your Demon pull, but you can easily use Angel lift to get to them. Unfortunately that means you'll probably fall. So just keep shooting at them until you destroy their wings, then use Demon pull. Once their wings are destroyed their easily killed. Of course you'll need to be quick since the wings grow back.
Repeat the same with the other harpies until you've killed all of them. The man will then talk to you and start a cut scene.
More Devil May Cry Walkthroughs
This Devil May Cry walkthrough is divided into 30 total pages.