
This Devil May Cry walkthrough is divided into 30 total pages.
You can jump to nearby pages of the game using the links above.
Mission 17: Furnace of Souls
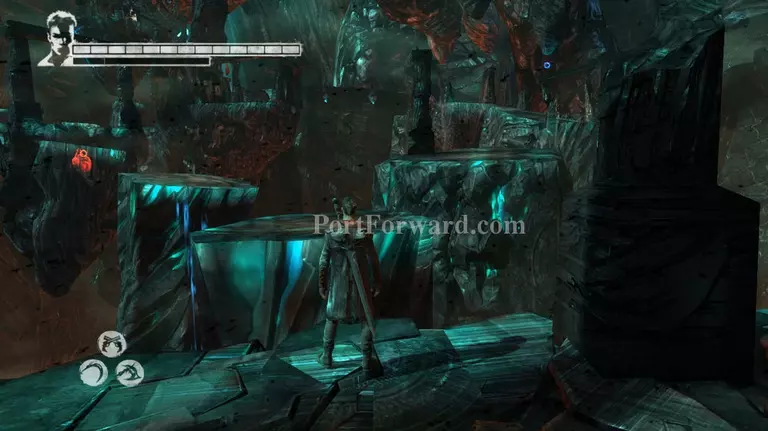
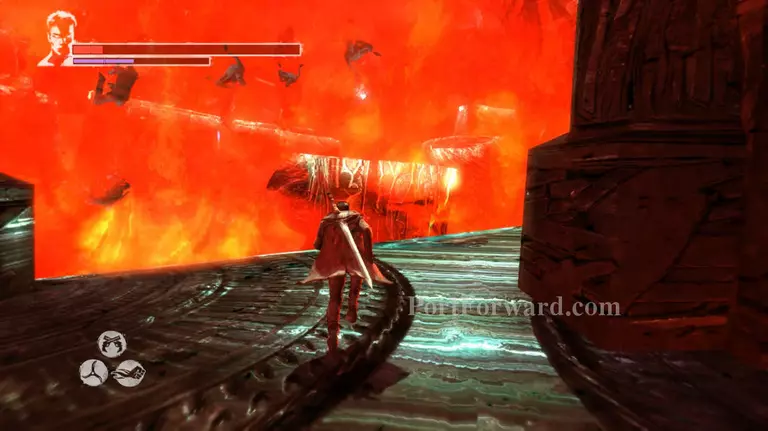
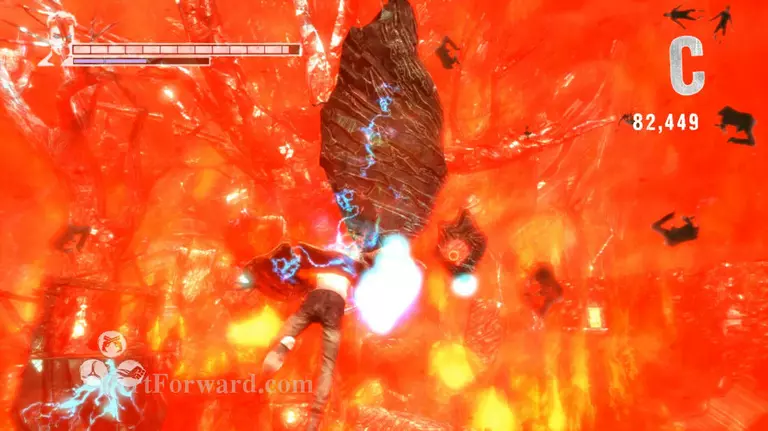
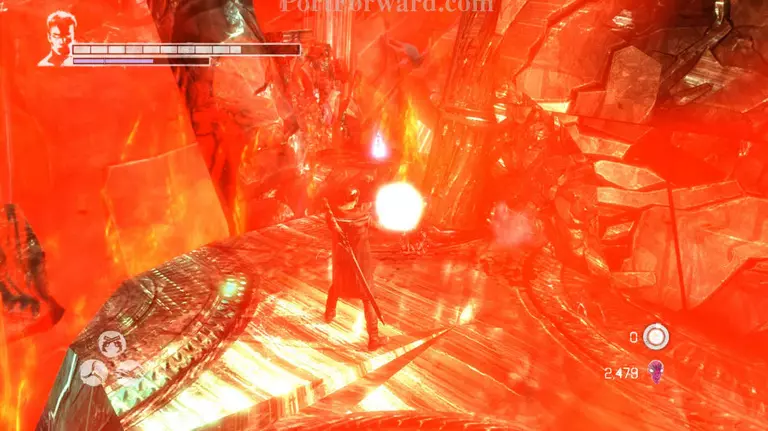
Once you get inside the core you'll notice that it's like the real hell version and not limbo. Fire will also occasionally blow up from the buttom.
Take the path on the left side and pull out the rock that has a Demon pull mark on it but be careful not to jump from platform to platform while there's fire blowing up. Dante will receive damage from that fire and it does do a decent amount of damage to you.
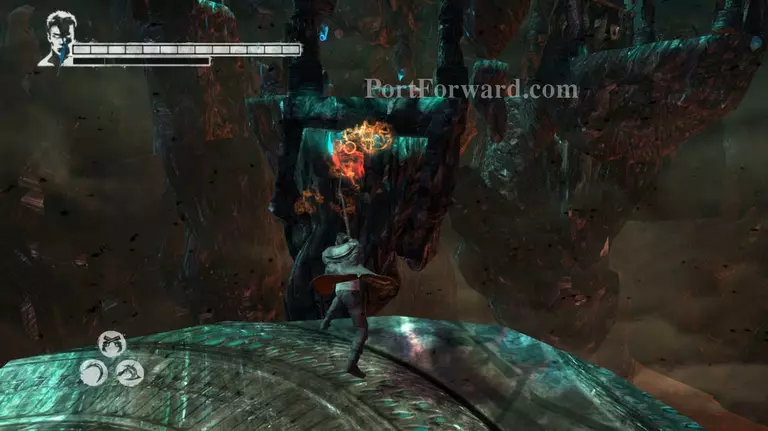
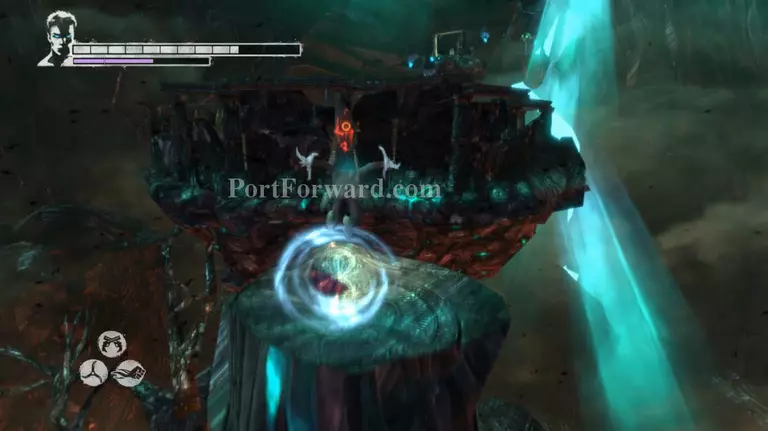
Make your way to the next platform via the Angel lift mark and jump on the platform next to that. You'll see 3 Angel lift marks on the floating pillars. Use them to get to the large platform.
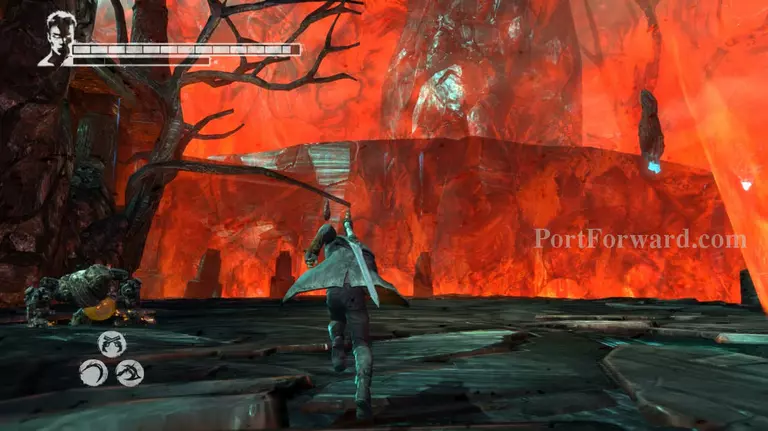
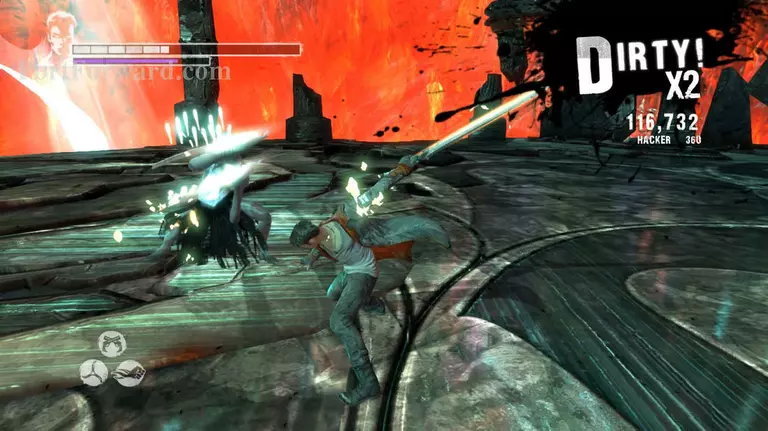
Once you get on the large platform you'll be attacked by a Butcher and som Stygians. Take care of the Stygians first then proceed to deal with the Butcher. Be careful not to stick too close to the fiery walls.
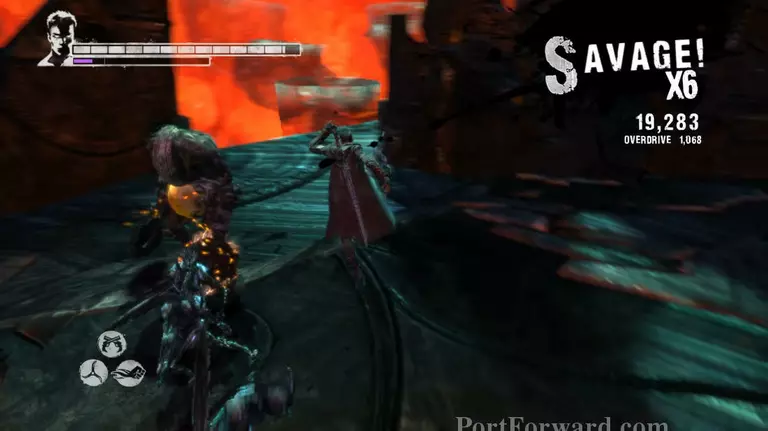
Remember to stay close to the Butcher. When dealing with a Butcher and some Stygians always keep close enough so that the Butcher will not use long range attacks and will be able to hit the Stygians, but at the same time far enough so you can easily dodge its attacks.
After the first wave of demons a Witch and Butcher duo will appear. This is probably one of the hardest duos to beat. Focus your attacks on the Butcher first and wait for the Witch to move her shield on the Butcher.
Alternatively you can use Aquila to destroy the Witch's shield and use Demon pull on her. Unfortunately if the Butcher is closer then Dante will use Demon pull on him instead and fail.
Finish off the Witch, then take care of the Butcher once it's alone it won't be hard to deal with.
After you kill the Witch and the Butcher, head over to the left side and kill the lost soul.
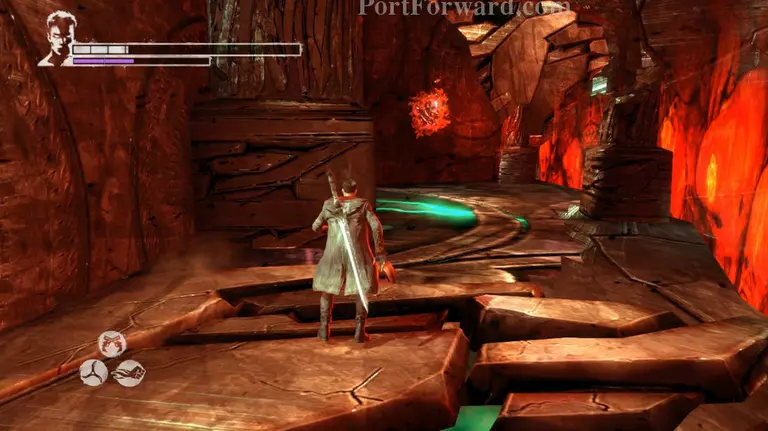
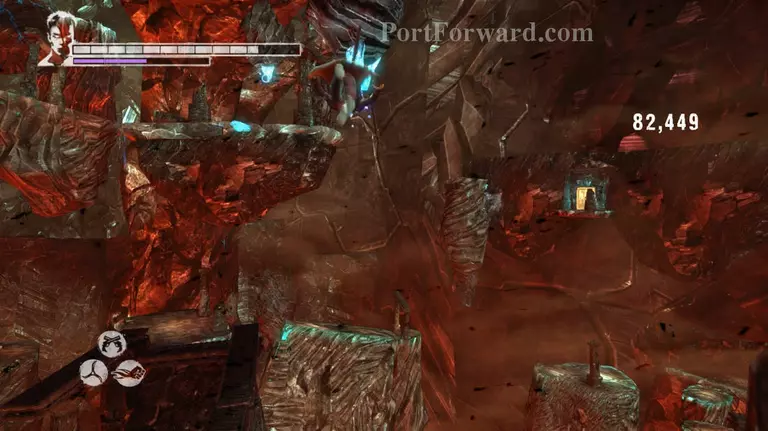
Now go back to the side that you climbed up from and go through the Shinto gate.
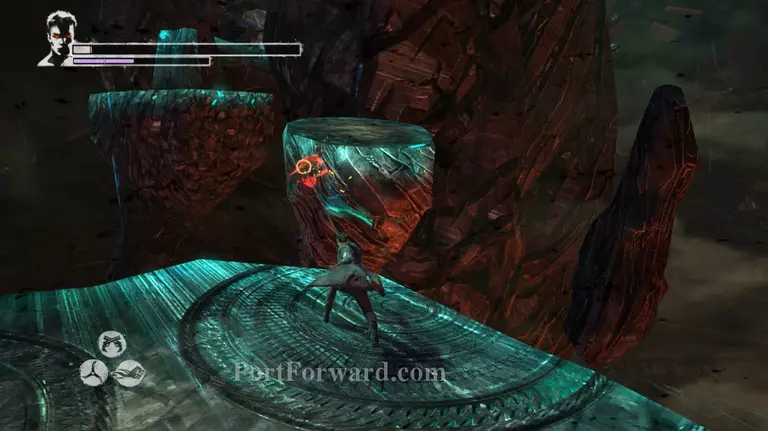
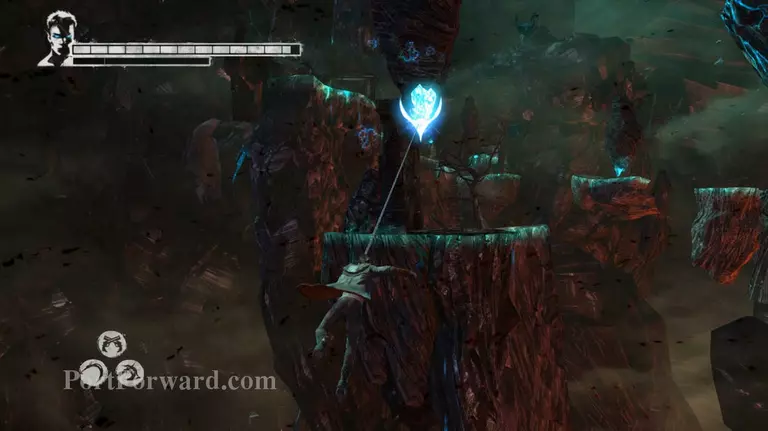
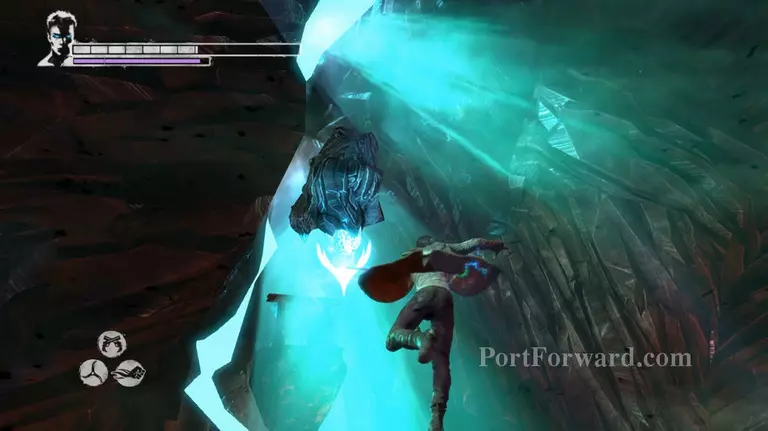
Jump through the platforms and pull out the large stone on the side with Demon pull to create a platform that you can step on.
Now pull down the next stone to reveal an Angel lift mark and use it to get to the next platform.
On the next platform you'll be attacked by a Ravager and Hell Knight duo. Be careful not to stick too close to the fire while you deal with them. I recommend using Eryx's smash attack to deal with the Hell Knight's shield while avoiding damage from both of them.
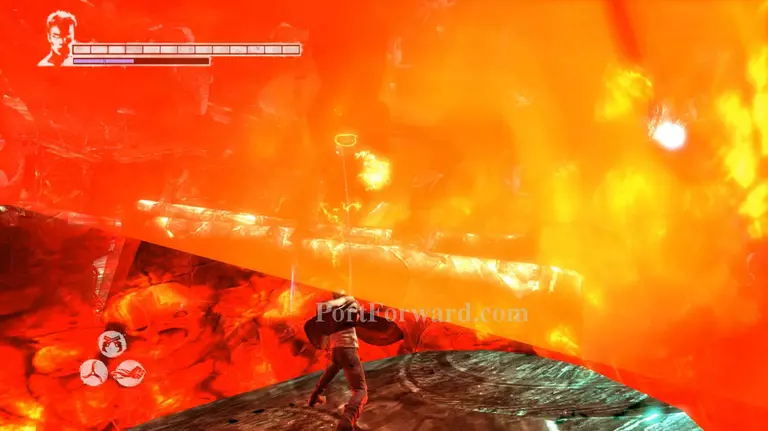
After you kill the demons make your way through the series of Angel lift marks. Two of the marks will require you to use Demon pull first before they become visible. Do this as quickly as possible or you'll lose a lot of HP because of the fire.
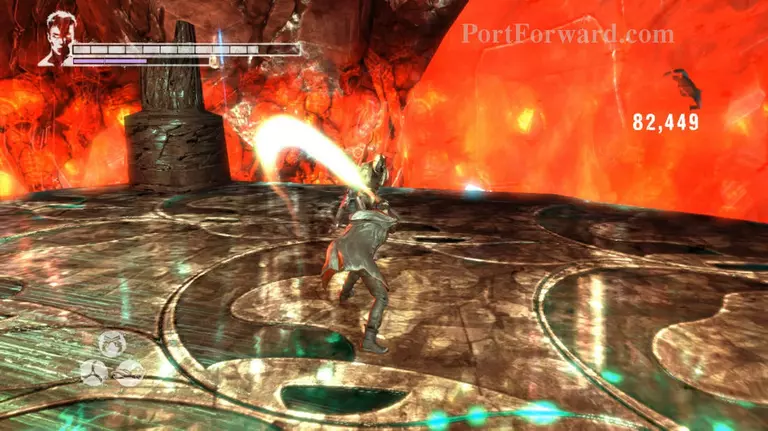
There's a Divinity Statue on the next platform use it if you need to, then make your way to the next platform via the Angel lift marks.
You'll be attacked by some Stygians as you land on the platform. Kill them off quickly then head left towards the platforms.
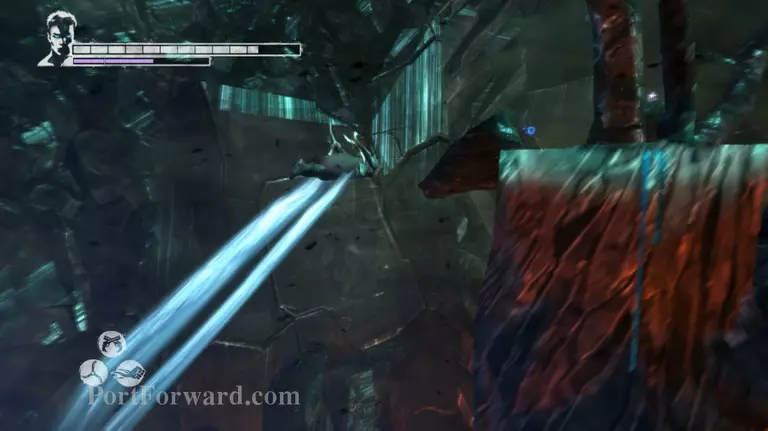
Now use the boost rings to get to the next 2 platforms. Again you should be careful with the timing so you don't get caught up in the fire.
On the platform after the secon boost ring there's a Devil Star on the lower platform behind it. Grab the Devil Star before making your way to the next platfom.

Now make your way towards the blue vines and stop near the end of the path. Charge Eryx and throw it at the vines. Then use Angel lift on the mark to get up on the platform.
Jump on towards the next platform and use Demon pull to create an entry way to the next platform.
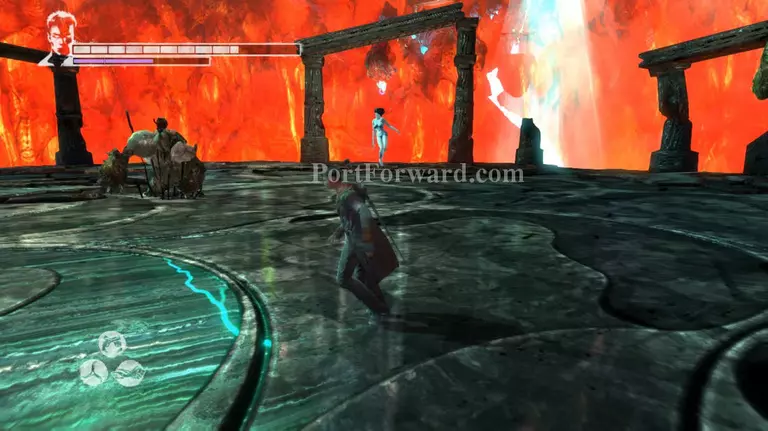
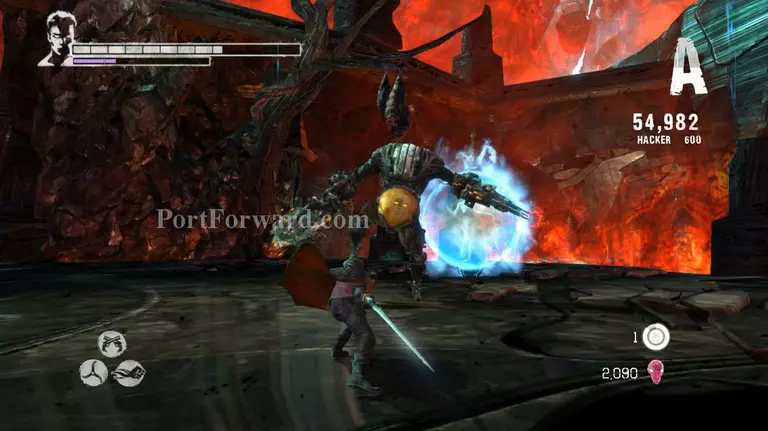
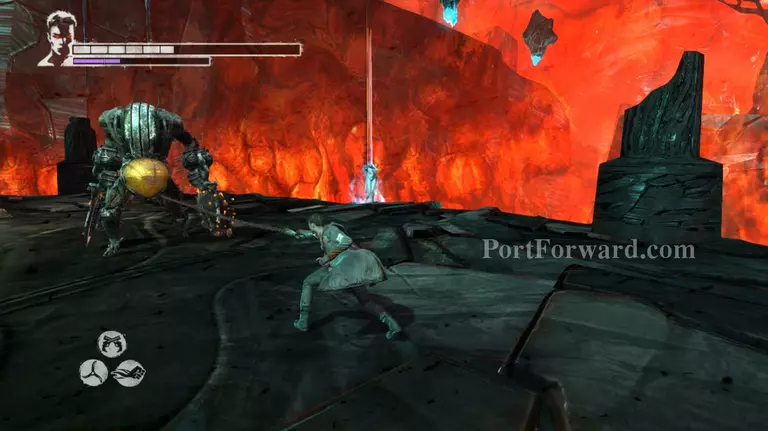
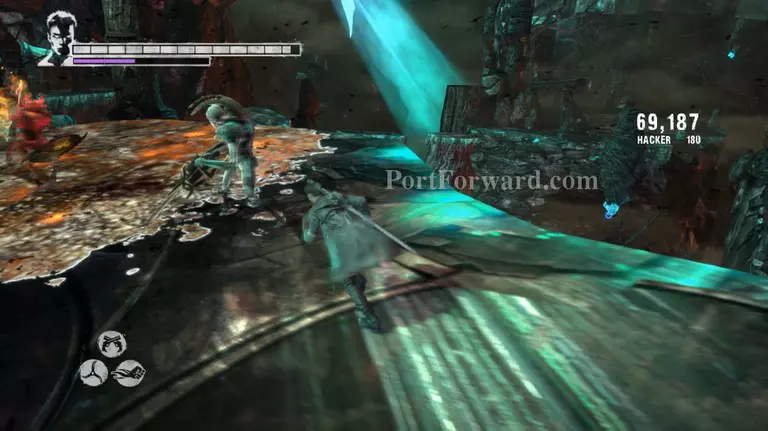
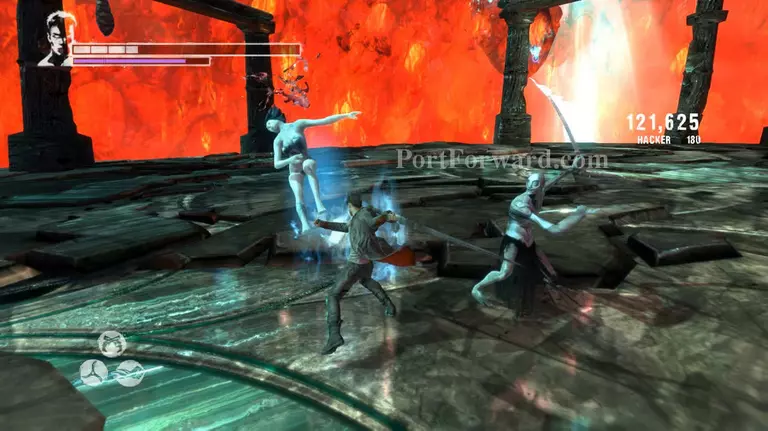
Once you get on the next platform you'll be attacked by a Witch and a Tyrant. As usual take care of the Witch first. I don't recommend attacking the Tyrant while the Witch is alive. It's pretty annoying when you finally get the Tyrant to collapse and the Witch puts her shield on it.
Take care of the Witch's shield by using Aquila then finish her off and concentrate on the Tyrant.
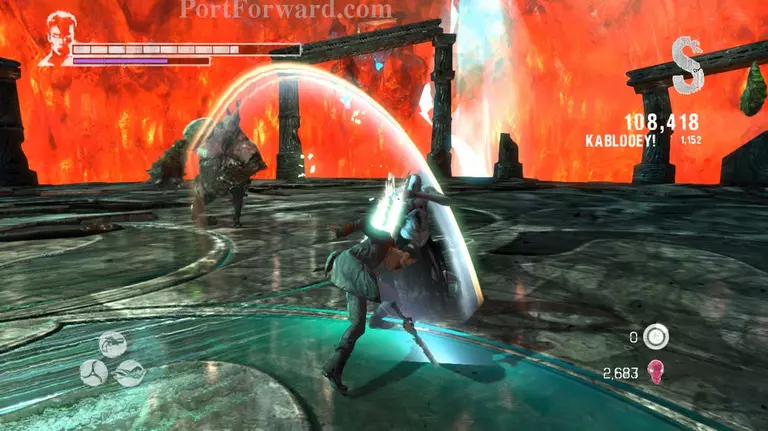
After those two it's a combination of a Dreamrunner and a Tyrant. Not much you can do here. Take care of the Tyrant first but be wary of the Dreamrunner. It's easy enough to dodge both of them except for Dreamrunners teleportation slash attack.
Once the Tyrant goes down take care of the Dreamrunner by evading its blows and retaliating with your own. Don't shoot guns at the Dreamrunner then never work and he'll just recover faster.
If you're really having a hard time with this guy then you should go into Devil Trigger mode and kill him quickly while he's guard is down.
Lastly you'll go up against a Witch and a Dreamrunner. Take care of the Witch first and avoid the Dreamrunner's blows. Use Aquila to quickly destroy the Witch's shield and kill her when it goes down. Now Focus on the Dreamrunner. Dodge it then retaliate or parry its attacks to create an opening.
Now make your way to the side of the platform where there's a series of Angel lift marks. Use the marks to exit the area.
More Devil May Cry Walkthroughs
This Devil May Cry walkthrough is divided into 30 total pages.


