
This Devil May Cry walkthrough is divided into 30 total pages.
You can jump to nearby pages of the game using the links above.
Mission 18: Demon's Den
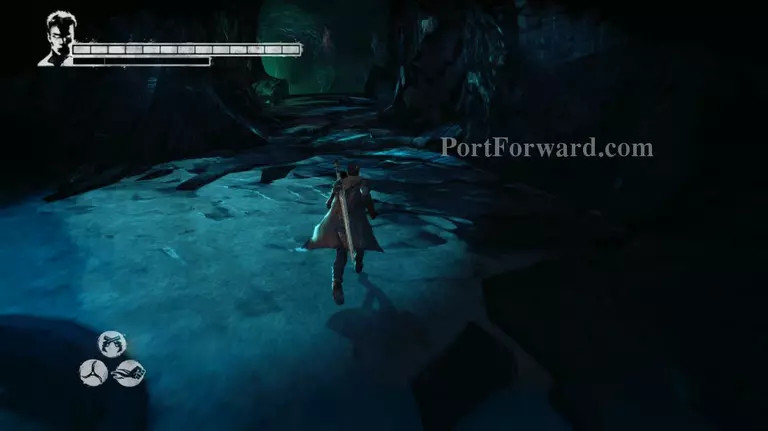
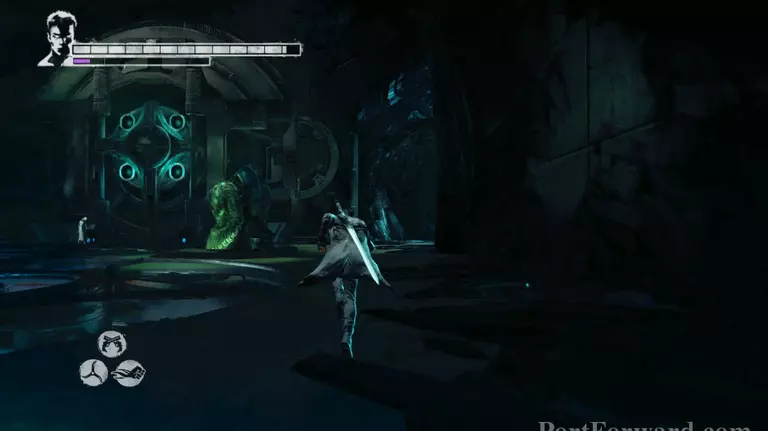
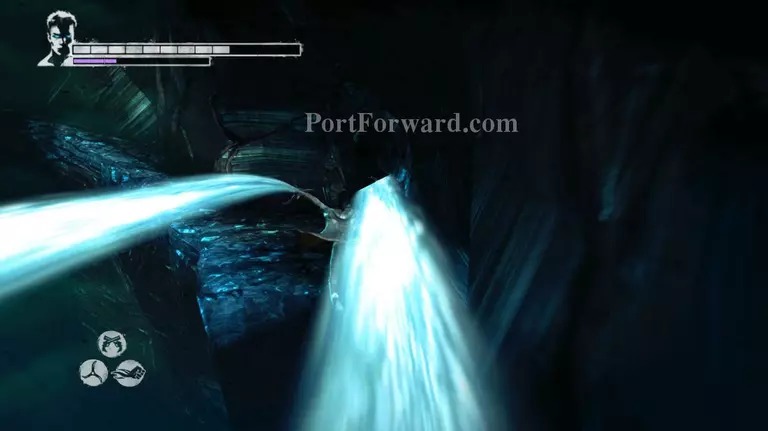
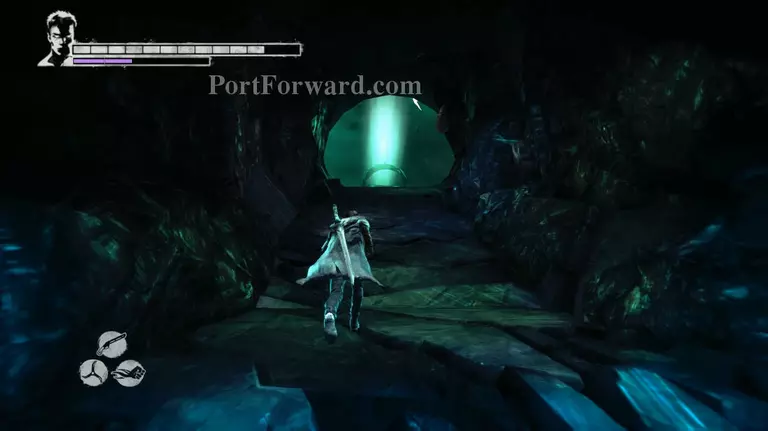
When the mission starts head on over to the first tunnel at the lower right side.
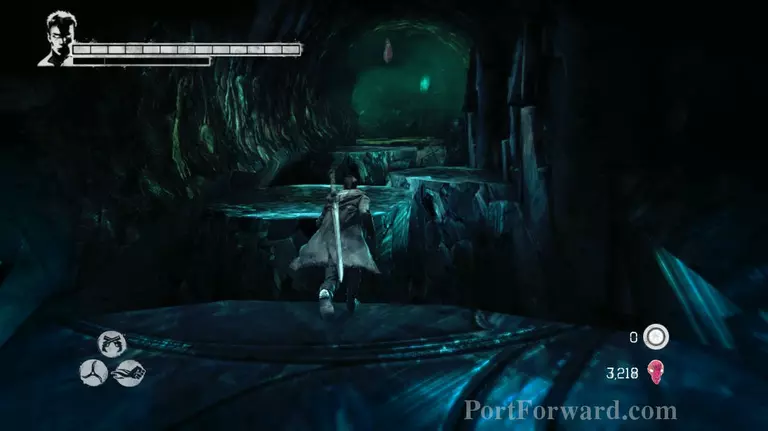
Use the floating platforms to get to the other side and you'll arrive at the generator room.

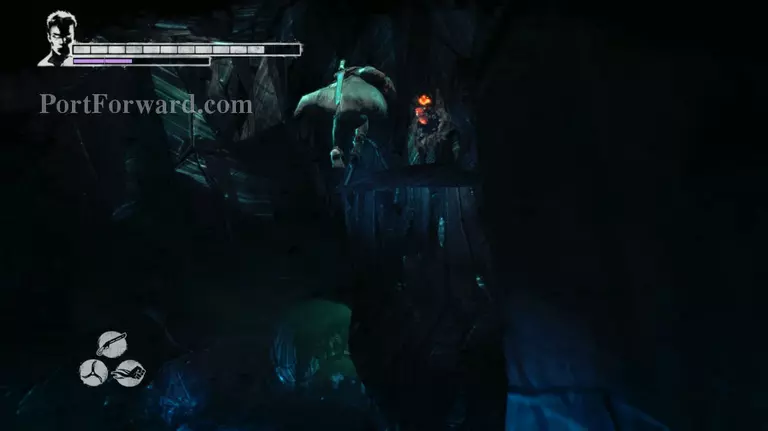
Before you start the generator, turn to the left side and jump on the small platform on the wall. Now jump towards the lost soul and destroy it before heading down.
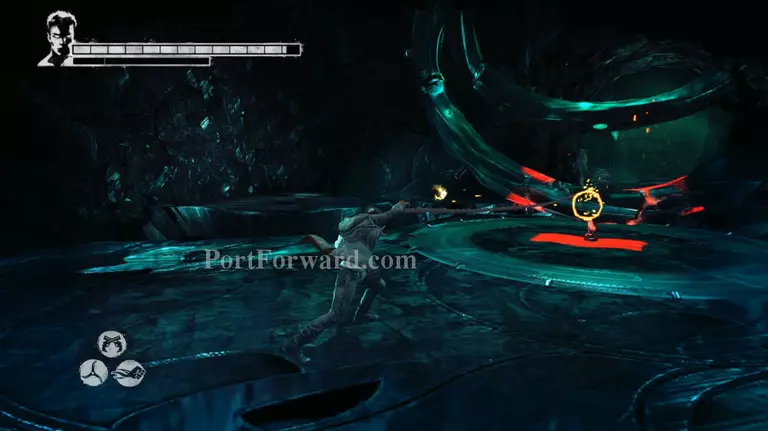
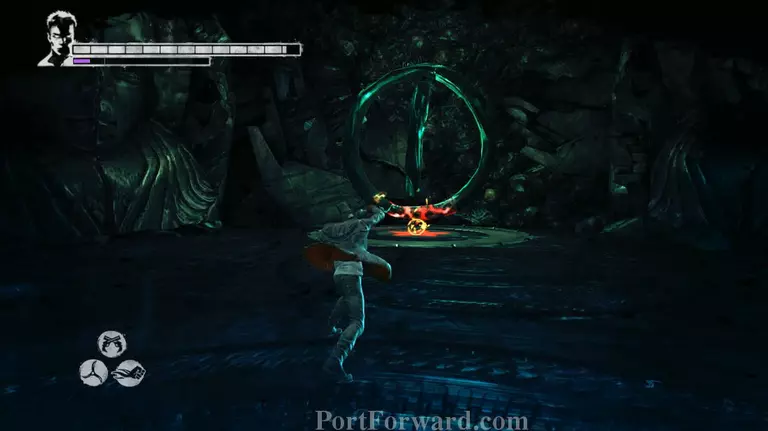
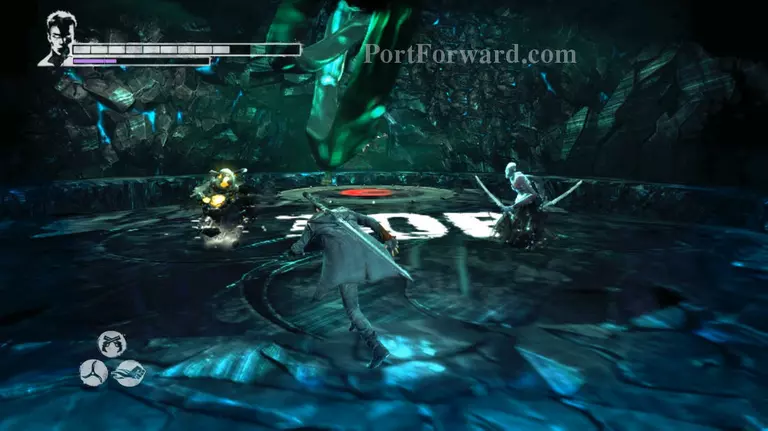
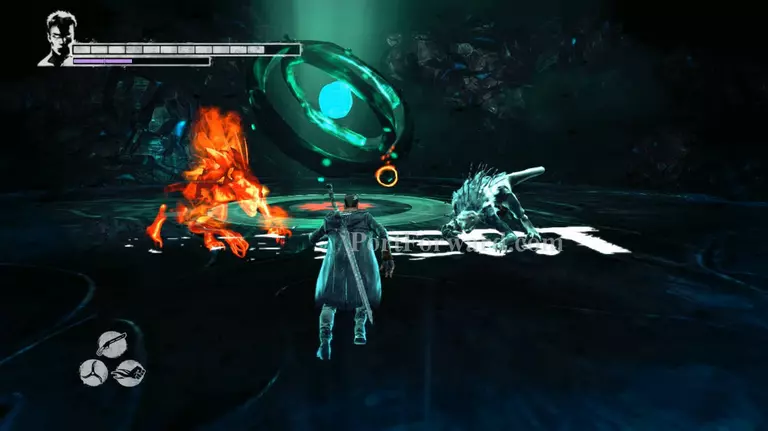
Now use Demon pull on the generator to start it. Some demons will spawn soon after that.
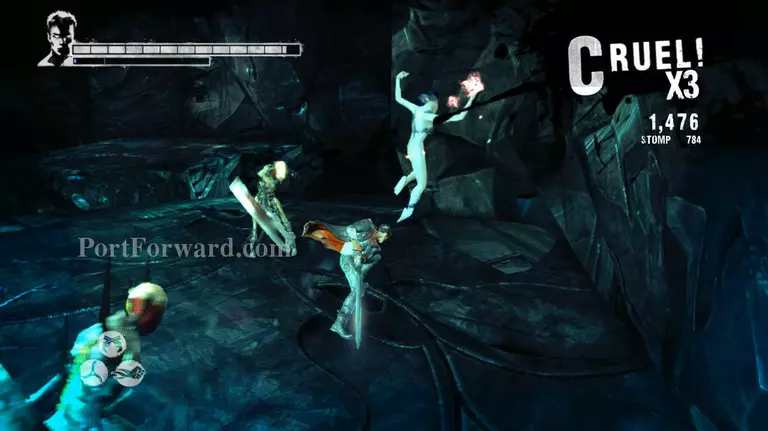
Attack a Stygian to get the Witch to place her shield around it then immediately attack the Witch once she does. After she's dead take care of the Stygians. Some Bathos will appear once the Witch is dead. Use Demon pull and Arbiter to kill them off quickly.
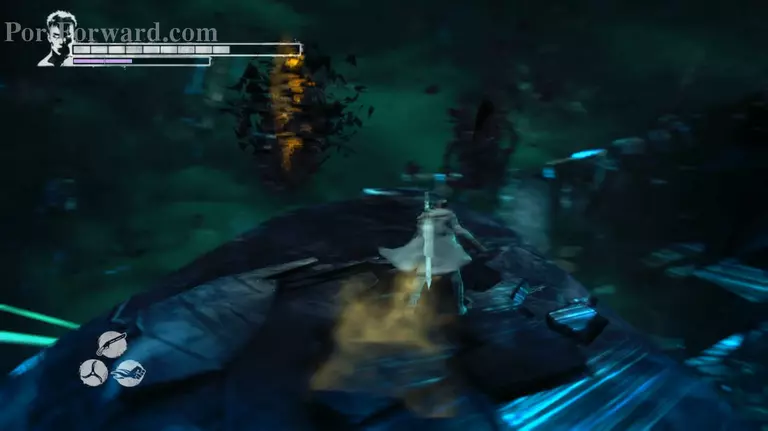
Make your way back to where Vergil is and enter the tunnel on the upper right side.
Make your way to the end of the tunnel and start the generator. This is the shortest tunnel out of the four, you won't have to walk a lot.
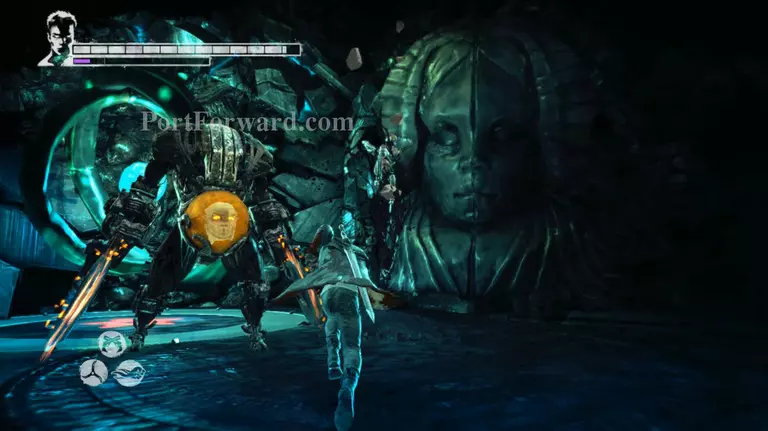
After you start the generator a Butcher and some Stygians will appear. Nothing flashy take care of them as you usually do. Avoid getting near the revolving circles of the generator as this can damage you.
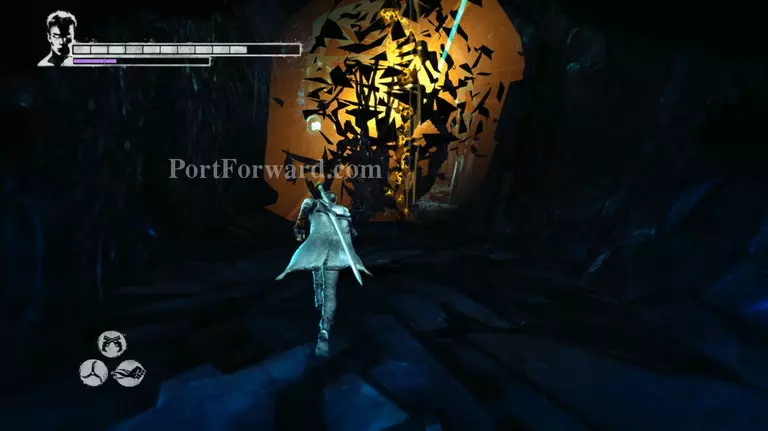
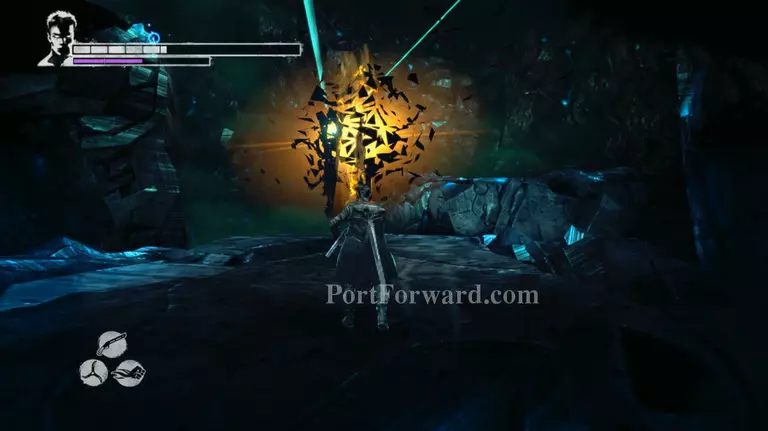
Equip your shotgun and make your way back to Vergil. Shoot the demonic shards that will appear near the tunnel entrance. No enter the tunnel in front of the one you came out from, the one on the upper left.

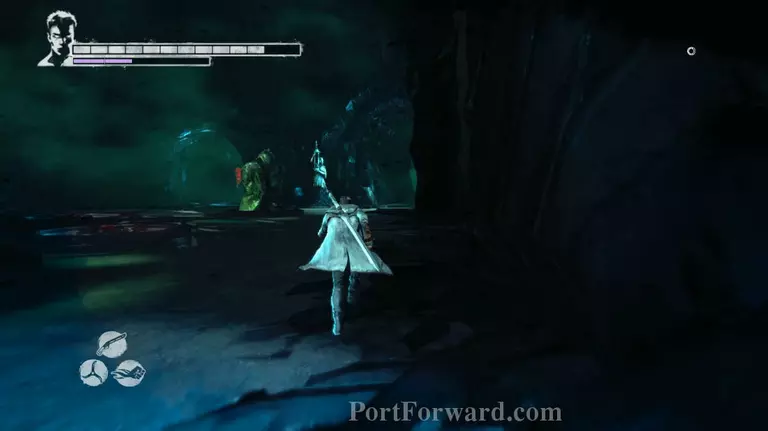
Head inside the tunnel and go right once you enter the cavern. At the end of the path you'll see a platform on the lower part with a lost soul on it. Jump down and destroy the lost soul.
Now look to the right and you'll see another path, jump towards it and enter the circular hole in the wall to get to the generator.
Kick start the generator and prepare for battle. The first wave will be a shield Bathos and a Dreamrunner. Ignore the Dreamrunner except for looking out to dodge it. Stygians will also appear so take care of them as quicly as possible then kill the Dreamrunner when it's alone.
Head back and make your way through the path on the right. There's a minigame door here so use it if you want to. Then head towards the platform in front of it and some Demonic shards will spawn. Get rid of them with the shotgun and continue climbing up.
Head out through the tunnel and kill the last Demonic shard that will appear. Now head into the last tunnel at the lower left corner of the room.
As you enter the cavern look to the right and you'll see a lost soul. Chain a double jump and Angel boost to get to it. Destroy it before proceeding.
Now make your way to the lowest platform and enter the tunnel to get to the last generator.
After starting the generator a Ghost and Blood Rage will appear. Bind the Ghost Rage with Aquila then work on killing the Blood Rage. Remember to occasionally throw your Aquila at the Ghost Rage to keep it at bay.
Once the Blood Rage is dead the Ghost Rage will go into rage mode. Avoid its attacks and wait for it to release rage mode. When it does, throw the Aquila at it again and start attacking it until it dies.
Make your way back to Vergil and kill all the Demonic shards that will appear. Time to get the door open.
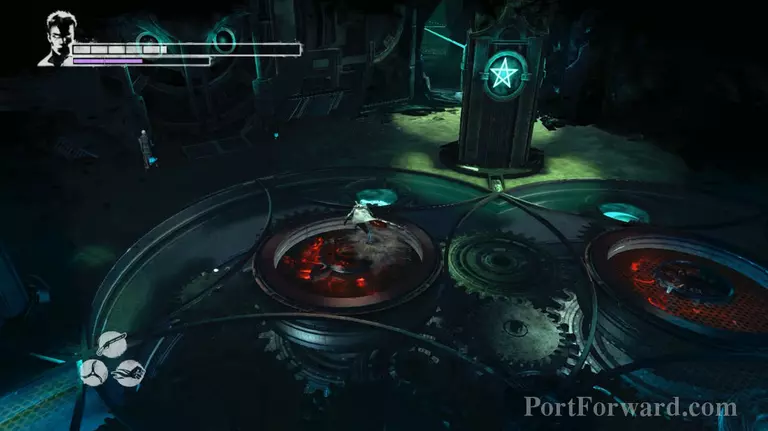
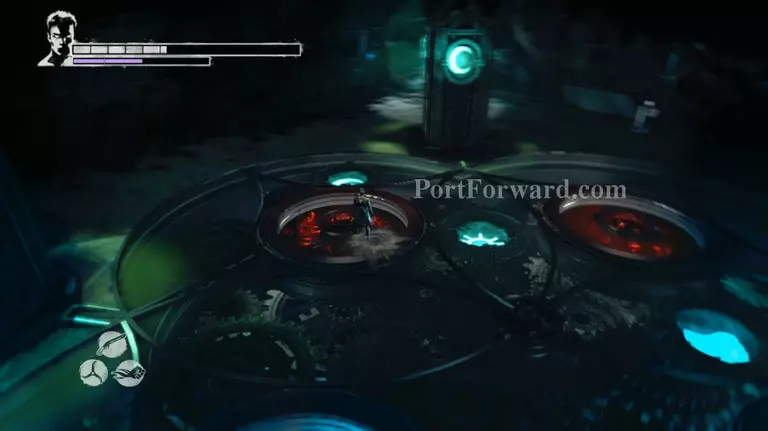
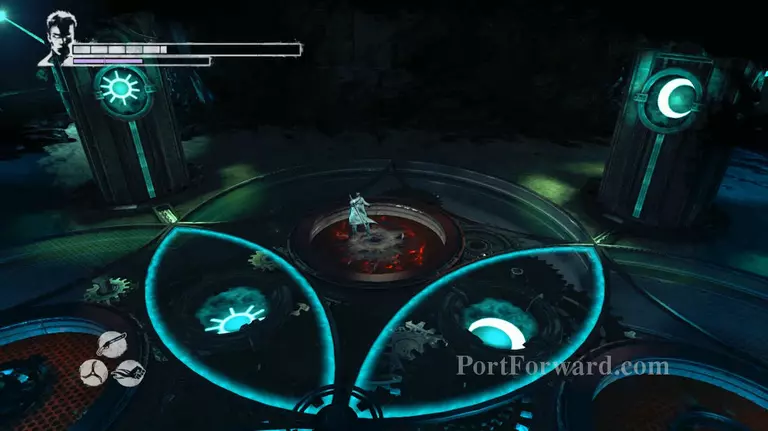
As soon as you get back to Vergil hit the gear on the lower left once, then hit the gear above that (upper left) thrice. To move them you need to use Eryx. The same way you did in Lilith's stage.
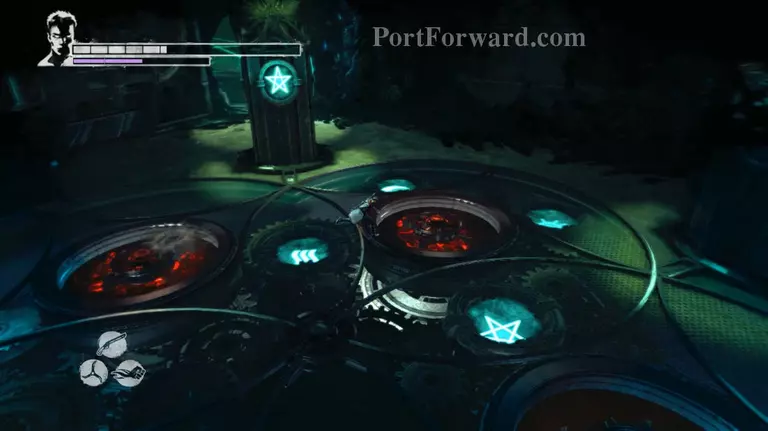
Now you have all four symbols in one gear. Now hit the gear on the upper right (where all 4 symbols are) thrice.

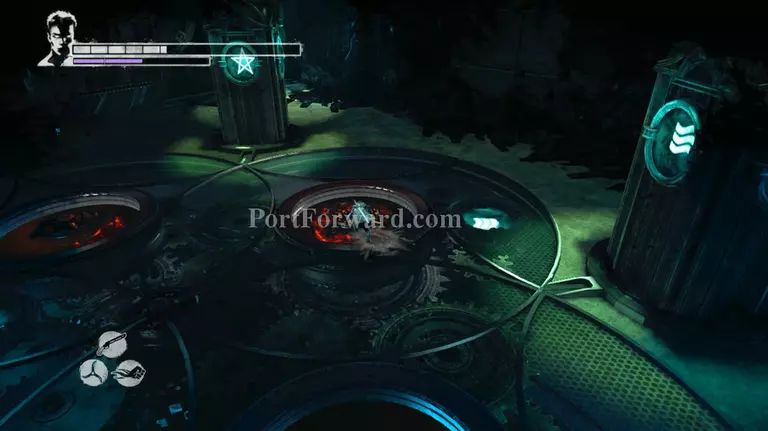
Hit the one on the upper left again once.
Now move the one in the upper right twice and use the one in the lower right once as well.
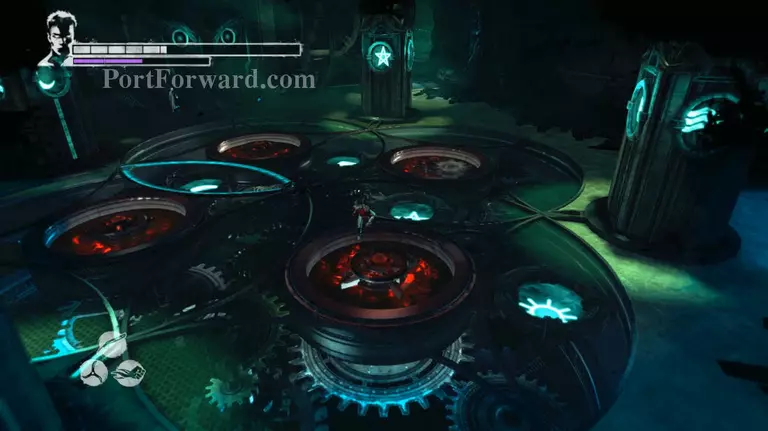
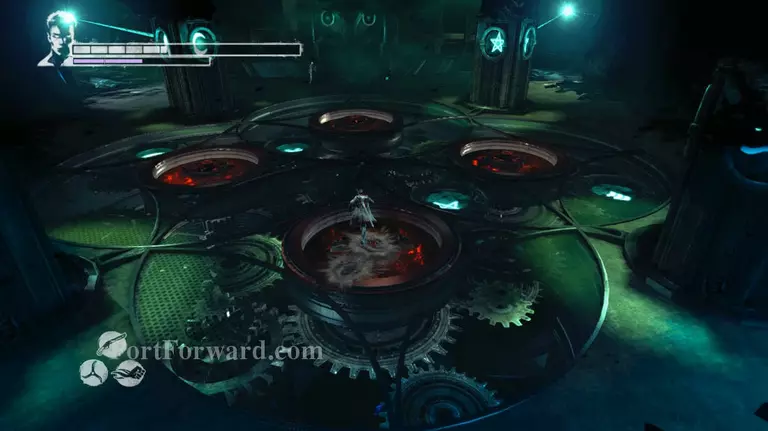
Go back to the upper right and move it twice then use the one on the lower right and move it twice too.
Now move the one in the lower left thrice.
Go back to the upper right gear and move it twice.
Move the lower right gear twice and you'll have 2 gears on the upper right gear again.
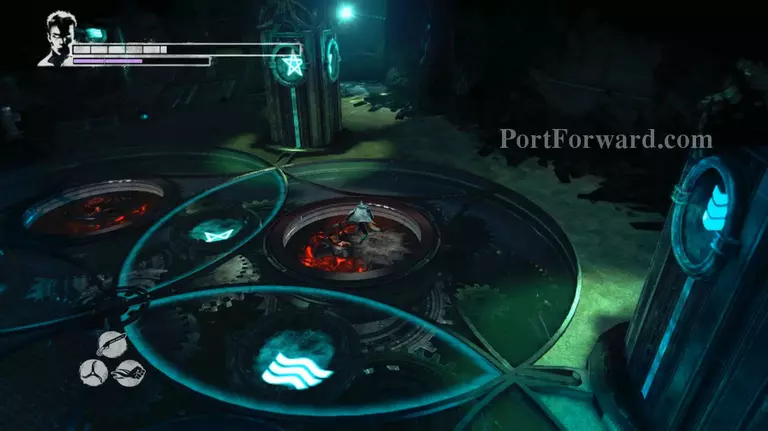
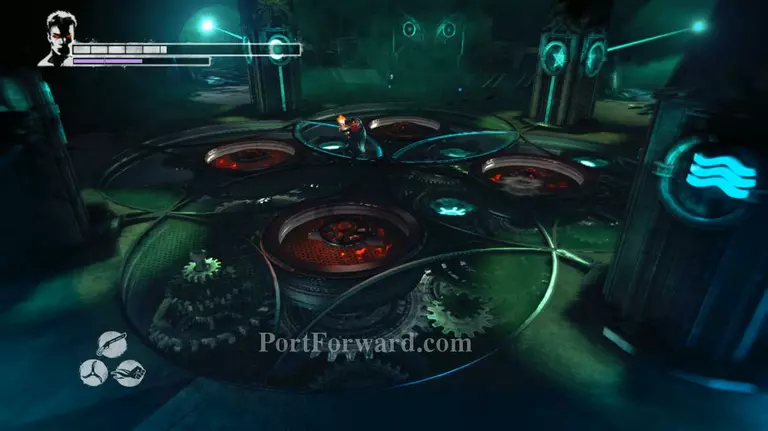
Move the upper right gear once and the symbols will align with the northern and eastern pillars.
Now move the lower left gear once too and it will align the southern and western pillars. Now the vault to Mundus' chambers will open.
More Devil May Cry Walkthroughs
This Devil May Cry walkthrough is divided into 30 total pages.


