This Devil May Cry walkthrough is divided into 30 total pages.
You can jump to nearby pages of the game using the links above.
Mission 13: Devil's Dalliance
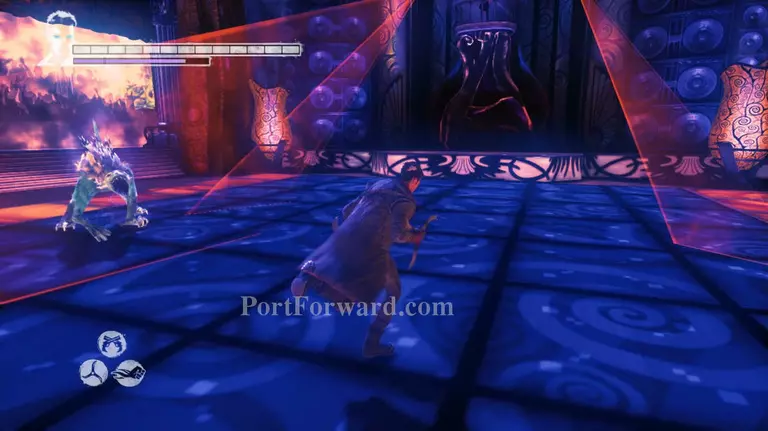
As soon as you get inside the club Lilith will pit you up against some demons. the first wave is easy a couple of Stygians shouldn't even be a challenge for you anymore.
The second round consists of a Hell Knight and some Stygians. Take care of the Stygians first to avoid receiving damage. Then take care of the Hell Knight when it's alone. Remember to use a demon weapon when the Hell Knight uses its wide area attack.
Third wave is a Witch and some Stygians. Throw your Aquila at the Witch to destroy her shield and kill her first, then kill the Stygians.
You'll then be attacked by a pair of Harpies and a Tyrant. Take care of the Harpies first and get airborne high enough that the Tyrant can't reach you. Once the Harpies are dead take care of the Tyrant by dodging it and shooting at its back.

The last wave of demons will be a Ravager accompanied by a group of Stygians. You can take care of them all at the same time by using Aquila or take them on little by little by dodging the Ravager and focusing on the Stygians first before attacking the Ravager later on.
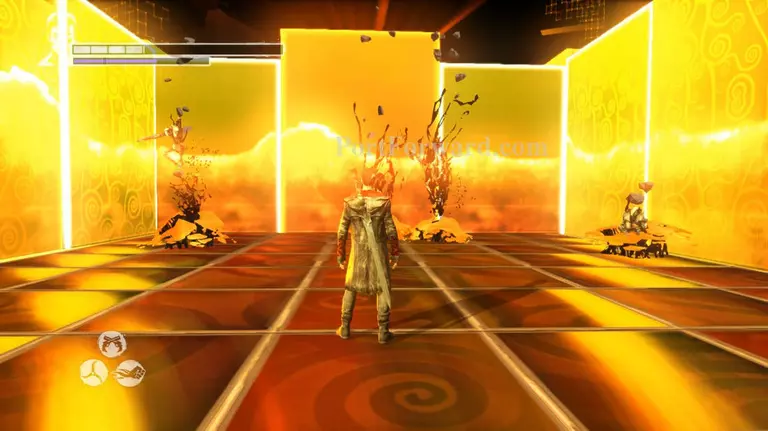
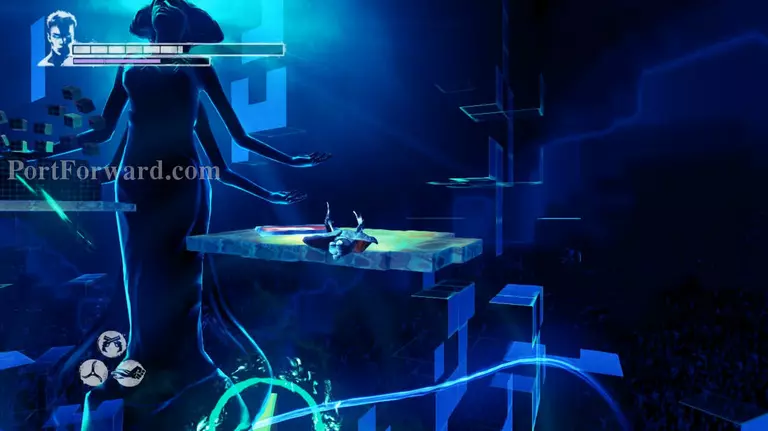
After the last wave lilith will morph the area. Head underneath the stairs and kill the lost soul there before heading up.
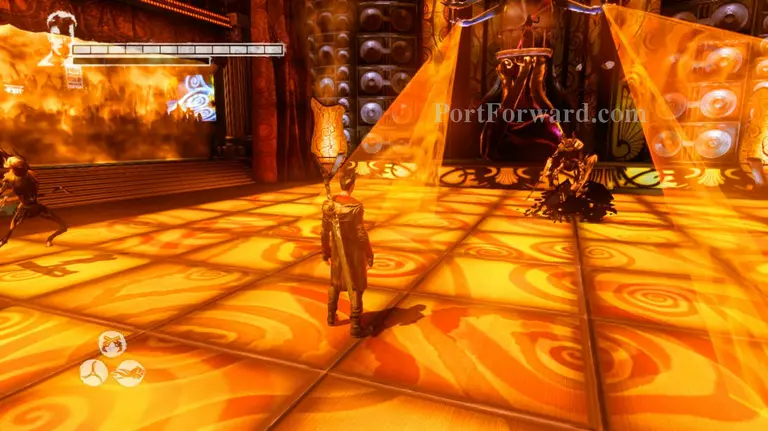
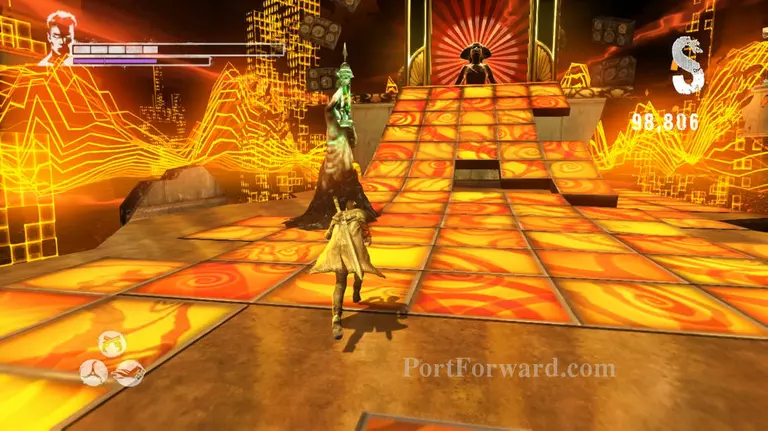
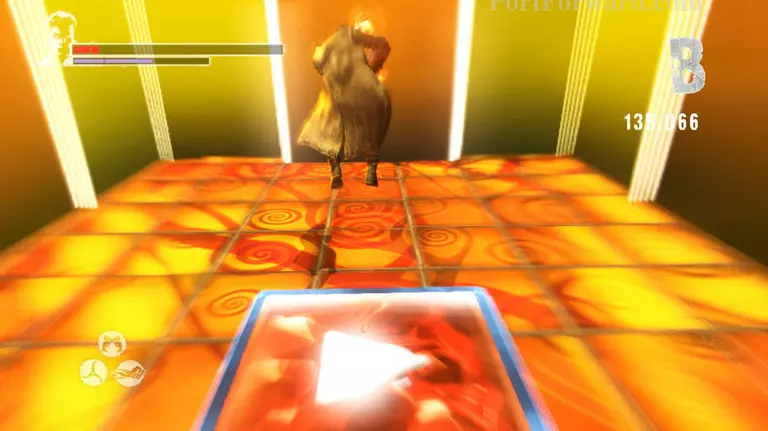
Use Eryx's smash ability on the play button on the floor to begin Lilith's game.
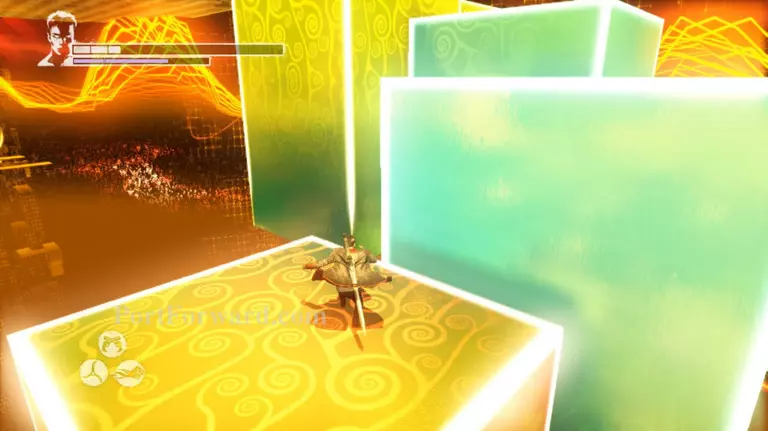
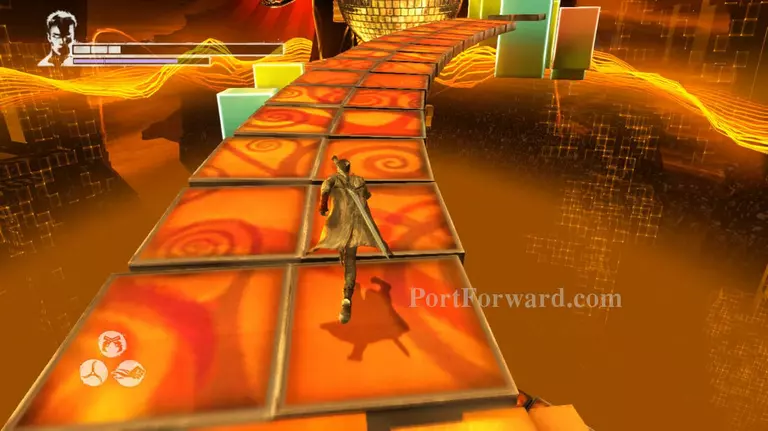
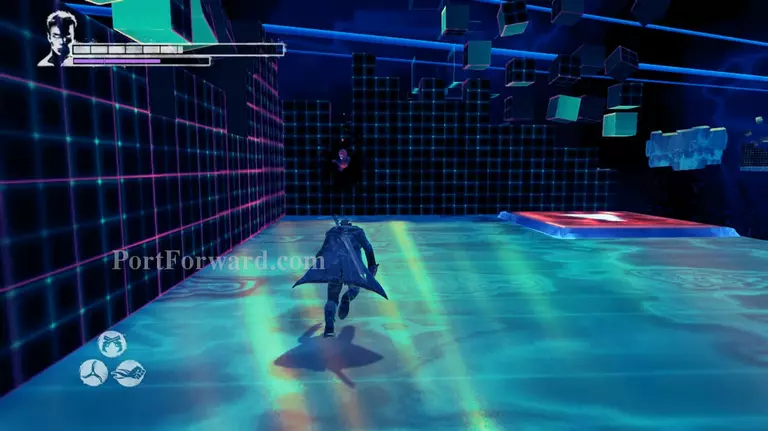
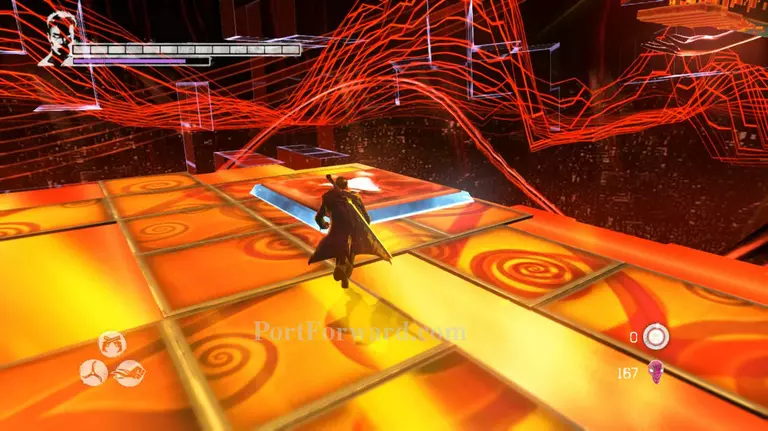
On the path there's a branch, also red tiles. Summon your demon weapon whenever you're walking on red tiles and your angel weapon whenever you walk on blue ones.
Head on over the the path on the right first and kill the lost soul hanging behind the pillar, then make your way back and continue towards the path on the left side.
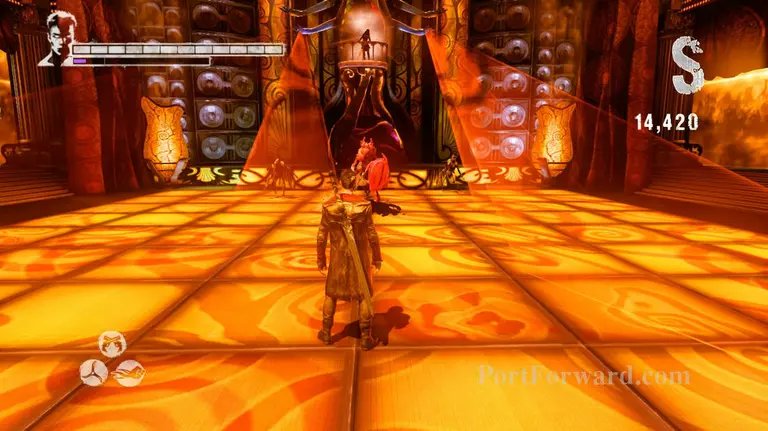
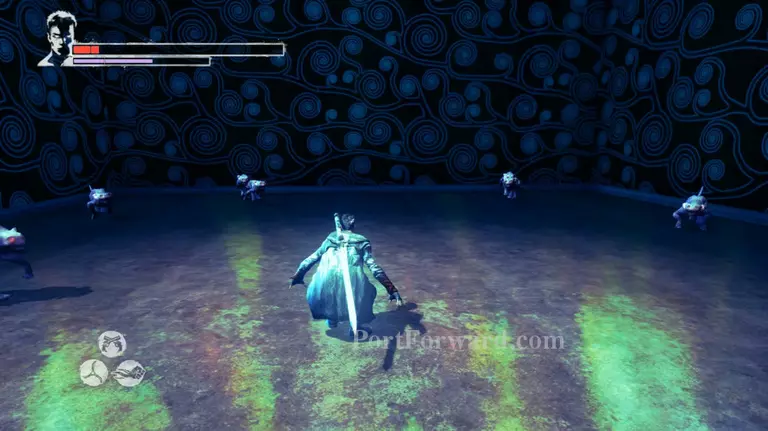
As soon as you get on the large platform Lilith will make you go through round 1. It's just a couple of Stygians with a little twist. The floor will occasionally send out a moving bar of either red or blue tiles so summon the appropriate weapon to avoid being damaged by the floor.
After killing off all of the demons make your way up the glowing pillars and towards the next round.
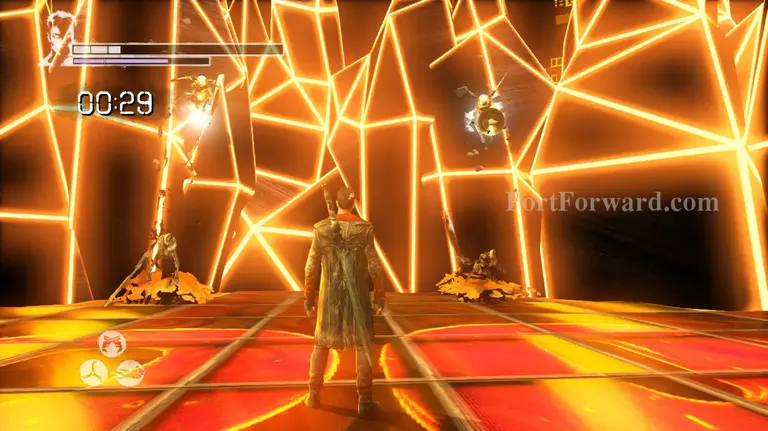
This time Lilith will give you 30 seconds to eliminate the pair of Bathos and Stygians that will appear. It wouldn't be too hard. Start off with disarming the Bathos of their shield and pulling them closer with Demon pull followed quickly by at attack from Arbiter. Then kill off the 2 Stygians.
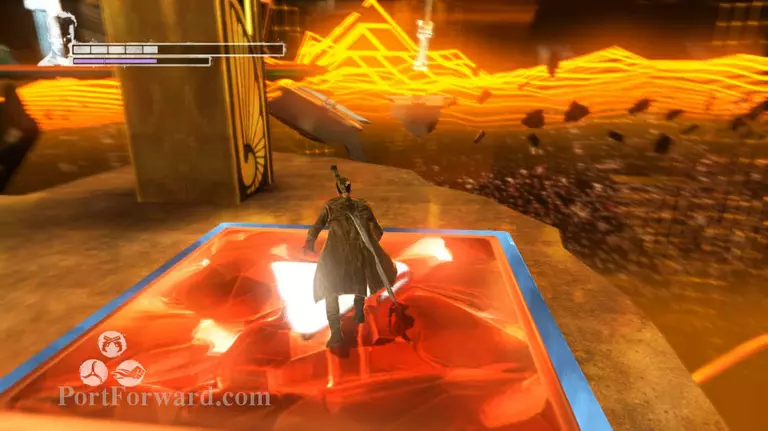
After the battle head over to the button again and use Eryx to smash it and activate it.
Now head up the stairs and make your way towards the glowing pillars at the end of the path.
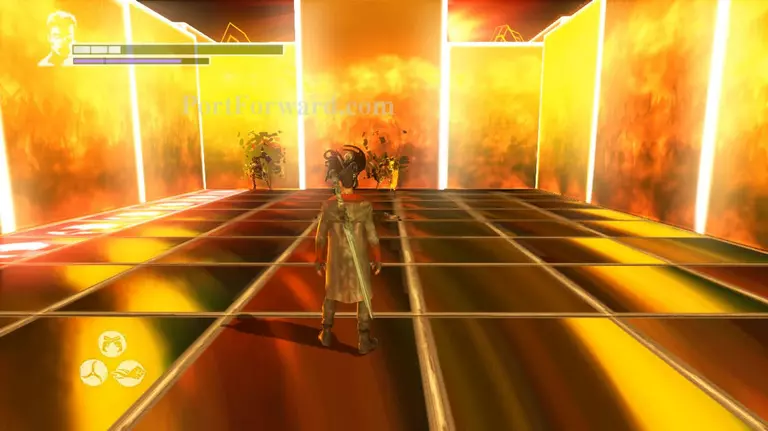
Now continue walking until you reach the stairs and go down towards the arc to start round 3.
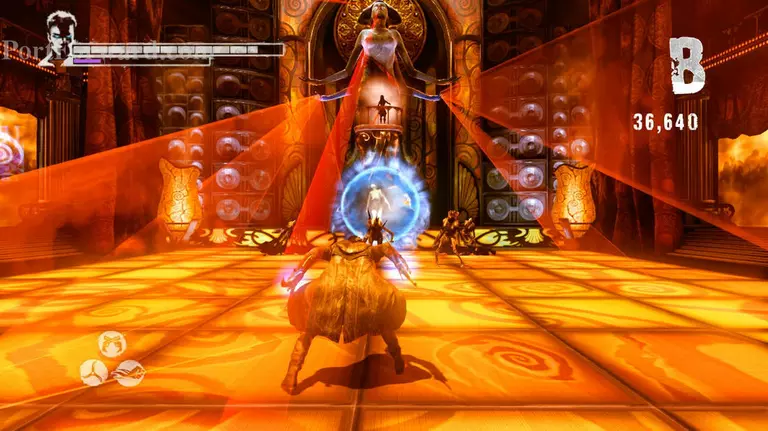
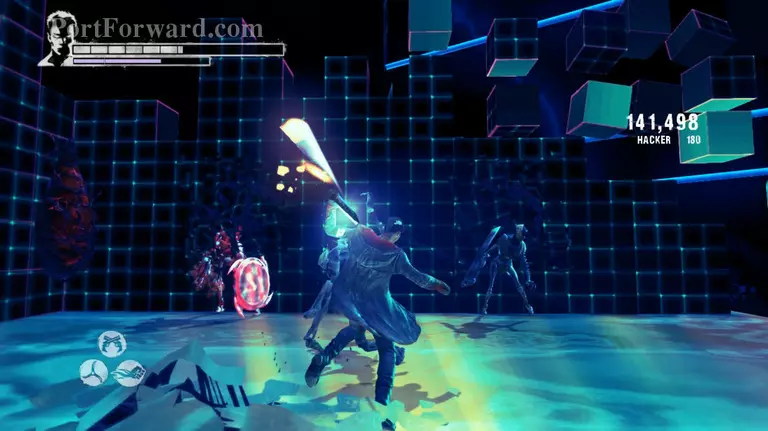
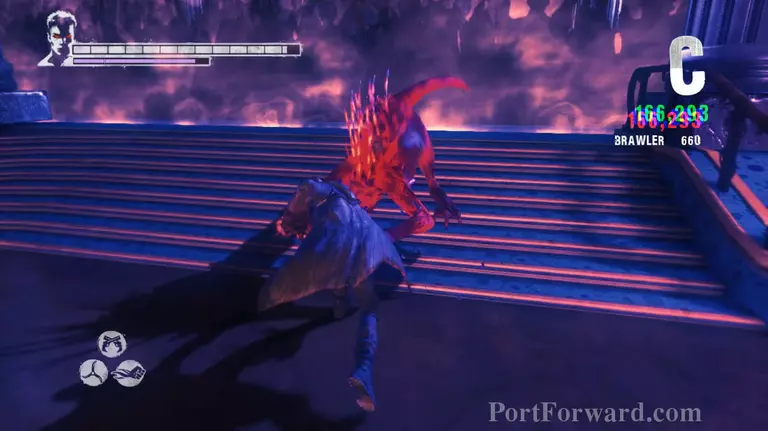
Round 3 will be similar to round 1 excepth the tiles won't move in a singular manner and the enemies will be a lot stronger. A pair of Death Knights and a Ravager.
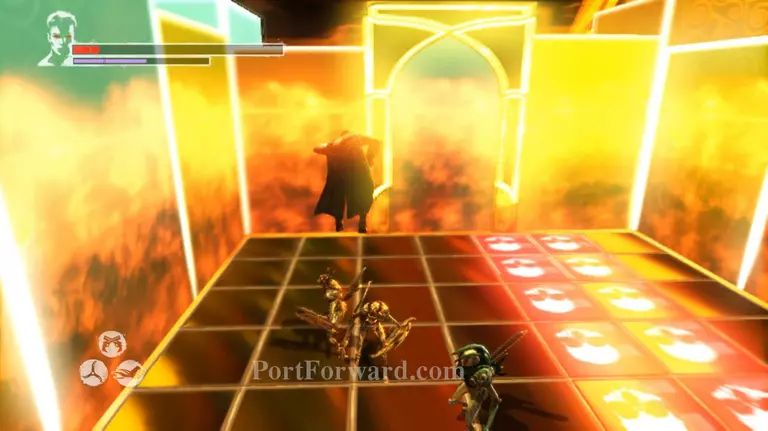
Be careful while you're trying to kill them, not only are the enemies pretty hard to deal with in the environment the floor is also a pain. Start off by killing the Death Knights first. You can also spam Eryx's attack to get rid of the Death Knights while maintining minimum damage.
After you get rid of the Death Knights focus on the Ravager, but keep your eyes on the floor and switch weapons appropriately.
Smash the play button after you kill the last demon in round 3 and the walls will come down.
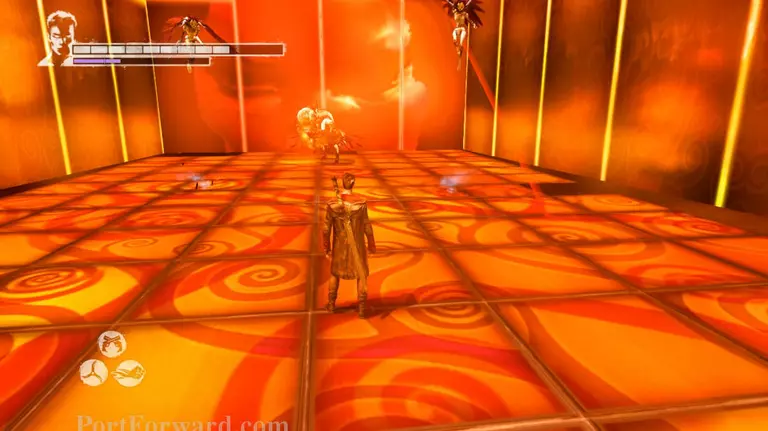
Round 4 will be you vs. some Rage Spawns. Not a very impressive choice on Lilith's part.
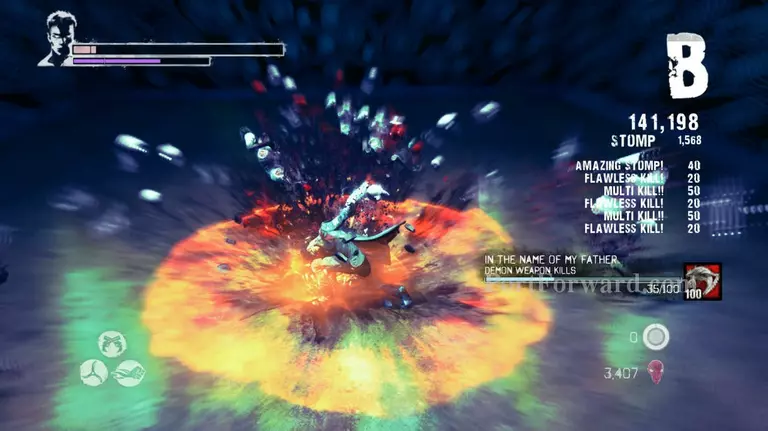
Equip Eryx and jump then fully charge your smash attack. This should get rid of most of the Rage Spawns in one quick attack.
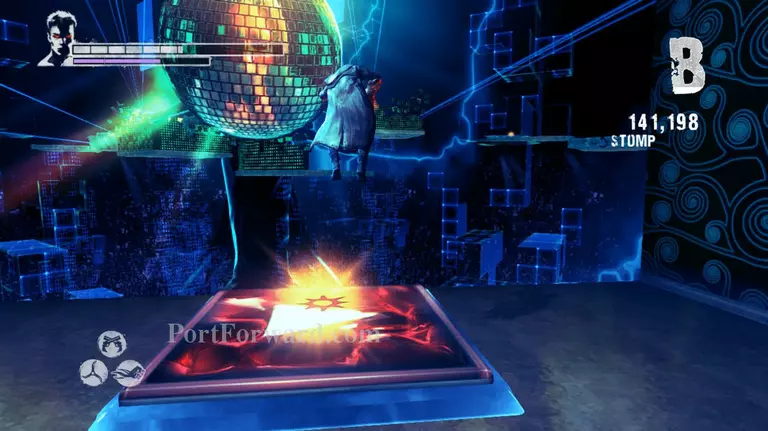
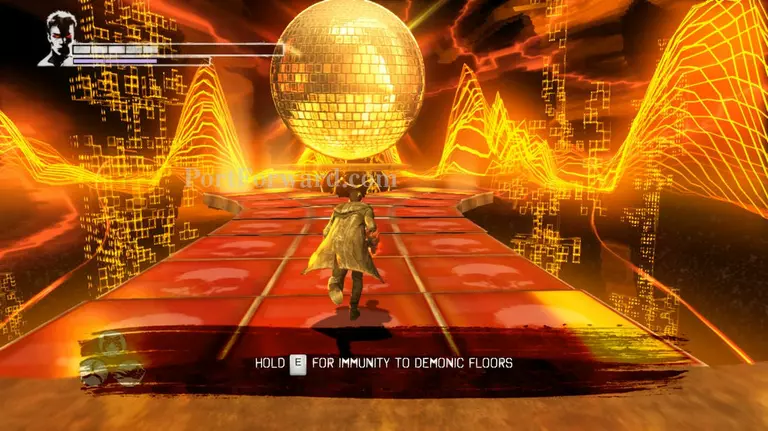
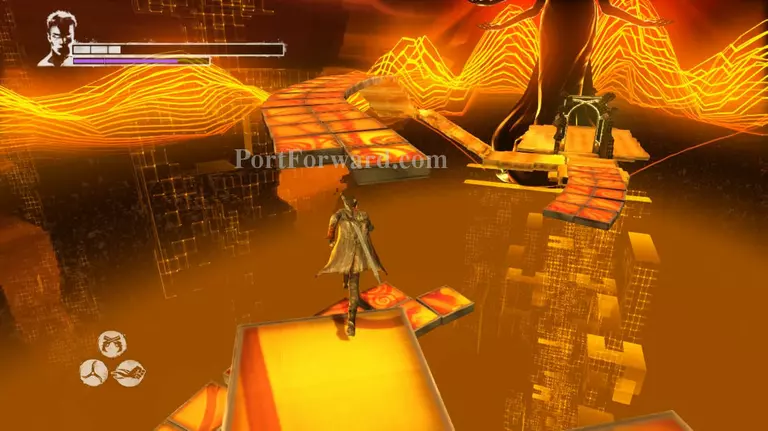
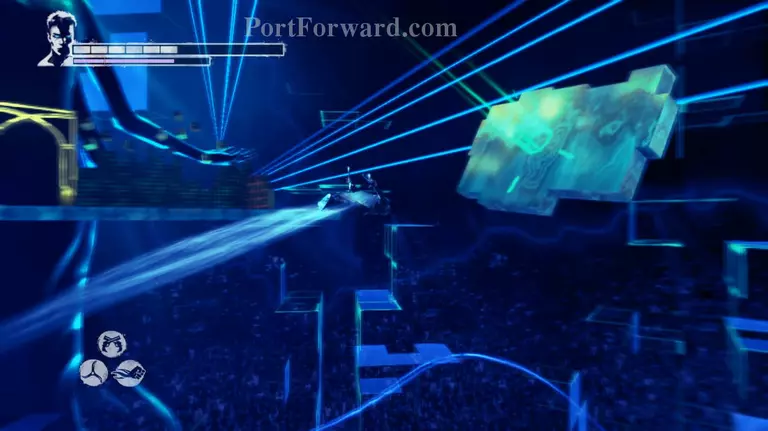
Smash the play button again to make some neon paths appear. Take the path on the left side and continue walking on it until you see a floating platform with the Angel lift mark.
Climb up on the platform by using Angel lift and get to the next one by using the boost ring. Smash the play button with Eryx and move on to the next platform.
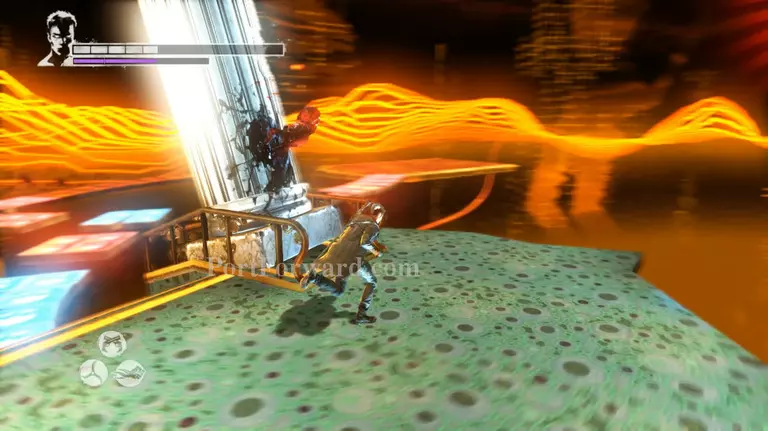
Destroy the lost soul hanging on the wall before you use the play button. Then make your way to the next platform.
Here you'll be attacked by a Hell Knight and 2 Stygians. Take care of the Stygians first then kill the Hell Knight and smash the play button that would appear.
Make your way through the path and use the boost rings to get to the next platform to start round 5.
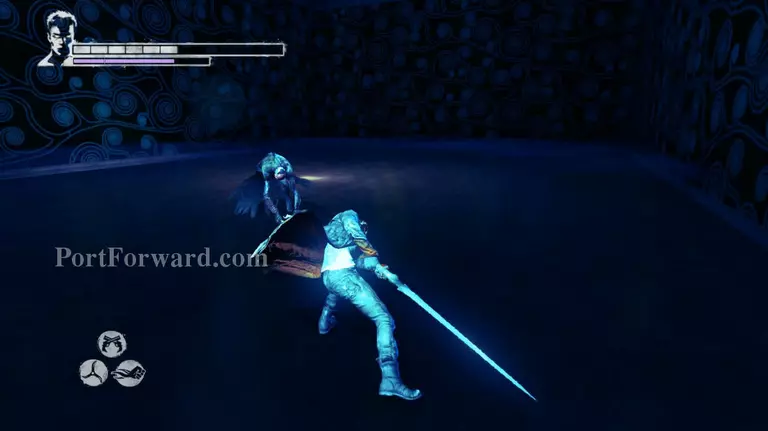
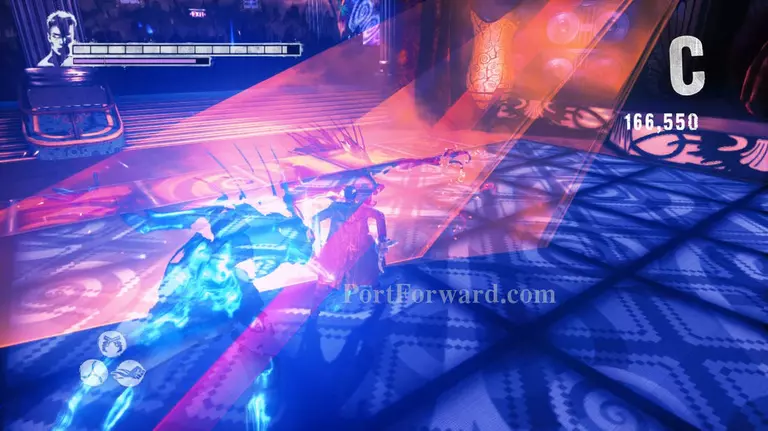
Round 5 contains the masked demon that weilds katanas. Wait for him to attack you and parry, then attack him when you get the chance.
When he disappears into the portal dodge out of the way and retaliate with attacks of your own. I don't recommend using any weapon other than Rebellion. Arbiter is too slow, Eryx's range is too short and both Aquila and Osiris seems to get broken mid combo.
Also shooting at him will cause him to recover faster. So do not shoot at him at all costs and don't try to just spam attacks at him, he'll deflect you and leave you vulnerable.
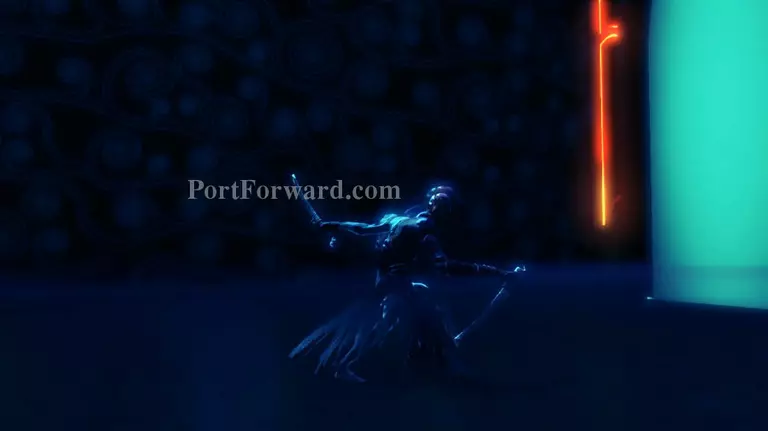
He'll runaway again once you deal enough damage and you'll be able to proceed further towards Lilith.
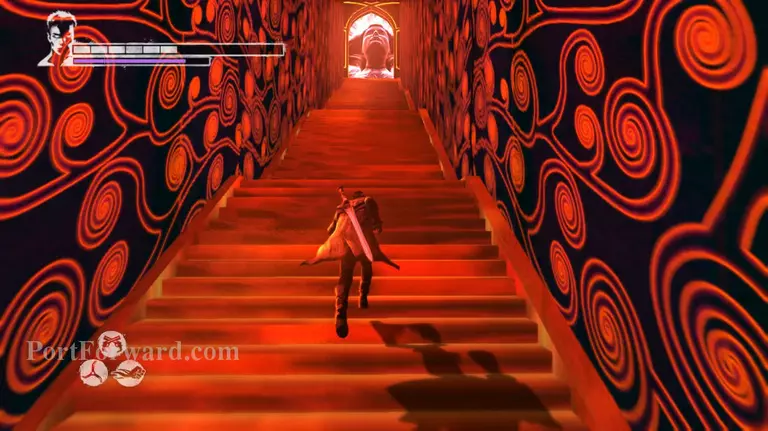
Smash the play button and head up the stairs. Make your way through the floating platforms and towards the platform with critters and a lost soul on it. Kill the lost soul first before proceeding.
Smash the play button and take whichever path you like. You'll arrive at the same place either ways.
Round 6 will put you up against new types of Rage. The first one being the Ghost Rage, it's bsically like the Frost Knight version of the Rage. Throw the Aquila at it to keep it at bay while you're hacking it with the Rebellion and it should fall in no time.
The secon Rage is a Blood Rage. Much like the Ghost rage you just have to keep spamming it with Eryx and it will fall easily. In fact it's easier to kill than the Ghost Rage.
The final enemy will be a pair of Blood and Ghost Rage. Start off by throwing and locking the Ghost Rage with the Aquila and keeping it that way while you beat up the Blood Rage. You'll have to occasionally throw the Aquila at the Ghost Rage to keep it locked up.
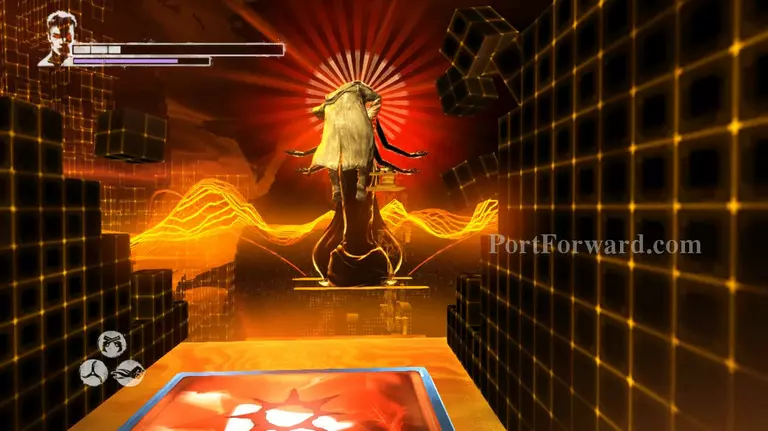
Once the Blood Rage is dead turn your attention to the Ghost Rage and kill it. Lilith will then come down and attack you herself. Well... almost.
More Devil May Cry Walkthroughs
This Devil May Cry walkthrough is divided into 30 total pages.