This Devil May Cry walkthrough is divided into 30 total pages.
You can jump to nearby pages of the game using the links above.
Mission 12: Under Siege
Follow Kat to the entrance and use Demon pull on the circles that she draws to bring the roof down and repeat it again on the other circle.

Now follow Kat to the large wall and she'll finish drawing her circle. Use Demon pull to bring the wall down and follow her to the next one.
Follow Kat through the building and use the circle that Kat drew on one of the computers and bring it down when the SWAT officer gets near.

Now continue following Kat into the server room and watch the cut scene.
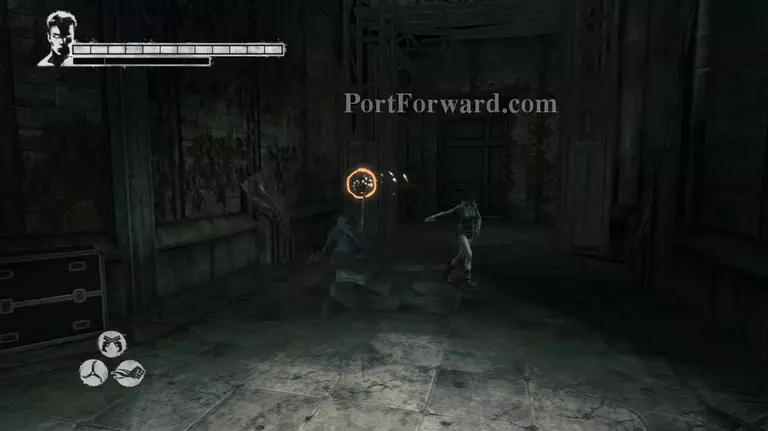
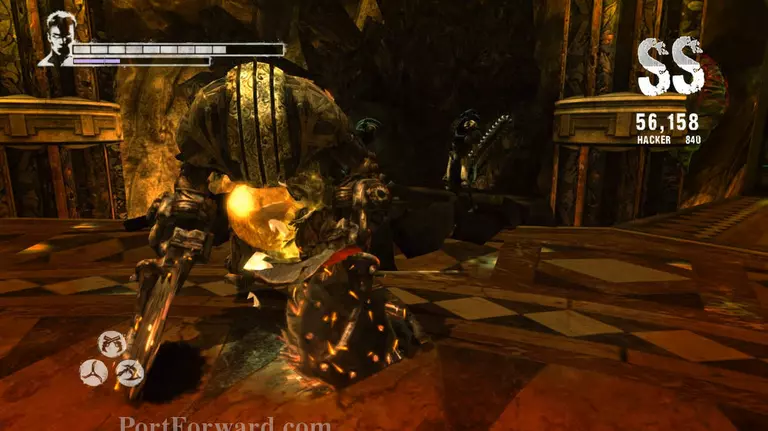
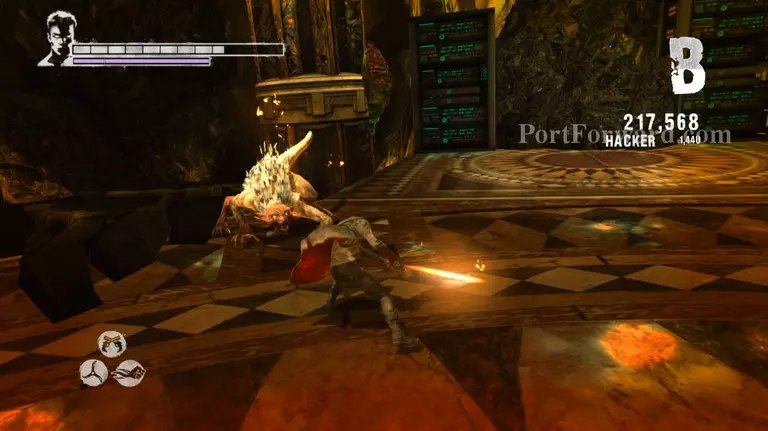
After the cut scene you'll have to go against a Butcher again. You'll be taught how to do a timed parry on the Butcher but since I'm not good at that I'll stick to my previous methods.

Get close to the Butcher and keep attacking the Butcher until it dies. Make sure to land a finishing blow once it glows red. The best way to do that is by using Rebellion's Drive attack.

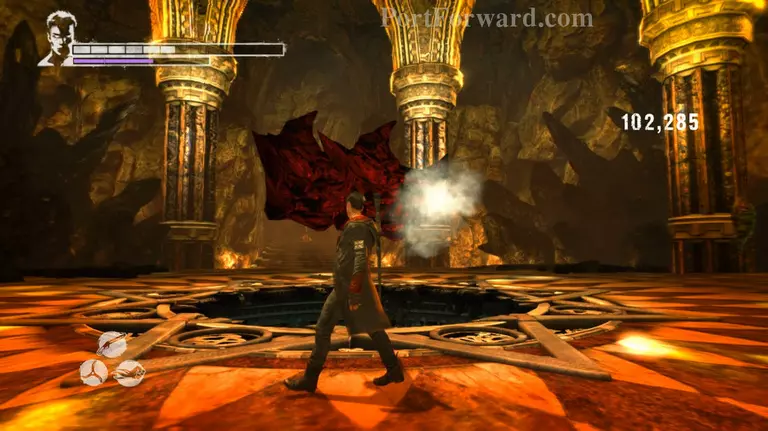
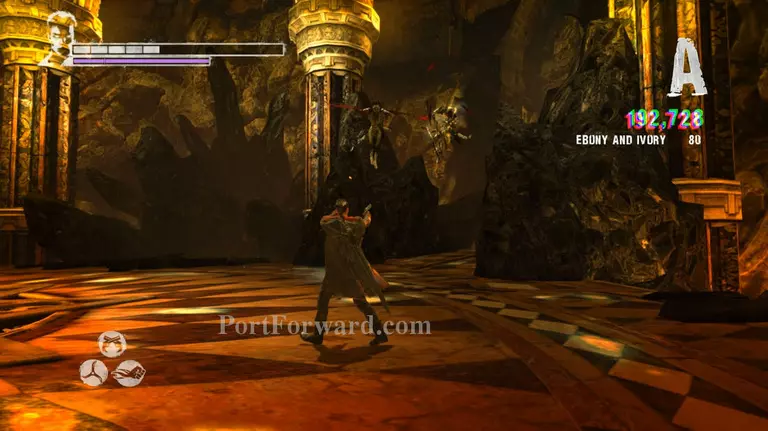
Head over to the Divinity Statue and purchase whatever supplies you need. You'll have to go against hordes of demons as soon as you leave the shop so make sure that you're prepared.
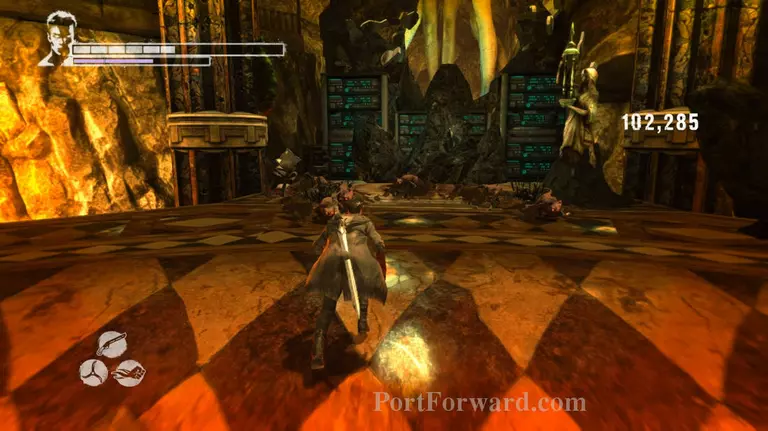
The first wave will consist of Ravagers and some Stygians. Easy enough. Take care of the Stygians first although make sure that you use attacks that will deal damage to a lot of enemies at the same time such as Osiris or Aquila's attacks or Rebellion's Drive ability.
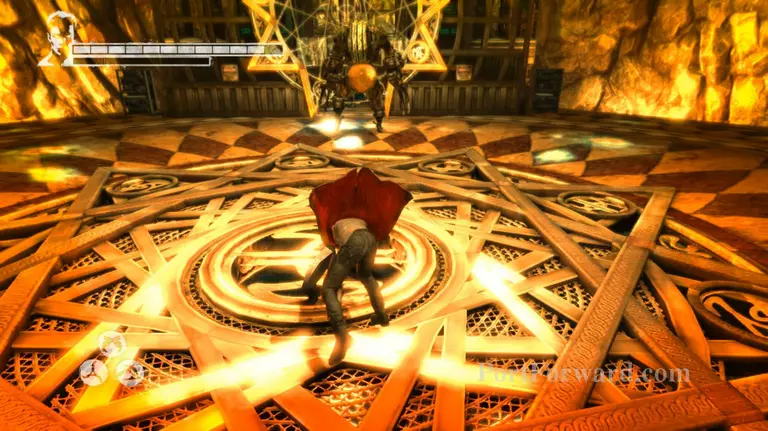
After the first wave the second wave will come. A Butcher along with 3 Ravagers. Talk about overkill.
Anyways start off by throwing an Aquila trap on one of the Ravagers. Then proceed to attacking the other two, but keep close to the Butcher so it's easier to dodge him. Keep on killing the Ravagers and dodging the Butcher until they're all dead and the Butcher is left on his own.
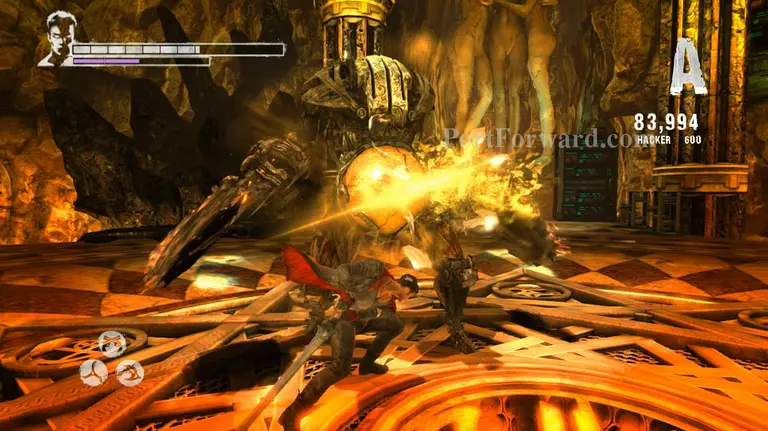
Finish off the Butcher once it's left on its own and another wave of demons will arrive.
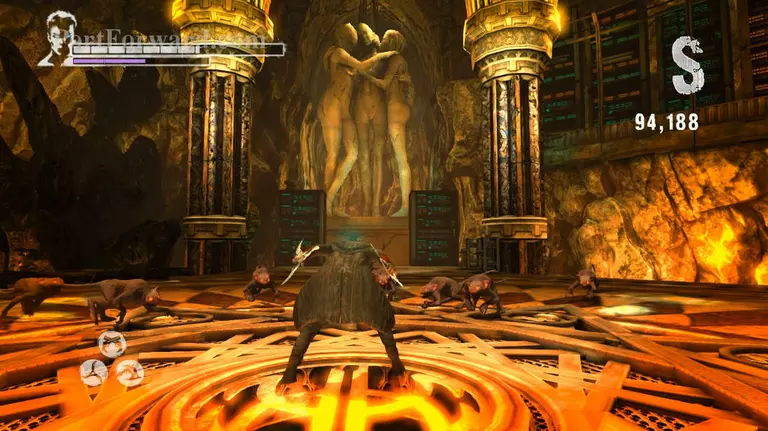
This time it's Rage Spawns. These little guys are easy to kill. Equip Eryx and Spam fully charged ground slam attacks (E+jump+ hold F) on them. This attack should kill most of them in 1 hit.
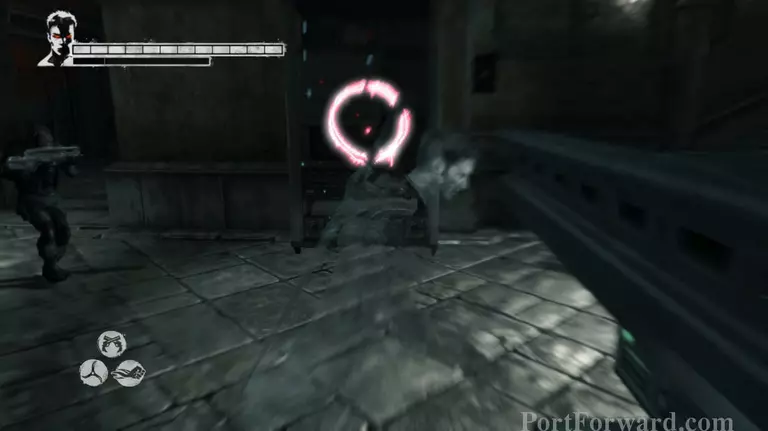
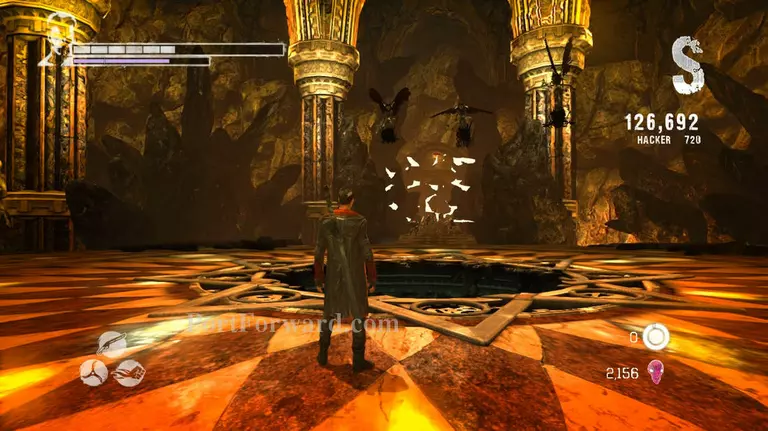
Next are demonic shards. Go trigger happy on them to kill them faster. Although it seems like it's impossible to kill all of them even if you press as fast as you can.
Vergil will then hand you a shotgun. This gun can kill shards in 1 hit although it's a lot slower than Ebony and Ivory.
Continue using the shotgun to kill off the shards.
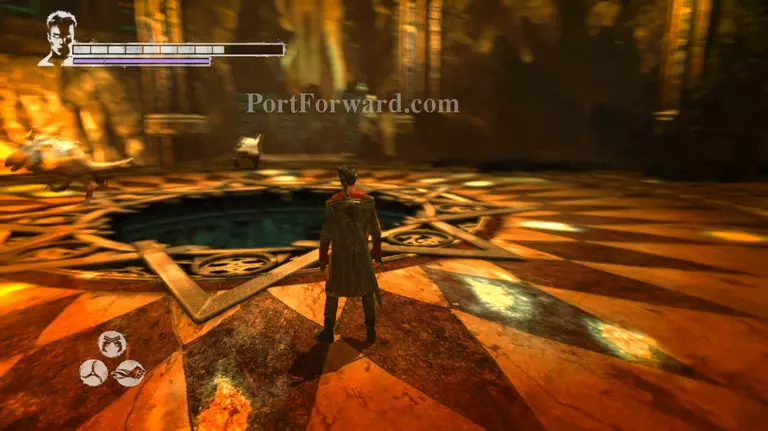
Examine the Divinity statue again in order to start round 2 of the battle. More Range spawns will appear. Use Eryx again to thin out their numbers quickly. You could also use Revenant but I found that using Eryx was more effective since they can't reach you nor damage you while you're in the air.
Then Harpies and Stygians will spawn. Luckily these guys are easy to kill but the sheer number may be formidable.
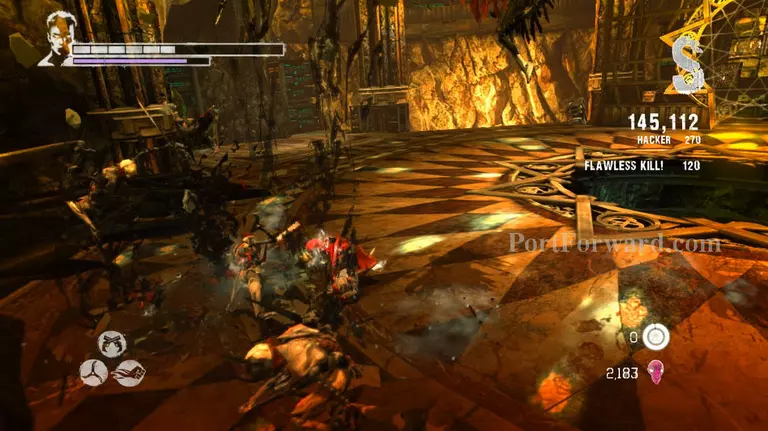
Take care of the Stygians first but be careful that you don't get hit by the Harpies. I suggest that you avoid using attacks that charge up like Drive or attacks that are slow like Arbiter. Also keep moving to avoid getting damaged.
After dealing with all the Stygians, focus on the Harpies. A good way to dodge Harpy attacks is to listen for the sound they make before attacking. They make a "gawking" sound right before attacking you.
Re-equip Ebony and Ivory and start shooting at the Harpies to destroy their wings then pull them to the ground with Demon pull and kill them. Repeat this until they're all dead.
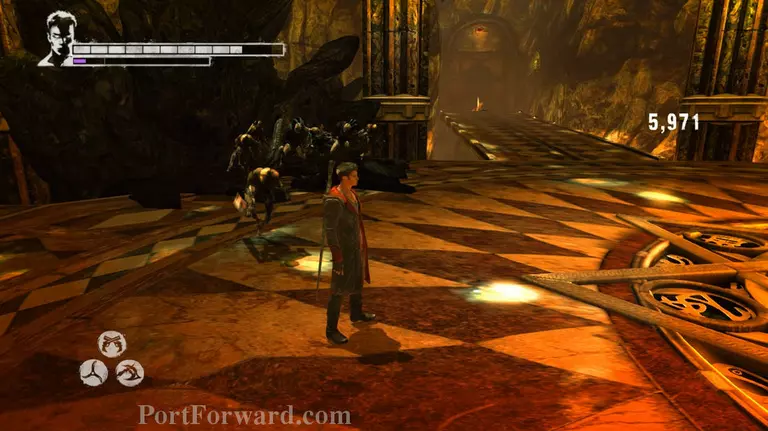
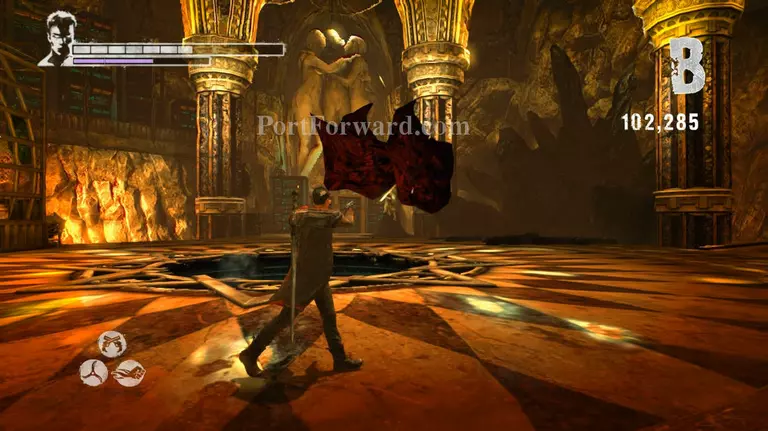
After killing the last Harpy approach Vergil and he'll start talking to Dante. Then some Rages will appear.
Throw the Aquila at one of them to bind it in place and proceed to killing the other one. I prefer using the Rebellion against these guys as it's more flexible with the range and stuff. Finish off the second Rage once the first one dies.
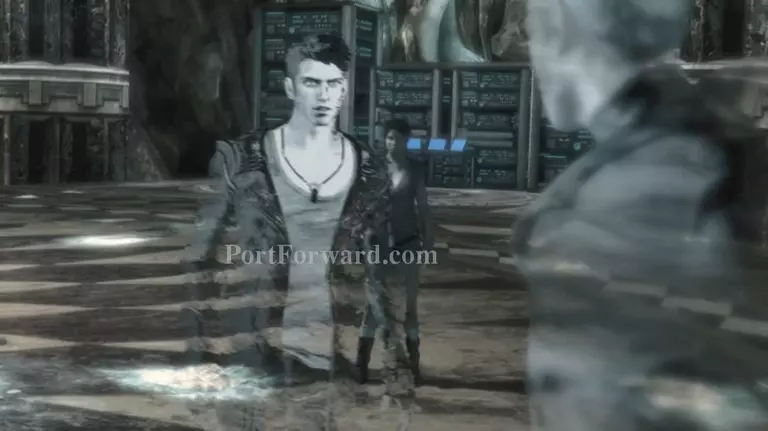
And now we see the most heartbreaking scene in the entire game.
More Devil May Cry Walkthroughs
This Devil May Cry walkthrough is divided into 30 total pages.