
This Ghost Master walkthrough is divided into 14 total pages.
You can jump to nearby pages of the game using the links above.
Summoners Not Included
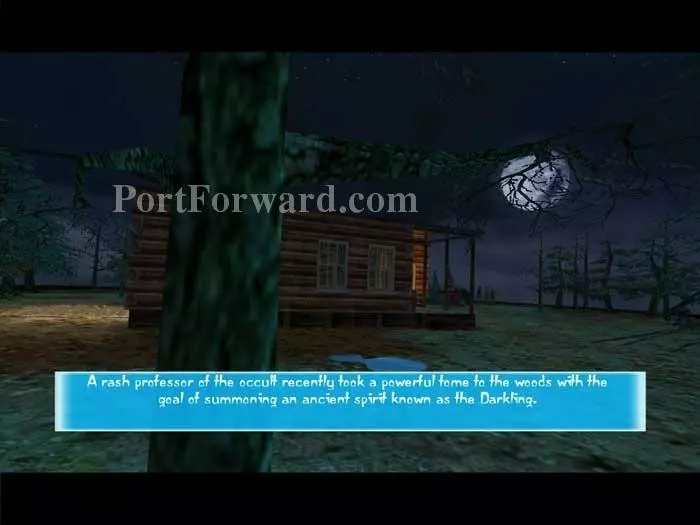
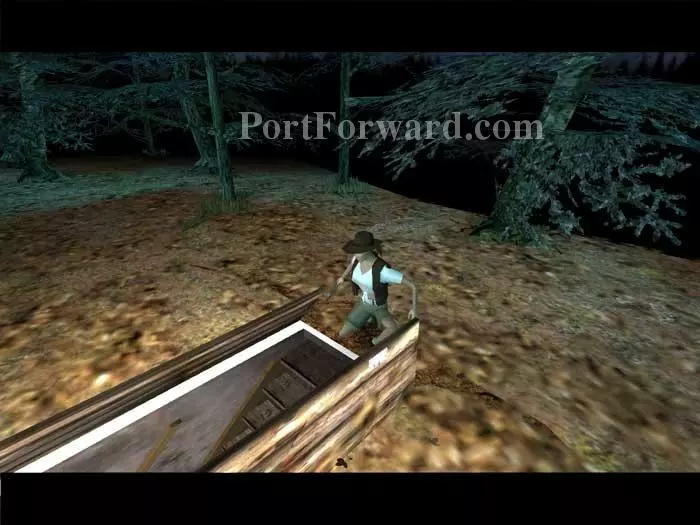
This time the setting is a wooded cabin straight from the Evil-Dead.
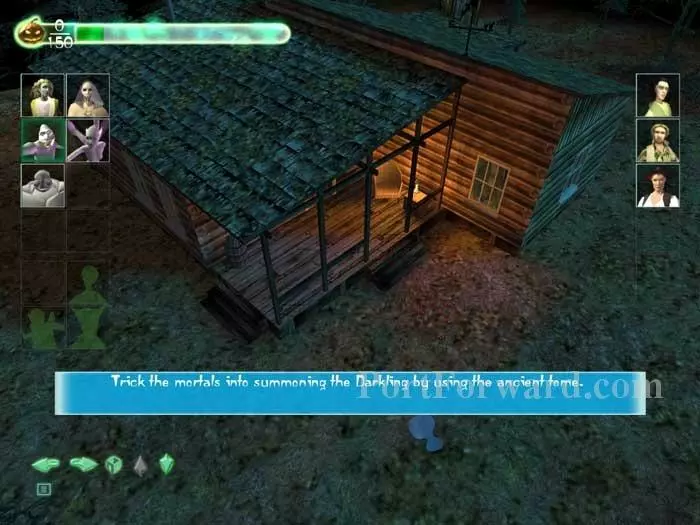
Here's your task. "Trick the mortals into summoning the Darkling by using the ancient tome."
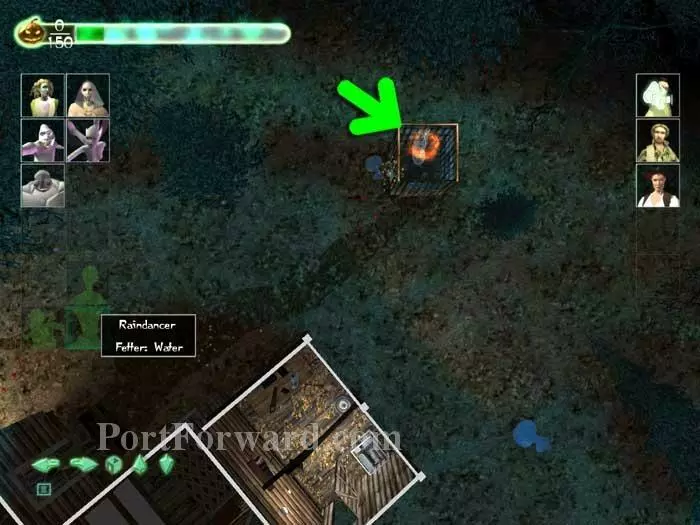
There are three trapped spirits in the level. Here's the first, Raindancer, trapped in the outhouse.

Raindancer tells you she'll be free when the mortals "unleash the torrent within and flush this spirit's way to freedom." Um-hmm. You'll have to get someone to use the loo.
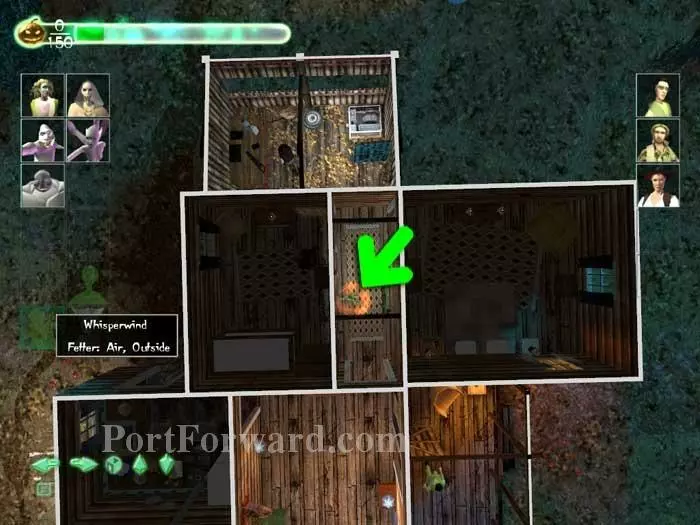
Here's trapped spirit number 2, Whisperwind.
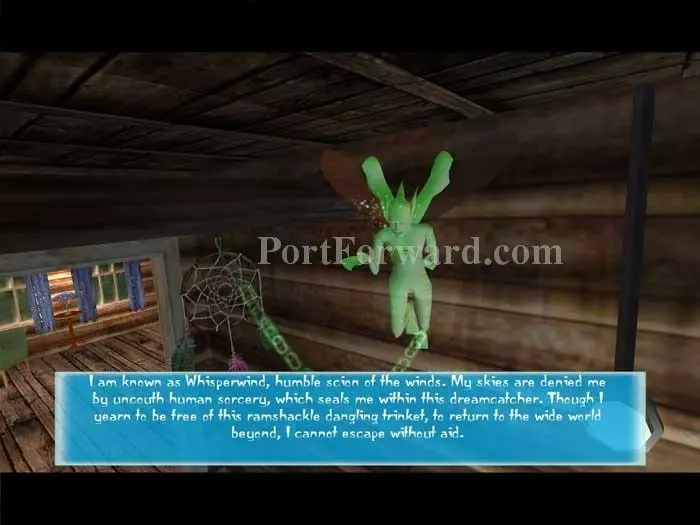
Whisperwind is bound to this glass dreamcatcher.
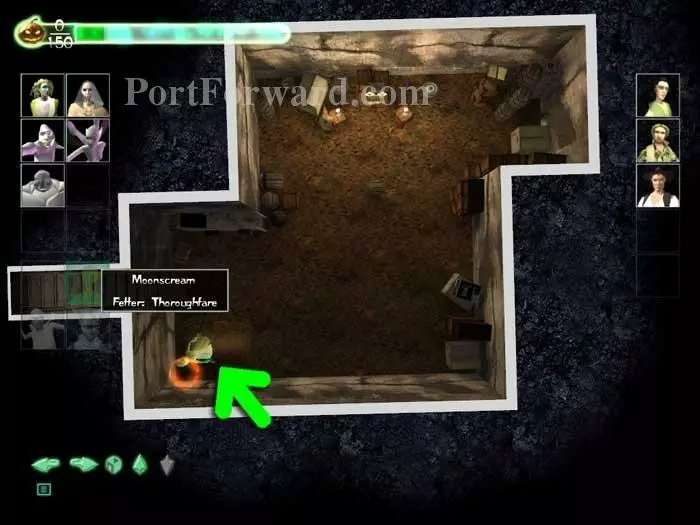
Beneath the cabin you'll find the third trapped spirit, Moonscream. Note the stairs to the left.
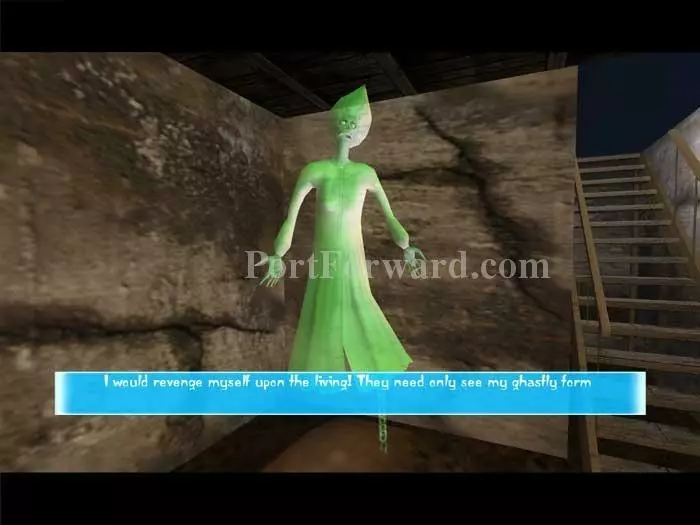
Moonscream tells you, "They need only see my ghastly form." Here's another angle on the stairs.
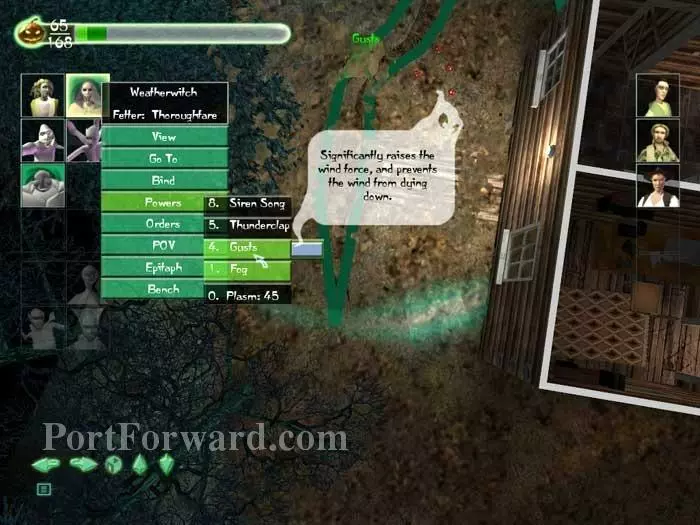
Bind Weatherwitch to this area where the stairs emerge. Cast Gusts to blow the leaves away from the basement door. The mortals can now find the basement entrance.
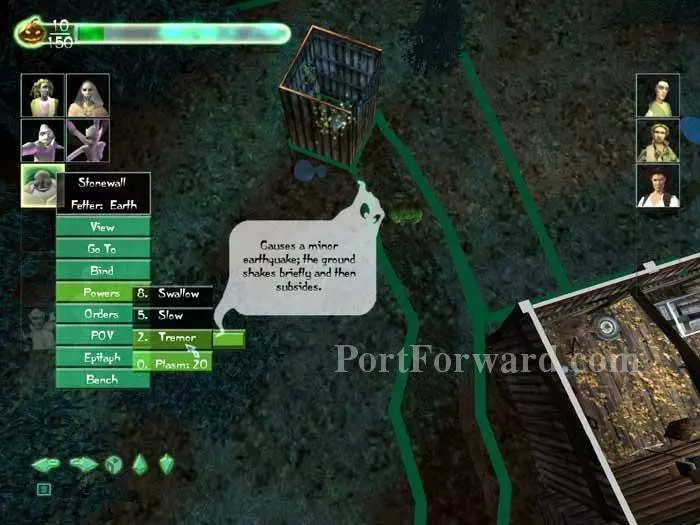
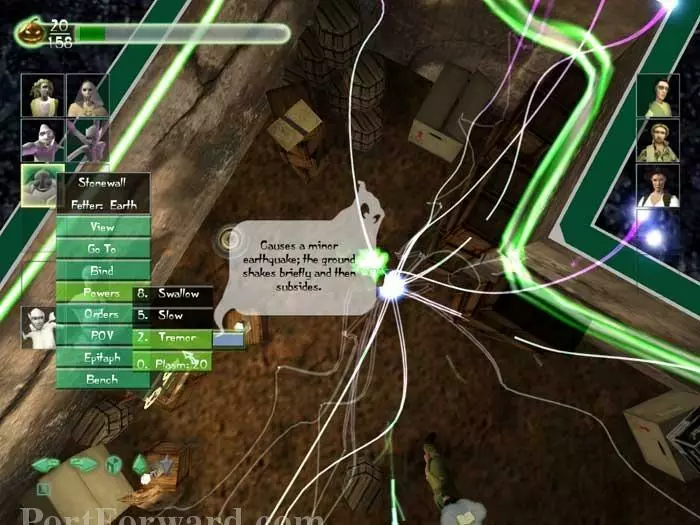
The mortals aren't going to use the outhouse with that hornets nest buzzing about. Bind Stonewall to the ground nearby and cast Tremor to break the nest free. Now the toilet is open for business!
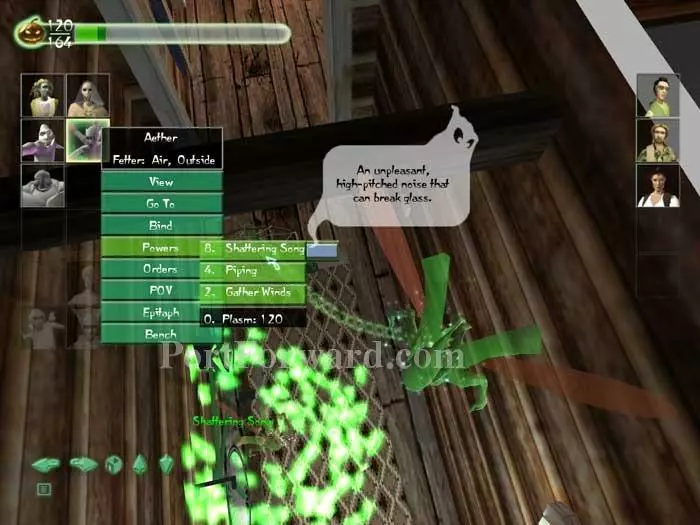
Bind Aether to the bike next to Whisperwind and cast Shattering Song.
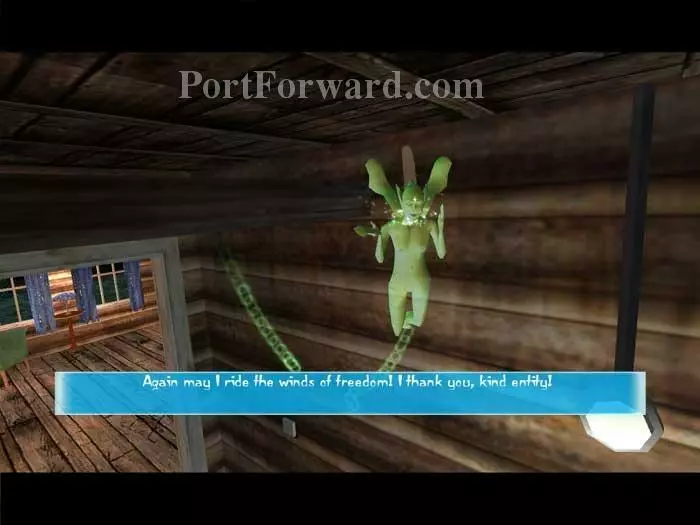
The dreamcatcher shatters and Whisperwind is yours!
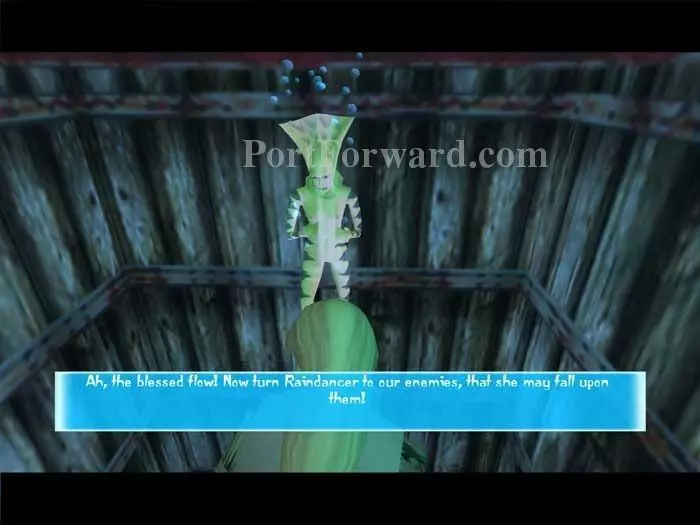
It doesn't take long before someone uses the outhouse, flushes, and sets Raindancer free. Two trapped spirits free, one to go.
The mortals find the doorway and retrieve the key, then open the doors to the basement below.
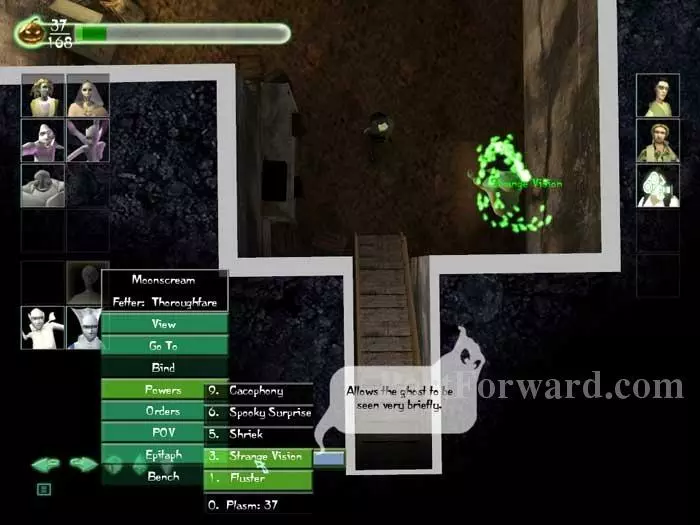
Quickly have Moonscream cast Strange Vision. You may also want to order her to only use that power band and prevent her from using Fluster instead.
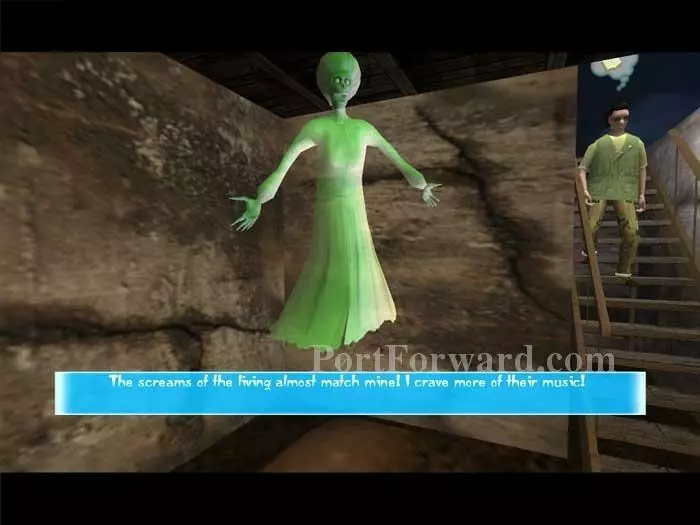
Once a mortal falls under the spell and sees Moonscream she is free. The third and final trapped soul is now yours!
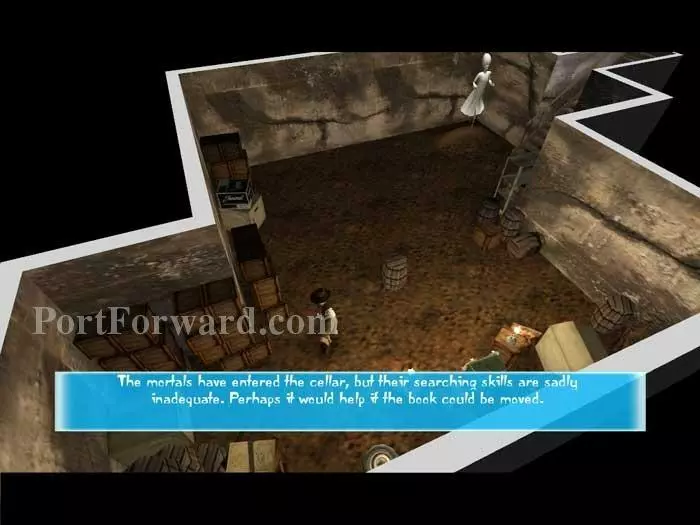
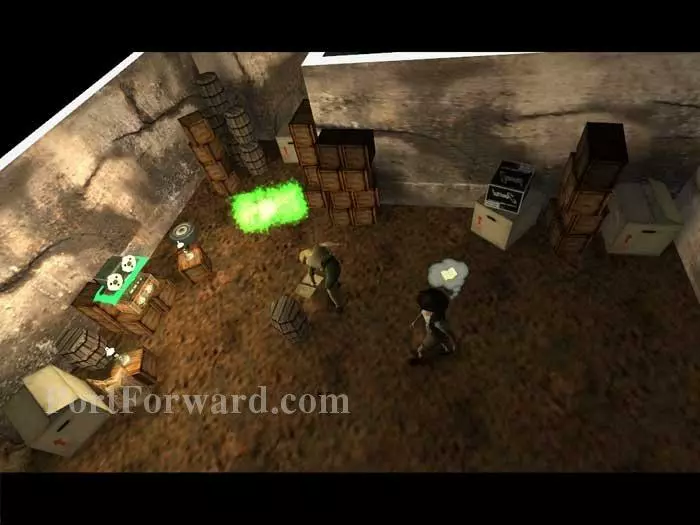
A cutscene gives you a clue -- move the book to make it easier for the mortals to find.
As always, there's more than one way to accomplish this task. One way is to bind Stonewall near the book and cast Tremor. The book will tumble onto the ground.
Bench Stonewall (remember we need the kids to conduct the ceremony so don't scare them away). They'll quickly discover the book on the ground.
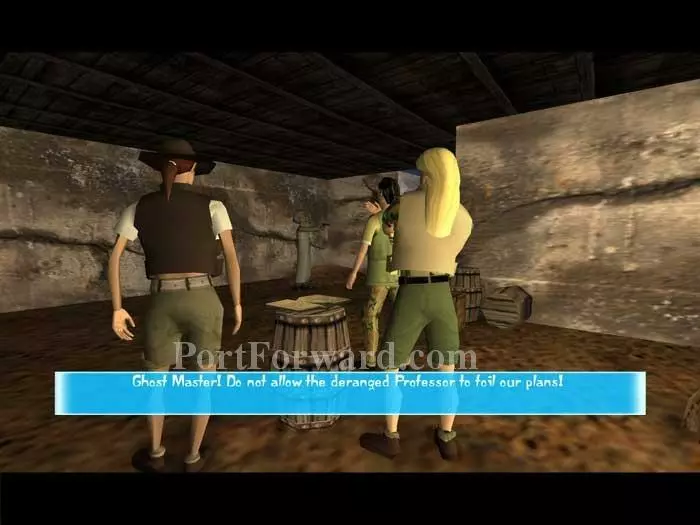
All three gather around the book -- but a deranged Professor pulls out a gun and insists they cease! Your new objective -- scare the Professor off the map!
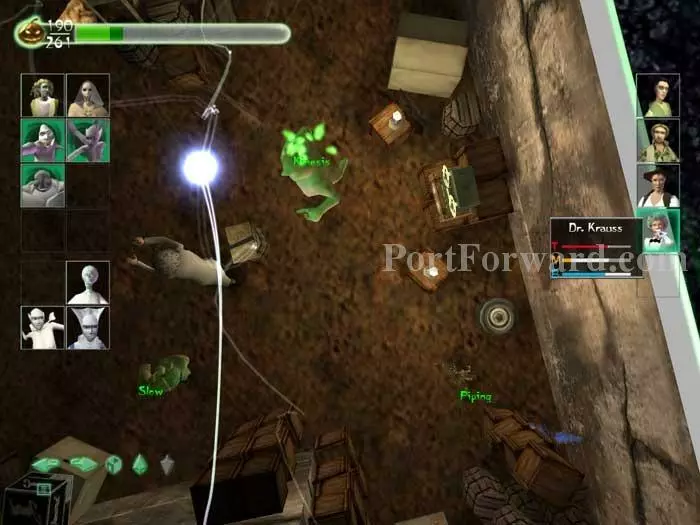
You can bind Stonewall to the ground, Boo to the room and Aether to the tire. You can drive the Professor to fright quickly using all three -- just be sure not to exceed your plasm!
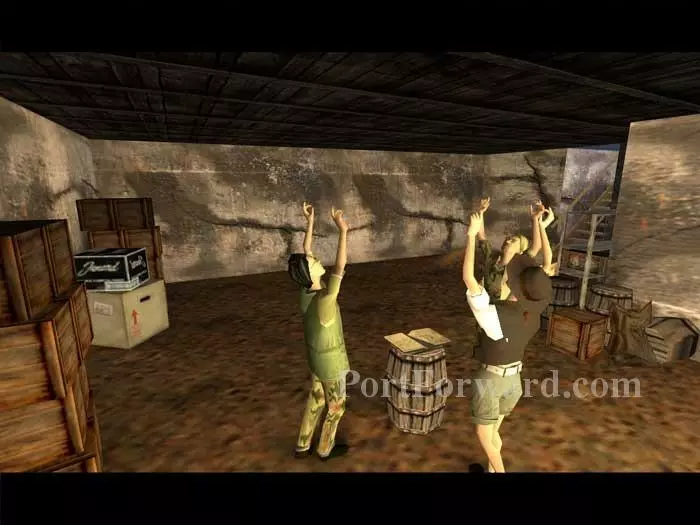
The three return and conduct their ritual.
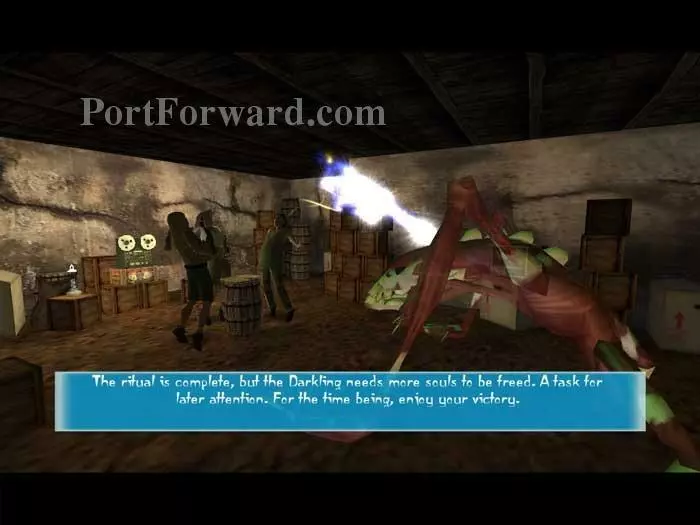
The Darkling is summoned and he promptly absorbs their souls. Unfortunate for them, but fortunate for you -- you've just finished the level!
More Ghost Master Walkthroughs
This Ghost Master walkthrough is divided into 14 total pages.


