Half-Life Walkthrough Blast Pit

September 12, 2016 (Last Updated: ) | Reading Time: 6 minutes

This Half-Life walkthrough is divided into 18 total pages.

You can jump to nearby pages of the game using the links above.

Blast Pit

Half-Life Walkthrough - Half Life 175

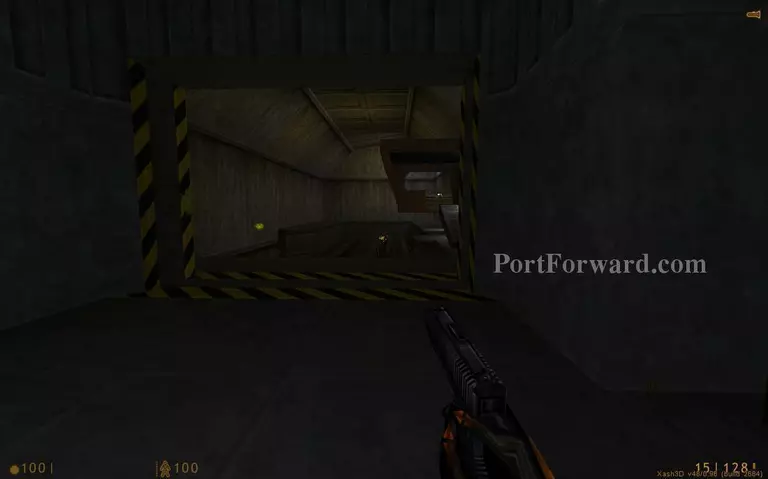
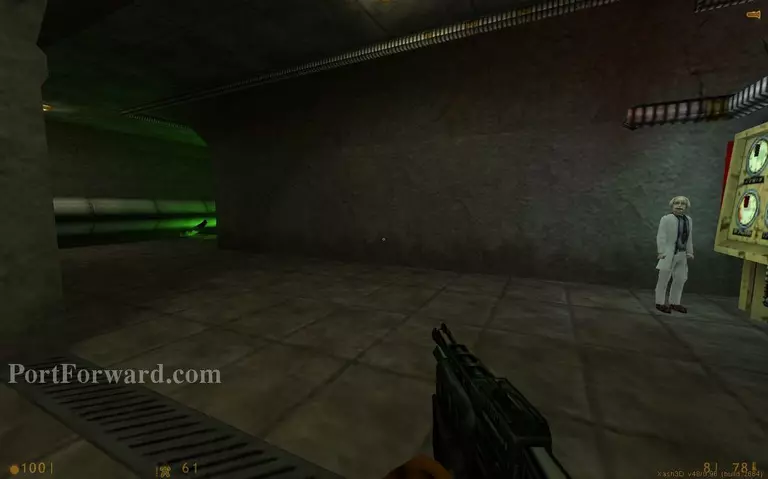
Move forward and watch out for the bullsquid spit.

Half-Life Walkthrough - Half Life 176

Use the lever to activate the lift below.

Half-Life Walkthrough - Half Life 177

Use the lift to go down.

Half-Life Walkthrough - Half Life 178

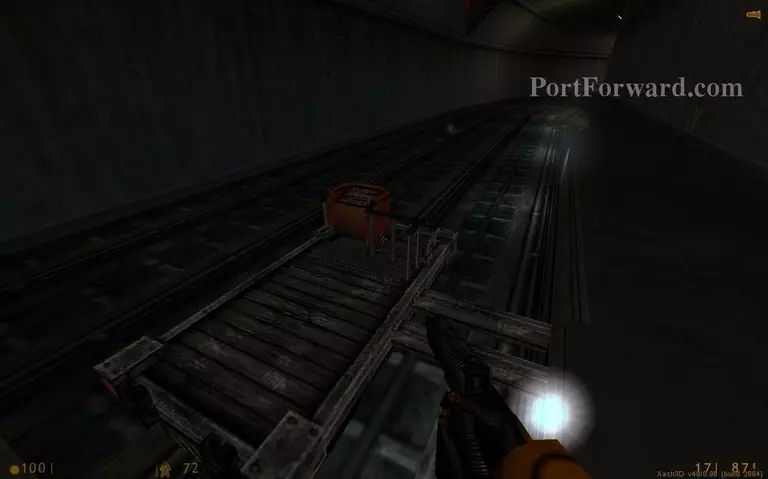
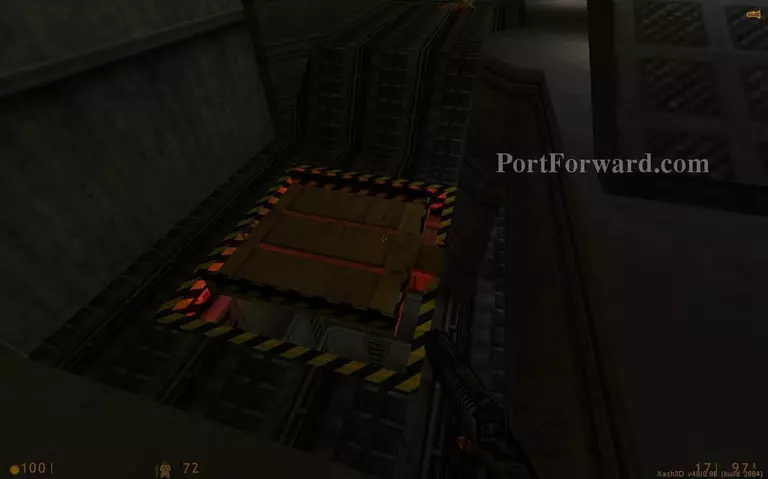
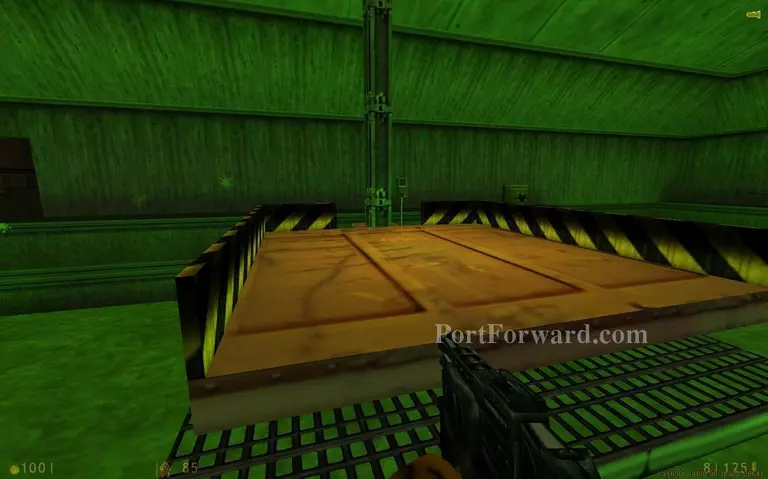
Use the tram to move forward faster. You can control the speed when you press forward, or you can go in reverse.

Half-Life Walkthrough - Half Life 179

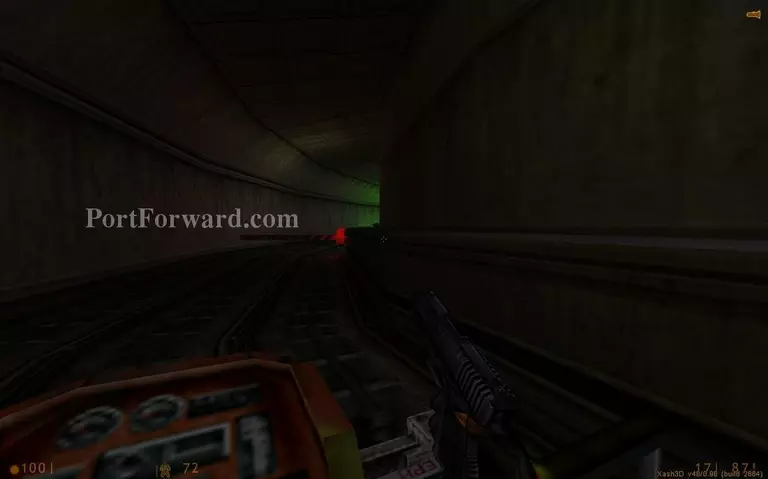
When you reach the end the tram will crash and will send you into a radiation pool. You can try to jump off it early.

Half-Life Walkthrough - Half Life 180

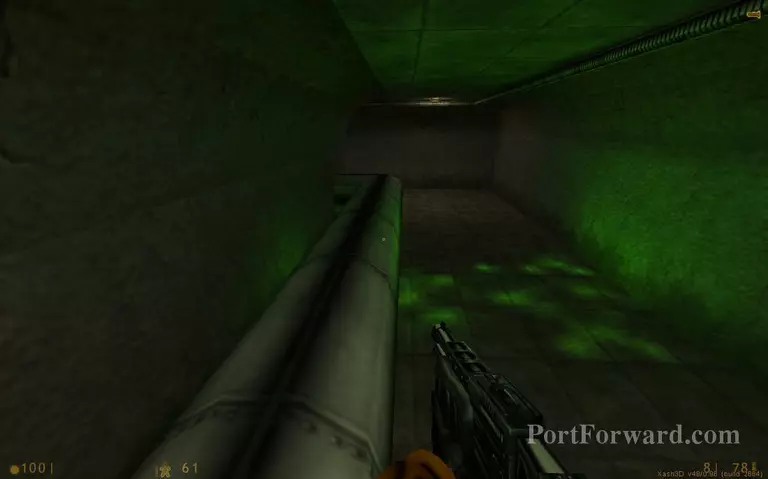
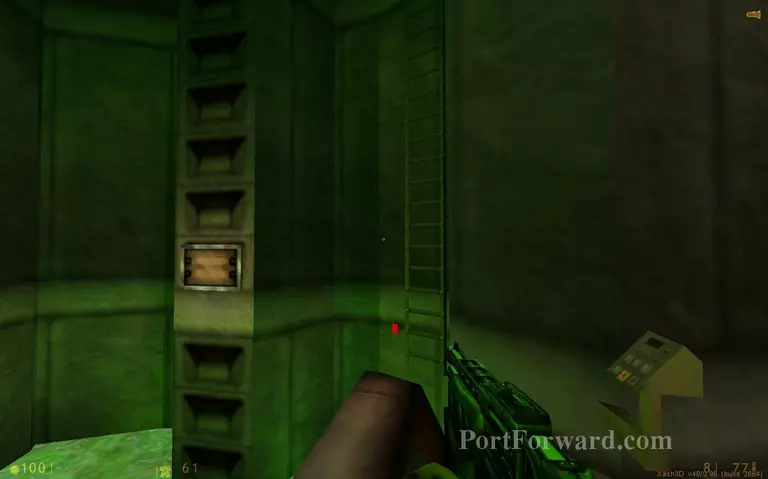
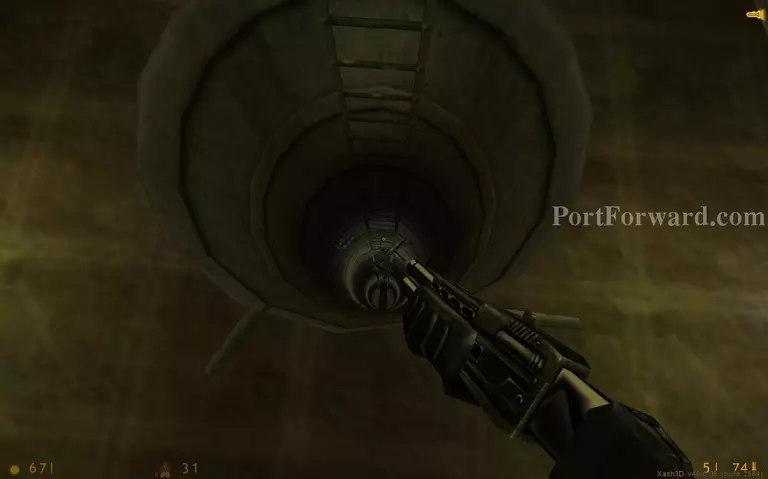
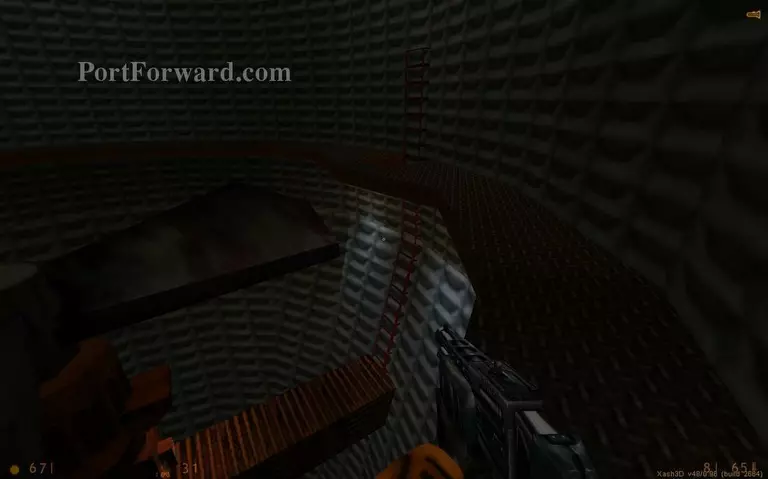
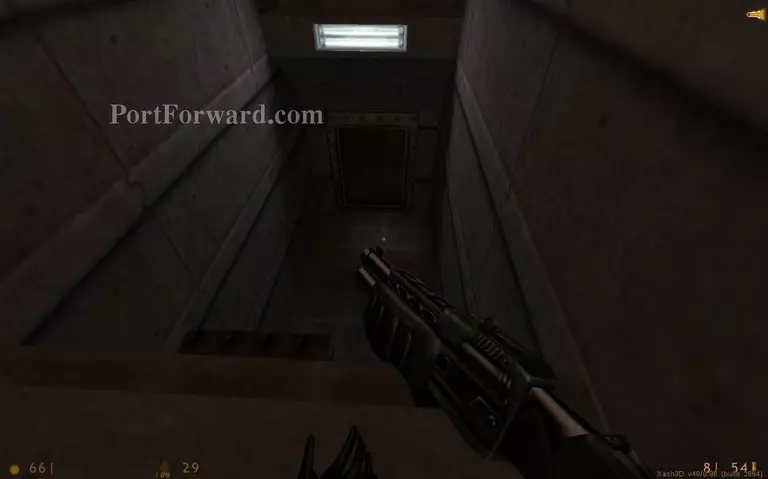
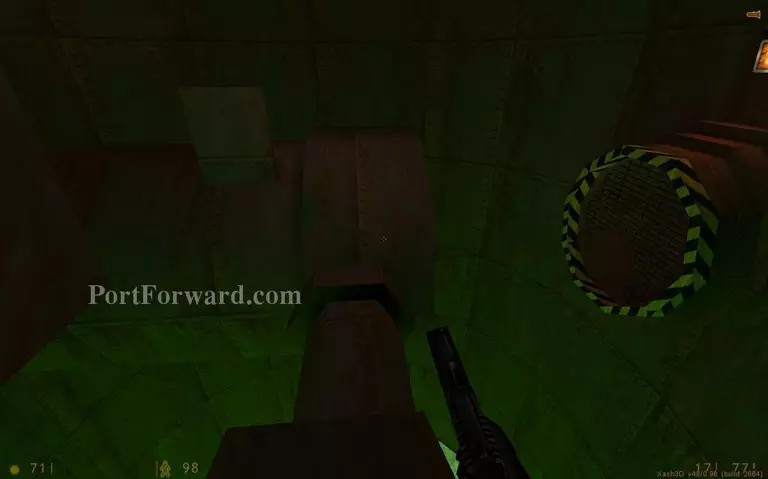
Climb up a ladder and go inside the pipe.

Half-Life Walkthrough - Half Life 181

Jump on the next pipes.

Half-Life Walkthrough - Half Life 182

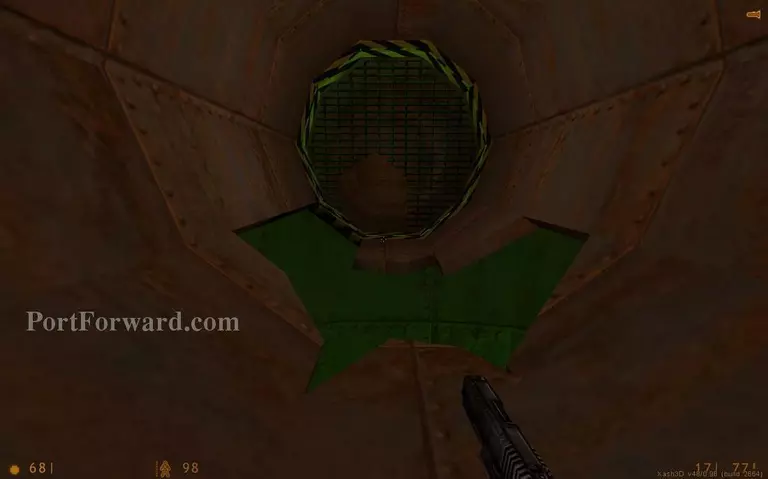
Jump from the pipes to the next area.

Half-Life Walkthrough - Half Life 183

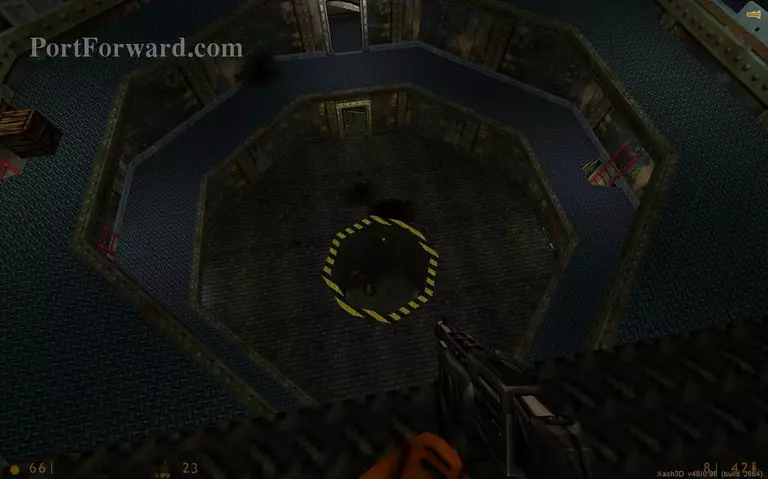
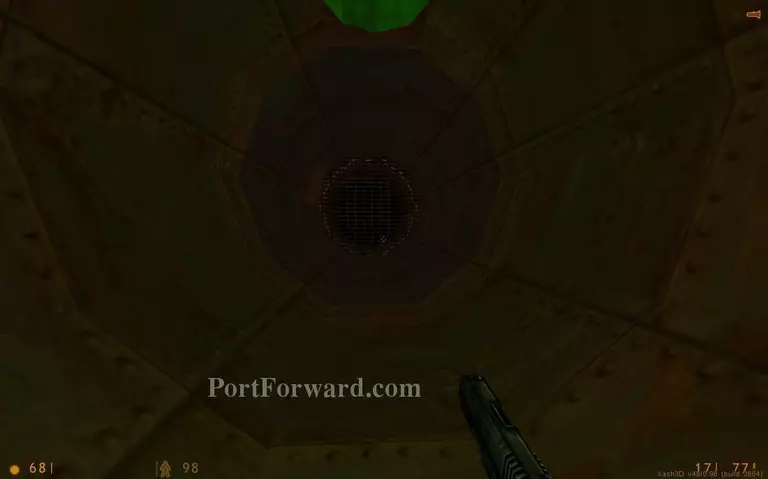
Walk on the pipes to reach the lift in the center.

Half-Life Walkthrough - Half Life 184

Use the lift to go up.
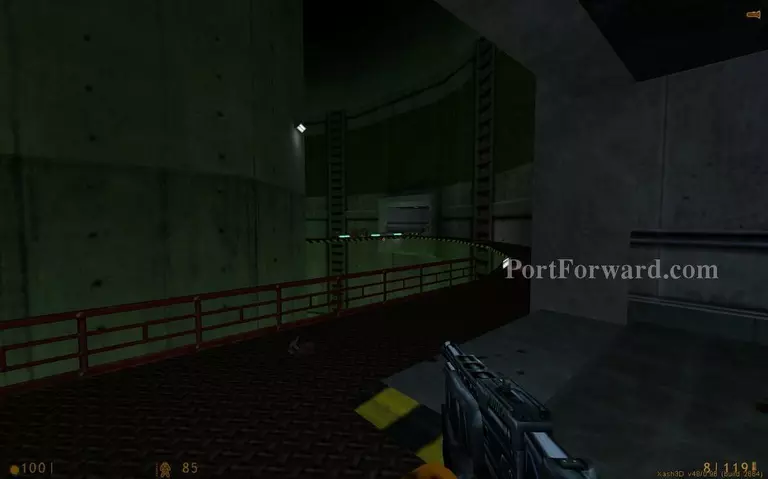
Half-Life Walkthrough - Half Life 185

Go right.

Half-Life Walkthrough - Half Life 186

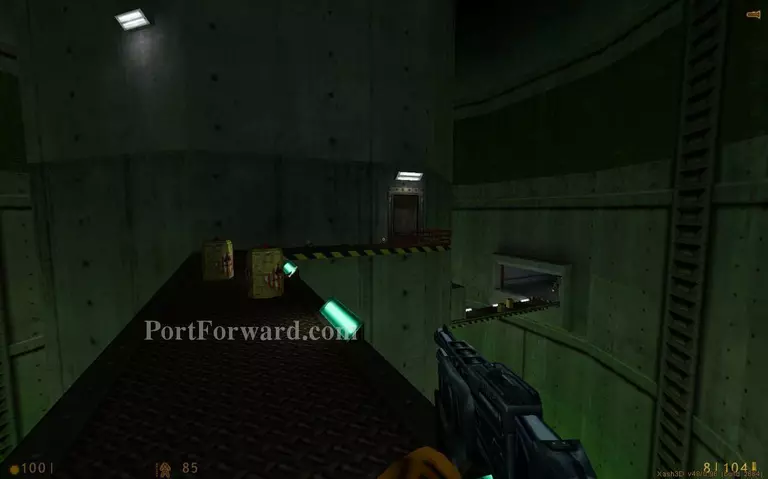
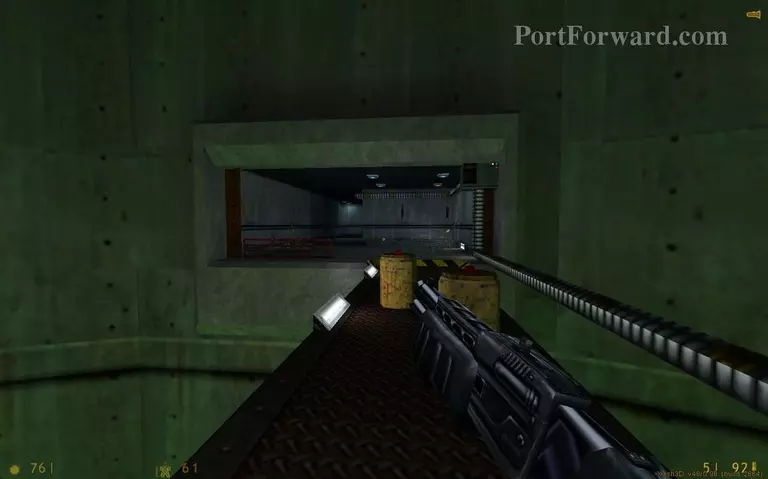
Pass through here. Try not to shoot the explosives because they will destroy your path and will make things harder.

Half-Life Walkthrough - Half Life 187

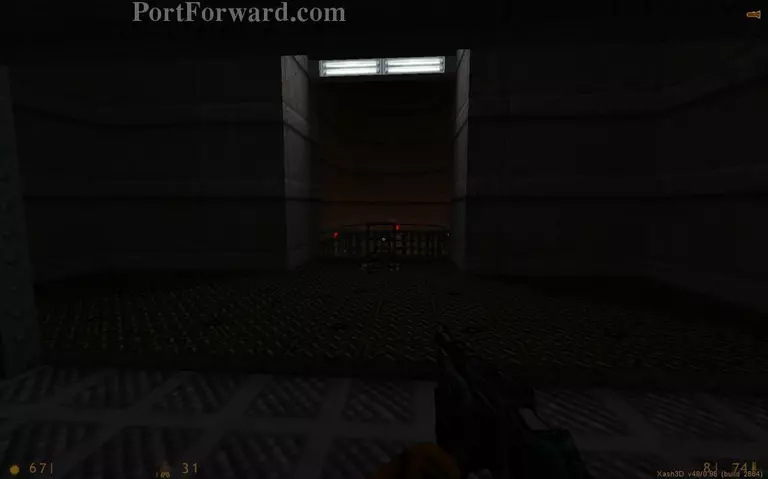
Use the red lever to open the door.

Half-Life Walkthrough - Half Life 188

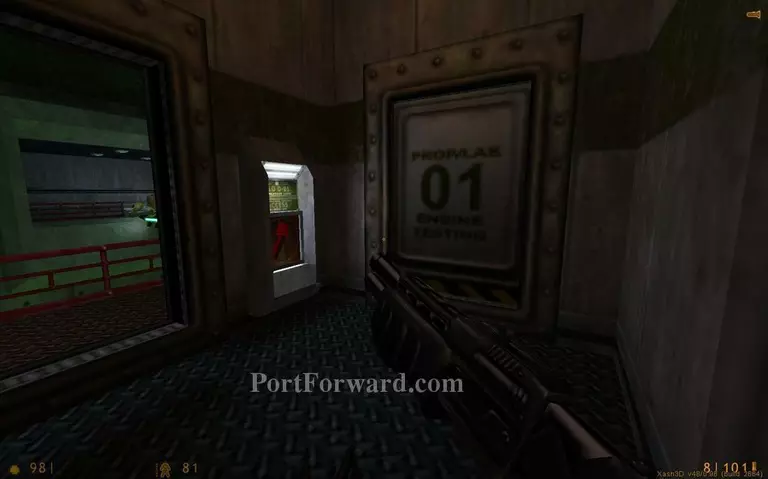
Pass this corridor. The scientist will tell you that you need to use the rocket engine to destroy something.

Half-Life Walkthrough - Half Life 189

Enter the engine testing lab.

Half-Life Walkthrough - Half Life 190

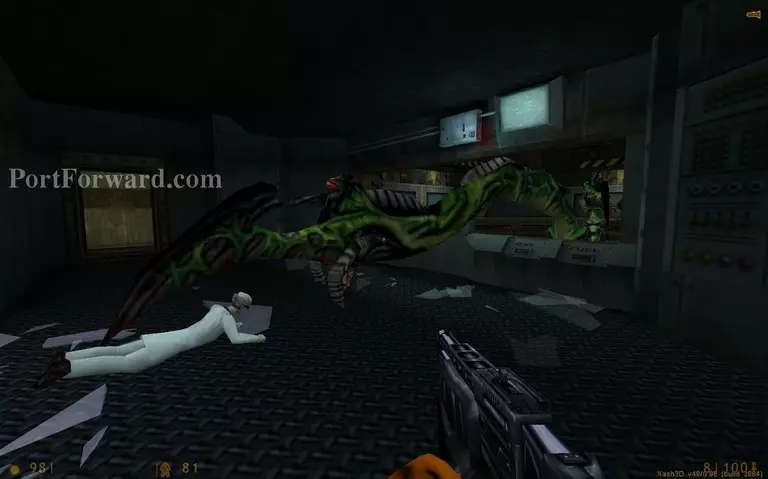
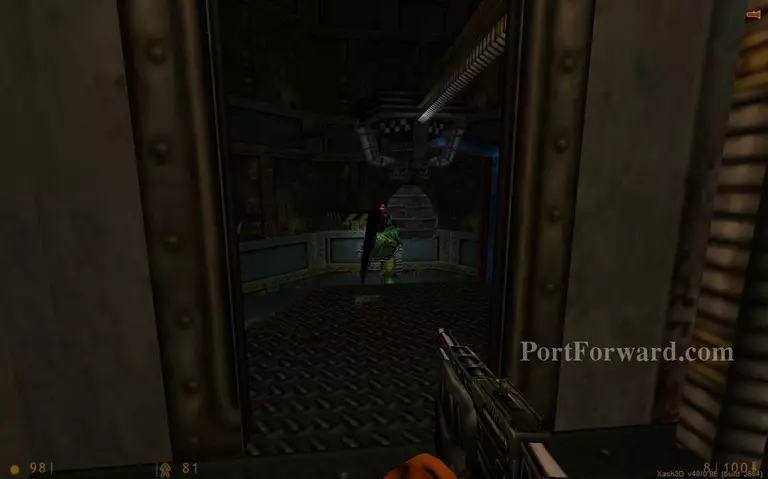
A tentacle monster grabs a scientist.

Half-Life Walkthrough - Half Life 191

You will have to use the red button in this room to destroy the creature. But first you need to power the engine.

Half-Life Walkthrough - Half Life 192

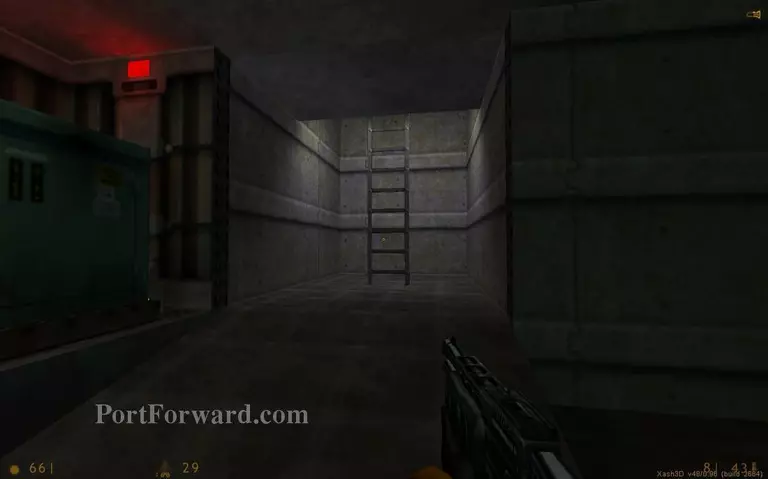
Go up the ladder on your left.

Half-Life Walkthrough - Half Life 193

A guard tells you that you need to be quiet. Get the grenades that are nearby.

Half-Life Walkthrough - Half Life 194

You will have to run past the creature to reach the lower floors. Use your grenades to make the creature hide for a few seconds.

Half-Life Walkthrough - Half Life 195

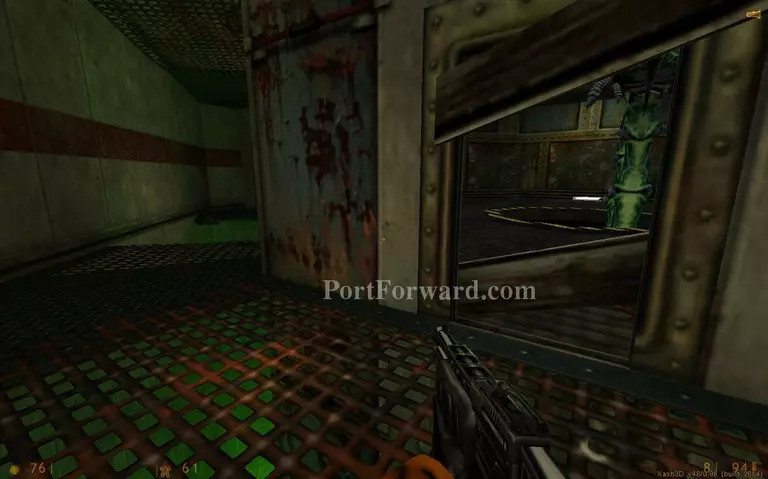
Enter the doorway on the lowest floor. Know that all the doorways are barred and you will have to clear them on the run.

Half-Life Walkthrough - Half Life 196

Jump over the chasm.
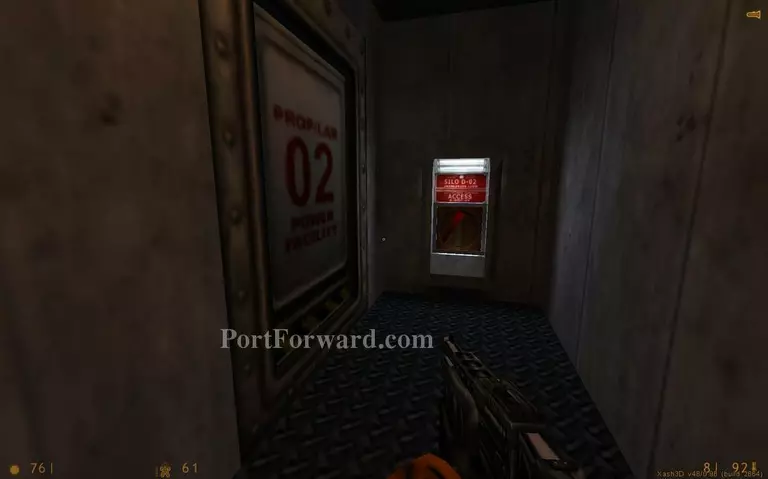
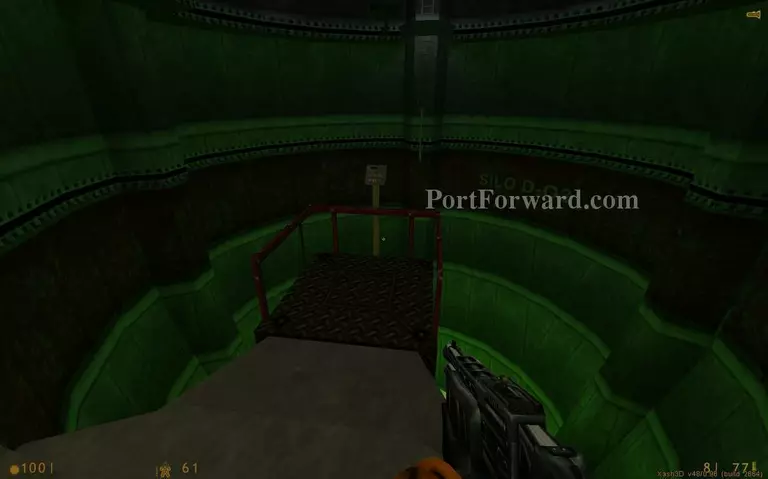
Half-Life Walkthrough - Half Life 197

Open the silo door.

Half-Life Walkthrough - Half Life 198

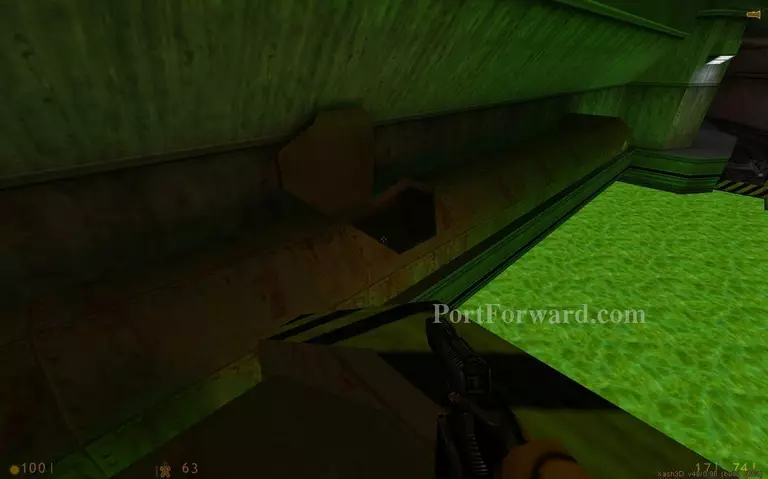
Move through here. If you destroy the passage you can use the cable near it to pass over.

Half-Life Walkthrough - Half Life 199

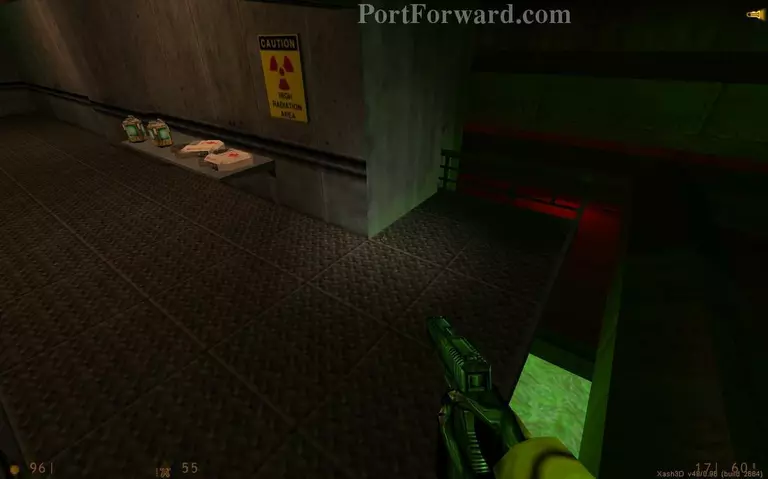
Get through the corridor with water.

Half-Life Walkthrough - Half Life 200

Go towards the ledge.

Half-Life Walkthrough - Half Life 201

Call the elevator.

Half-Life Walkthrough - Half Life 202

Don't go down with the elevator yet. Press the button to lower it and then go out. Jump on top of the elevator, this way you will have time to jump from when it crashes down into a pool of radioactive goo.

Half-Life Walkthrough - Half Life 203

Go left.

Half-Life Walkthrough - Half Life 204

Walk on the pipe to avoid the radioactive spillage.

Half-Life Walkthrough - Half Life 205

Use the platform.

Half-Life Walkthrough - Half Life 206

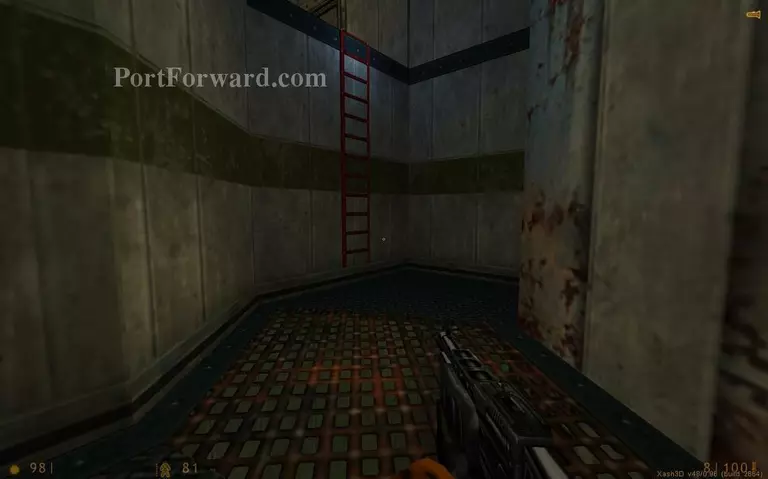
Climb up the ladder.

Half-Life Walkthrough - Half Life 207

Climb up the second ladder. Beware the moving platform. You have to move fast here because you can be crushed.

Half-Life Walkthrough - Half Life 208

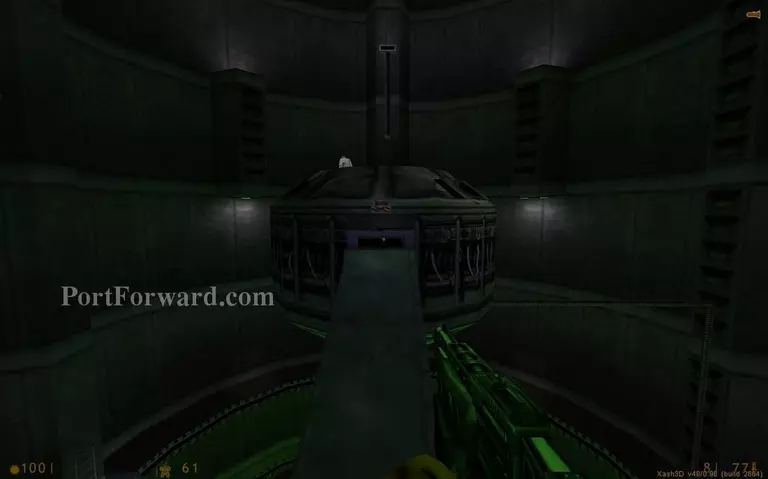
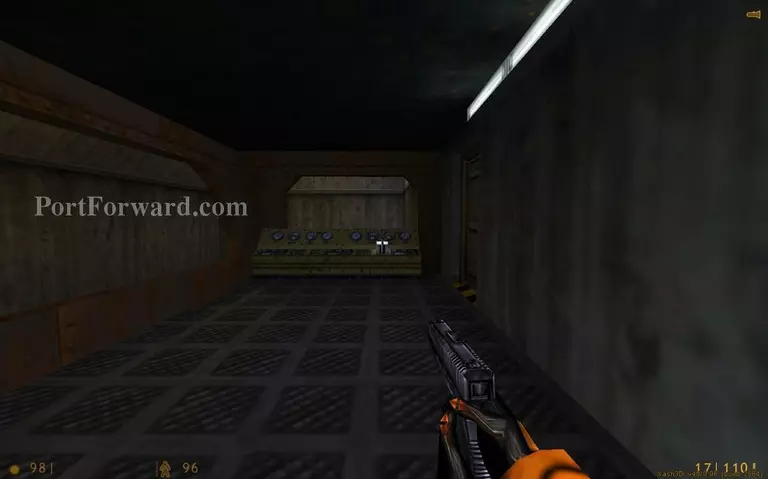
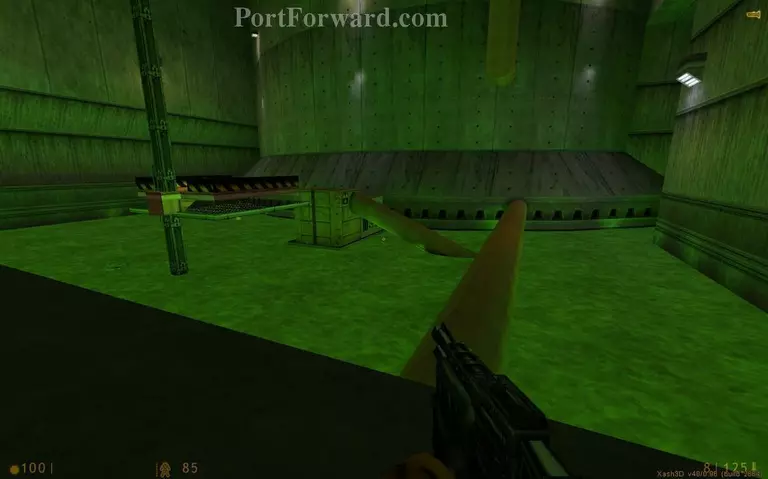
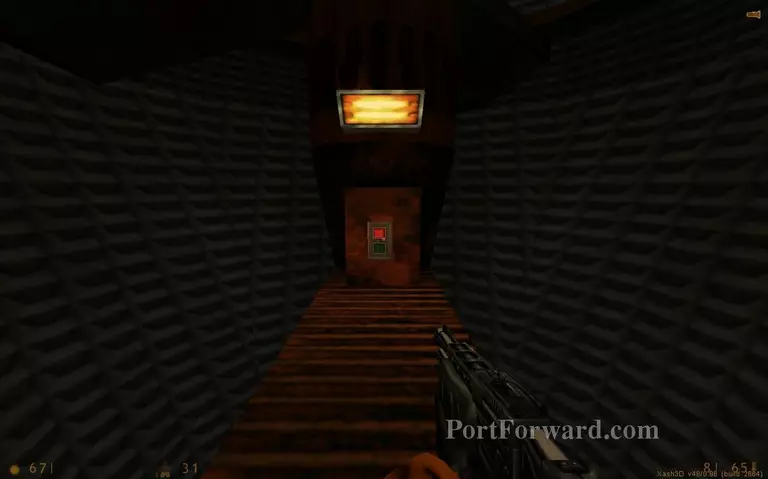
At the top move up the ramp and press the red button.

Half-Life Walkthrough - Half Life 209

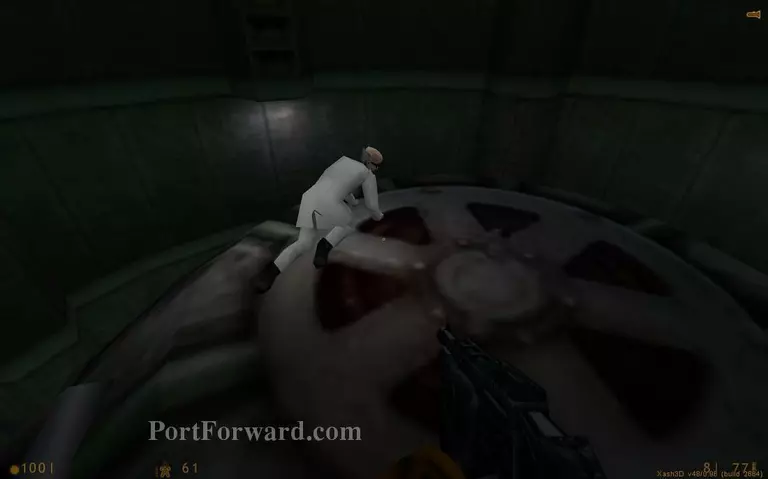
Get over the device. Some guy is hiding here.

Half-Life Walkthrough - Half Life 210

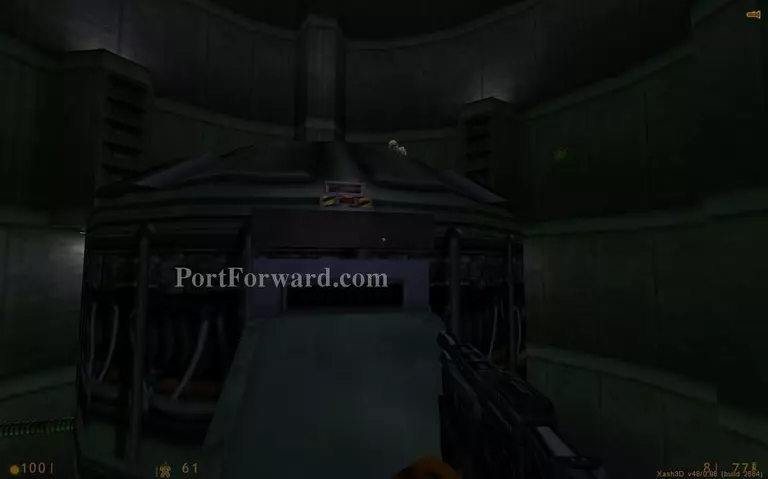
On the other side you need to press a second red button. This will activate the machine.

Half-Life Walkthrough - Half Life 211

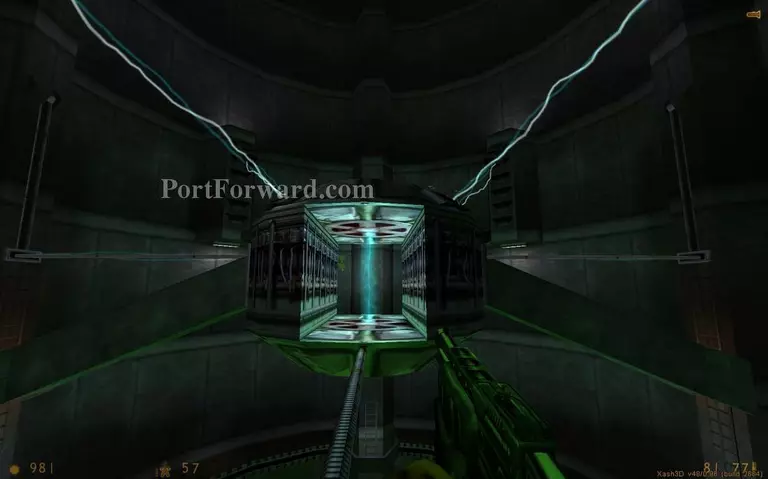
The thing lights up. Time to get back up.

Half-Life Walkthrough - Half Life 212

Climb the ladder on your right from where the elevator crashed.

Half-Life Walkthrough - Half Life 213

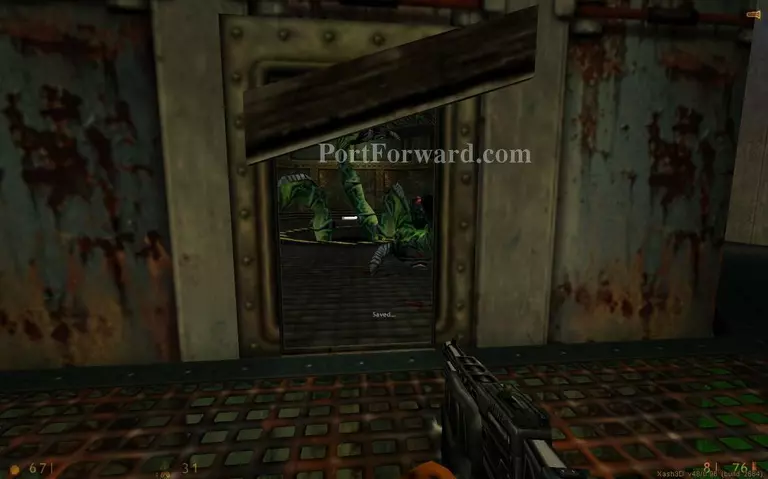
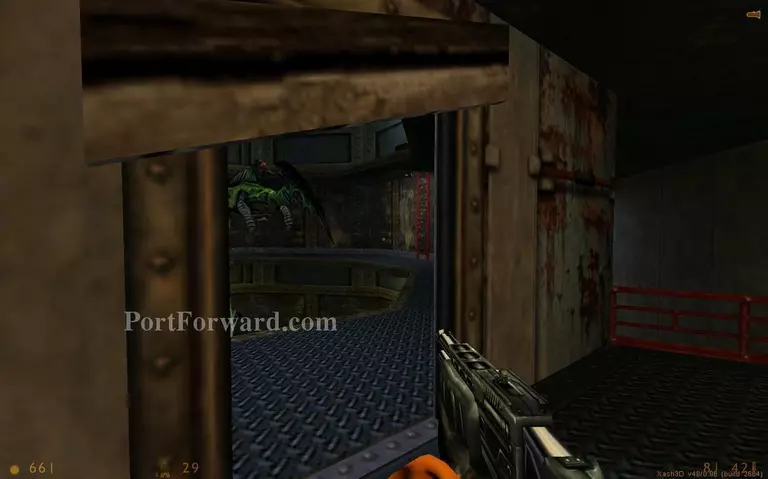
Time to pass through the monster den again.

Half-Life Walkthrough - Half Life 214

This time go through the doorway on the second floor.
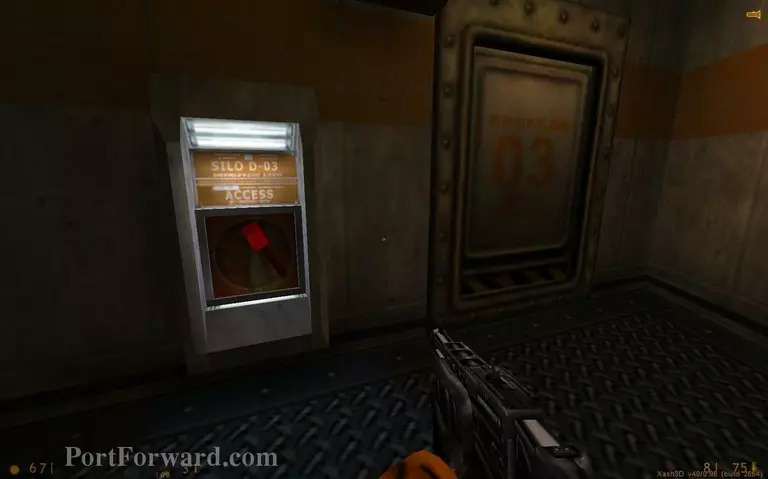
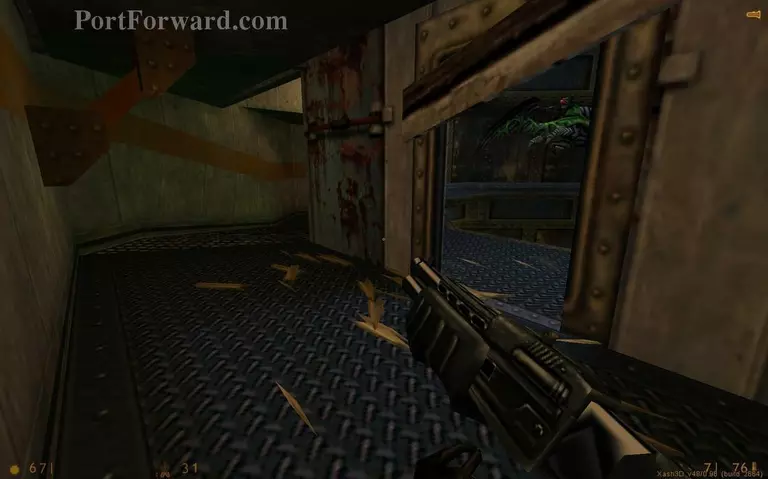
Half-Life Walkthrough - Half Life 215

Enter the silo.

Half-Life Walkthrough - Half Life 216

Go down a ladder but beware the zombies waiting below.

Half-Life Walkthrough - Half Life 217

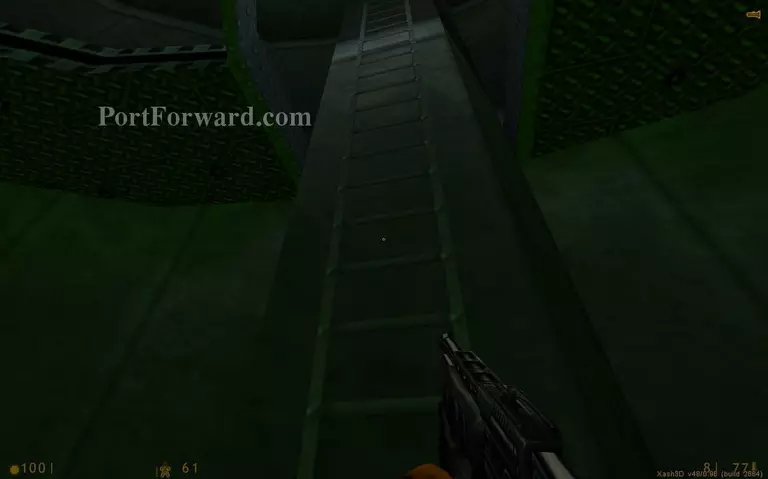
Climb down the long ladder.

Half-Life Walkthrough - Half Life 218

Stay on top of the pipe and go left.

Half-Life Walkthrough - Half Life 219

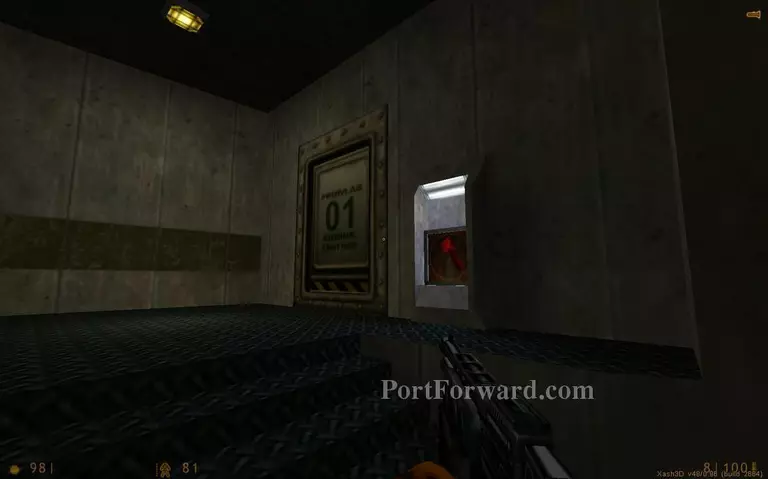
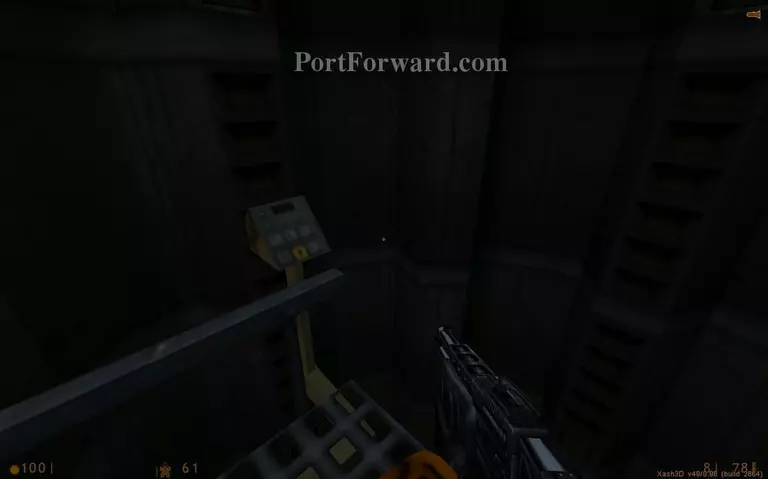
Use the keypad to enter here.

Half-Life Walkthrough - Half Life 220

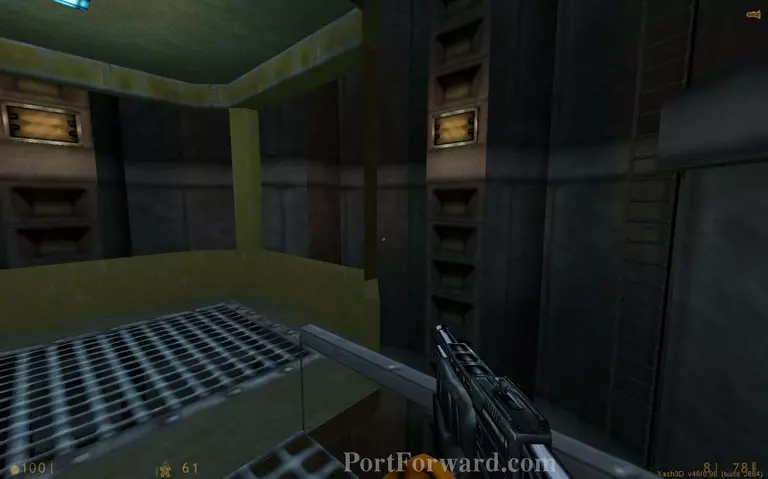
You will enter the turbine room. Use the ladder to go down.

Half-Life Walkthrough - Half Life 221

Go down one more ladder.

Half-Life Walkthrough - Half Life 222

Press the button to activate the turbine but know that you have to climb the ladder fast to get out because the turbine will start spinning over you.

Half-Life Walkthrough - Half Life 223

You have to jump over the windtunnel to go up. The top is barred but you can clear it with one grenade. You can destroy it with your crowbar if you don't have grenades.

Half-Life Walkthrough - Half Life 224

The wind will push you all the way up. Climb inside a vent up there.

Half-Life Walkthrough - Half Life 225

Destroy some boards to proceed.

Half-Life Walkthrough - Half Life 226

Enter here.

Half-Life Walkthrough - Half Life 227

Press the oxygen and fuel buttons. You will see bubbles in the pipes if both are activated successfully.

Half-Life Walkthrough - Half Life 228

It's time to get back to the engine lab. Climb the ladder.

Half-Life Walkthrough - Half Life 229

Use the keypad to go back.

Half-Life Walkthrough - Half Life 230

Exit this silo.

Half-Life Walkthrough - Half Life 231

Climb back up the ladder to reach the control station.

Half-Life Walkthrough - Half Life 232

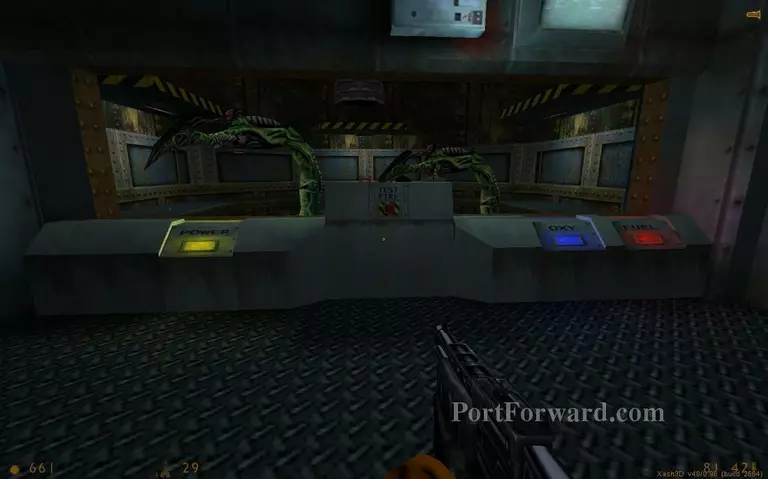
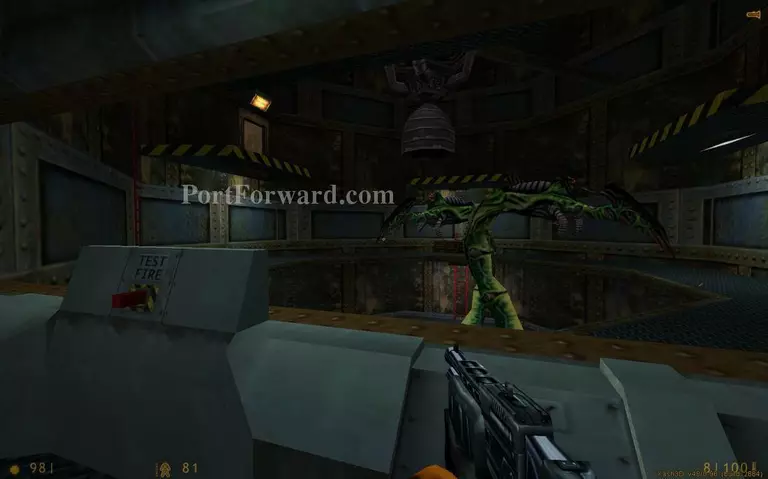
It's time to press the test fire button and fry the thing.

Half-Life Walkthrough - Half Life 233

The dead creature will make a passage for you. Drop down the hole from which it came.

Half-Life Walkthrough - Half Life 234

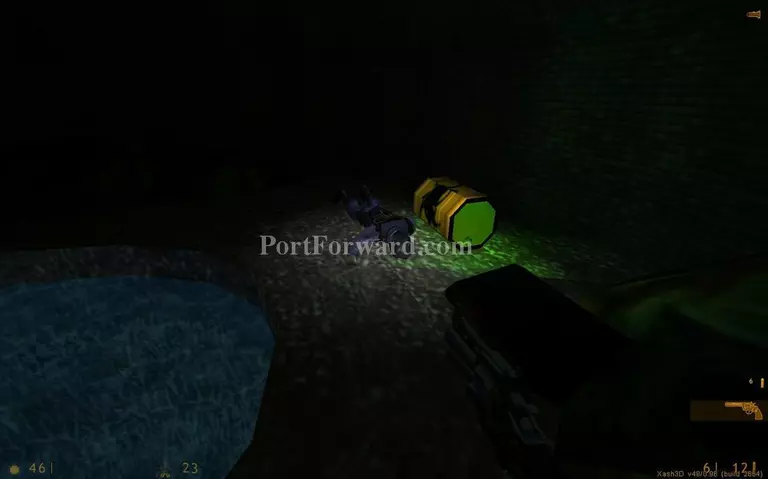
Before you go down in the water grab the revolver from the dead guard. It is very powerful but ammo for it is scarce.

Half-Life Walkthrough - Half Life 235

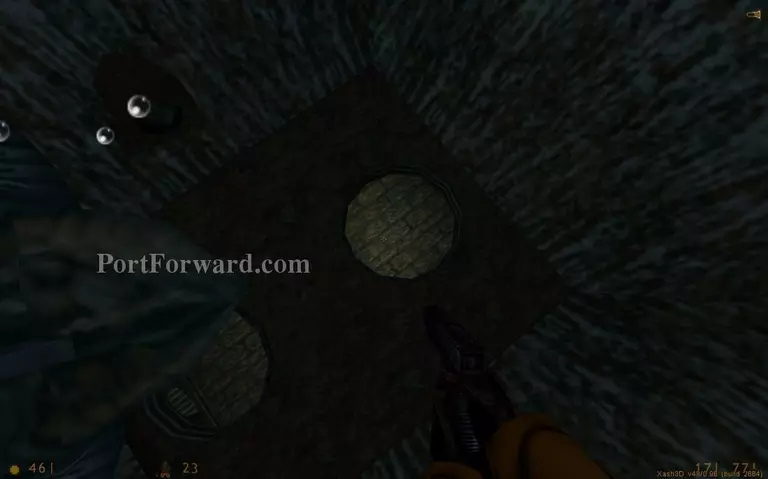
Pass through the holes.
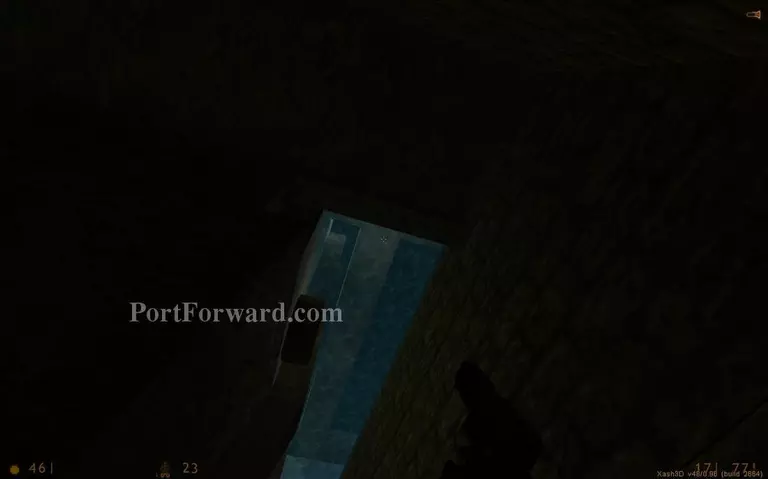
Half-Life Walkthrough - Half Life 236

Swim up here.

Half-Life Walkthrough - Half Life 237

Jump on the pipes to proceed.

Half-Life Walkthrough - Half Life 238

There are some recharging stations nearby if you need them.

Half-Life Walkthrough - Half Life 239

Climb on top of the pipe in front of you.

Half-Life Walkthrough - Half Life 240

Use the valve to extend the pipe below.

Half-Life Walkthrough - Half Life 241

The extended pipe is broken but it will help you make the jump to the other side.

Half-Life Walkthrough - Half Life 242

Walk forward until you reach the end.

Half-Life Walkthrough - Half Life 243

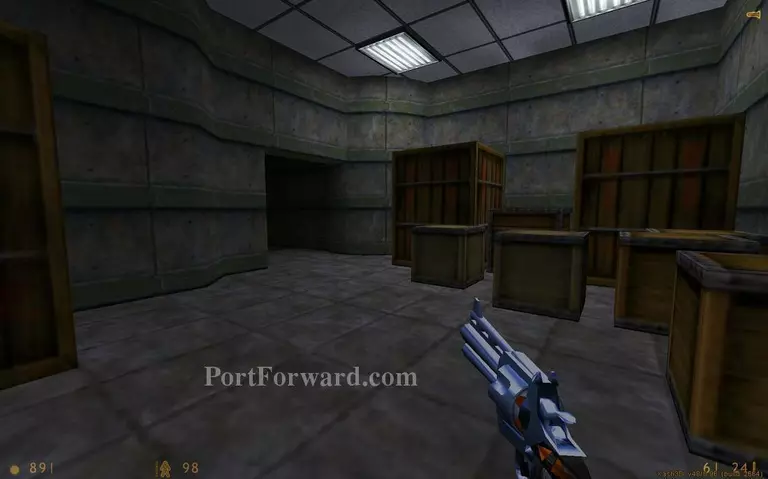
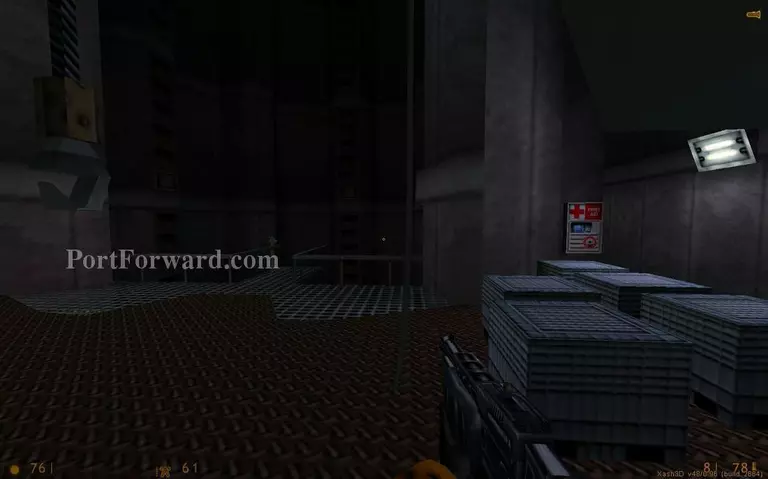
You drop down in a storage room. Destroy the crates to find some supplies.

More Half-Life Walkthroughs

This Half-Life walkthrough is divided into 18 total pages.

More From Portforward