
This Half-Life walkthrough is divided into 18 total pages.
You can jump to nearby pages of the game using the links above.
On A Rail
Beware the barnacles when you descend with your tram.
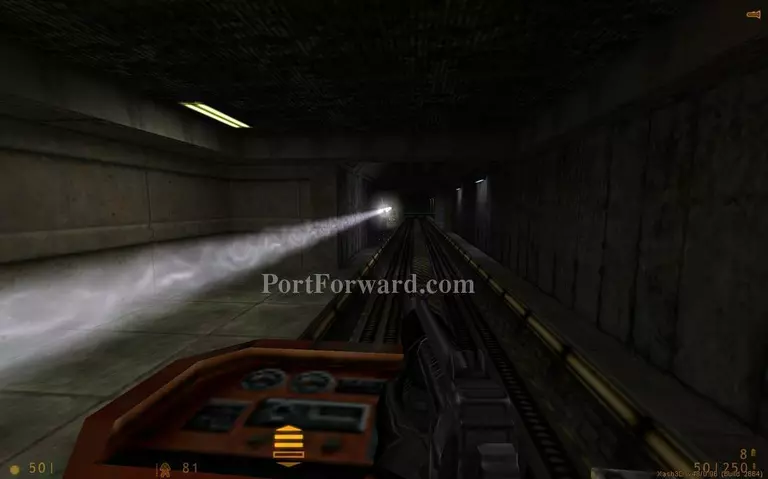
Move with your tram and dodge stuff that tries to kill you.
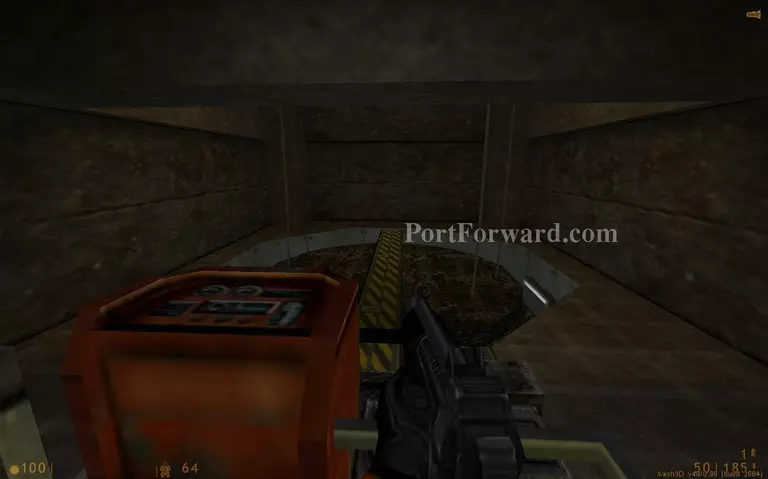
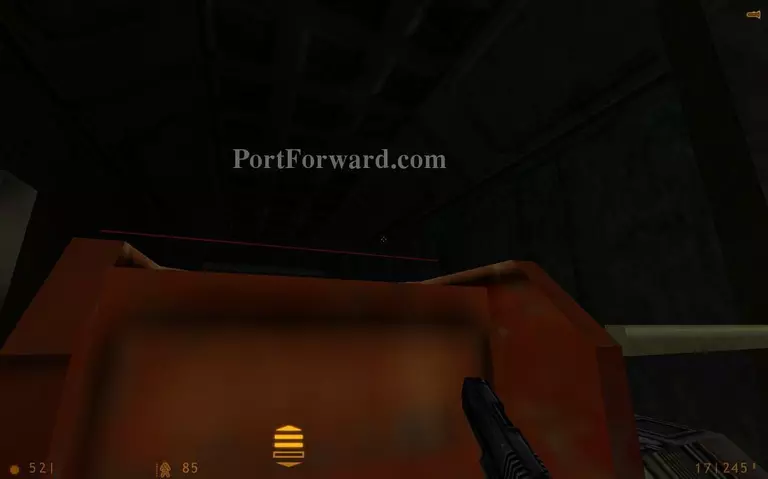
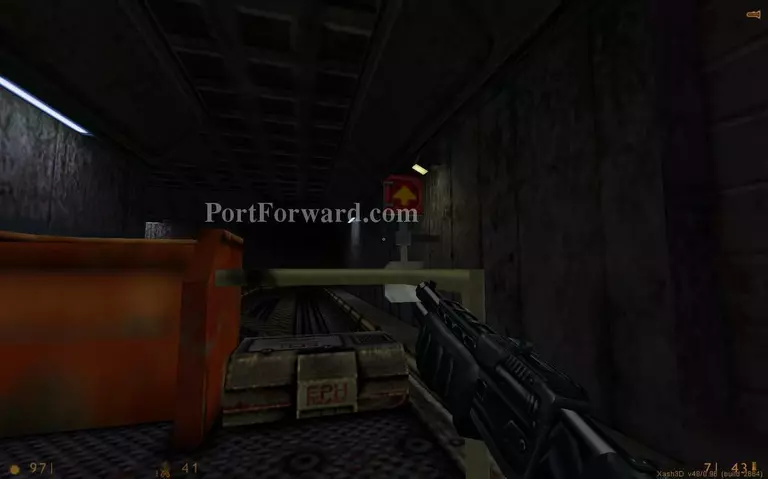
Shoot the pad below the red arrow to change directions.
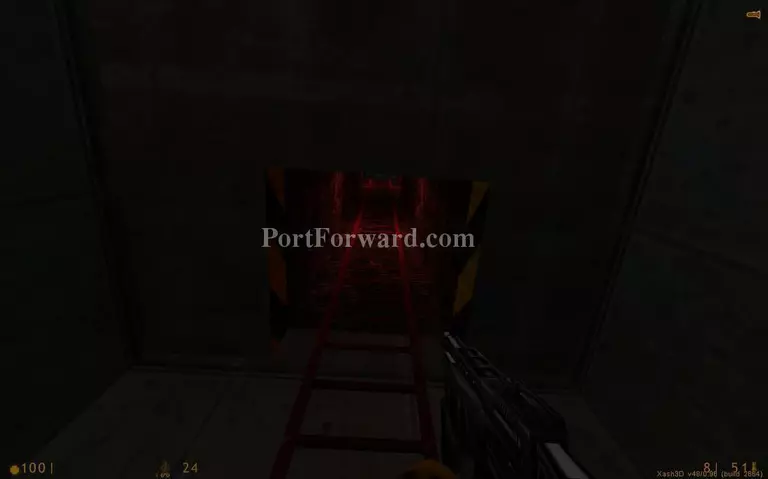
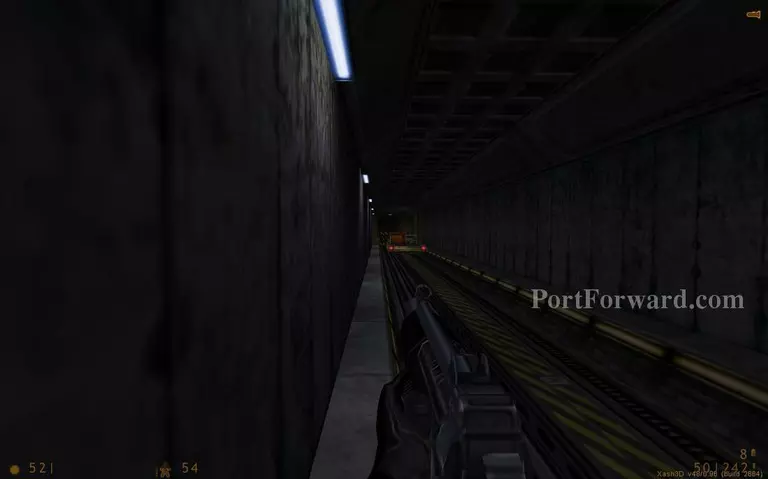
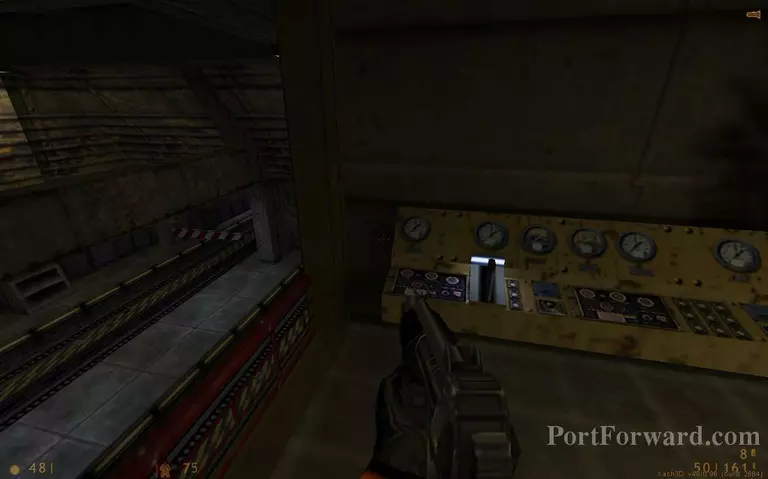
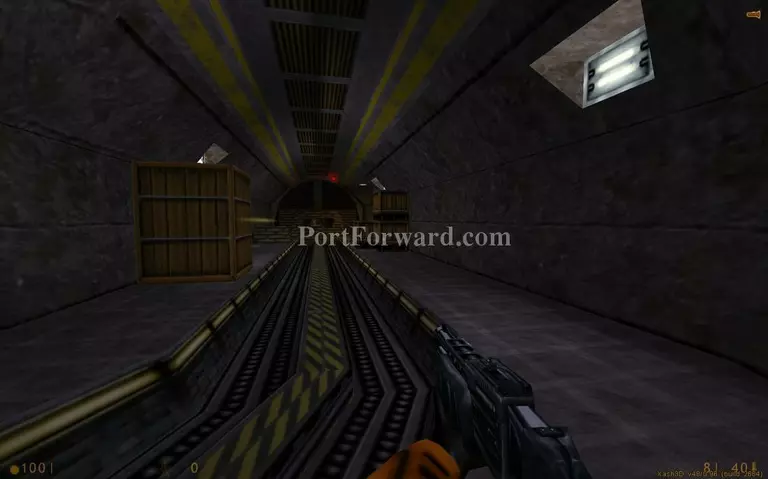
Your tram will be stuck here. You can either try to lift the crane that is blocking your tram or just proceed on foot. I prefer to go on foot because I don't have to go on a detour to search for the crane controls. And you aren't a sitting target when you go on foot. Just proceed down this rail track and avoid the electrified rail in the center.
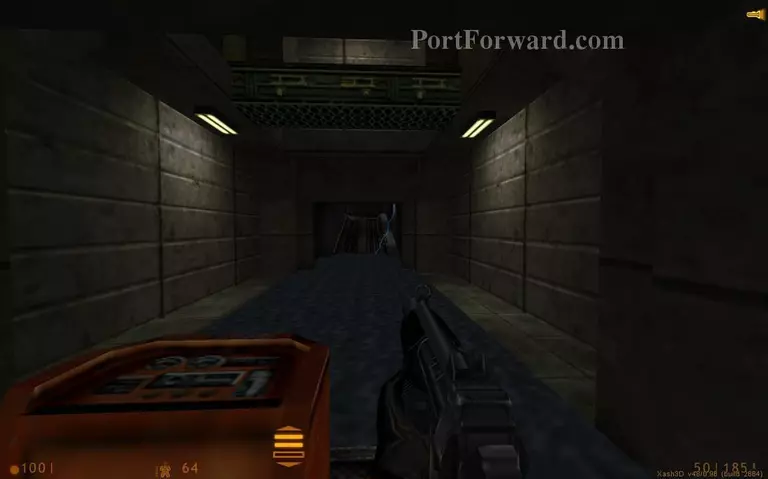
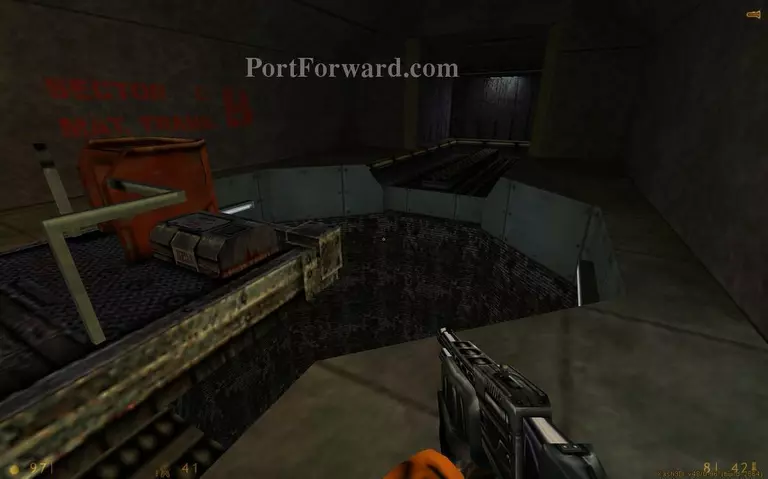
Climb up here and kill some soldiers.
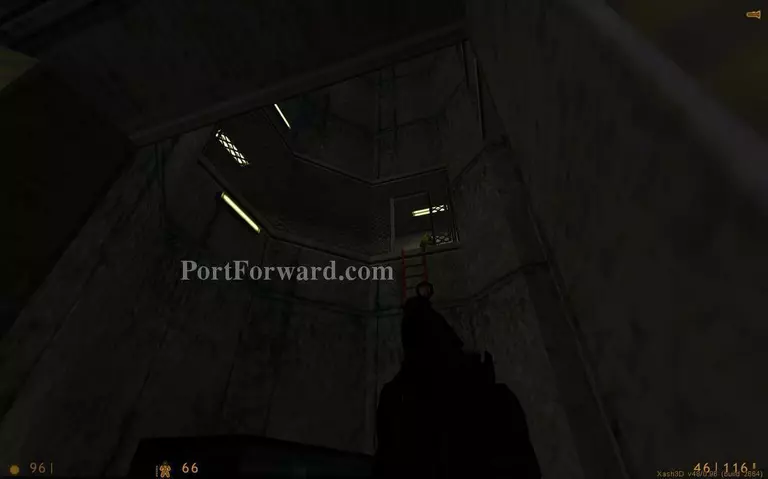
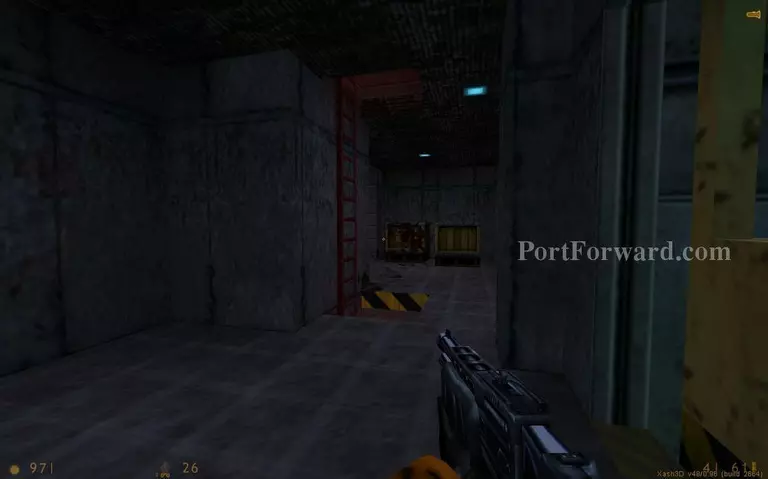
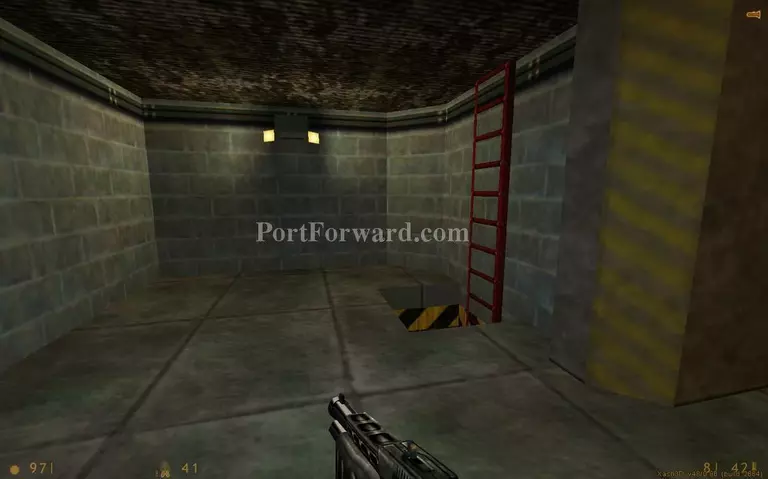
Climb up this ladder.

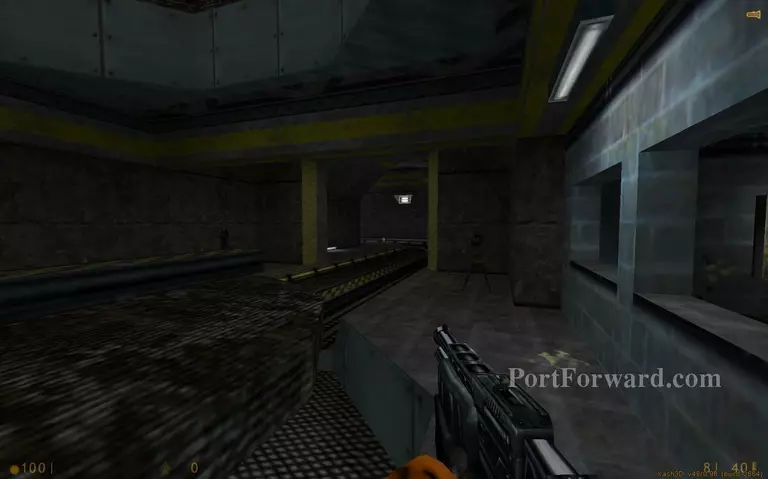
What would have been an ambush against you now turns around.
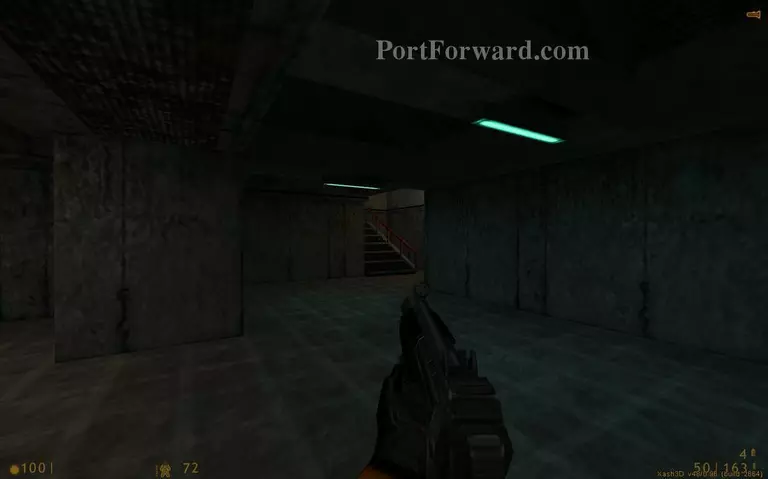
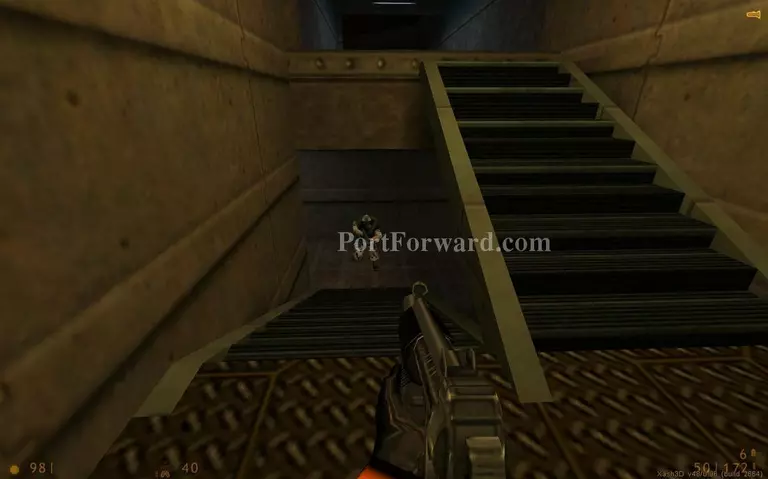
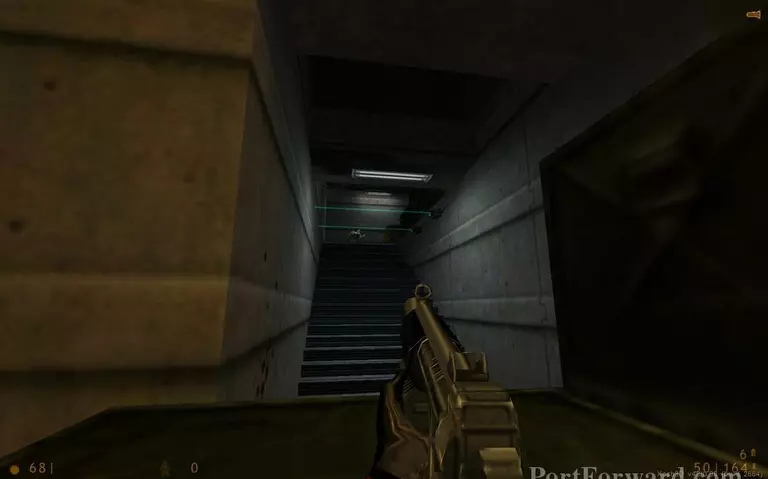
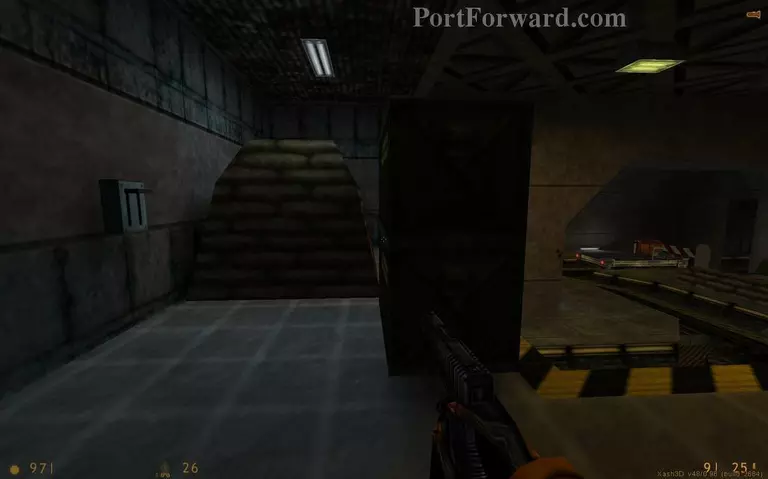
Climb up the stairs from here.
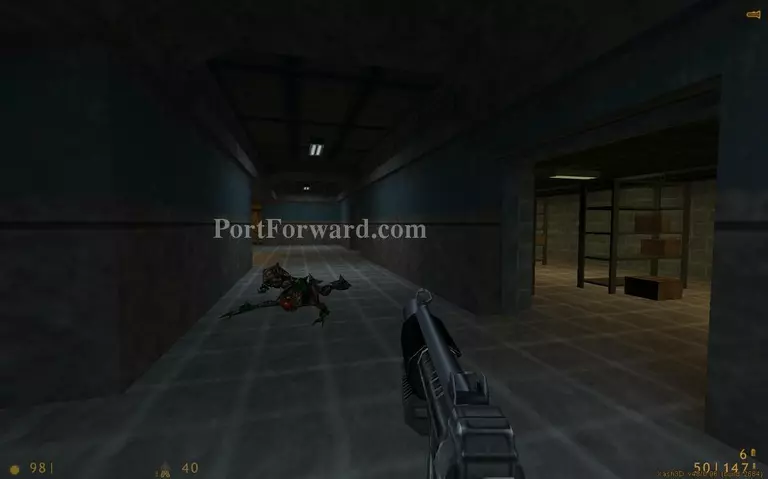
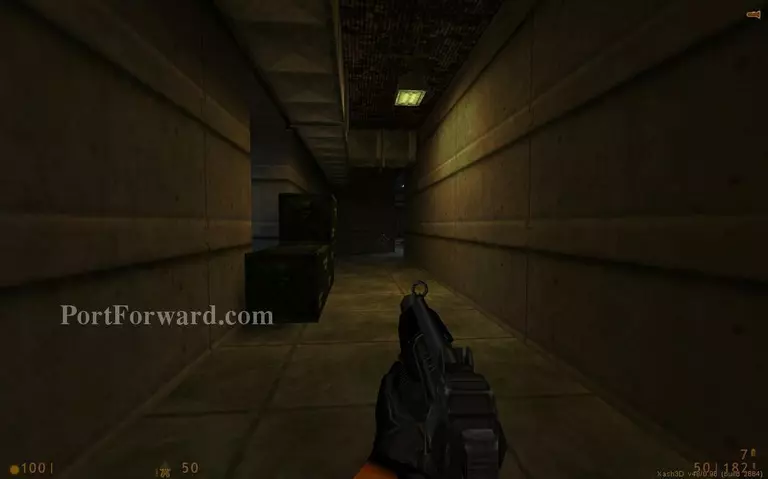
Proceed down the corridor.

Go right.
Go down the stairs.
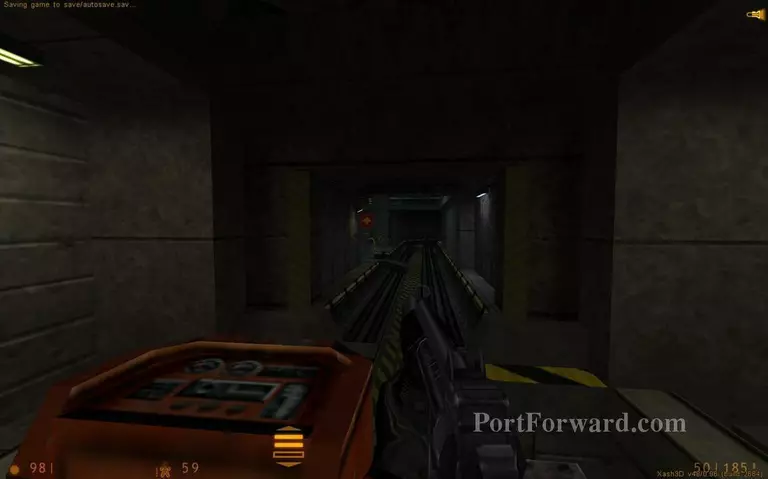
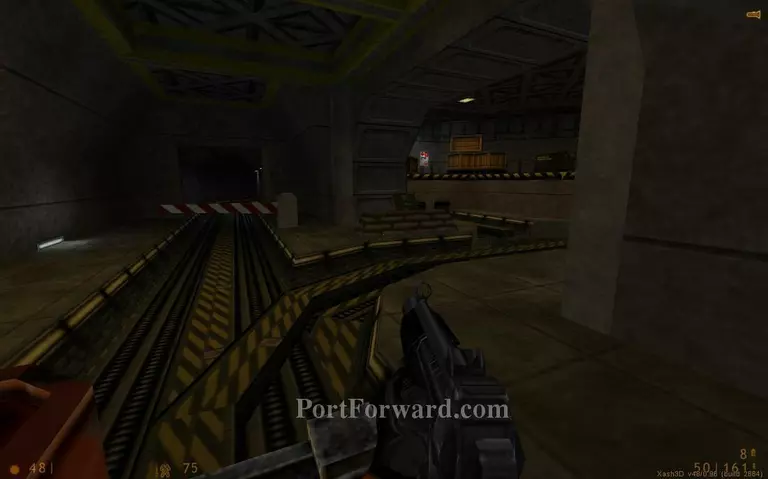
Continue along the tracks.
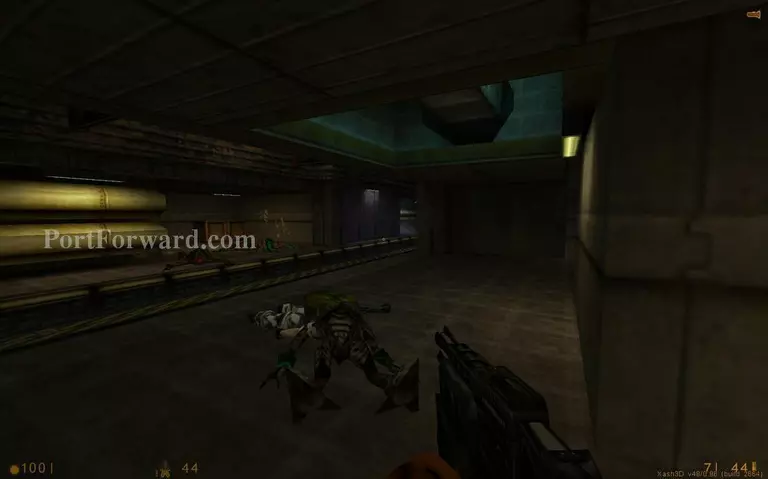
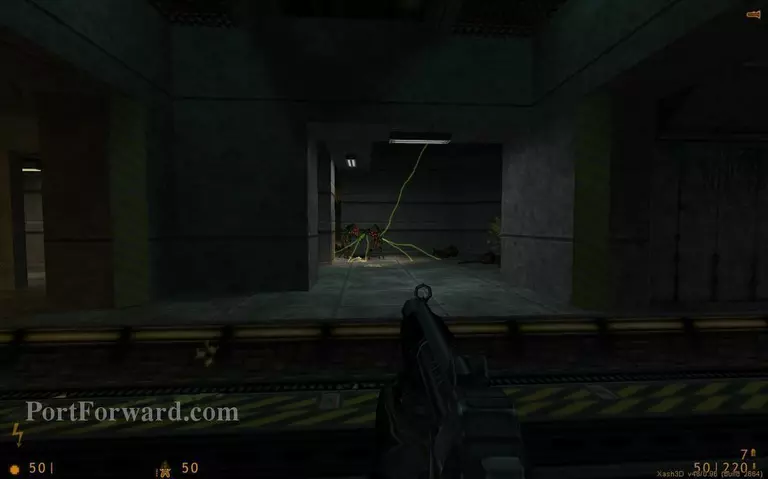
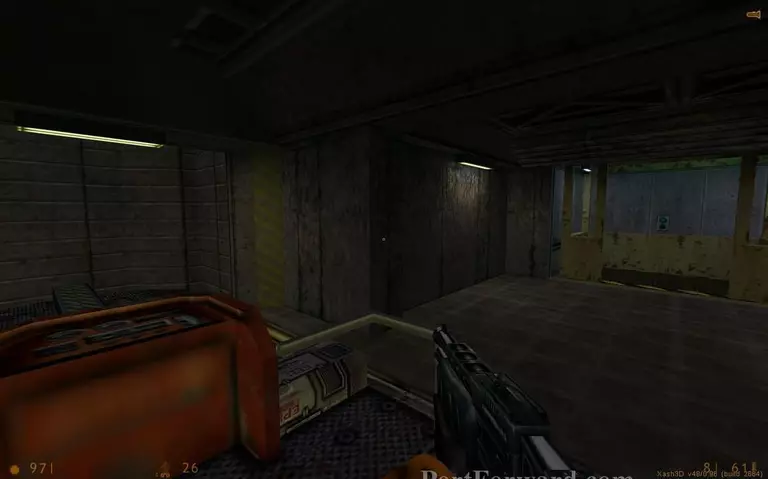
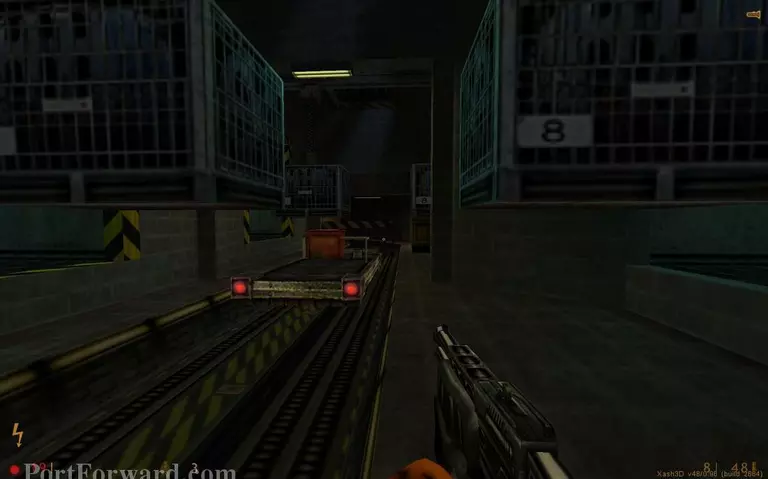
Tracks end and you enter here.
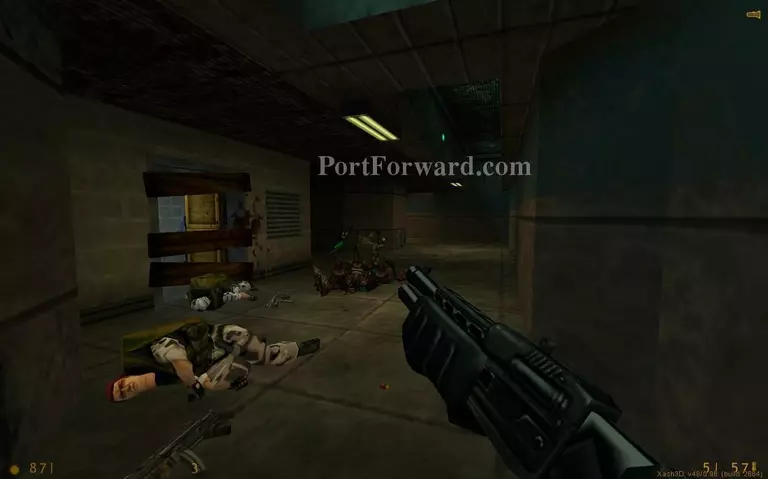
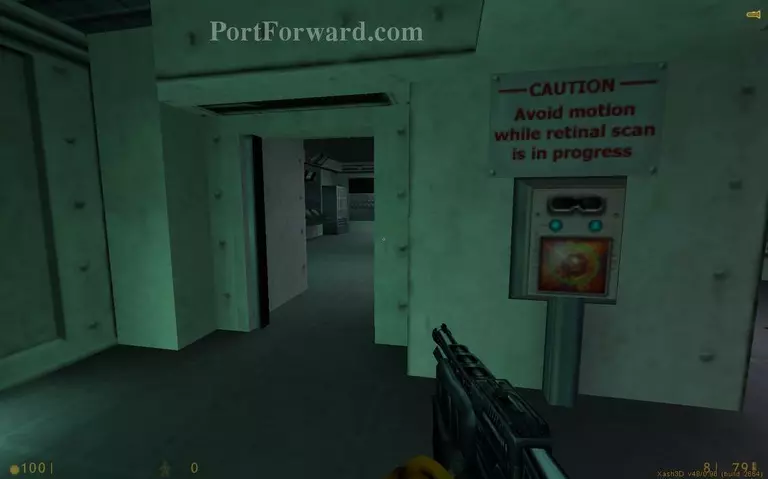
Move through here. There is a guard in the barricaded room.
The next corridor is a killzone.
Shooting the guy in the bunker is out of the question but you can throw a grenade or a satchel charge inside to kill him.
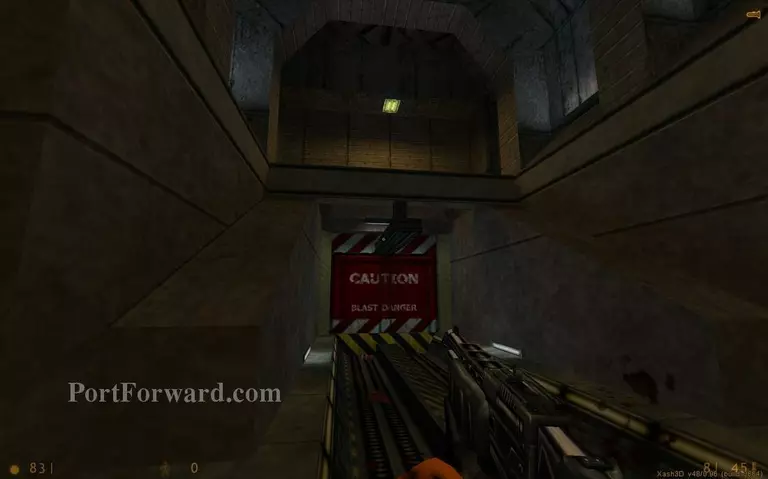
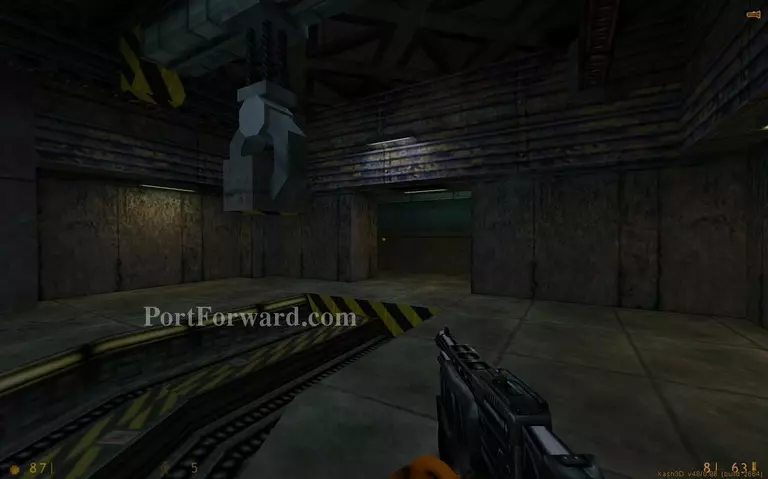
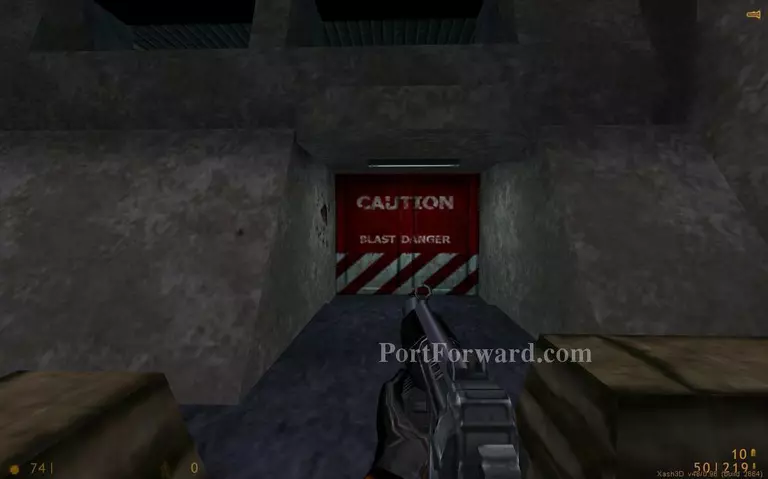
Approach the blast doors.

Get rid of the tripwires before you go in.
Go down the ladder.

Jump on the tram for another ride.
Crouch to go under some turret lasers.
Try to dodge the soldier firing rockets at you.
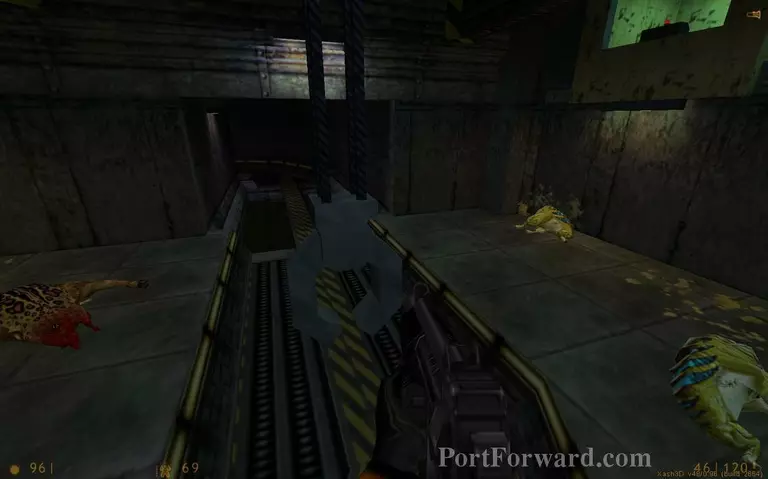
Jump off the tram when you reach a blockade.
Kill some aliens and go through there.
Go down the corridor.
Go up the tripwired stairs.
Use the lever to lift the barrier. Then jump onto the tram again.
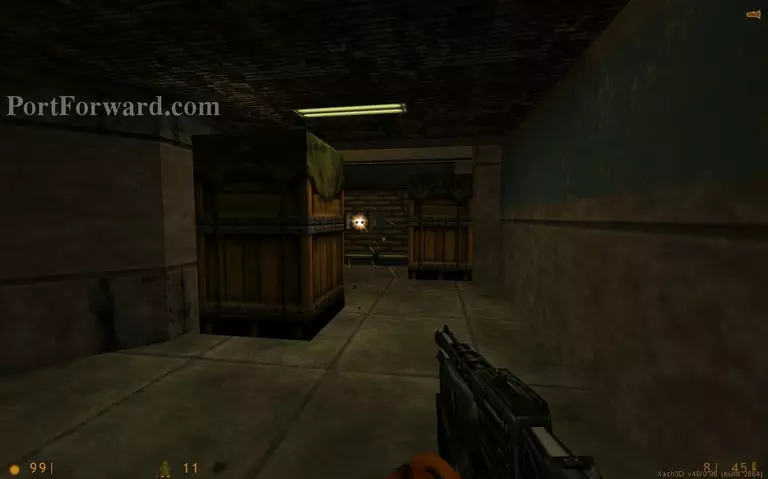
You will reach another dead end. Prepare for a tough fight with some soldiers hiding behind the crates.
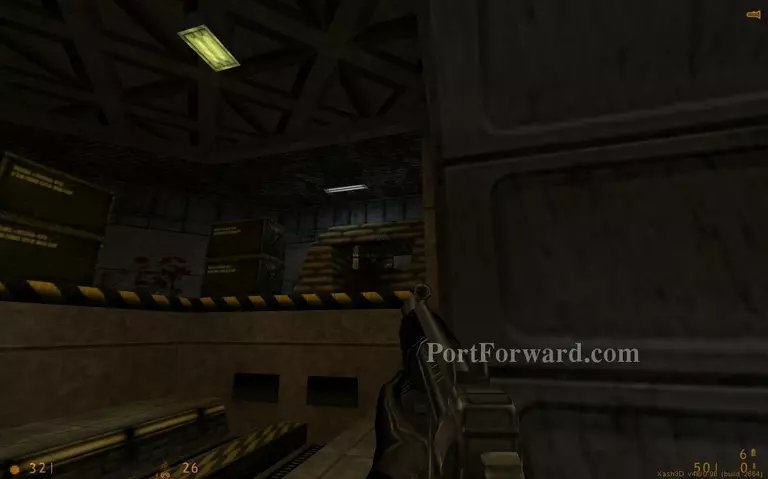
Beware the bunker on your right.
Go around the bunker to find a lever that will lift the barrier.
When you reach a tram lift get off.
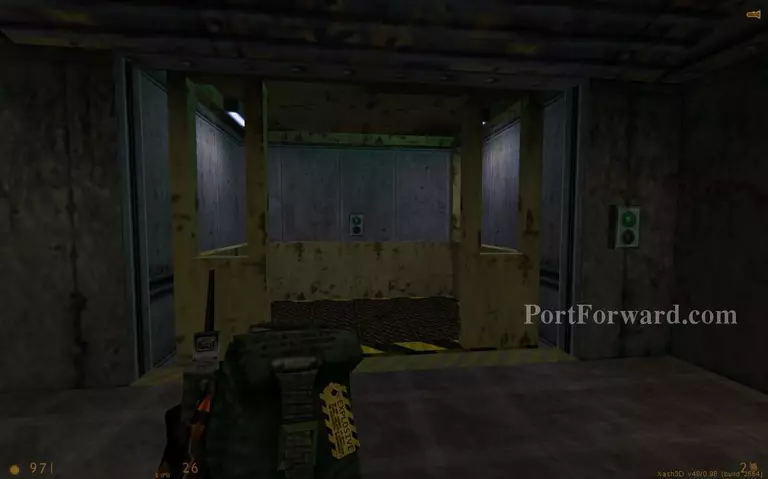
The tram is going to be ambushed by soldiers. You can surprise them by going up the elevator. But first you need to throw a satchel charge in the elevator. Press the button inside the elevator then go outside. Detonate the satchel when the elevator stops at the top.
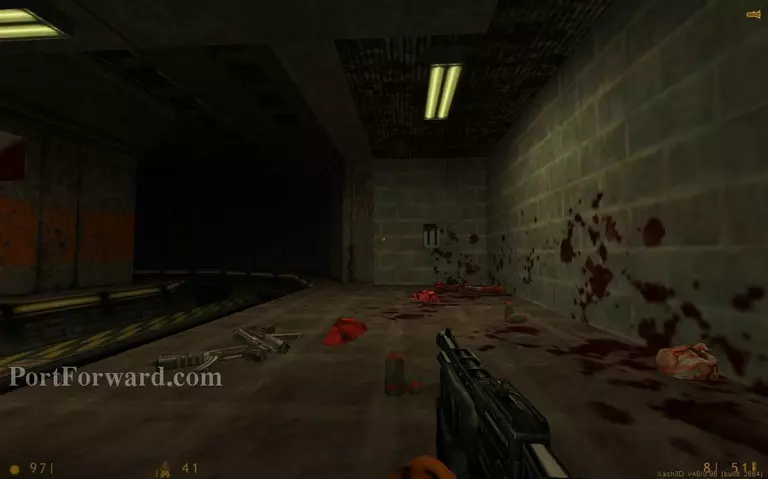
The soldiers waiting up top meet a bloody end. Use the ladder to climb up.
The tram will be stopped once again by a barrier. Some soldiers are hiding behind a few crates up ahead.
Lift the barrier from here to proceed.

Another rocket launcher to dodge.
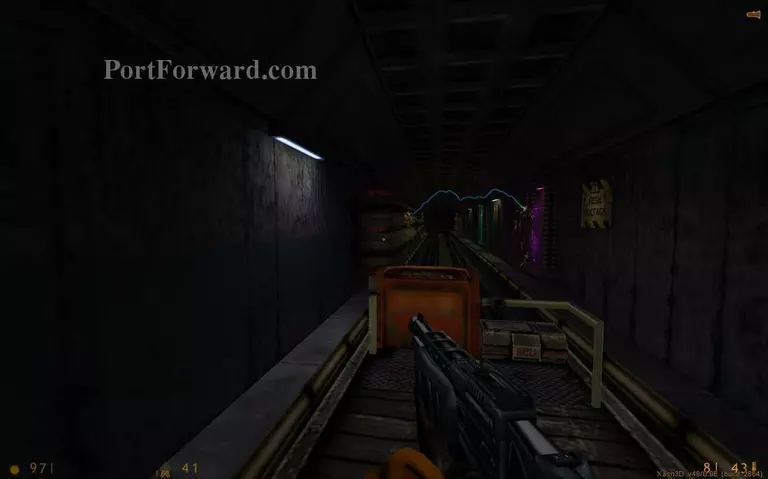
Be careful about the arching electricity.
Shoot the arrow to change directions.
This tram ride leads to an end.
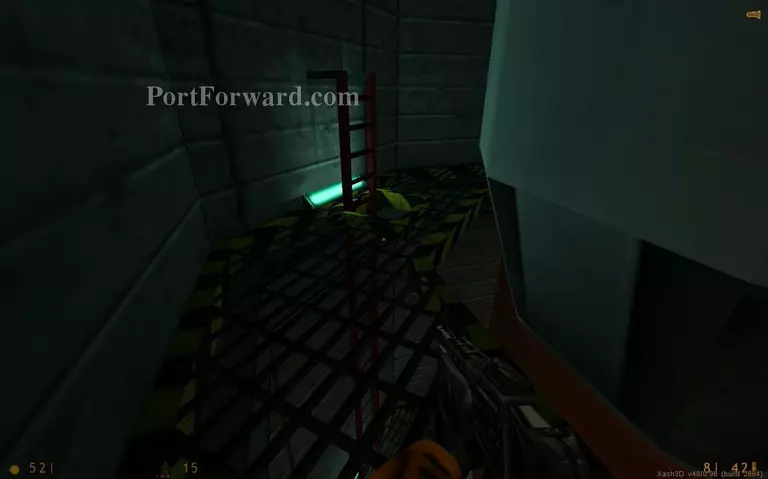
Go down the ladder.

There are laser tripwires down there. Clean them out before you go down.
The turrets will be inactive if you manage to dodge the red lasers. Continue forward.
Another bunker in your way. If you can't manage to throw a grenade from far away run to the small sandbag barricade on the left to get closer.
Go through the corridor on the right.

Some soldiers are talking about Freeman.
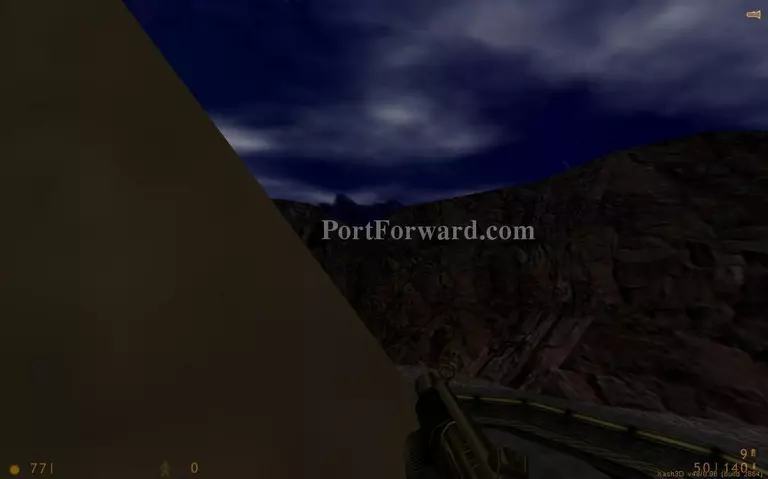
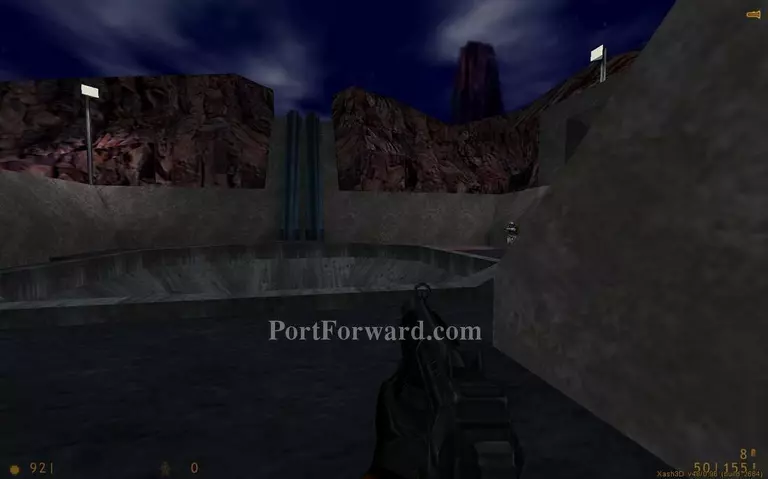
There is a sniper's nest outside. It might be a bit dark to see but it's on the left when you go outside. Use a grenade from your MP5 to kill the sniper.
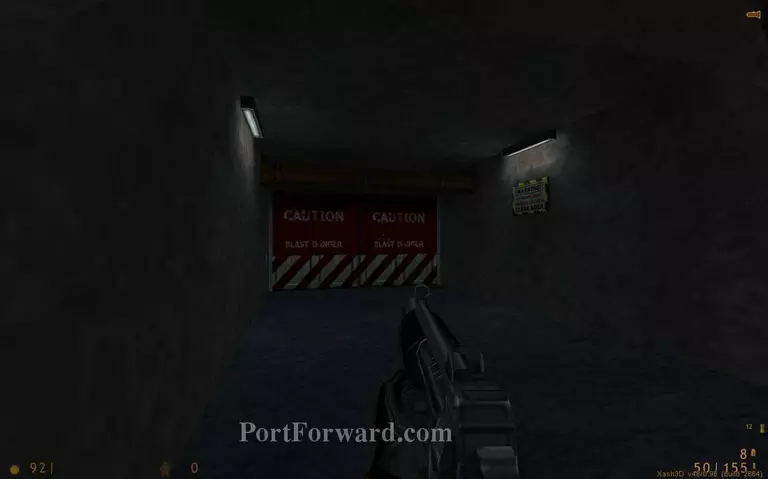
Enter the blast doors.
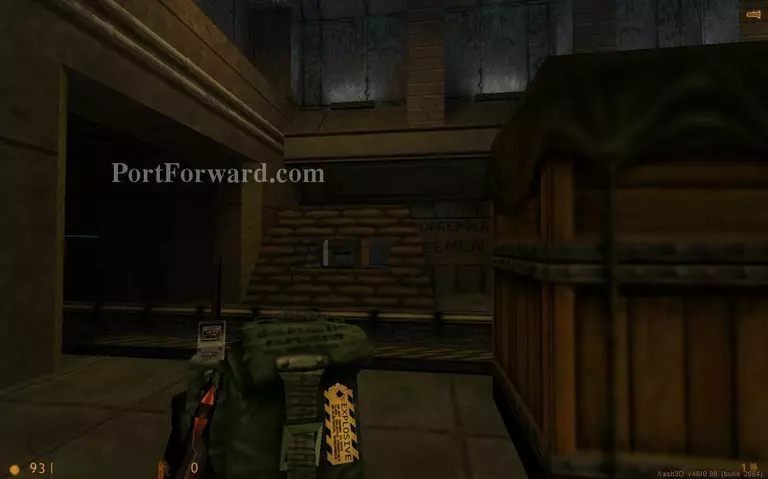
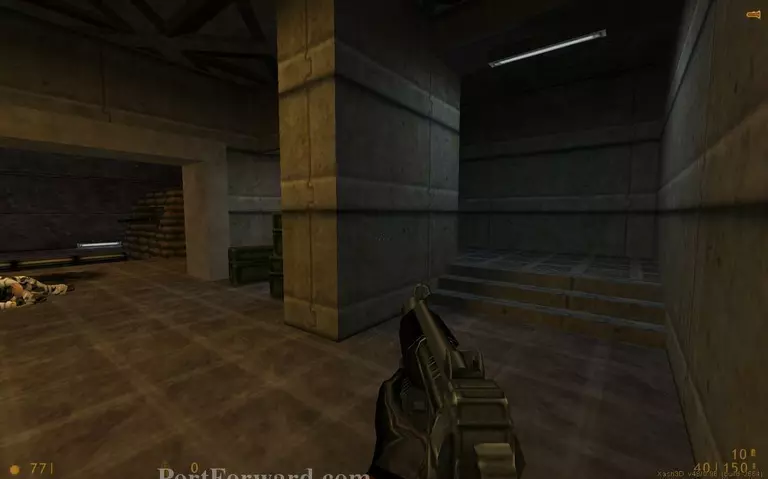
Some soldiers are barricaded on the right. There is a machine gun on the left if you need it.
Enter the bunker the soldiers were guarding.
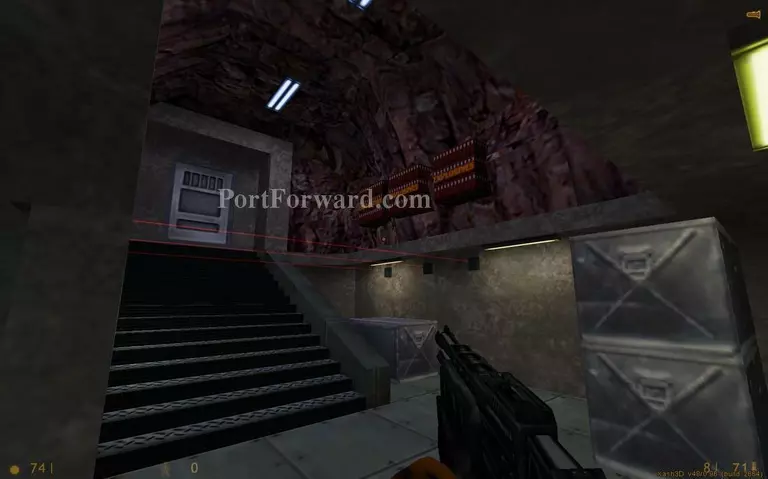
The red lasers will trigger the explosives if you pass them.

Push a crate all the way to the end and climb on it to reach the top of the stairs.
Enter the left room.

Push the red button to launch a rocket.

Backtrack to the place with the sniper's nest. The gates on your left will be open.

Take a ride on the high-powered tram.
More Half-Life Walkthroughs
This Half-Life walkthrough is divided into 18 total pages.


