This Half-Life walkthrough is divided into 18 total pages.
You can jump to nearby pages of the game using the links above.
Questionable Ethics
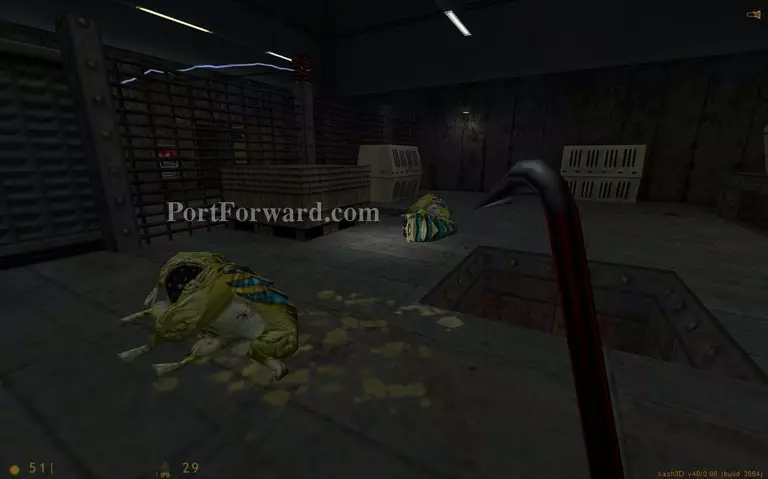
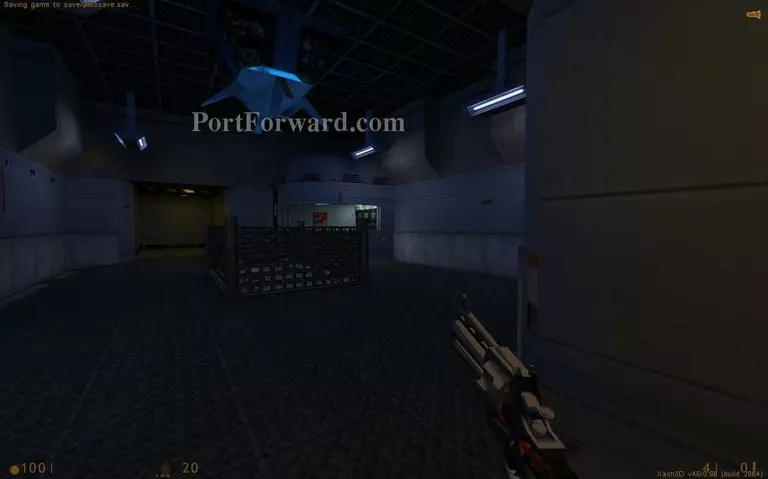
You will end up in a houndeye cage.
Shoot the transformator to cut the power to the fence.
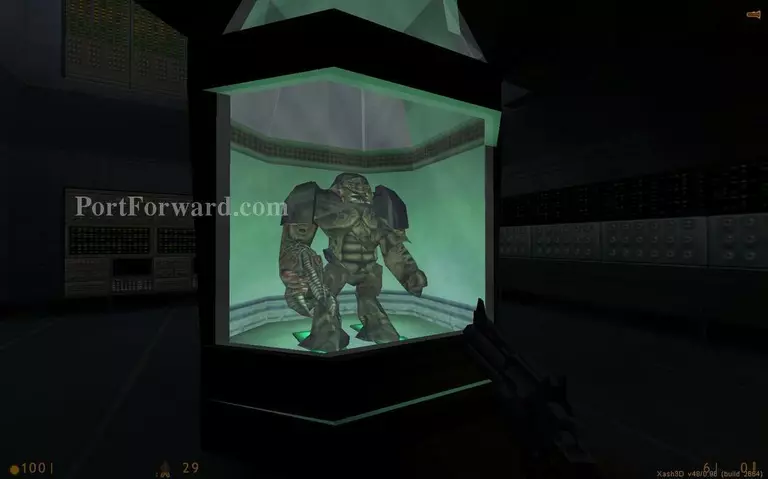
You will see an alien grunt in a container. Shoot his stomach to kill him. His shoulderpads are bulletproof.
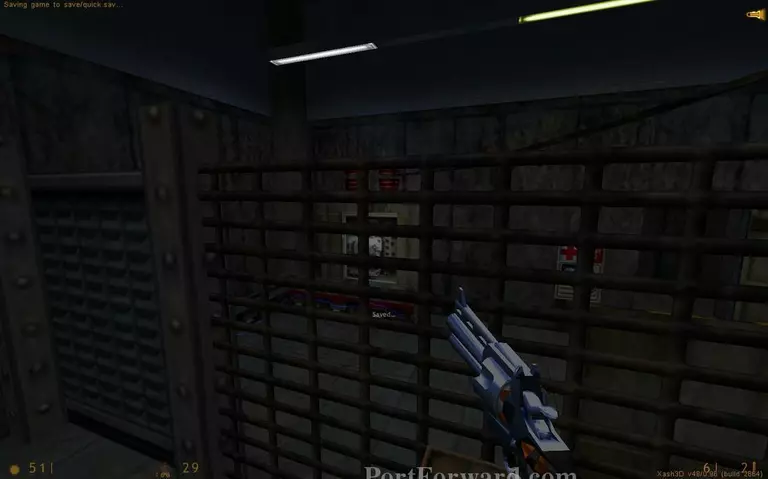
Break the button to open the next door. Prepare to face the grunt.
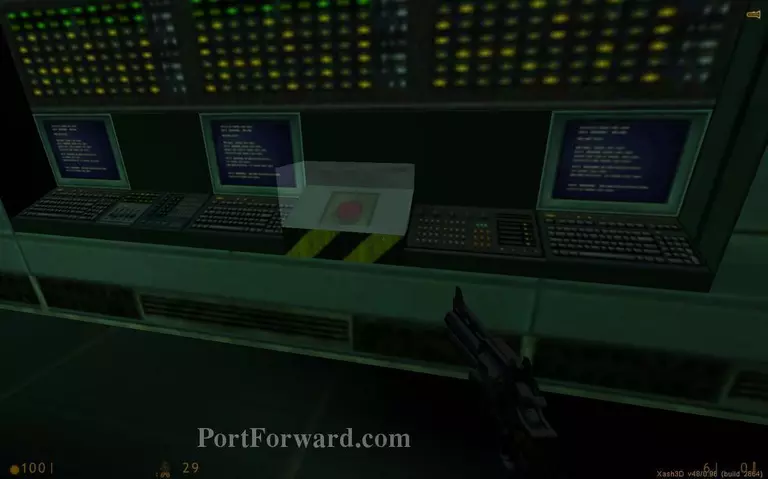
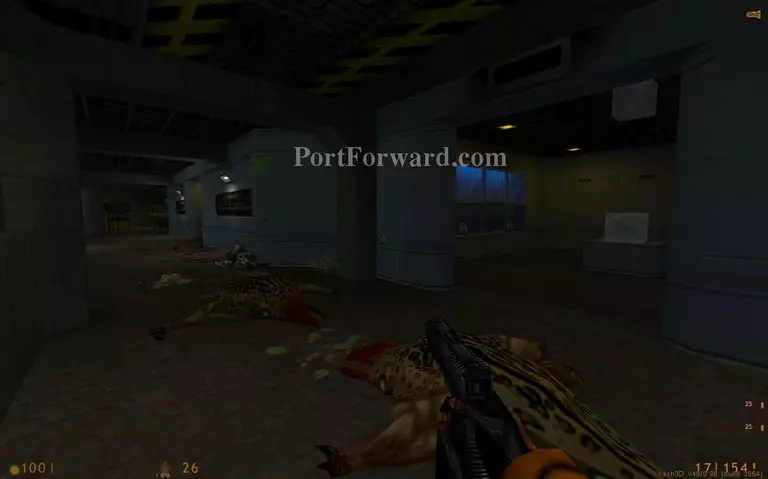
Looks like the scientists were doing some experiments here.
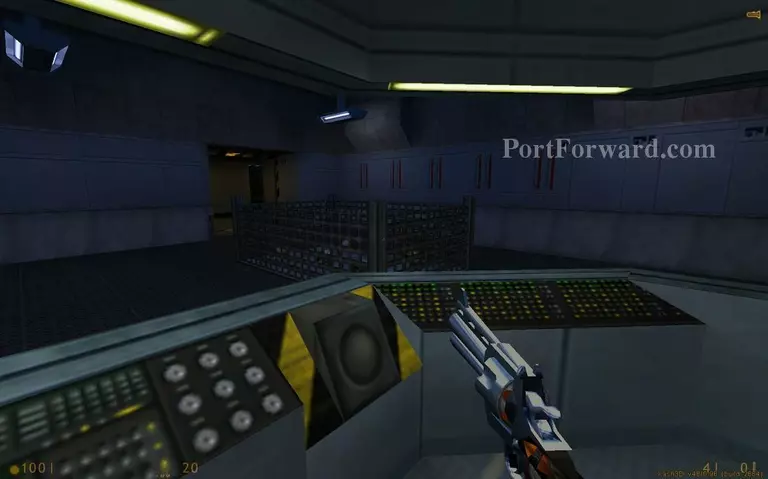
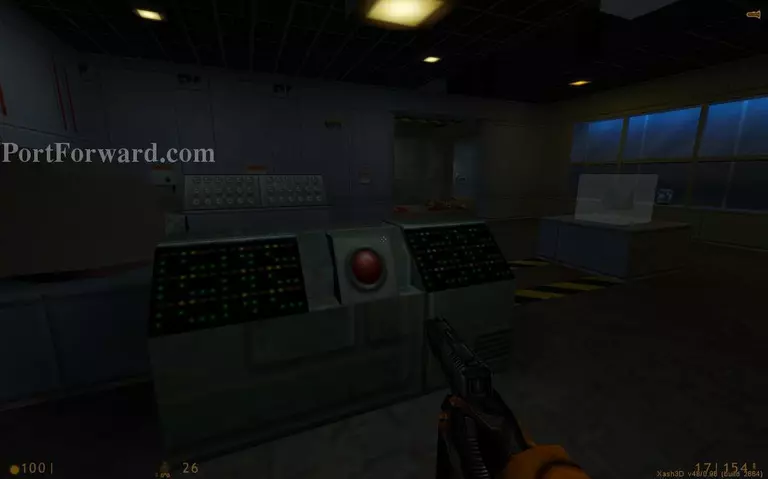
If you use the button in a room like this you will kill everything inside after a few seconds.
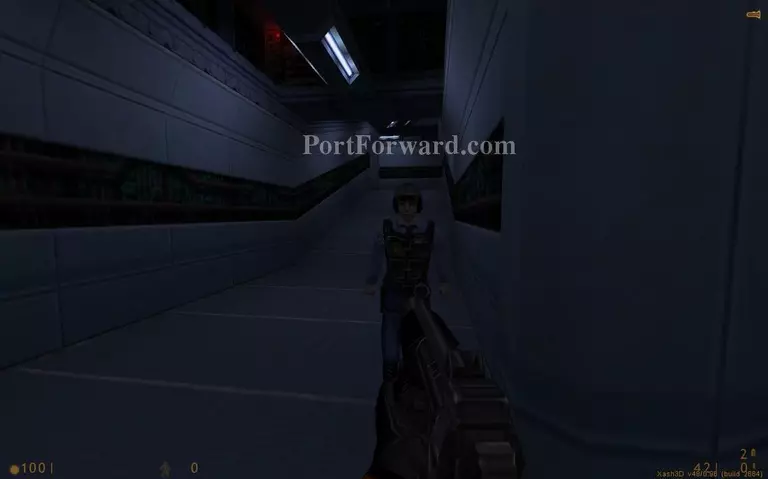
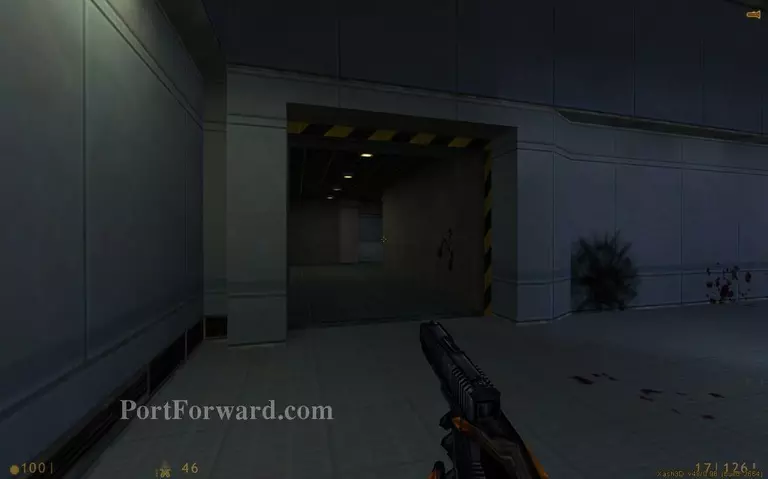
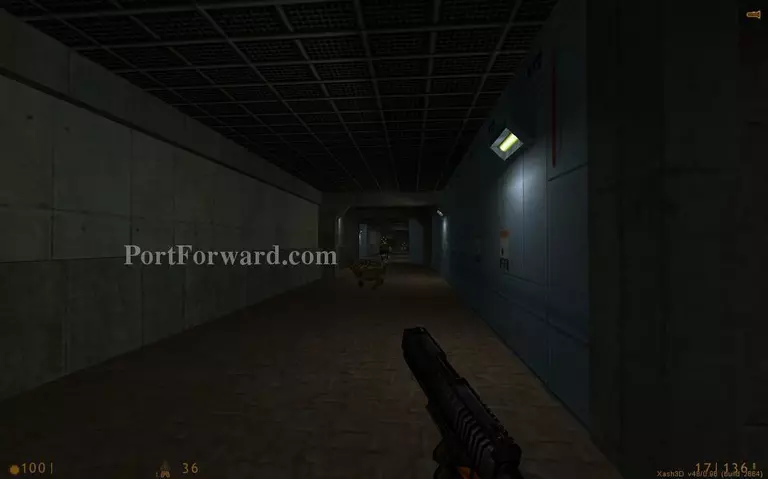
You will meet a guard in the next corridor. Get him to follow you. Some soldiers are up ahead.
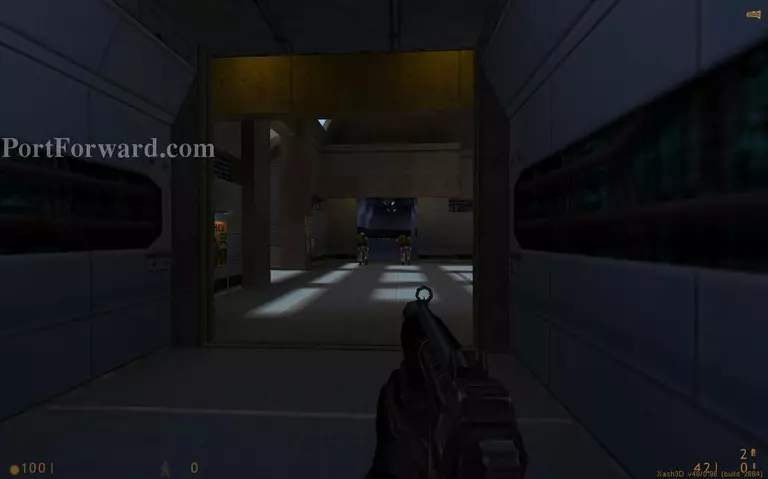
Follow the soldiers in the left corridor.
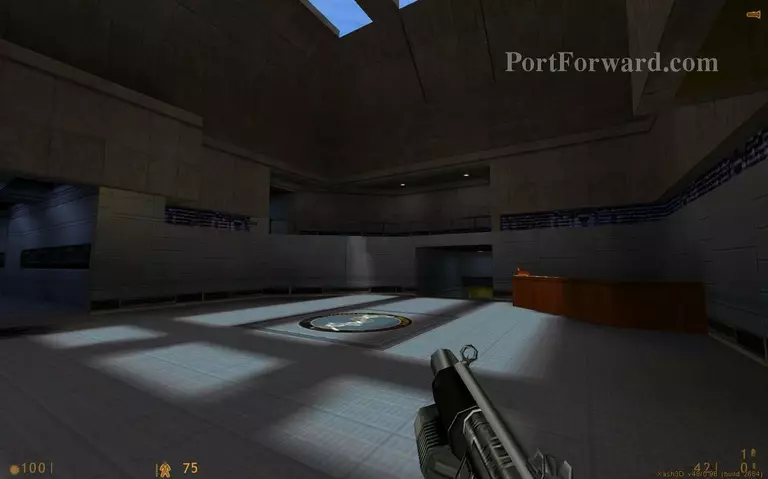
This is the lobby of this building. You will have to return here after you do some exploration.
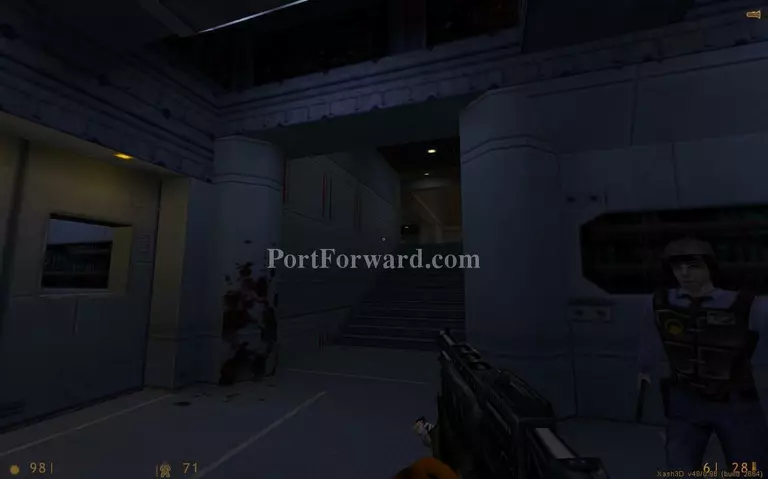
Get up the stairs.
Another room with death lasers.

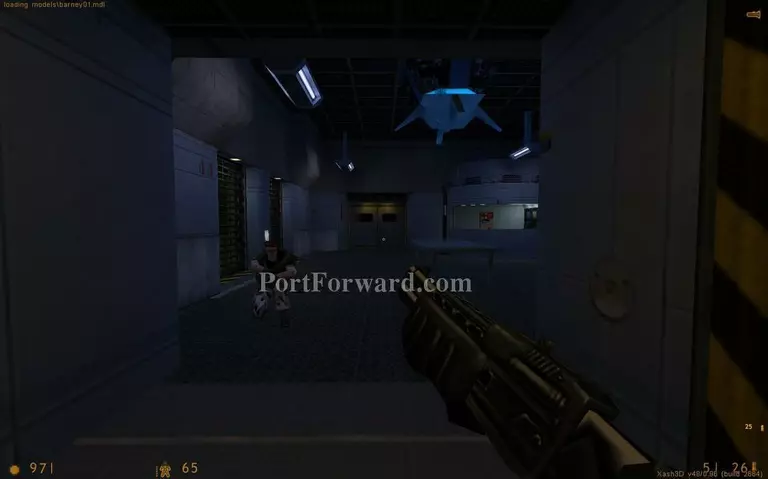
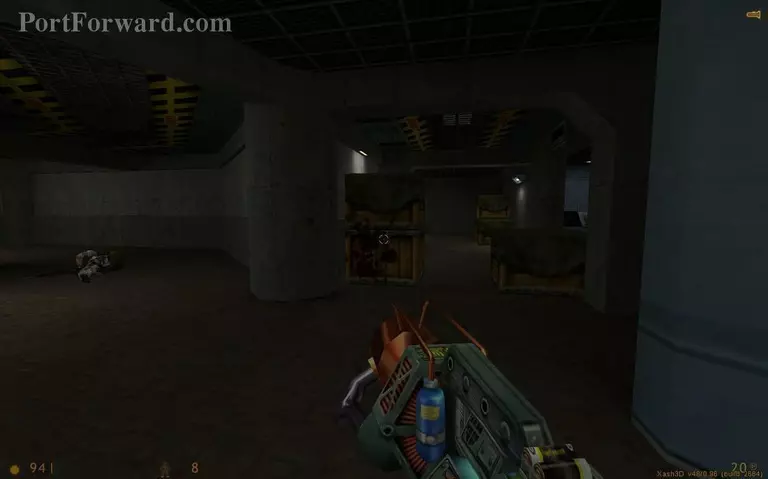
The cages in this room contain some weapons. The eye looking thing are some flea looking aliens that you can drop on the ground and they will attack anything they can find, including yourself.
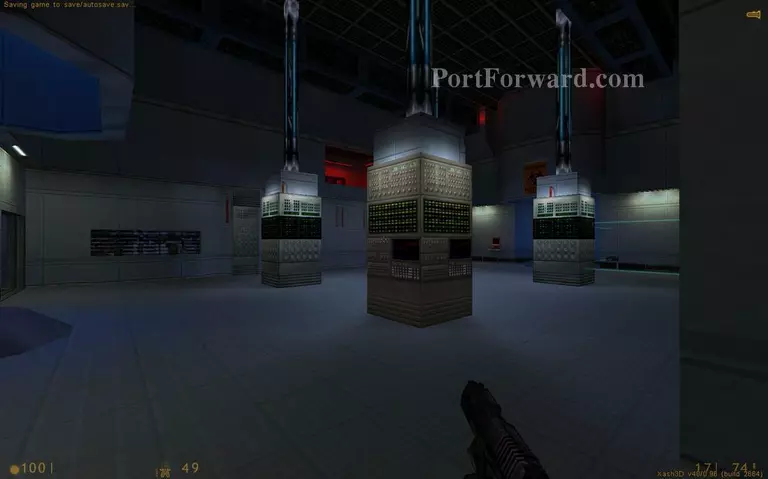
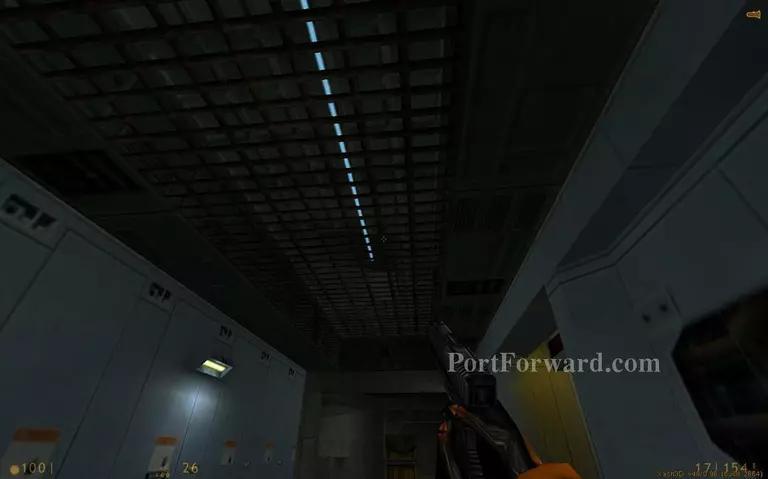
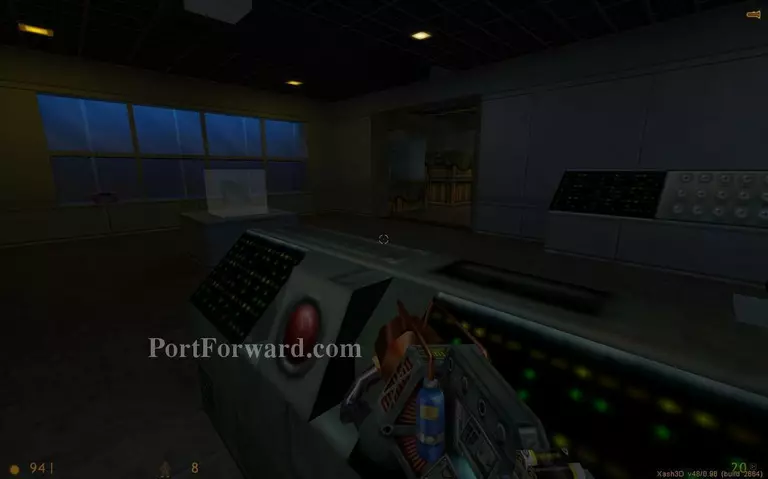
You will reach a room with computers. The trip wires are what you need to blow up here. But first climb up to the room with red lights.

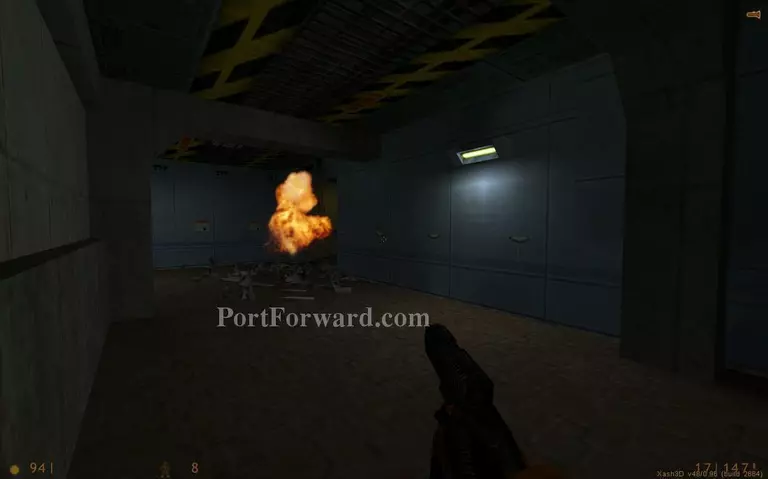
Up here you have a better vantage point and you will be in a safer place. When you blow up the mines a battle between the aliens and the soldiers will ensue.
When the fight is over enter the passage on the left.
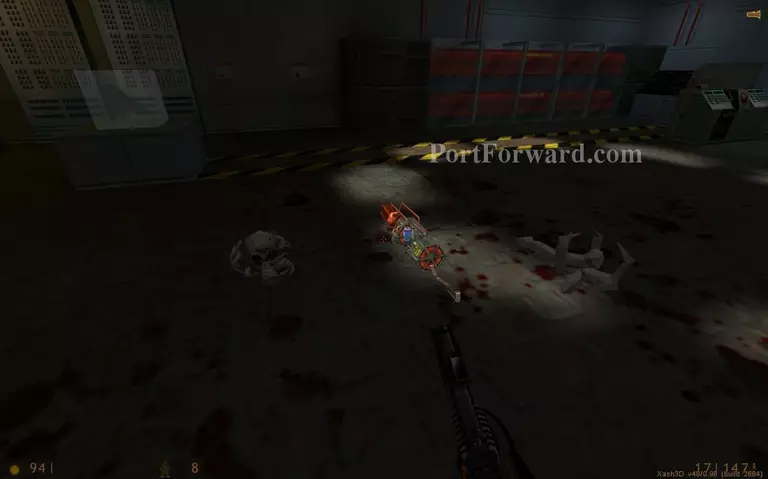
Some bullsquids will be fighting the soldiers.
When the chaos subsides enter the first room on the right.
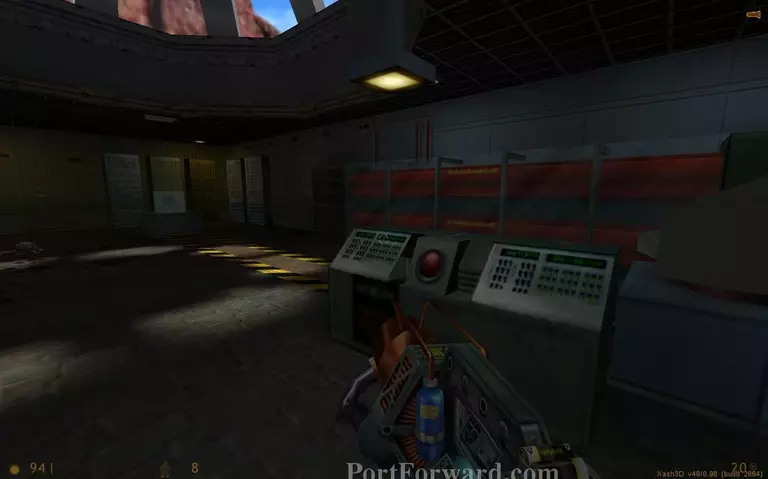
Press the red button to activate one of the lasers you need to have on.
Proceed down the corridor and go left. Note the light indicates where the laser goes. You will have to follow the line when all the lasers are on.
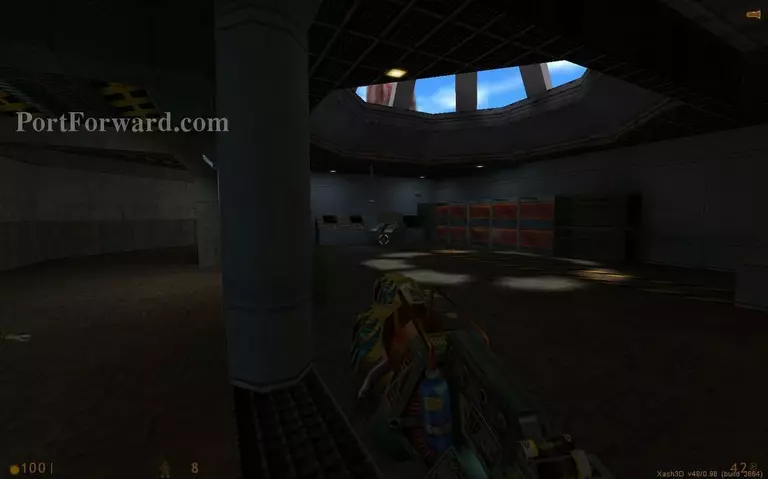
An explosion will create a hole in the wall. Get inside the room from there.
Grab the TAU cannon from the ground. Holding the right mouse button will create a very powerful single shot but do not hold it for too long because you will get damaged.
Activate the second laser.
Pass the corridor with crates and go right.
The third laser is here.
Activate the fourth laser and go back to the room where all the beams converge.
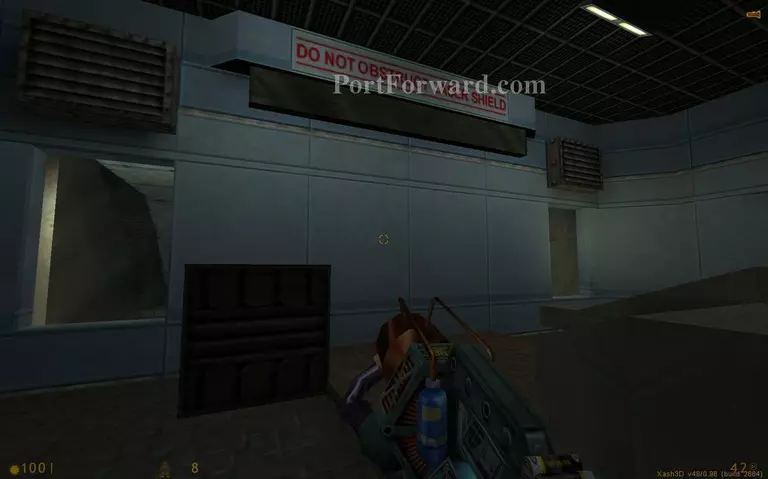
Push a crate under the laser shield to block it from coming down.
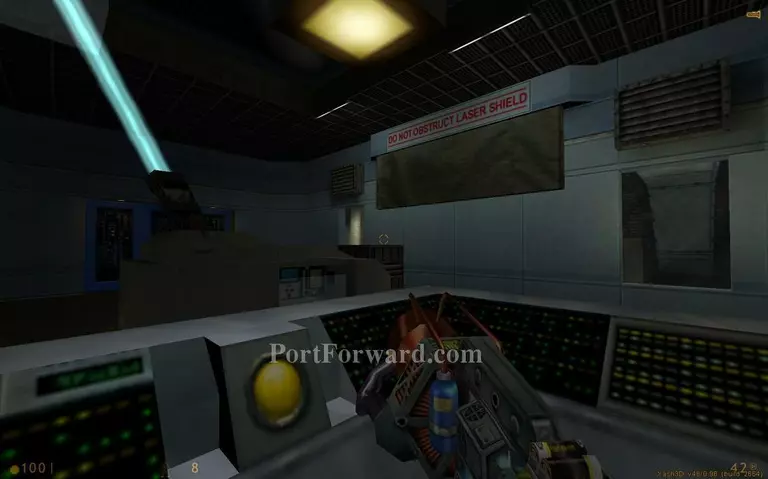
Push the button to fire the laser test. The shield will go up and the wall will get destroyed.
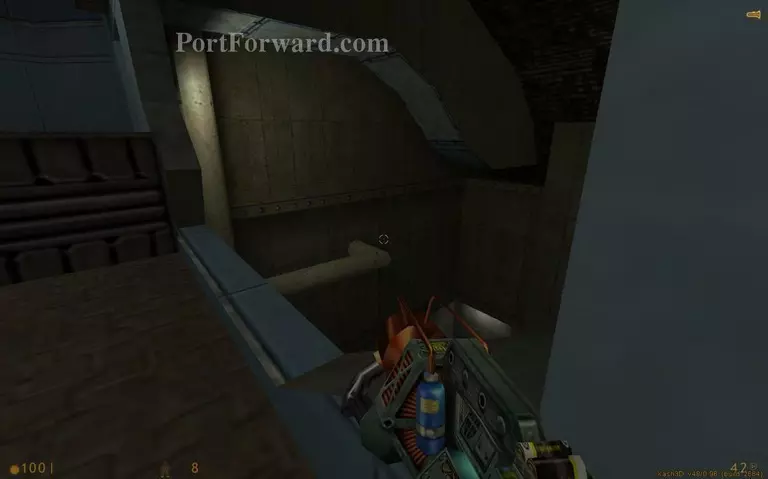
Drop on the pipes first to avoid fall damage.
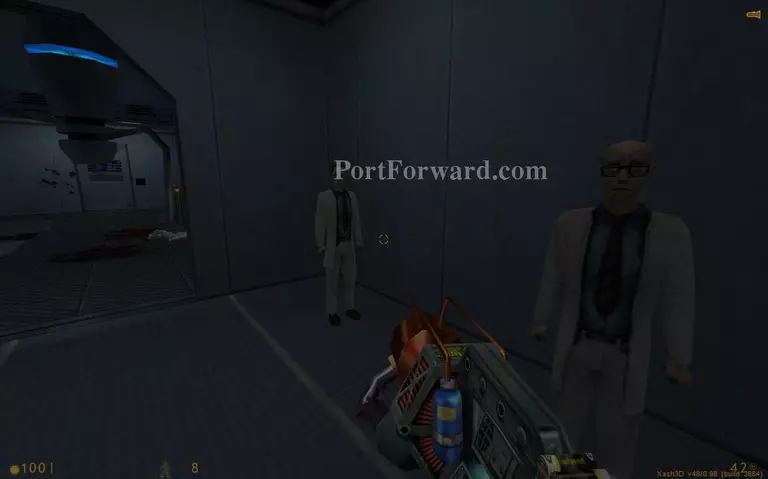
Some scientists are willing to help you to reach your goal.

Dodge the spinning blades. Then use the controls to stop the blades. Get a scientist to follow you out of here.
Get to the main lobby with the scientist.
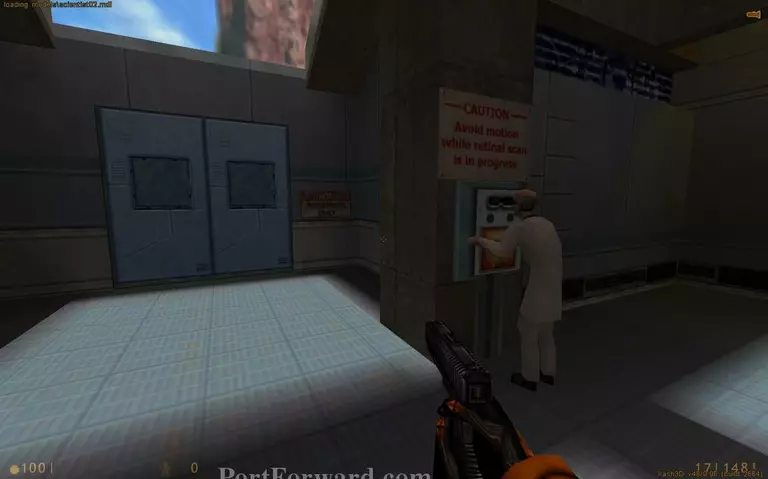
Approach the retinal scanner and the scientist will let you in the next area.
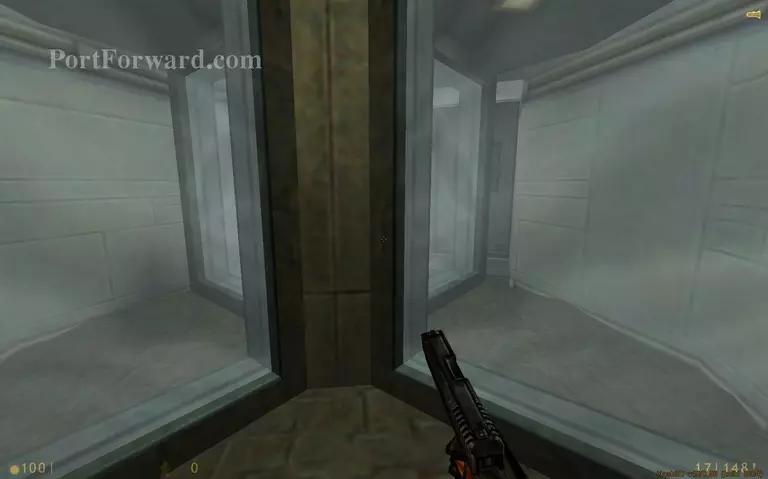
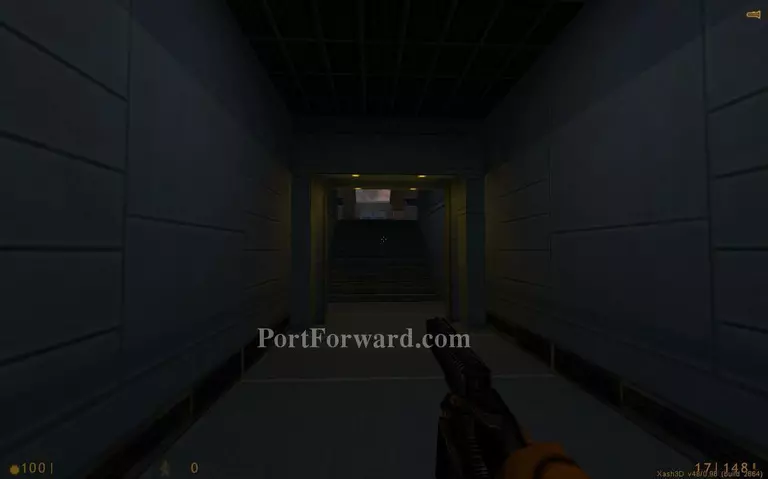
Walk through the revolving door.
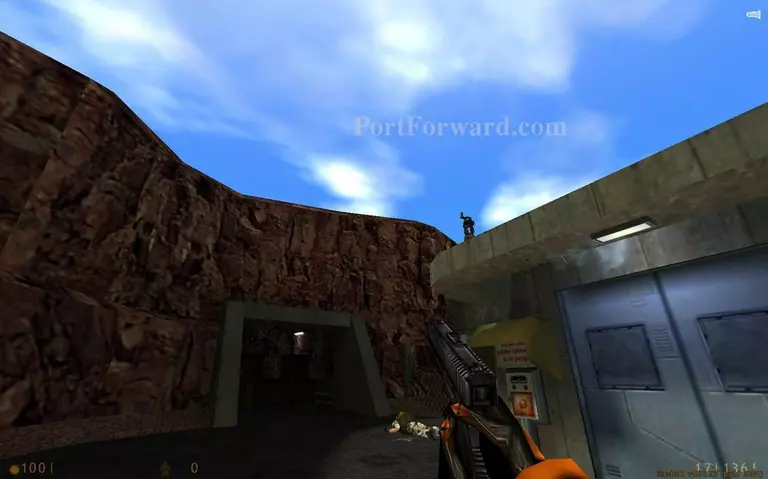
Enter the passage ahead. Watch out for the two sentries positioned on top of the building you exited.
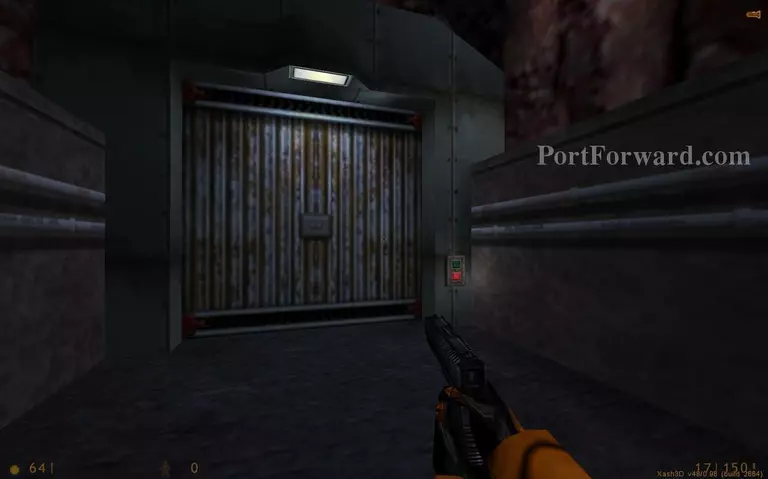
Open the big gate to reach the next area.
More Half-Life Walkthroughs
This Half-Life walkthrough is divided into 18 total pages.