This Half-Life walkthrough is divided into 18 total pages.
You can jump to nearby pages of the game using the links above.
Power Up
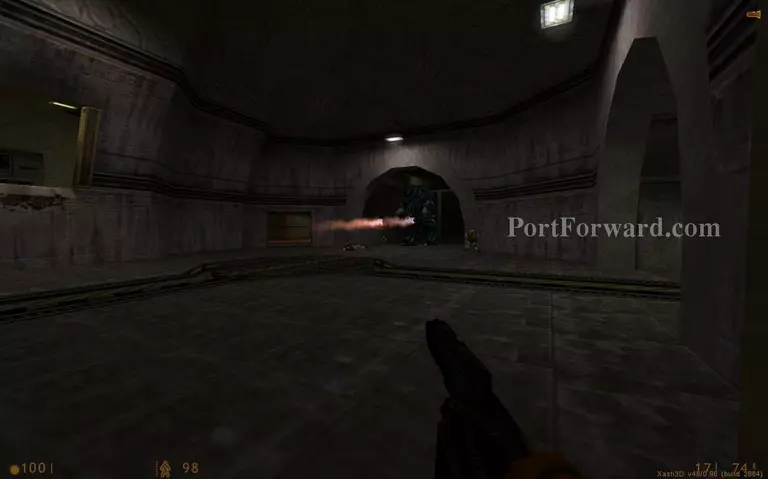
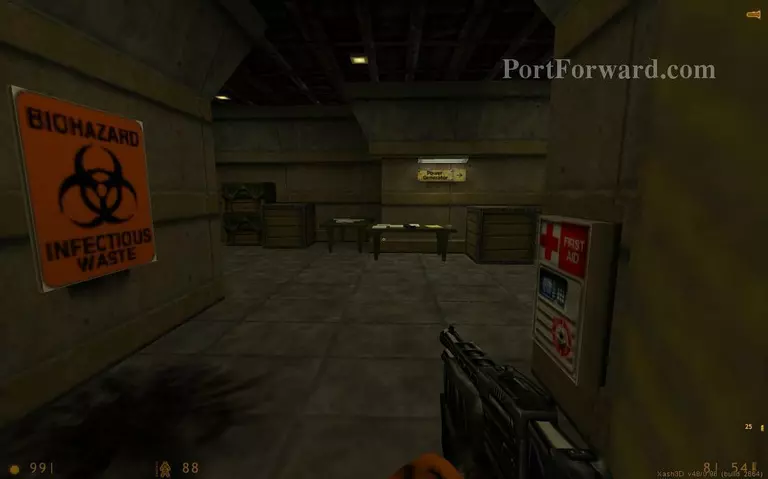
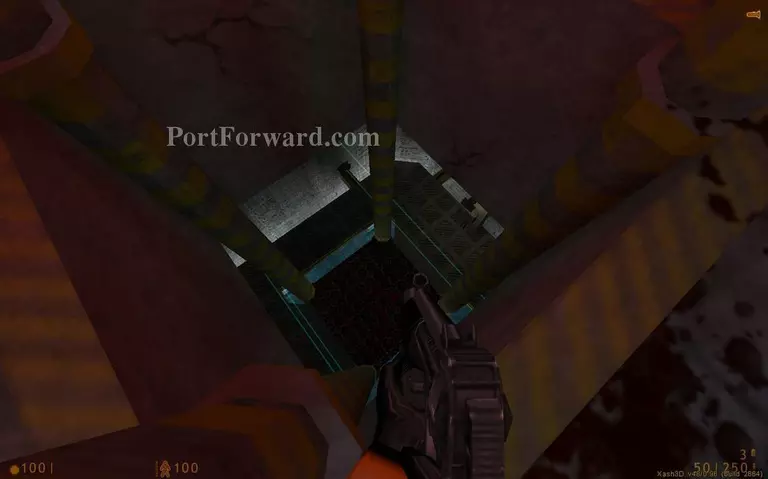
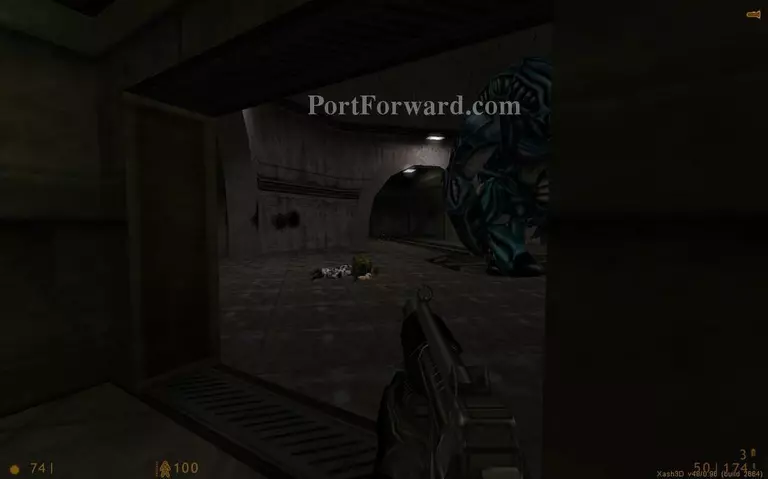
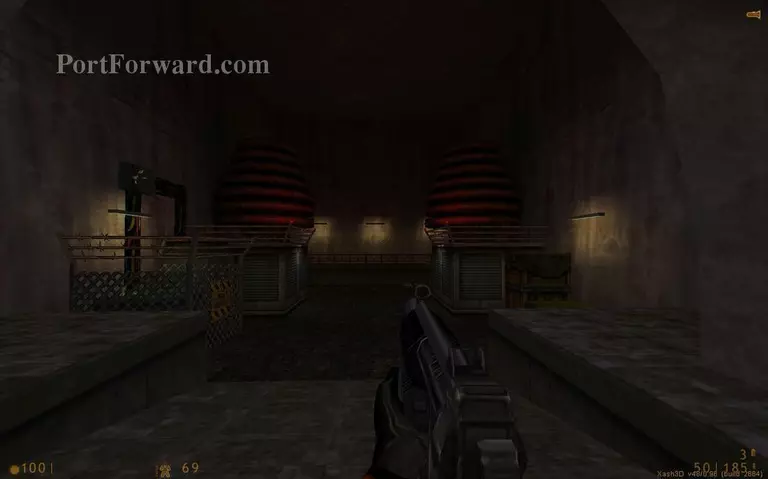
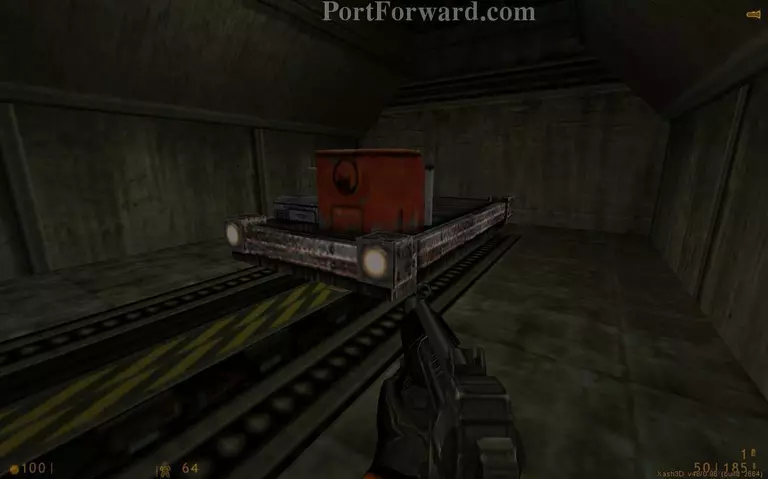
The main tram area is occupied by a gargantua alien. Only explosives can harm the creature but you can destroy it in another way. For now run inside the smaller passage left from the tunnel in the center.
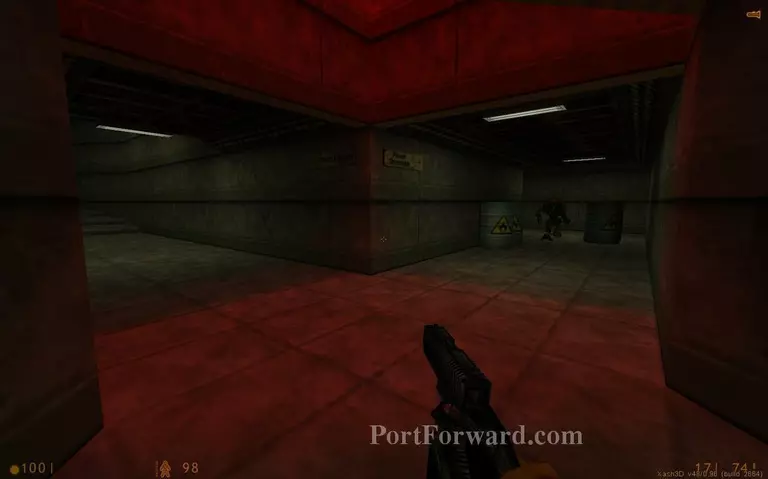
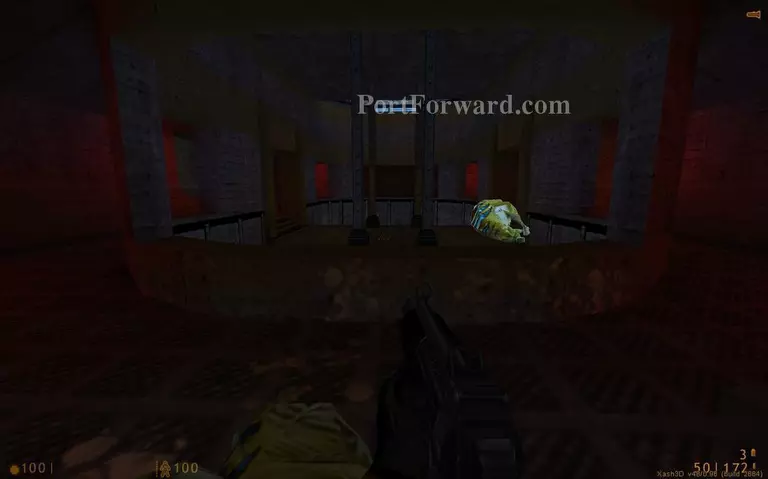
Go through the corridor on the left. Shoot the explosive barrels to kill the vort.
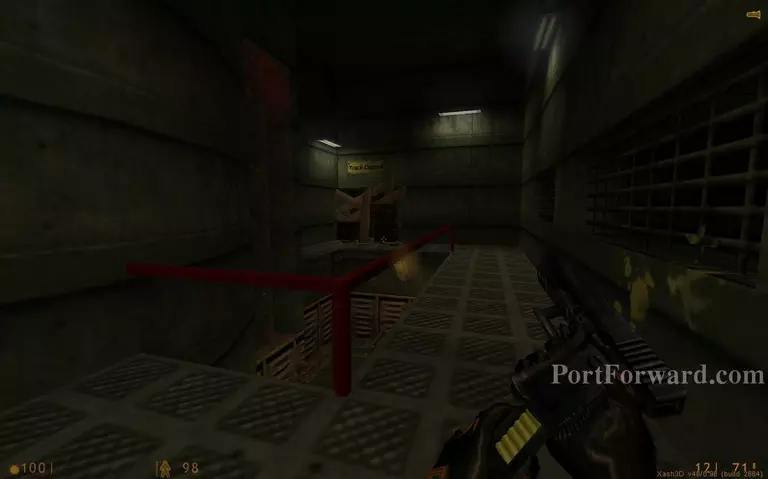
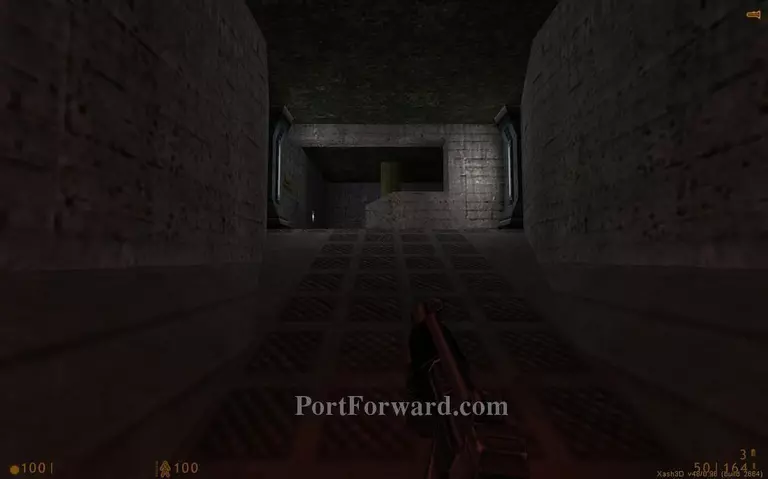
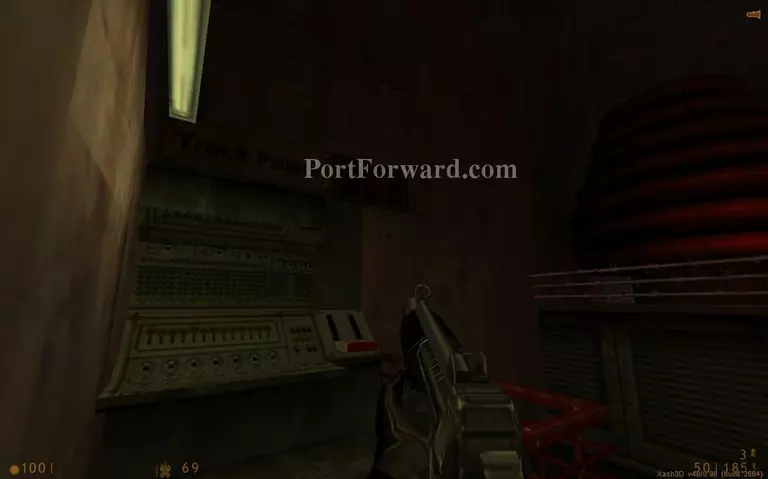
The track control room is barred. Break inside.
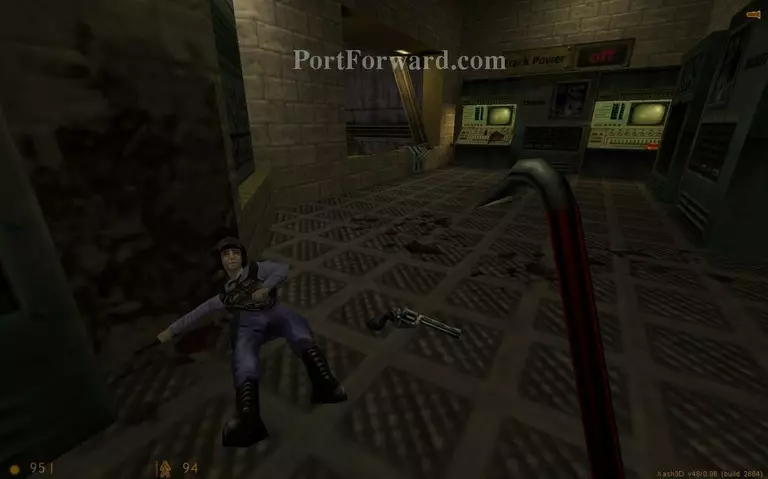
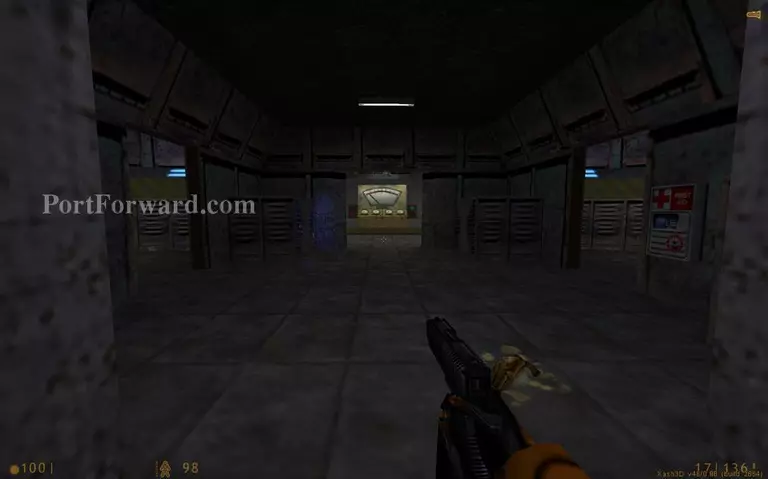
The guard here is in a bad shape. The power to the tracks is off so you need to turn it on. You can spin the tram in the right direction once the power is on.
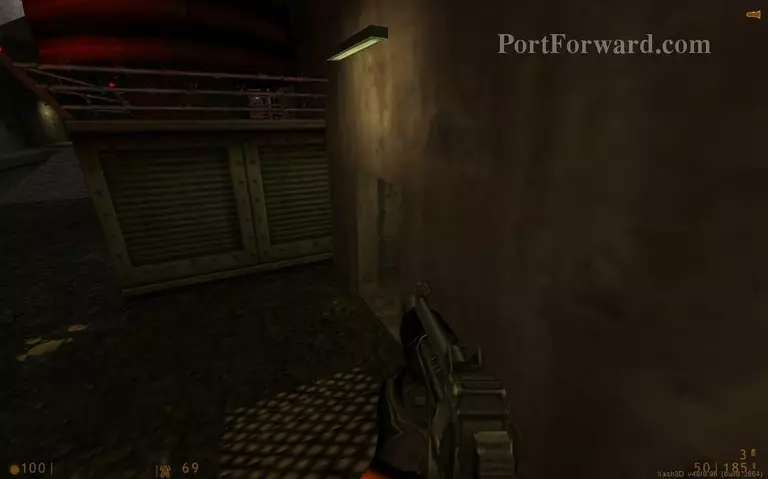
Get down the ladder that is outside the track control room.
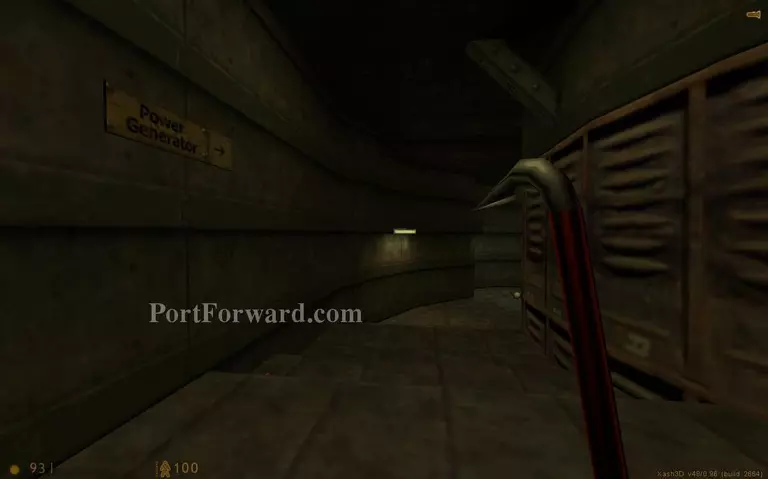
Follow the power generator signs.
Use the valve to open the doors.
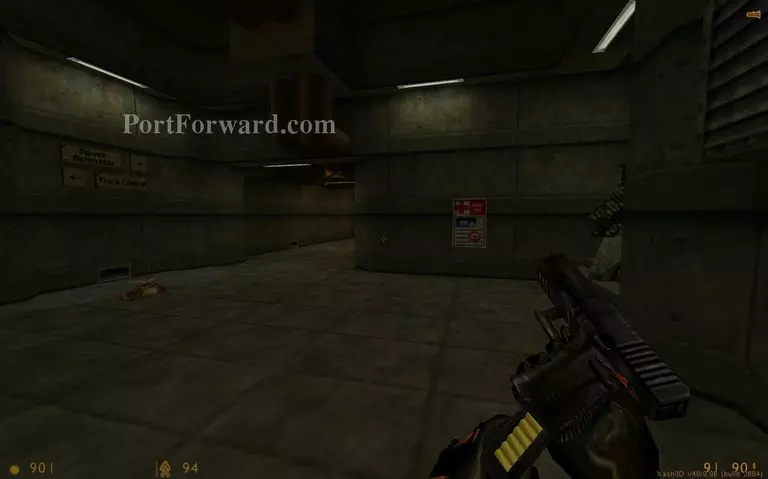
Climb up the ladders and expect some soldiers.
Go right.
The soldiers will attack you here. This guy has barricaded himself next to some explosive crates. How convinient.
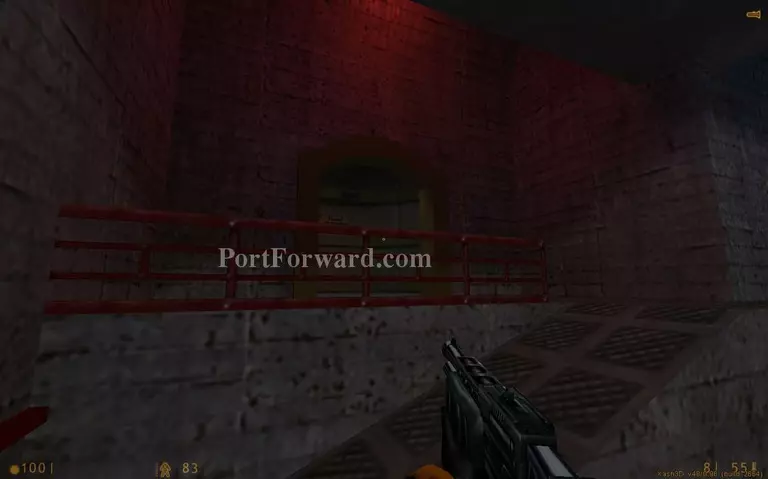
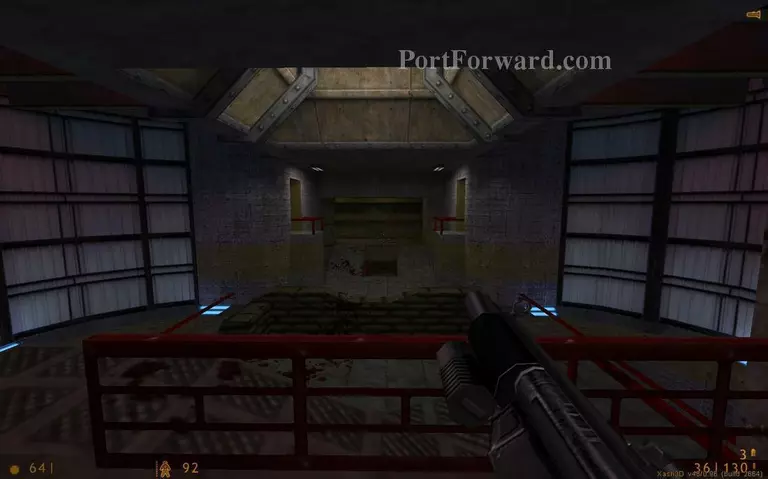
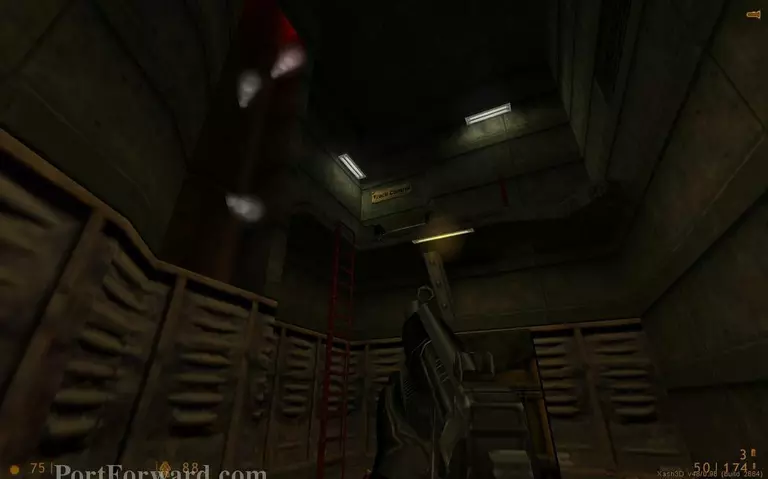
Climb up here.
Push the button to lower the lift.
You will see that the lift is tripwired. You can destroy the mines from here or dodge them to save them for later. Go down in any case.
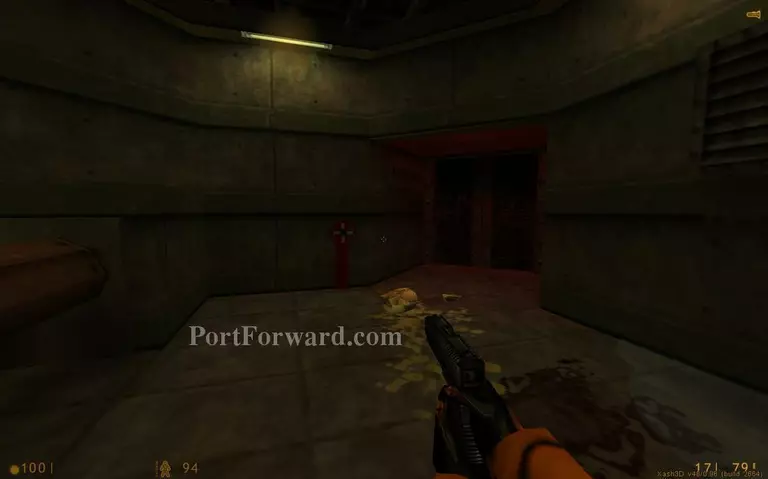
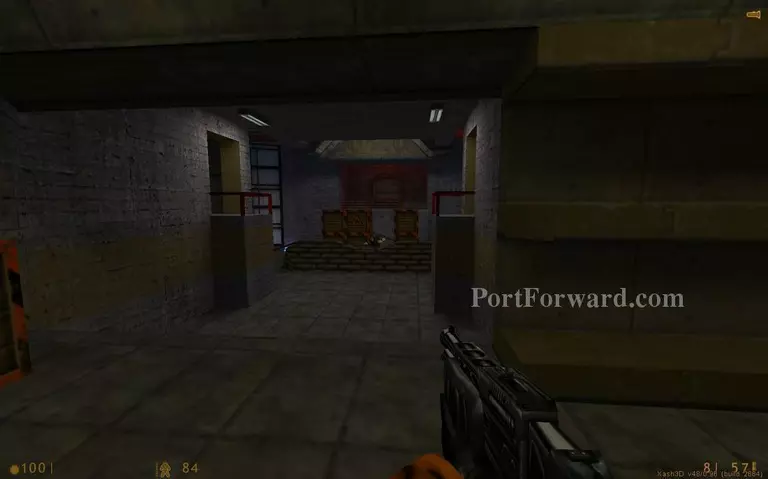
Go left from here.
Go down the stairs.

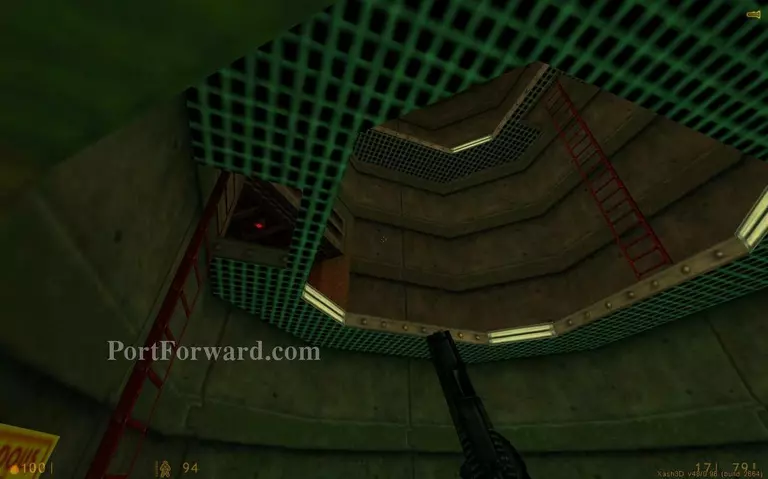
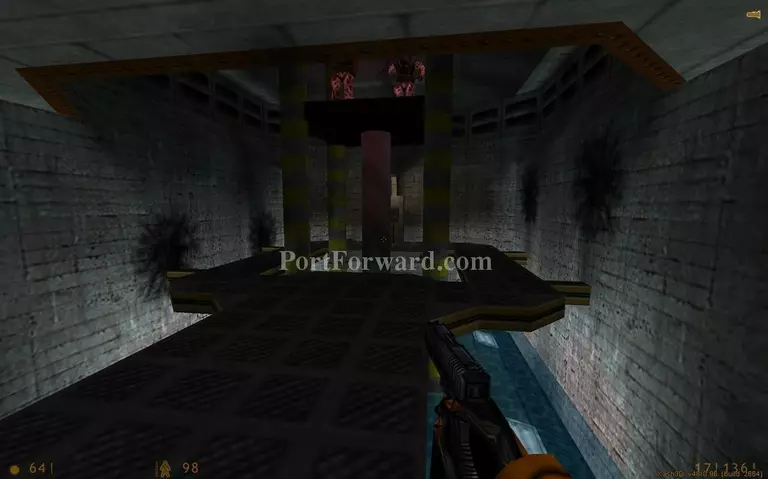
Keep going down to the maintenance area.

Swim to the blocked machine and destroy the crates to turn the machine back on. Don't stay in the water for too long because it is infested with leeches.
Get up the stairs and go inside the generator room. Press the red button on the left to turn the power back on.
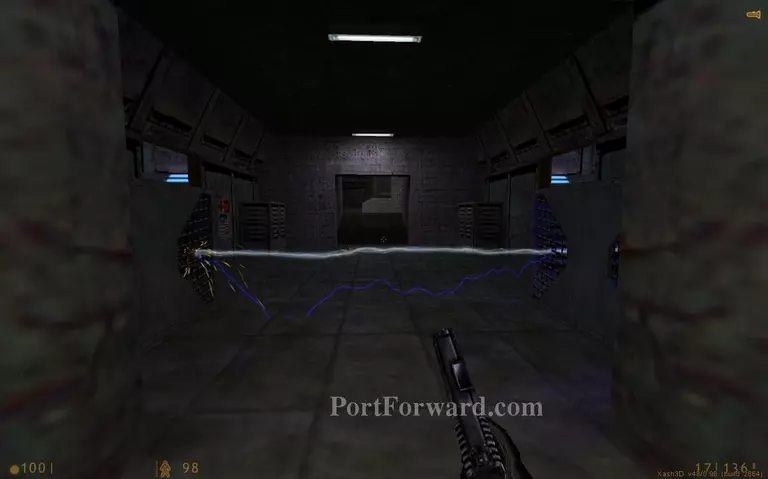
The electrical arch will block your way. Wait for a moment when you can pass.
Get back up the lift. The soldiers will come down. This is the place where the tripwires would've been useful.
Backtrack through here.
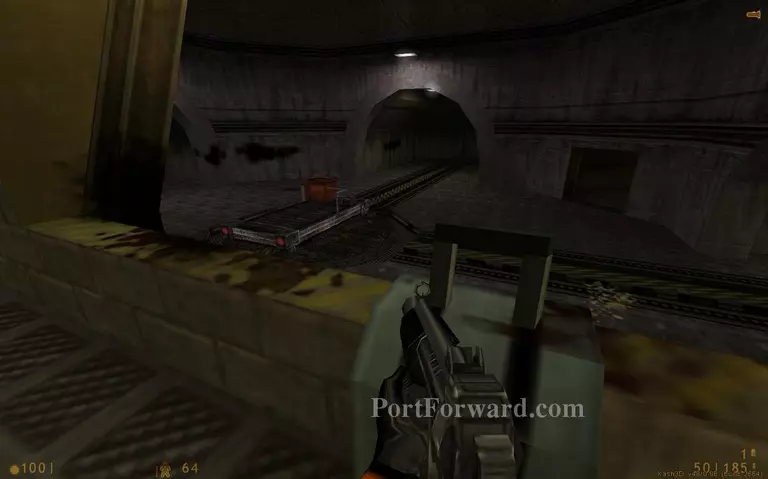
It is time to deal with the gargantua and restore power to the tracks. Run to the left tunnel from here.
Run towards the end of the corridor and don't let the alien get you.
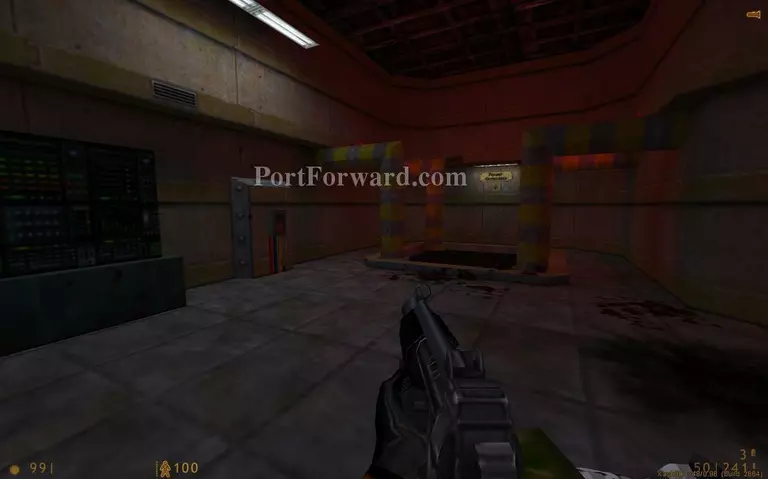
Pass between the power generators.
Flip the switch to turn the power back on. At this moment the gargantua will be passing between the power generators and will be destroyed by electricity.
To go around the electricity enter the doorway on your right.
Use the tram to go forward.
The tram needs to be turned in the right direction. Now you need to get back in the track control room.
Press the lever in the track control to turn the tram towards the right tunnel.
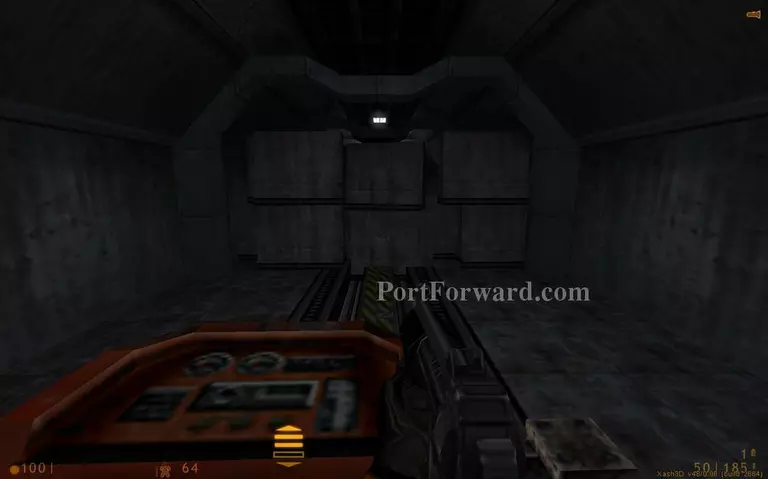
Get on the tram and speed forward. You will ram through the concrete blocks.
More Half-Life Walkthroughs
This Half-Life walkthrough is divided into 18 total pages.