This Half-Life walkthrough is divided into 18 total pages.
You can jump to nearby pages of the game using the links above.
Office Complex
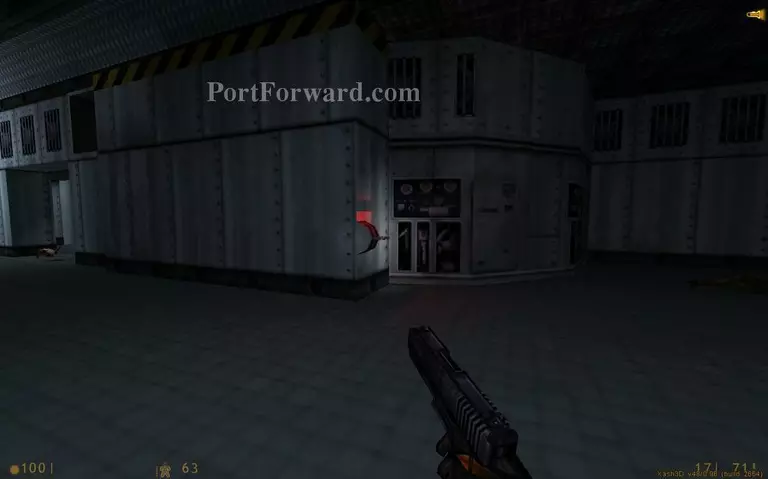
Go left when you exit the elevator. Don't waste your ammo on these critters. The electricity will kill them.
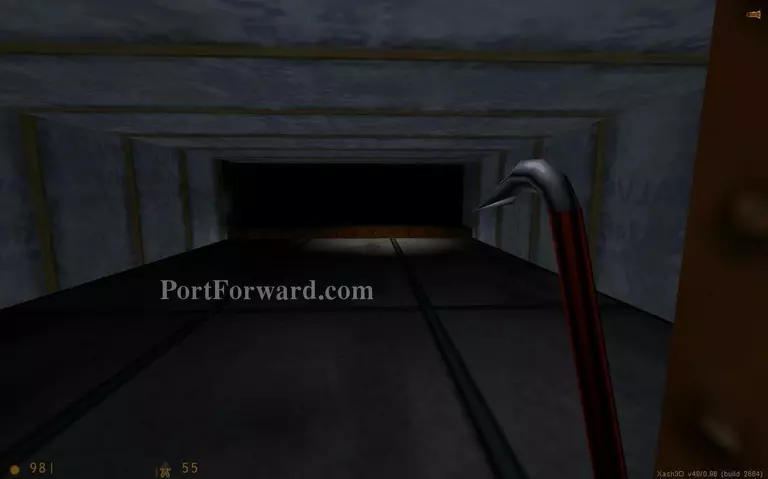
Enter the vent.
Go towards the end of the vent.
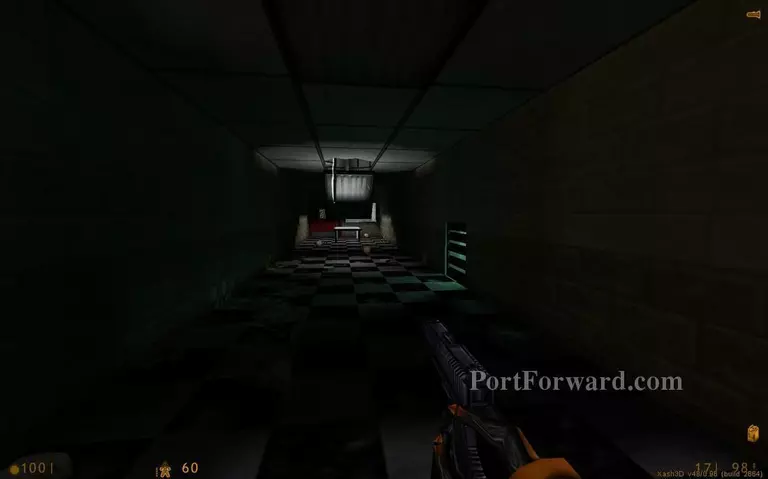
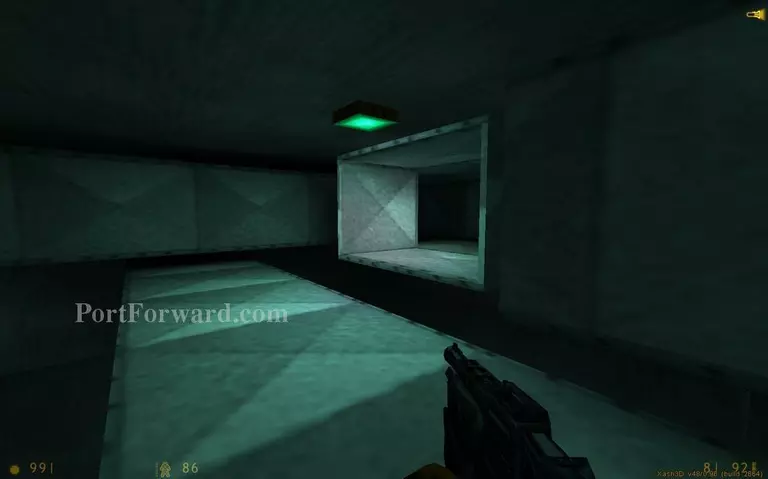
You will enter the following room. Beware the barnacles on the ceiling.
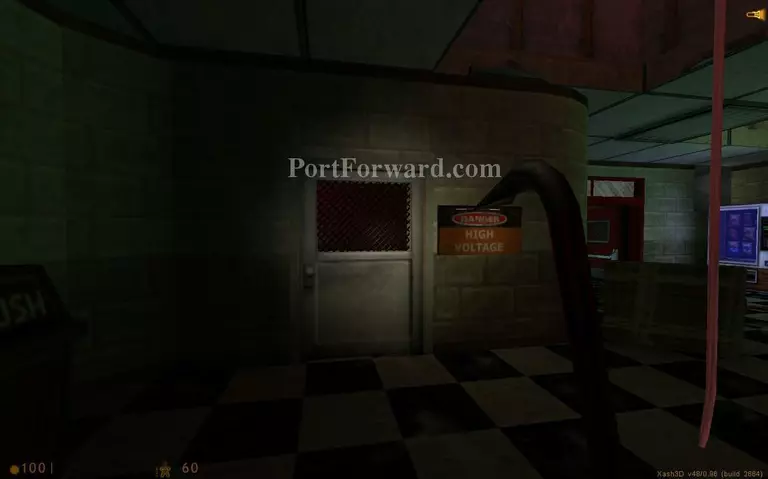
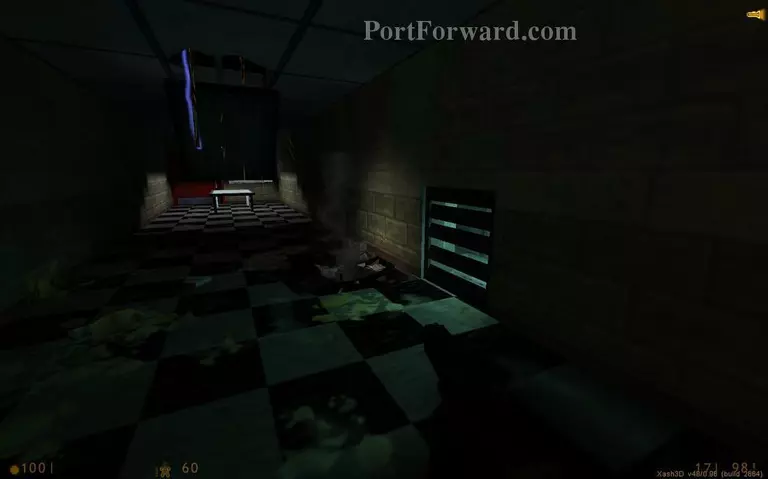
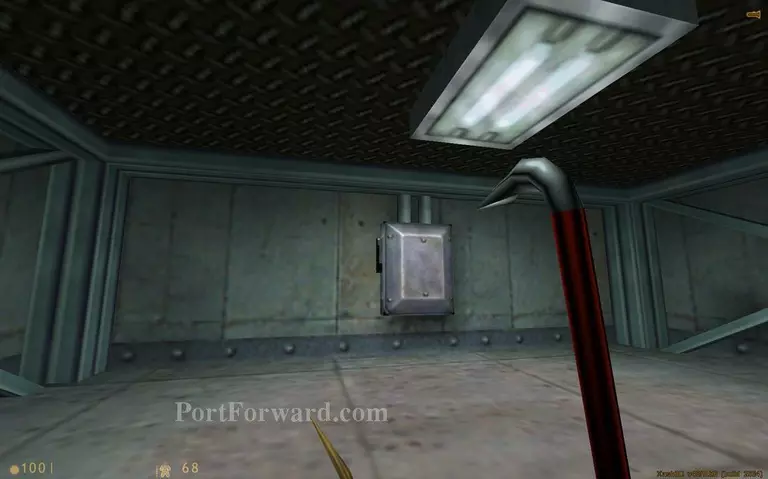
Enter the high voltage room.
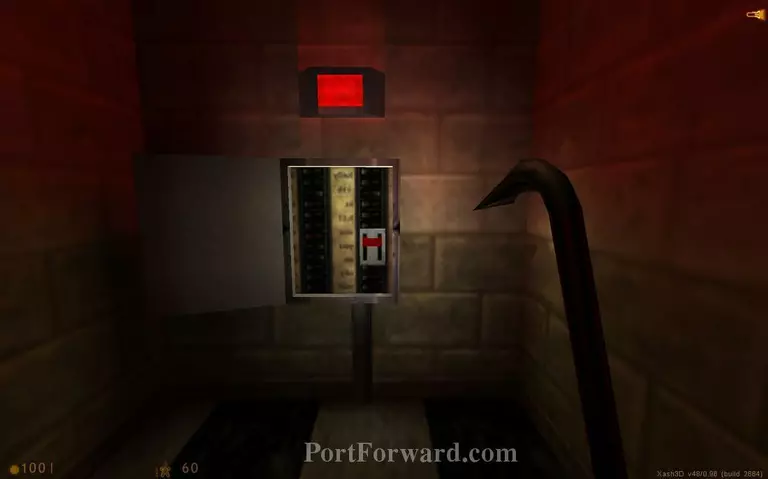
Press the lever to turn off the power.
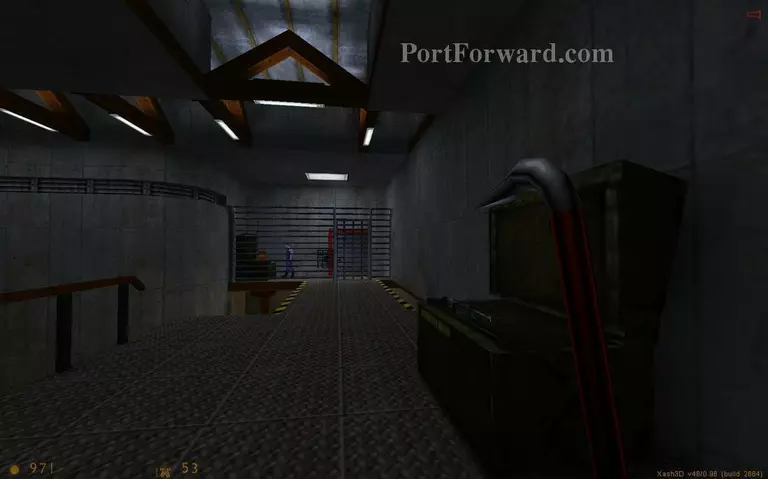
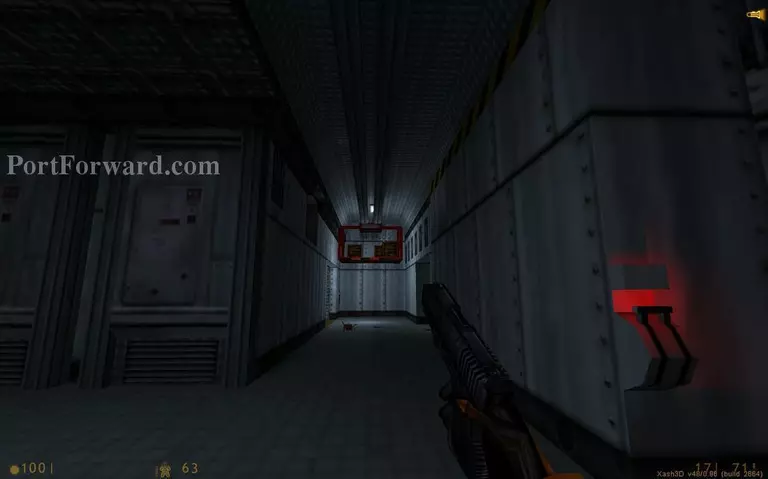
Proceed down the corridor now that it is safe to pass.
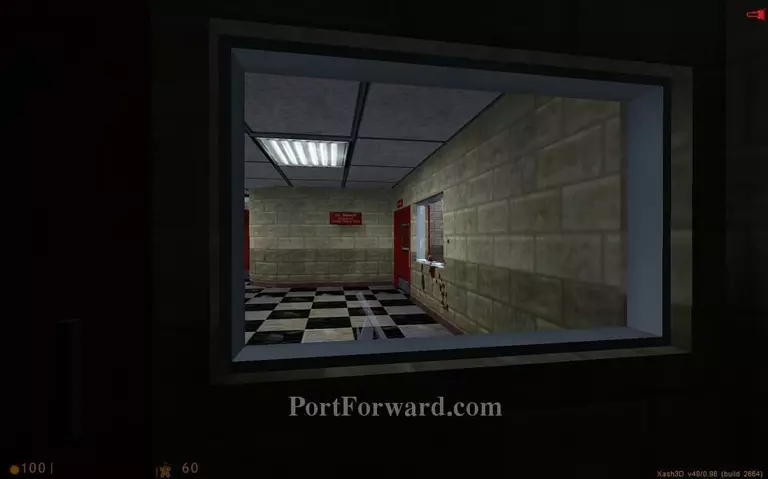
Jump on the table and break the glass to enter the next area.
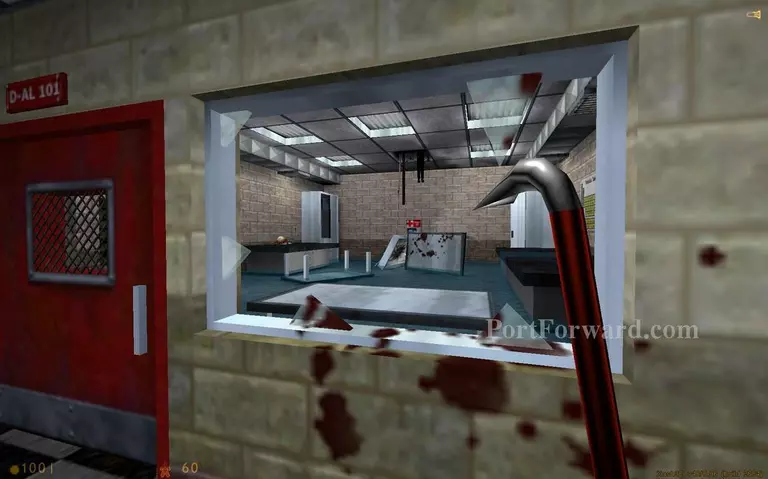
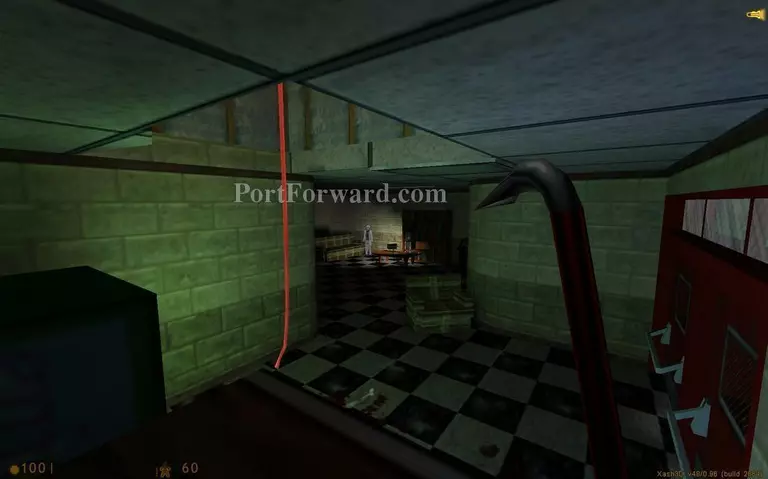
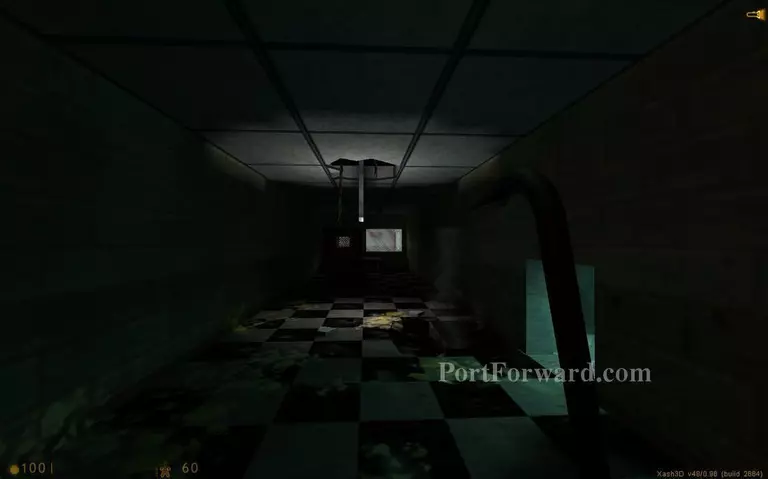
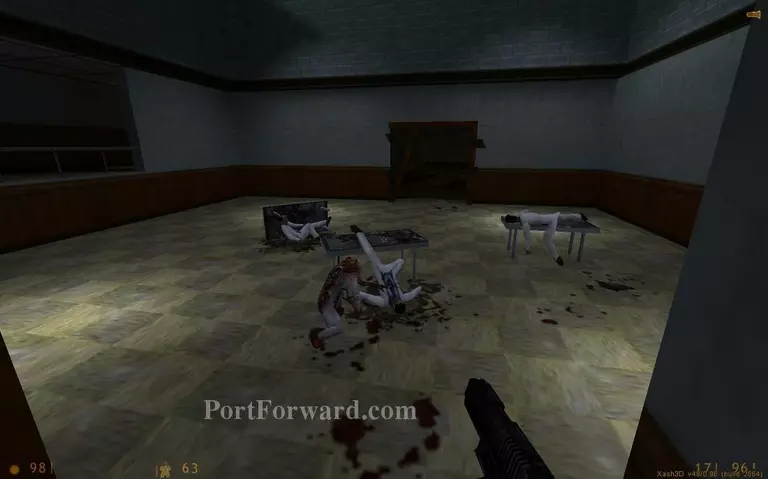
Enter the flooded room.
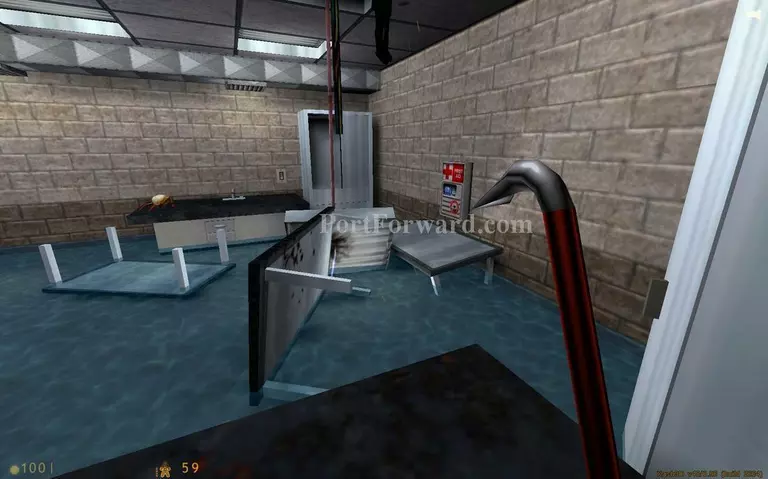
Jump from table to table and avoid the electrified water. Press the lights key to turn off the electricity in the room.
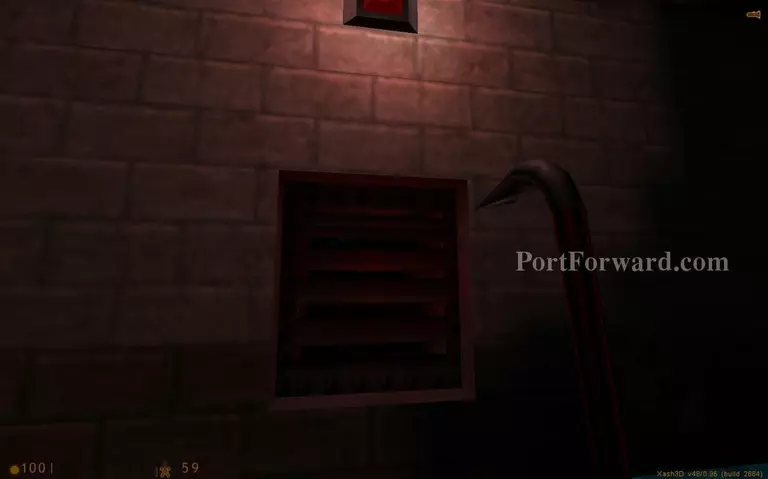
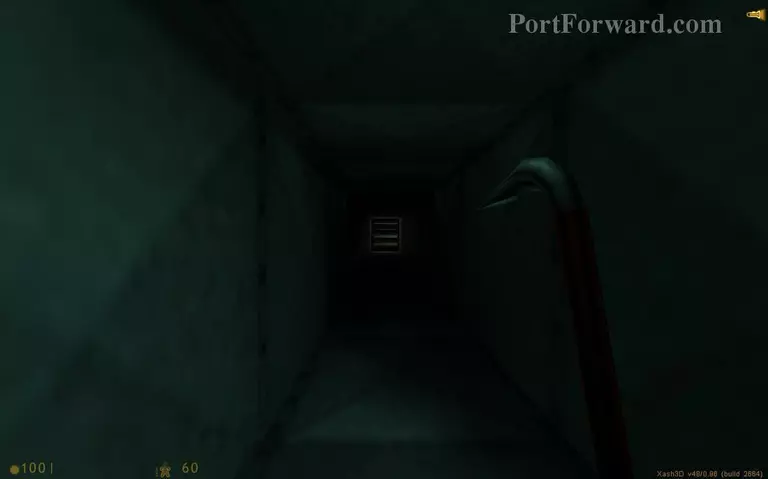
Enter the vent.
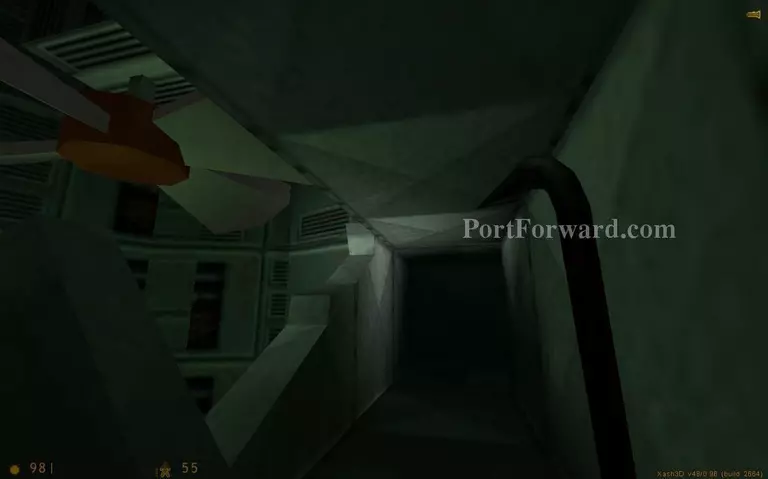
Pass under a fan. Keep yourself crouched when you go through here.
Proceed forward to drop down.

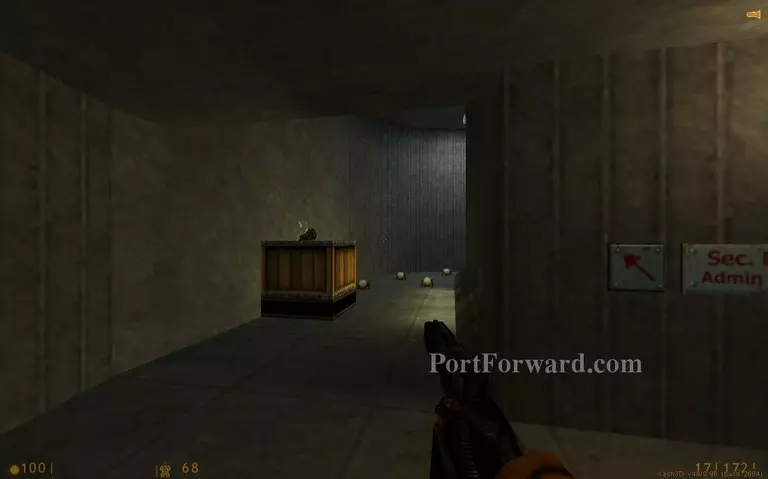
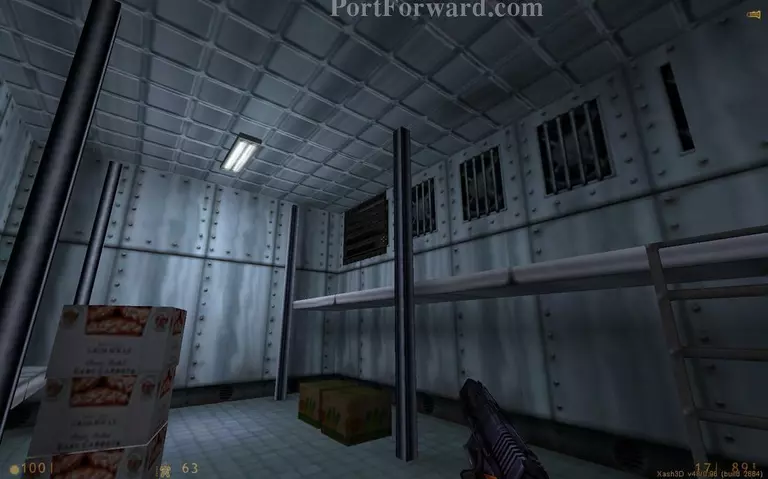
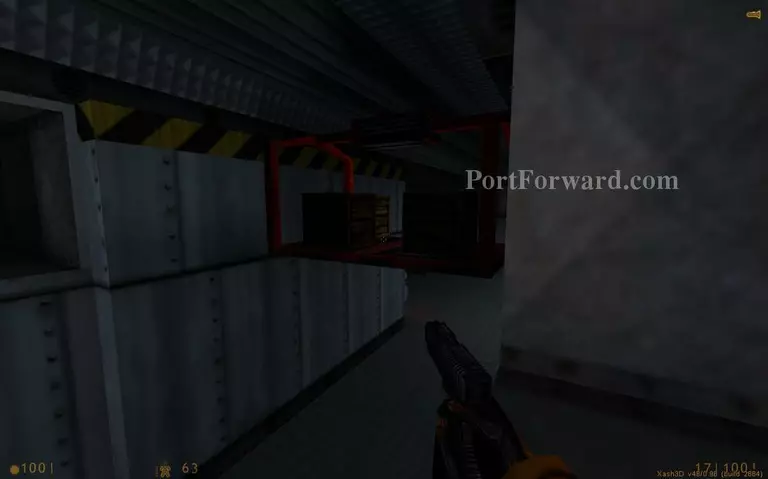
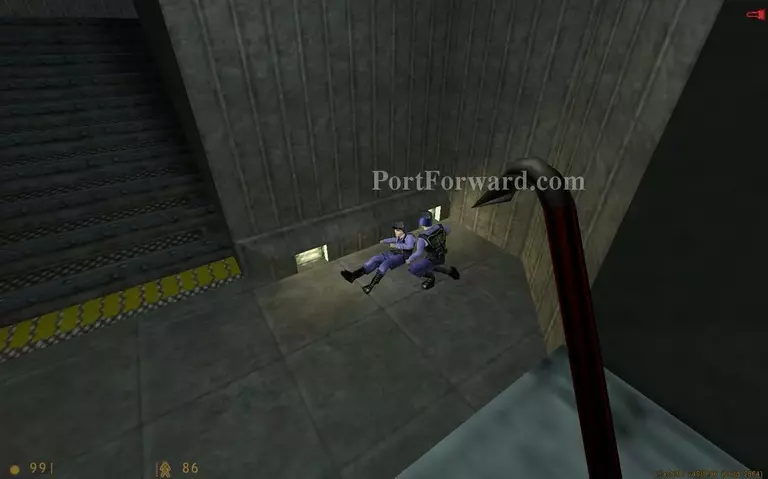
Go left near some crates to find some supplies.
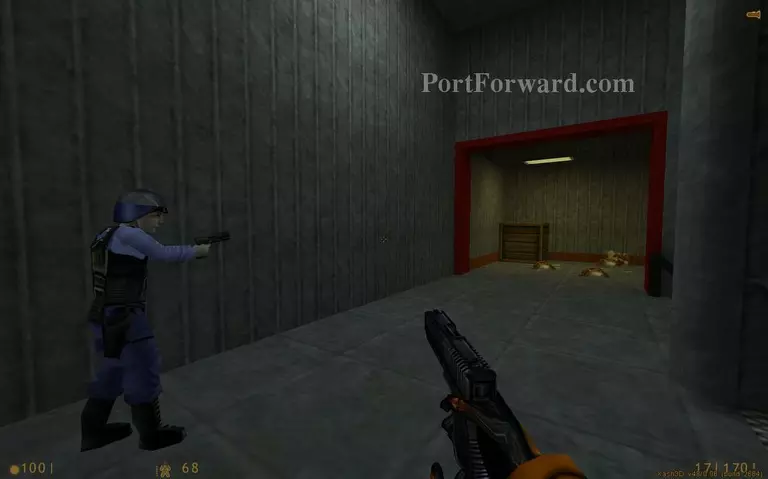
Get the shotgun from here. Save the guard in time from a zombie and he will open the gate so you can get supplies.

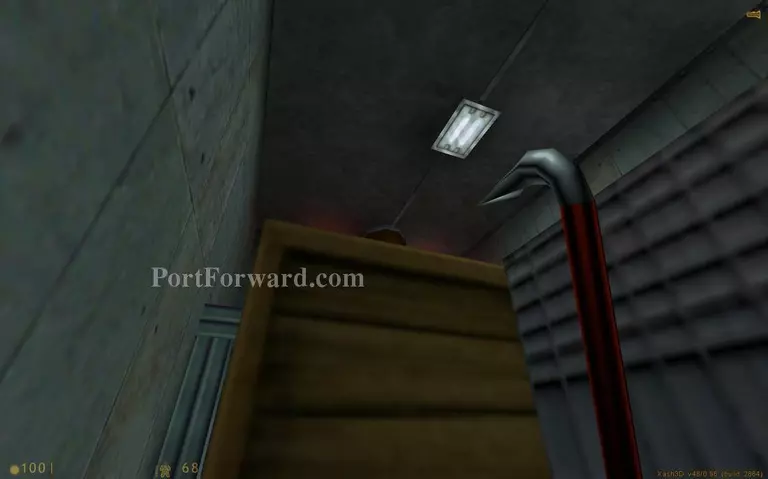
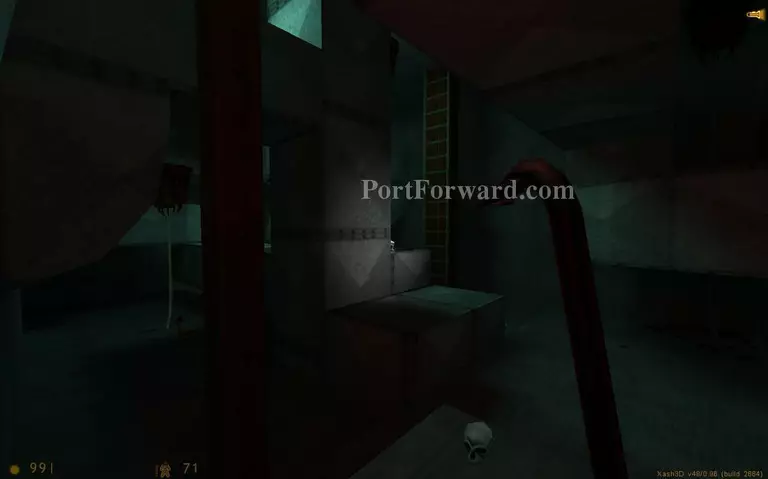
Go back to the corridor you dropped in before. Push the two crates under the ladder that goes up to the vents. Climb the crates to reach the ladder.
Drop down here.

Beware the turret on your right when you exit the vent.
If you are fast and use a headcrab as a distraction you can jump behind some crates to approach the turret.
You can turn off the turret from a switch under it.
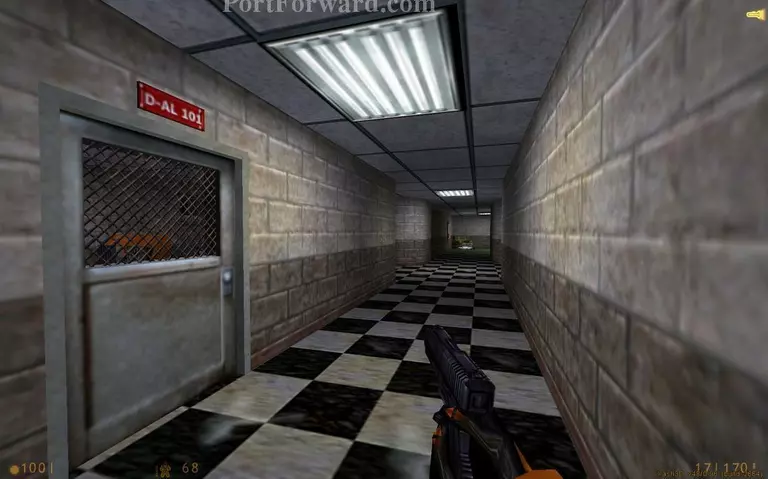
Proceed up the stairs.
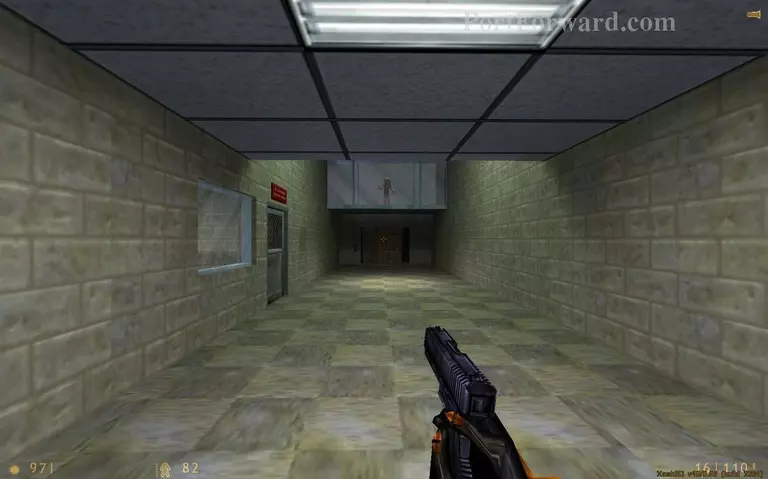
Pass a guard. He can help you out.
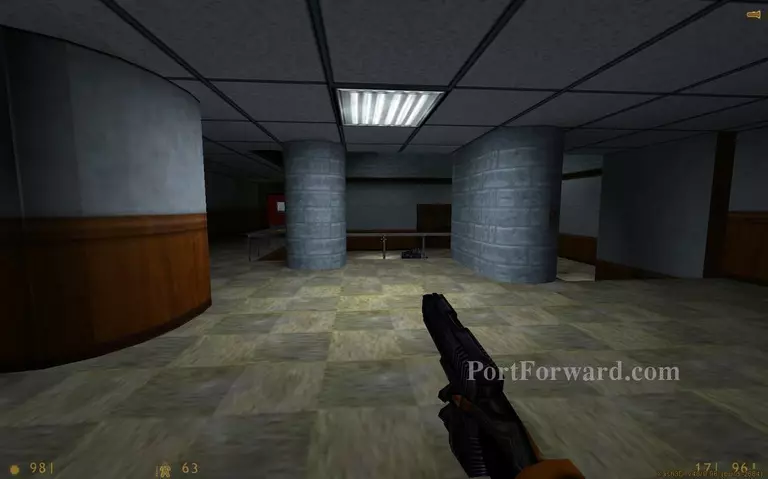
Enter these offices and prepare for a fight with some vortigaunts.
Exit the office space straight ahead.
Get up some more stairs. Beware the turret overlooking the stairs.

You can shoot the explosive crates to kill your enemies.
Keep going down the corridor and kill any enemies.
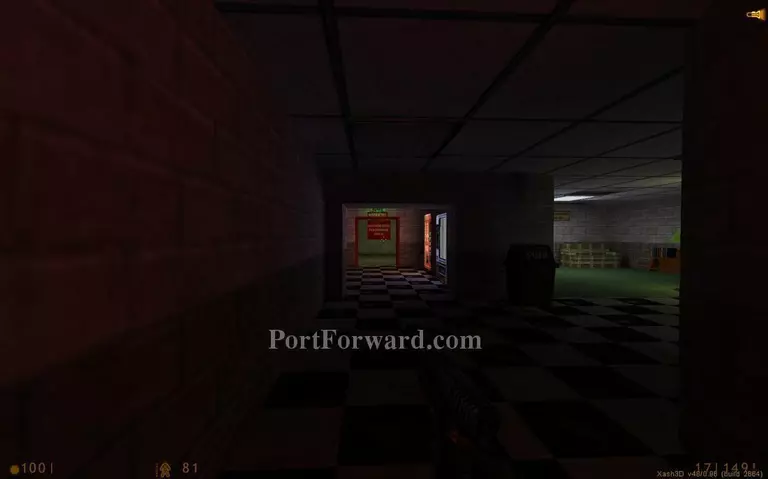
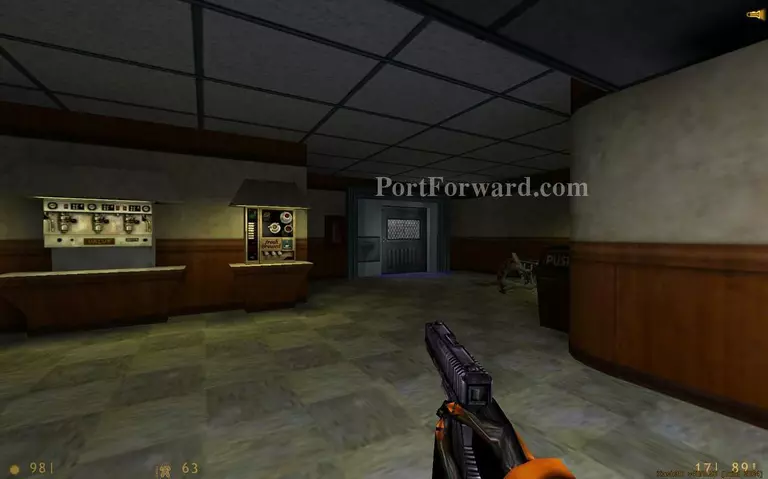
You will reach the mess hall. Go to your right.
Clean up this place then go forward.
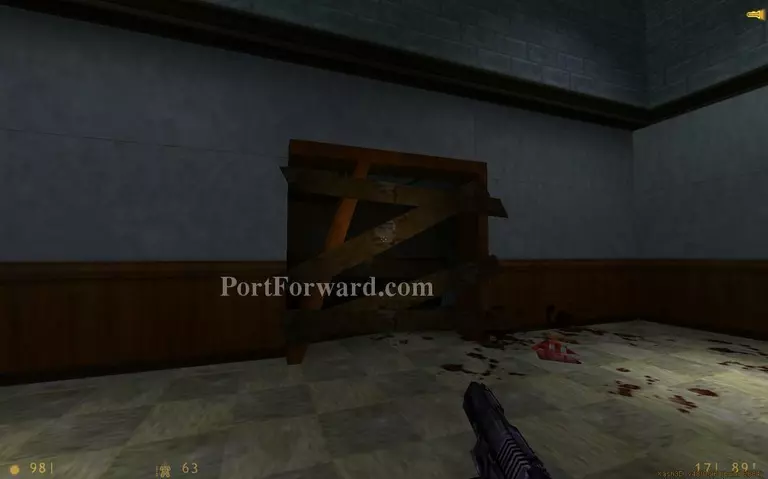
Destroy these barricades to proceed.
Kill some zombies here and enter the refrigerated room.
Go through a vent on your right.

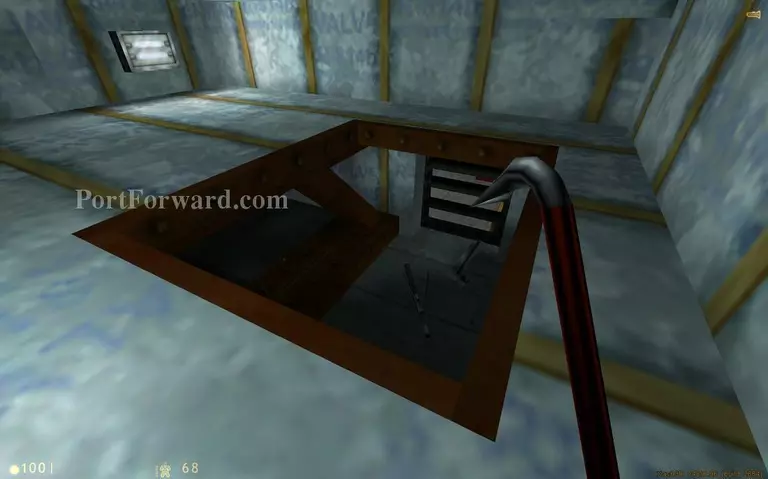
Keep going through the vent spaces. Then drop down.
Drop down when you see the big lever. Use it.
This will activate the storage lift. Backtrack to the start of the fridge room and use the vents just like before to reach the lift.
The lift will be moving back and forth. Wait for it to pass near you to get on it. Then wait for the right moment to get inside the vent on the other side.
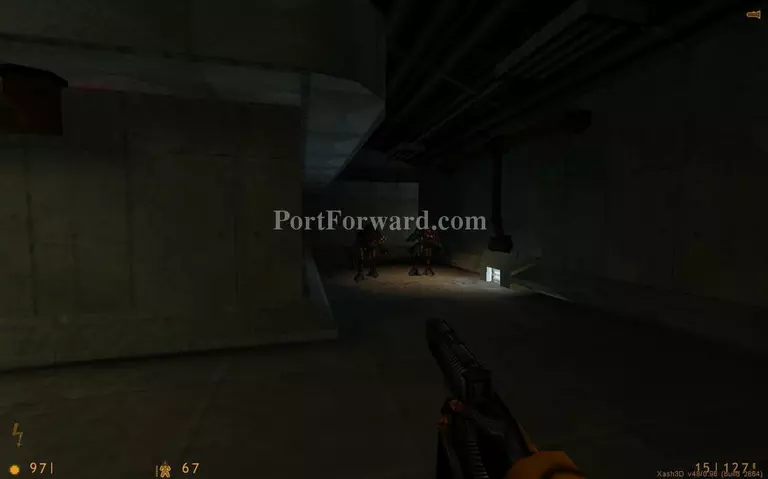
When you exit the vent you will see some barnacle creatures.
Jump up the vents to reach another entrance.
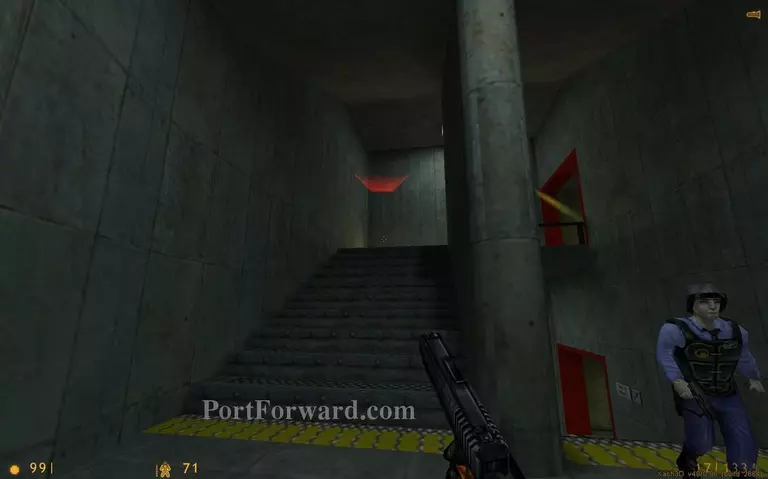
You will see more guards in trouble. Go up the stairs.

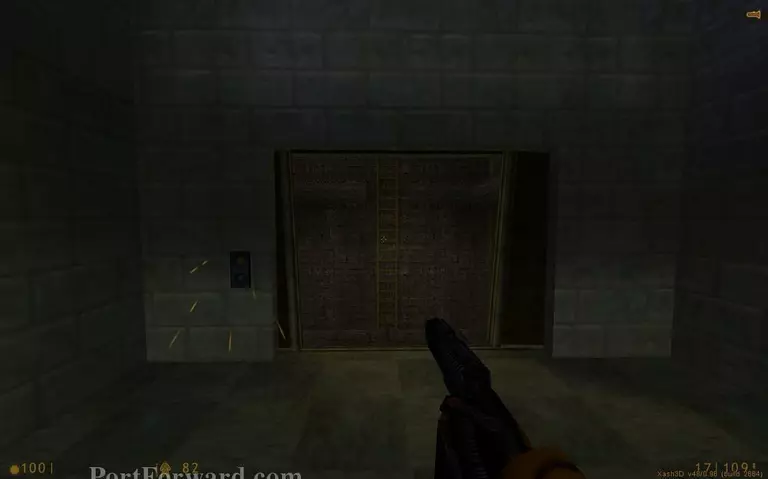
The G-man will mock you at a dead end door.
Proceed down this corridor. You can get some grenades from the place on the left.
Run forward and jump onto the ladder. Quicksaving here might be a good idea.
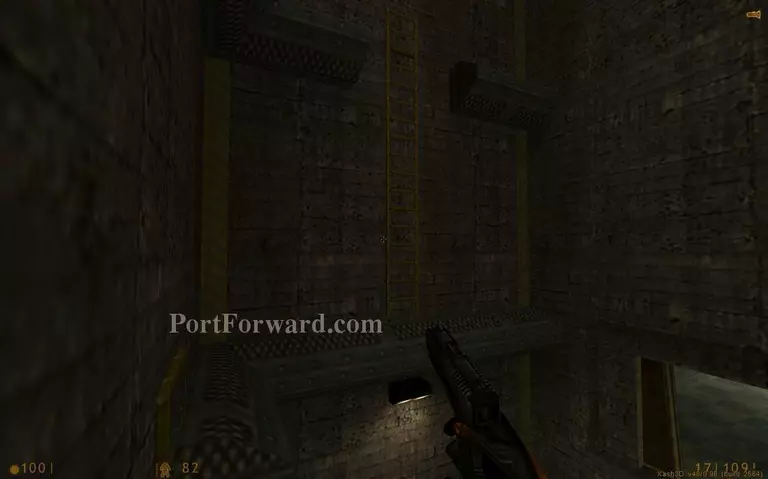
Keep climbing the ladders.
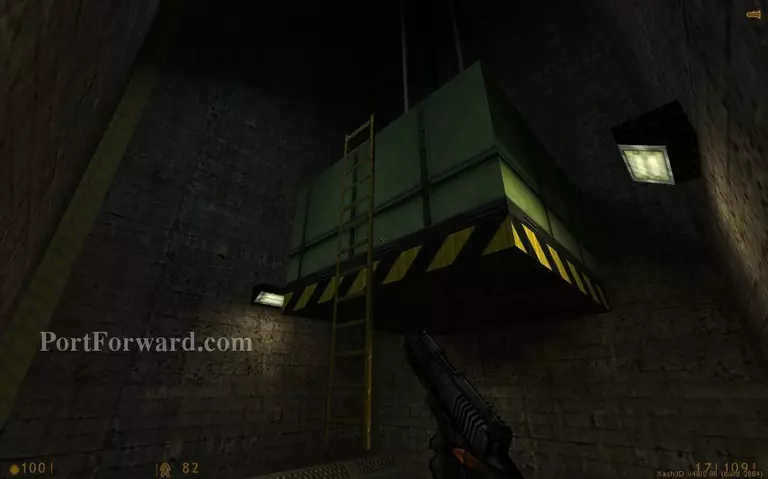
Jump onto the ladder that goes up to the elevator. Then drop down the elevator shaft.
More Half-Life Walkthroughs
This Half-Life walkthrough is divided into 18 total pages.